Freestanding Embroidery Designs
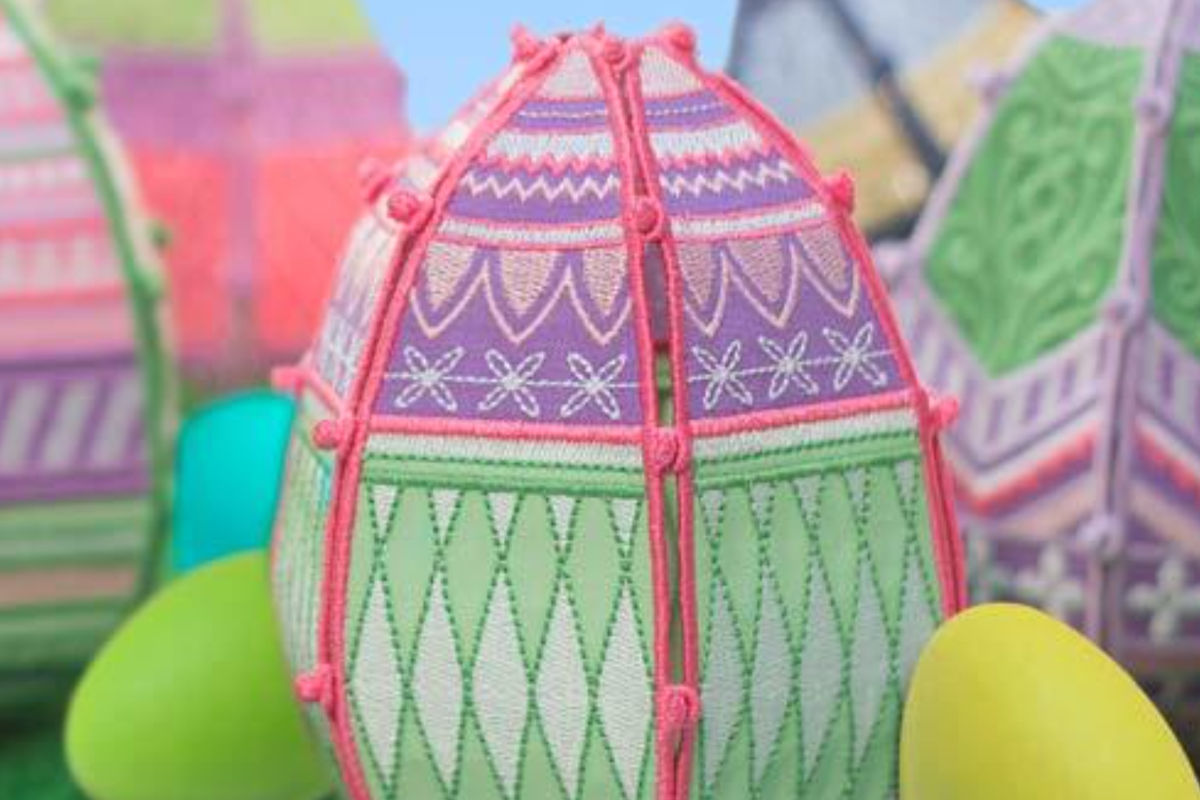
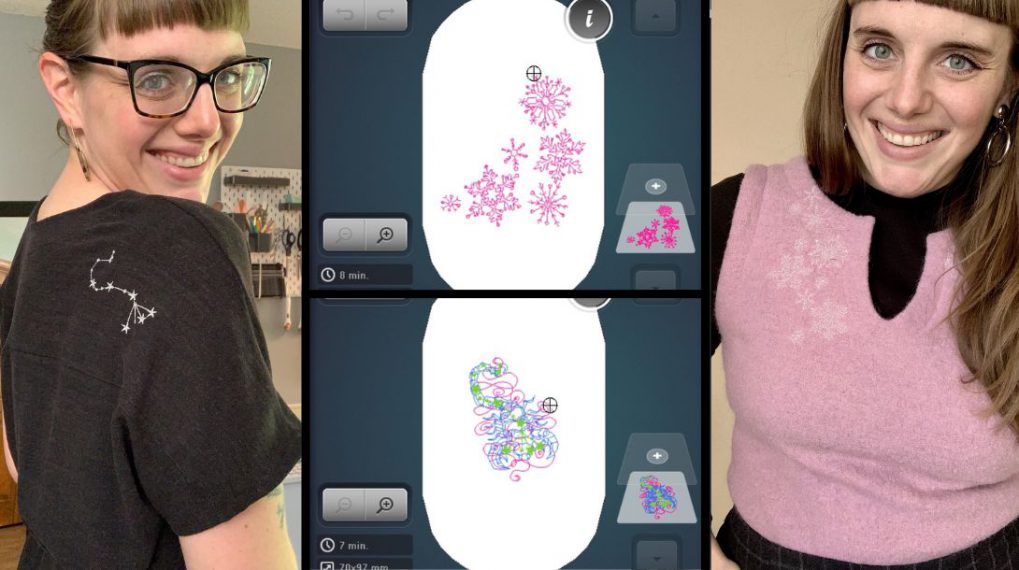
Machine embroidery is more than just stitching a design on fabric. One thing that’s fun to do is creating freestanding embroidery designs. You do this by stitching on a water-soluble stabilizer. When you complete your stitching and then dissolve the stabilizer, the design is freestanding. You can stitch designs that are ornaments, appliques, or parts of a project. Stitch Patches/Badges, 3-D Designs, Lace Designs, and Structured Designs, which are the four types of stand-alone designs. The design shown below is a 3-D Easter Egg. The parts are stitched individually and then buttoned together to form this colorful festive egg.
How to Stitch a Freestanding Design
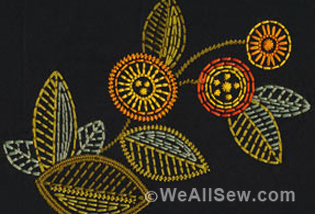
The process of stitching a freestanding design is fairly simple. Select designs that are specifically digitized to be freestanding. They are made to hold together when the stabilizer is rinsed away. These stitched designs may include fabric for appliques or be made entirely of thread. Hoop two layers of water-soluble stabilizer. Stitch the selected design, changing thread colors, and adding applique fabrics as instructed by the machine.
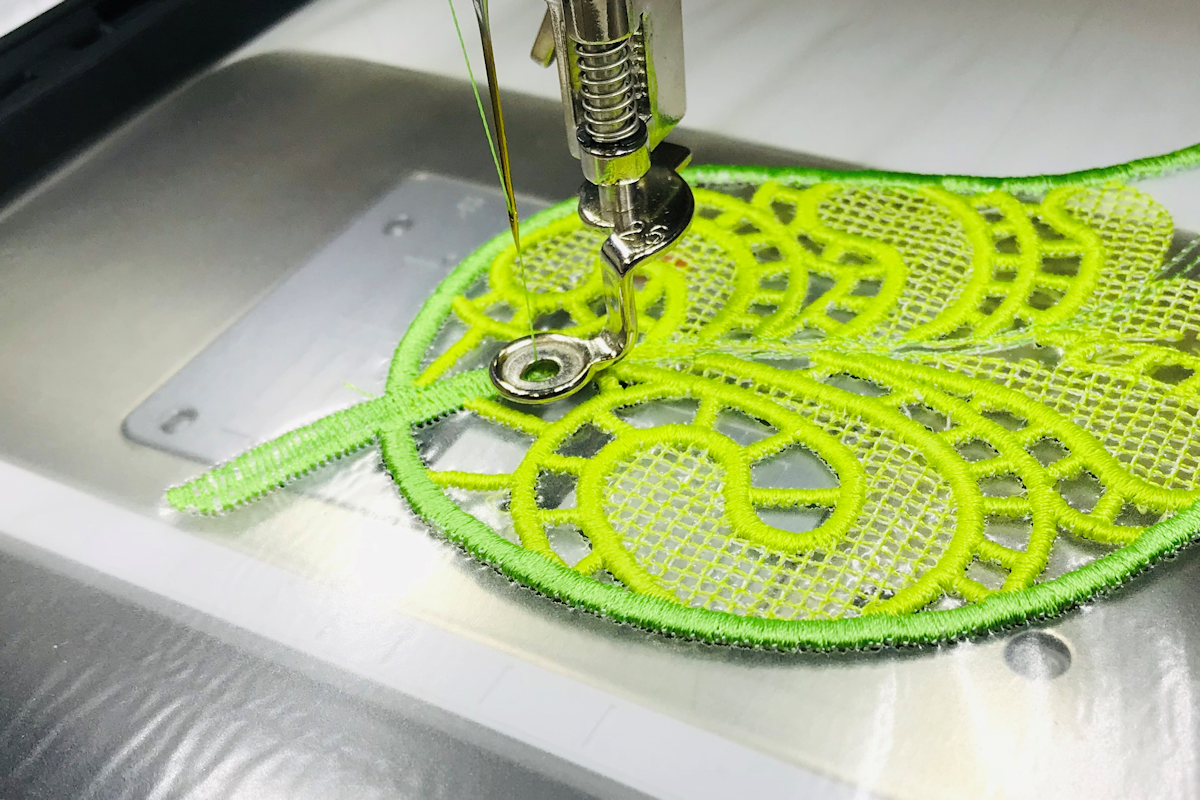
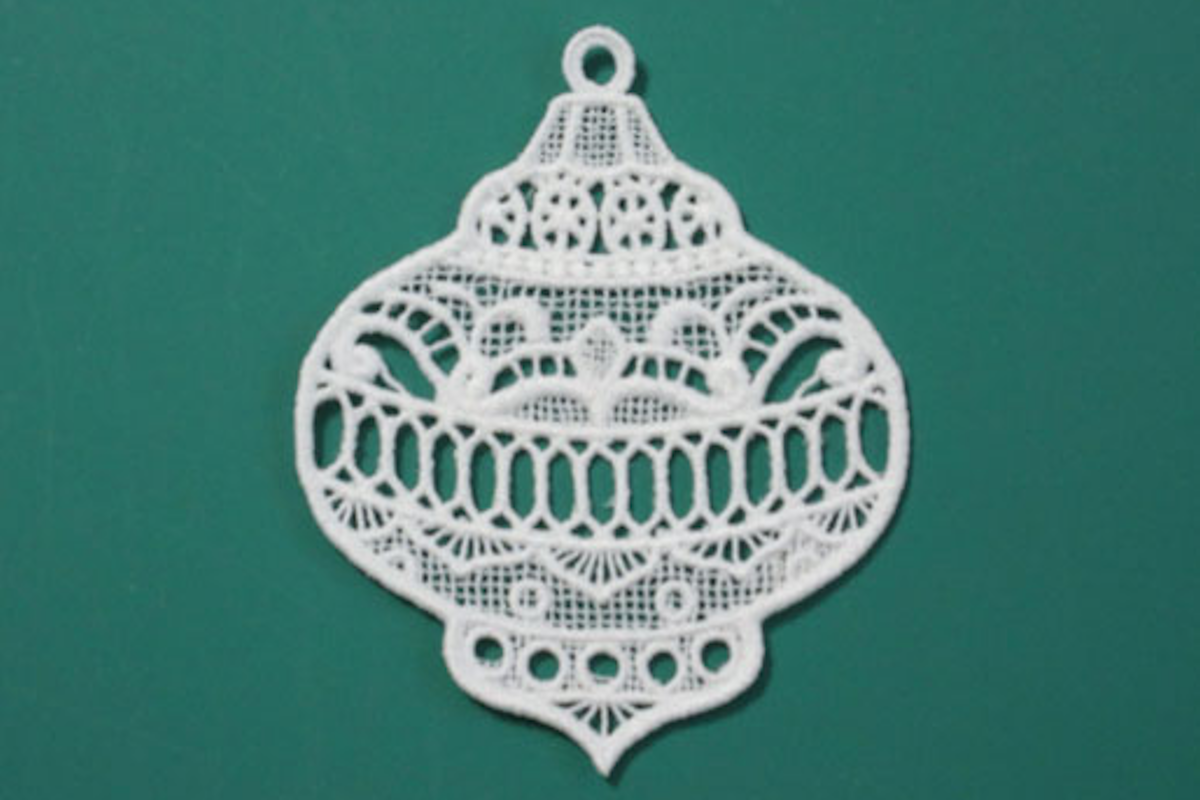
After stitching the design, trim away the excess stabilizer from around the shape. Rinse the remaining stabilizer.

For a more detailed tutorial on stitch a freestanding lace design, click here.
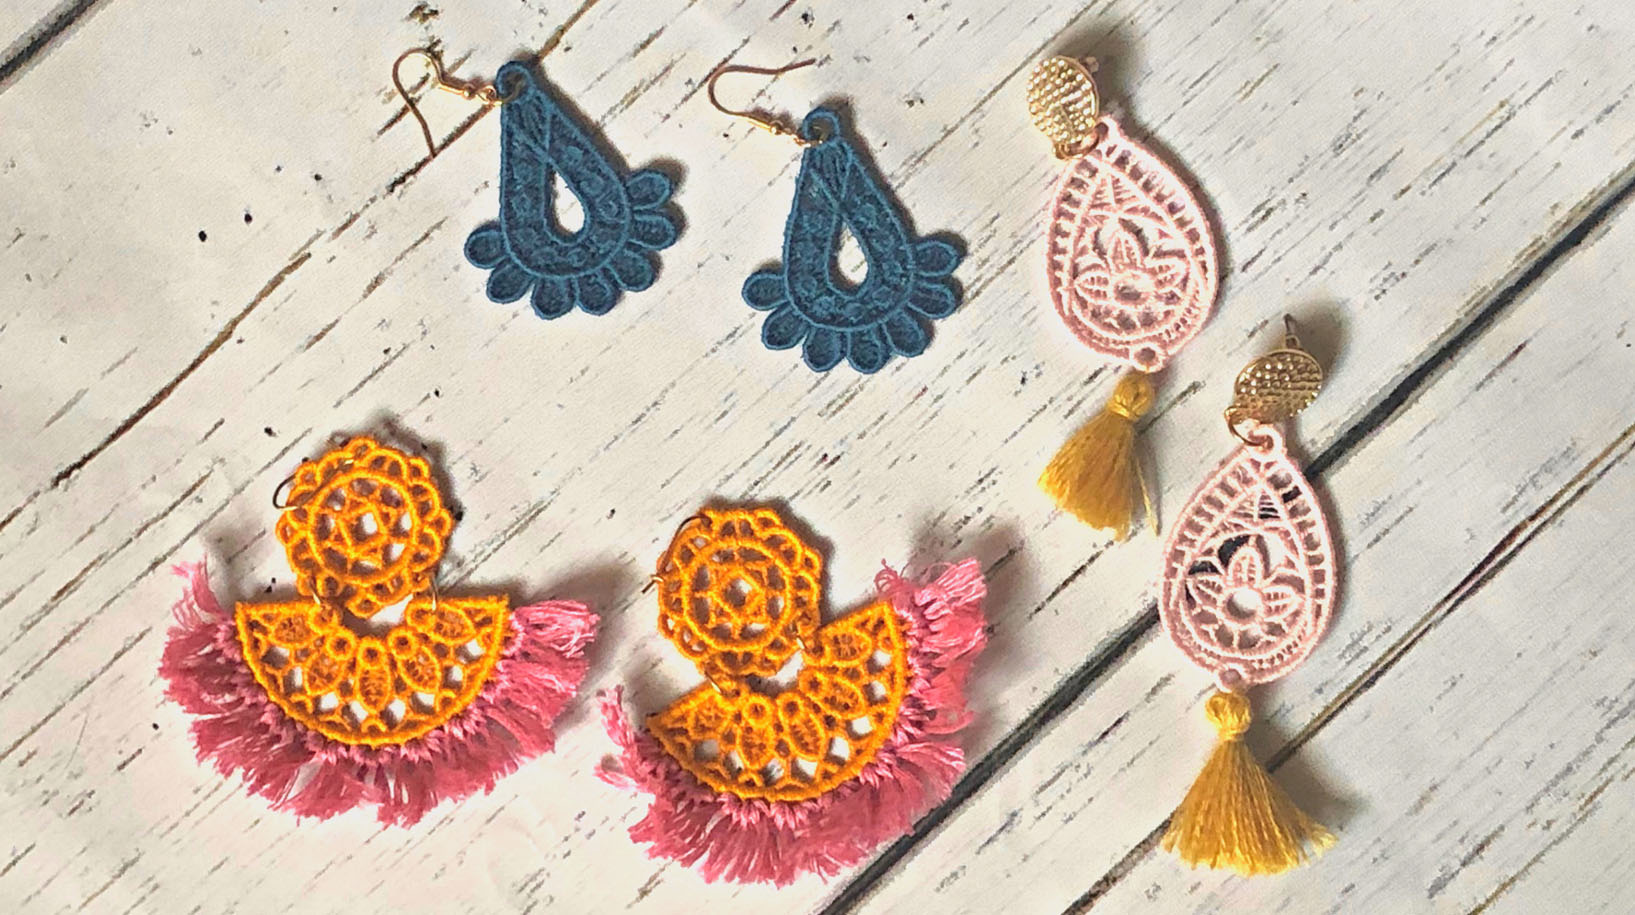
Embroidered Jewelry
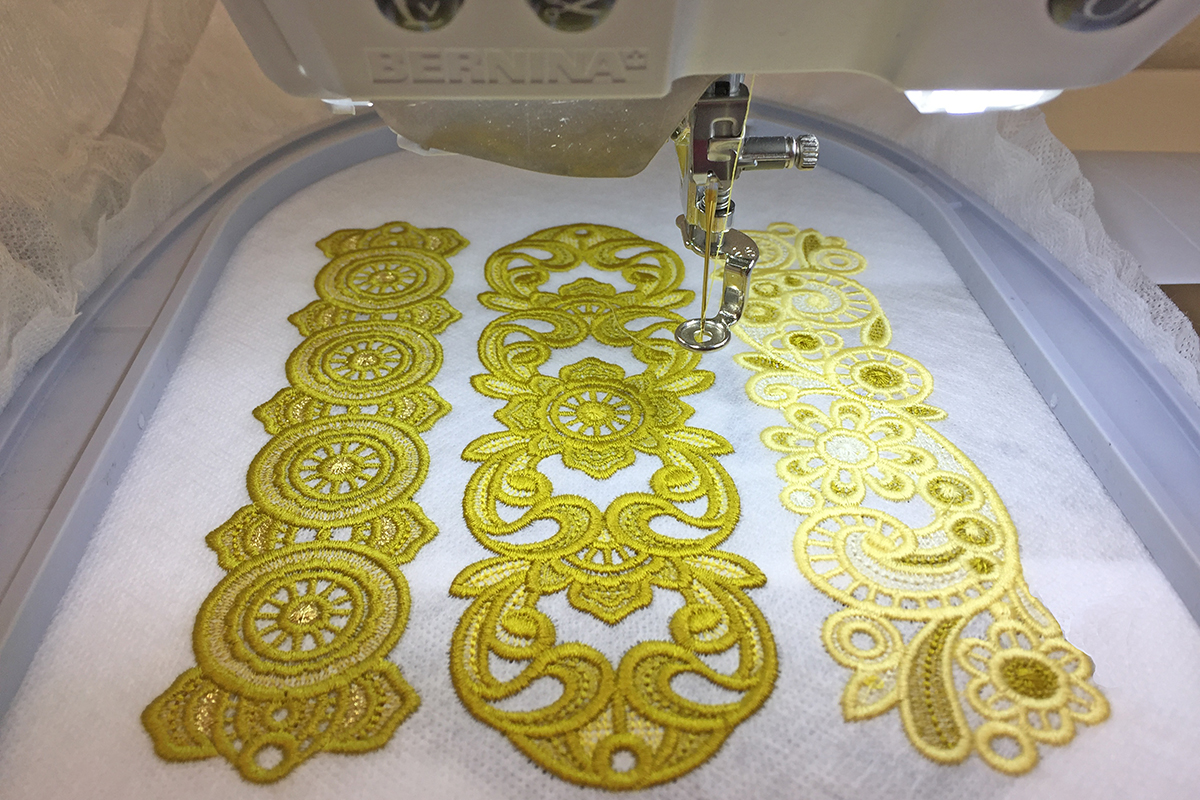
I love in-the-hoop projects and one of my favorites is making jewelry. It couldn’t be easier. You stitch the design, rinse the water-soluble stabilizer as usual. To finish, add the closure. Click here for a post on making bracelets with metallic thread accents – you can take care of half of your holiday gift list!
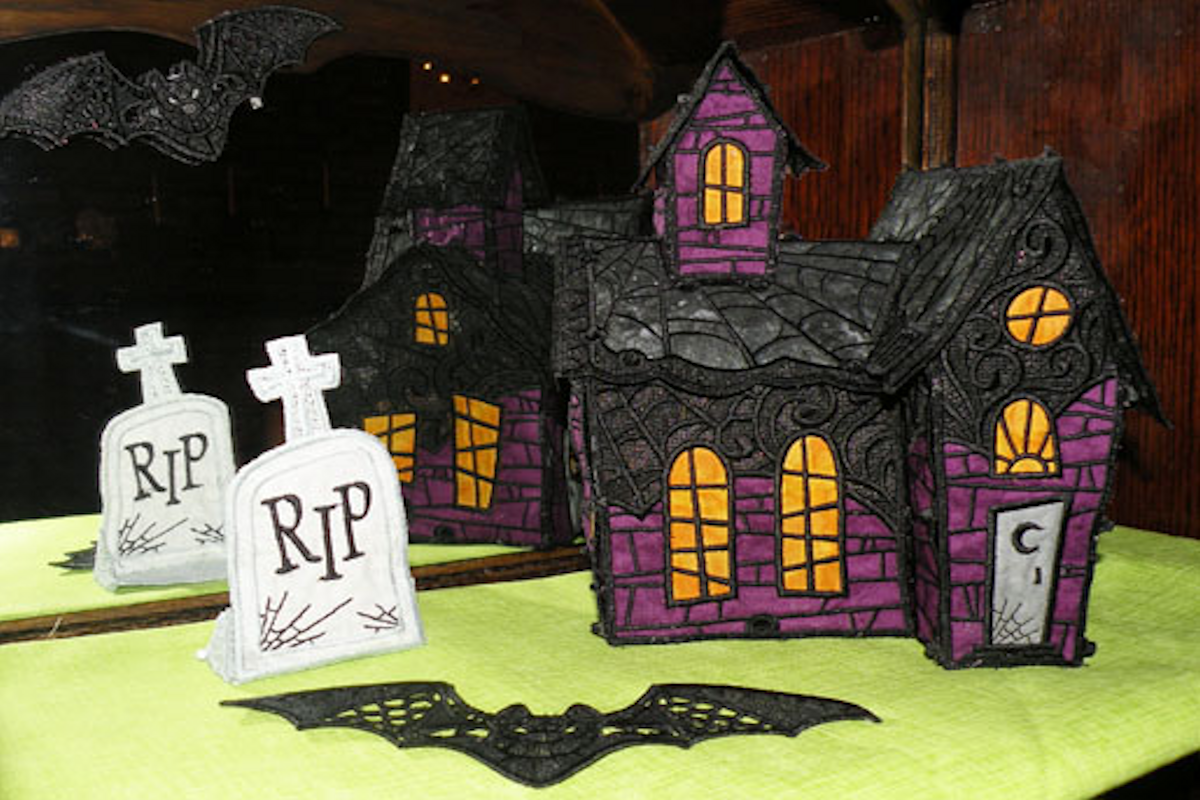
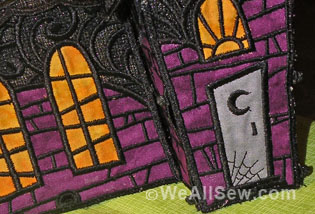
Haunted House
Here’s a unique way to use freestanding embroidery designs: Building 3-D structures. Stitch and rinse individual, specially-digitized designs. Connect them to form buildings, birdhouses, holiday ornaments, and more. Click here to see how a really fun haunted house is stitched and assembled for a spooky Halloween display.
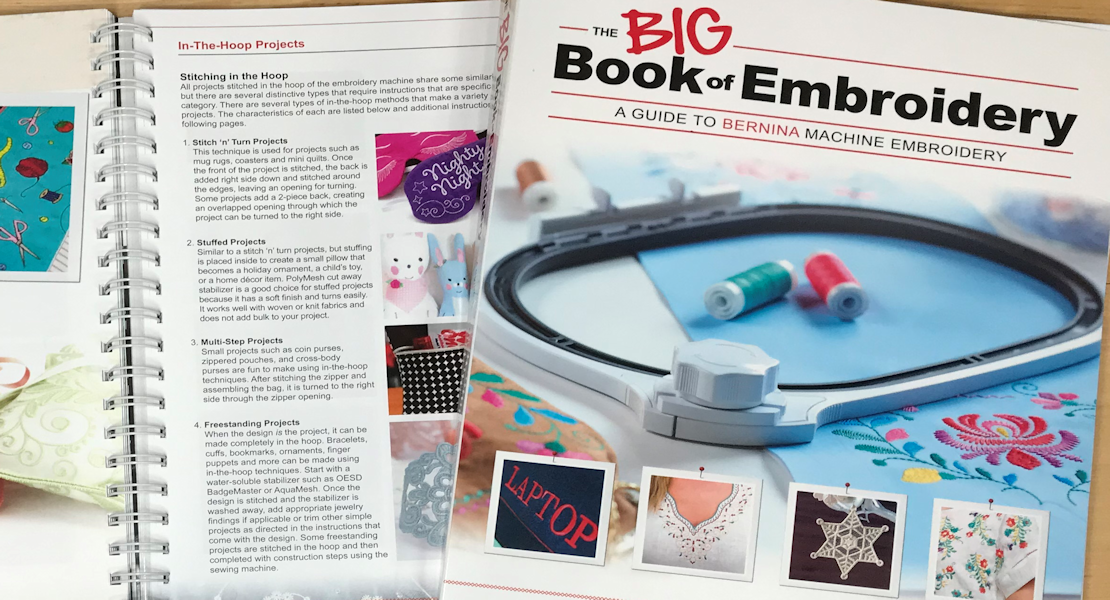
For more machine embroidery techniques, see The Big Book of Embroidery at your local BERNINA store. Click here to find a BERNINA store near you.


What you might also like


15 comments on “Freestanding Embroidery Designs”
-
-
I would love for more machine embroidery webinars, where you actually do a project as you follow along
-
I want to learn it all!! Free standing lace. Appliqué… embroidery of all types! Seminars and in person classes would be greatly appreciated!
-
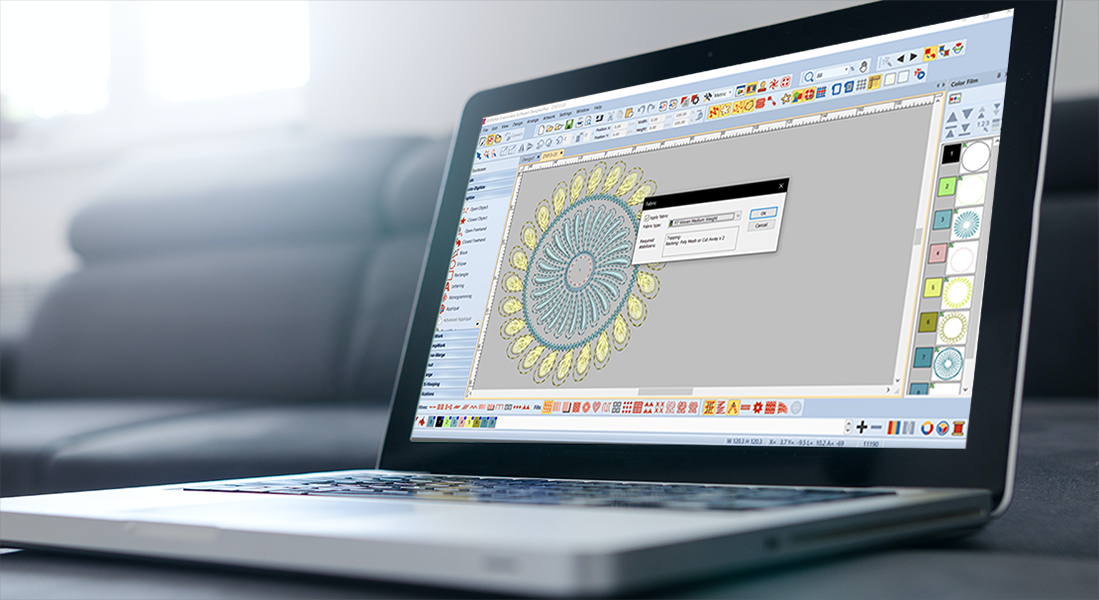
I love Debbie Lashbrook teaching V8.2
-
Would like to know how to embroider hats.
-
I have wanted an embroidery machine for the last year. I am so excited to learn how to up my sewing skills and make memories for my family to enjoy for years to come! Learning how to do freestanding embroidery would be a dream come true for me. I cant wait to see what all can be done with this machine!
-
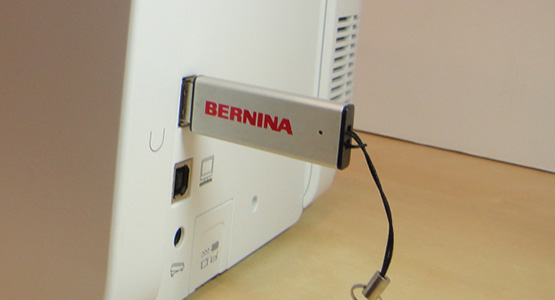
I would like to learn how to use the cd or usb to save and make embroidery designs.
-
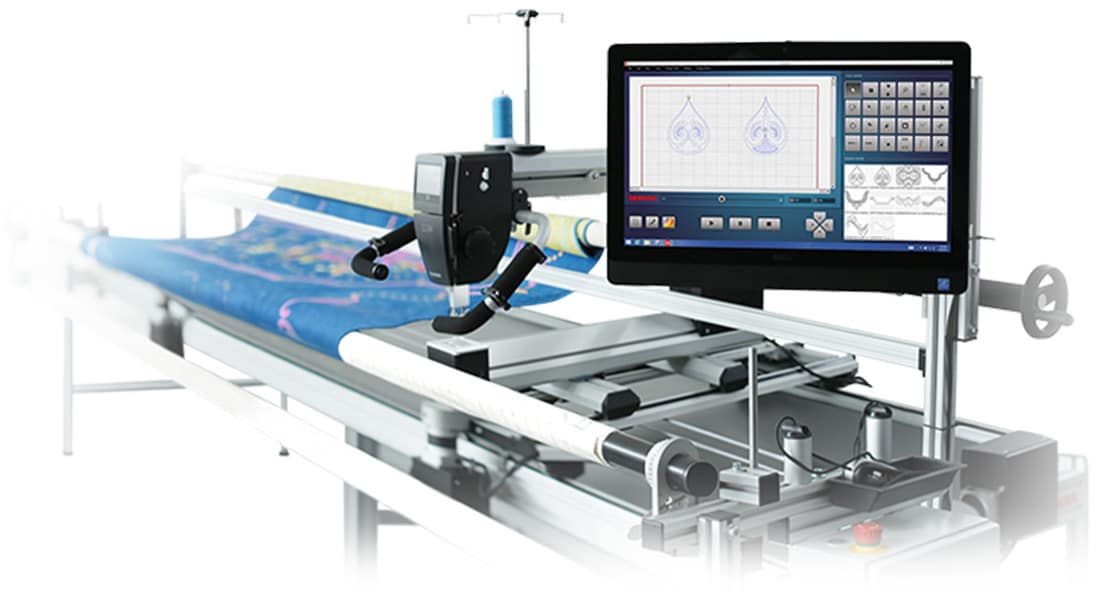
I would love to learn more about using quilting motifs and modifying them for size and shape.
-
After being away from embroidery for about 10 years I almost need to start over. So anything to get back would be appreciated.
-
I wish, I wish, I wish, Bernina would make a 10.5″ x 10.5″ hoop!!!
The jumbo is too big and the midi isn’t big enough -
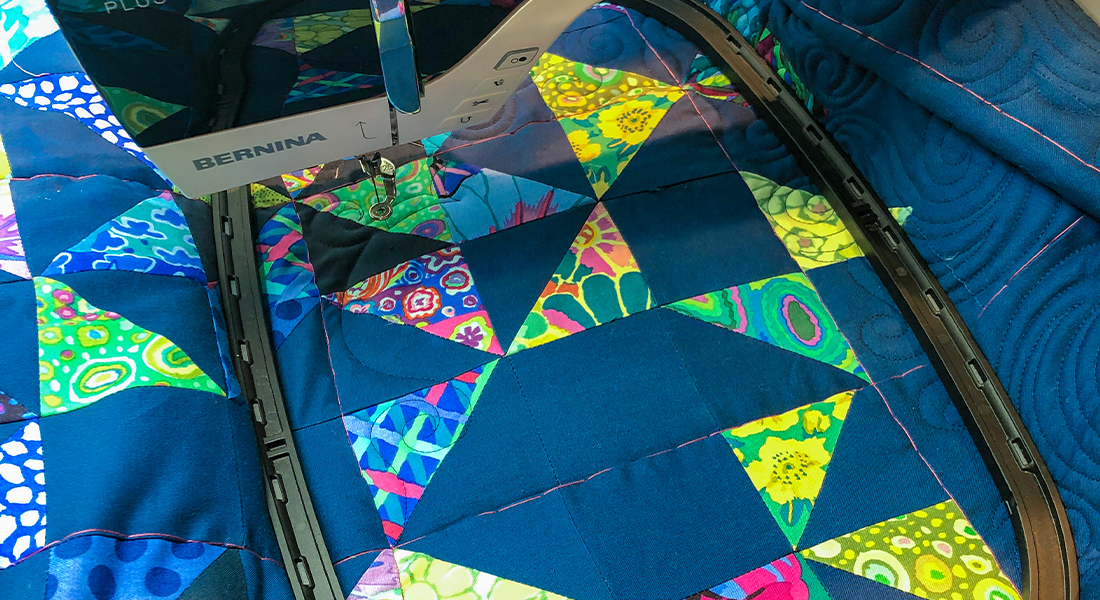
I need to use my embroidery options more. I’m a bit intimidated by it–but would like to learn more about quilting in the hoop. I spend most of my time making quilts and doing free motion on the smaller pieces. Appreciate all the tips you provide. Have been learning how to quilt using rulers.
-
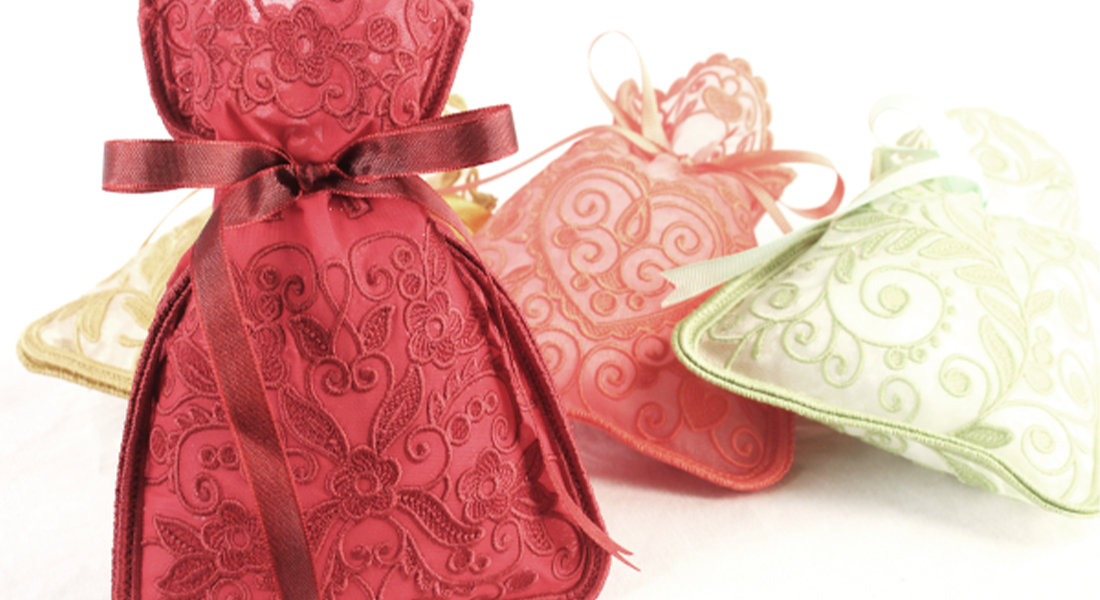
I’ve jumped on the fabric basket bandwagon and had great success with embroidering and or appliquéing most of them. I would love to feel comfortable adding embroidery to onesies but my experience has not been so good in this area. They usually are tight and wrinkle and I don’t feel good enough about them to give them as gifts. Training in how what stabilizers, thread types, needle types and how to hoop those stinking onesies would be much appreciated. I feel sure my 790 can do this, but it only does what I tell it – haha.
-
I would like to know how to transfer a purchased design from my computer to a USB stick and then to my 880 Plus.
-
I have had my Bernina 770 QEE for 3 years and haven’t yet learned how to use the embroidery module. HELP! I would love to be a part of a group where I can learn all there is to know about how to use my embroidery module as well as where to get designs, etc. Thanks so very, very much. Barbara from Wilmington, NC.
-
Check out the virtual classes at TimeFliesQuiltandSew.com
-
Leave a Reply
You must be logged in to post a comment.

I would like to embroider names on clothing and towels.