Freestanding Lace Bracelets with Machine Embroidery
Freestanding lace embroidery designs are so very popular, and there are so many choices of designs to stitch. Some projects are stitched completely using only thread, and the same color thread is used in the needle and bobbin.
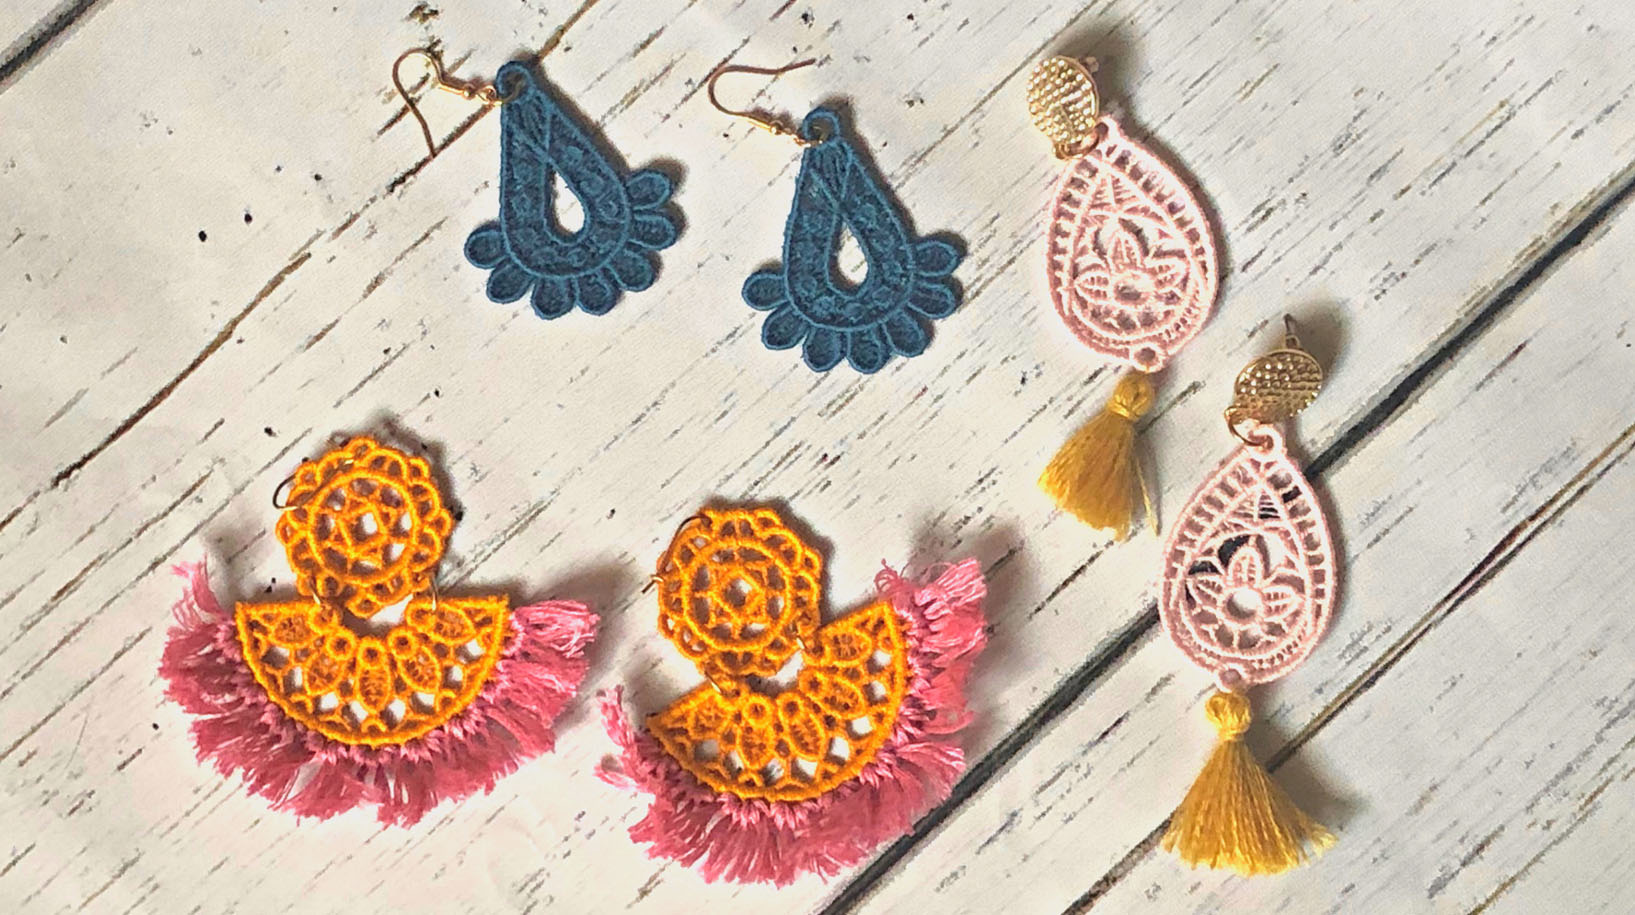
Also popular is to combine freestanding lace with appliqué. There are so many designs to create projects—from bowls to villages, tea light holders to 3D lace holiday décor, jewelry, gift bags and ornaments, just to name a few.
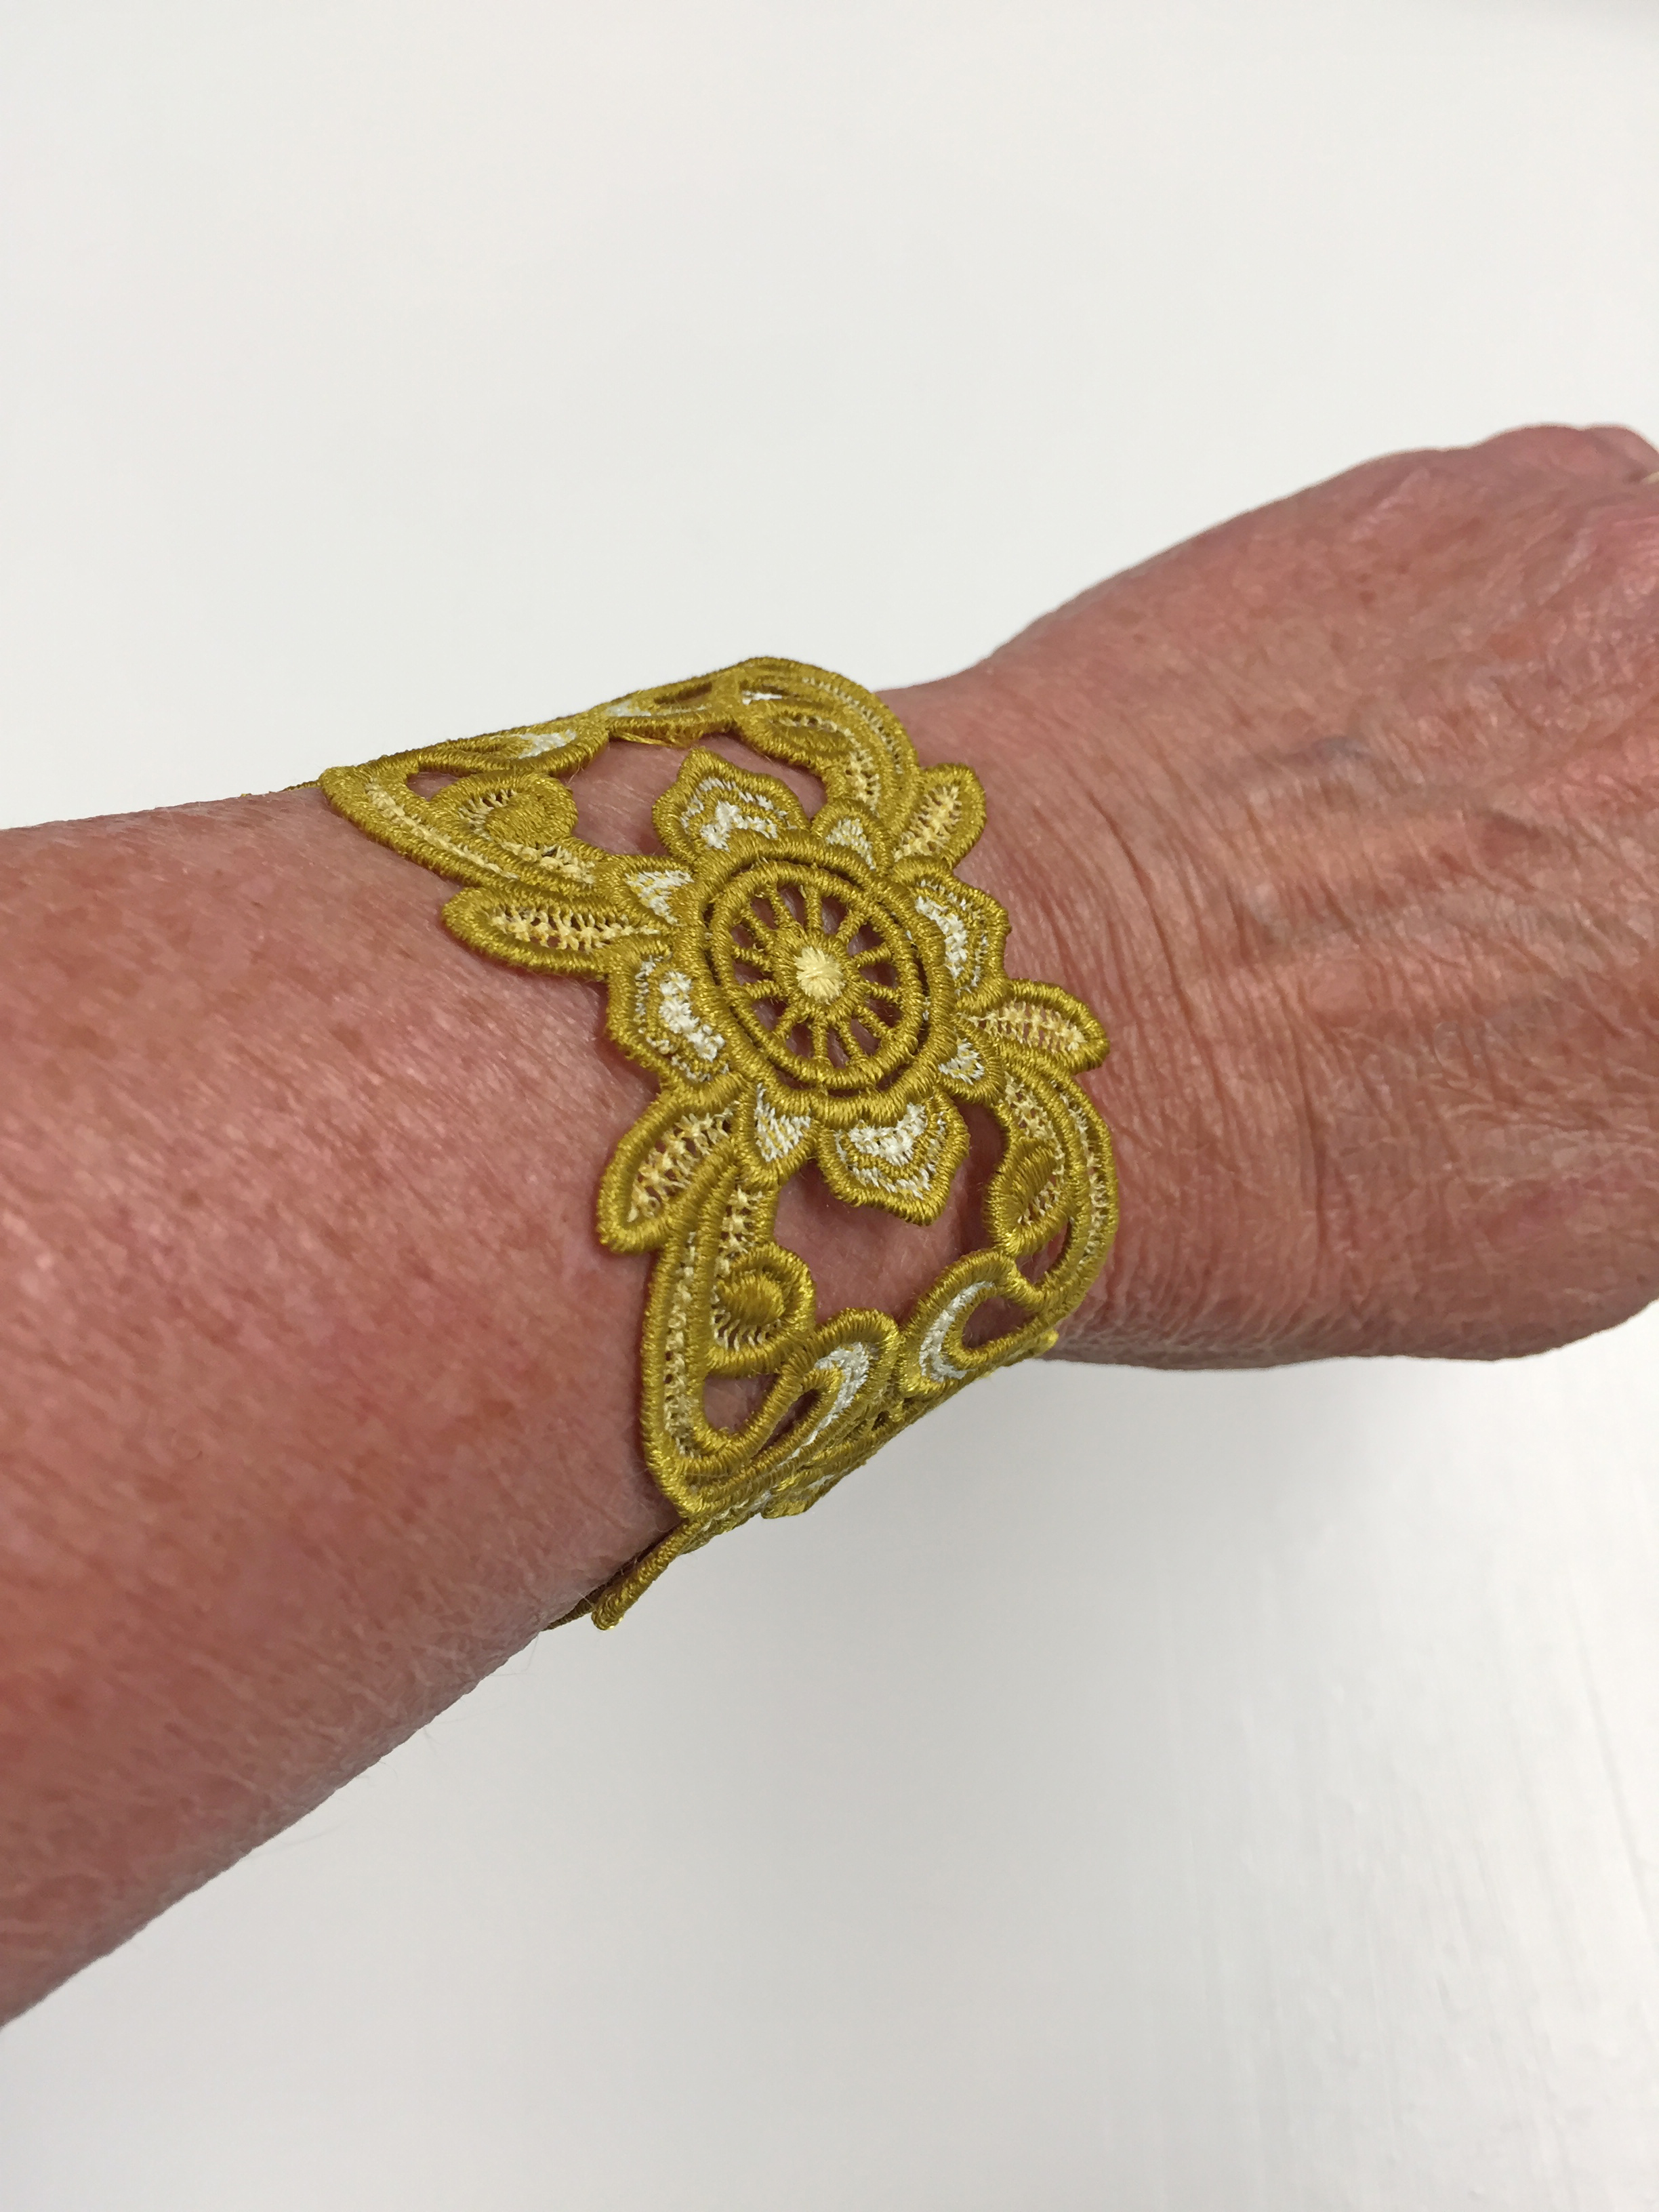
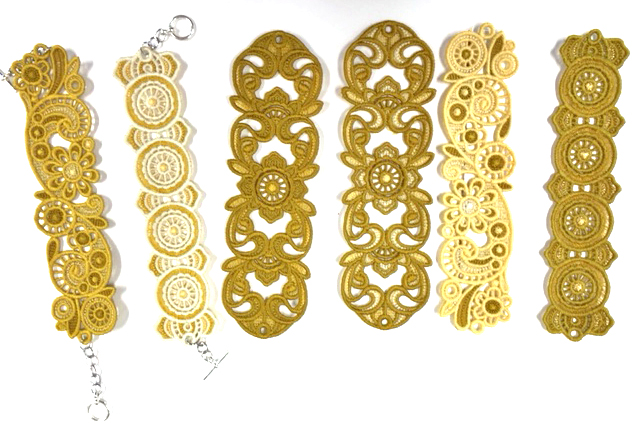
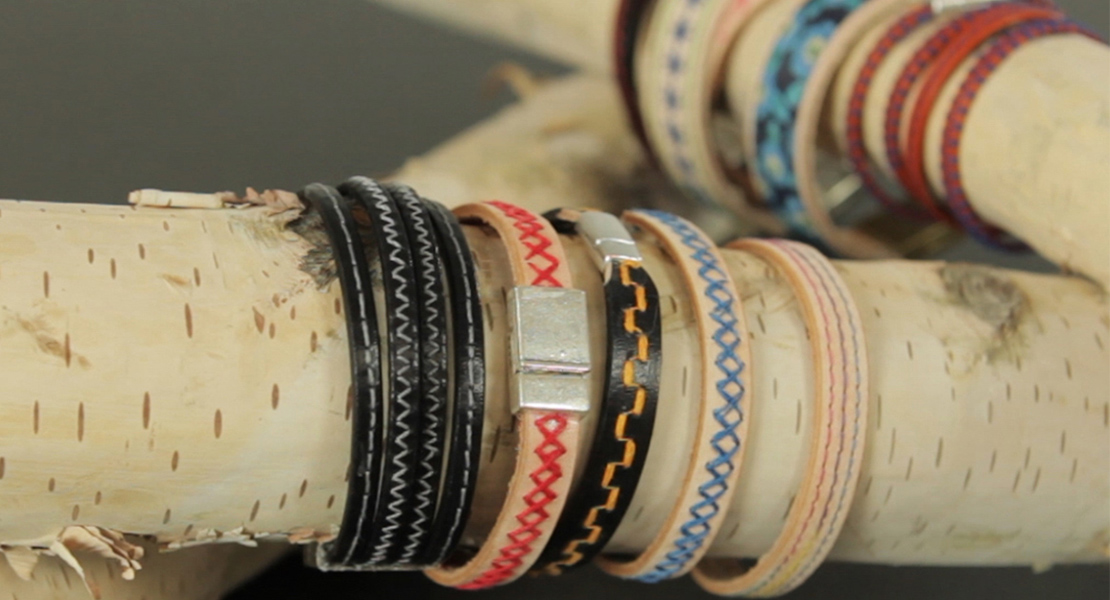
The freestanding lace jewelry caught my eye and I decided to accessorize with the great freestanding lace collection of bracelets. They are perfect for a festive occasion. I couldn’t make just one, so I made a few for my friends!
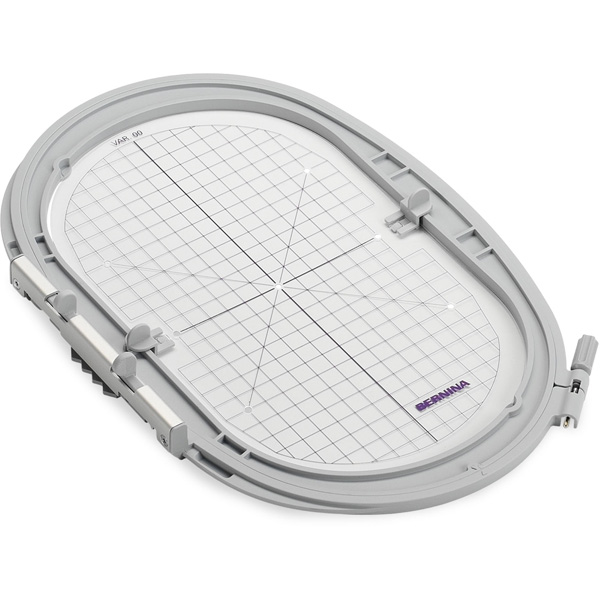
I used the BERNINA 880 PLUS embroidery machine and the Large Oval embroidery to stitch out the lace bracelet designs.
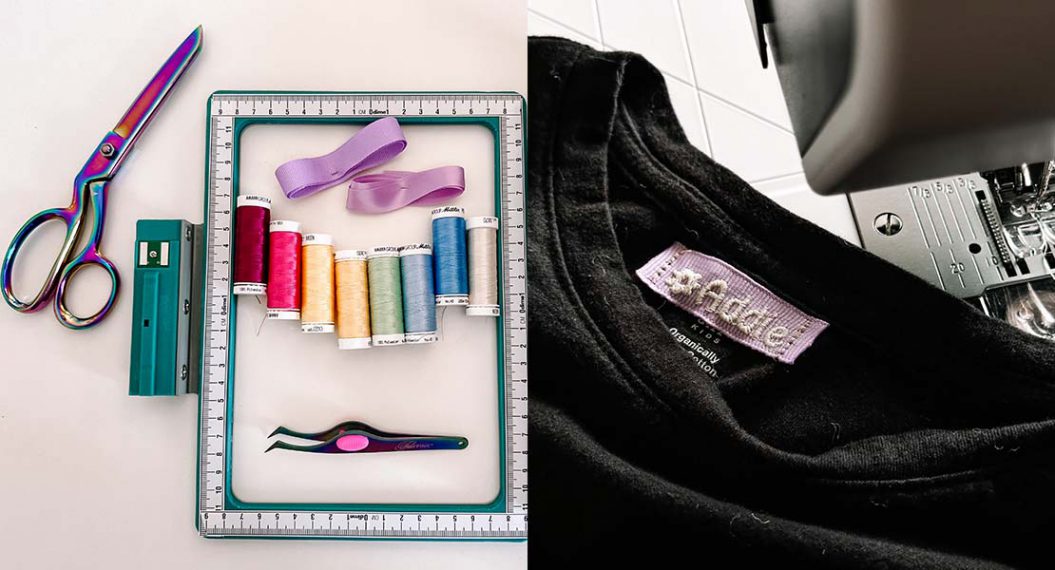
Materials to Create a Freestanding Lace Bracelet with Machine Embroidery
BERNINA 880 PLUS Embroidery Machine
BERNINA Drop-Shaped Embroidery Foot # 26
Freestanding Lace embroidery design: OESD Design Collection #12628 Freestanding Lace Bracelets and Cuffs (I used embroidery design 12628-04 Freestanding Lace Bracelet 1)
OESD AquaMesh Wash Away Stabilizer
Isacord Embroidery Thread – Use the same embroidery thread in the bobbin as the needle.
OESD Perfect Embroidery Press Cloth (optional)
80/12 Embroidery needle
Scissors
Jewelry hardware:
- Toggle Clasp or other Jewelry Clasp
- Jump Rings

Step 1. Load the freestanding lace design
At the embroidery machine, load the freestanding lace design.
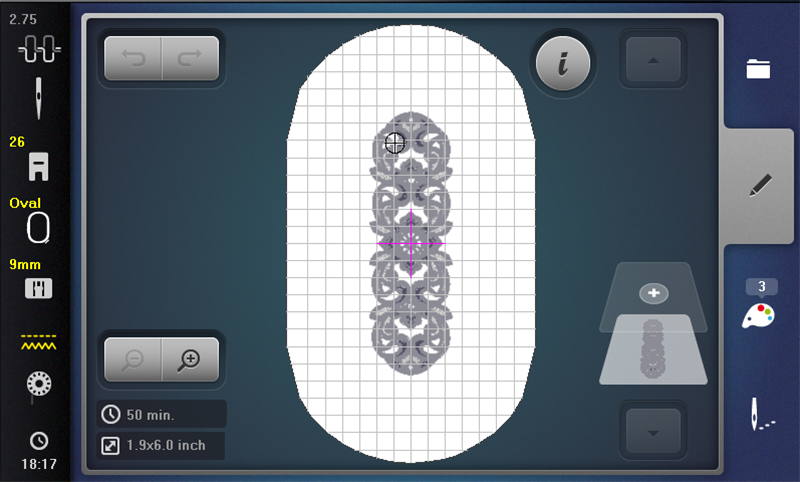
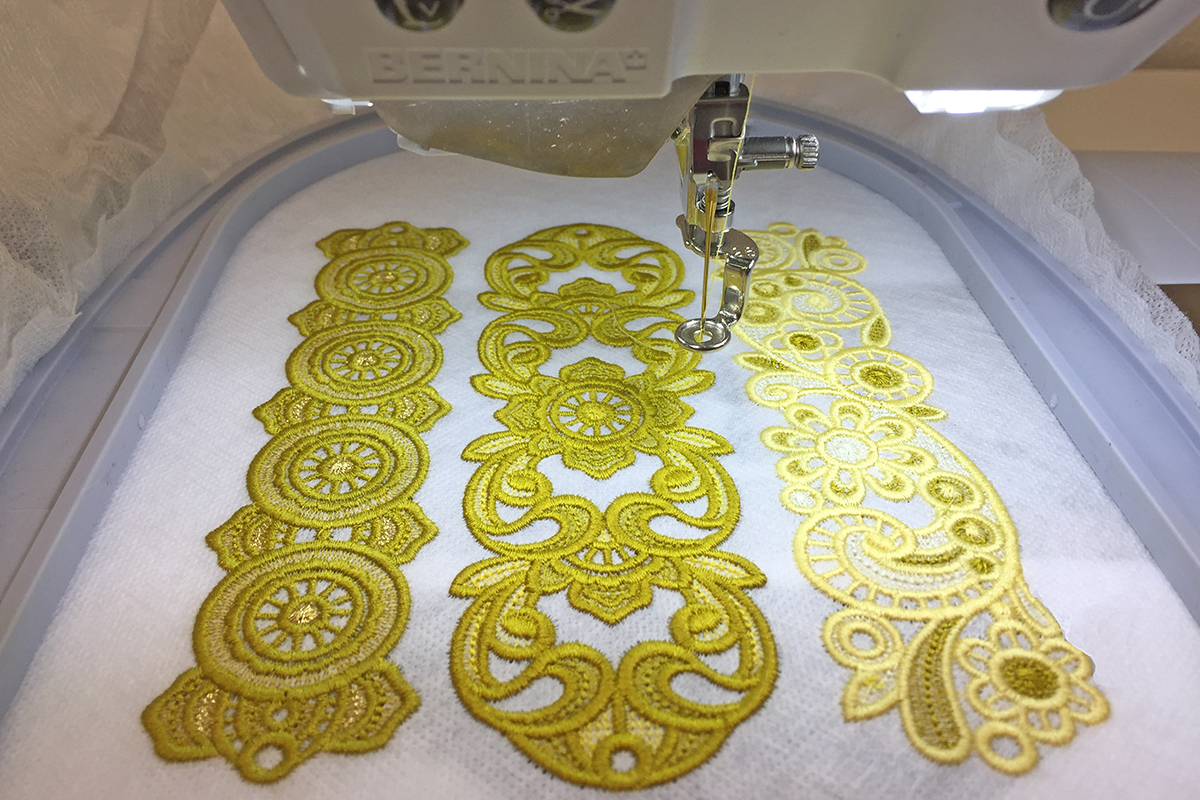
Tip: If you want to stitch out more than one you can load each additional design and position in the hoop. I was able to stitch out three bracelets in one hooping.
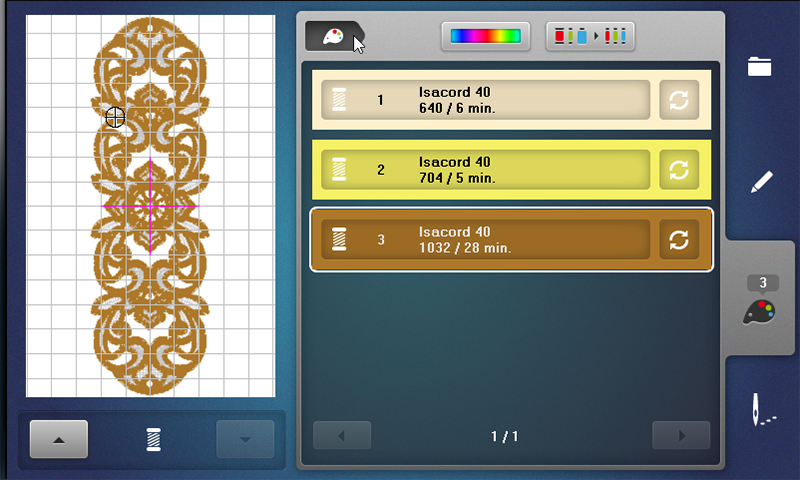
If you want to see the thread choices that you are using, you can select the Colors Tab which displays thread brands and color number. and you can make changes to them on the machine screen.
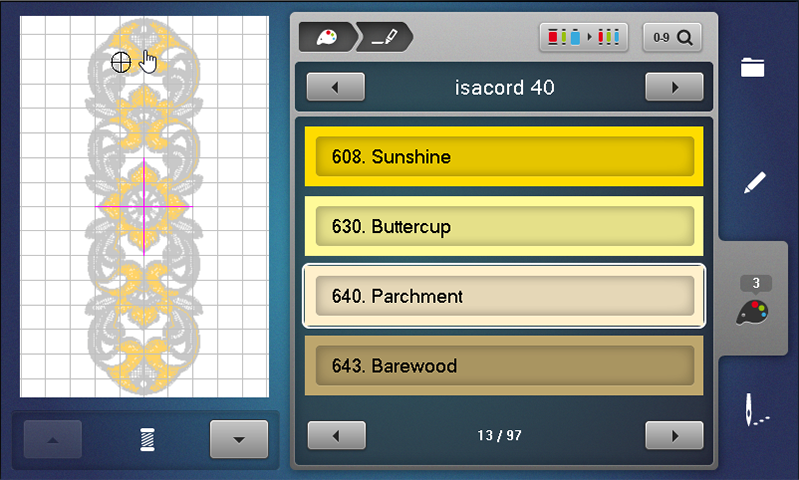
You can easily make changes to the design colors directly on the screen.
Step 2.Threading the Machine
When stitching freestanding lace designs, you will want to use a matching thread color in the needle and the bobbin. Thread the machine and the bobbin with your first thread color.
Tip: I like to use a bobbin thread color that will work with most of the thread colors chosen to avoid changing bobbins for every single color change.
Step 3. Prepare your hoop for stitching
Hoop two layers of OESD AquaMesh Water Soluble Stabilizer. The two layers of AquaMesh will hold the stitches securely during the embroidery process, and after the stitching is complete it will be rinsed away with water.
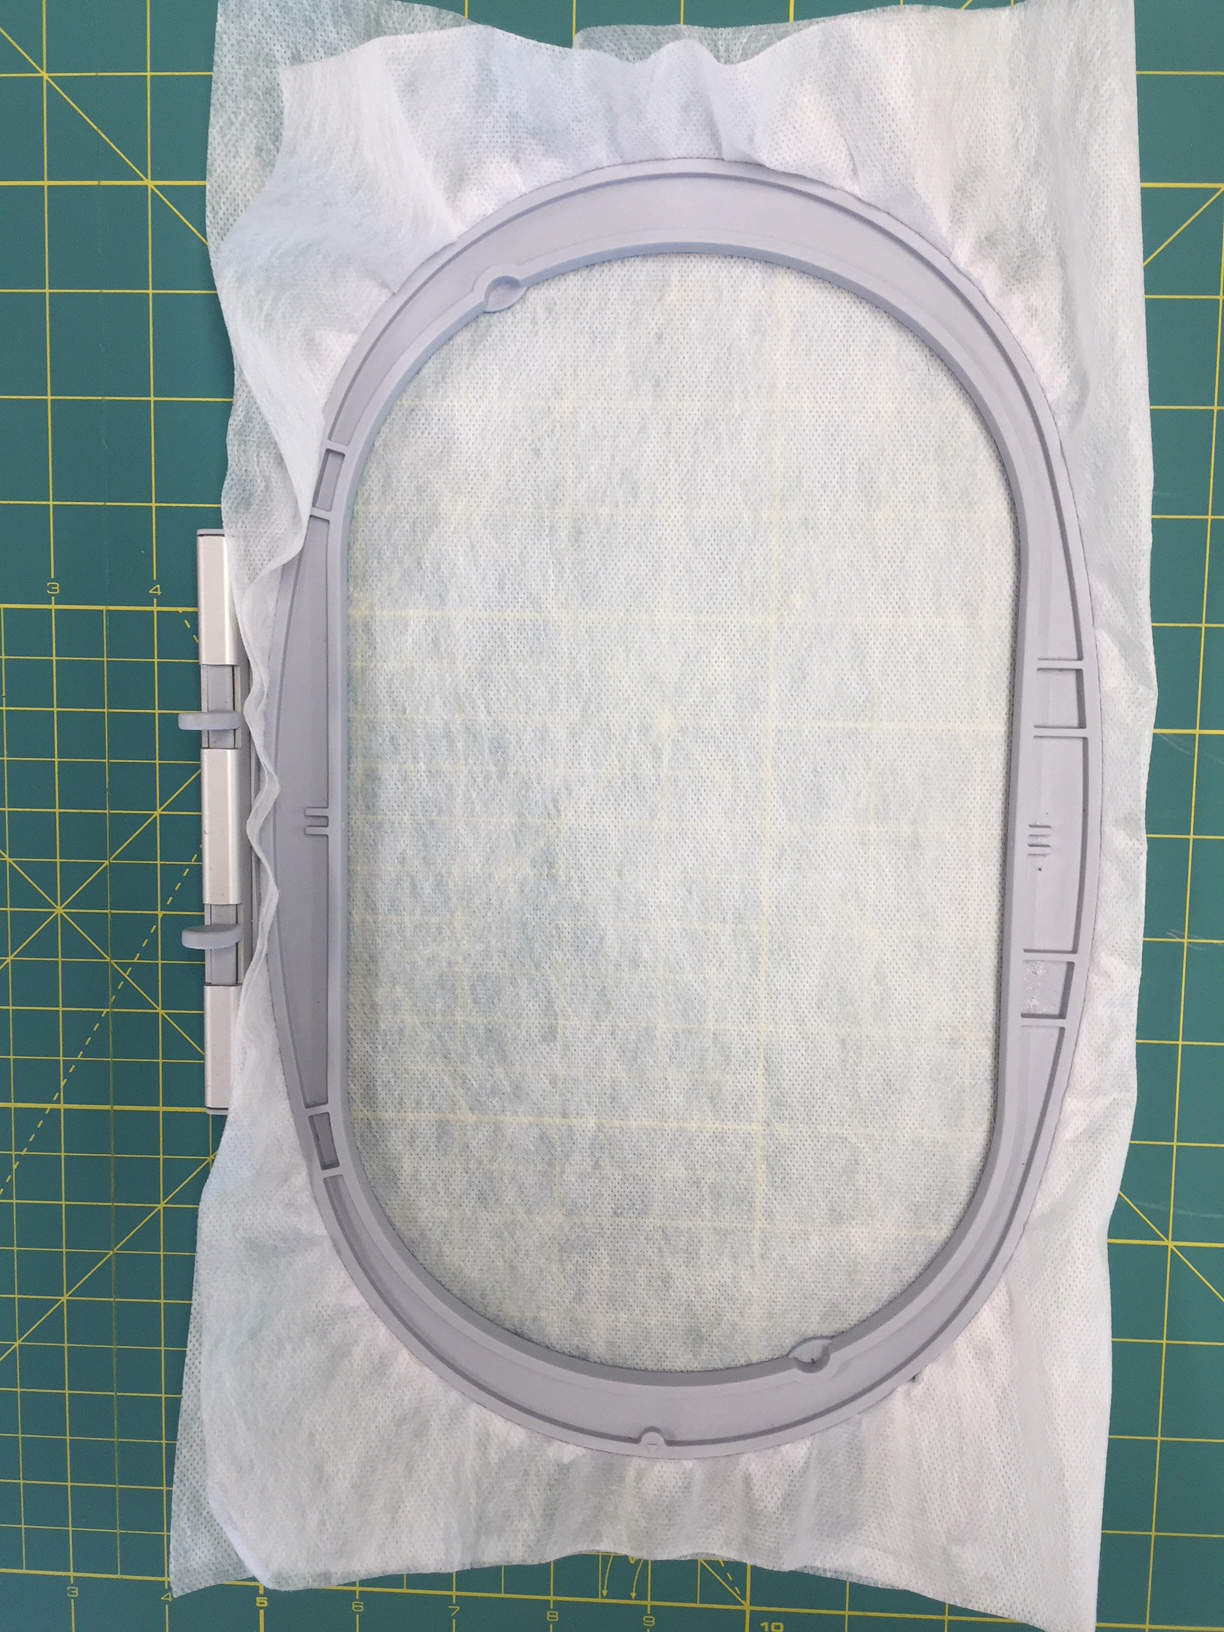
Attach the hoop to the machine.
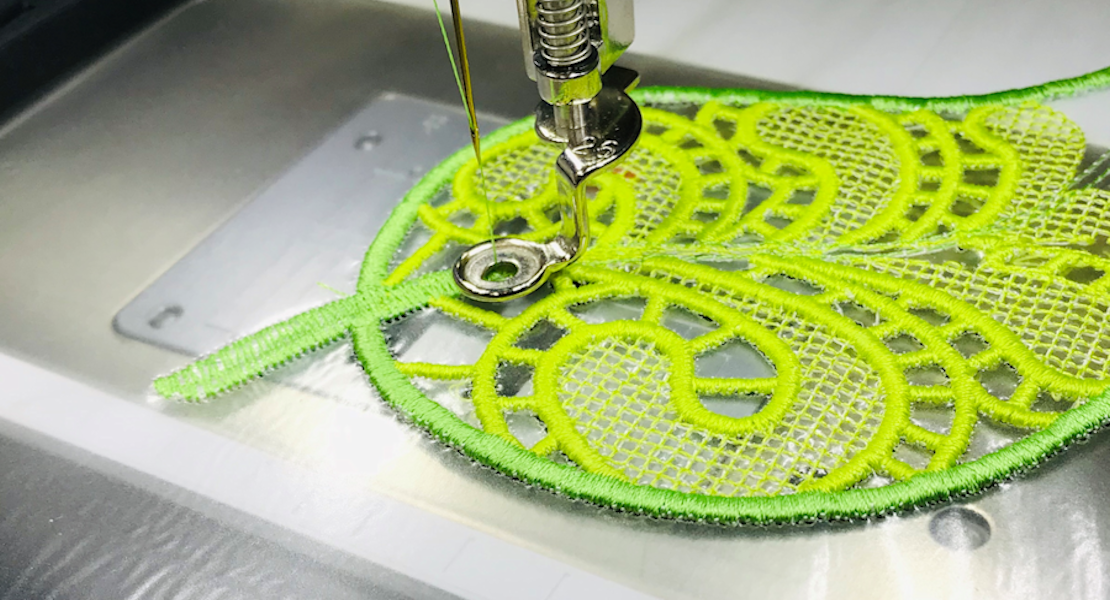
Step 4. Stitch out the design
With your design (or designs) positioned in the hoop, it is time to stitch.
The machine will stop and prompt you to change thread colors as needed. Press the Start/Stop Button and stitch out the design.
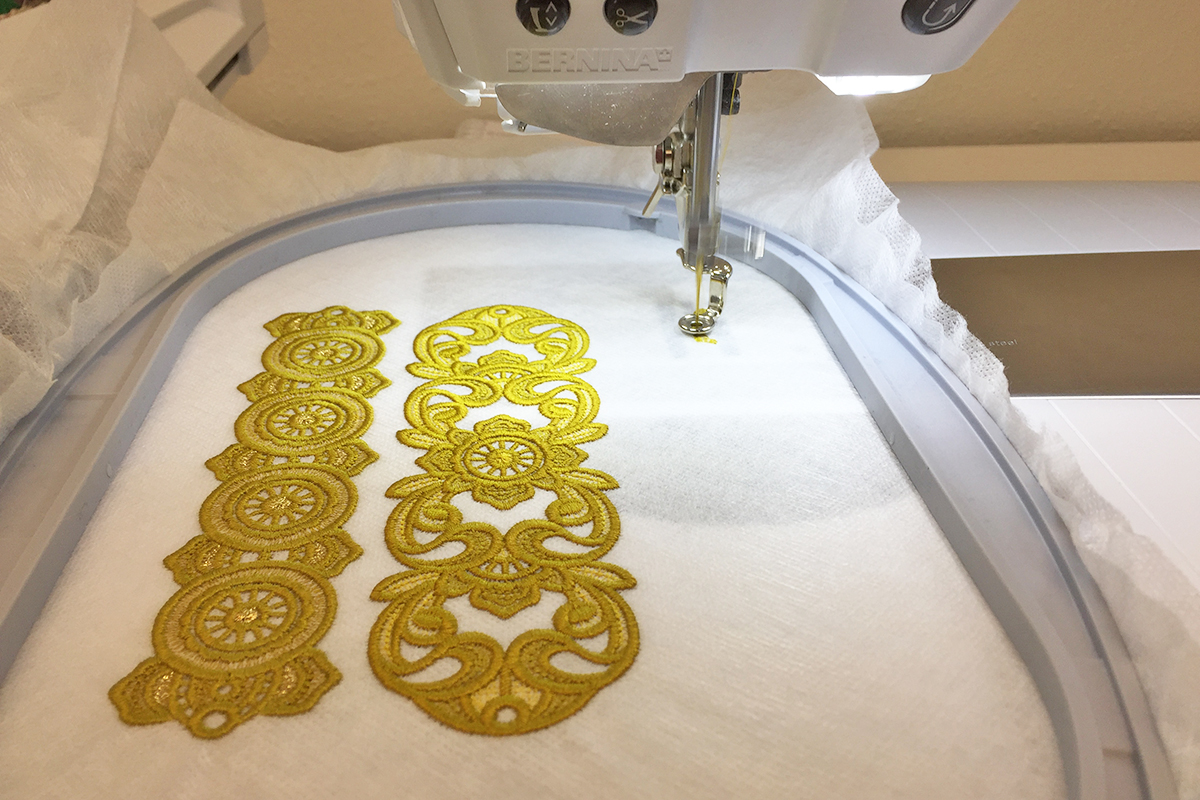
Continue until all desired designs are finished.
Step 5. Remove stabilizer
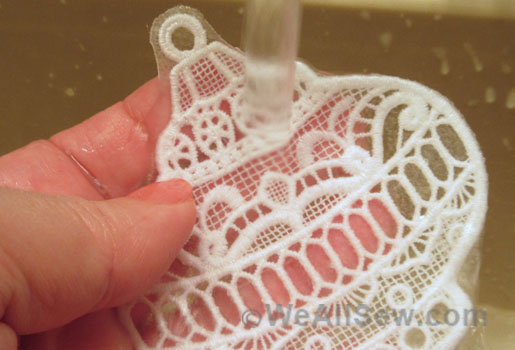
When finished stitching, remove the project from the hoop. Cut away most of the excess AquaMesh Stabilizer.
Rinse the lace bracelet under warm water. Allow the project to air dry, or place on the Perfect Embroidery Press Cloth, cover with a terry cloth and press dry.
Step 6. Attach jewelry hardware
Attach one jump ring to the loop at bracelet end and close. Attach additional jump rings to the first if needed for additional length.

Attach one part of the toggle clasp to the jump rings. Repeat on the other side of the bracelet.
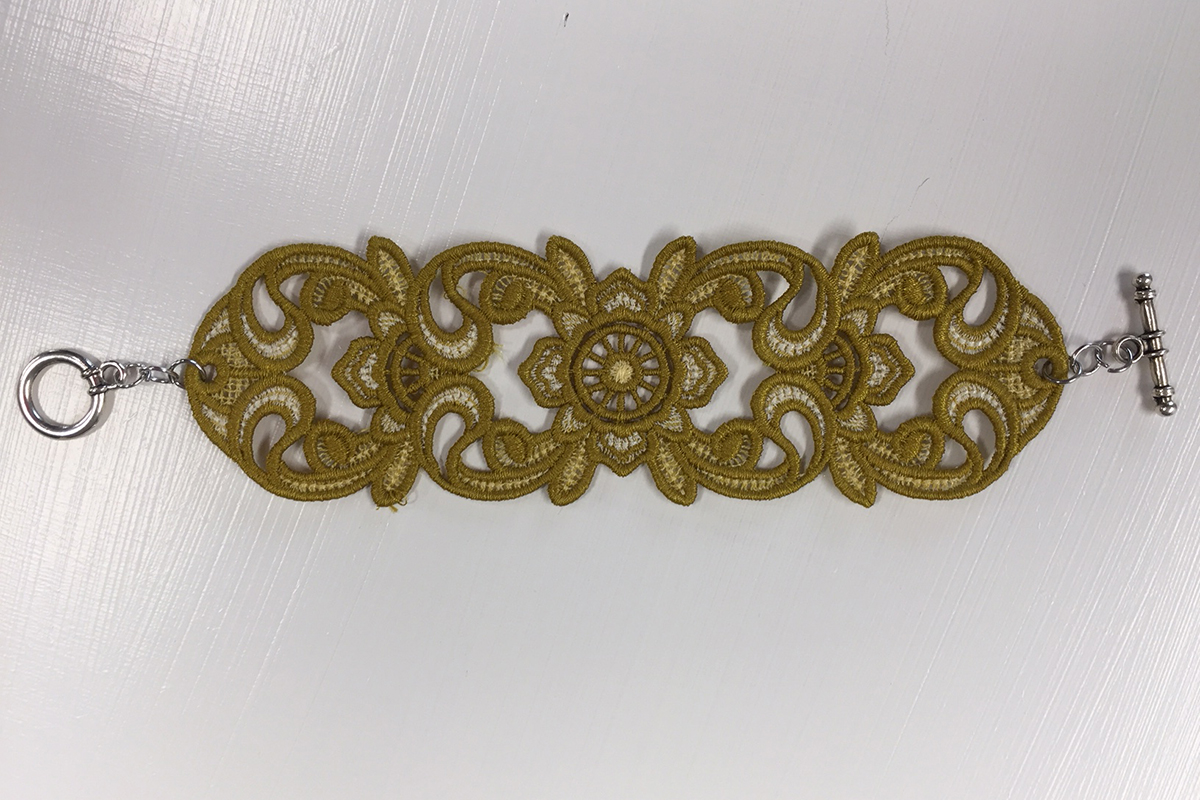
Your lace bracelet is ready to wear!
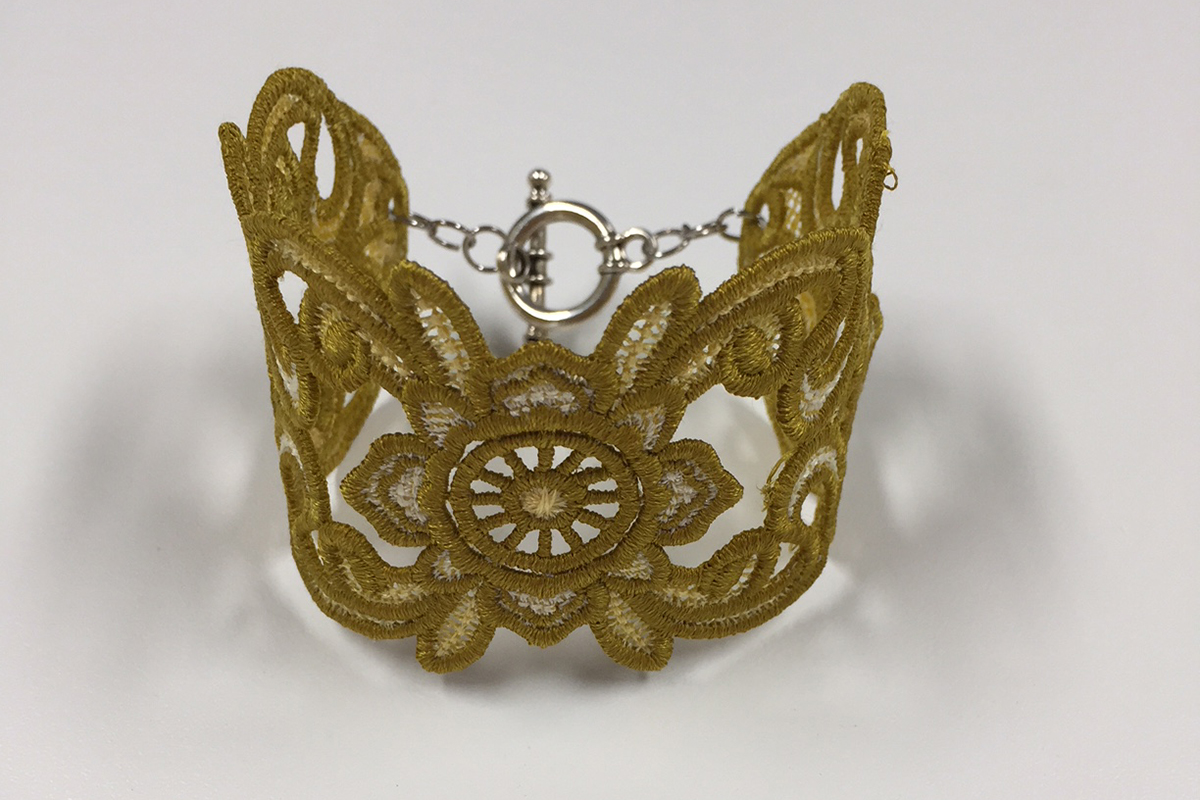
Bet you can’t make just one!
Tips for Freestanding Lace
For Stiffer Lace:
- Don’t rinse away all of the stabilizer for a “stiffer” lace. Just a note, the thread color may appear darker if all the stabilizer is not completely removed.
- To create even stiffer lace, dip item into a solution of dissolved stabilizer scraps and water.
For Very Soft Lace:
- Cut away as much excess stabilizer as possible. Remove remaining stabilizer by rinsing under warm running water until all traces of the stabilizer are gone.
- Note: If lace should become too soft to work use a solution of dissolve stabilizer scraps in warm water and apply to the lace.
Drying Lace
- The best results are and appearance of the lace are achieved when left to dry completely.
- Lay lace piece with right side down to dry. The chance that the lace will curl will be reduced. Flatten the piece completely and allow ample time to dry.
Used Products


What you might also like


3 comments on “Freestanding Lace Bracelets with Machine Embroidery”
-
-
This looks like a great way to make a choker to go with a special dress or a lace belt by making more than one of the same design and linking them together with a pieces of a gold or silver chain. Thanks for the demonstration!
-
This would look great! I can use some other patterns too on my embroidery machine with the reference to this idea. Thanks for sharing this with us.
Leave a Reply
You must be logged in to post a comment.

Re Step 2 below:
No mention in this article that the instruction book says you can ONLY use Metrosene or bobbin thread in the bobbin. I have an 880+ and it was jamming up when I used the other threads that I was used to using for FSL on my 750QE. I even sent a question to the Support Center re this and they responded that only Metrosene or bobbin thread could be used in the bobbin. This severely limits the colors I am able to use for FSL. I look forward to your clarification on this point since I almost returned my 880+ because of all the bobbin challenges.
Step 2.Threading the Machine
When stitching freestanding lace designs, you will want to use a matching thread color in the needle and the bobbin. Thread the machine and the bobbin with your first thread color.
Tip: I like to use a bobbin thread color that will work with most of the thread colors chosen to avoid changing bobbins for every single color change.