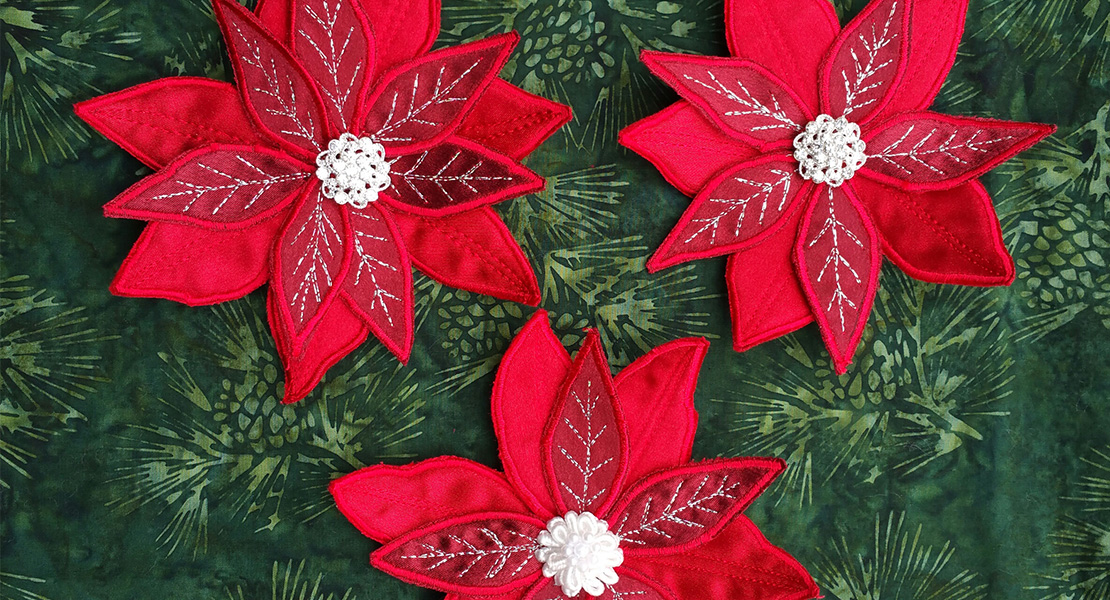
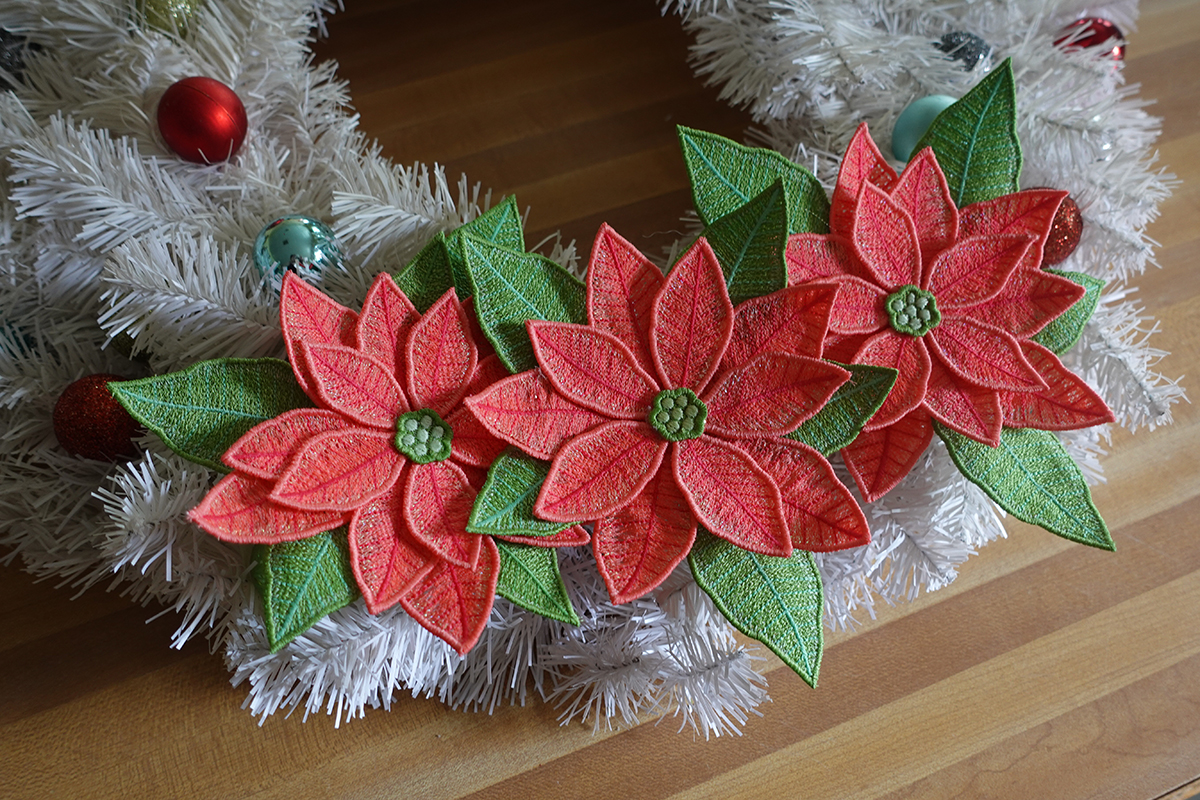
Freestanding Lace Poinsettia Wreath With the B 790 PRO
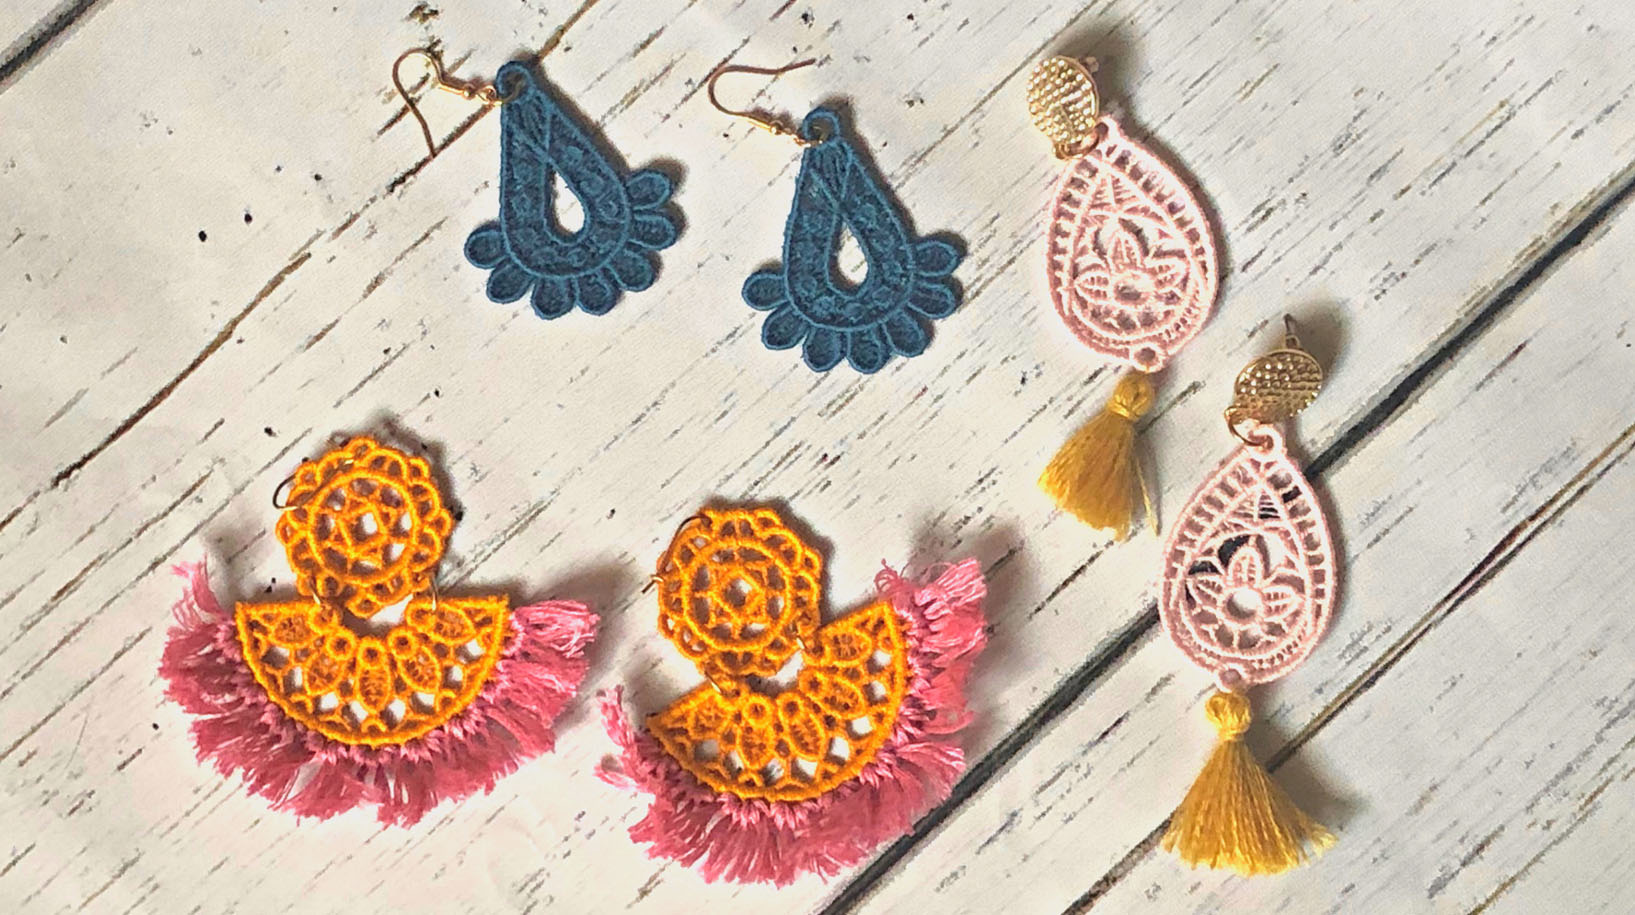
I love working on freestanding lace! Freestanding items are such fun projects for any embroidery skill level but particularly for newbies trying to get comfortable with their embroidery machine. Whether you are making accessories like earrings, adding it to clothing or creating freestanding items like haunted houses or Christmas villages, freestanding lace has a fun project for you! Today we will make a freestanding lace poinsettia wreath using the BERNINA 790 PRO.
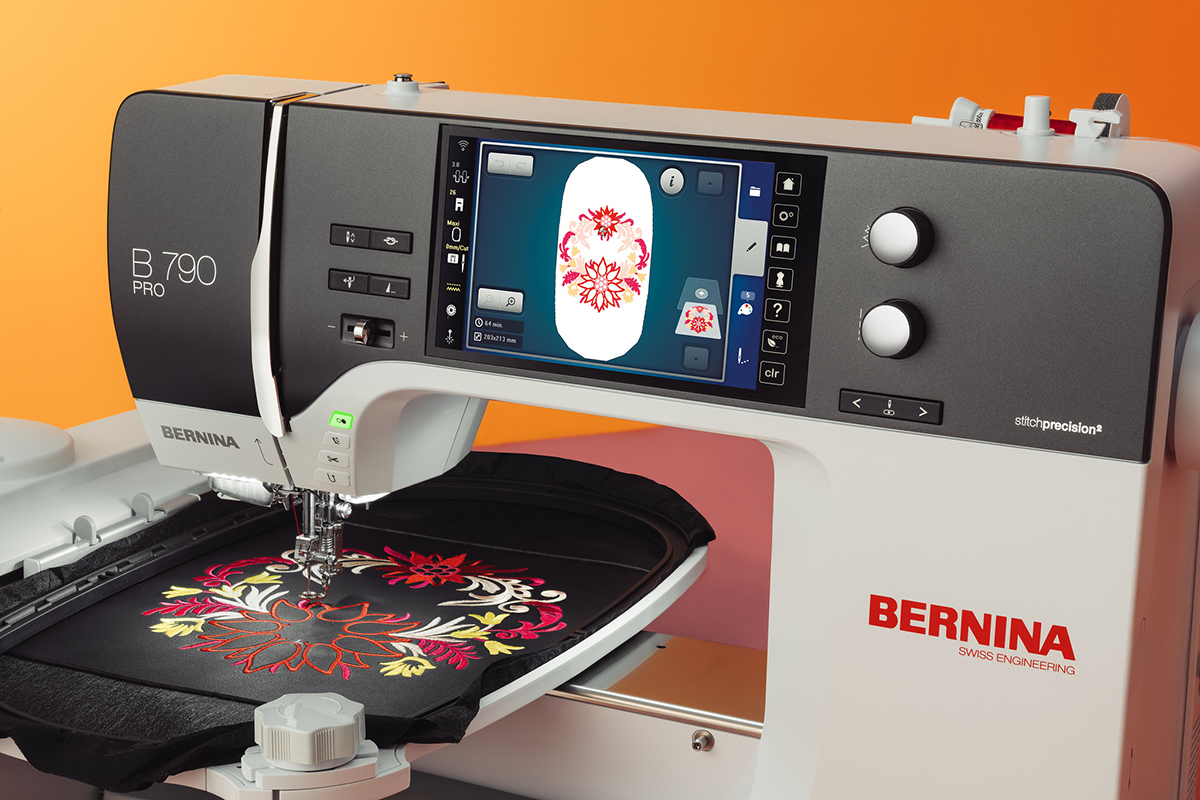
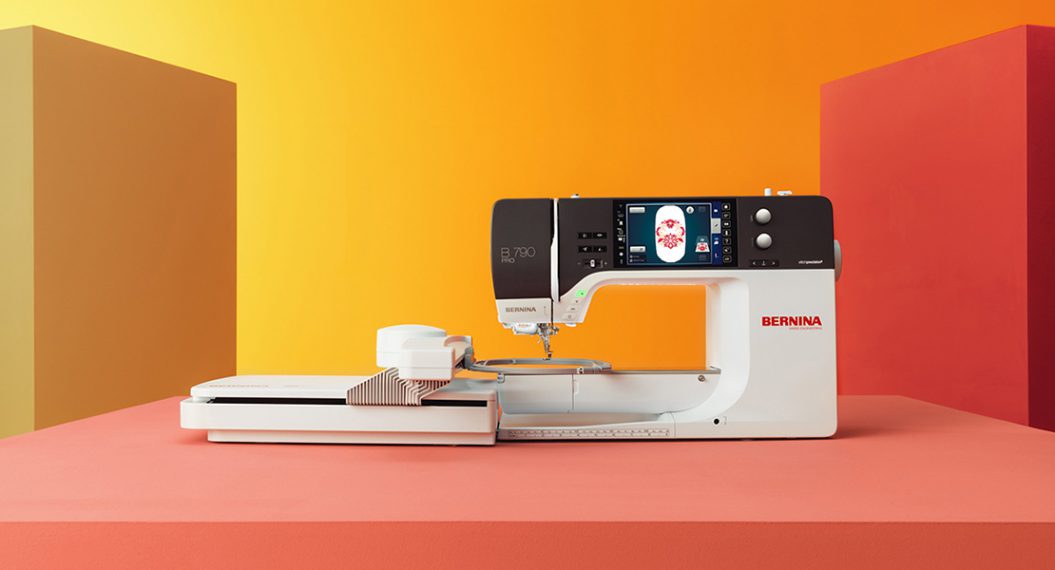
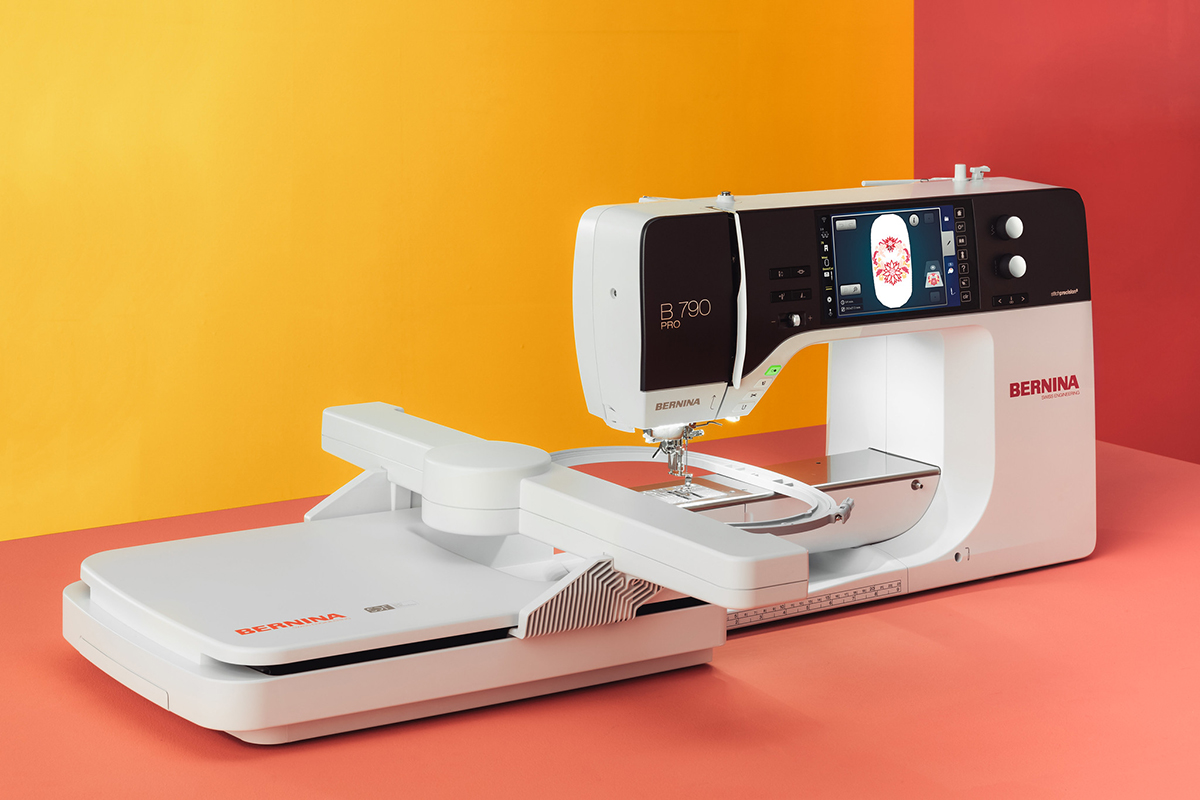
While any BERNINA or bernette embroidery machine can create freestanding lace, I wanted to focus this post on how my new B 790 PRO handles freestanding lace so wonderfully. Throughout this post, I will introduce you to the new Wi-Fi capabilities, the Stitchout App. The B 790 PRO has wonderful stitch quality and high-speed embroidery due to the new stitchprecision2 technology. I even show you how to shave days off this project! But as I said earlier, no matter which BERNINA or bernette embroidery machine you own, you can follow along and create your own gorgeous freestanding lace poinsettias to make your own wreath.
Machine and Products Featured
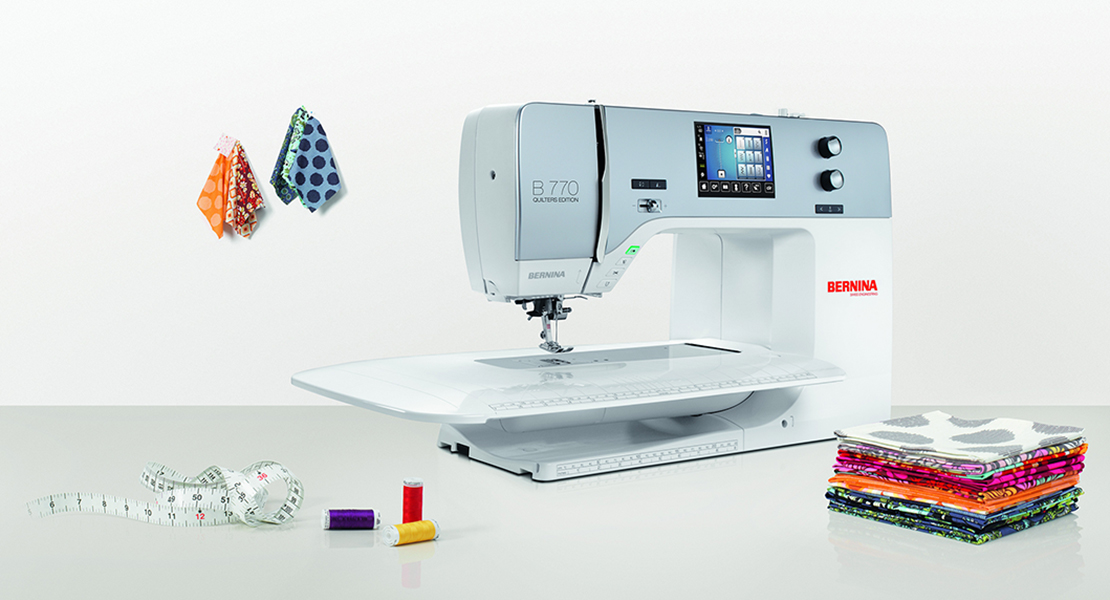
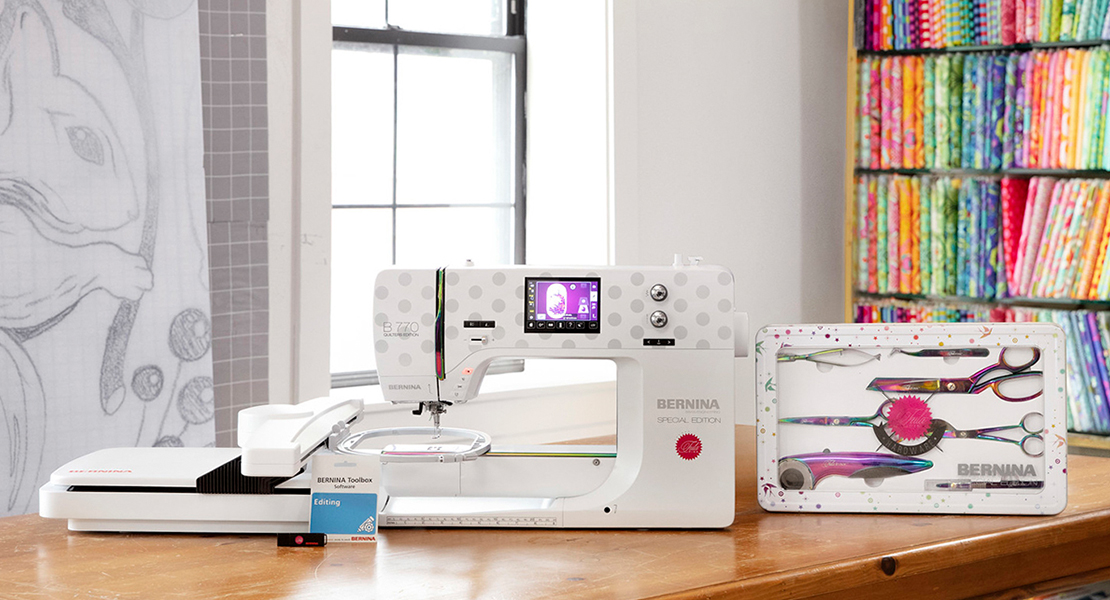
- B 790 PRO
- Drop Shaped Embroidery Foot #26L
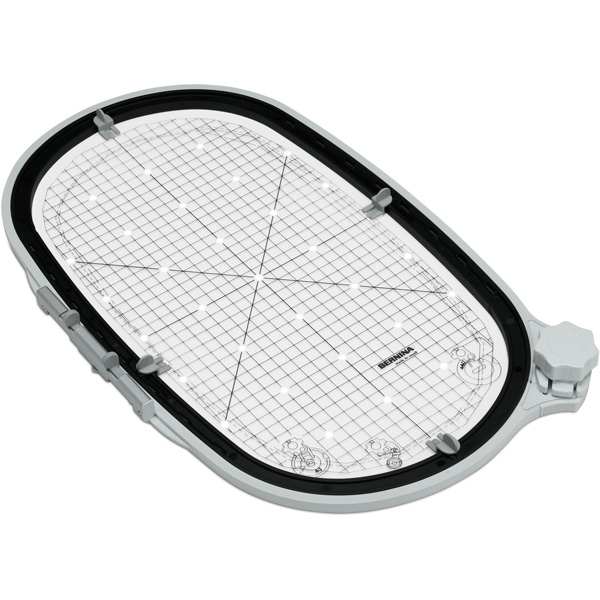
- Maxi Hoop
- BERNINA Embroidery Software 9
- BERNINA Stitchout App
- 8 bobbins
Materials for Freestanding Lace Poinsettia Wreath
- OESD AquaMesh Wash Away
- 80/12 Microtex needle
- 80/12 Metallic needle
- Embroidery Thread
- For the flower, I used the following:
- Red Foliage- 1840 Corsage Isacord 40
- Edge Highlight- 7030 (AN4) Yenmet Pearlessence Peach
- Middle shading- 1940 Chrysanthemum Isacord 40
- Veins- 1950 Tropical Pink Isacord 40
- Satin Outline- 1840 Corsage Isacord 40
- For the leaves, I used the following:
- Leaves- 5832 Celery Isacord 40
- Edge Highlight- 5650 Spring Frost Isacord 40
- Middle shading- 5830 Chartreuse Isacord 40
- Veins- 5610 Bright Mint Isacord 40
- Satin Outline- 5832 Celery Isacord 40
- For the flower, I used the following:
- Freestanding Poinsettia design from OESD
- Wreath
- Make your own or add the poinsettias to any wreath
- Hot glue gun or heavy duty crafting glue
- Crafting scissors
- Additional winter décor to add to your wreath (optional)
Step 1: Prep the Embroidery Designs
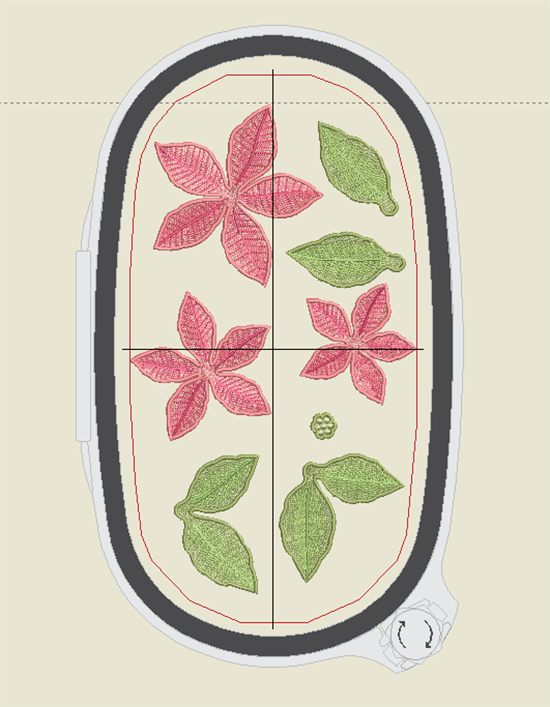
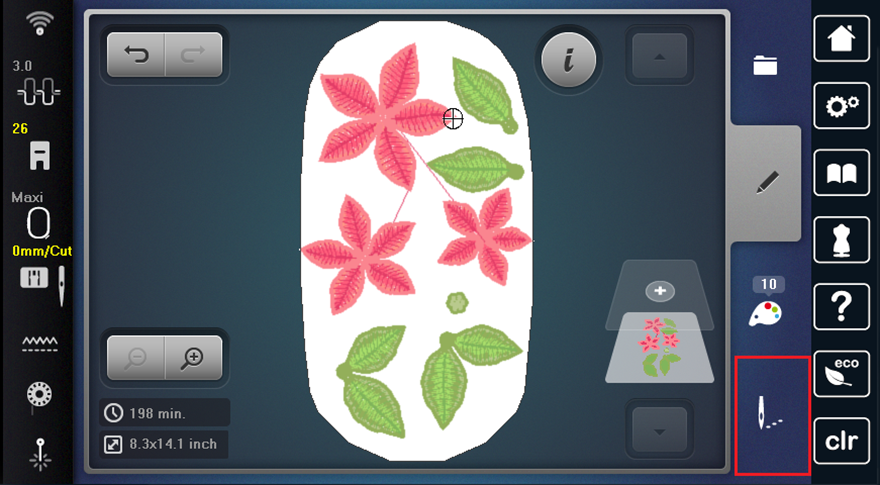
Using the BERNINA Creator software, I combined all the designs into one hoop, plus added extra leaves in case I needed them for filling in the wreath.
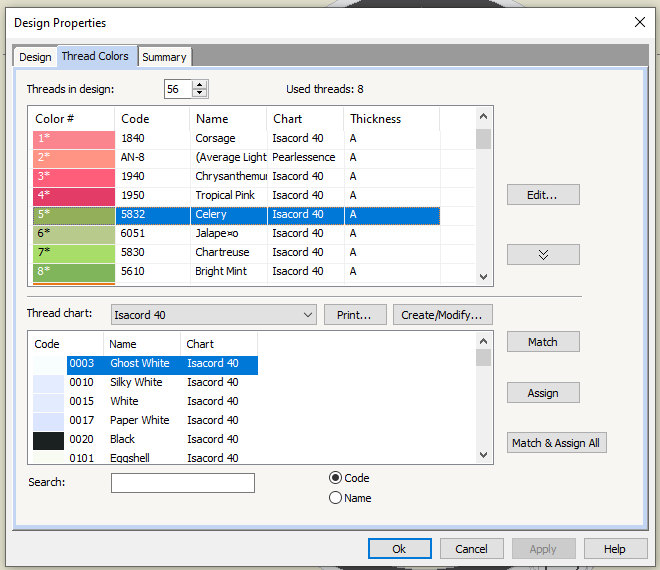
I also use the software to change the colors of the design. I love being able to see this big preview and adjust the colors so simply.
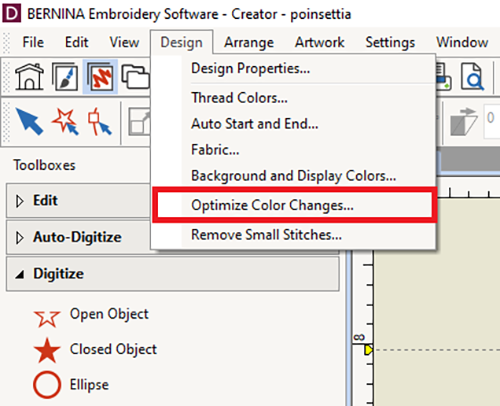
Once I have chosen my colors, I select “Design”, then “Optimize Color Changes”. This will reduce the number of color changes from 31 to 9, saving us lots of time during the embroidery process.
Tip: You can do all three of these things on the B 790 PRO, as well as on many other BERNINA machines, but I often love to work on my big computer screen to edit designs, thread colors and more.
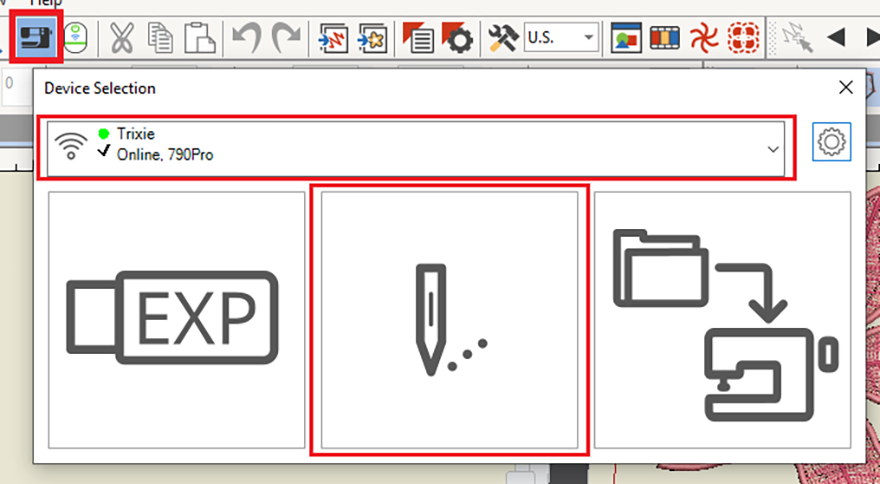
When your design is ready, you can send your design to the machine by clicking the machine icon. A menu will pop up where you can choose the machine you’d like to send the design to and then click the needle. The design will appear on your machine’s embroidery screen very quickly
Tip: Both versions of the BERNINA Embroidery Software 9, Designer Plus and Creator, can send designs to the wifi devices on the B 790 PRO.
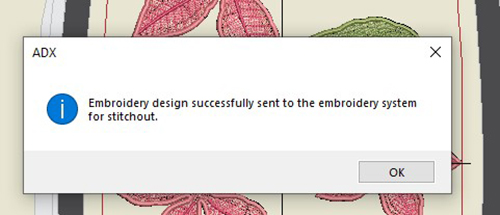
You’ll get a message like this following when the transfer is successful.
Step 2: Prep the Embroidery Hoop & Machine
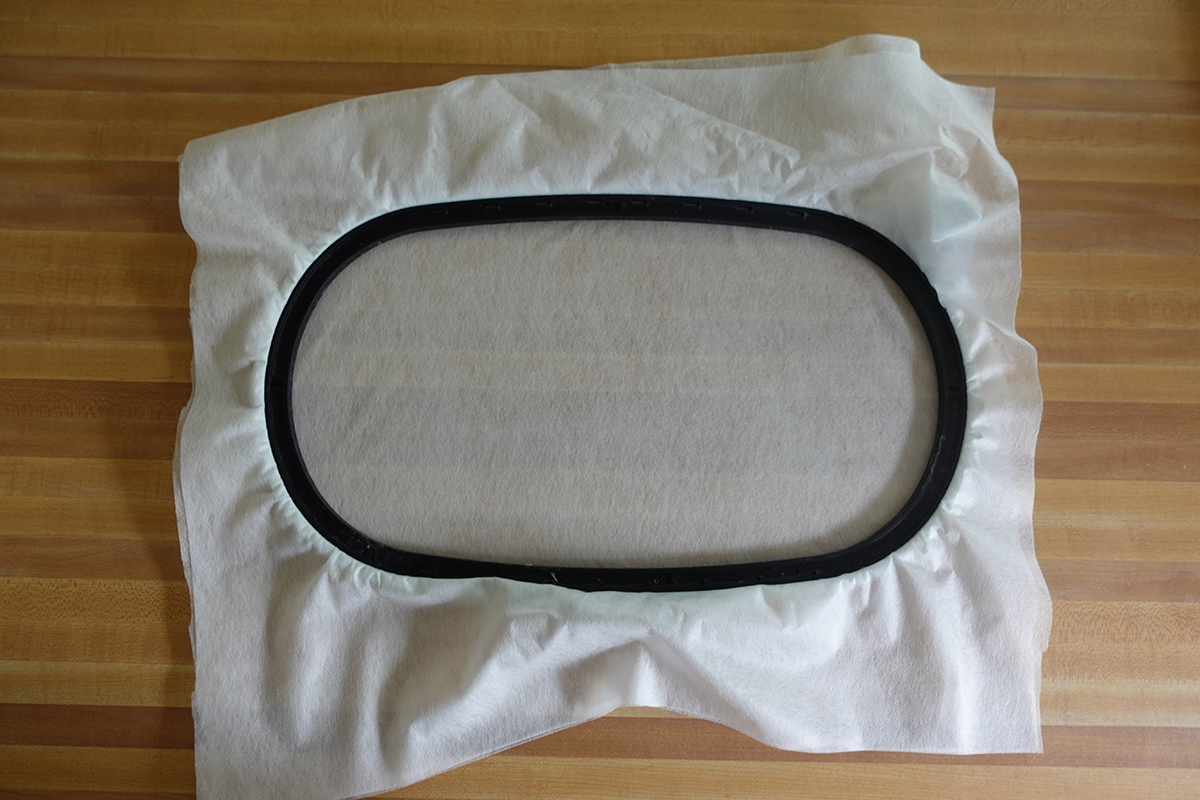
Cut two pieces of AquaMesh to fit the hoop, plus at least 1.5 inches on every side. Hoop the stabilizer and set the hoop aside.
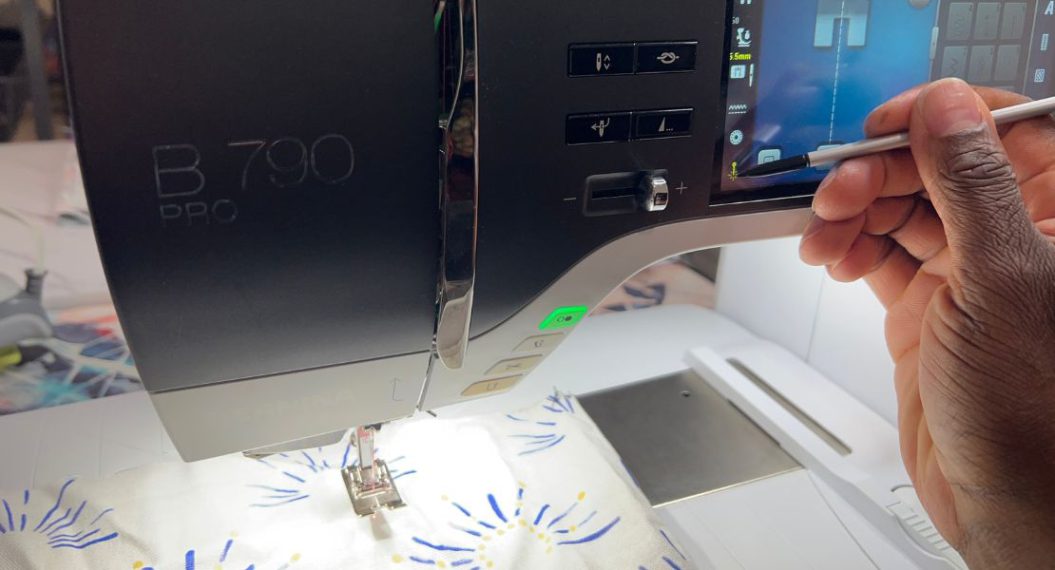
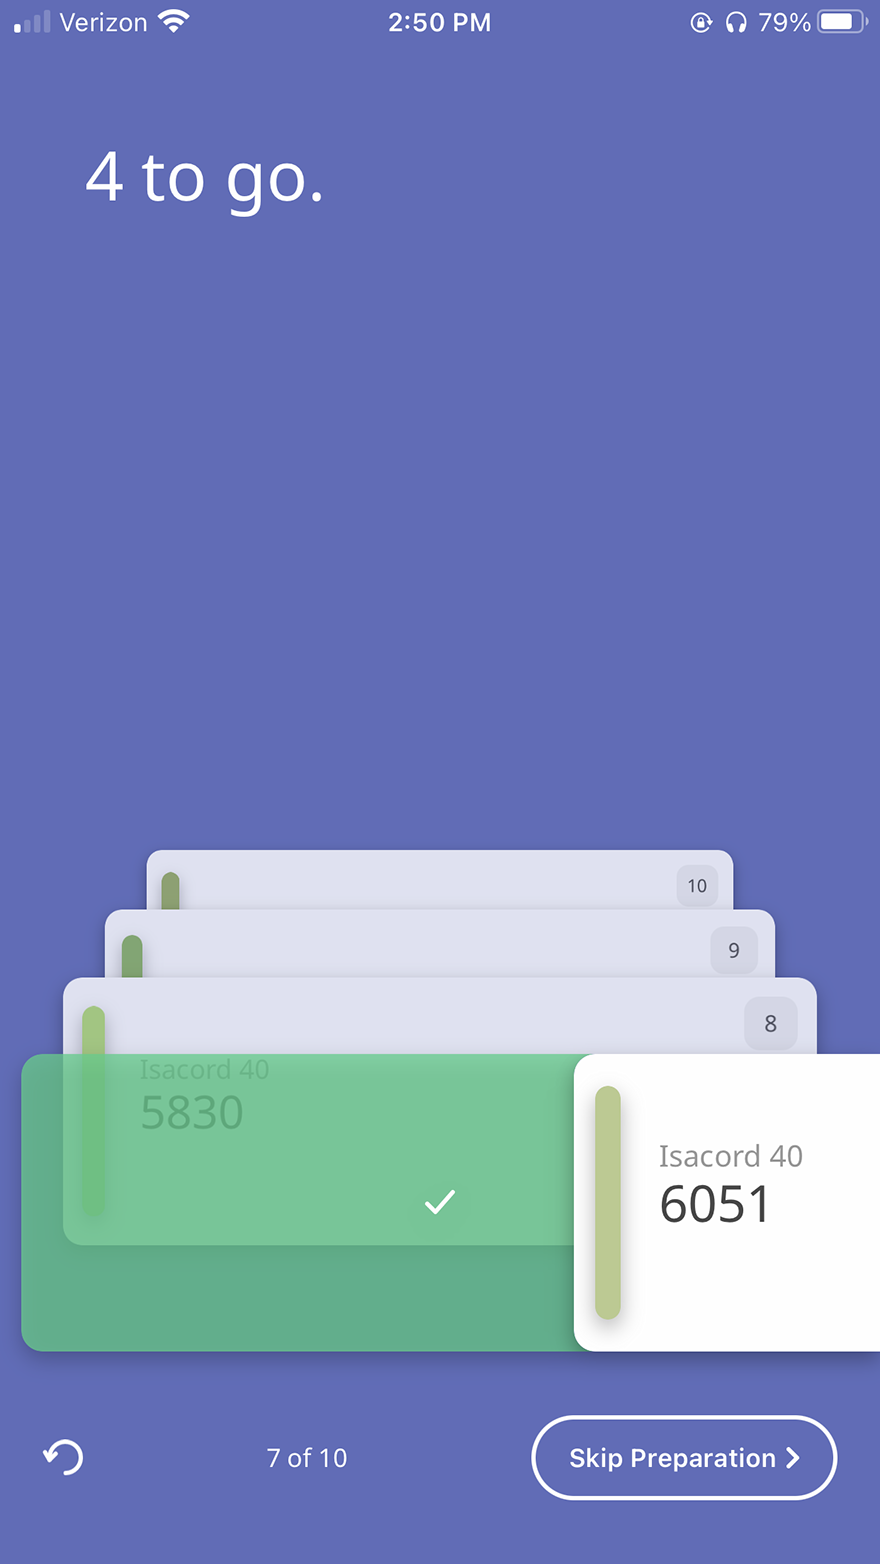
Using the 790 Pro App, you can gather your necessary embroidery threads easily. This is my favorite feature about the new app because it makes collecting the thread so easy.
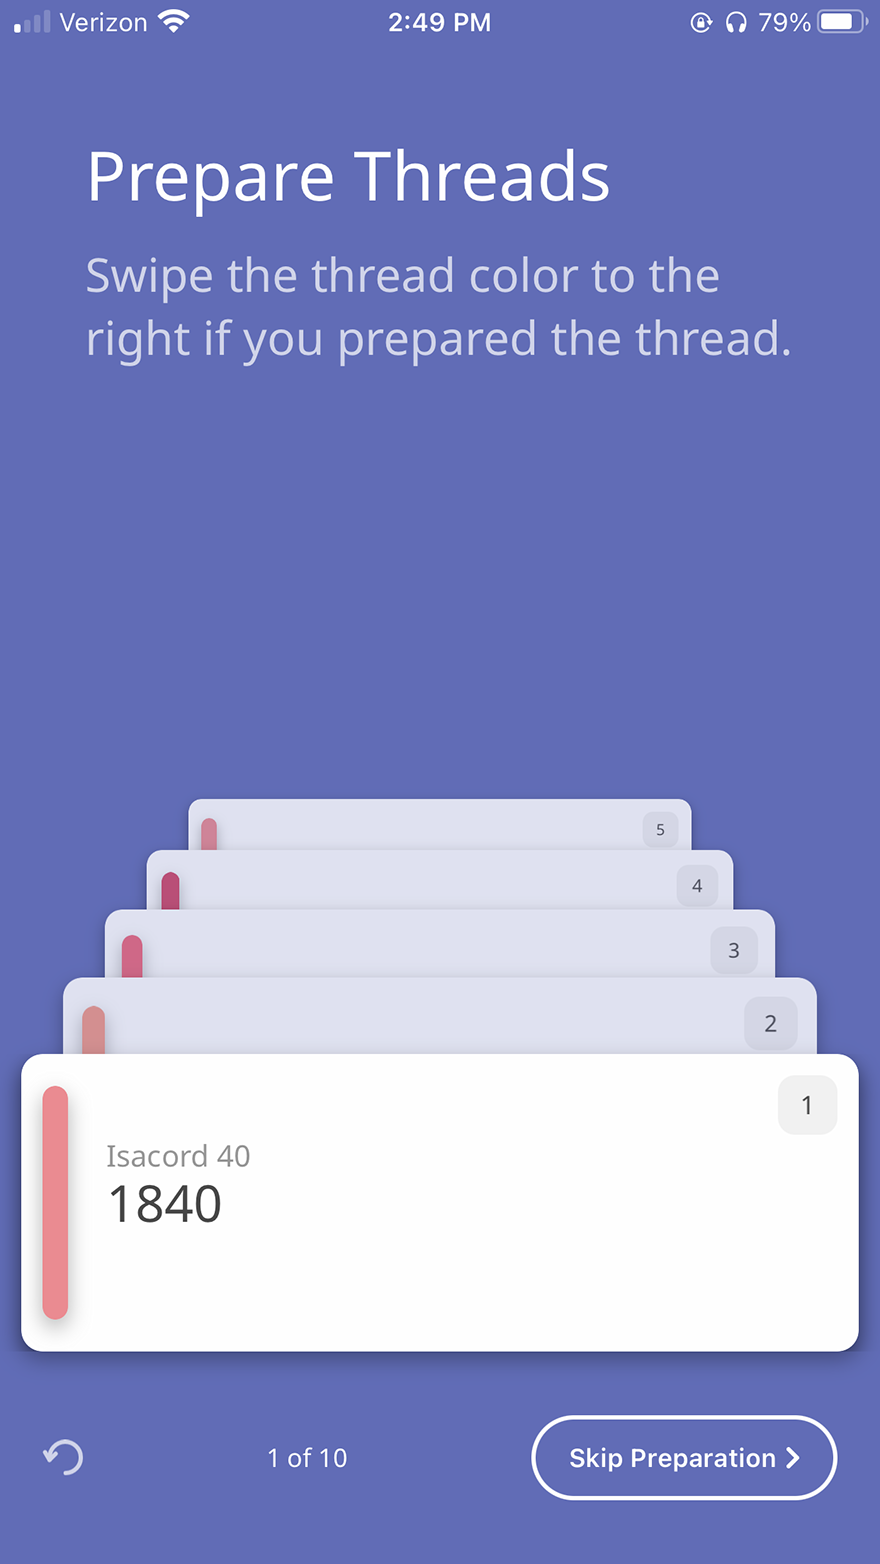
The app even counts down how many more threads you have to prepare as you grab them. Of course if you already have the threads handy, you can tap “Skip Preparation” in the bottom right corner.
Prepare the machine by installing the Microtex needle, attaching the Drop Shaped Foot #26 and winding a bobbin for each color in the design except for the metallic thread. When you’re ready, you can select the embroidery needle in the bottom right of the screen to prepare for embroidery.
Tip: I didn’t wind a bobbin with the metallic thread. I instead used the 1840 bobbin. I find using a regular polyester bobbin makes the metallic thread easier to use. This means I wound 7 bobbins total.
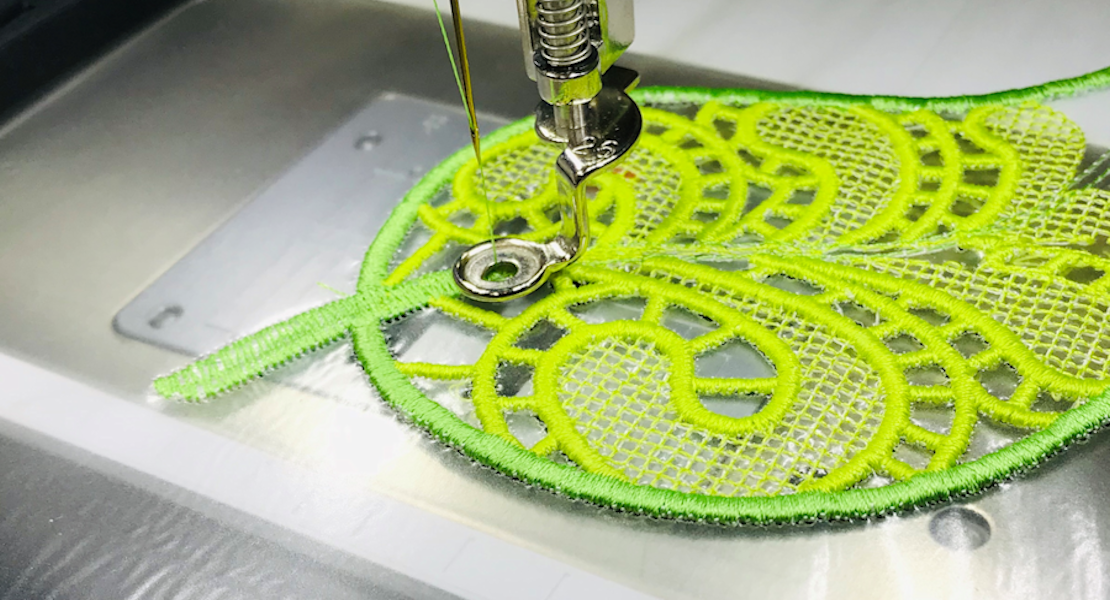
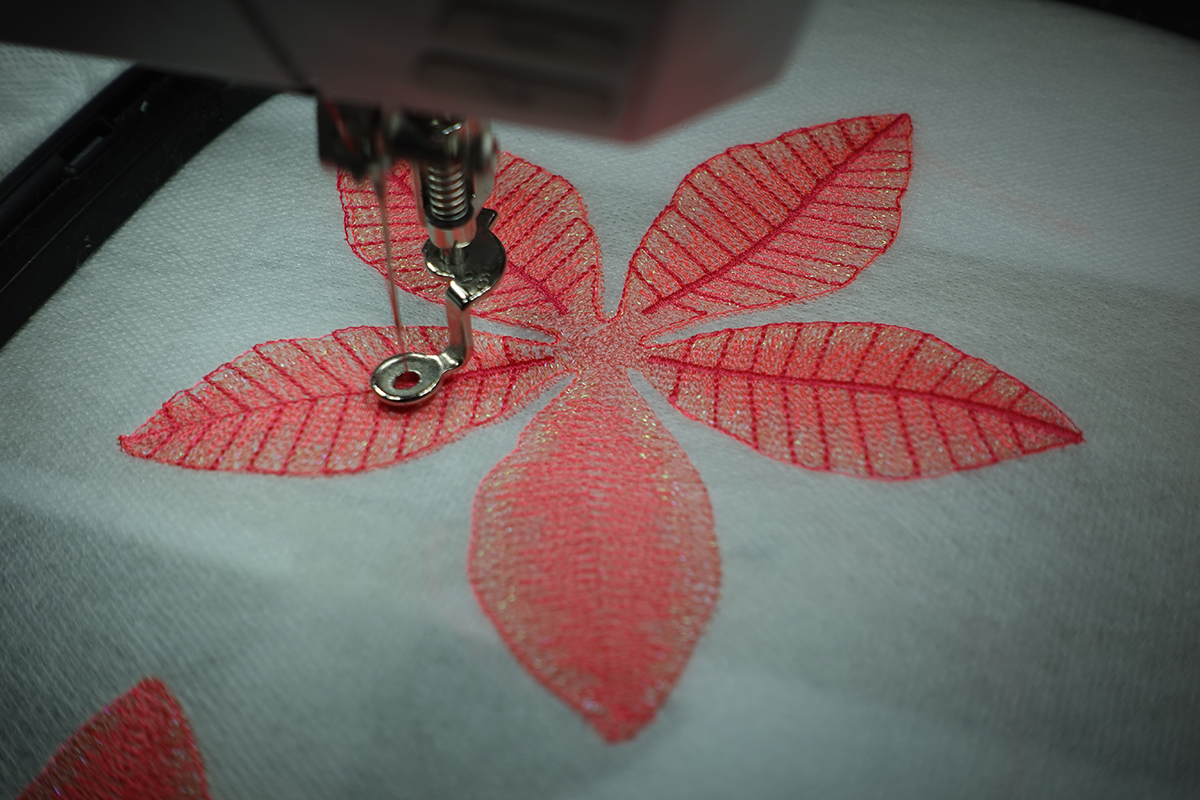
Step 3: Embroider the Freestanding Lace
Stitch out the embroidery design. Between color changes, it’s a good idea to remove the hoop from the machine to snip any thread tails. This will keep the front of the freestanding lace looking as good as the back.
At this time I decided to run an experiment with my two favorite machines, the 790 PLUS and the 790 PRO, and two different modules,
This first hooping I stitched out was using the B 790 PLUS with the Embroidery Module L. This stitch out had an estimated stitchout time of 294 minutes. I found couldn’t always run my machine at top speeds because of the intense bouncing I would get while using the maxi hoop. Sometimes I saw my estimated time balloon to 400+ minutes because of the slowed speed of the machine. With the thread and bobbin changes and slowing the machine down significantly to use metallic thread, it effectively took me a full day (roughly 8 hours) to stitch out one hooping.
Next, I put the new Smart Drive Technology Module on the B 790 PLUS, the estimated stitch time went down to 94 minutes! I was so excited to see 200 minutes be knocked off my time! While I could hear and see how much smoother the stitch out was from the Embroidery Module L, I still found there was a vibration in the hoop that made it better for me to work at about ¾ speed for the Isacord colors and I worked at half speed for the metallic thread. This time, it only took me roughly 5 hours to stitch out the hooping- a big improvement! When I used the SDT module with the B 790 PLUS, the stitching time was reduced drastically.
Finally, I used the 790 PRO with the SDT module. This provided an estimated stitch out time of 174 minutes. I was instantly thrilled! I could keep my machine stitching at top speeds with no hoop vibration at all for the entire project. I thought the B 790 PRO would perform beautifully, but I had no idea it would be this good! I was in awe at how the machine stitched so smooth and so quiet. The B 790 PRO even performed brilliantly with the metallic thread: I didn’t have a single thread break or any fraying despite being at the highest machine speed. Even the thread cutter on the PRO moves quicker and smoother!
With the thread changes made easier by the automatic threader, I was only stitching for about 3 hours total–just as the machine estimated! That’s such a huge improvement in embroidery time for one hooping, but when you compound it over multiple hoopings (I did three hoopings for this project) I literally shaved days off this project thanks to the B 790 PRO. Not to mention the fact that I made lunch and even did the dishes in the other room all while monitoring my stitch out with the app; the second a thread color was ready to be changed I knew about it and went in to tend to the machine.
So cool to actually see these results firsthand!
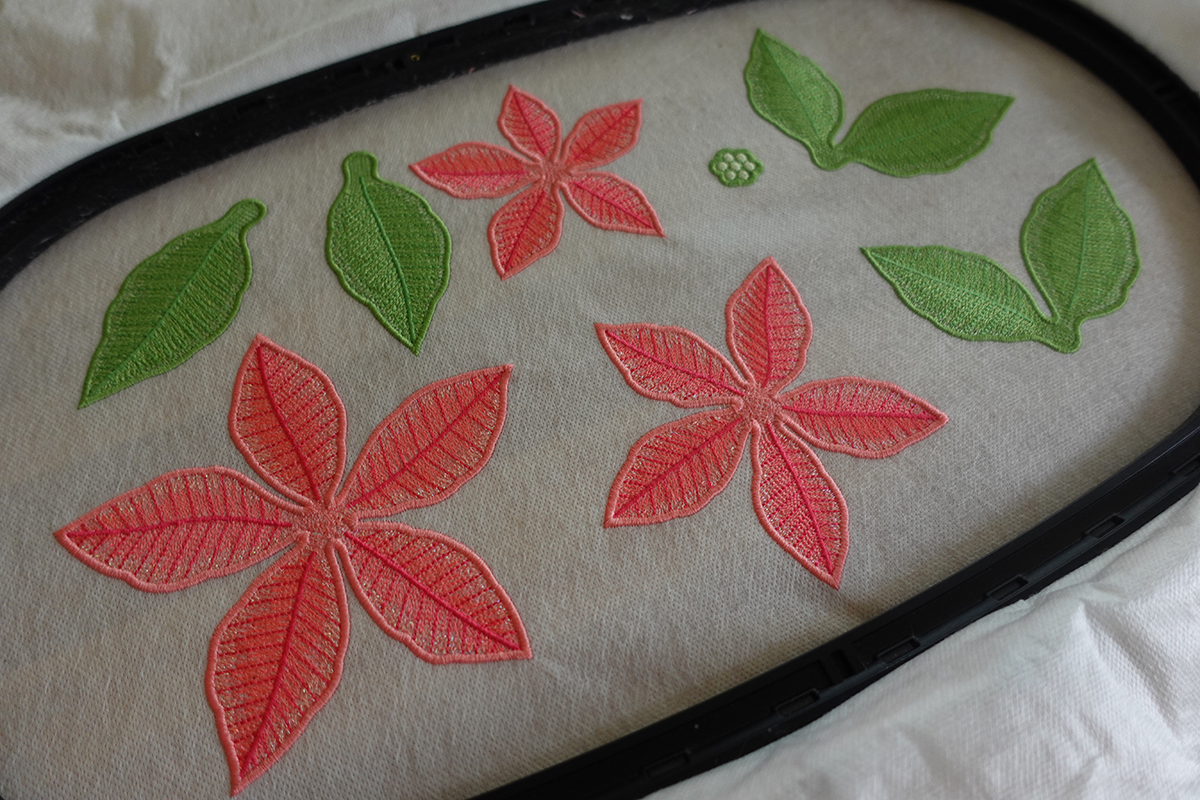
Back to our project! When the embroidery is finished, cut out the individual FSL pieces leaving ¼”-1/2” of stabilizer around each item.
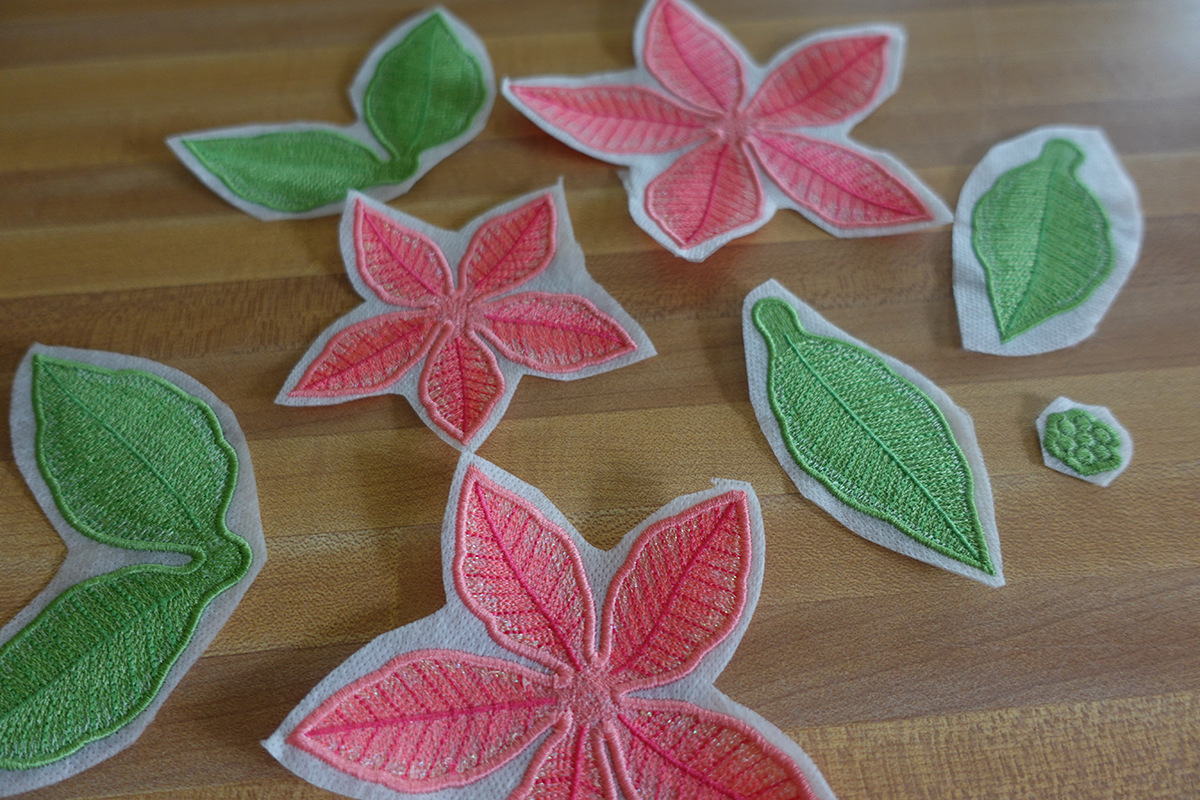
Rinse away the water soluble stabilizer using warm water. You can do this in a sink with running water or a bowl filled with warm water. I like the bowl method to save water but, depending on how many pieces you rinse at once, you may need to rinse and refill the bowls a couple times to ensure all the starch is getting removed. While you don’t have to rinse all traces of the starch away, you’ll know too much starch has been left behind if the pieces feel gummy or dry sticky. If that happens just give them one more rinse.
Tip: At this point if you see and stray threads, give them a trim being careful not to snip and stitching 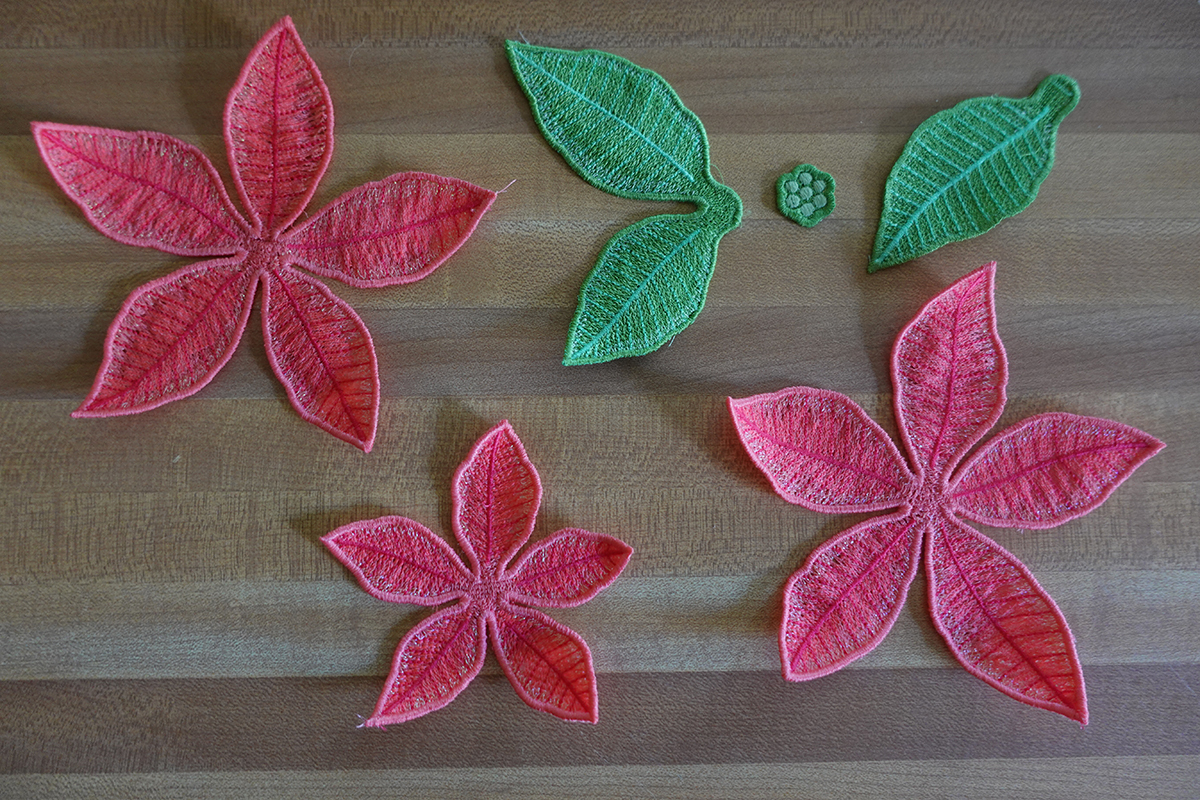
Repeat the hooping and embroidery process for as many poinsettias as you’d like to have for your wreath. Are you doing a full wreath of poinsettias? You will need several hoopings, maybe even dozens depending on the wreath size. I used three poinsettias plus the extra leaves for my wreath.
Step 4: Assembling the Wreath
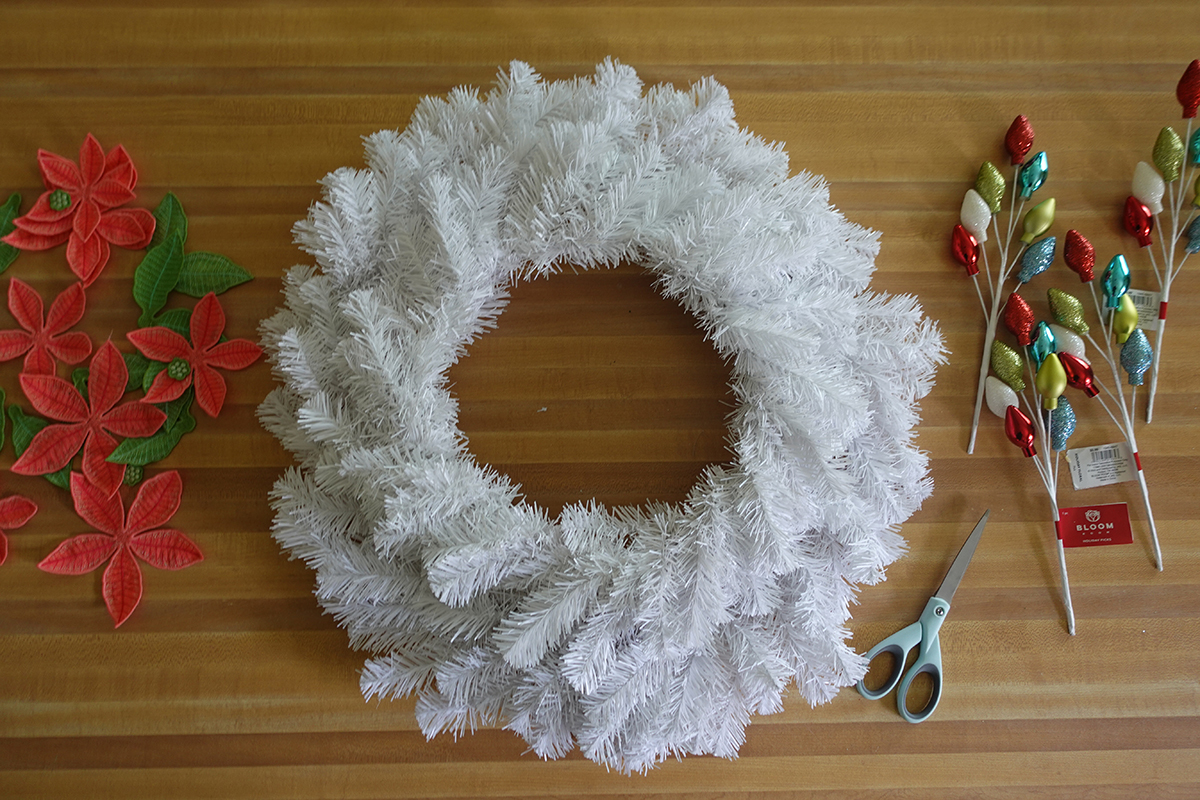
Gather the FSL pieces, wreath and any additional holiday décor you’d like to add to the wreath. I got these cute sprays of Christmas lights at the craft store because I thought they might be cute to the wreath.
Fluff your wreath and check for any bare spots. That’s where we will add our poinsettias.
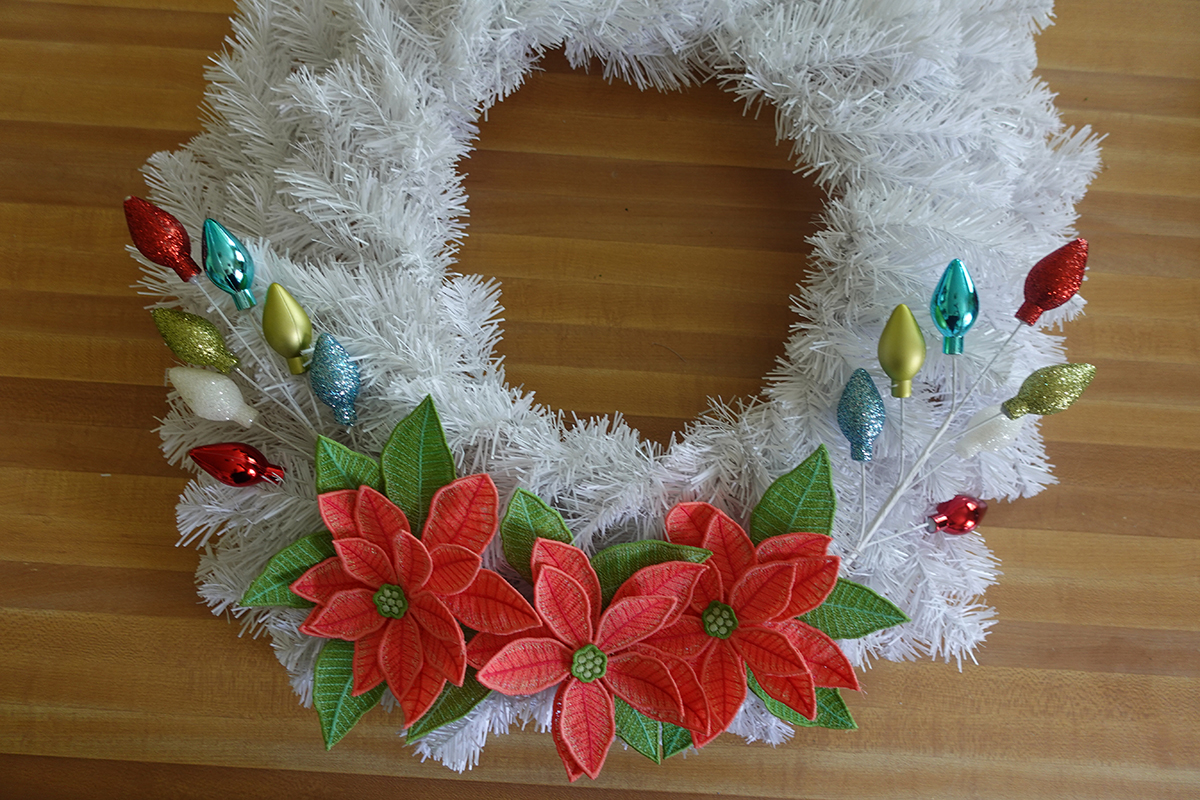
Before I get my glue gun ready, I like to stage the pieces. Staging helps me see how I like the colors, decide if I want to make more FSL pieces to add, allows me to audition other pieces like the lights and see if my design is cohesive. You can see my poinsettias are sliding around and look a mess, that’s okay! We just need the idea of what our wreath will look like. This staging helped me realize I need to save the lightbulbs for another Christmas craft and I decided to use some plastic ornaments I owned.
Some other freestanding items you can embroider to add to your wreath include…
- Freestanding Cardinal
- Winter Wonderland Ornaments
- This cute bow (or the Freestanding Lace Mistletoe)
- Holly Jolly Ornaments & Accents
- Even these boxes or bulbs!
Have fun and get creative!
When you’re ready to commit to a layout, start gluing the pieces together. I glued whole flowers together first, then started adding the leaves to the back, then connected the whole piece to the front of the wreath.
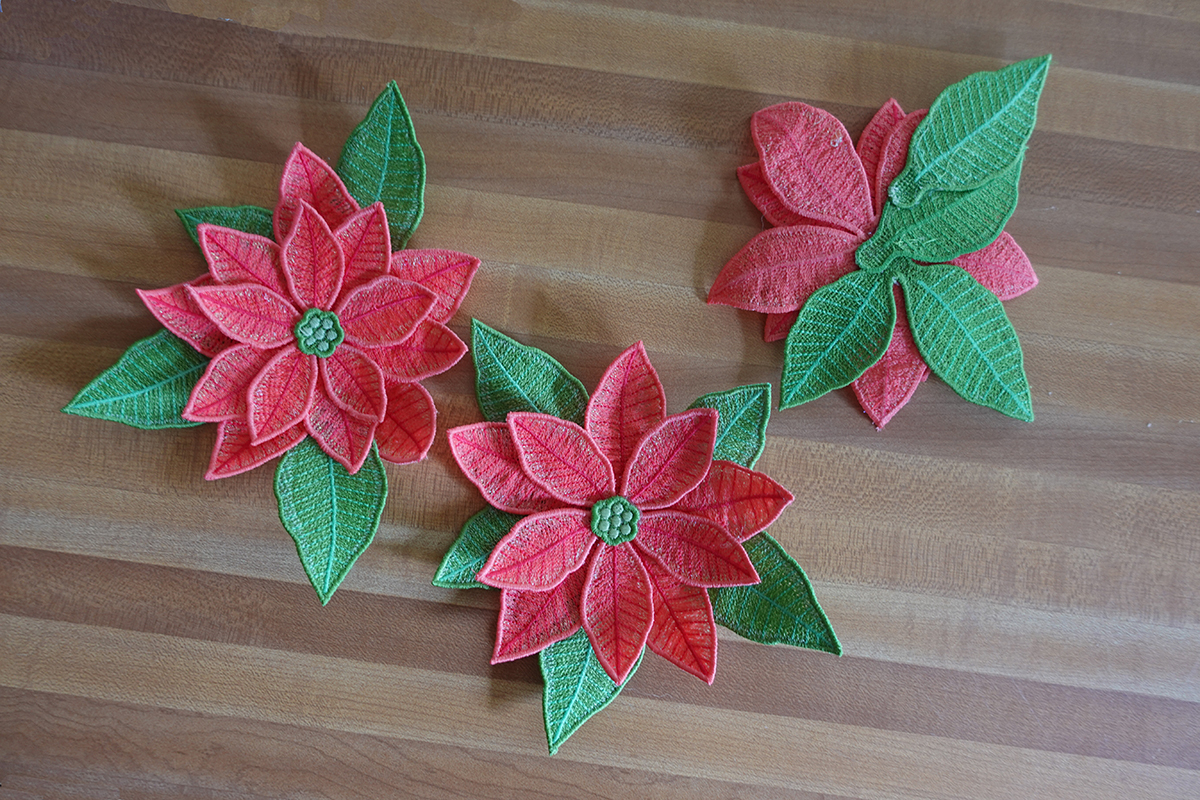
Once you’re satisfied, you’re all finished! Wreaths are one of my favorite ways to show off freestanding pieces.
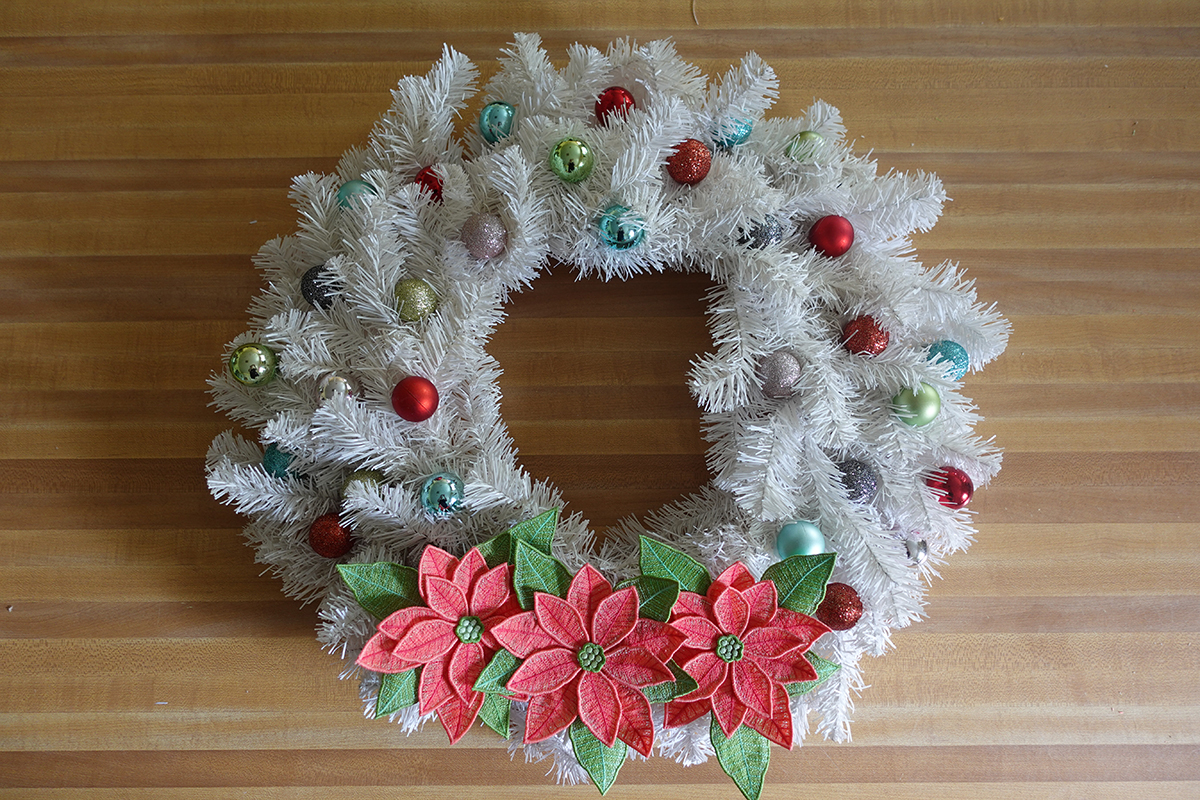
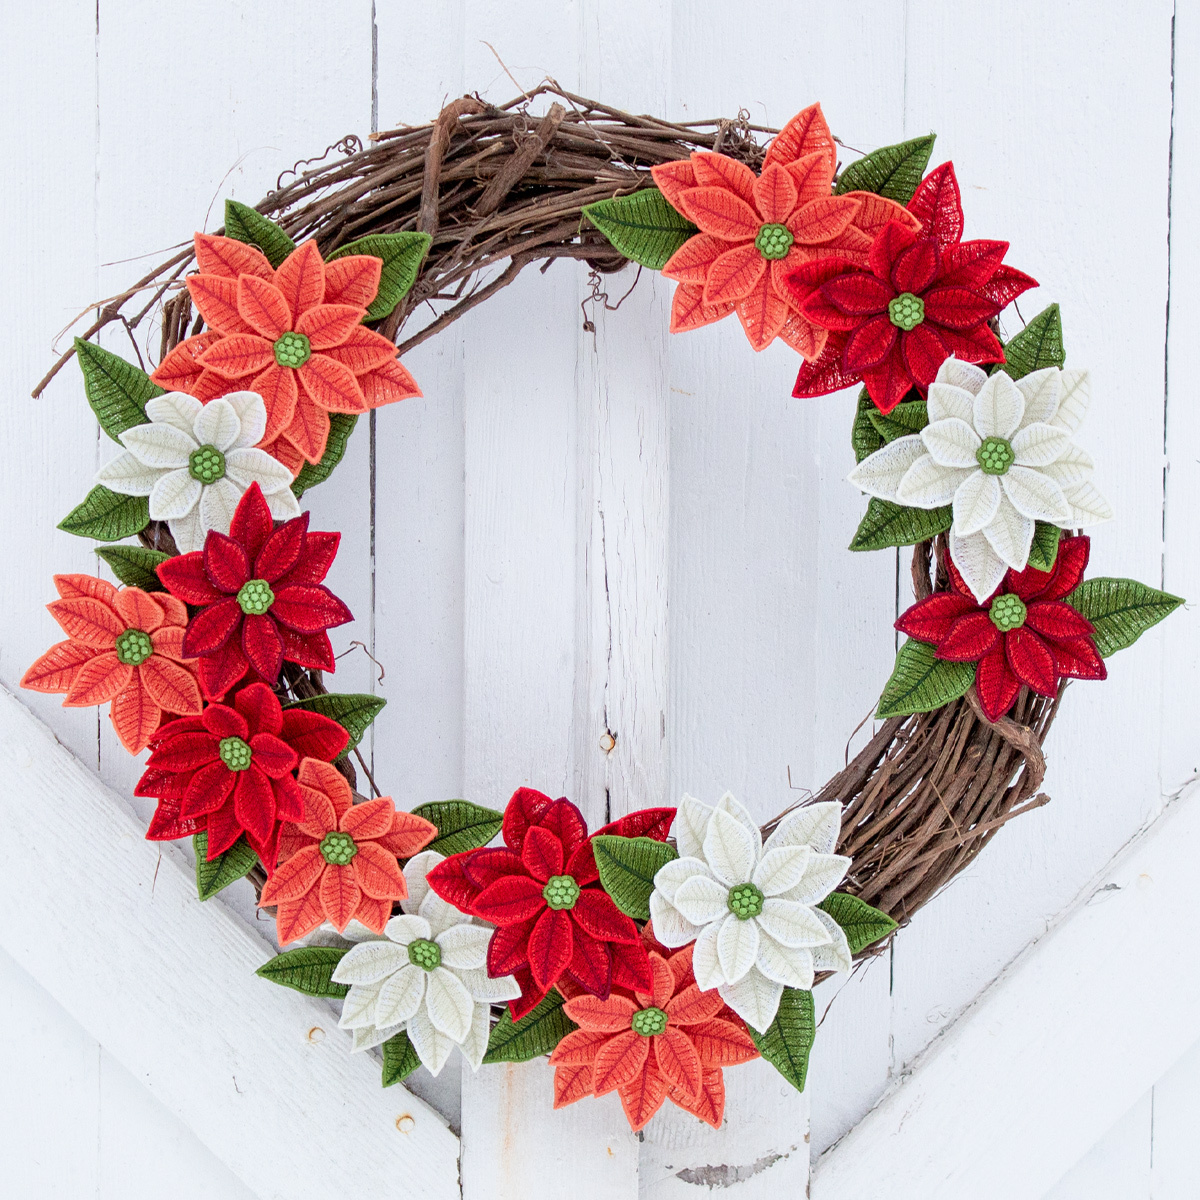
As you can see I like a kitschy, tropical, highly artificial-looking Christmas, but if that style is not your thing? That’s okay! The best part is you can make your wreath however it best fits your style. Check out this rustic version with multiple flower colors from OESD.
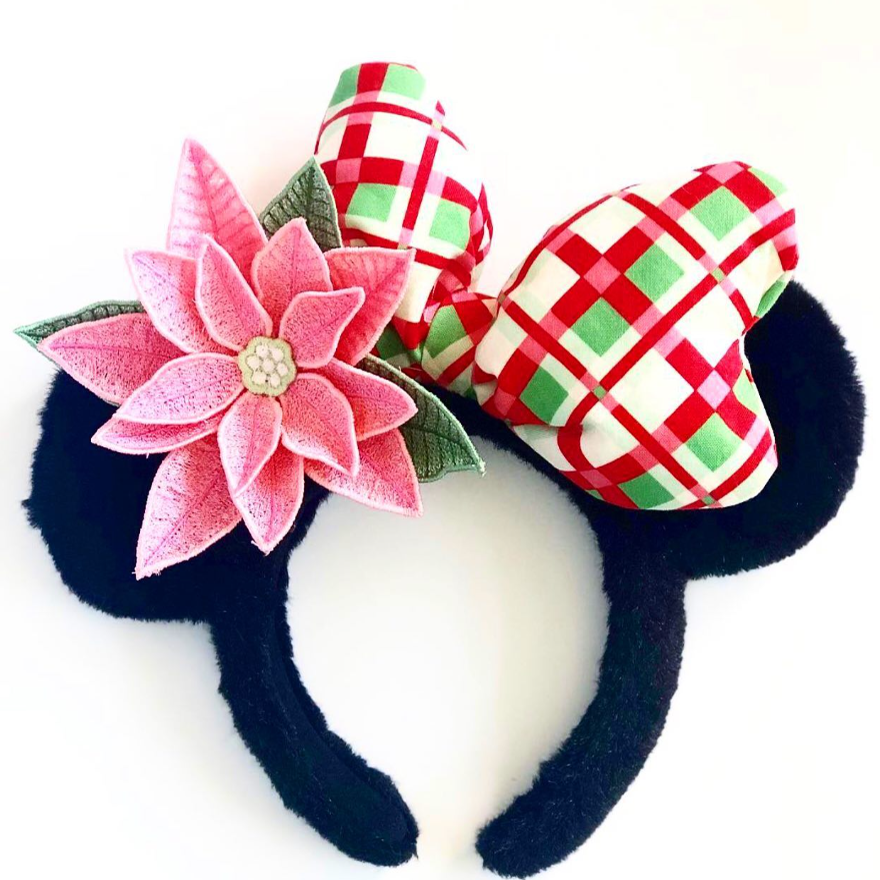
I once even stitched out a FSL poinsettia to go on some Minnie Mouse ears, complete with a bow I made to bring the whole Christmas look together. I got so many compliments on these at the theme parks!
I hope you have as much fun as I do adding gorgeous FSL poinsettia accents to your home and holiday accessories. And I hope you enjoyed meeting the 790 PRO as much as I enjoyed showing off just a few of it its incredible capabilities like the Wi-Fi Connectivity, Stitchout App and its impeccable speed and precision. Head into your local BERNINA dealer if you’d like to see more about what this beautiful machine can do!
Happy Embroidering!