How to Make Machine Embroidered Jewelry
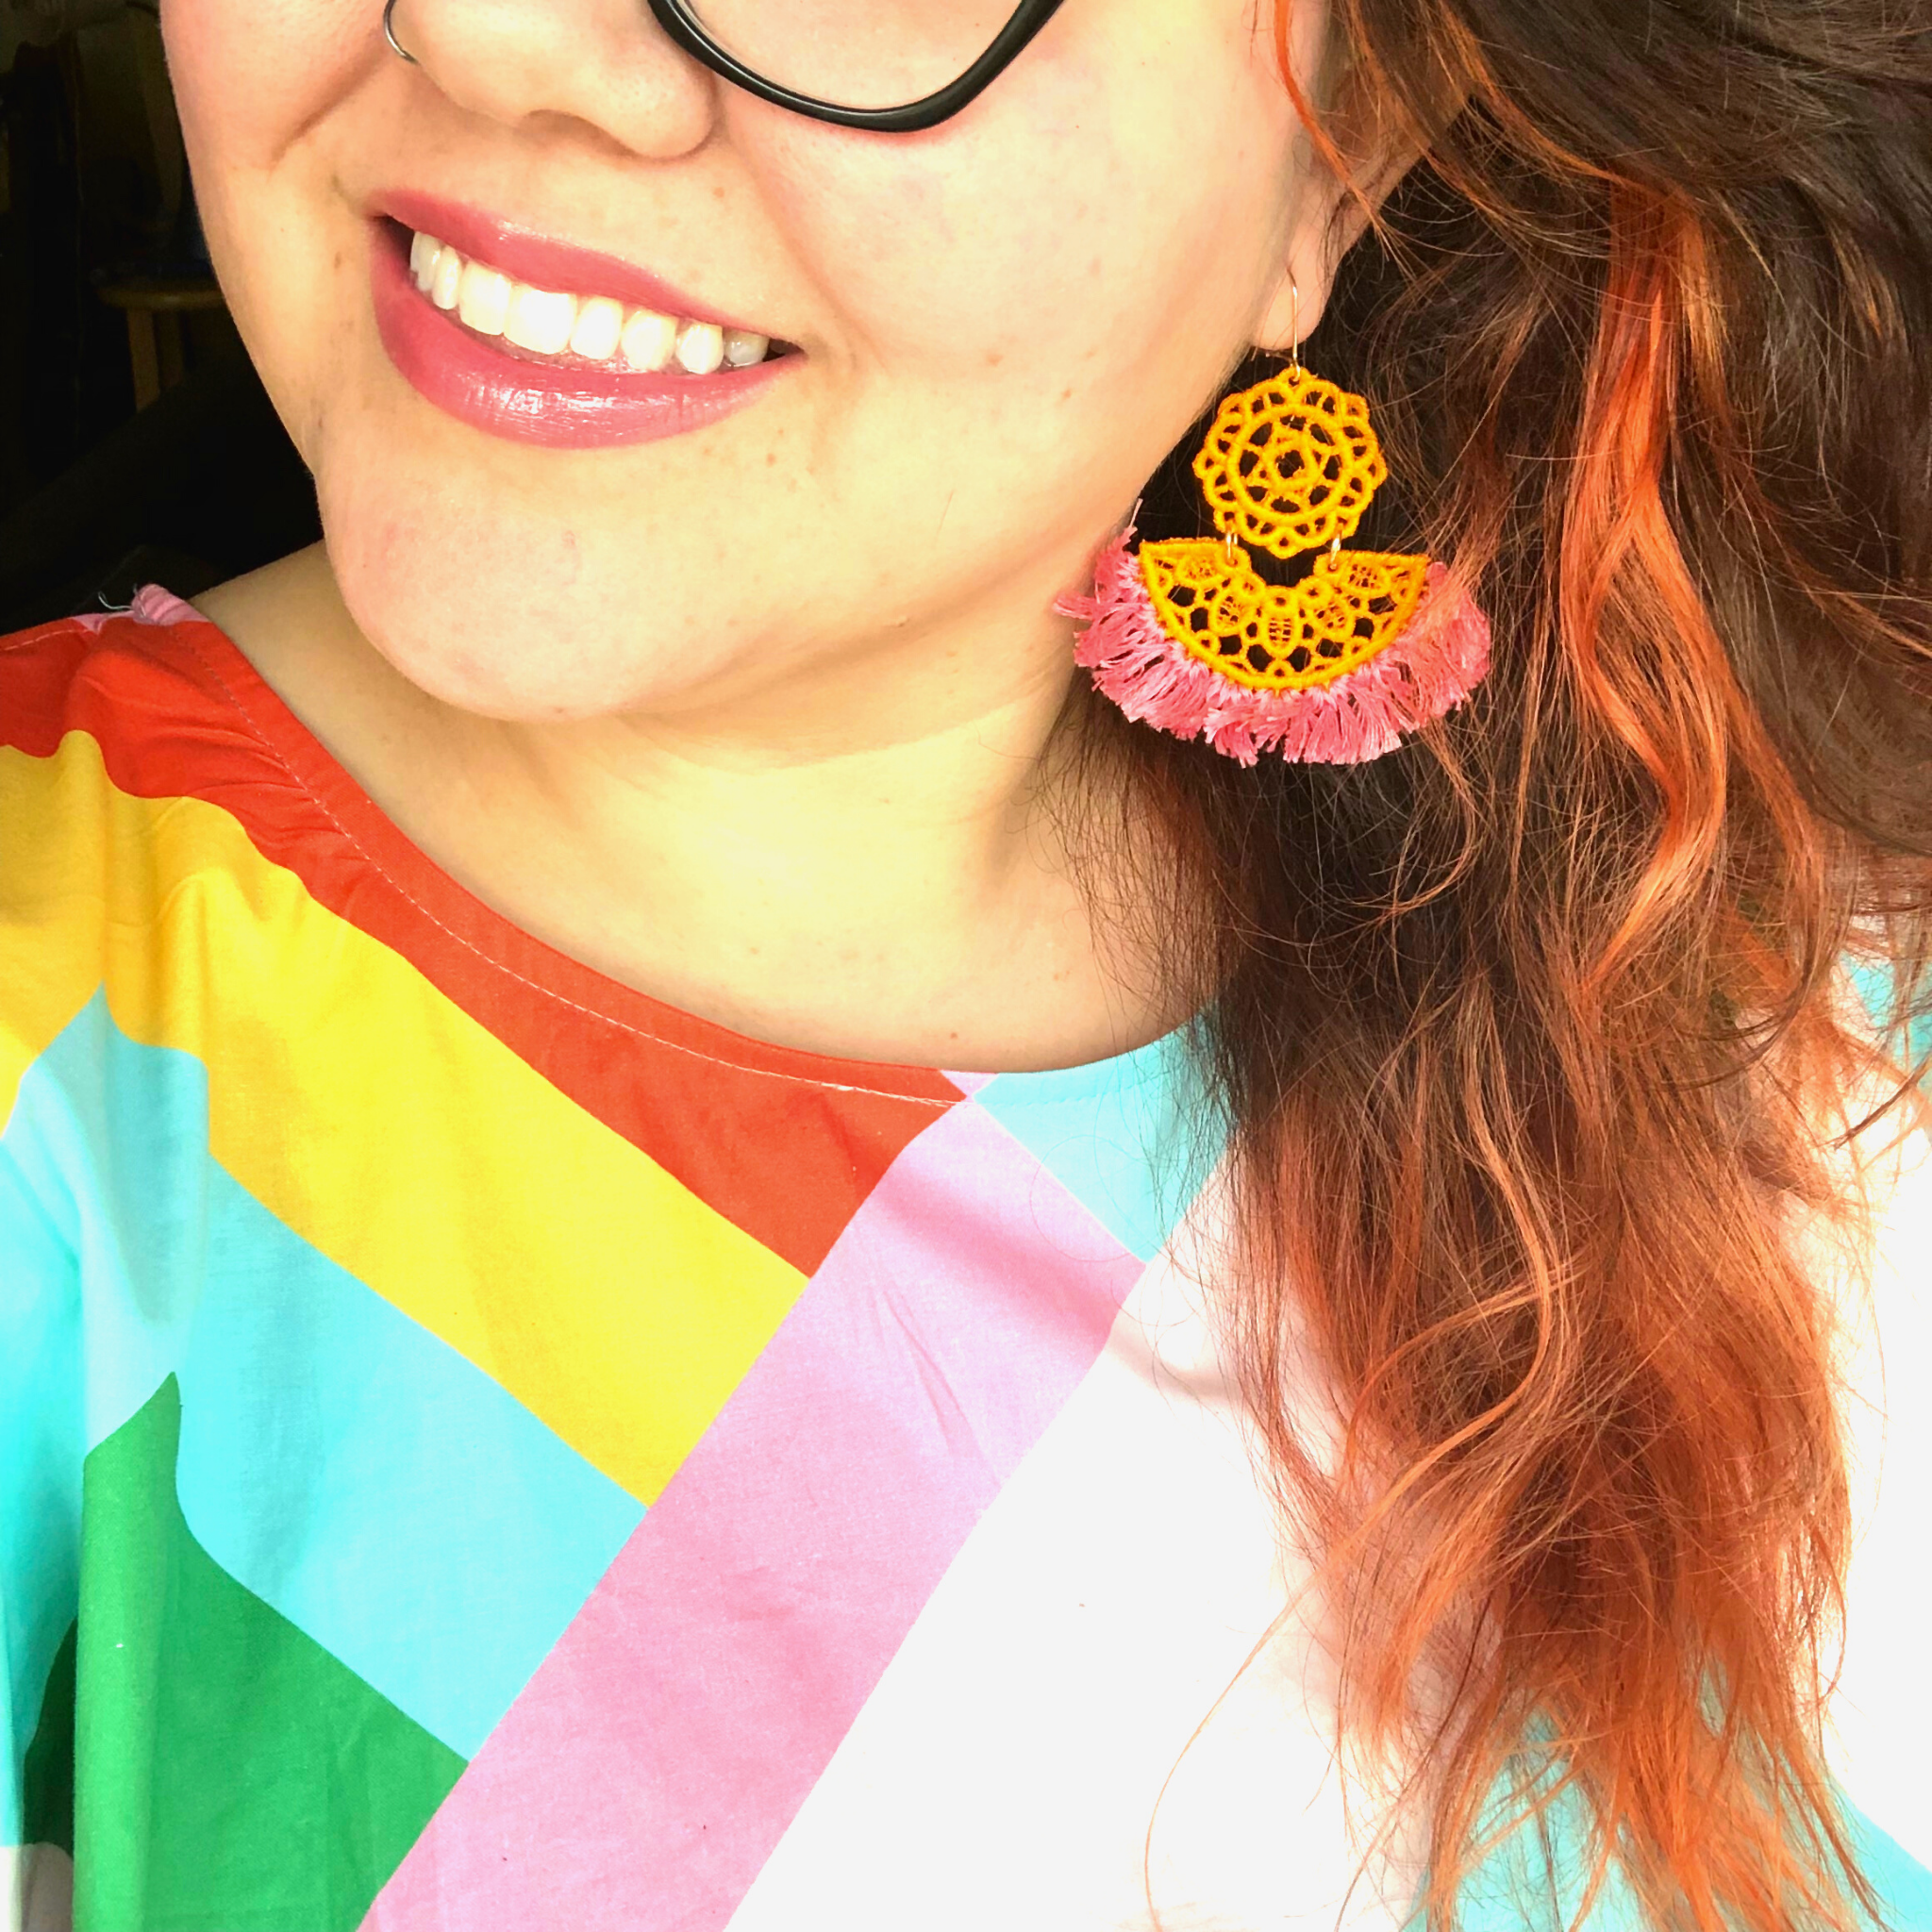
Hi! I’m Kate of Tough Kitten Crafts and I empower sewists to become fearless with machine embroidery through online education, a supportive community, and super cute machine embroidery projects just like this beautiful machine embroidered jewelry. This post is for Mother’s Day but truly everyone in your life who likes statement jewelry pieces is going to want some of these!

I have wanted to make free-standing lace earrings for the longest time. I was gifted a really cute pair when I was traveling to teach and they quickly became my favorites. After making this pair of earrings I’m obsessed! I have already made a half dozen pairs and have been thinking up more colorways and shapes.
The best part? These earrings are so simple and the only reason this project can’t be finished in an afternoon is that you need time for your earrings to dry after rinsing out the wash away. Without that dry time, these earrings could take you just an hour to finish.
Cute, simple and fun to make? This is the perfect gift to make up for every momma in your life!
Supplies to Make Machine Embroidered Jewelry
- OESD BadgeMaster
- OESD AquaMesh WashAway
- OESD Buildable Lace Minis Collection
- OESD Lace Jewelry Collection
- Size 28 T Pins
- 80/12 Microtex Needle
- Straight Micro Tip Scissors from Sookie Sews
- 40wt or 50wt Aurifil Cotton or other embroidery thread
- Aurifloss or other Embroidery Floss
- Earring Hooks
- Jumprings
- 2 Needle Nose Pliers or 1 set of pliers and a jump ring tool
- Tapestry Needle or small crochet hook
- Medium Hoop
- Nylon Brush or clean toothbrush
Instructions to Make Machine Embroidered Jewelry
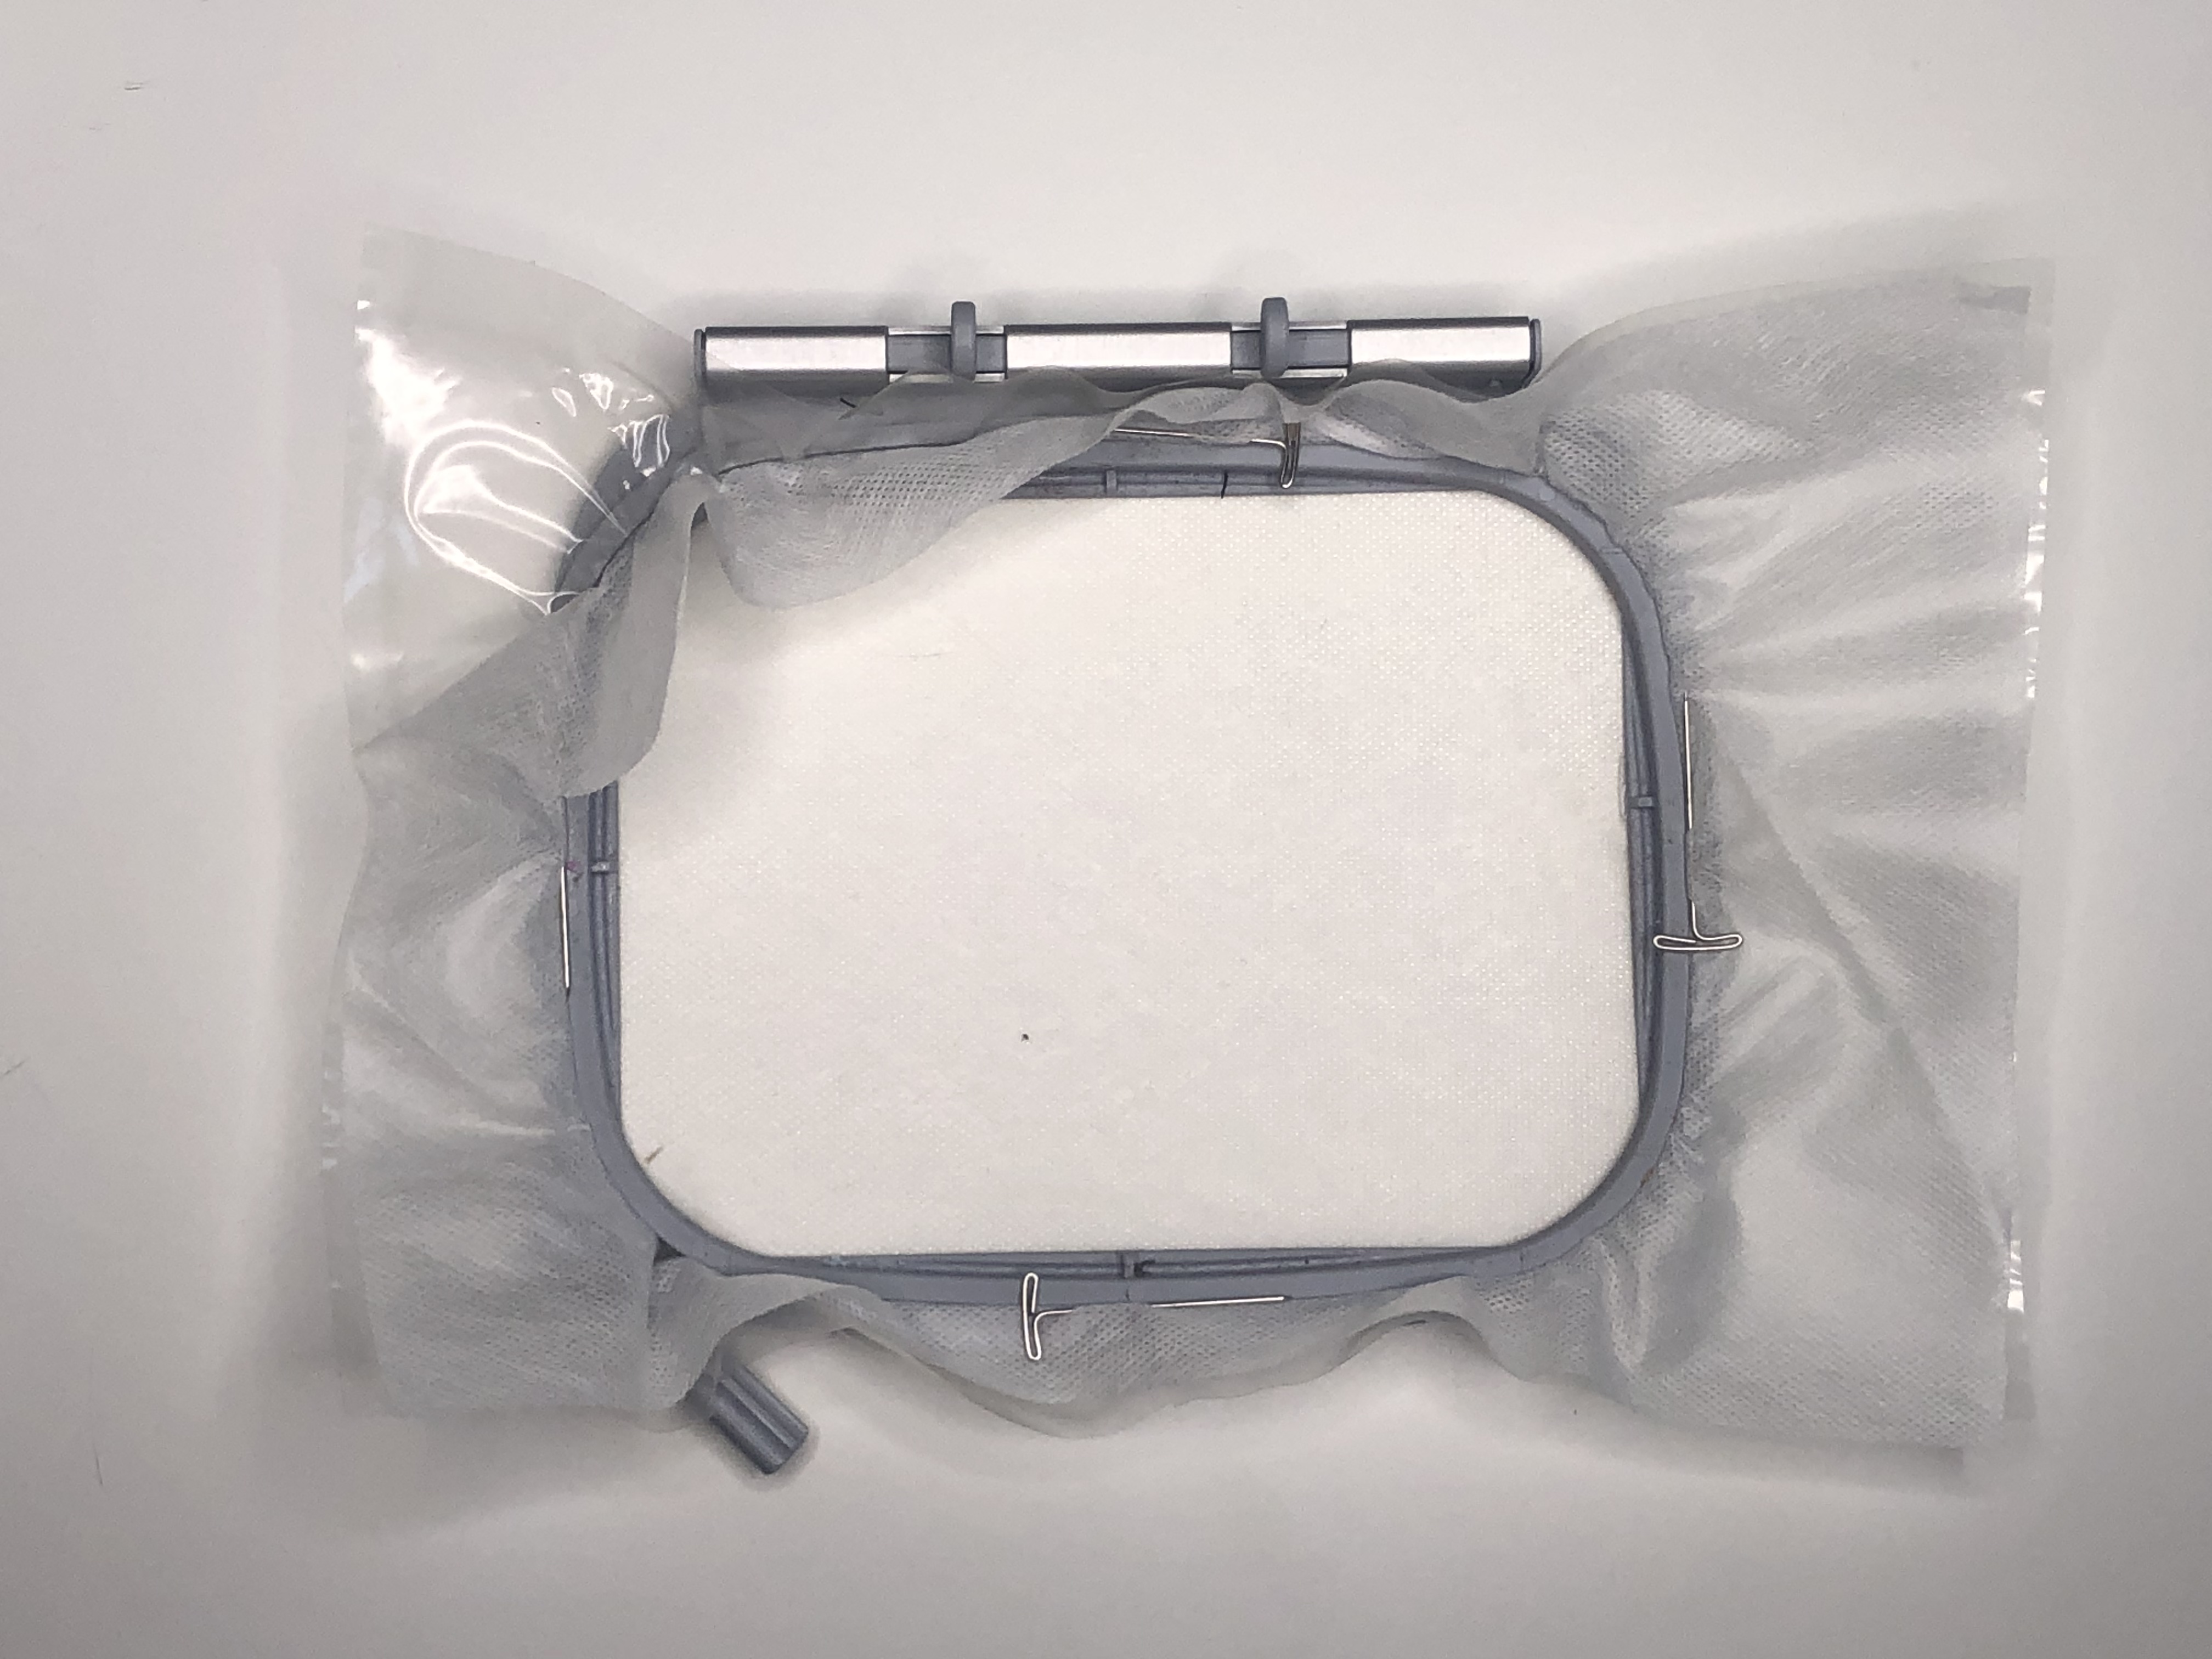
Cut 1 piece of BadgeMaster and 1 piece of AquaMesh WashAway to fit your hoop. Make sure each piece of stabilizer has at least 1.5″ of extra stabilizer on all four sizes.
Hoop both pieces of stabilizer together and secure the edges with T pins to ensure the stabilizer won’t slip in the hoop. Not sure what I mean? Check out my blog post Freestanding Lace Tutorial: Butterfly Shadow Box to learn more.
The T Pins help secure your stabilizer and stop slippage during the stitching process.
Also, I found that hooping with the AquaMesh on top and BadgeMaster on bottom yielded better results.
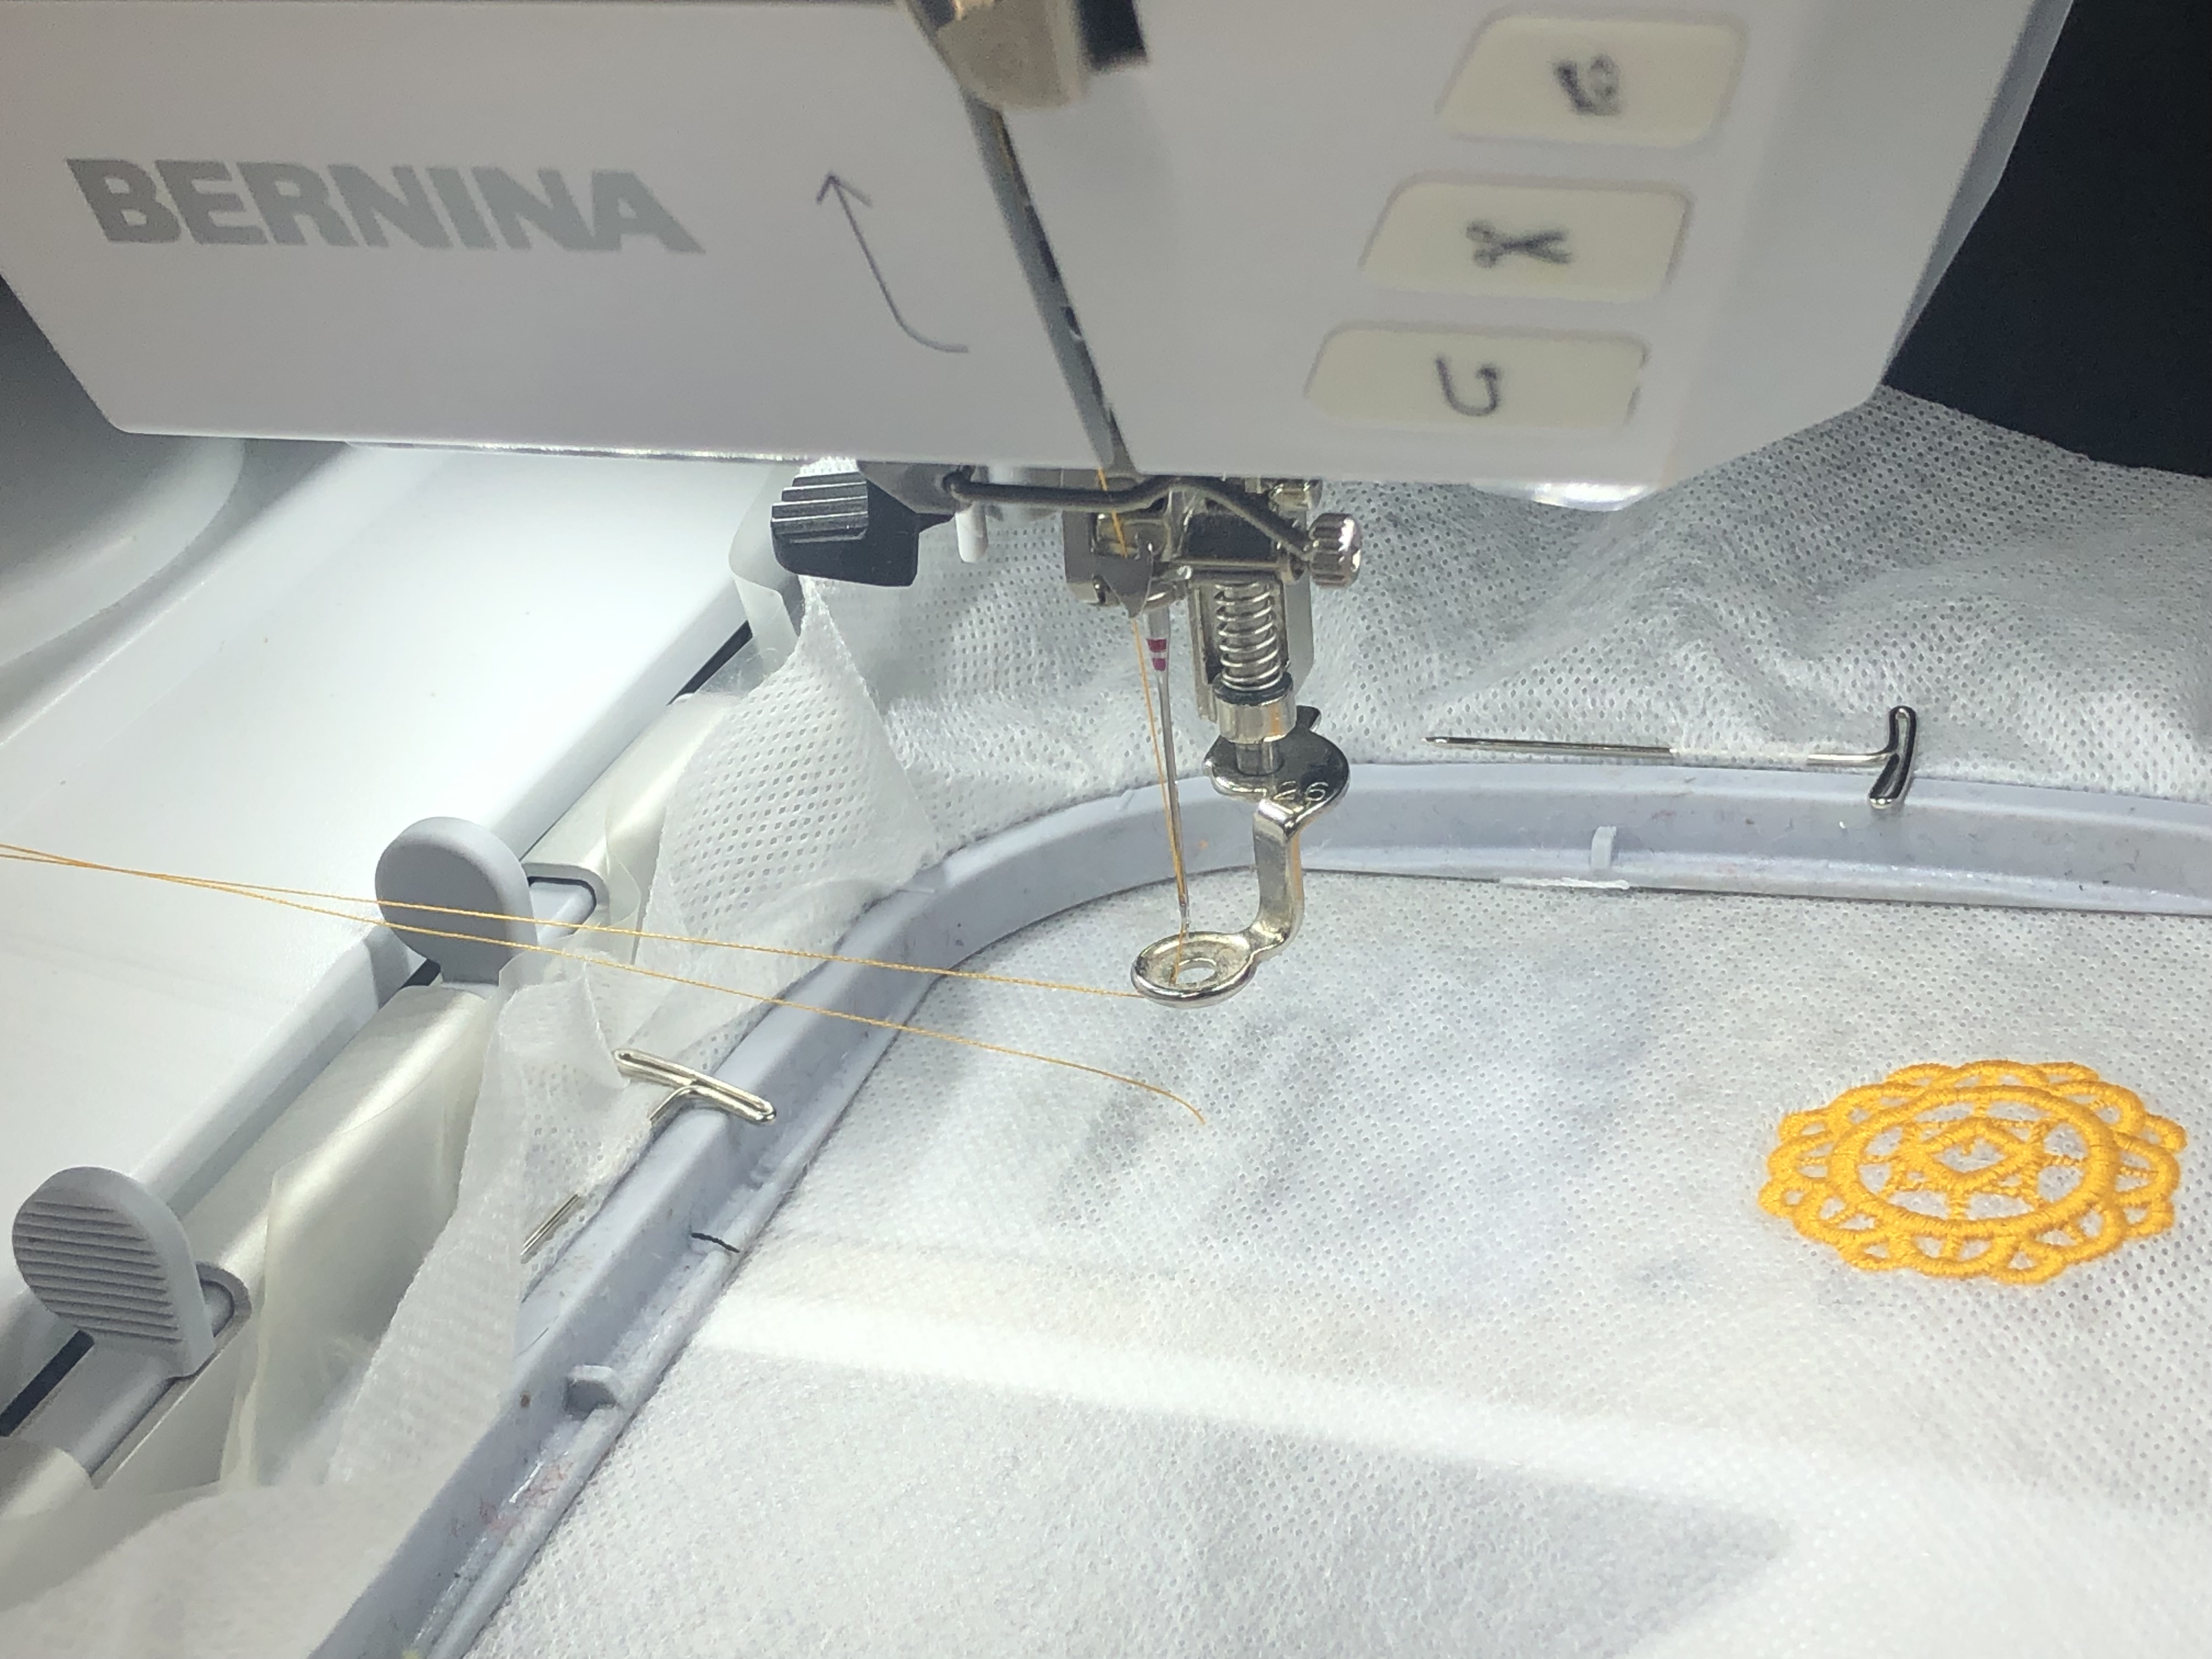
Prep your machine by installing an 80/12 Mictrotex needle and winding a bobbin to match your top thread. Make sure to turn off thread away mode and turn on the icon that will prompt you to cut threads after a thread change. I also like to check the back of my hoop when the machine stops for a thread cut/thread change to ensure I can keep all thread ends trimmed and looking good.

Stitch out the designs. Check the back of the hoop periodically to trim away thread tails.
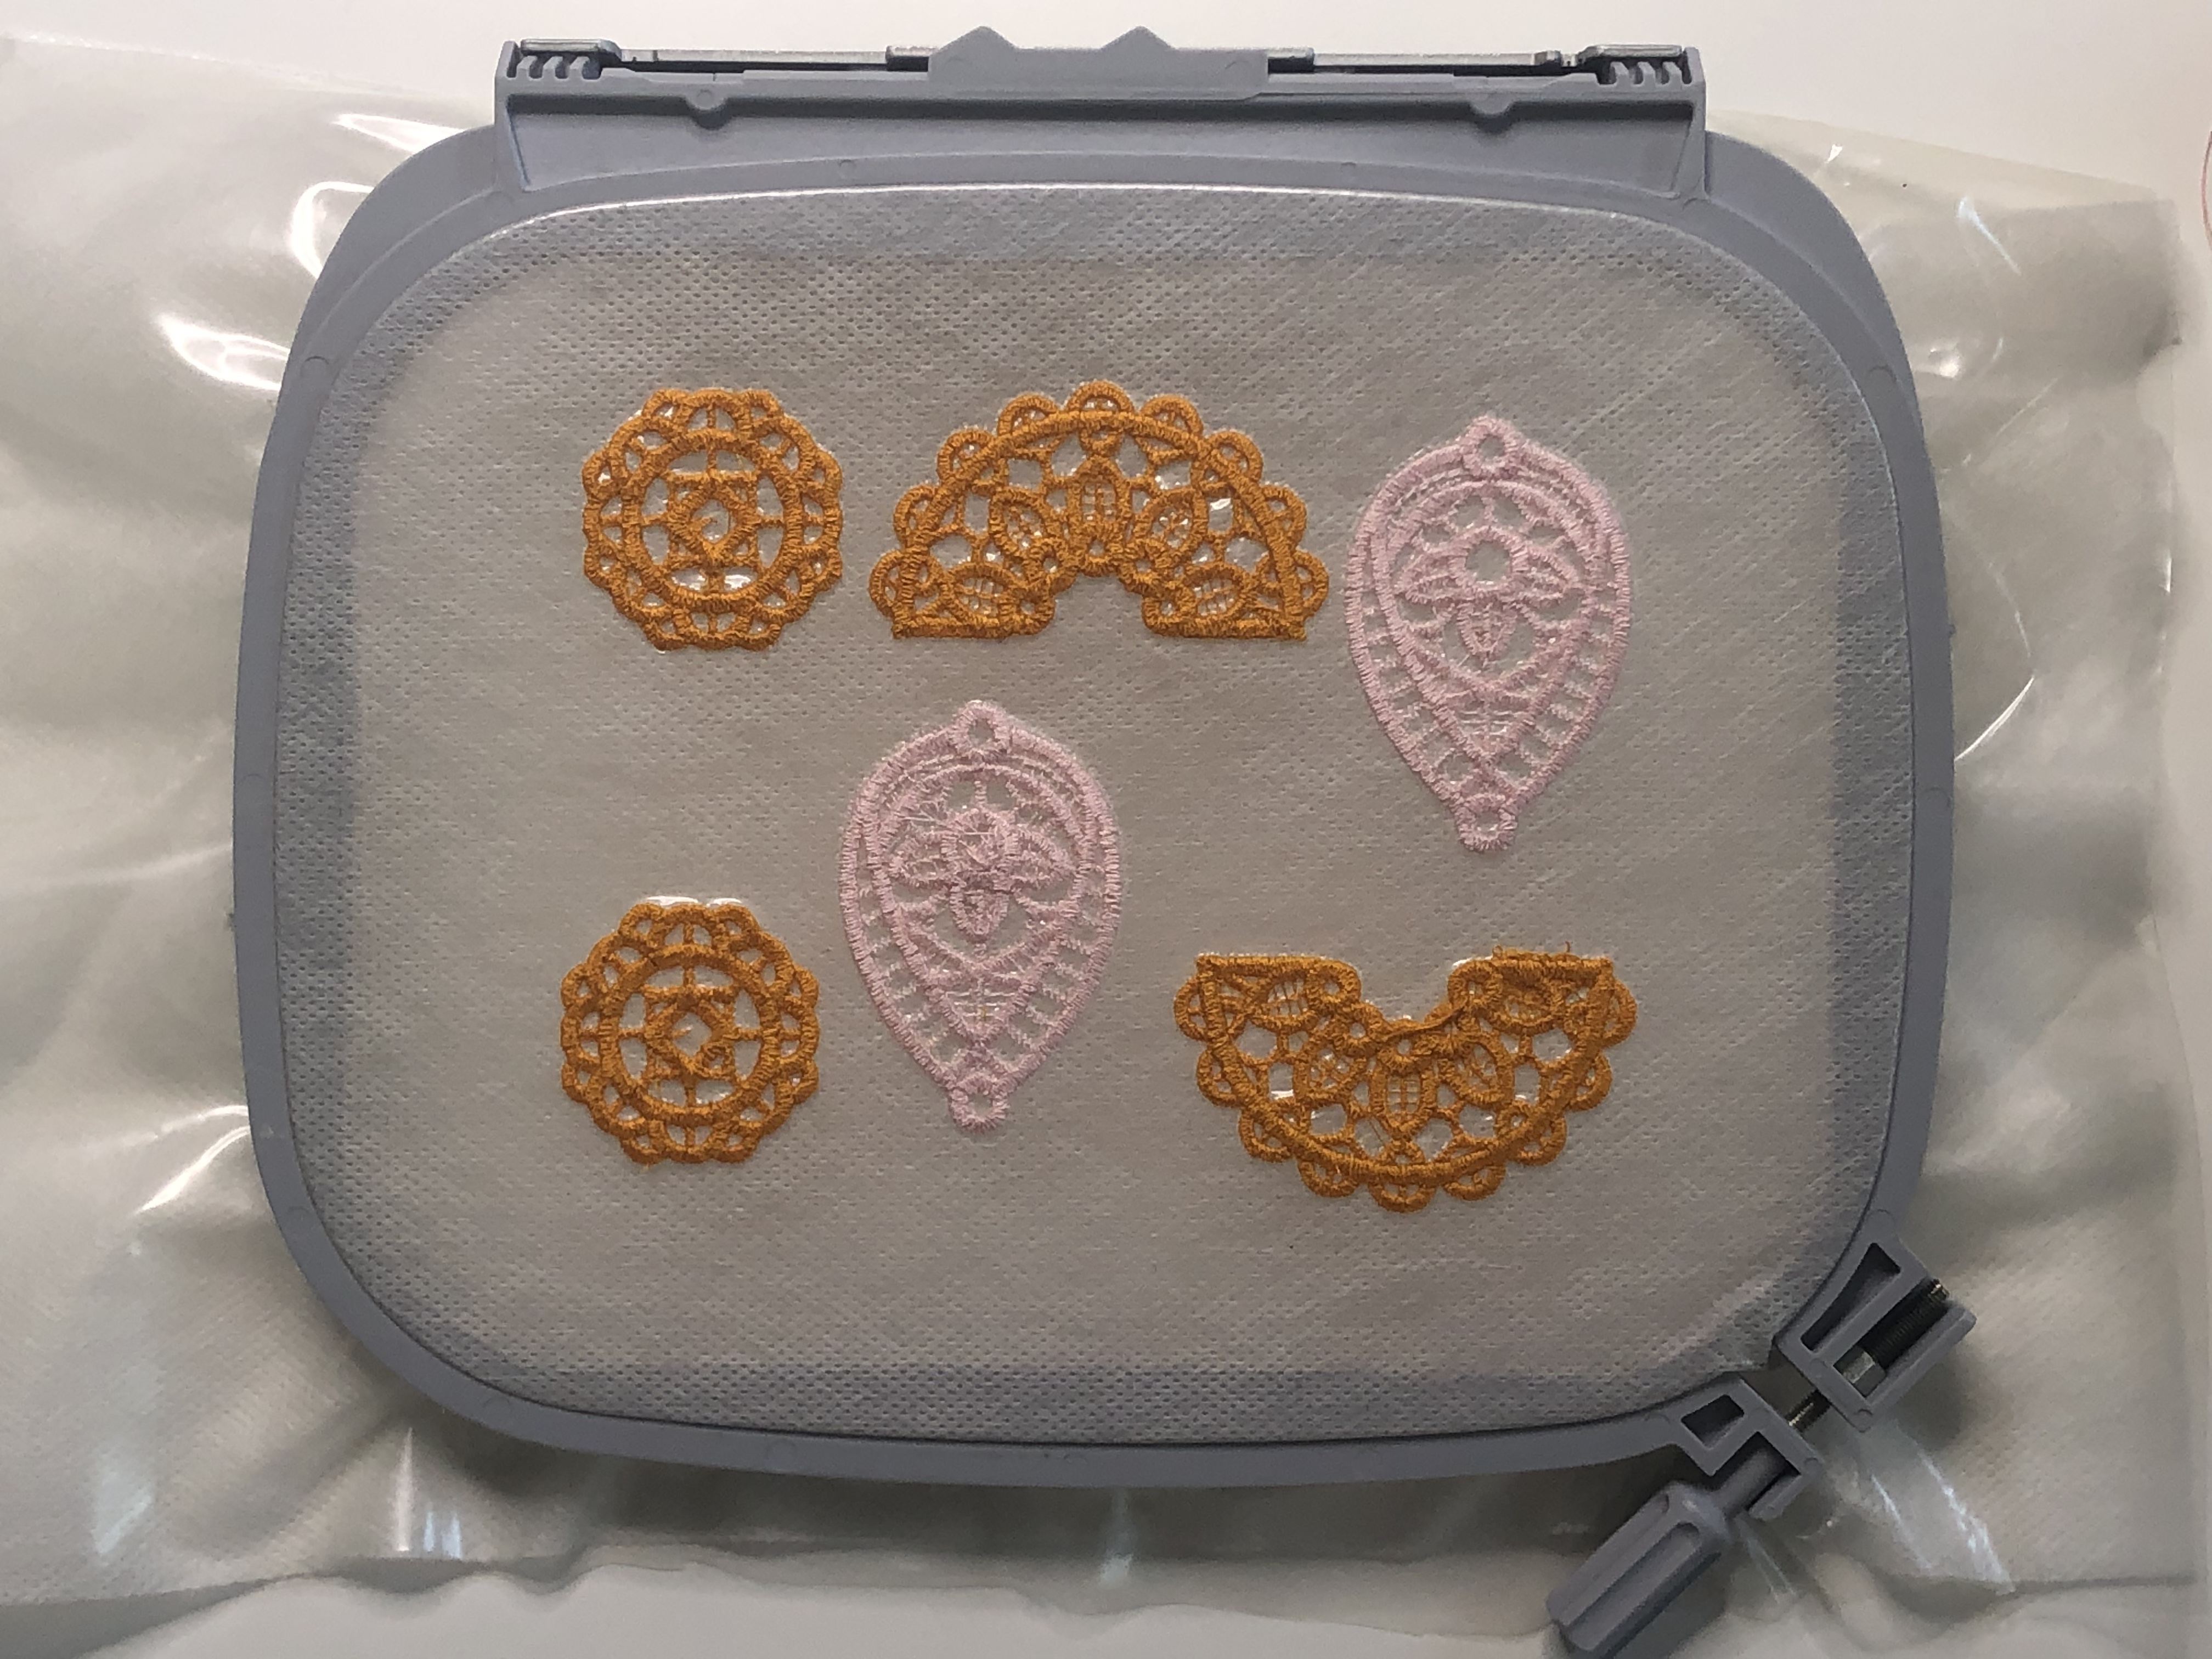
Once the design is finished remove the hoop from the machine. Trim away any excess threads from the front and back.
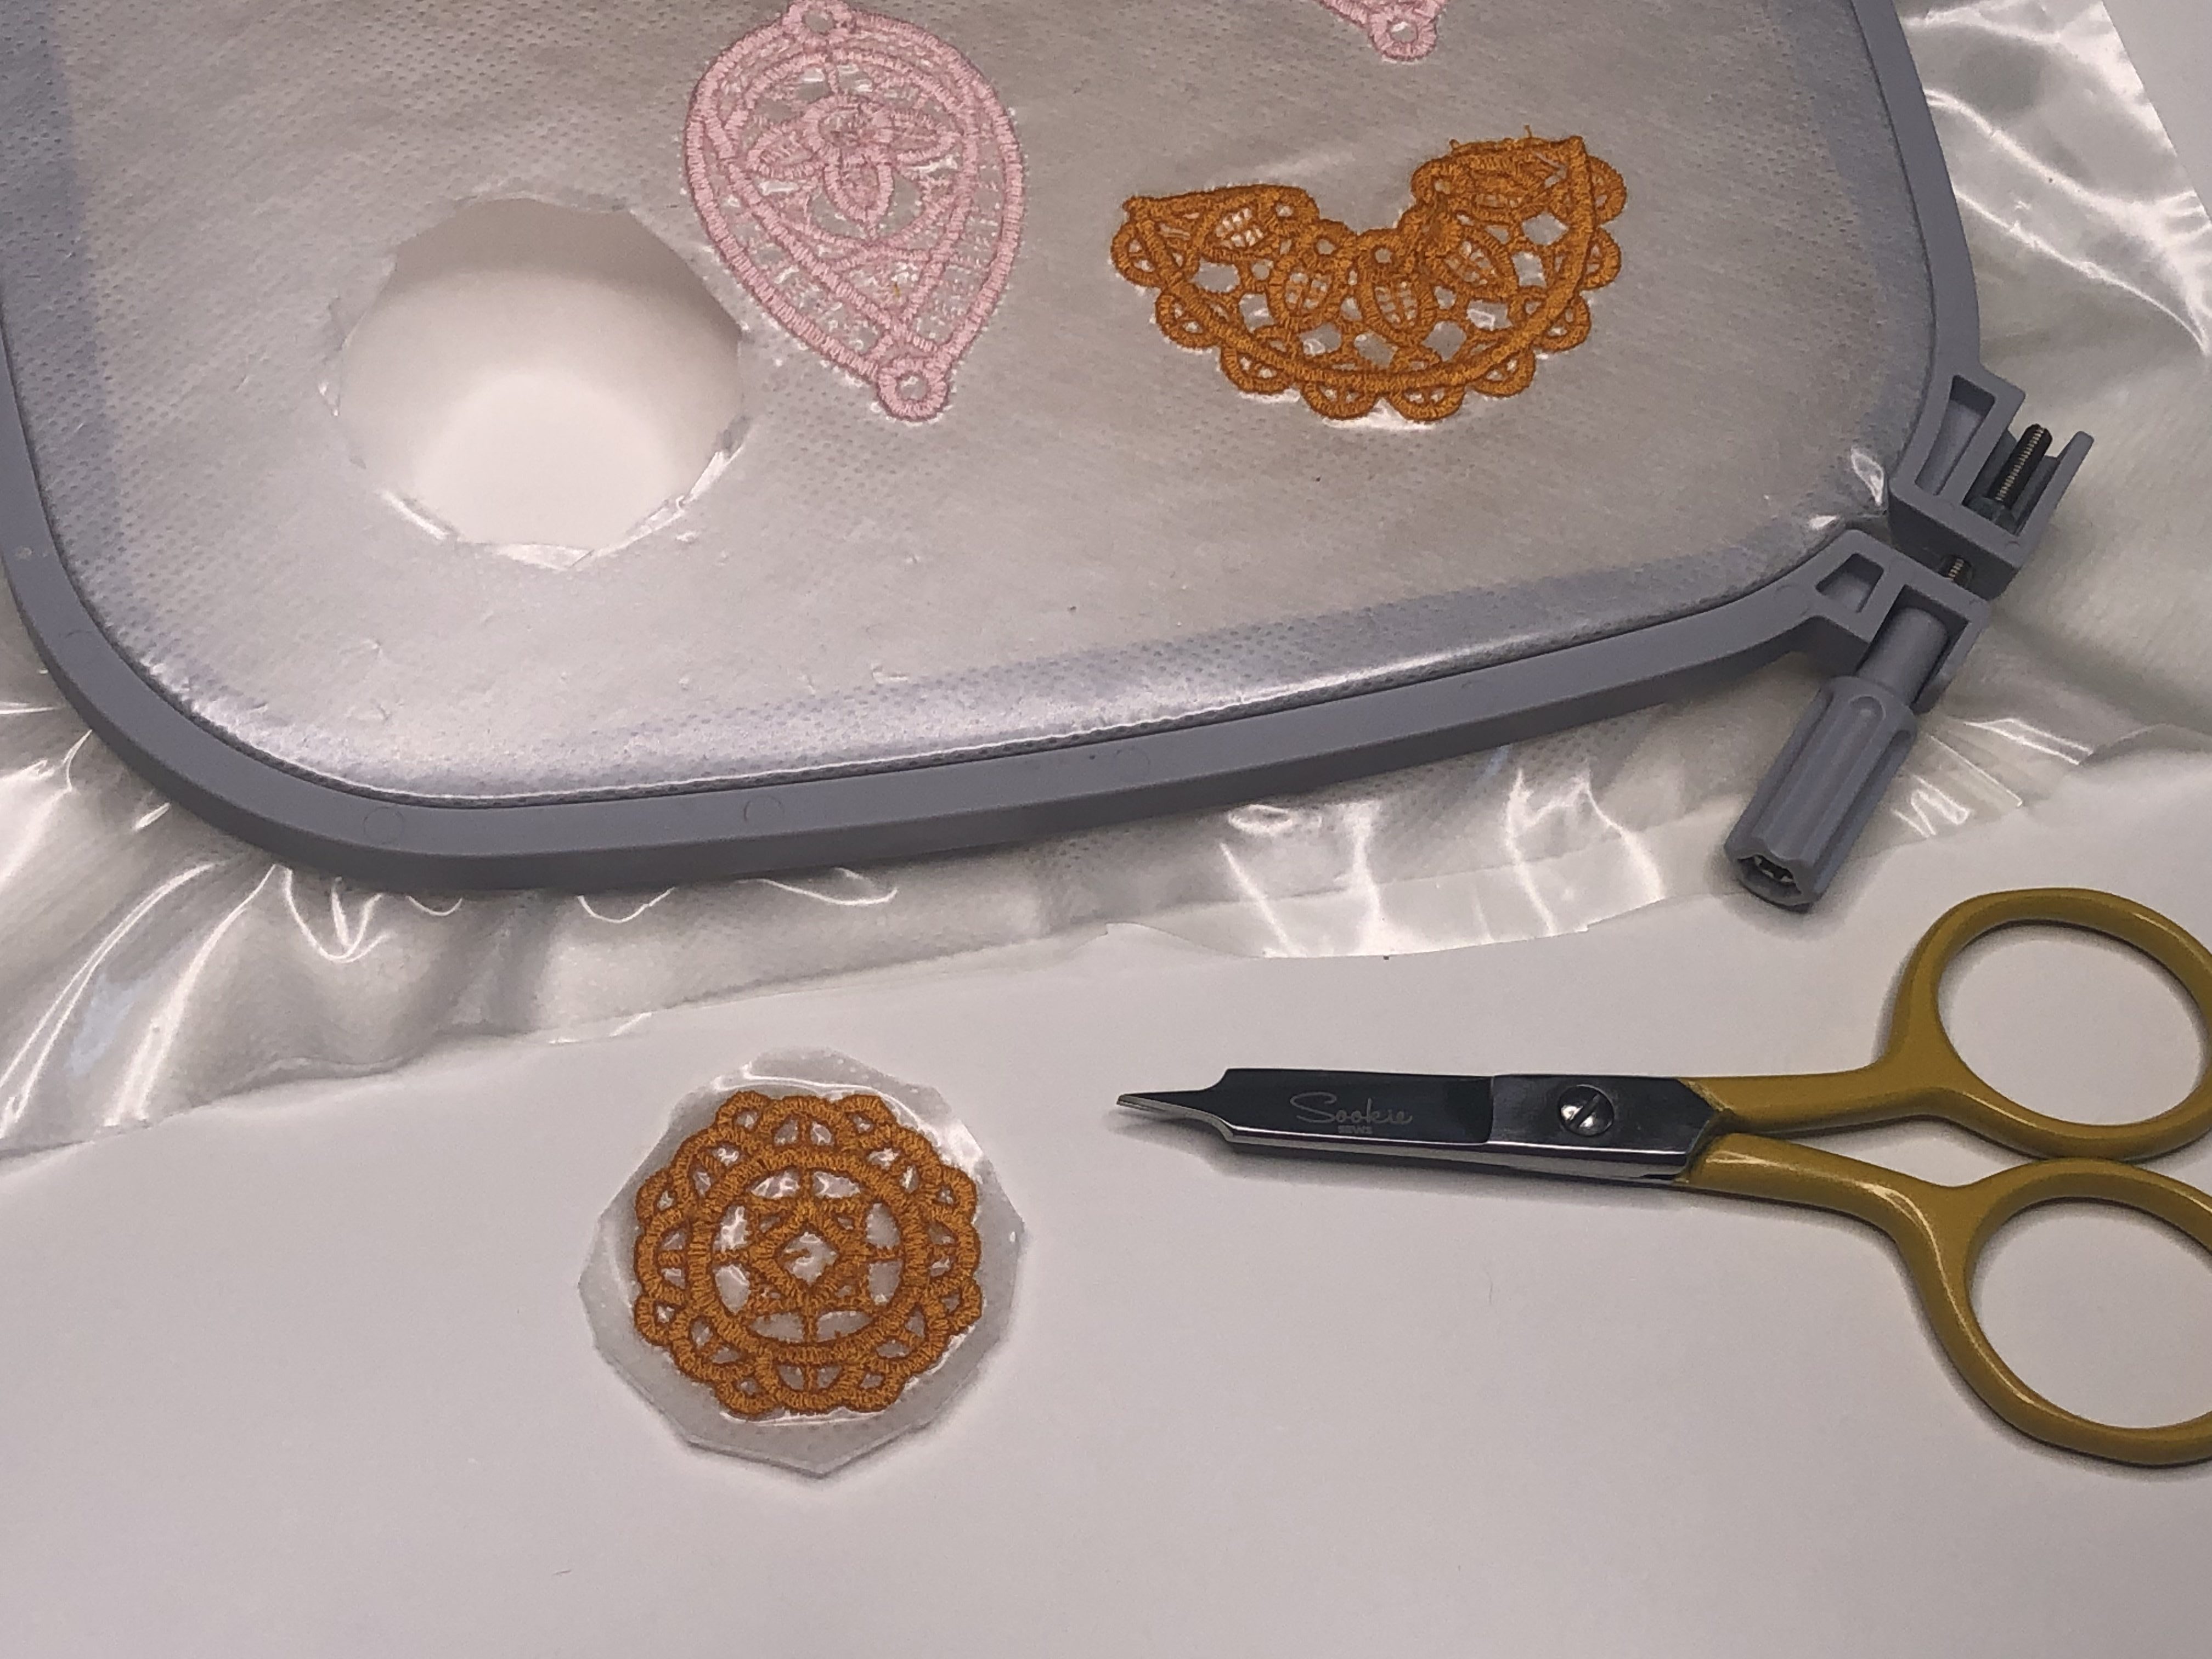
I like to cut out my FSL shapes while still hooped cause I think it’s easier, especially with these Sookie Sews Straight Micro Tip Scissors.
Save the extra pieces of badge master and AquaMesh to create this DIY Spray Starch from the scraps. It’s my favorite spray starch!
Rinse the lace under the sink with warm water. Be careful not to rinse out too much stabilizer, the earrings will need to keep some of their stiffness to keep them looking good and not bending. If you rinse too much you can make a solution of starch scraps and water to reapply starch and stiffen the thread.
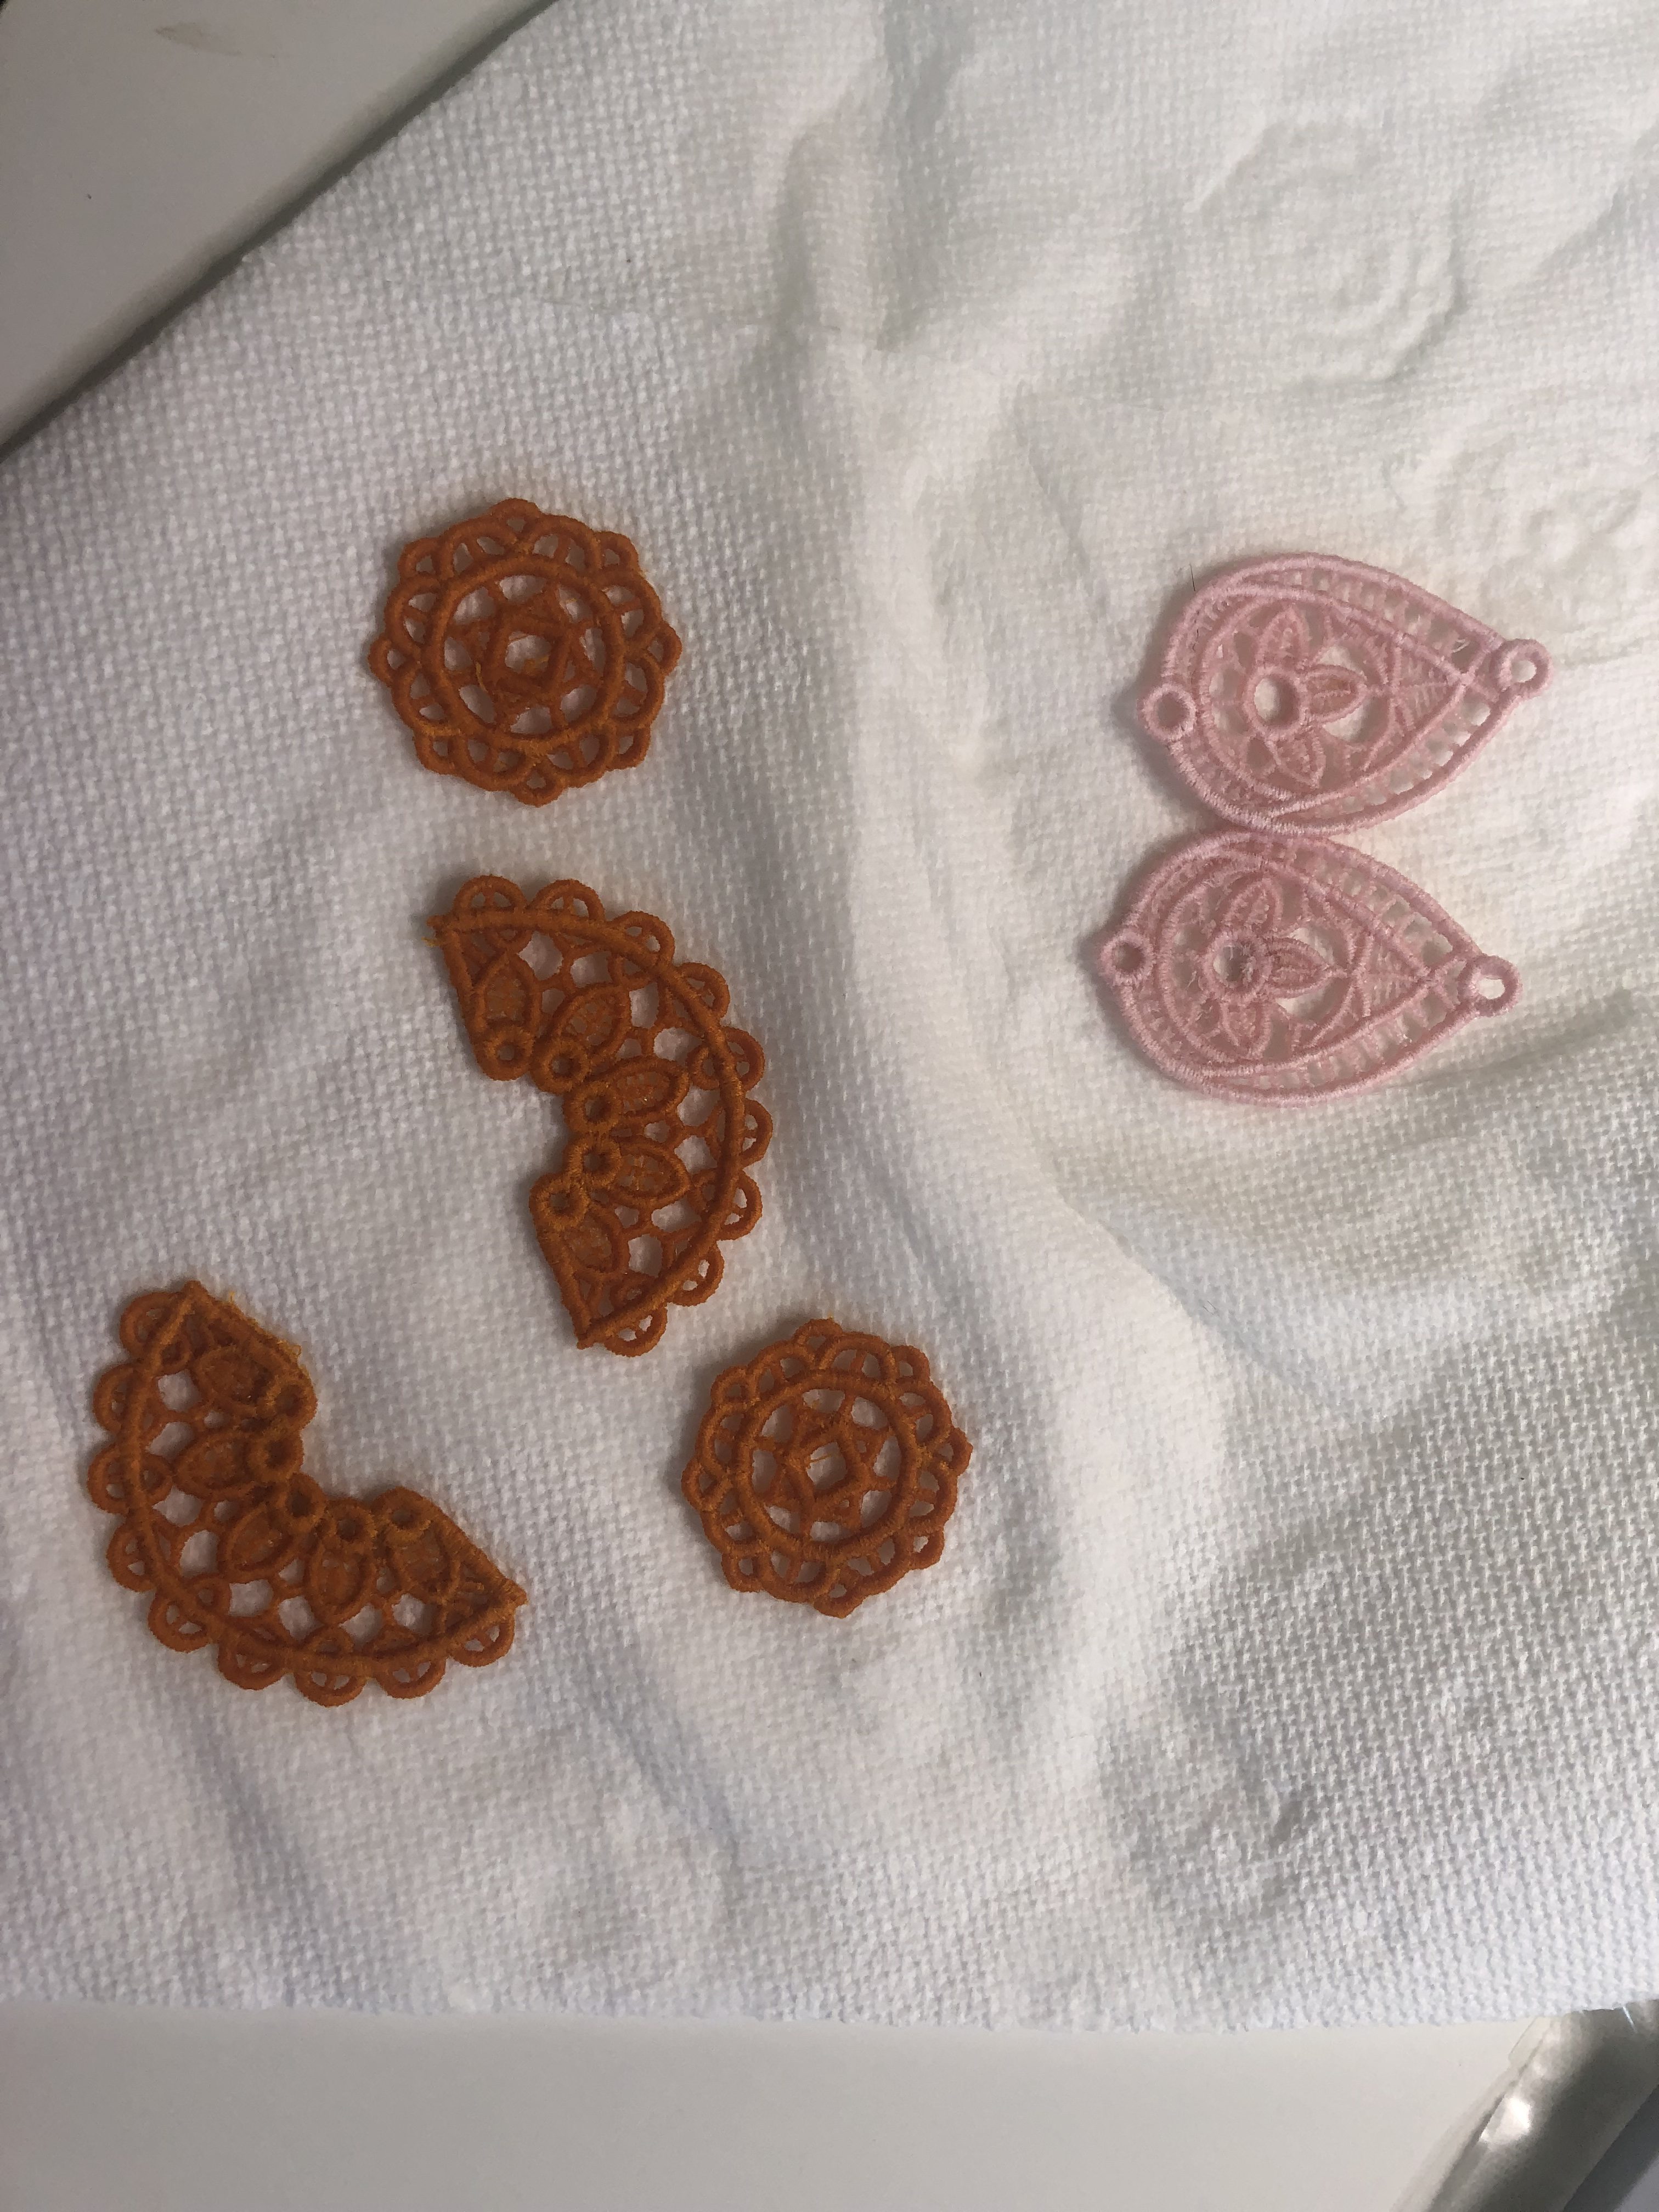
Allow your pieces to completely dry on a dry towel or wool mat. I typically let them dry overnight but if you need them sooner you can set them in front of a fan and they will be done within a few hours.
How much stabilizer you rinse away directly correlates to what the piece will be used for. Freestanding lace pieces that are a part of a construction, like a freestanding lace house, should keep as much wash away in the project as possible to aid in stability. FSL projects that will be used in clothing can be rinsed of all their Wash away stabilizer without any issues.
Check out my live YouTube class all about freestanding lace, where I talk about rinsing your stabilizer, as well as what to do if your stabilizer dries sticky.
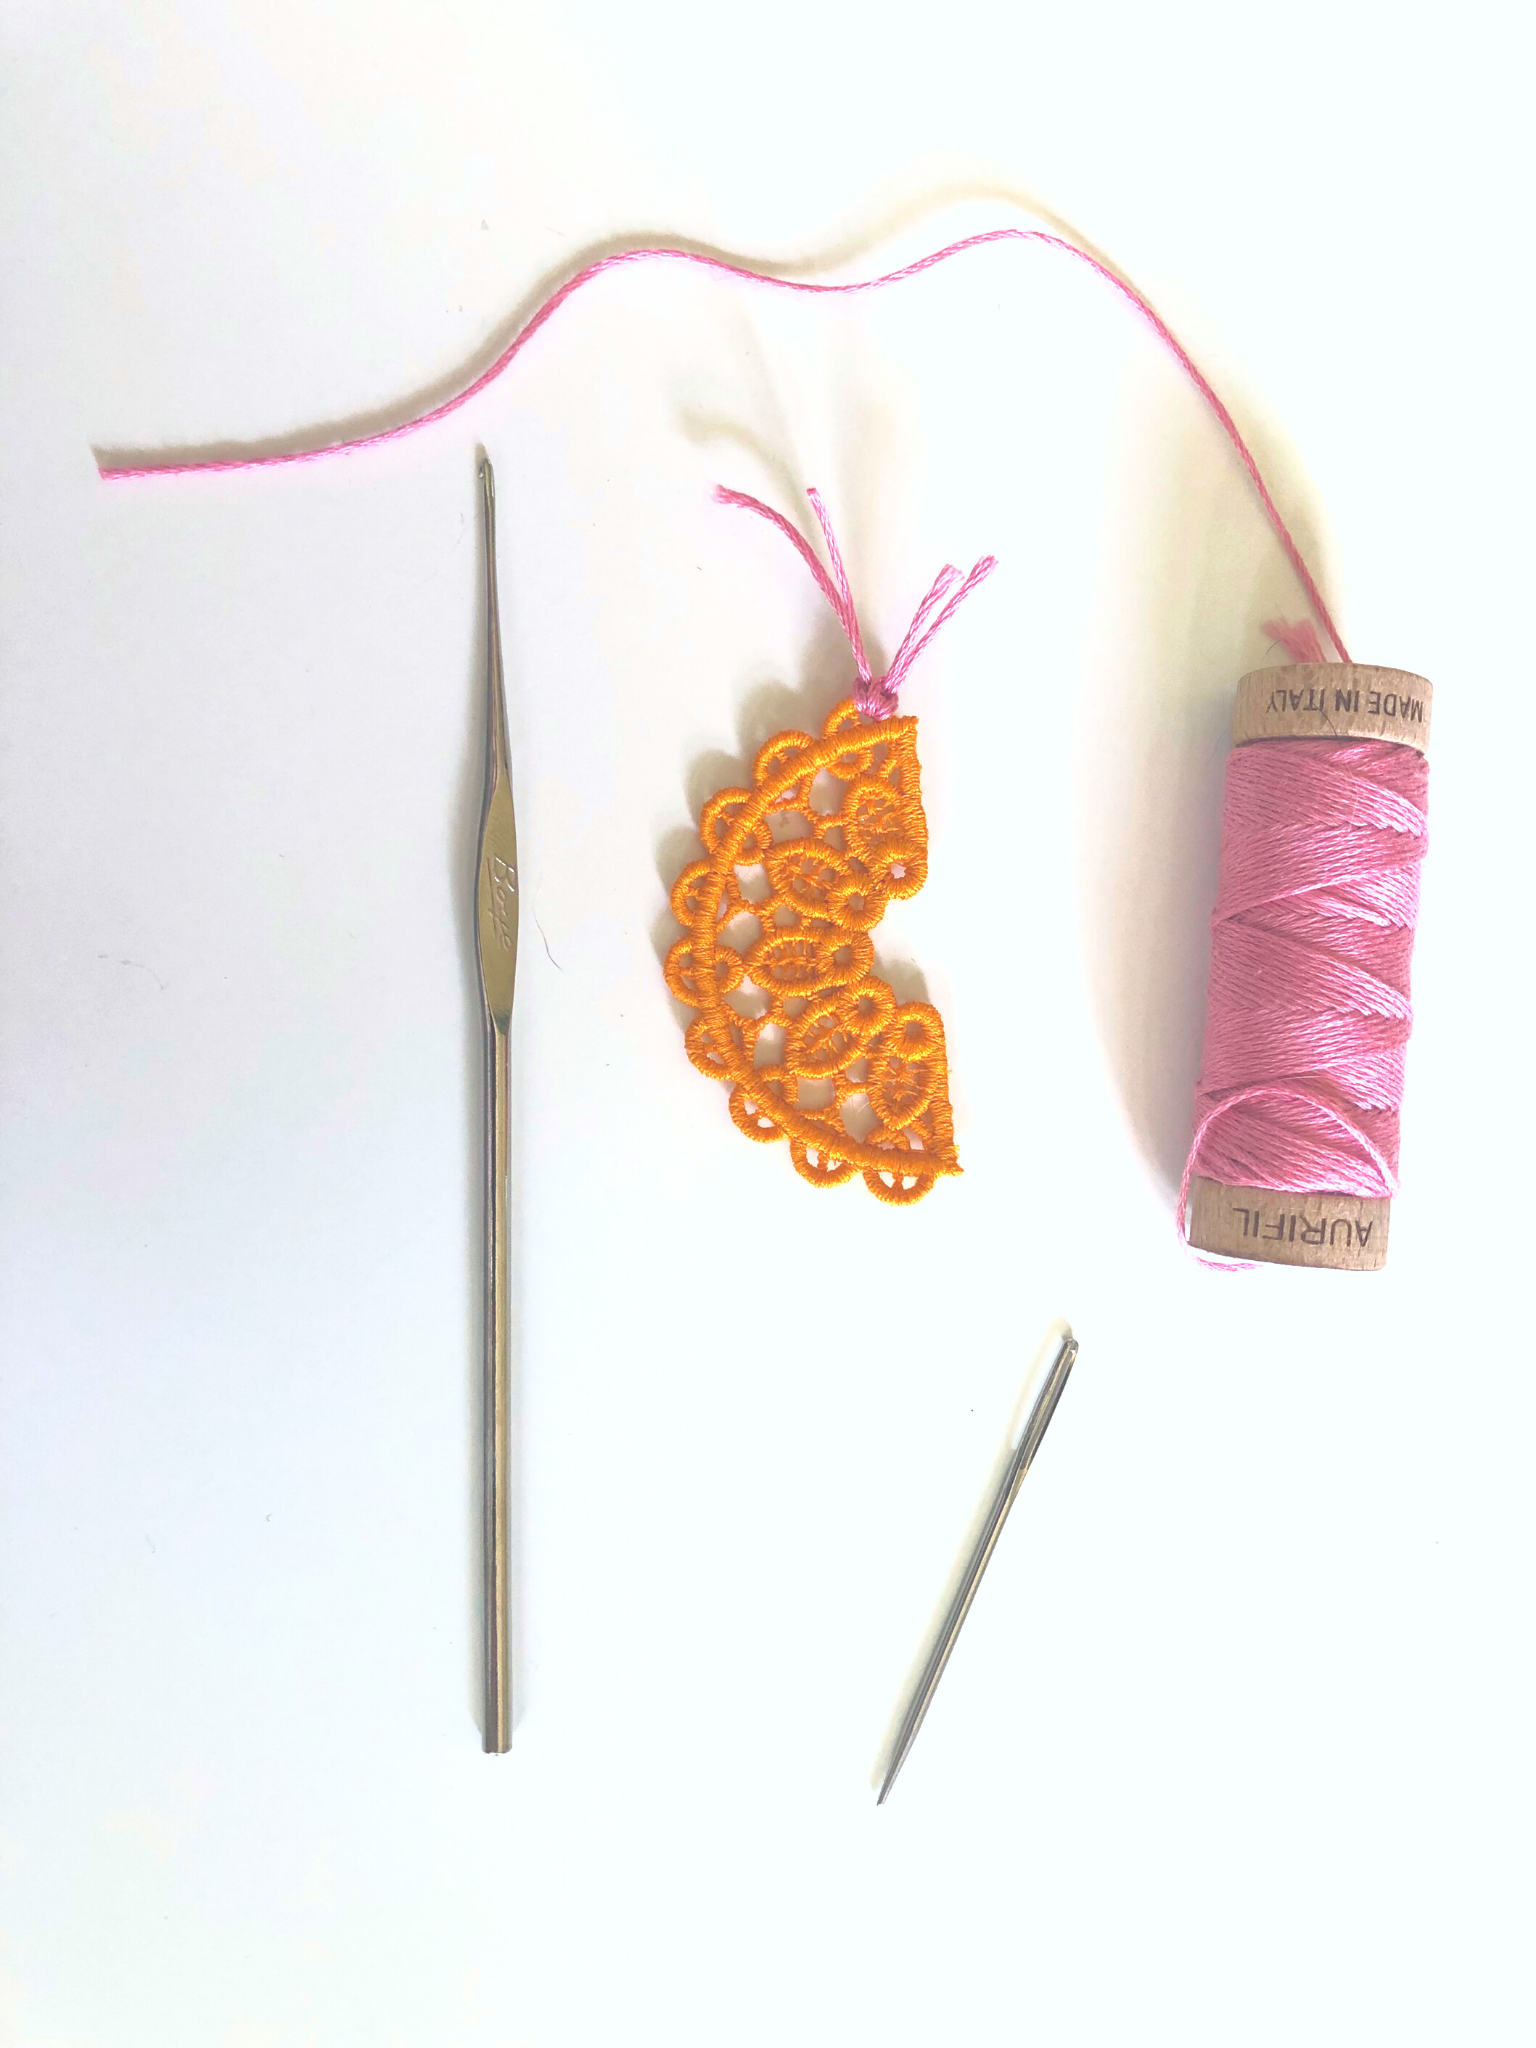
Once your pieces are ready you can add any décor you’d like to the FSL pieces like tassels, beads or fringe. To add fringe to the curved part of the arched piece, grab a small crochet hook or chenille needle, snips and Aurifloss Embroidery Floss.
Cut 4″ pieces of thread and fold it in half, place the folded portion into the holes of the arched piece and feed the thread ends through the loop. Pull tight to secure. Put two pieces of thread through each hole, to make the fringe look extra full I put three pieces in either end. Finish the fringe on both pieces.
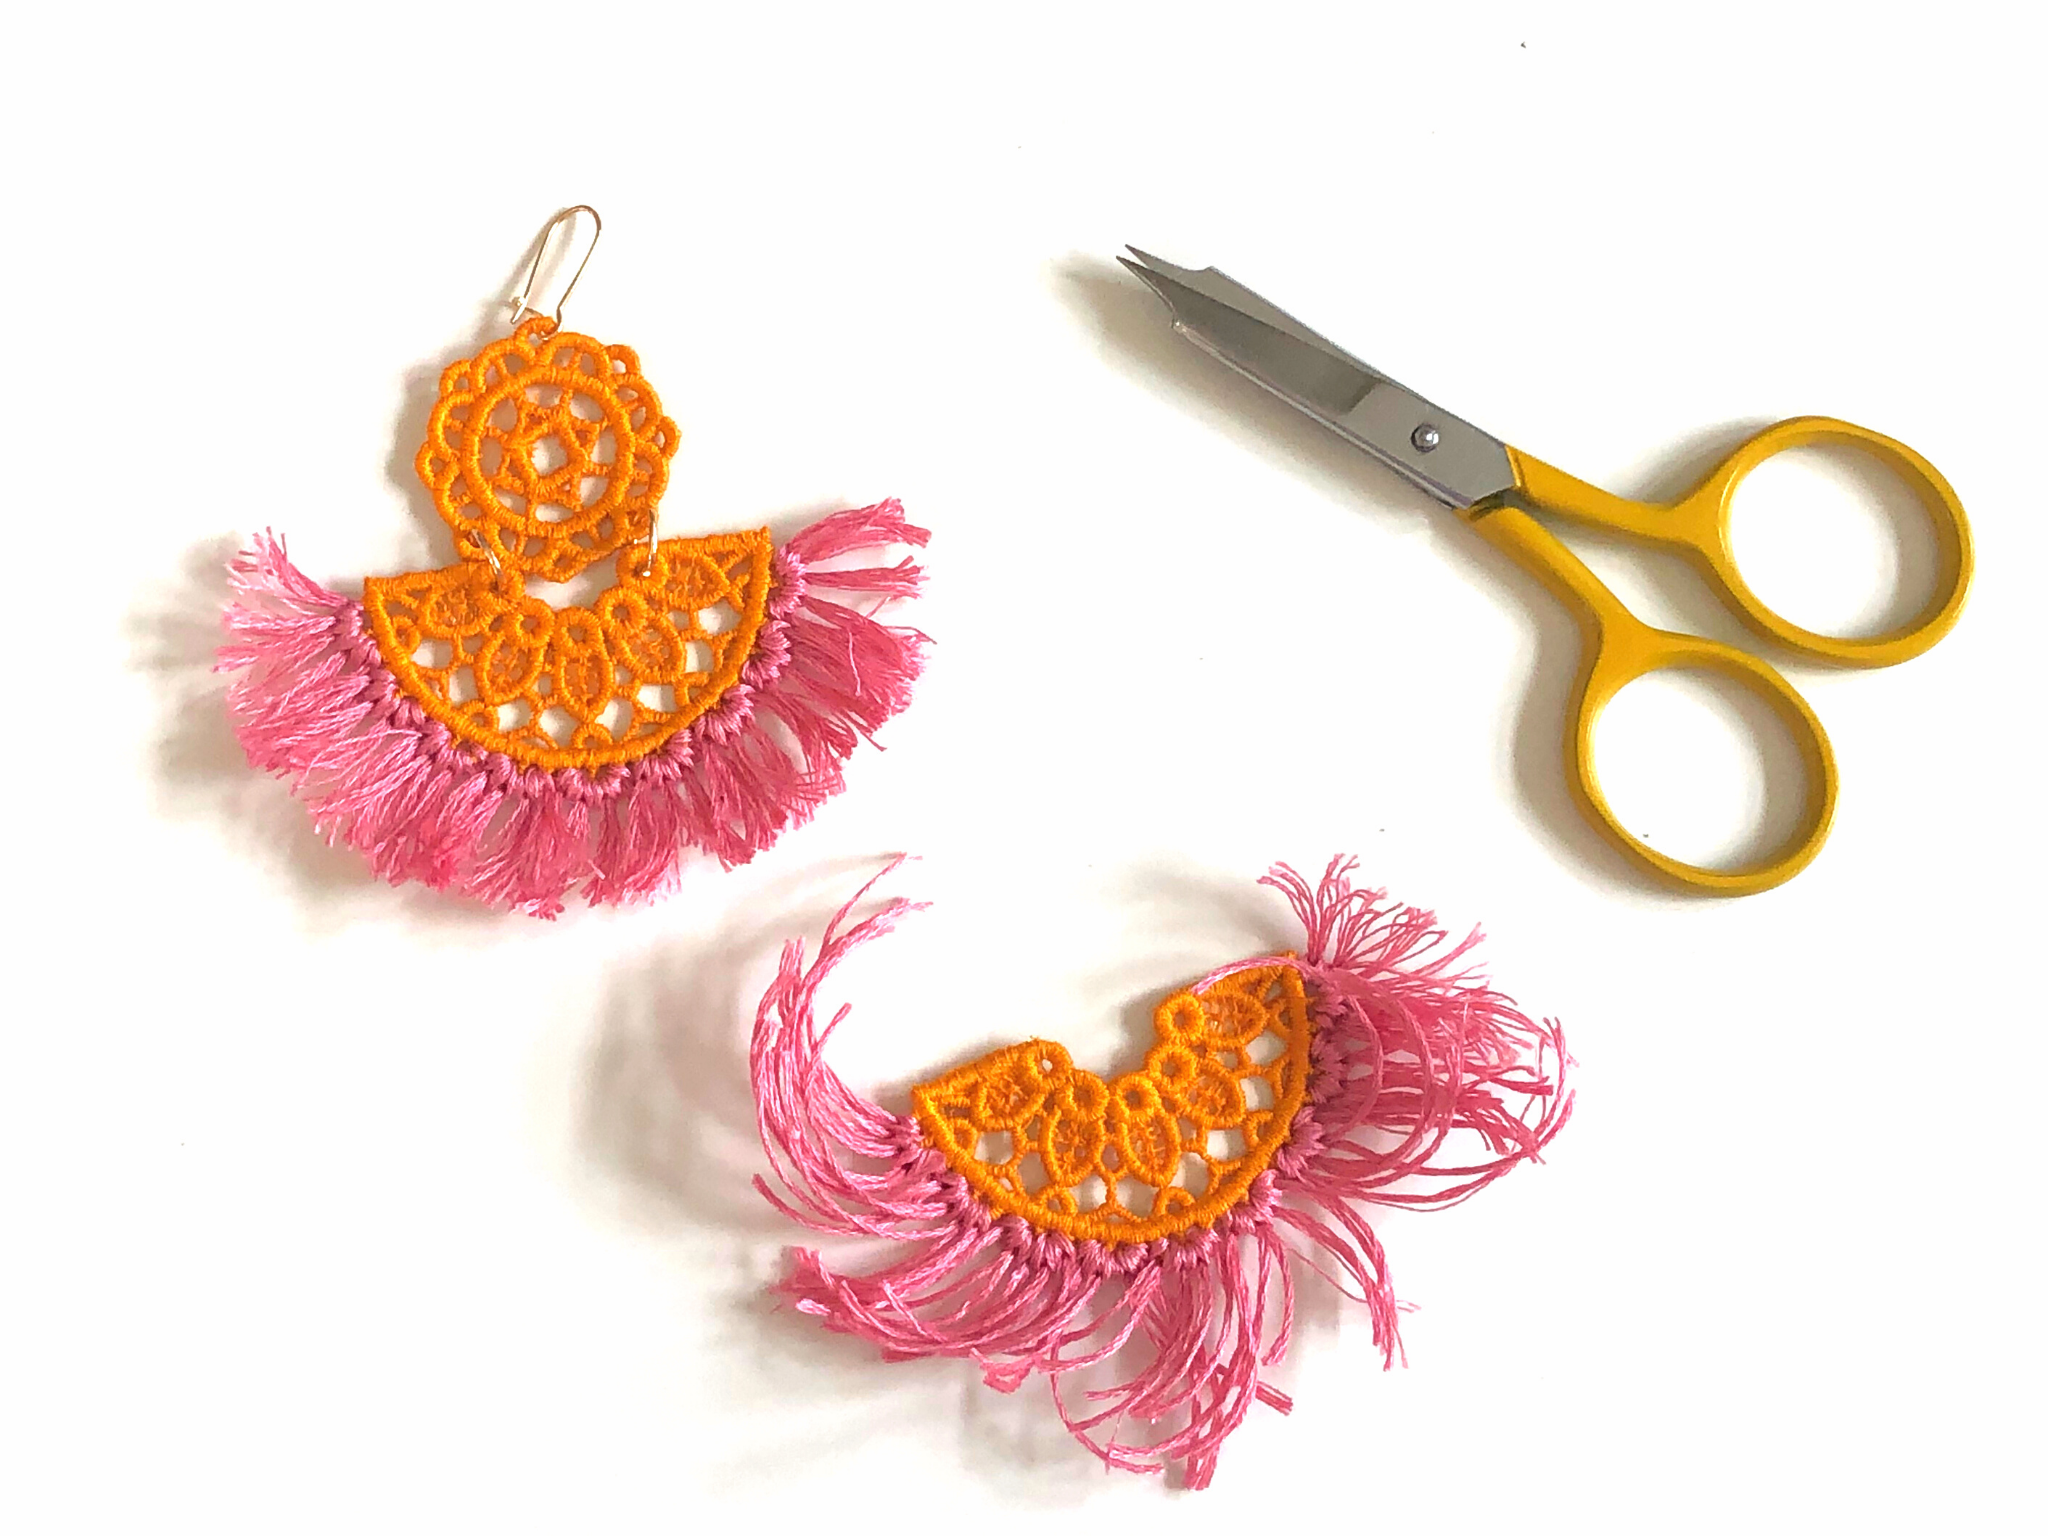
Trim the fringe to your desired length.

I used a nylon brush to brush the fringe, unwinding the floss and fluffing the threads too.
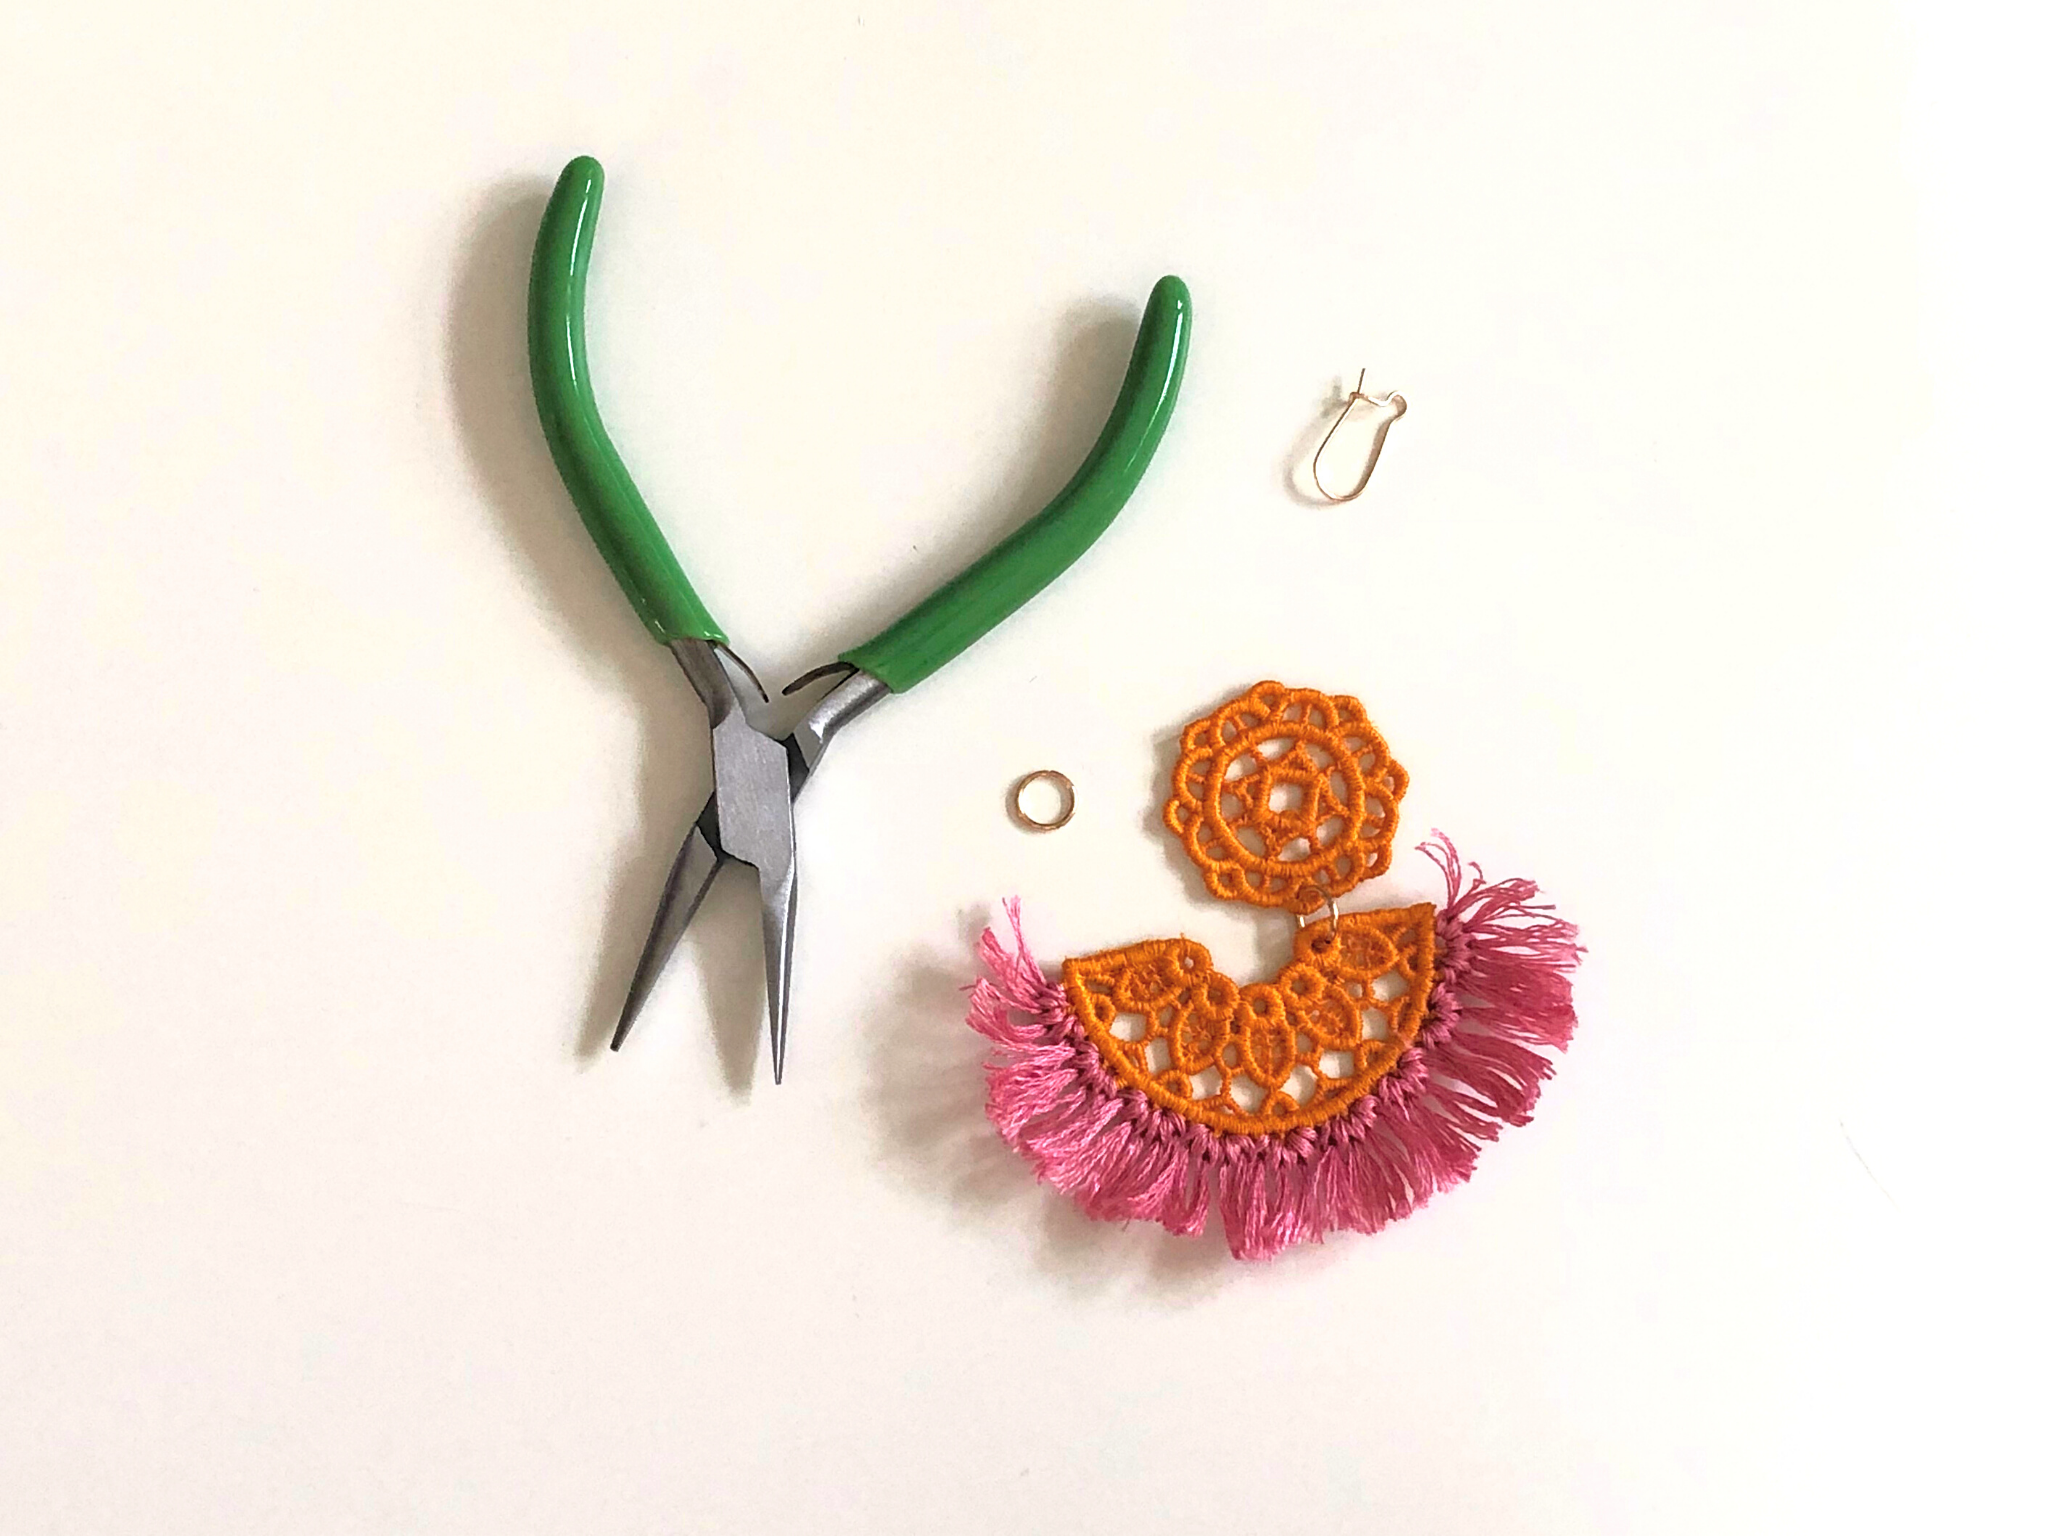
Use the needle-nose pliers to open the jump rings by holding either side of the opening in the pliers and twisting them sideways. Close in the same manner.
Put together your earrings however you like. For this pair, I pieced multiple FSL pieces together to create statement earrings.
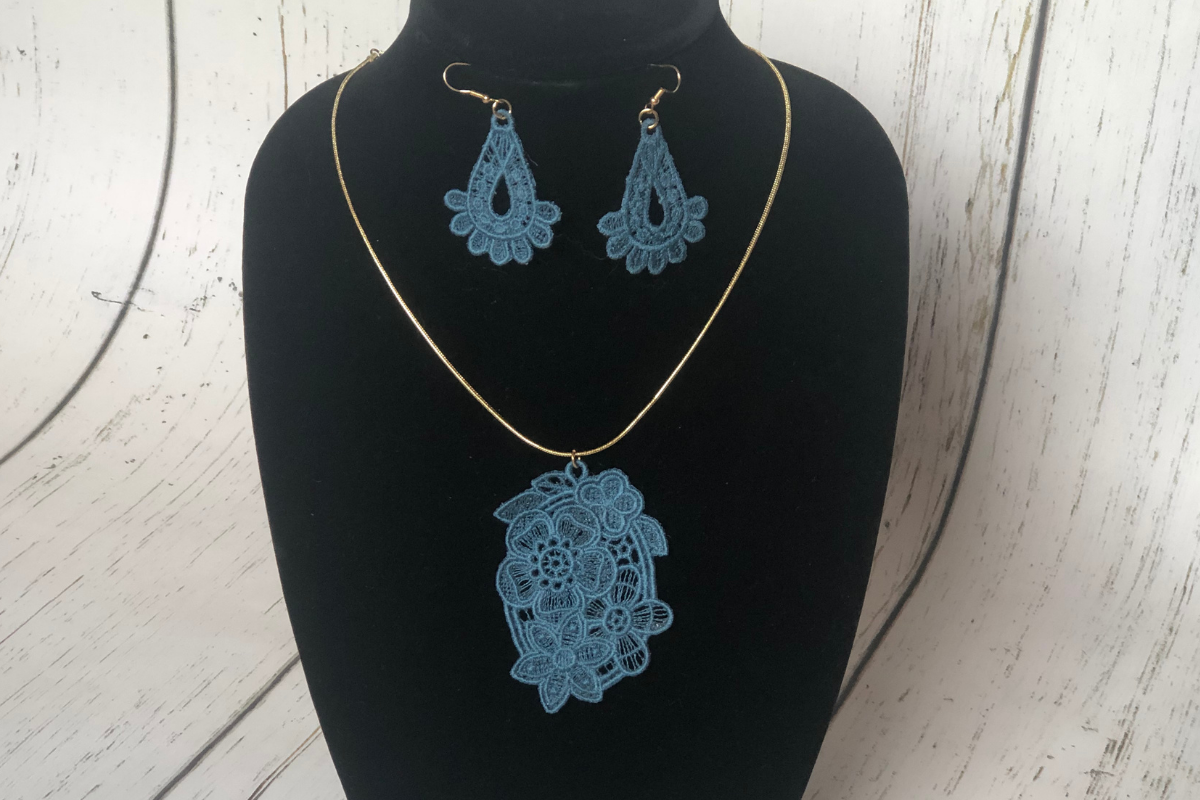
For these earrings, I kept it simple and let the design “FSL Fashion Earrings” shine on their own. I put a jump ring on the design “FSL Garden Necklace” and put it on a pre-made chain to keep it simple.
I have no experience with making jewelry so it’s been fun to play around and learn as I go. If you have more experience with making jewelry I can’t wait to see what you make!
If you’re looking for more design ideas you can check out my blog where I have a post all about different Free Standing Lace Earring Design Ideas. I told you I fell madly in love with making this free-standing lace jewelry! Check out the pieces I have made so far and hopefully, it will inspire you to make some great pieces of your own, too!
Want to learn more about machine embroidery? Come check out Tough Kitten Crafts! It’s my goal to make you fearless with machine embroidery through classes, an inclusive community and lots of content covering everything from how to hoop properly to embroidery on velvet. Come join me on Instagram, over on the Tough Kitten Crafts Blog or in our wonderful Tough Kitten Crafts Community on Facebook which is made up of an incredible group of international folks. Let’s get you fearless with machine embroidery!
Tag BERNINA USA and Tough Kitten Crafts on Instagram if you make some! I can’t wait to see what you create.
Xoxo Kate
Used Products


What you might also like


3 comments on “How to Make Machine Embroidered Jewelry”
-
-
They are so cute. Thanks for sharing & the tips Kate. Can’t wait to give them a try.
-
What gorgeous pieces ?! Thank you for sharing this.
Leave a Reply
You must be logged in to post a comment.

These are beautiful!