How to Make Embroidered Greeting Cards
Hello everyone! Yay, It’s National Embroidery Month, and I love it. Kymona here, with a couple of embroidered greeting cards to share with you.
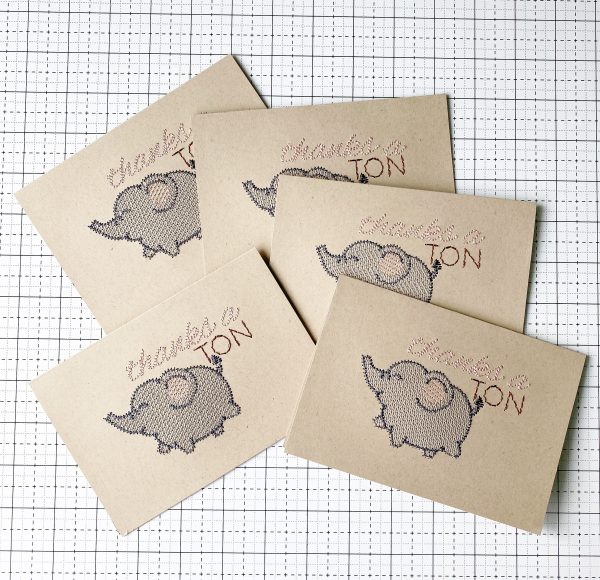
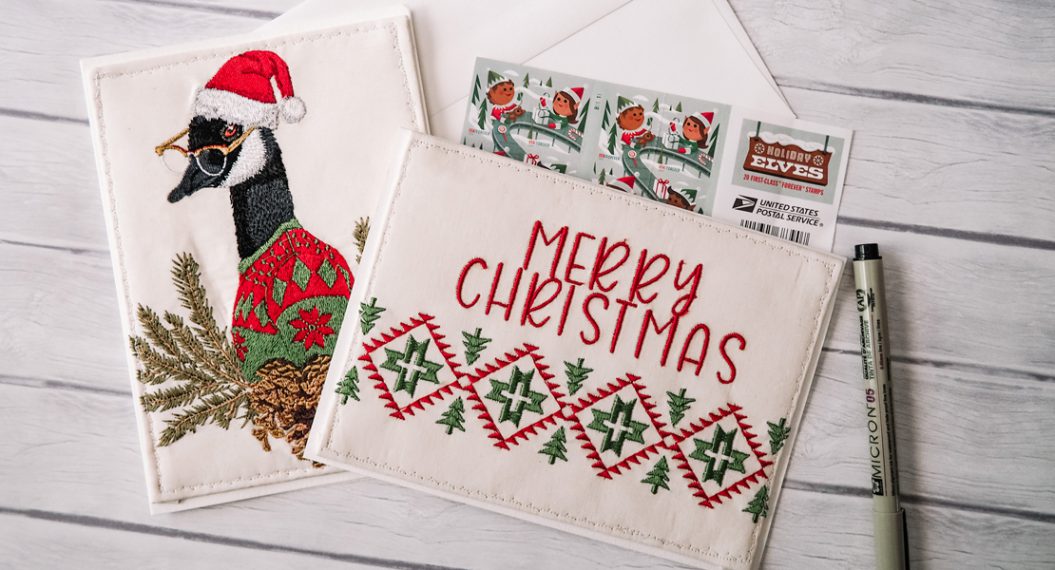
Yes, you can use your embroidery machine to create greeting cards. I was blown away, too, when I found out. You can make beautiful cards for your loved ones, individuals who love sewing, or anyone who needs a pick-me-up.
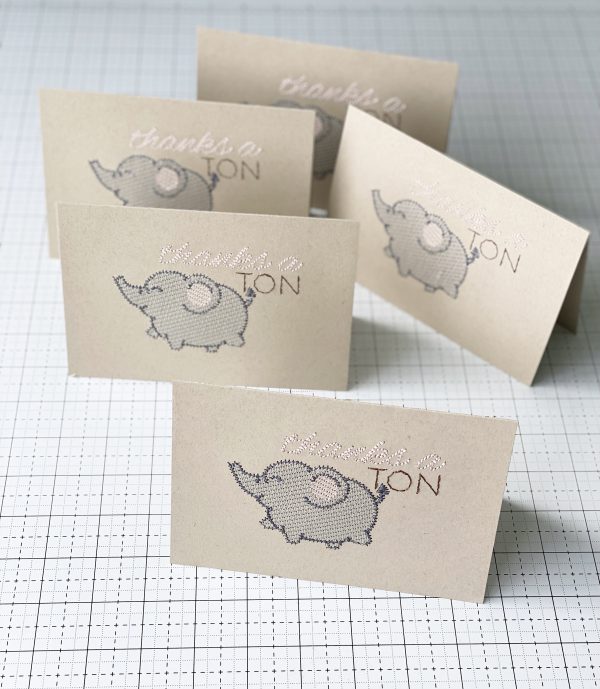
Let me show you these cute embroidered greeting cards!
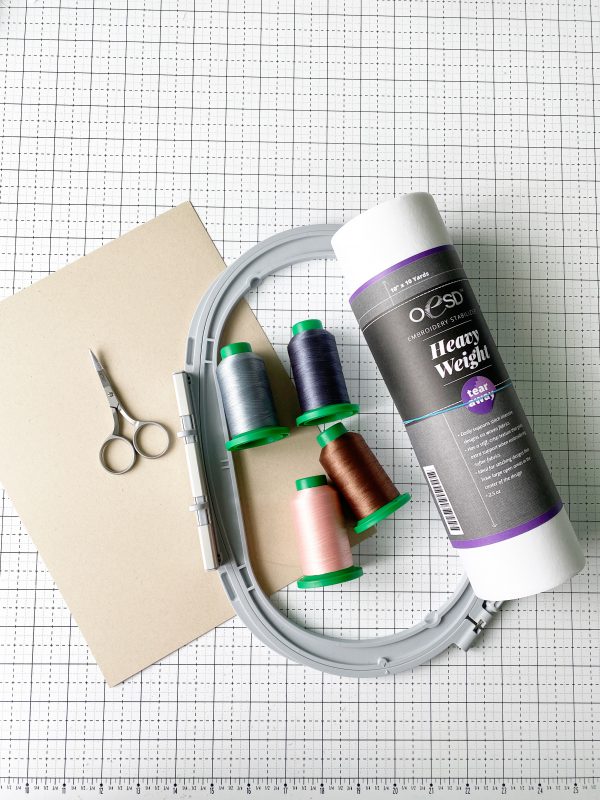
Materials to Embroider Greeting Cards
- Scissortail Stitches Cheeky Cards Embroidery File
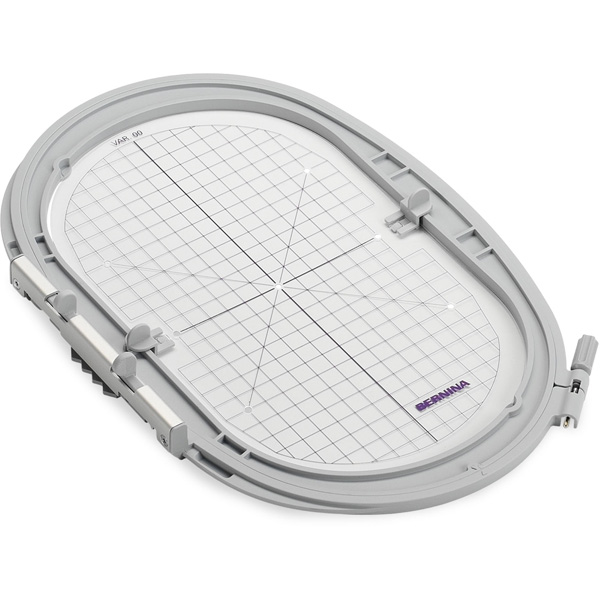
- Large Oval Ho0p
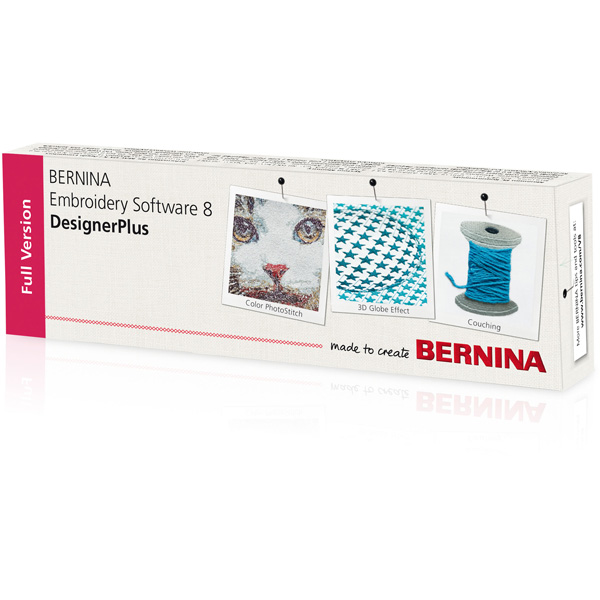
- Bernina Embroidery Software v8.2
- Cardstock
- Medium or Heavy Weight TearAway Stabilizer
- Isocard Thread
- OESD Embroidery Tape
- Embroidery needle 75/11
- Paper Rotary Cutter or Scissors
- Cutting Mat
- Paper Trimmer (optional)
- OESD Premade Card (optional)
Instructions to Embroider Greeting Cards
Step 1: Cut Cardstock
If you do not have precut cardstock, cut your paper to 6.25 inches by 8.75 inches. Fold in half.
Cut another piece of cardstock a scant smaller than 6.25 inches by 8.75.
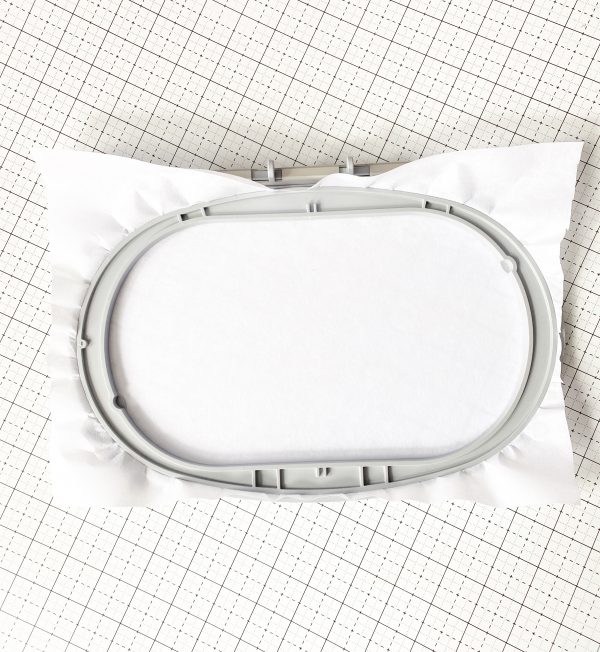
Step 2: Prepare the Embroidery Hoop
Cut a piece of stabilizer bigger than the large oval hoop.
Step3: Prepare the Sewing Machine to Embroider
Attach the embroidery module to your machine.
Lower the feed dogs.
Attach the #26 embroidery foot to the machine.
Pull up your design on the machine screen.
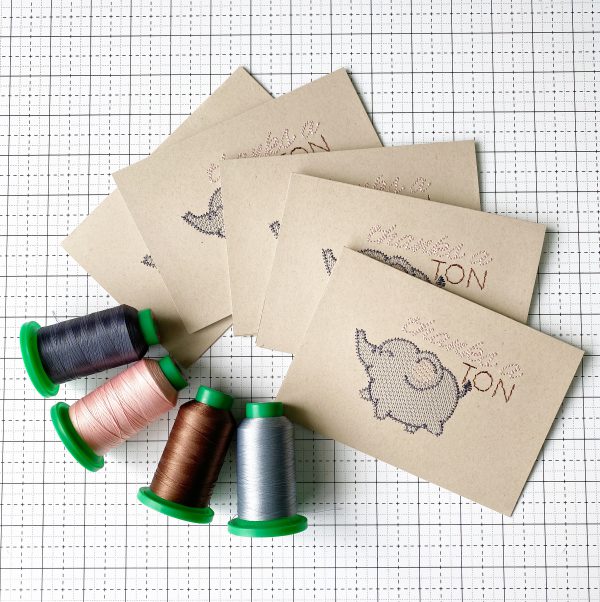
This design has 6 color changes so place your threads on the multithreaded holder if you have one.
Thread the machine with the first color.
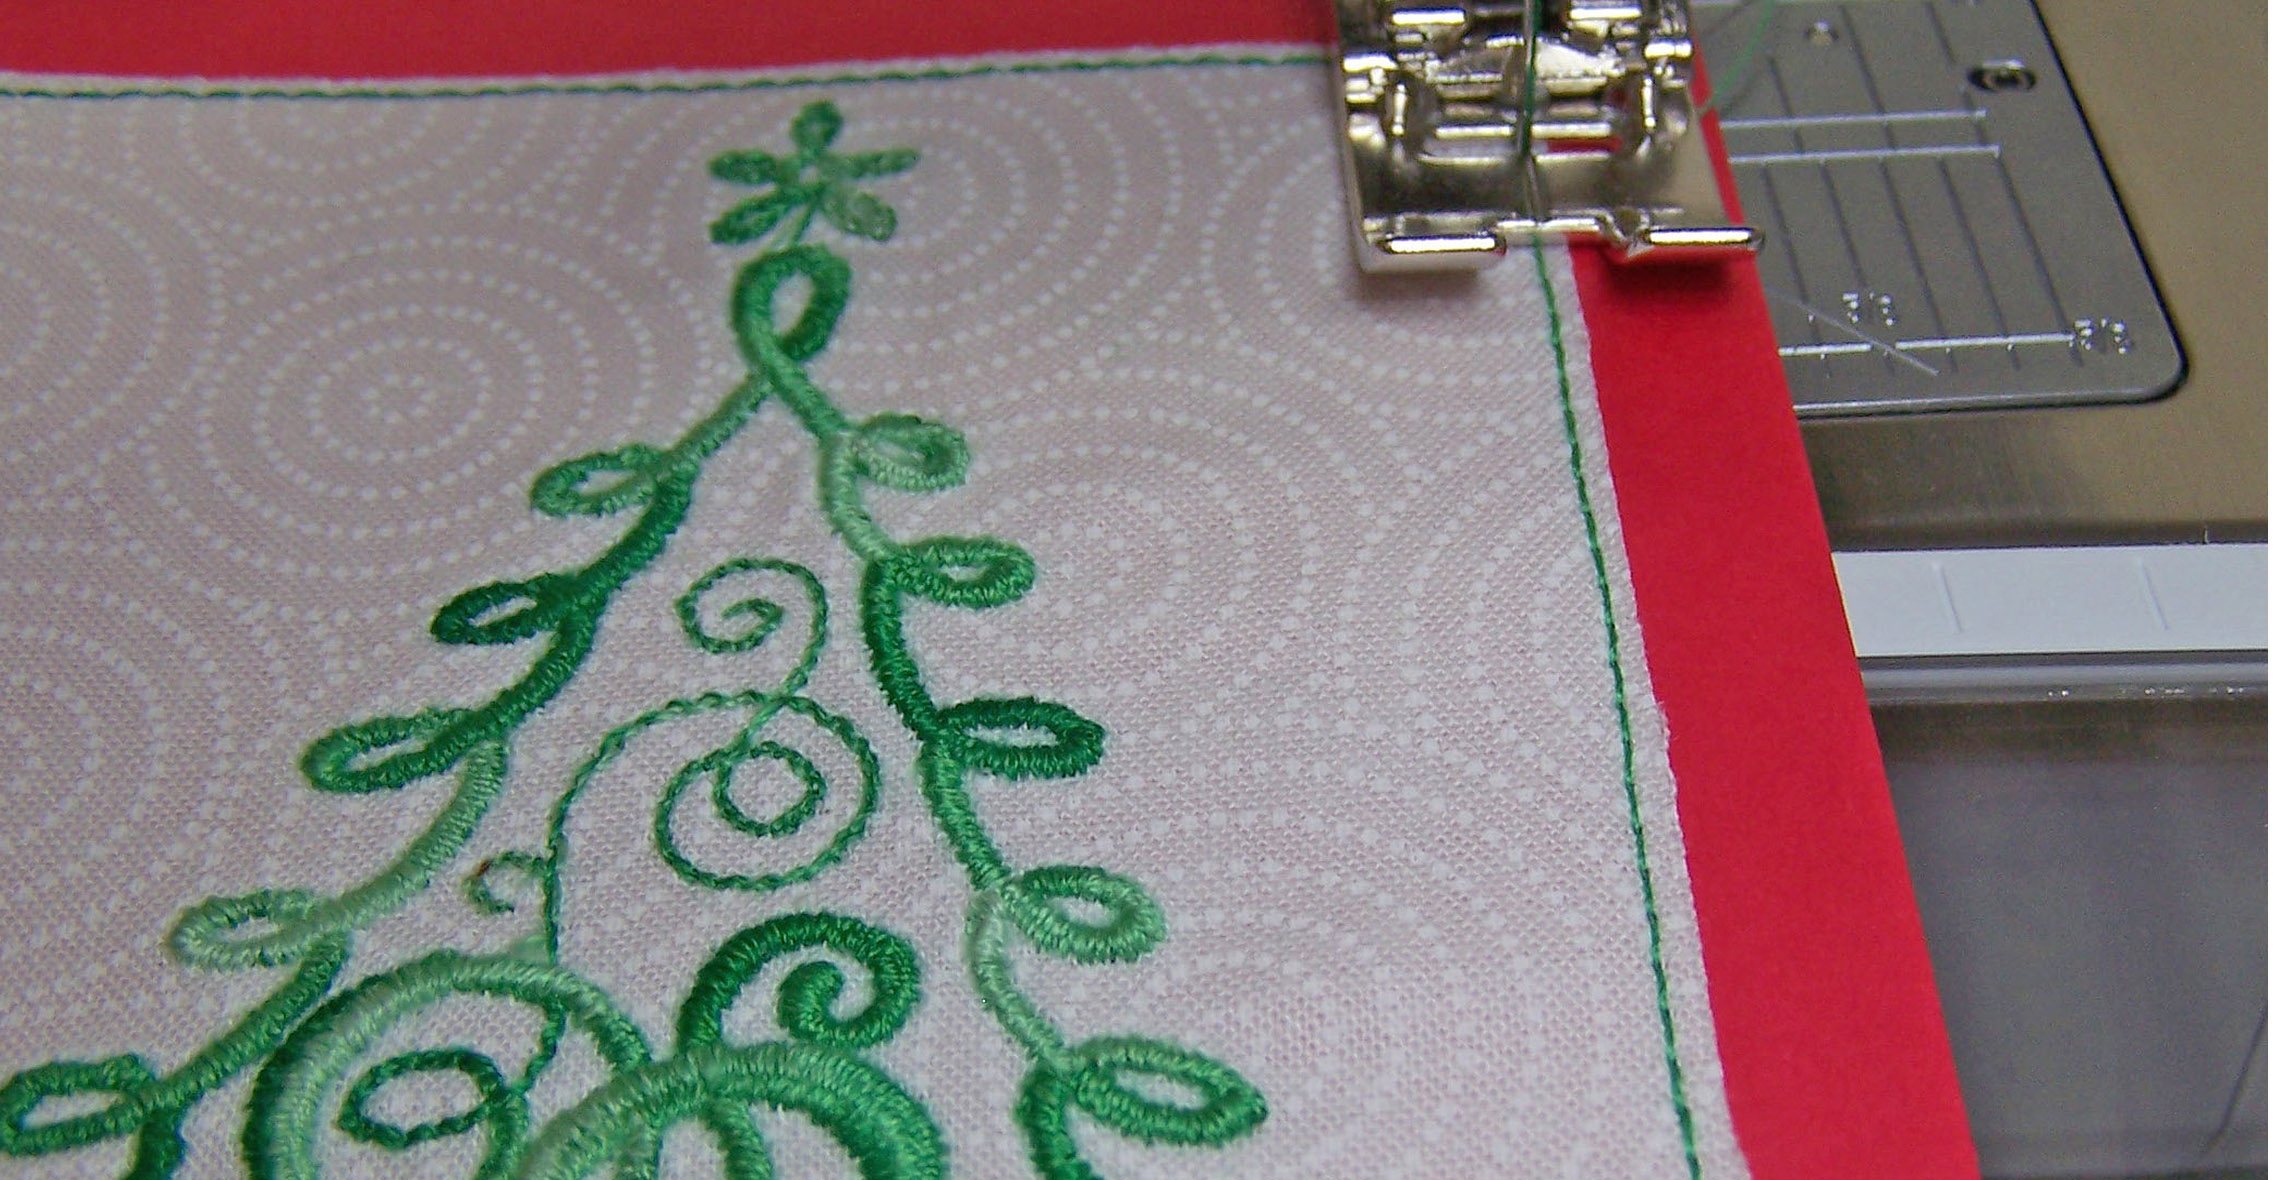
Step 4: Stitch out the Greeting Card Design
Make sure to trace the design to make sure your needle does not hit the sides of the hoop.
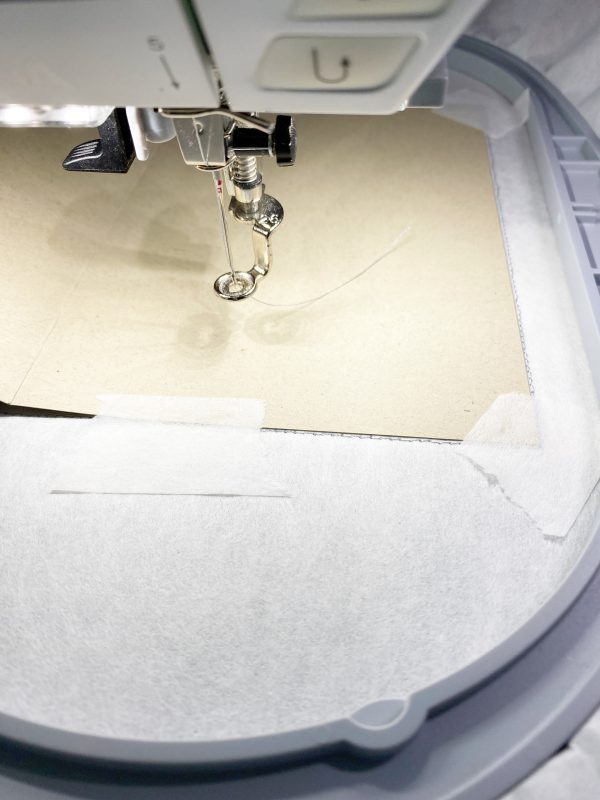
The first stitch is a placement stitch to know where to place the cardstock so that it’s centered.
After the placement stitch stitches out, line the cardstock up against the stitch lines. Tape it down.
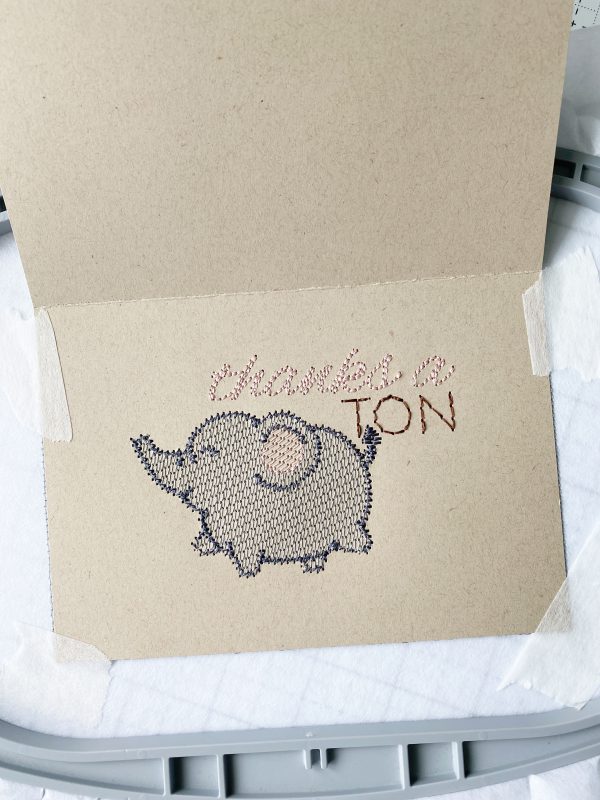
The second to the sixth stitch will complete the design.

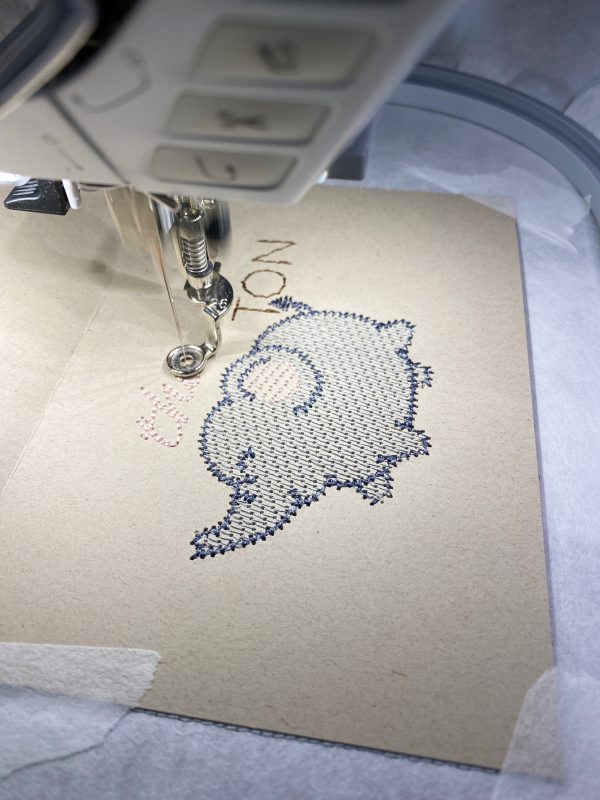
It takes fourteen minutes from start to finish.
Step 5: Unhoop and Clean up the Design
Now it time to unhoop and cardstock.
Turn the greeting card over and take your time and tear the stabilizer away from the stitches. Use one hand to tear the stabilizer and the other to hold the stitches as you go.
Note: You have to be very careful tearing the stabilizer. Since the design is on paper, remember the stitches can rip the cardstock.
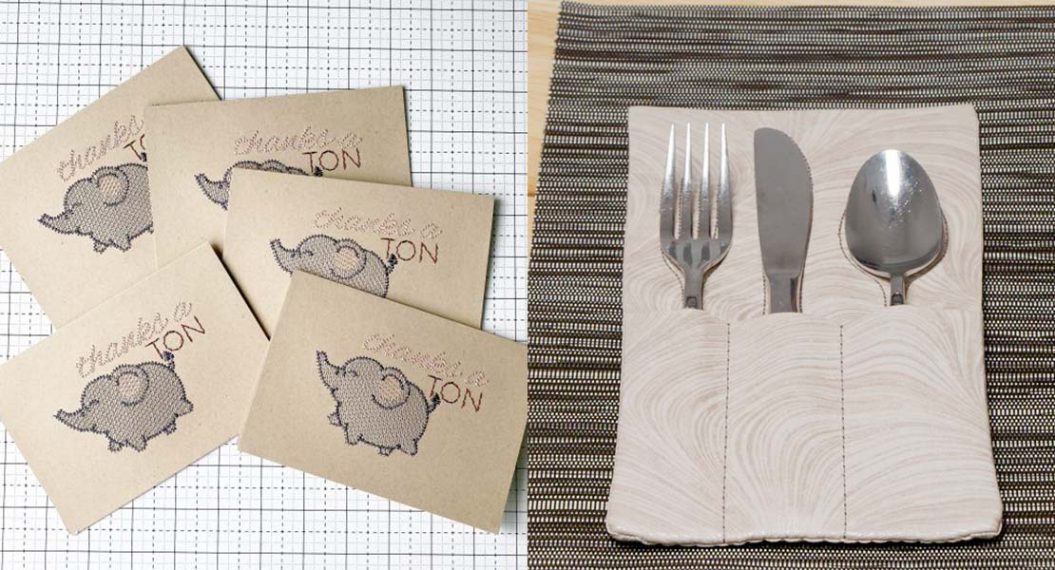
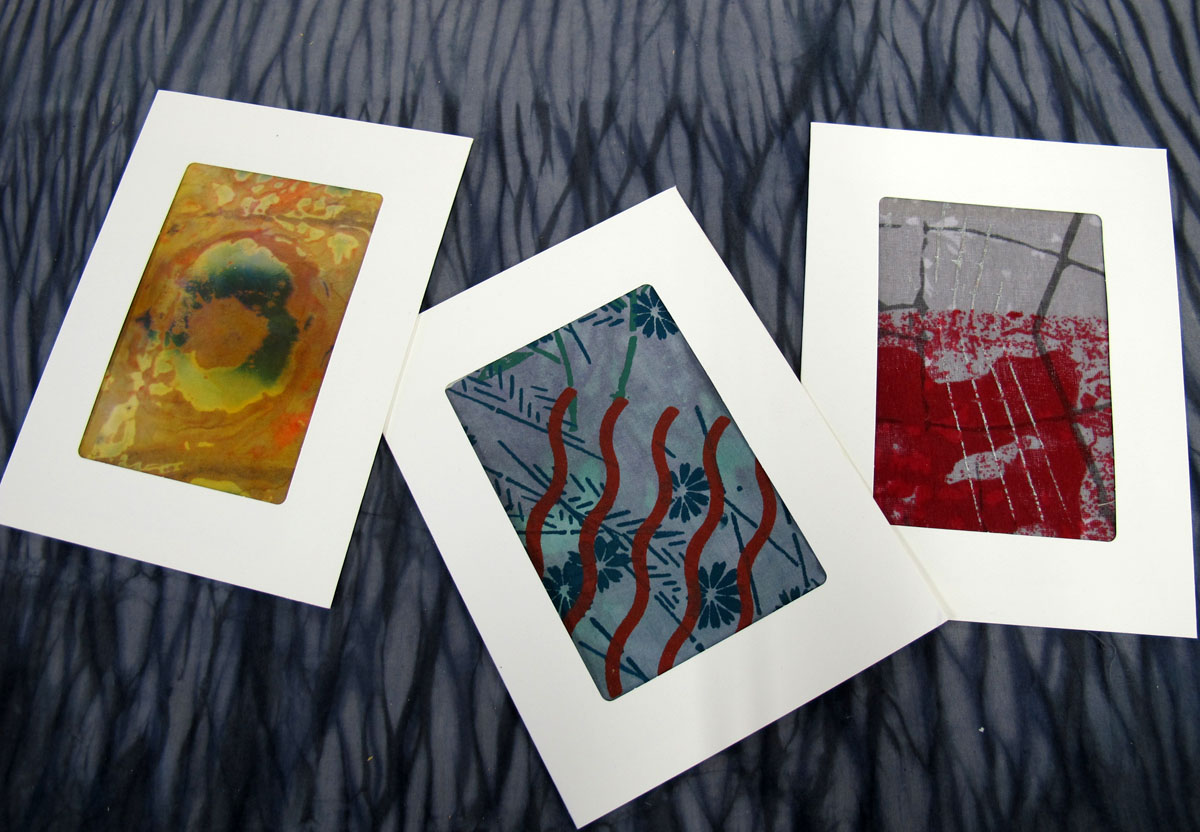
Step 6: Cover up the Design
Adhere the small piece of cardstock over the stitches.
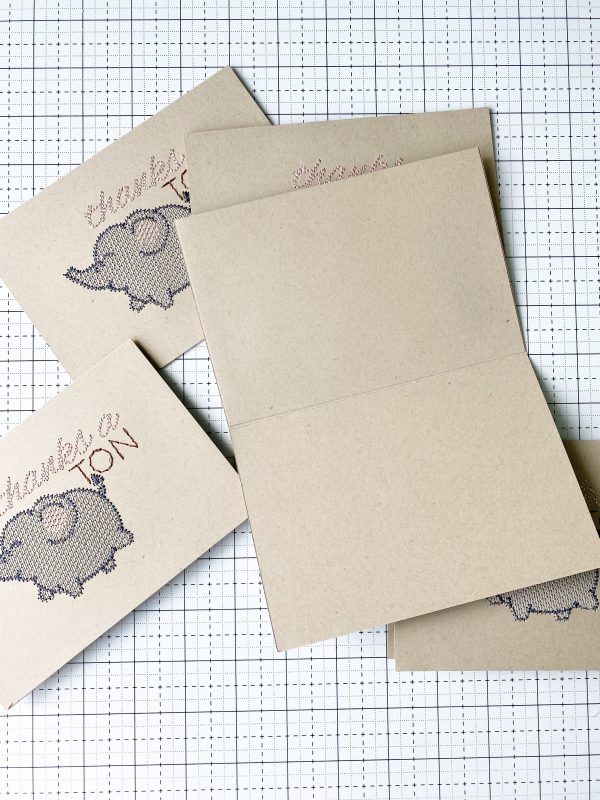
Now, this greeting card is ready to use!
Embroidered greeting cards are a different way to create cards that will wow the recipient. I challenge all of you to give this a try.
Used Products


What you might also like


5 comments on “How to Make Embroidered Greeting Cards”
-
-
Hello Marybeth! Thank you so much. I can’t wait to see what you create.
-
-
How dense a design works well on card stock?
-
Hello Sally,
I’m not 100 percent sure about that. I would make sure my card stock has the proper stabilizer to support the stitches so that the paper doesn’t tear. This design had 4340 stitches.
-
I love doing embroidered cards. I would suggest lighter designs they seem to work much better. I have only used light and medium stabilizer for cards so the heavier one may work fine. I found heavy thick embroidery tended to weaken the stitched area and sometimes tore easily. I’ve also used non tear away and just cut around the design area on the backside before putting the second layer on back. I’ve also used scrapbooking decorative papers or decorative stock cut the full size of the inside front over the stitched area. the Rework designs in a variegated thread are very pretty. Enjoy your card making.
-
Leave a Reply
You must be logged in to post a comment.

Sew cute , Kymona! cant wait to give it a try