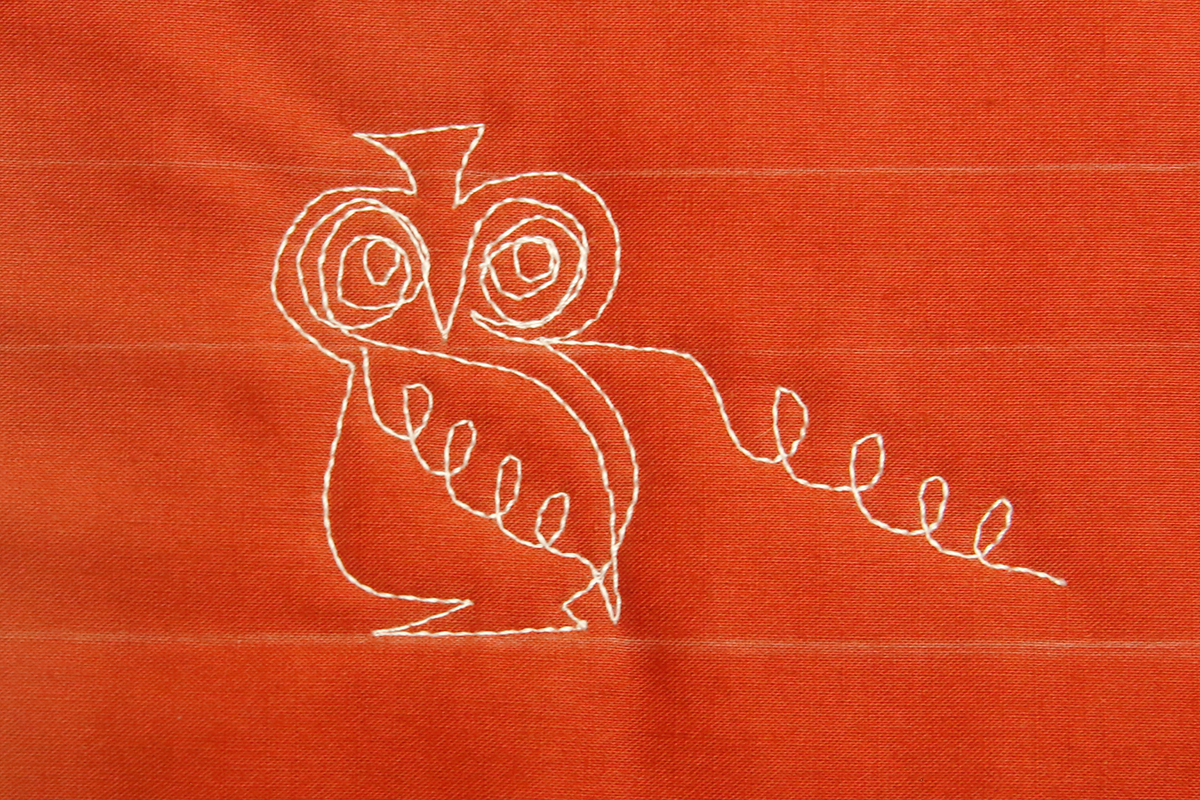
How to Machine Quilt an Owl Motif
Barred, Barn, Screech, Great Horned, Snowy–they’re all a HOOT to stitch! Learn how to free-motion quilt an owl motif!
I’m BERNINA Ambassador, Lori Kennedy of Lori Kennedy Quilts, back with another machine quilting motif.
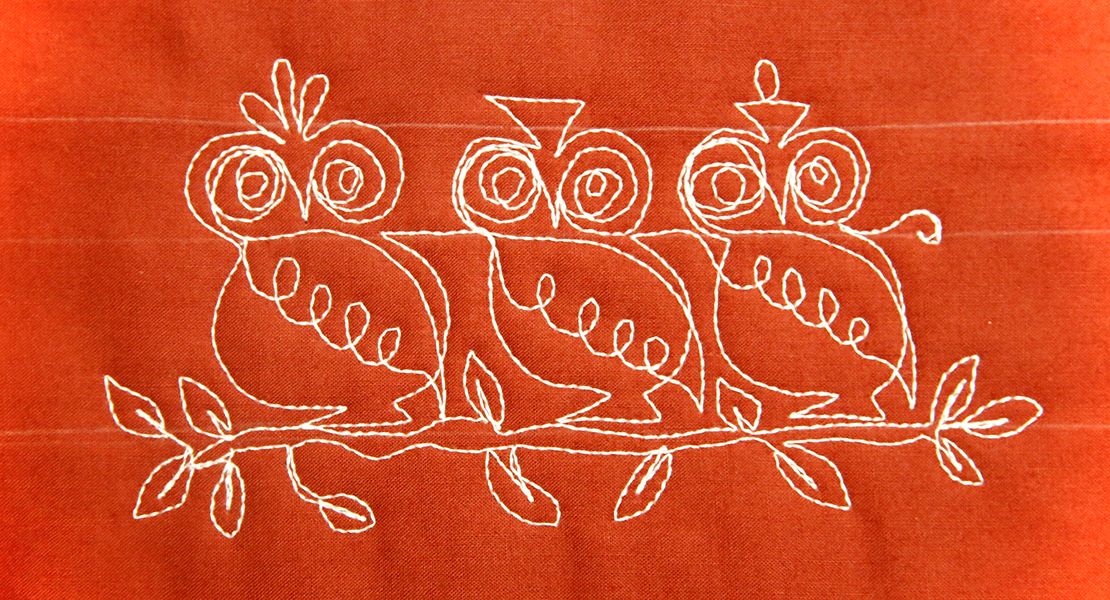
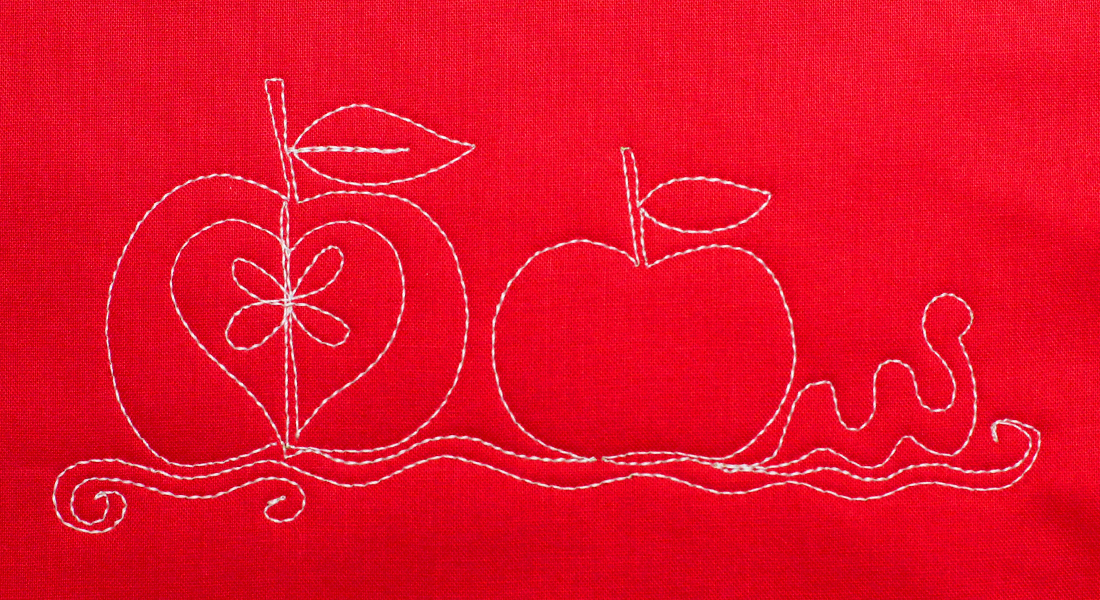
My quilting motifs are often inspired by the nature around me. I live in Minnesota where I often hear (but rarely see) owls during my evening walks. Owls are perfect quilting motifs. They are easy to stitch in rows to create borders or fill a block with an embellished owl. Once you learn the basic motif and proportions, you can add personality to your quilting by adding designs, changing the shape, or positioning an owl on top of an apple or other quilted motif.
(For tips on setting up your machine for quilting, check out How to Get Started with Free Motion Quilting)
How to Machine Quilt an Owl Motif
Begin by drawing a few guidelines to establish proportions. For the two-inch Owl motif below, draw a top line, then add a line 3/4 below the top line, and another line 1-1/4 inch below that line. For a larger border, maintain the same proportions.
(Not sure what thread to choose?–Read How to Design with Thread)
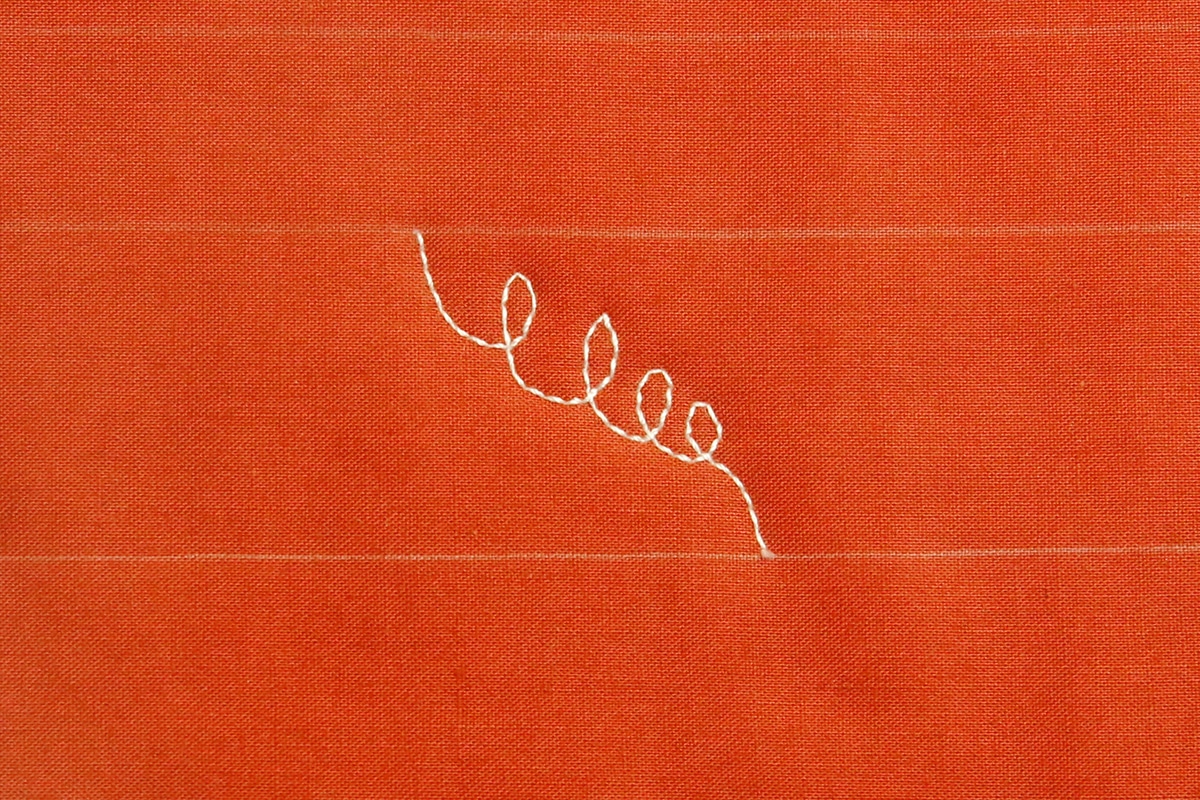
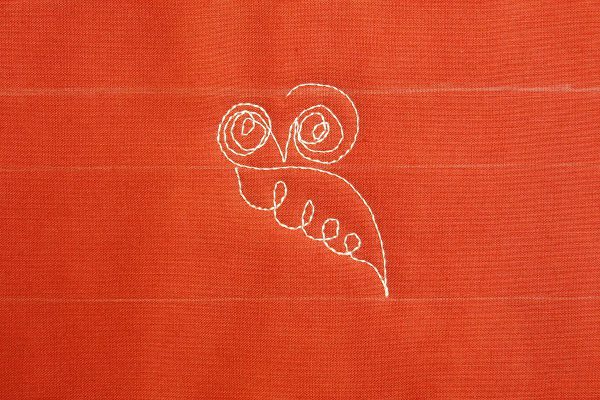
Start stitching on the middle line. Stitch a series of upward loops, angling toward the bottom line.
Next, stitch a short vertical line, then curve from right to left, back to the starting point.

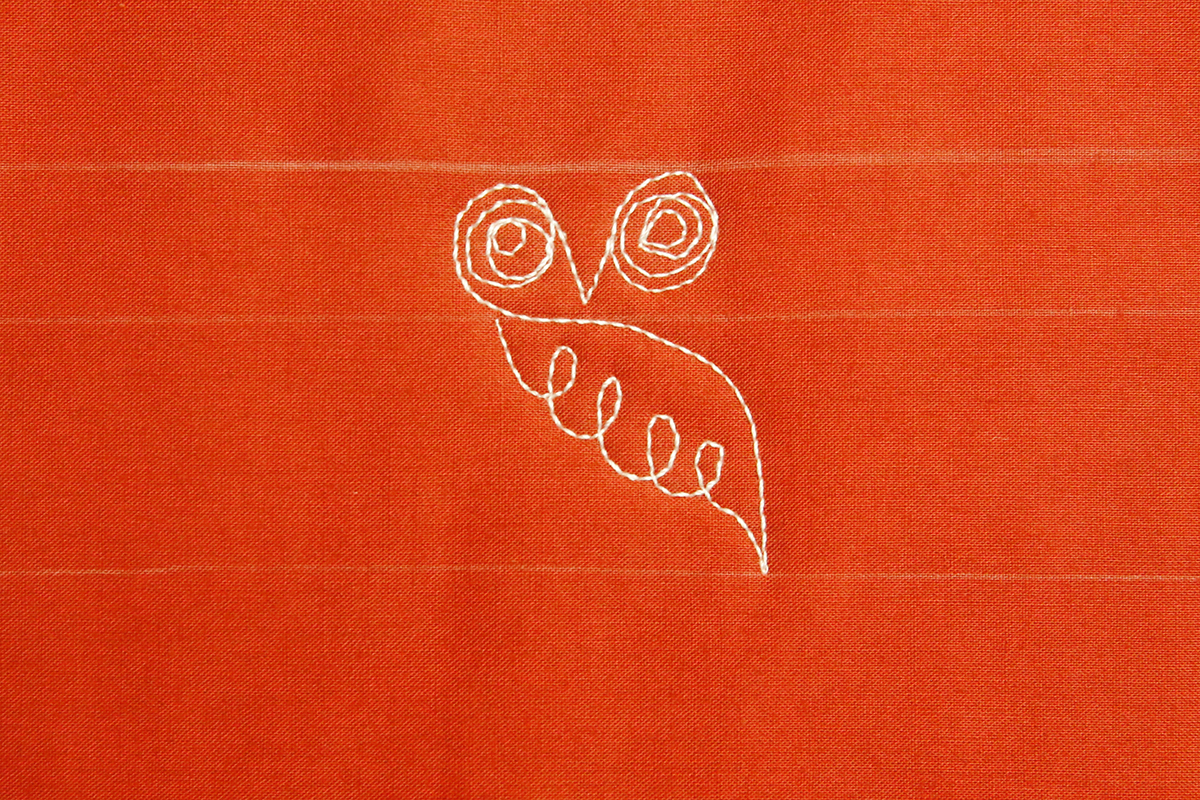
Add a messy spiral to create the Owl’s left eye. Add a diagonal line toward the center of the motif. This is the left side of the beak.

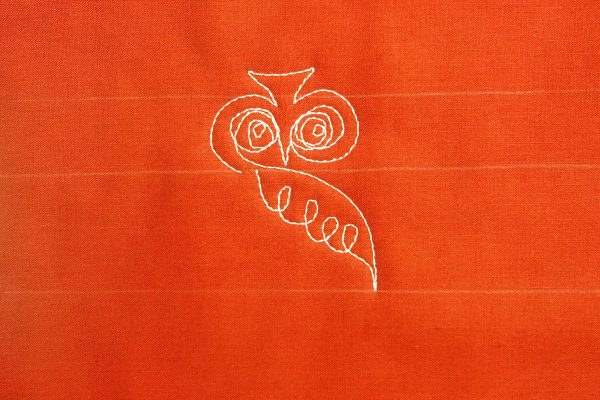
Next, complete the V-shaped beak and add another messy spiral to create the Owl’s right eye.
Stitch a curved line under the right eye.
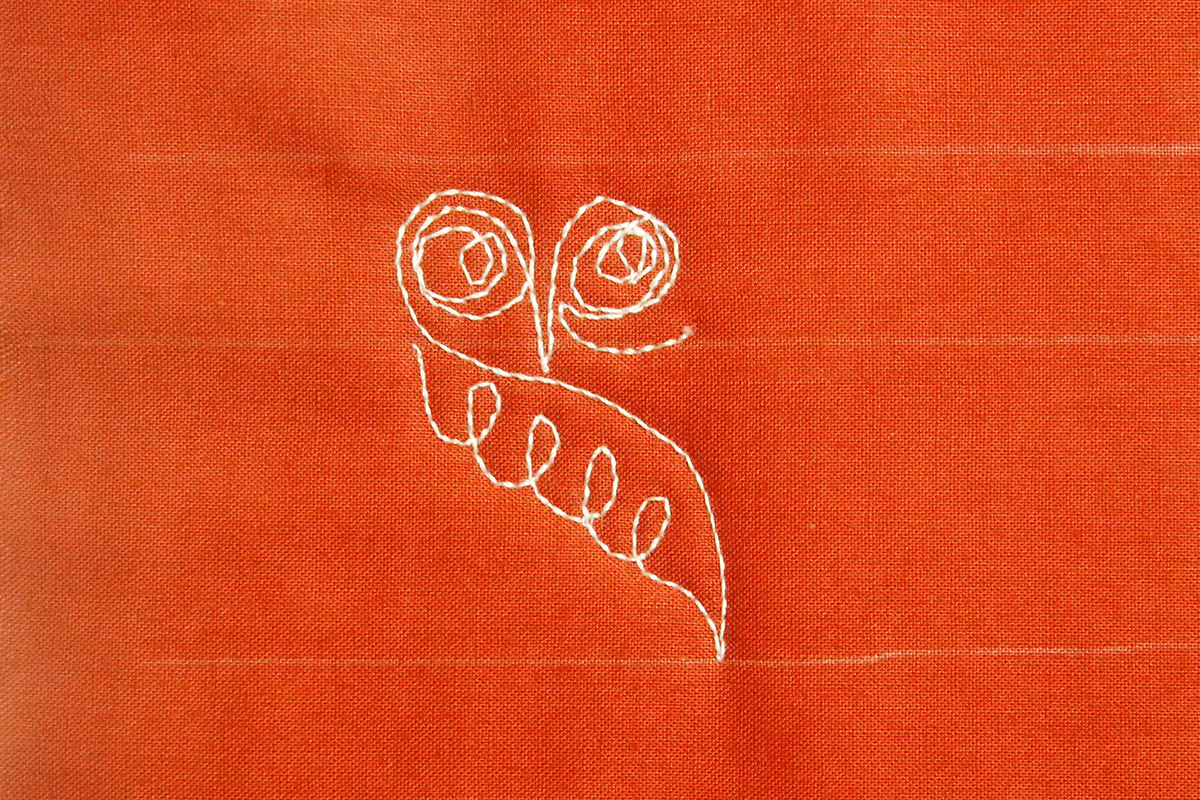
Form the head of the owl by stitching a backward letter C around the eye.
Add a triangle or other shape above the eyes, then add a curve around the left eye to complete the head of the owl.
Stitch a curved line to create the body and add feet at the base.
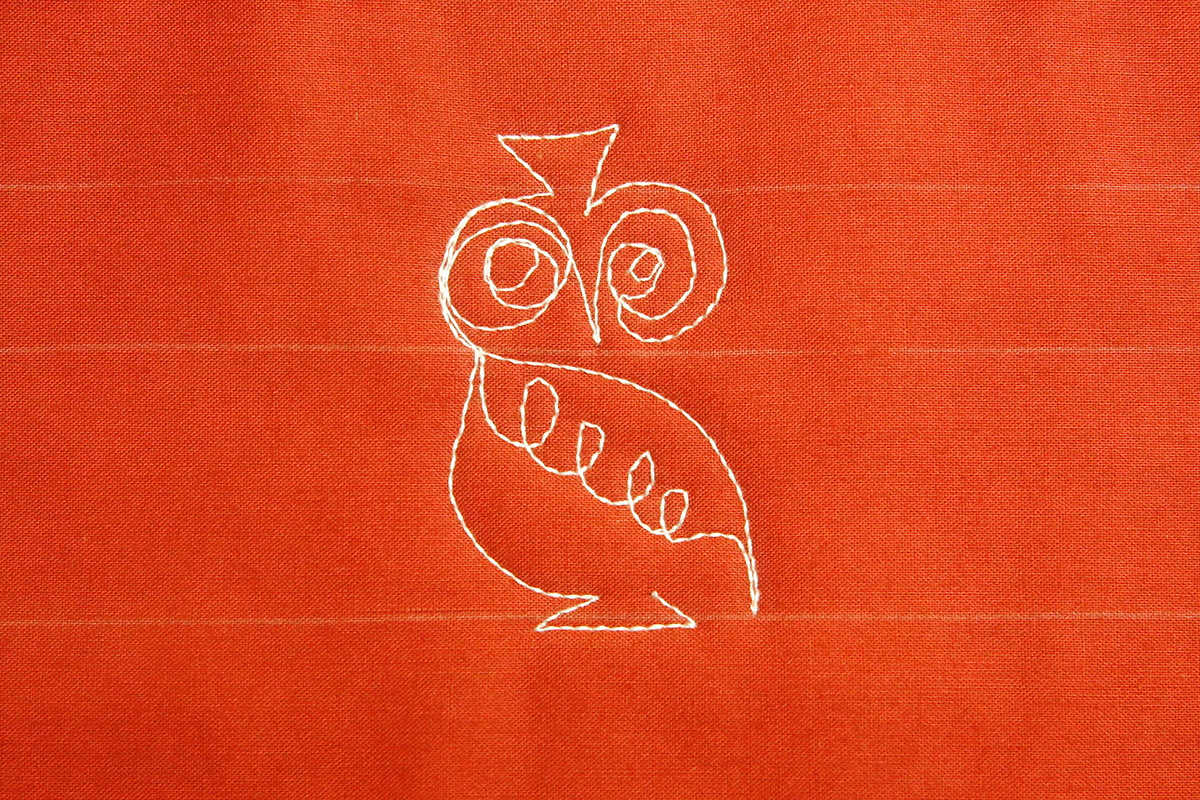
Complete the Owl by stitching a curved line back to the center guideline.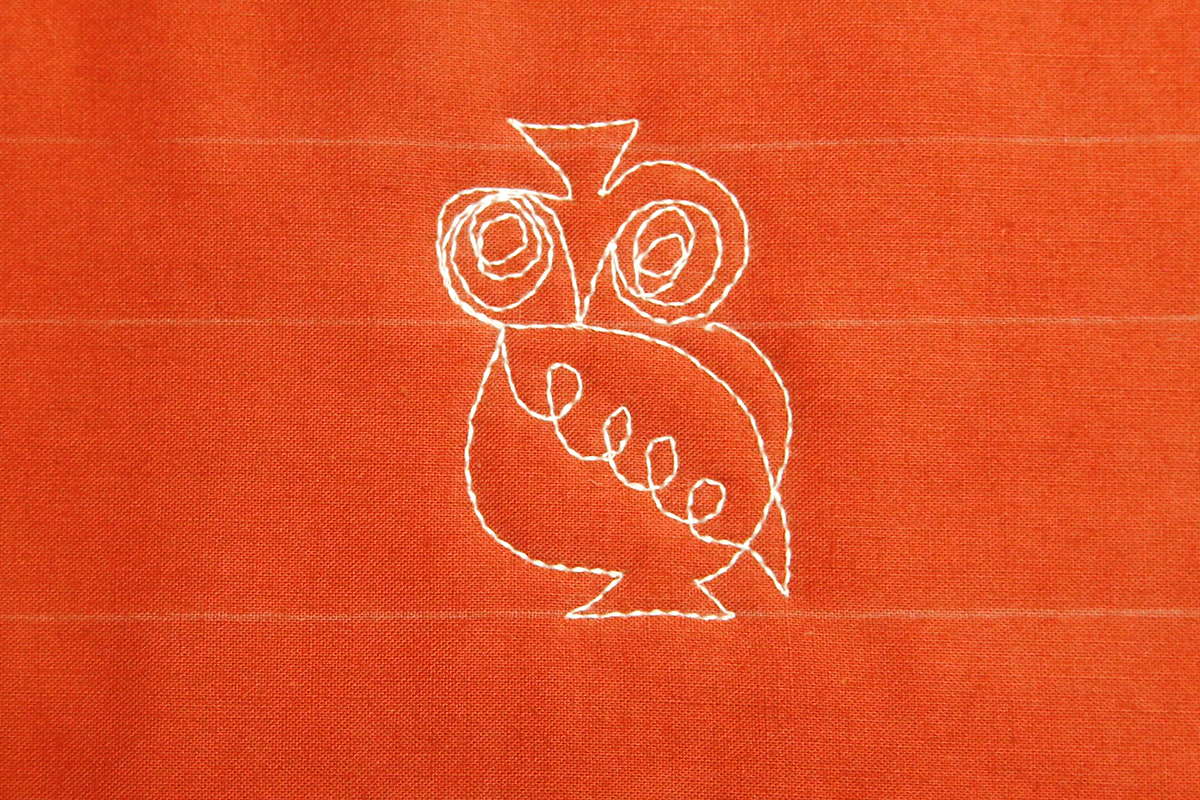
Stitch a short horizontal line and begin the loops to start another Owl motif in the row.
Once you learn how to quilt the owl motif, create your own variations. Change the size of the eyes and the embellishment on the owl’s head. Stitch leaves around him or for the student in your life, perch the Owl on top of a stack of books or a row of pencils. For Halloween, perch the Owl on top of a Jack-o-Lantern!
When you have fun quilting–your quilts will be more fun!
For more quilty inspiration, check out my books available on Etsy: LoriKennedyShop
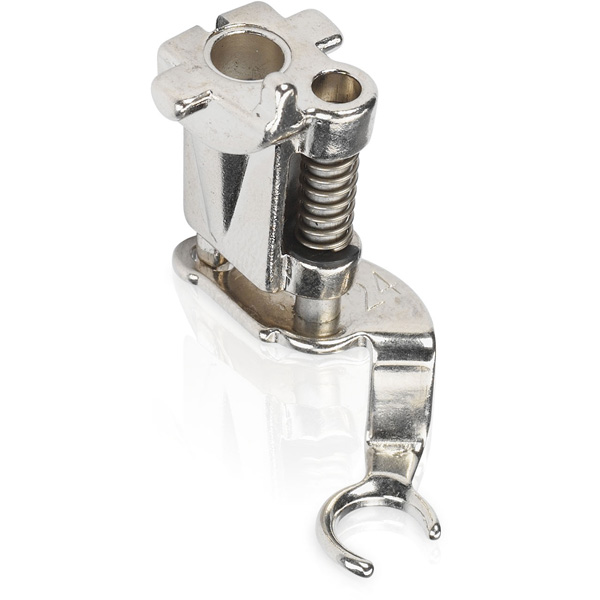
Used Products
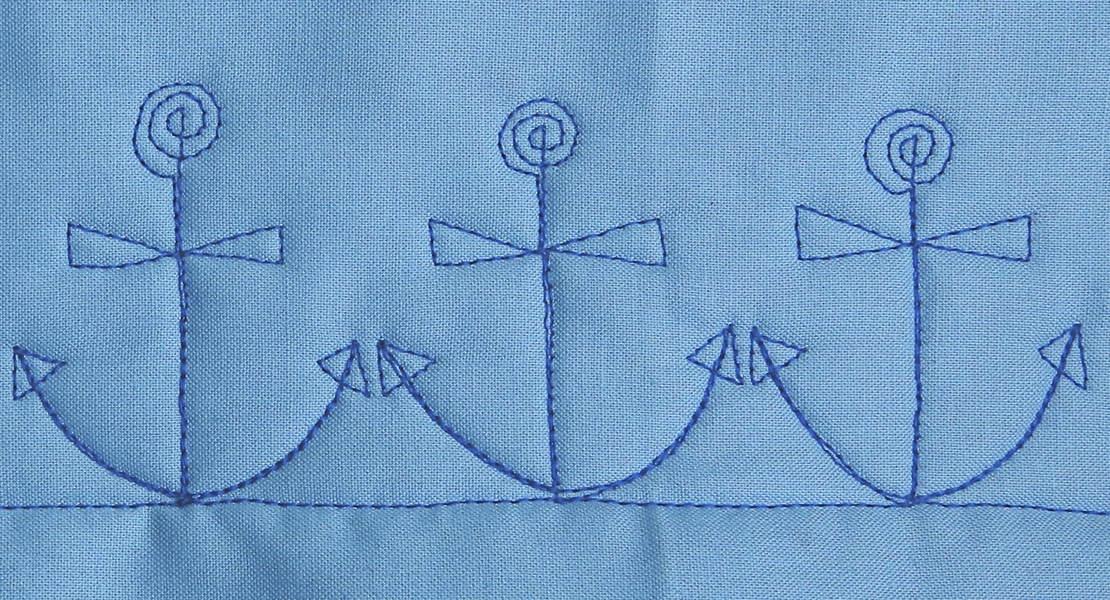
What you might also like


One comment on “How to Machine Quilt an Owl Motif”
Leave a Reply
You must be logged in to post a comment.

Thank-you Lori, owls were a favourite of my Mum’s and now of course I have adopted all of her collection, it’s great to add to my parliament with so many varied and interesting versions. This is one she would have loved.