Beginner Guide to Common Garment Sewing Terms
As a beginner, learning to sew can sometimes feel like you are learning a new language. Understanding the meaning of common terms will make following the instructions to make your next project much more straightforward. While each step in itself can be really simple, it can seem so intimidating when you have to decipher what each word means in the instructions. This glossary of sewing terms outlines some of the most common words you’ll come across when making garments. Let’s break down these terms so you can confidently take on you next project – one step at a time!
First, let’s look at sewing terms dealing with fabric and patterns.
Fabric and Pattern Terms
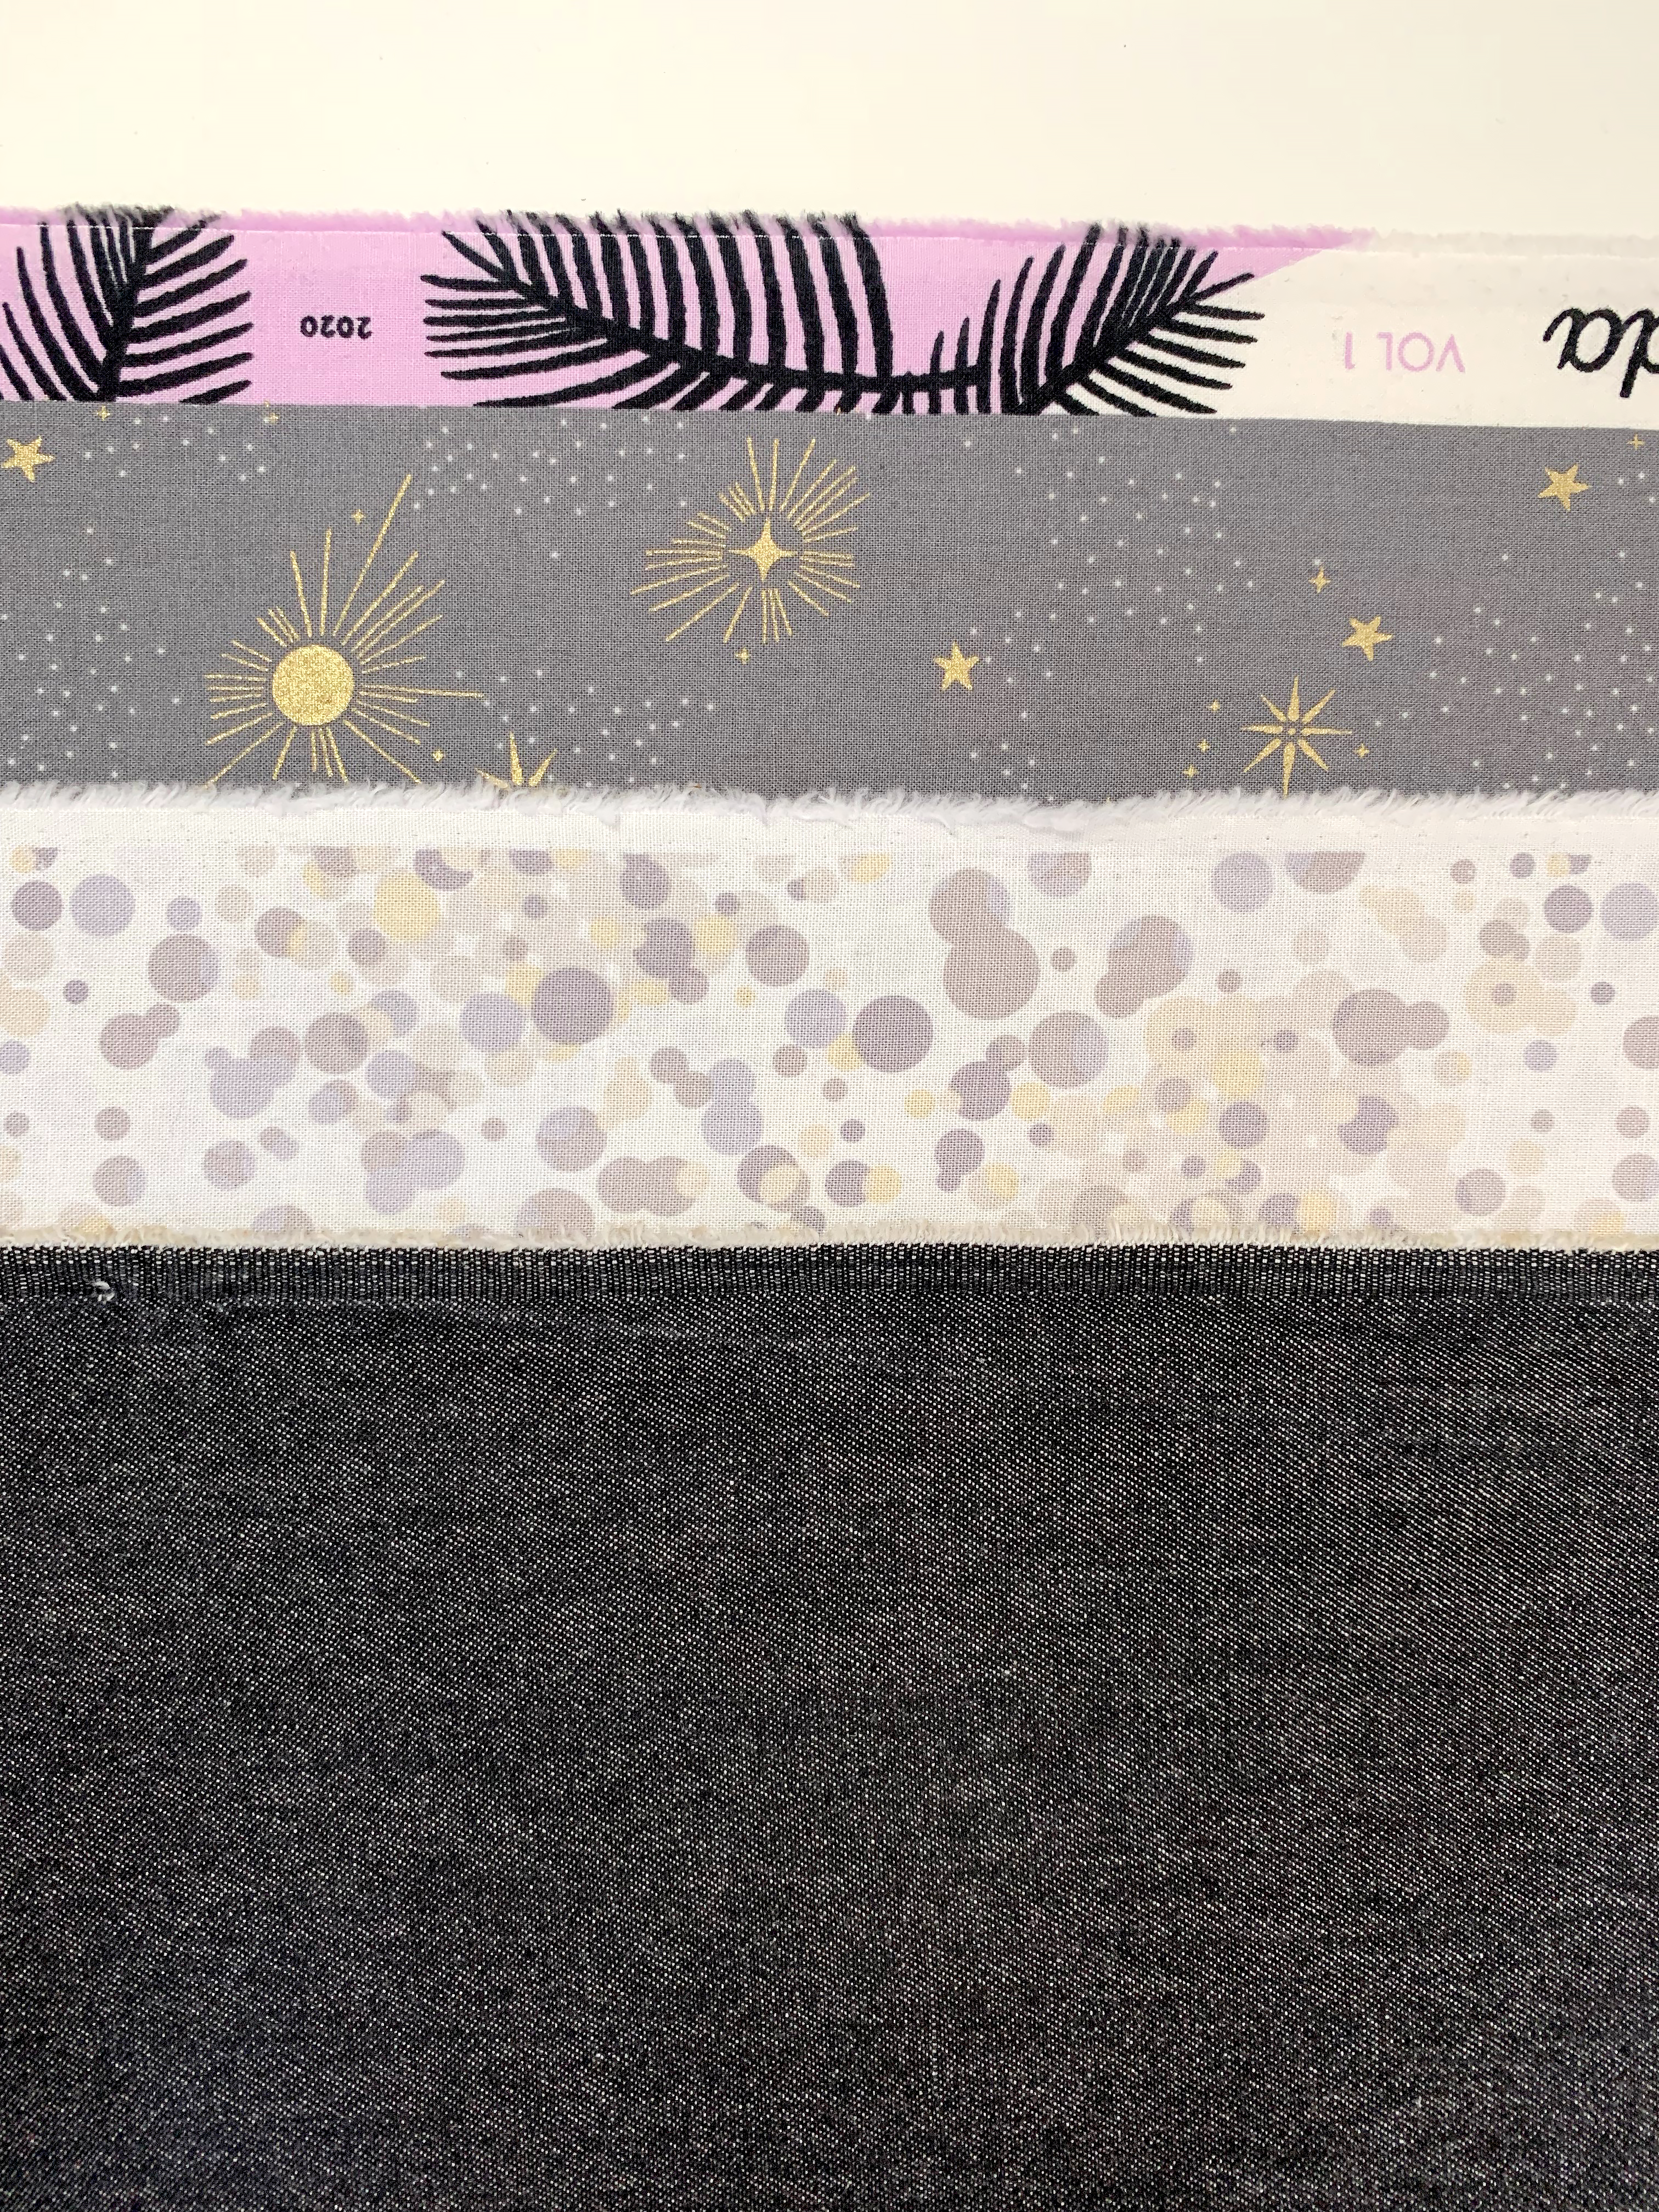
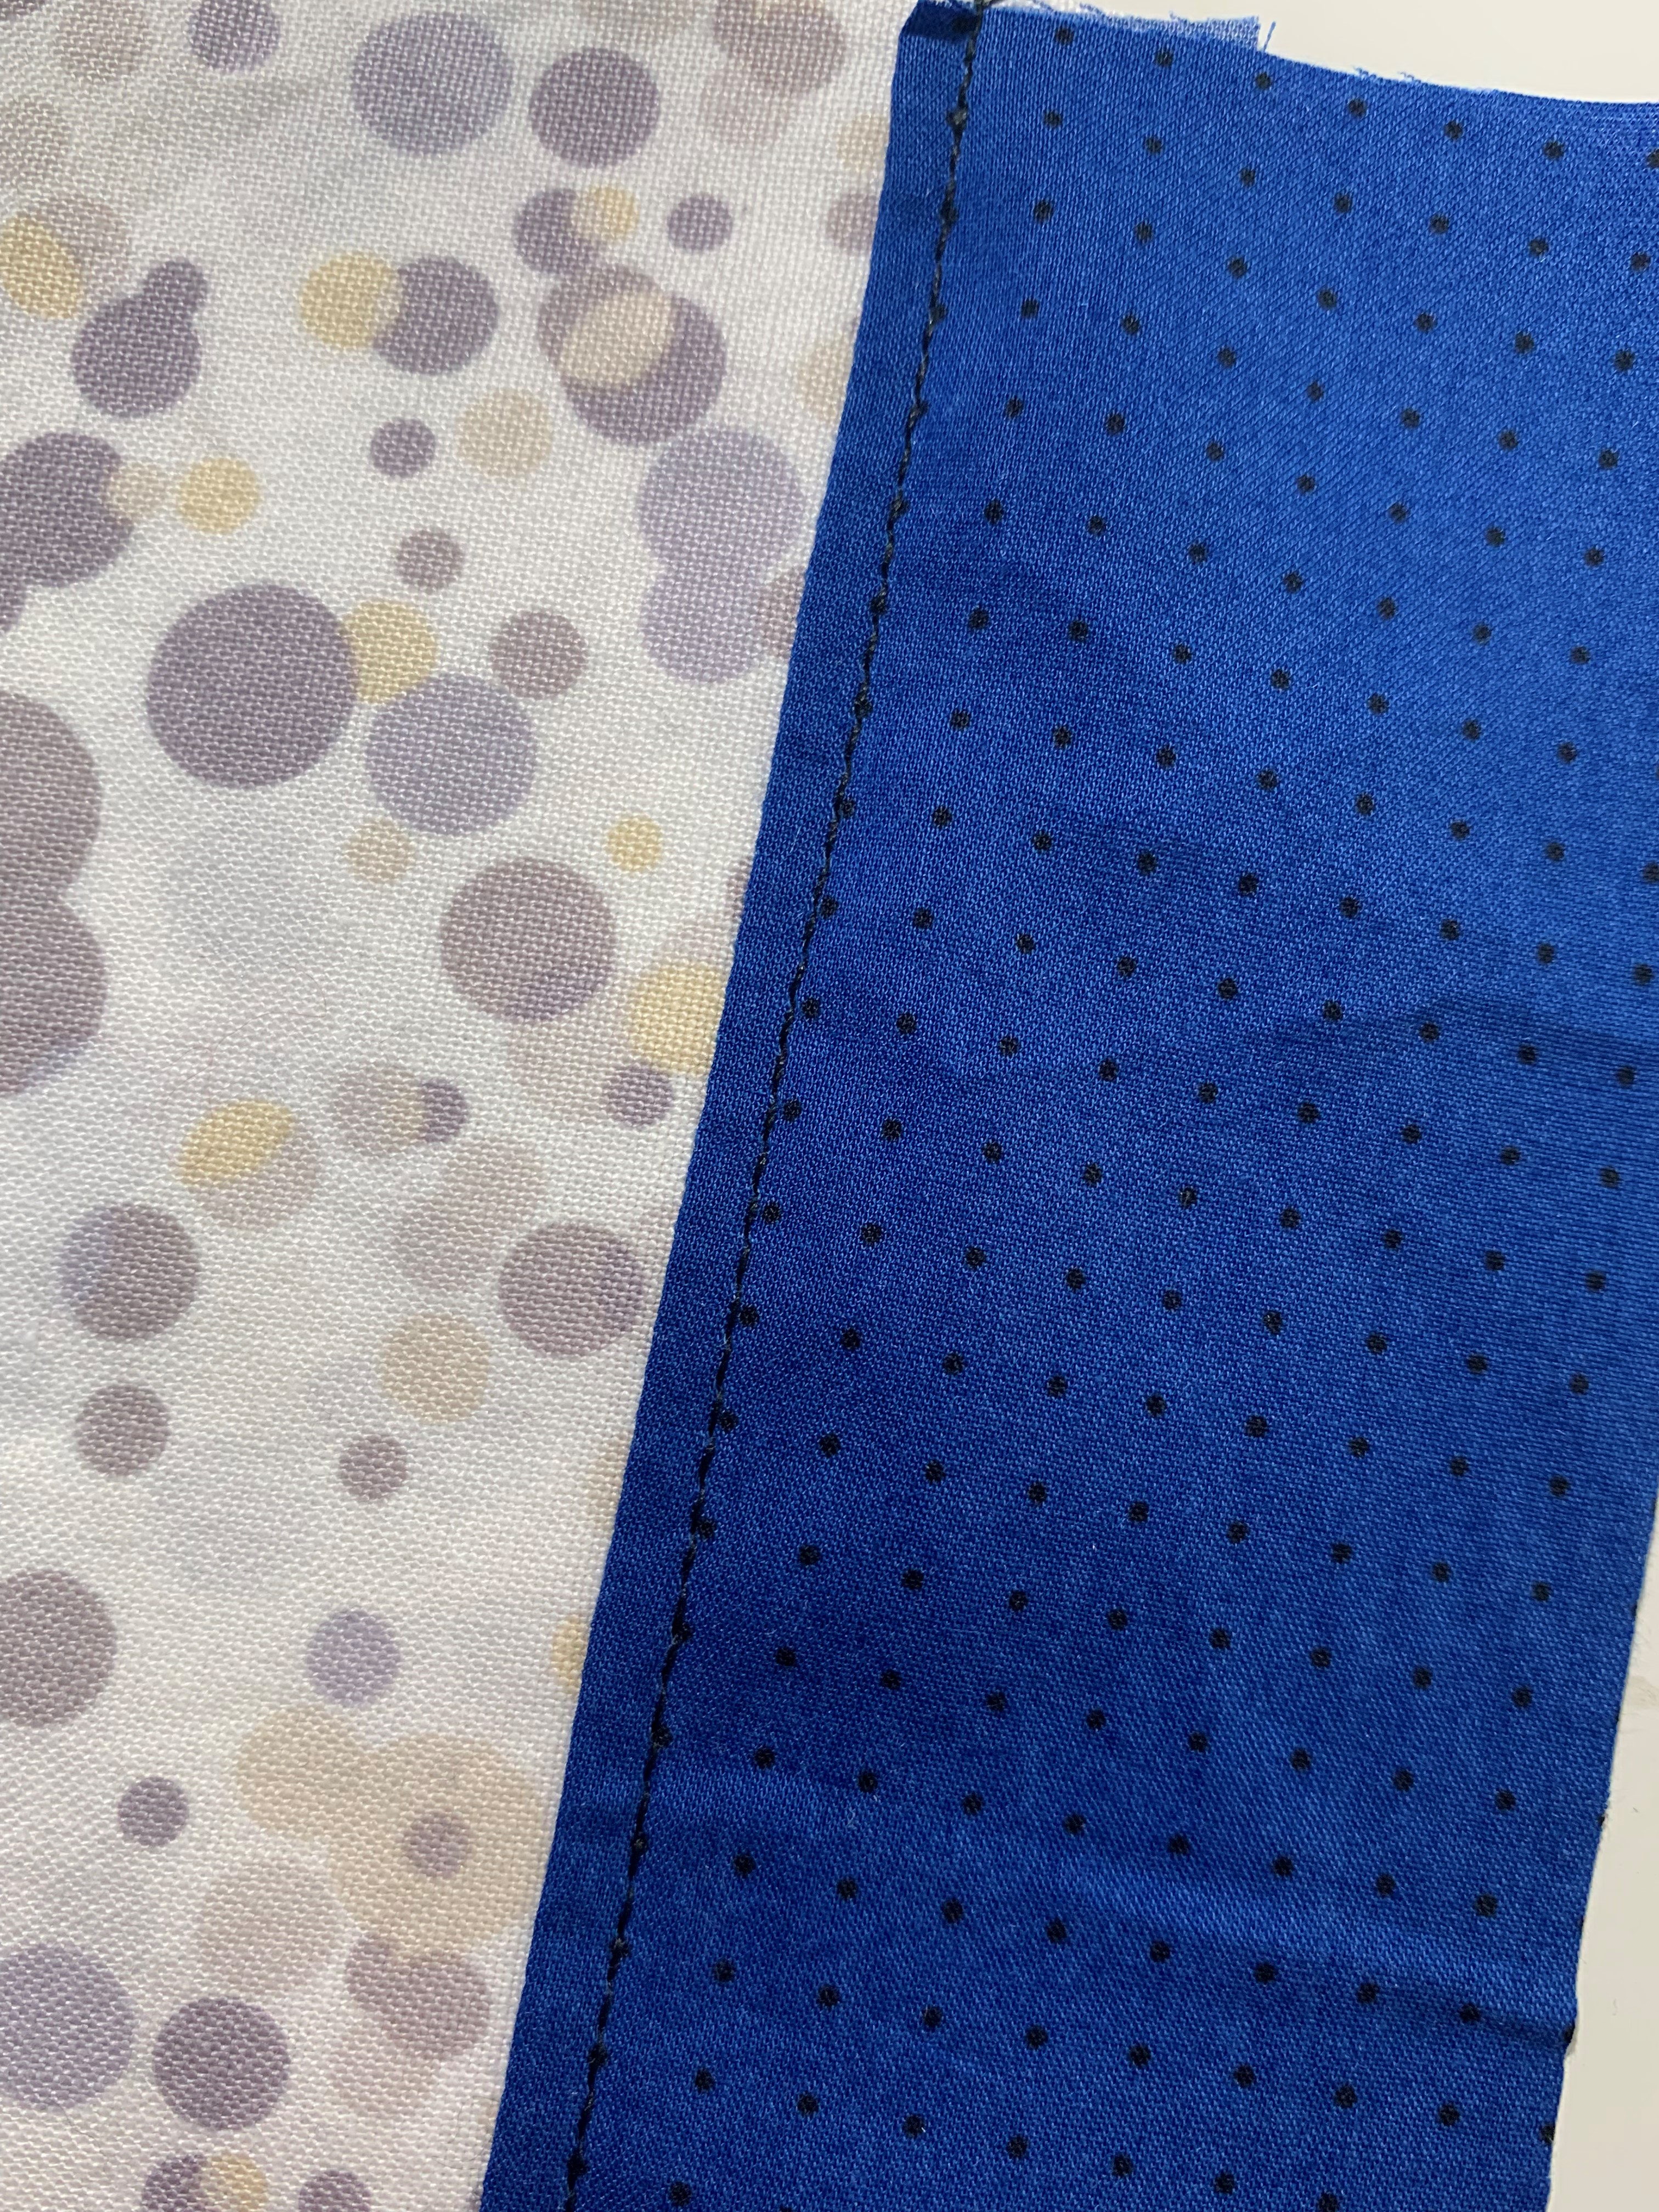
Selvage (or selvedge)
The selvage is the finished edge of the fabric, perpendicular to the edge that was cut at the fabric store. The selvage will not fray like the cut edges will in woven fabric. On many fabrics, this edge is very easy to spot because it’s printed in another color or has writing of some sort on it. You also might see little holes along the edge. The photo below shows the selvage edge on three different fabrics.
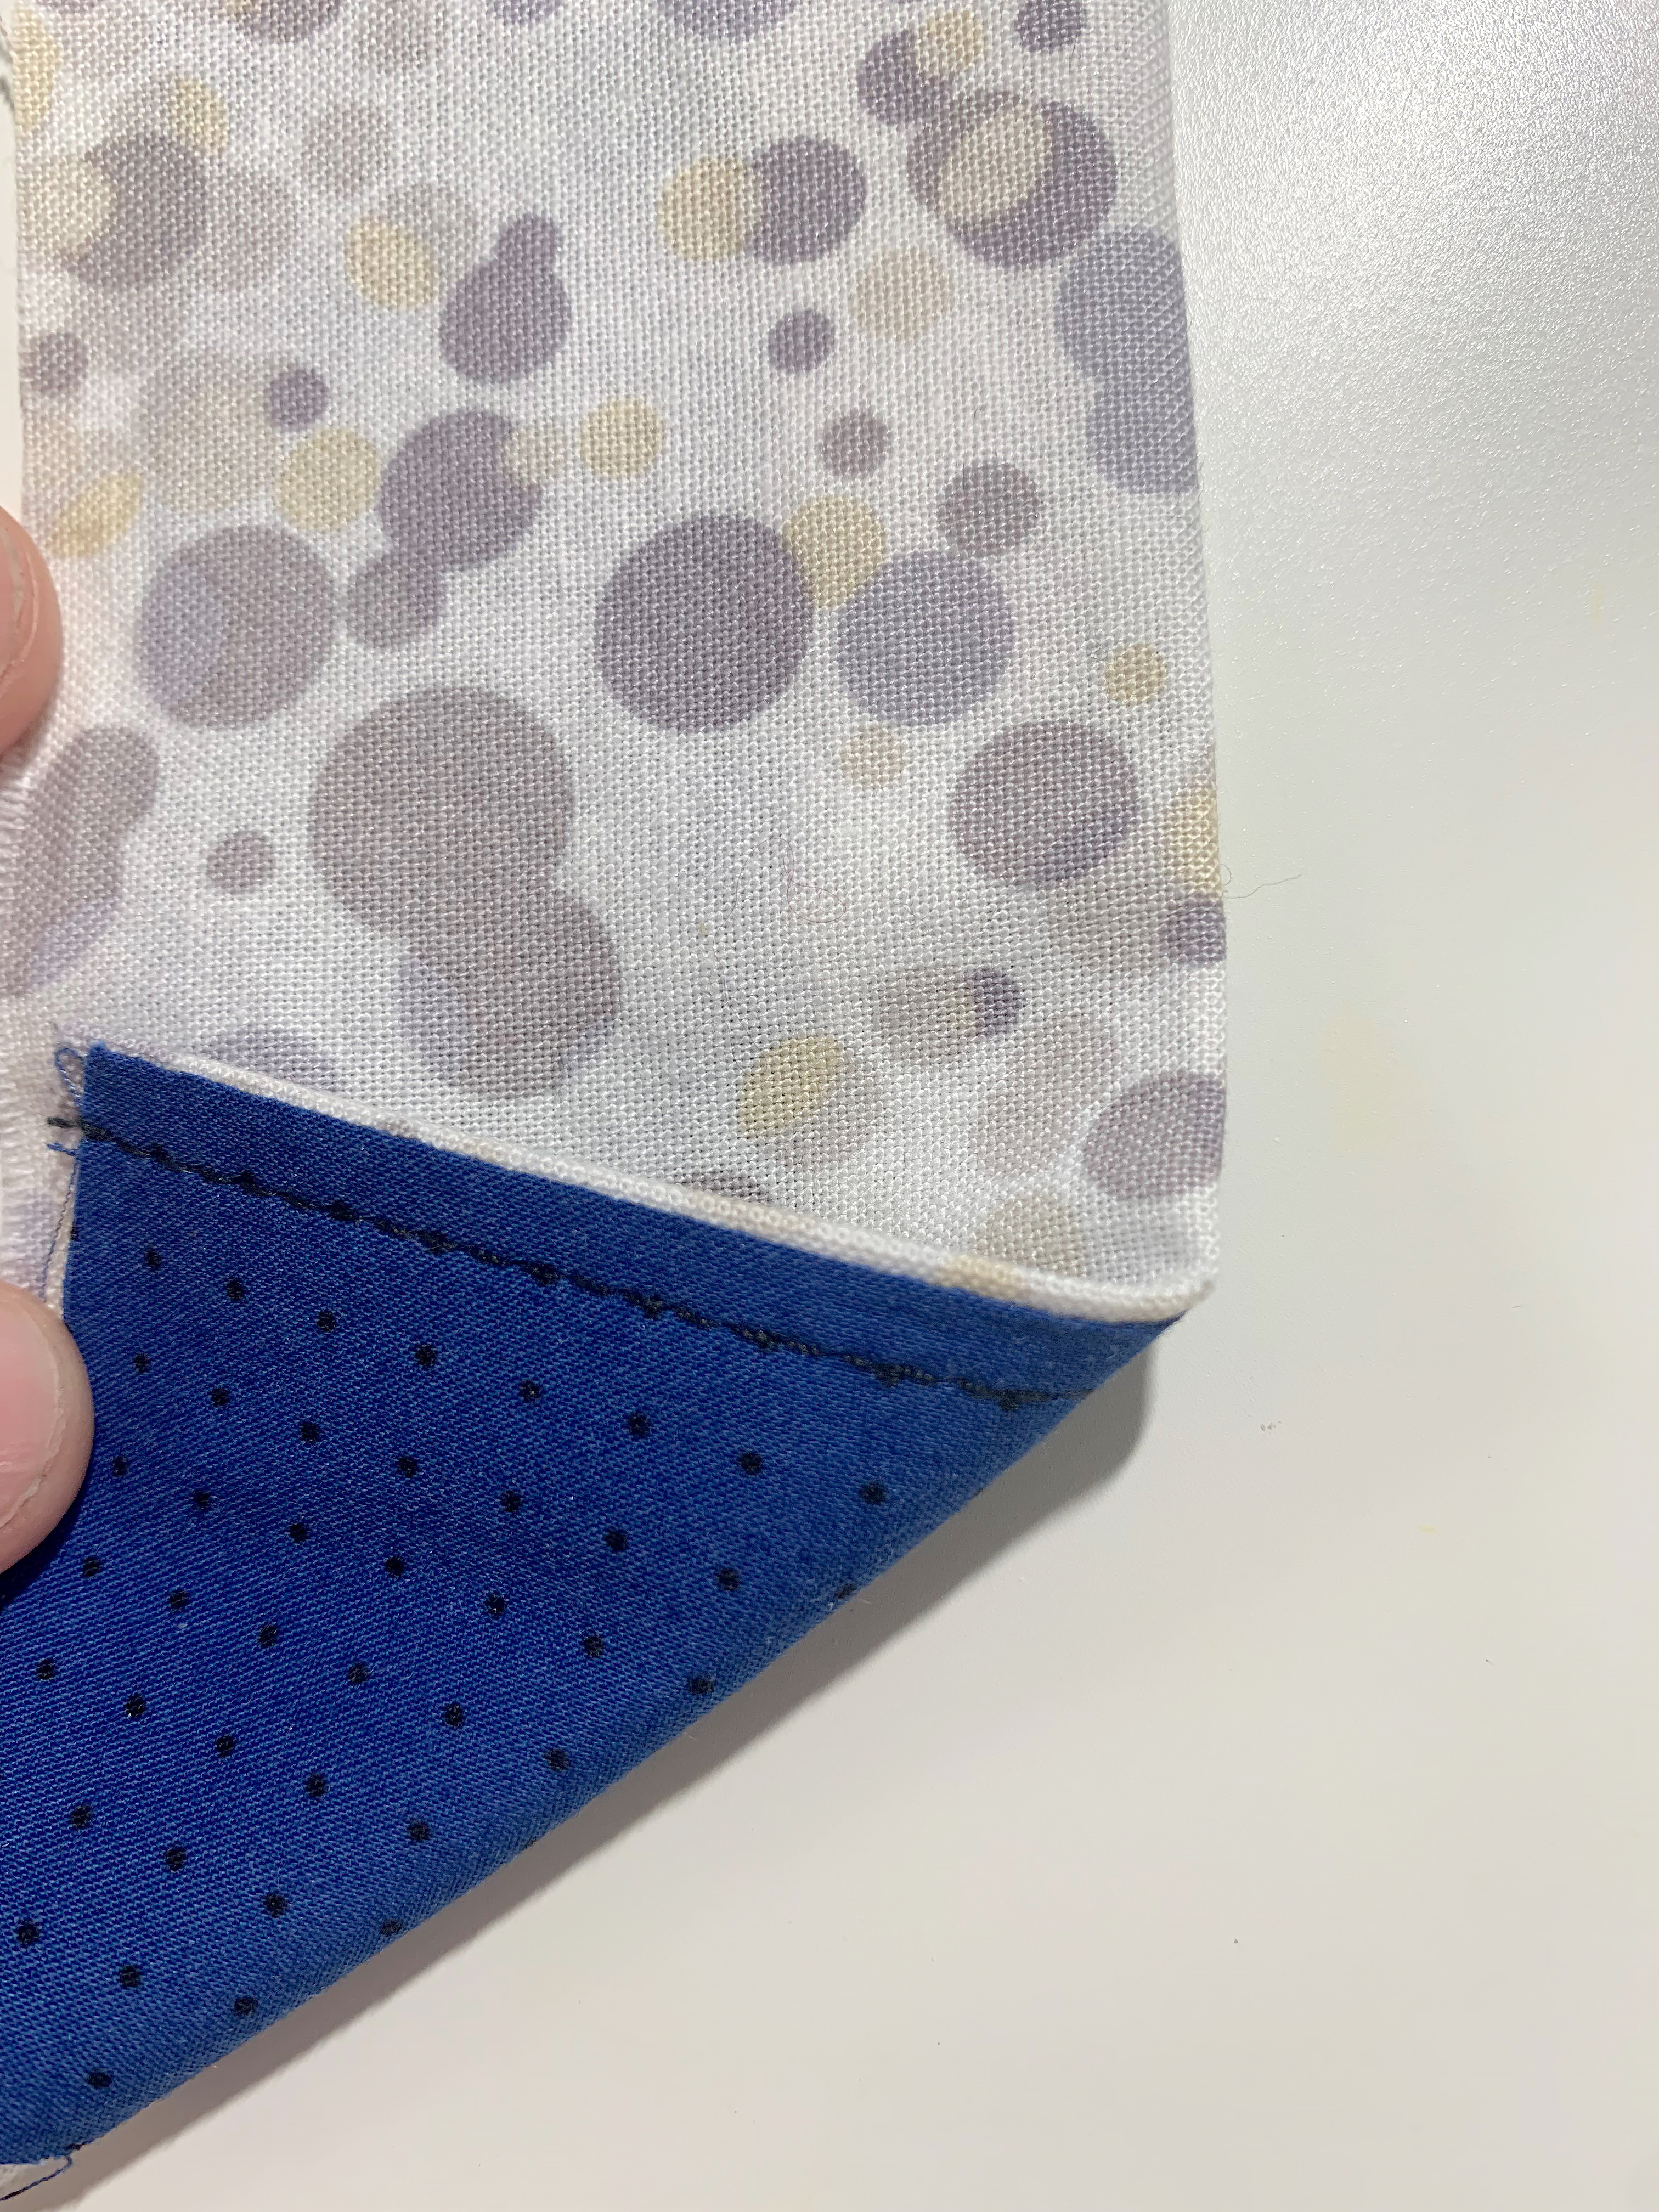
Bias
The bias runs 45˚ from the selvage edge. This is shown with the green line in the photo below. The bias of the fabric doesn’t run parallel to any threads. The fabric has much more give or stretch along this bias line then the fabric would along the selvage. Cutting things along the bias can be used you your advantage to give your fabric a little more give (like in bias tape) or to use it for shaping across the body (like in a bias cut slip or skirt). Because fabric will stretch differently in different areas, you want to make sure you follow the grainline given on the pattern when you cut. This will ensure the garment will fit and drape like it was intended.
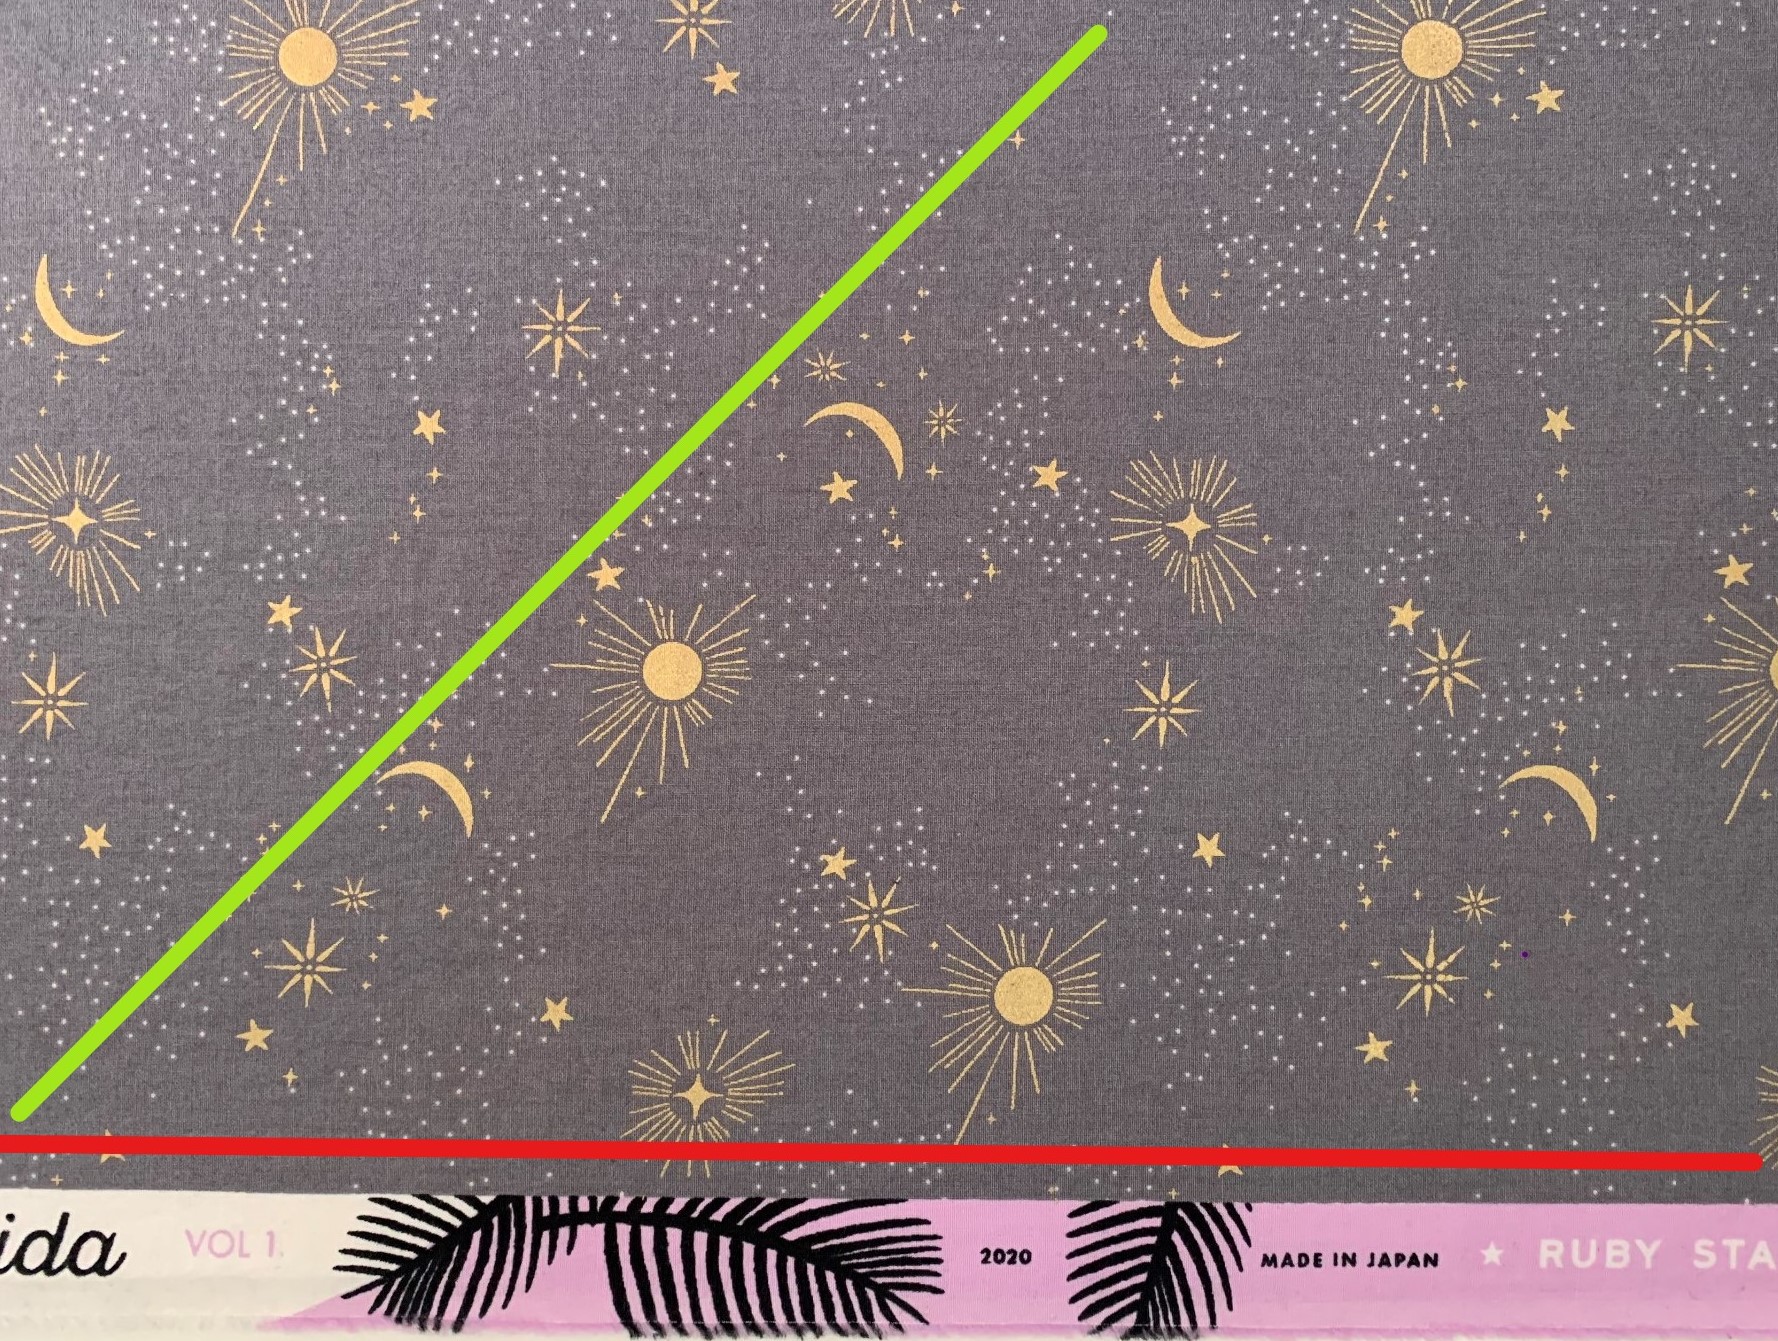
Grainline
The grainline follows the threads of the fabric that are parallel with the selvage edge. This is shown with the red line in the photo above. The grainline is typically marked on a pattern with a double-headed arrow. When you cut a pattern out, you will want it that arrow to run with the grainline of the fabric. To do this, you’ll put that arrow so that it is parallel to the selvage edge.

Ease
The ease in a garment sewing pattern is how the measurements of the finished garment compare to the body measurements the garment is drafted for. A garment can have positive ease, negative ease, or zero ease.
If a pattern was drafted for a bust measurement of 40” and the finished garment measures 45” around the bust, this garment would have 5” of positive ease. A little positive ease is really common in woven patterns to allow you to move and be comfortable. The more ease a garment has, the looser the fit will be.
If a garment was drafted for a 40” bust but measures 38” around the bust, the garment will have 2” of negative ease. This is common in knit garments that will stretch around your body.
If a garment has zero ease, the finished measurement is the same as the measurement a garment was drafted for. You can keep the ease in mind when deciding what size to make and base it on how you want the garment to fit.
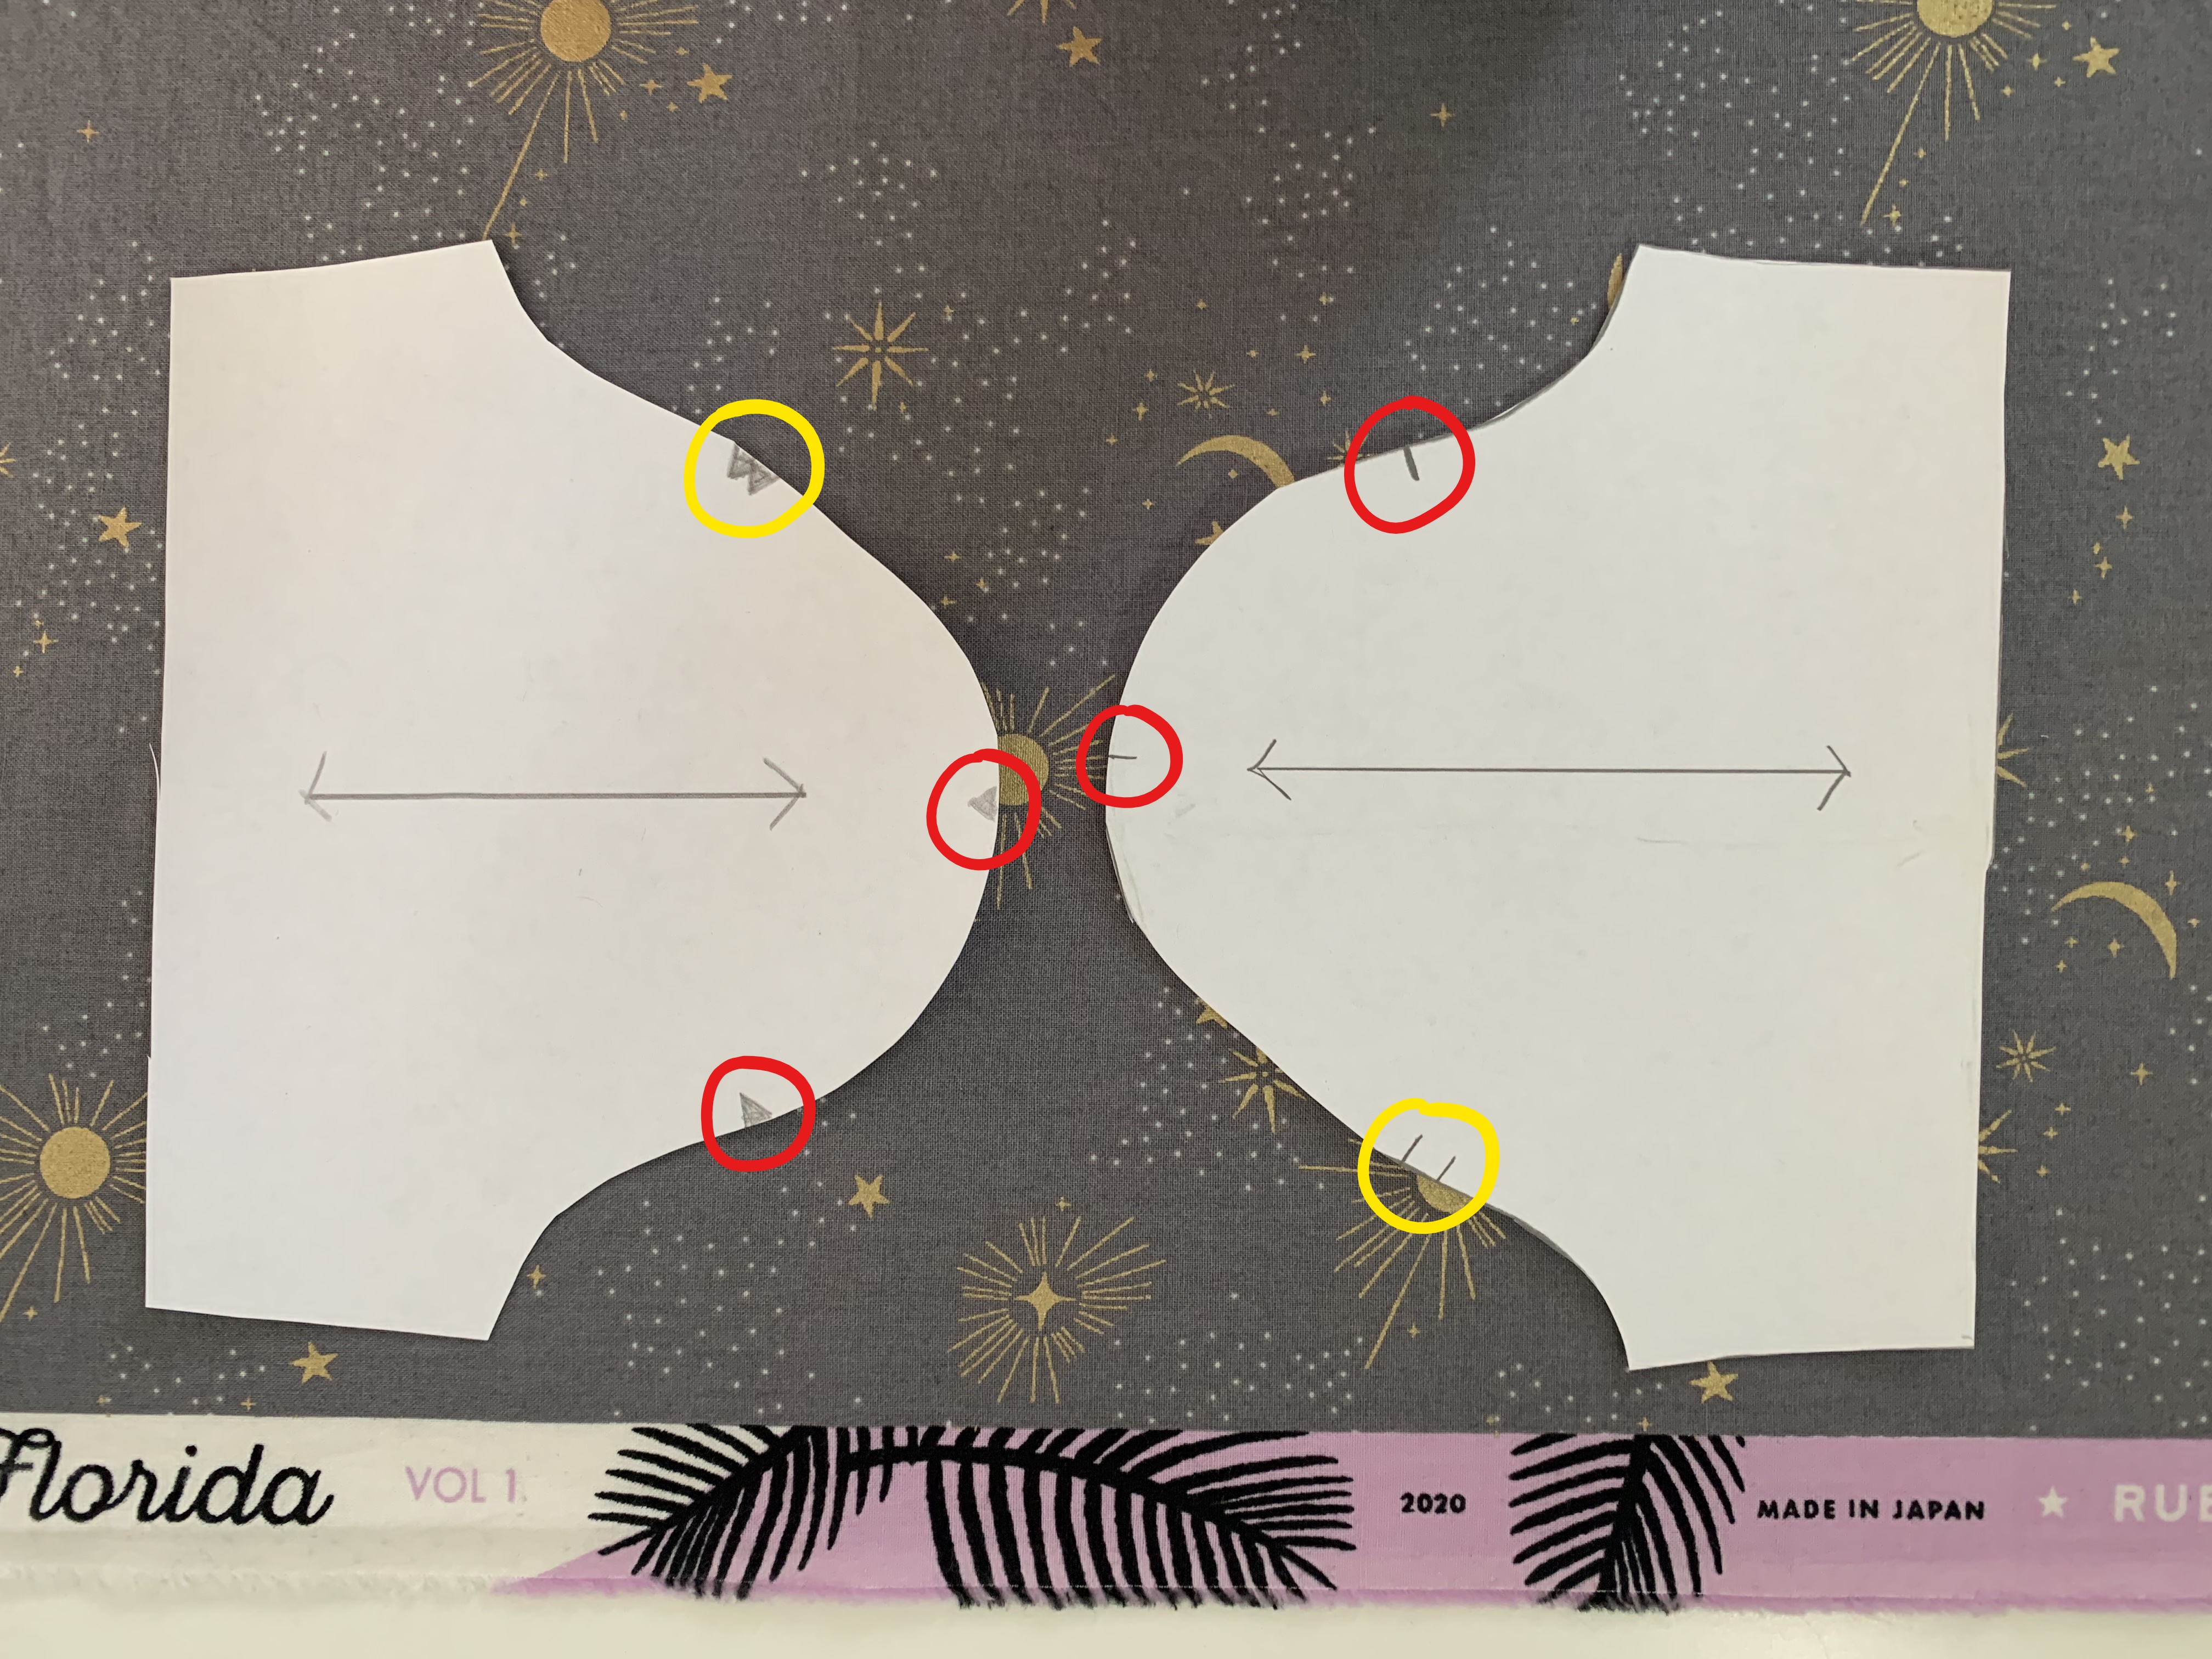
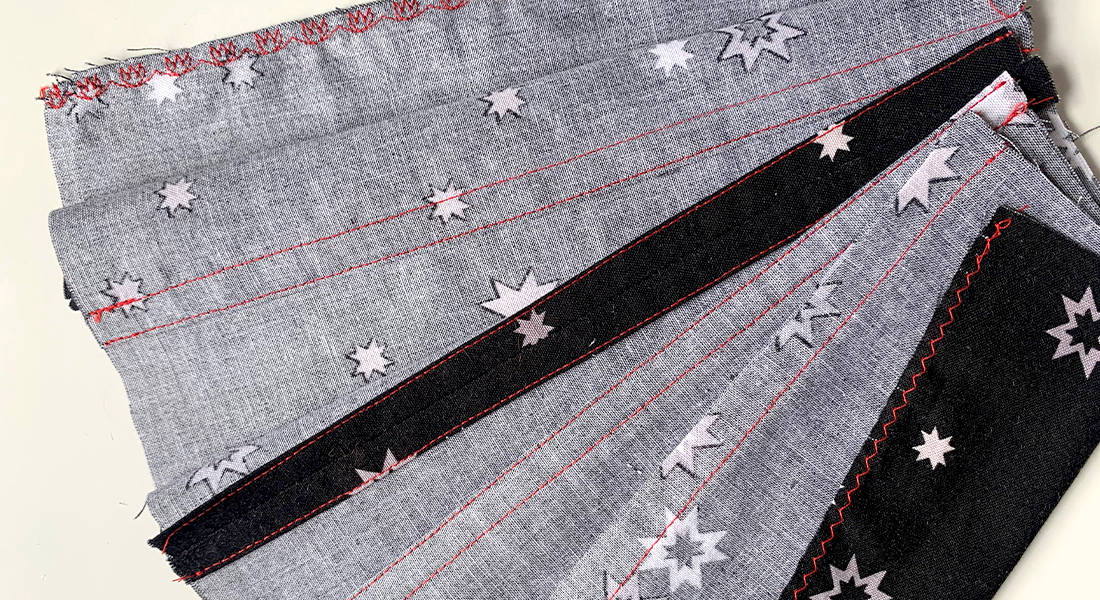
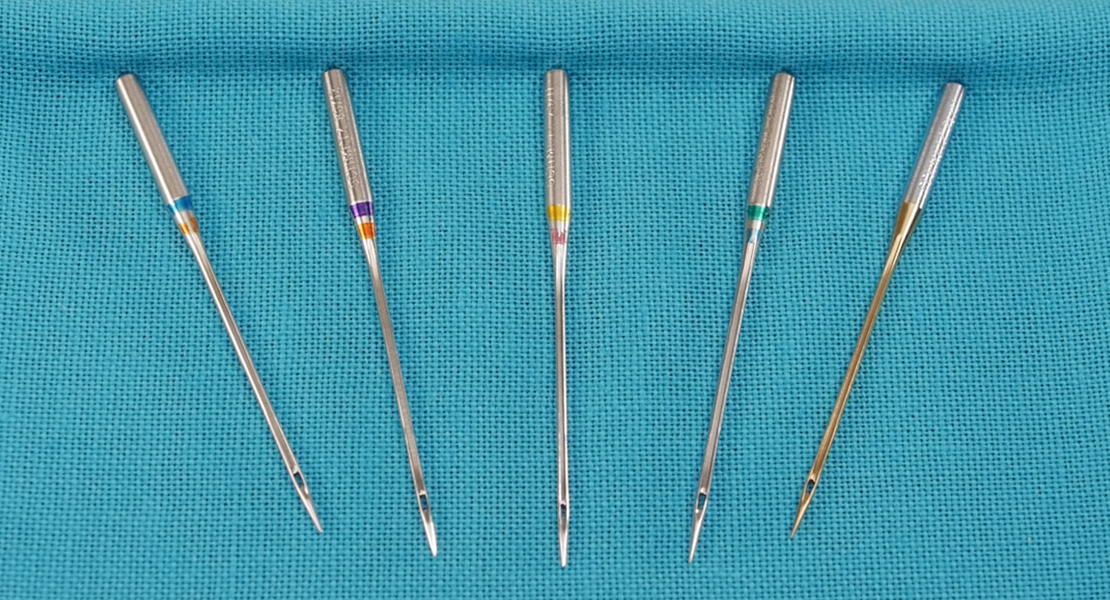
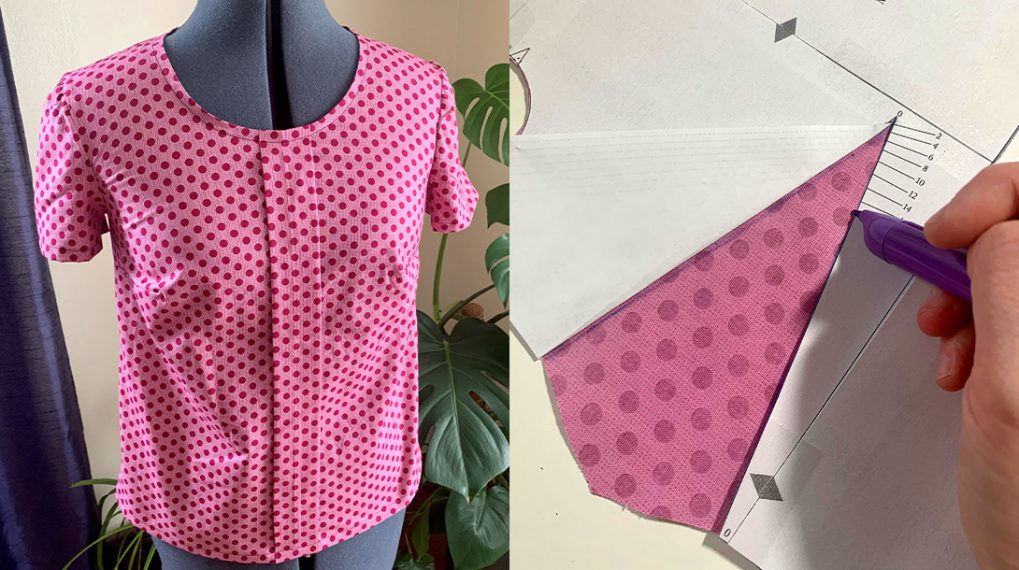
Notch
Notches are marks on a pattern that will help you put it together the correct way. They are usually indicated by a triangle or a bold line at the edge of a pattern piece. You’ll want to mark these notches somehow when you cut out your pattern. I like to make a short snip into my fabric where the notches are, but you can also mark them with chalk or a pin.
Some notches will be a single notch (one triangle or line, circled in red below) while others will be a double notch (with two triangles or lines next to each other, circled in yellow below). You might even see some triple notches. These are important because they will help you line the pieces in the correct orientation. Double notches typically mark the back. With a pattern piece like a sleeve, you will typically have a single notch on he front of the sleeve and a double notch on the back of the sleeve. This will help you ensure the sleeve is inserted facing the correct way.
Now, let’s look at the terms dealing with sewing and garment construction.
Sewing and Garment Construction Terms
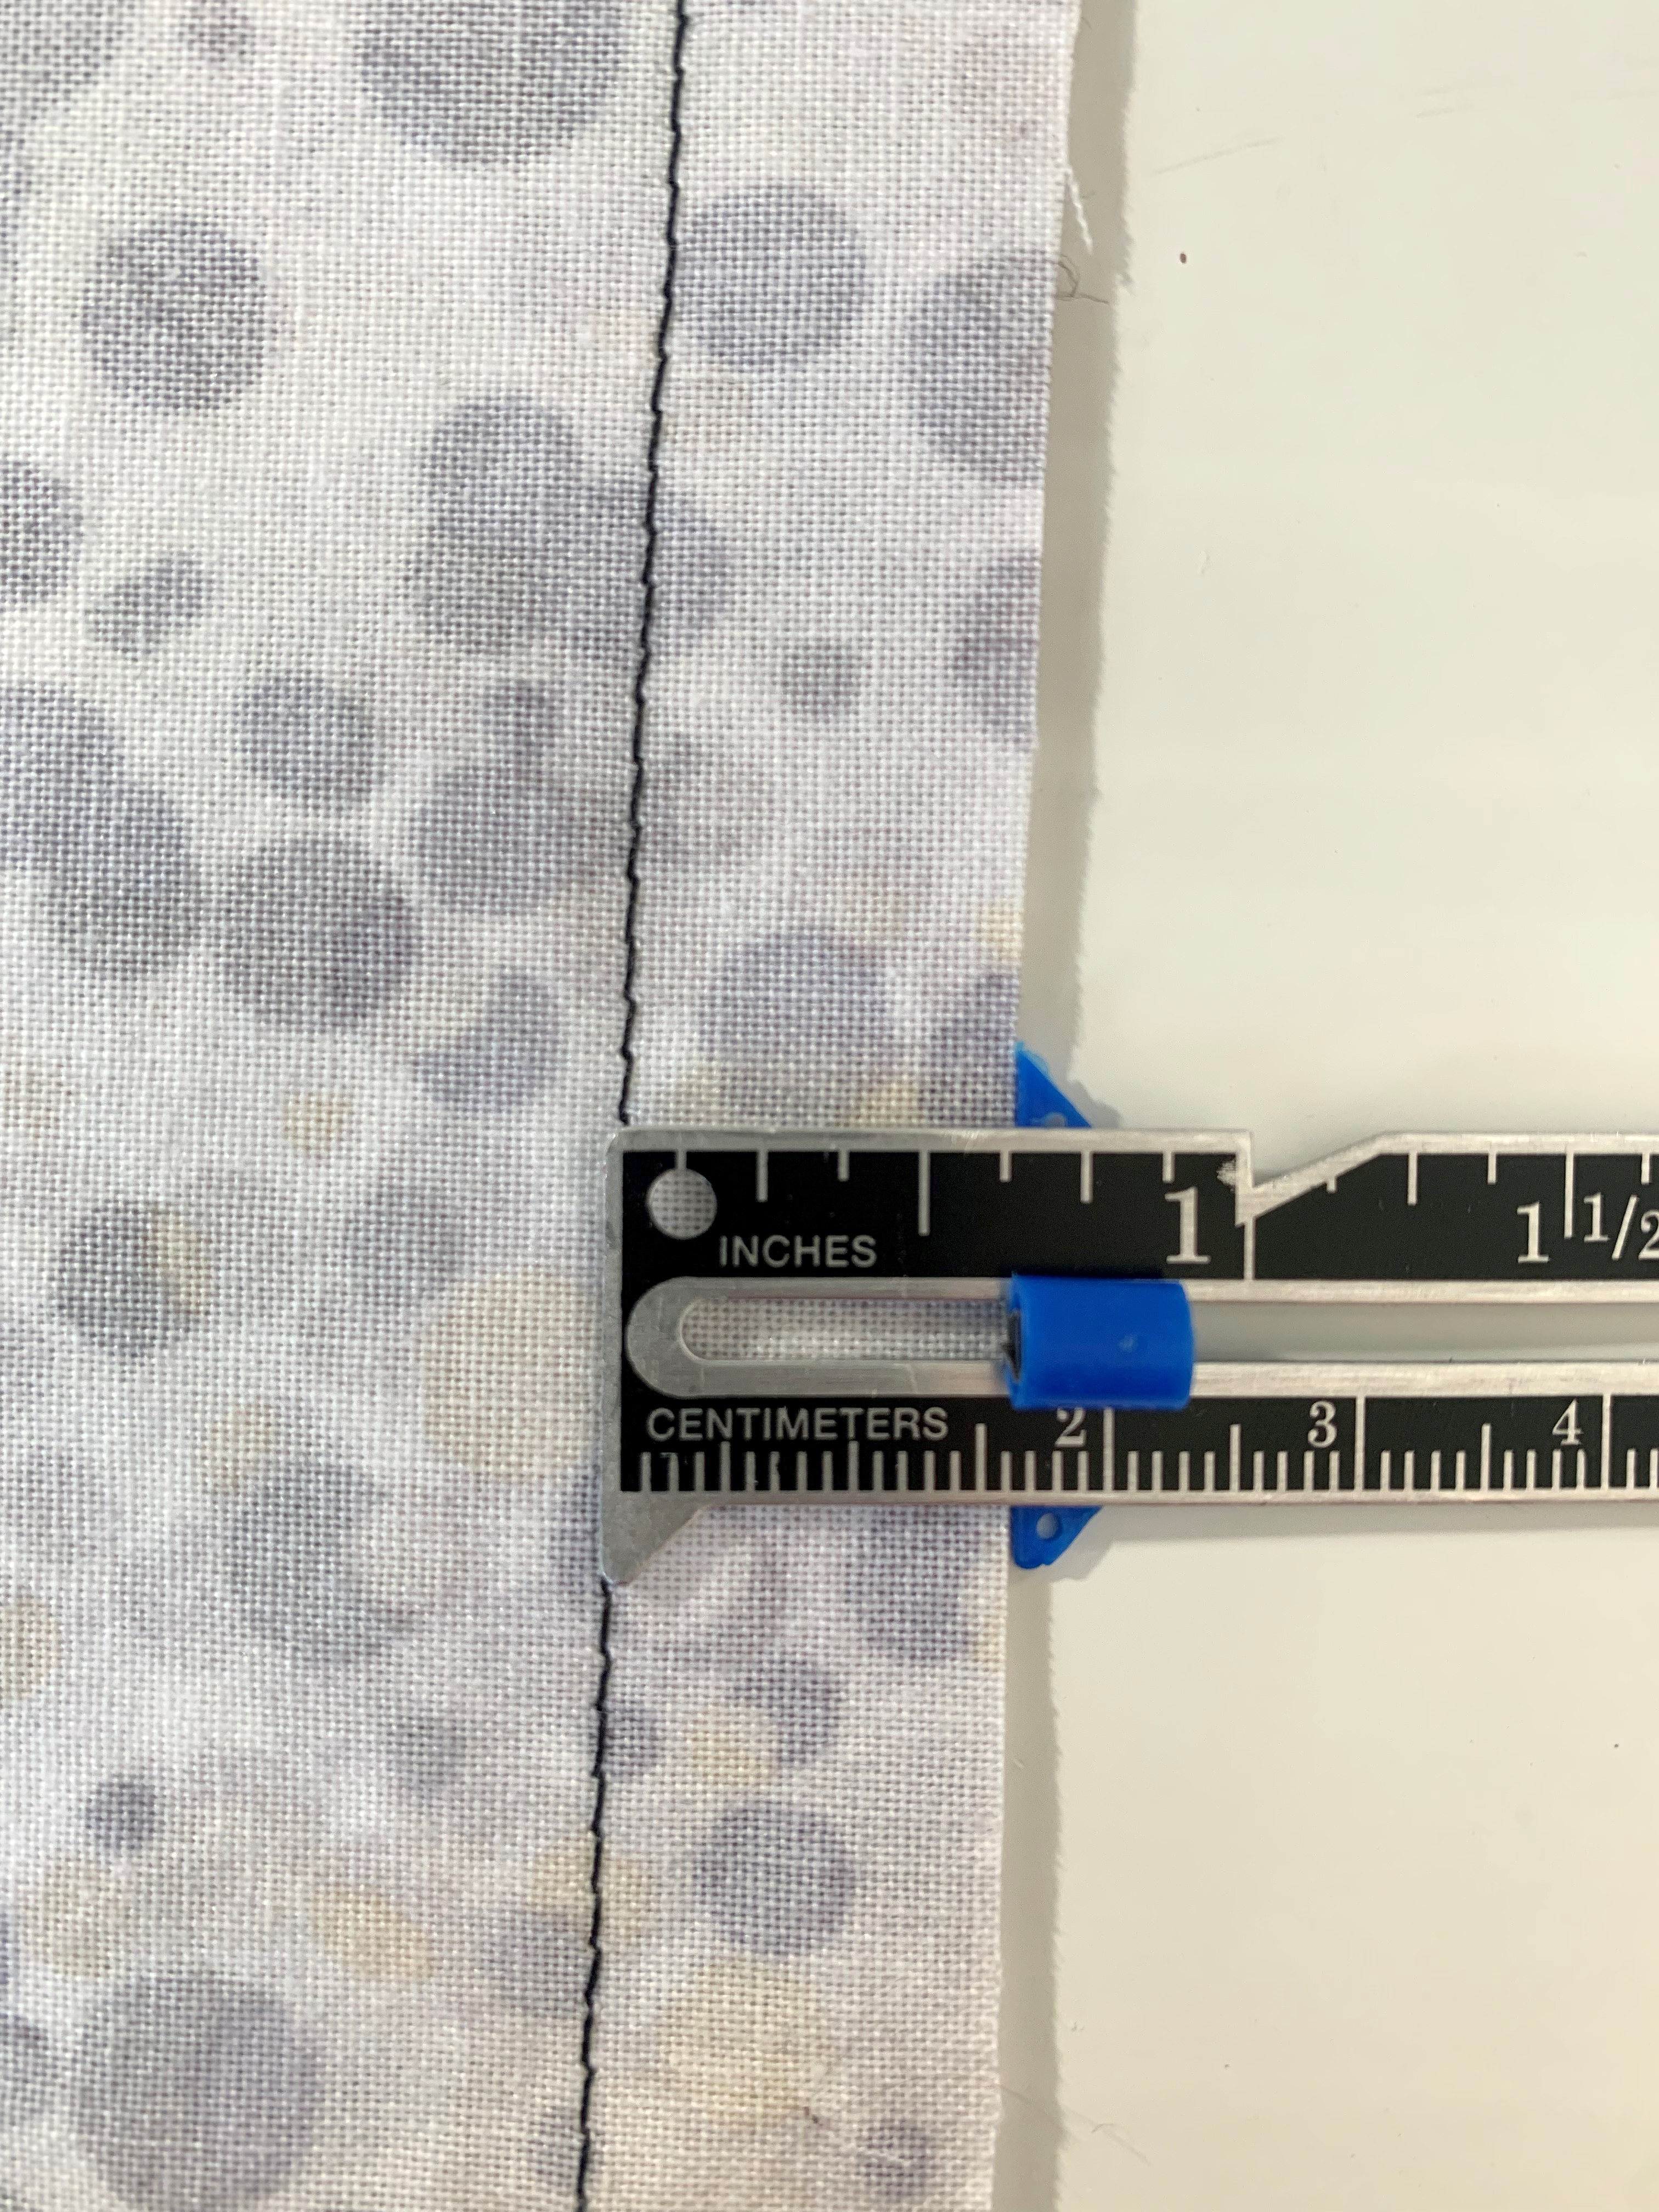
Seam Allowance
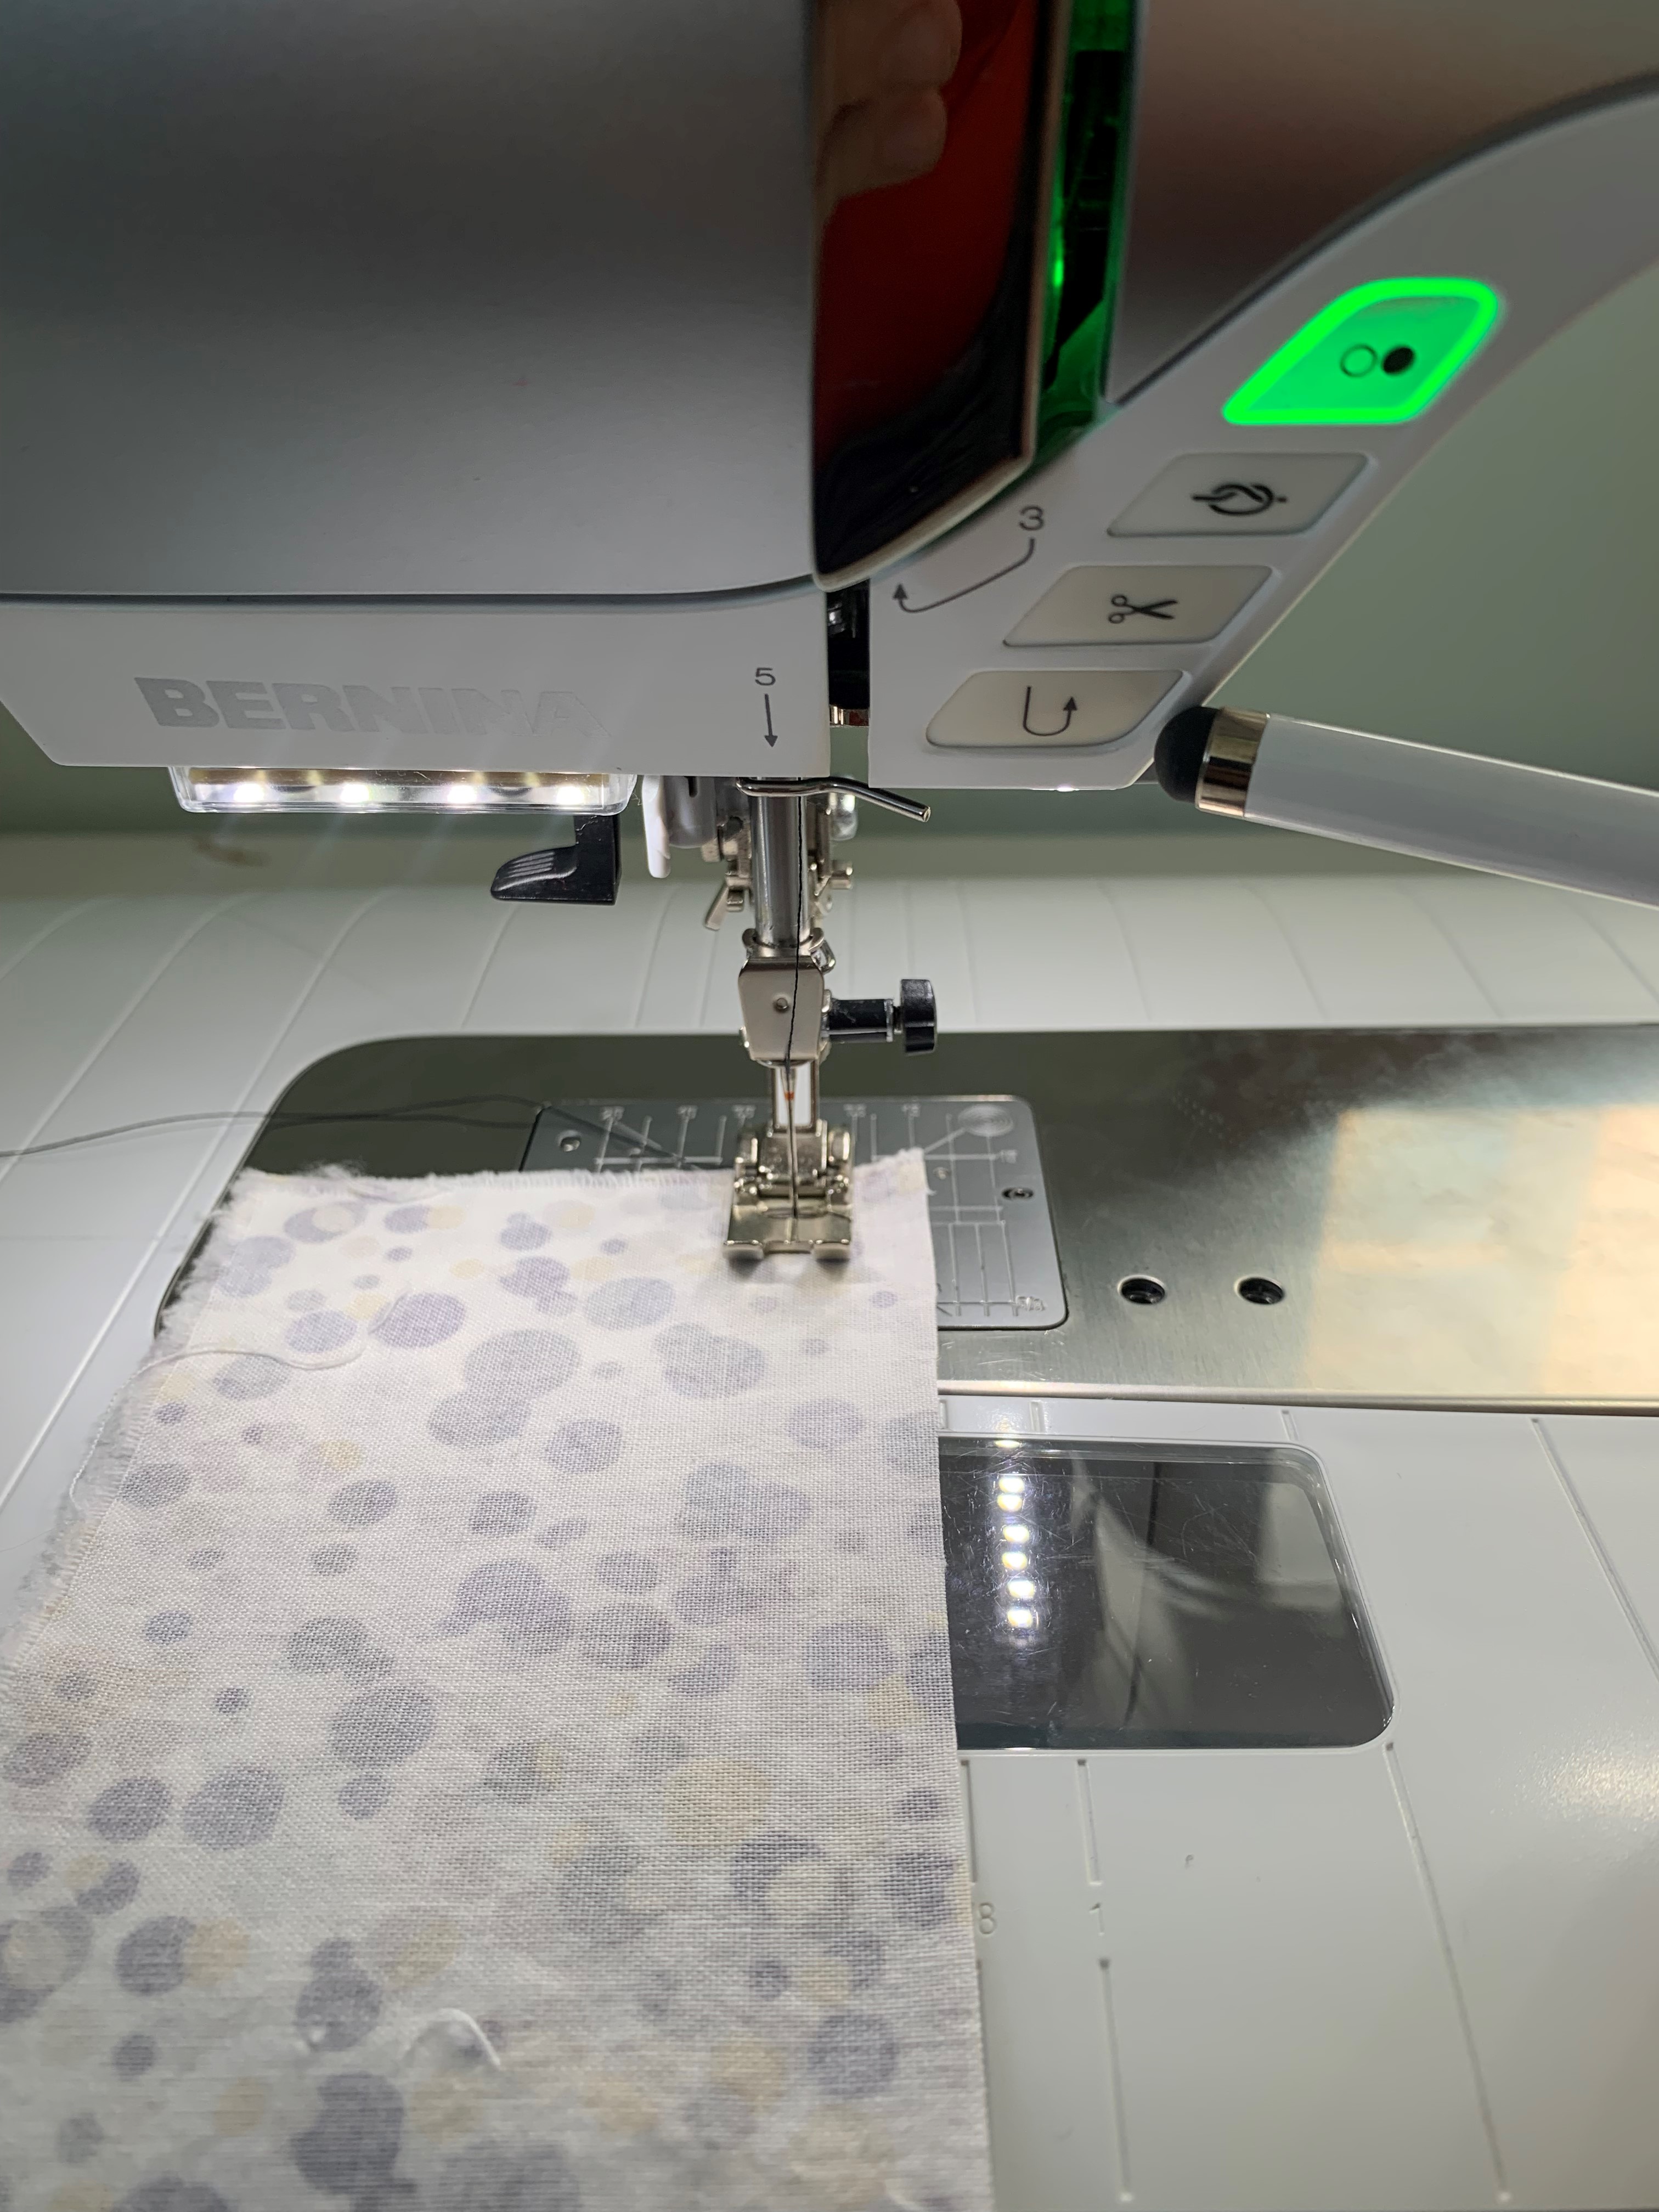
The seam allowance is how far away you sew from the edge of the fabric. Most patterns have a certain seam allowance included and will indicate this in the pattern instructions. Many woven patterns have a seam allowance of 5/8” while others include a seam allowance of ½”. Knit patterns will usually have a seam allowance of 3/8”. This will vary from pattern company to pattern company, so you’ll want to create a habit of checking what the seam allowance is before starting a pattern. In the photos below, a seam allowance of 5/8″ is used.

Backstitch
Backstitching is a way of securing your stitches. At the beginning and end of a permanent seam you will want to backstitch so the stitches are secure. In order to backstitch, you’ll simply reverse your stitching for a couple of stitches. When you start stitching in the forward direction again you’ll sew over these few stitches again, ensuring that they won’t come undone.
Baste
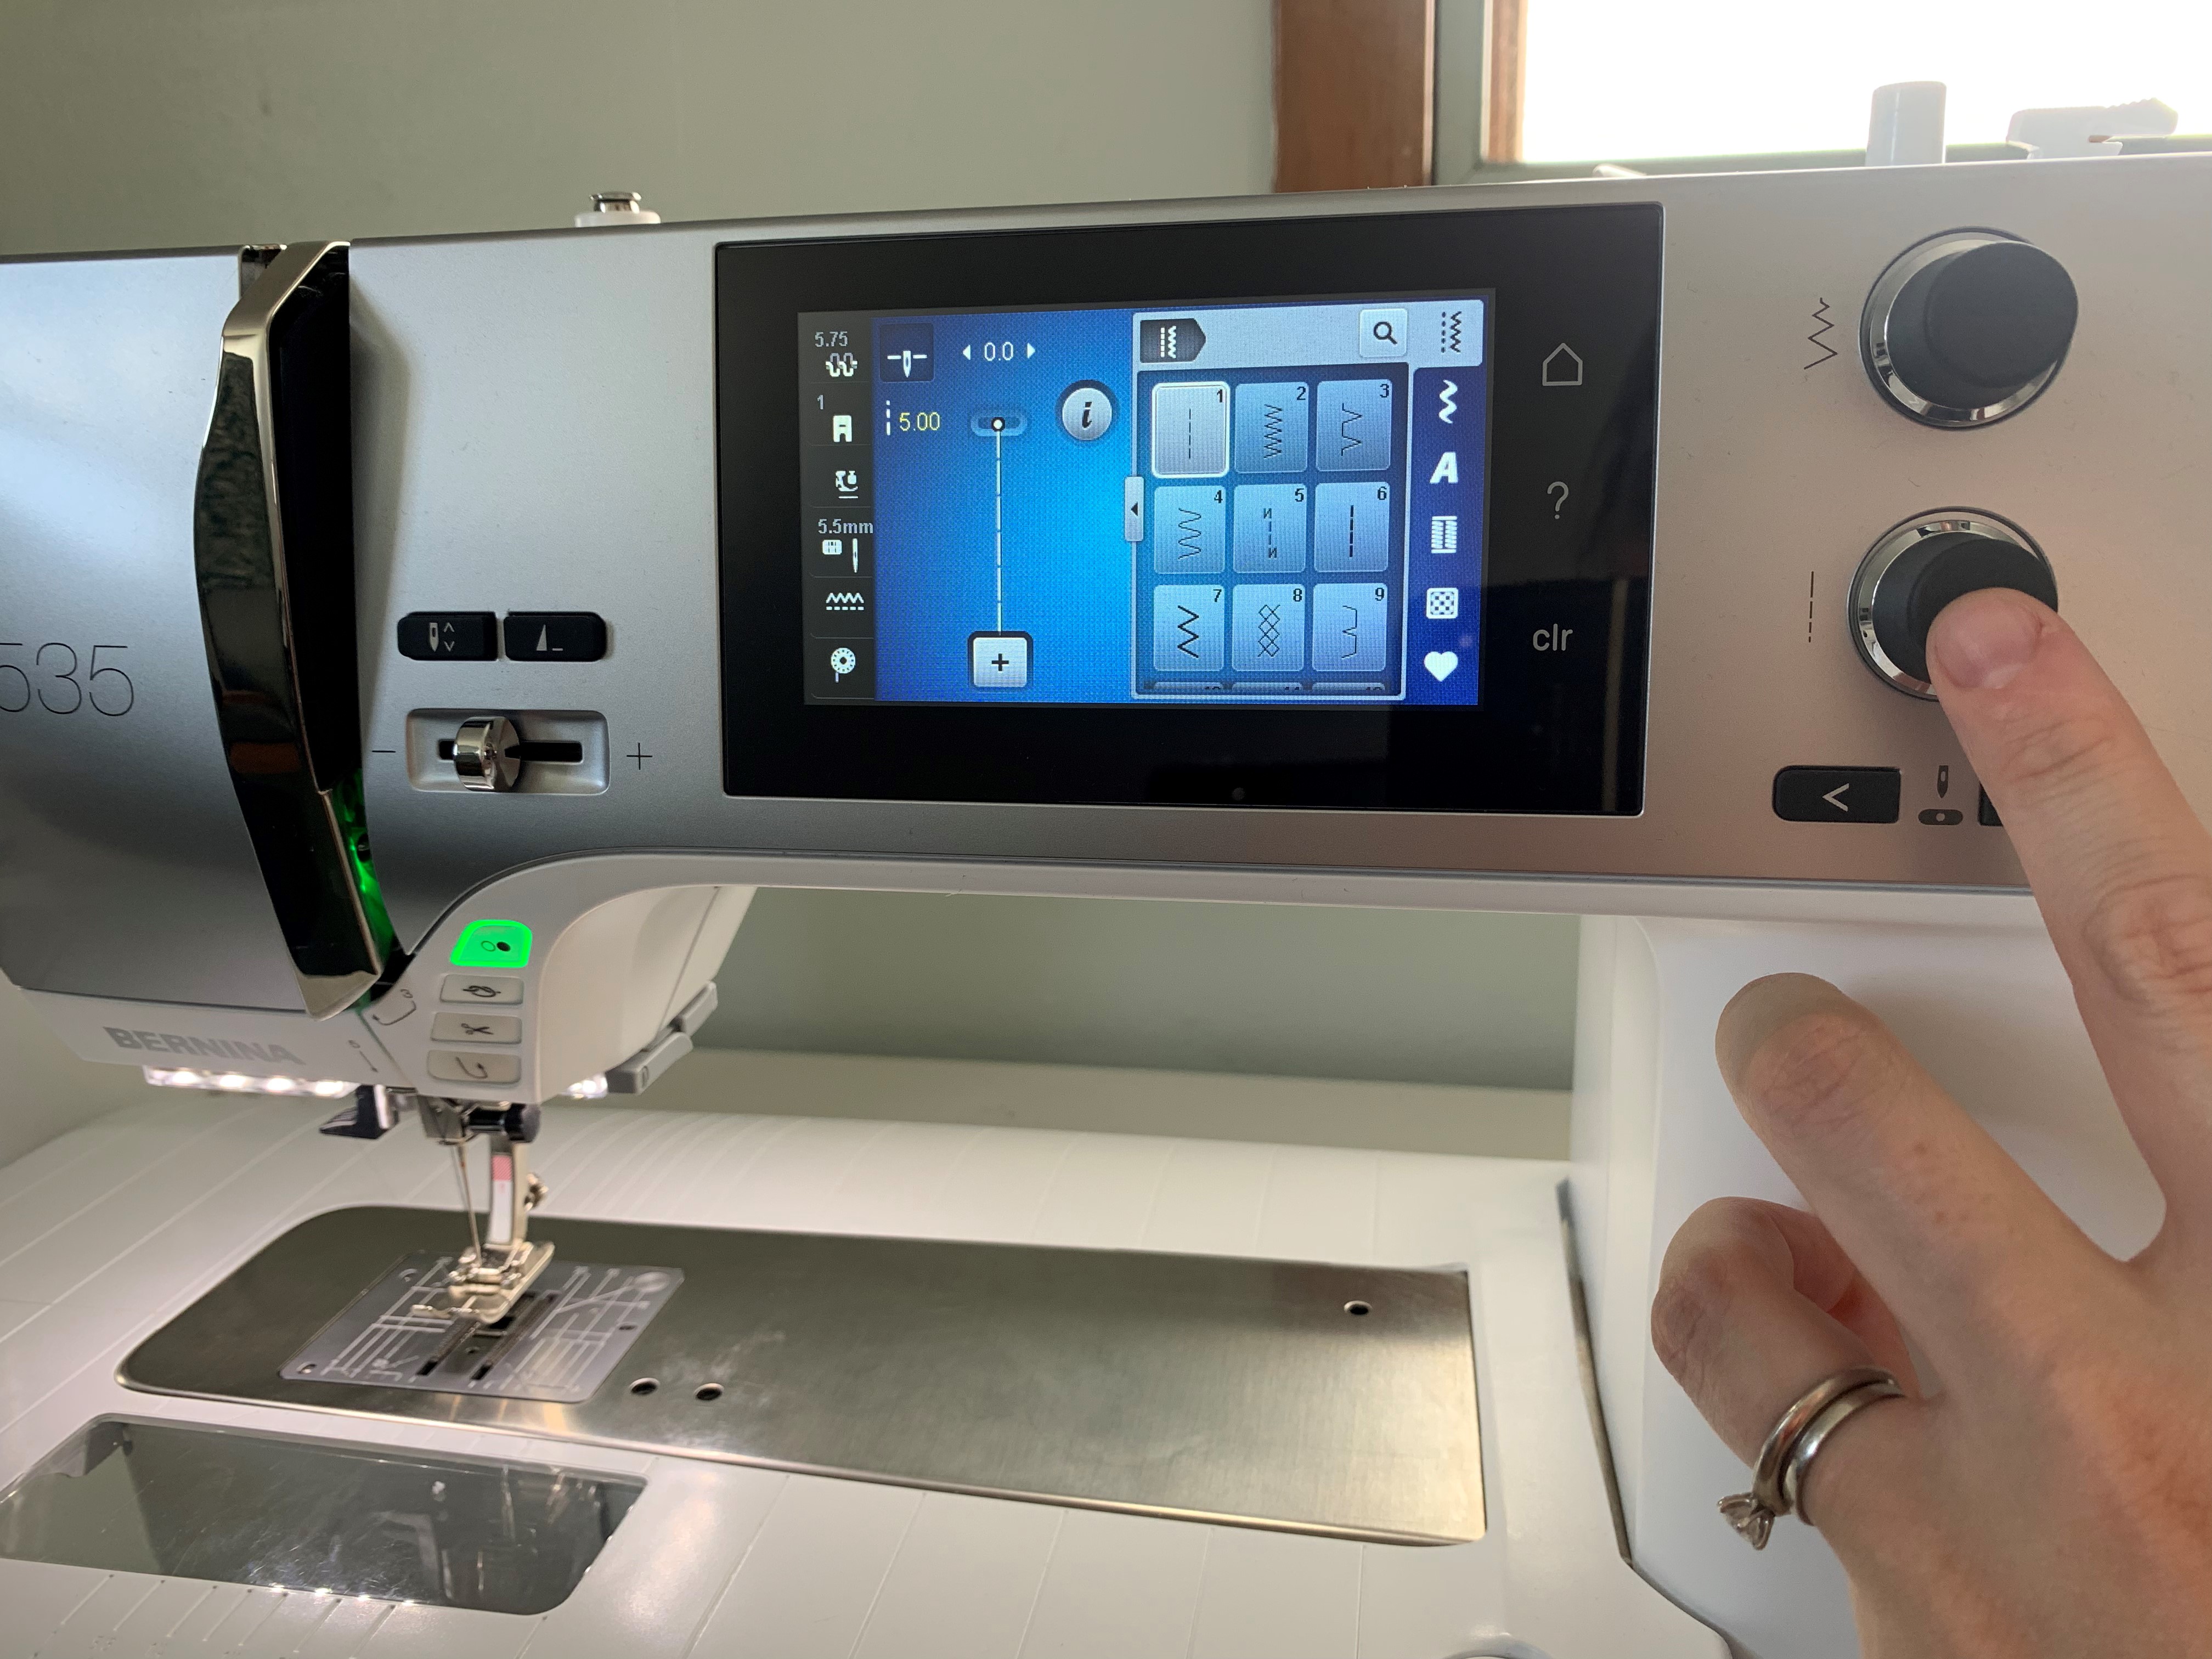
Basting stitches are meant to hold something together temporarily. You want them to be easy to remove when you don’t need them anymore. To baste fabric together with a sewing machine, you’ll want to sew with a long stitch length (I usually use the longest my machine will allow). You don’t want to backstitch when basting to make the stitches easier to remove.
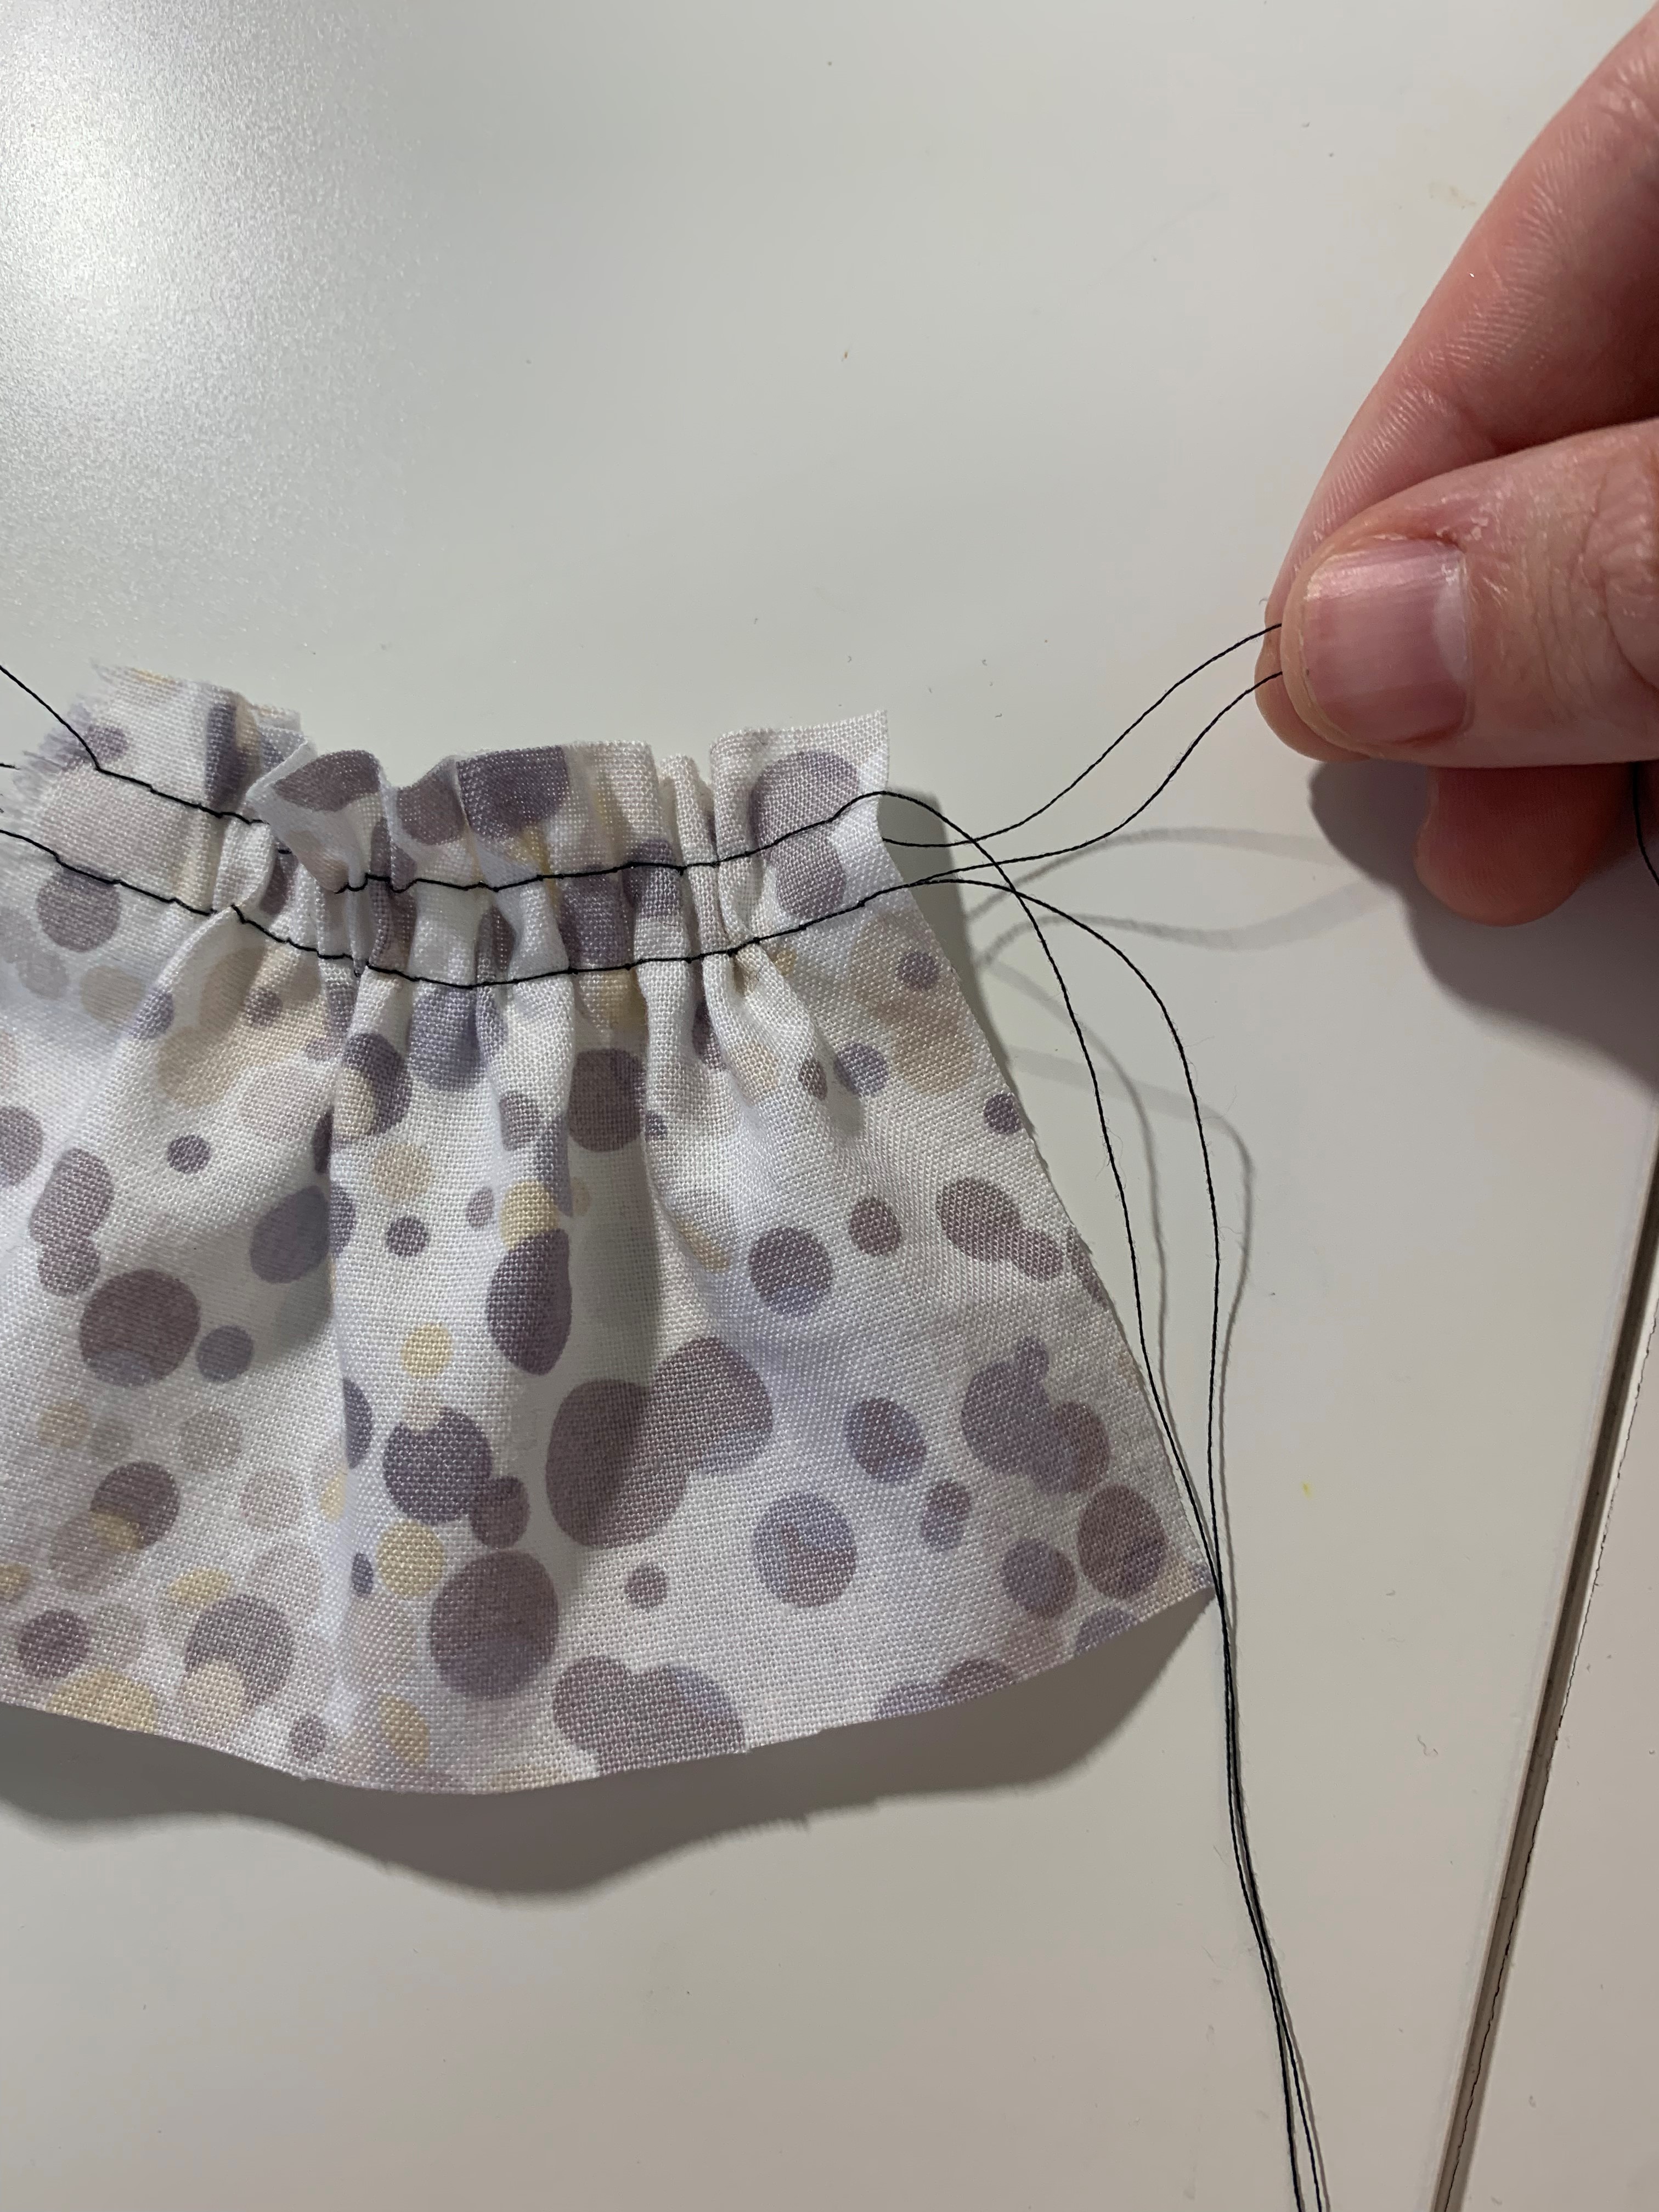
Gather
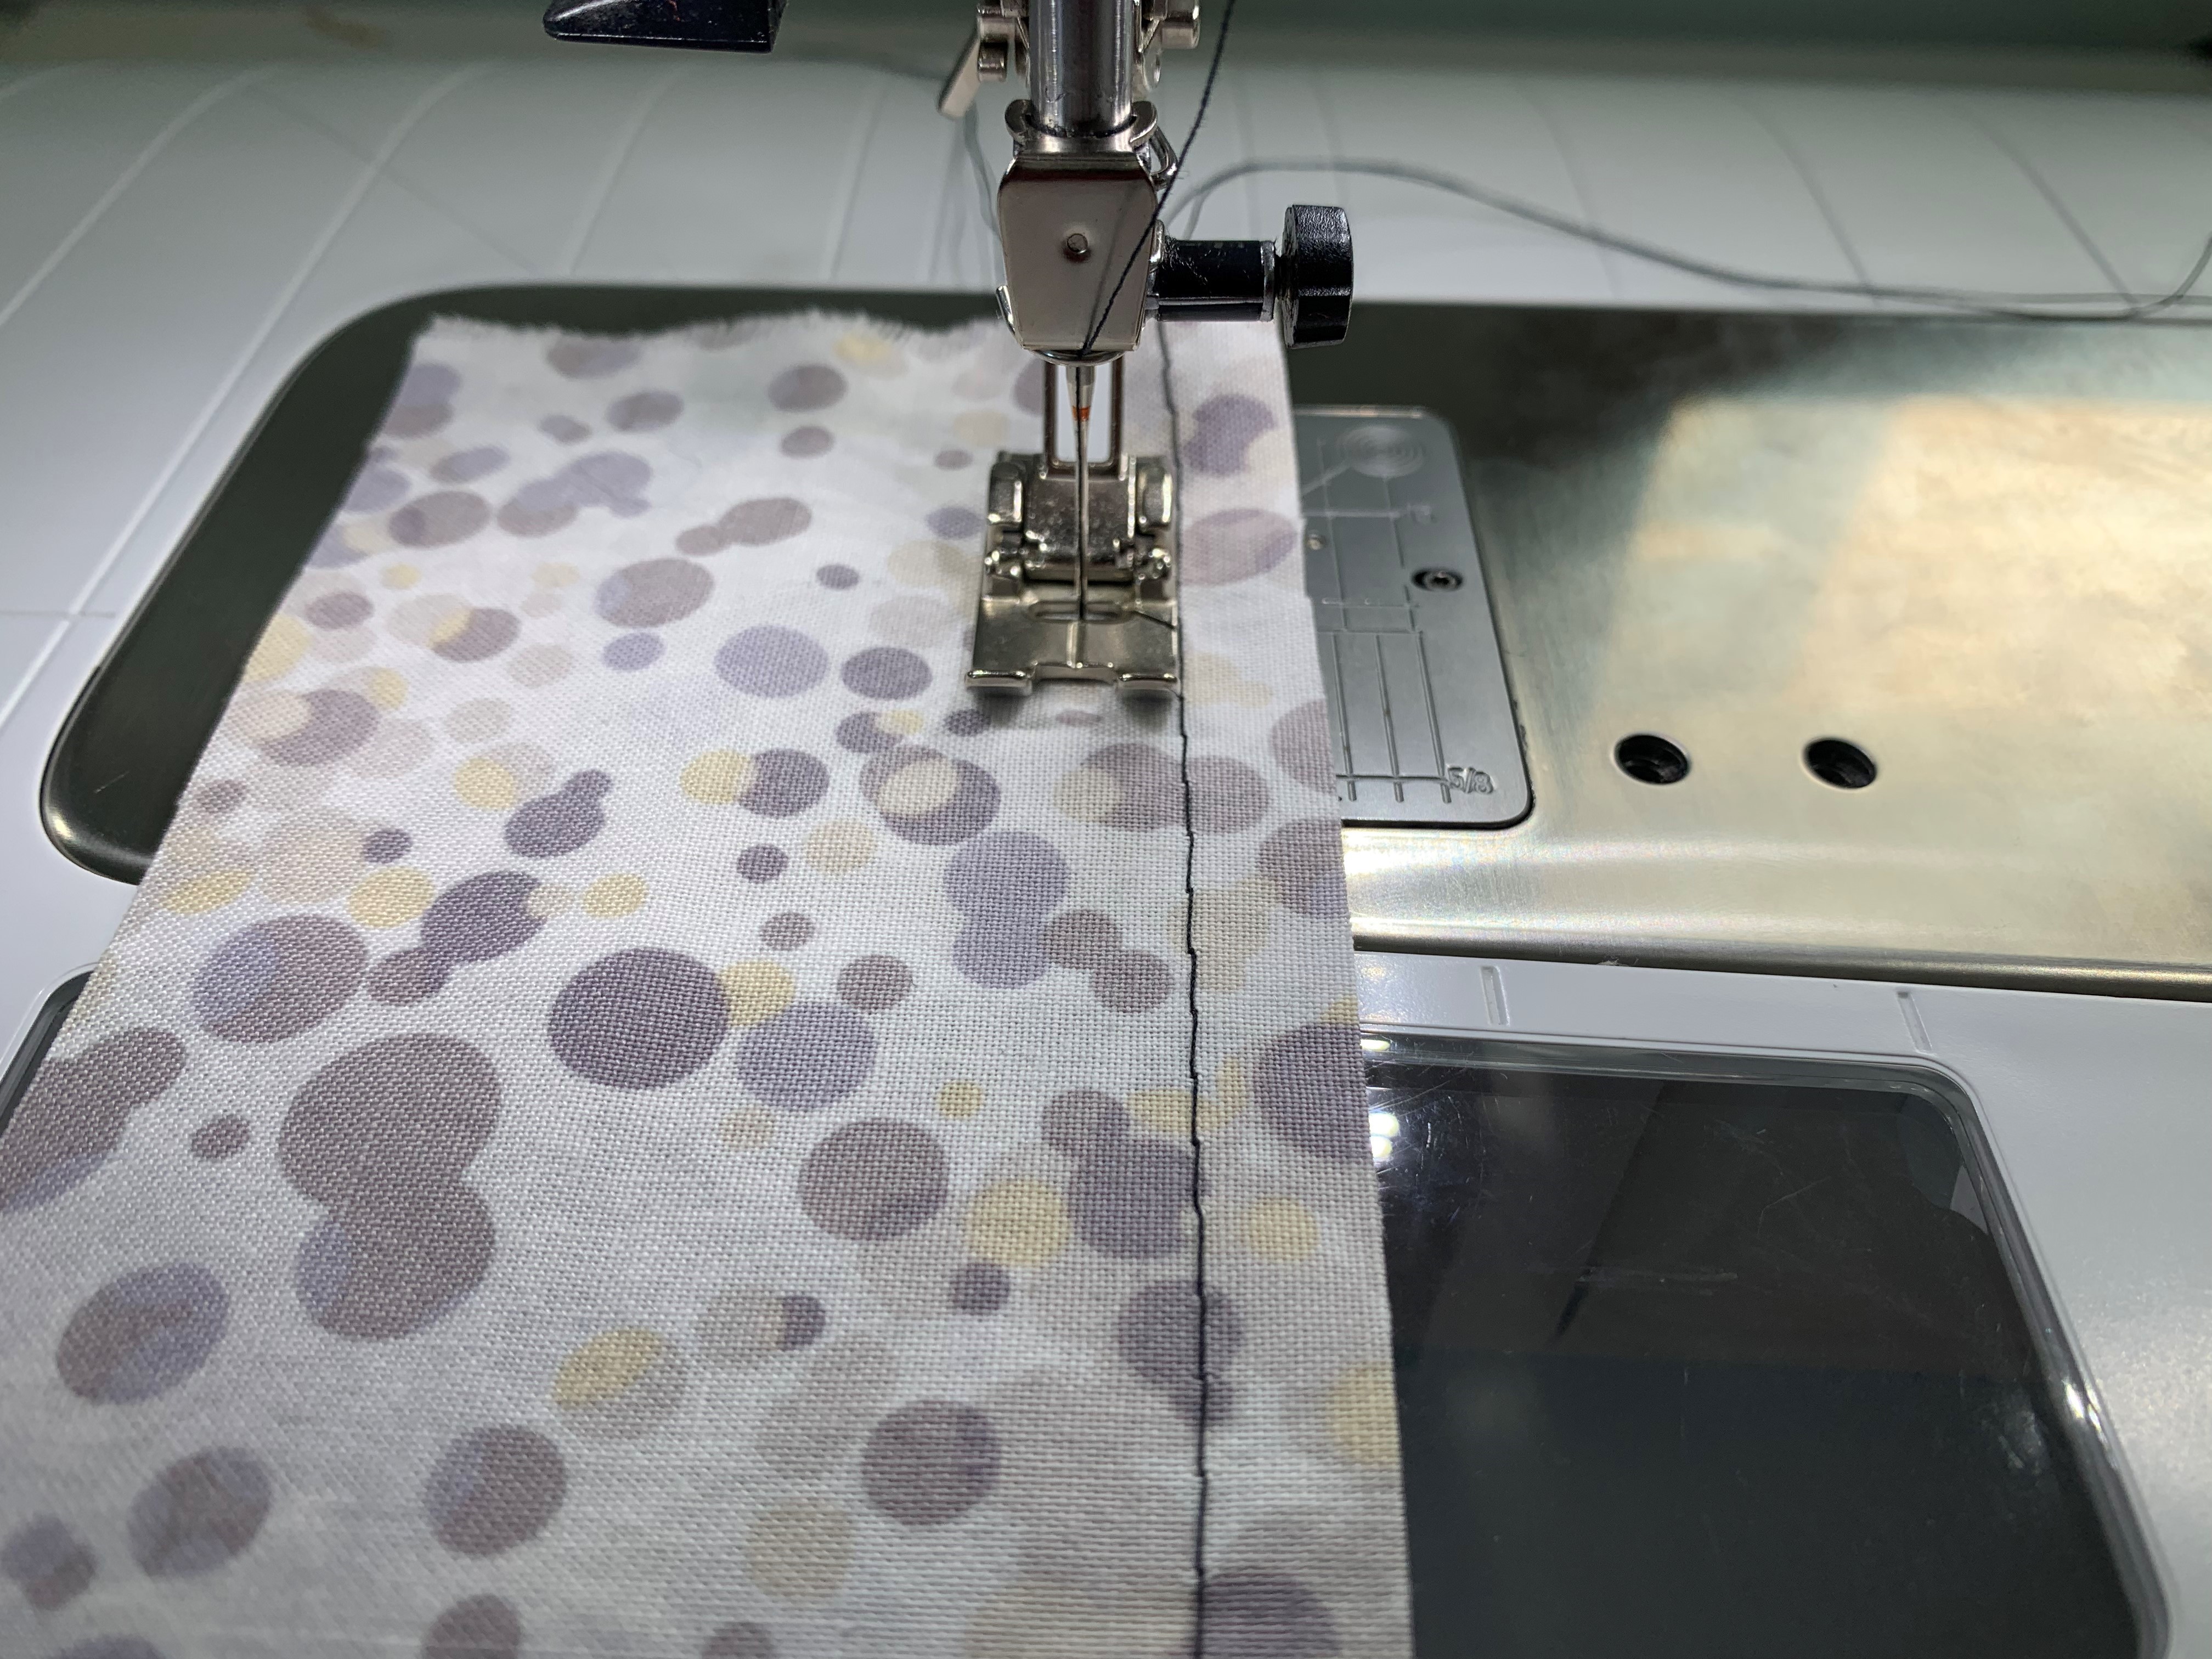
Gathering stitches are very common in garments, especially in skirts and tops. Gathering stitching are also sewn to help you fit pieces together that are curved in opposite directions (like in a sleeve cap). To sew a gathering stitch, you’ll sew with a long stitch length, just like you did for basting. When you start stitching, you’ll want to leave a long tail of thread coming from both the needle and the bobbin.
Leaving that long tail, you’ll stitch with a long stitch length down the edge you want to gather without backstitching. When you reach the end of the fabric, you’ll want to again leave long thread tails attached. To make gathering easier, repeat this, adding another row of basting stitches parallel to the first. I like to sew one row of basting stitched within the seam allowance and another wider than the seam allowance. This makes it easier to keep your gathers even when sewing to the next seam.
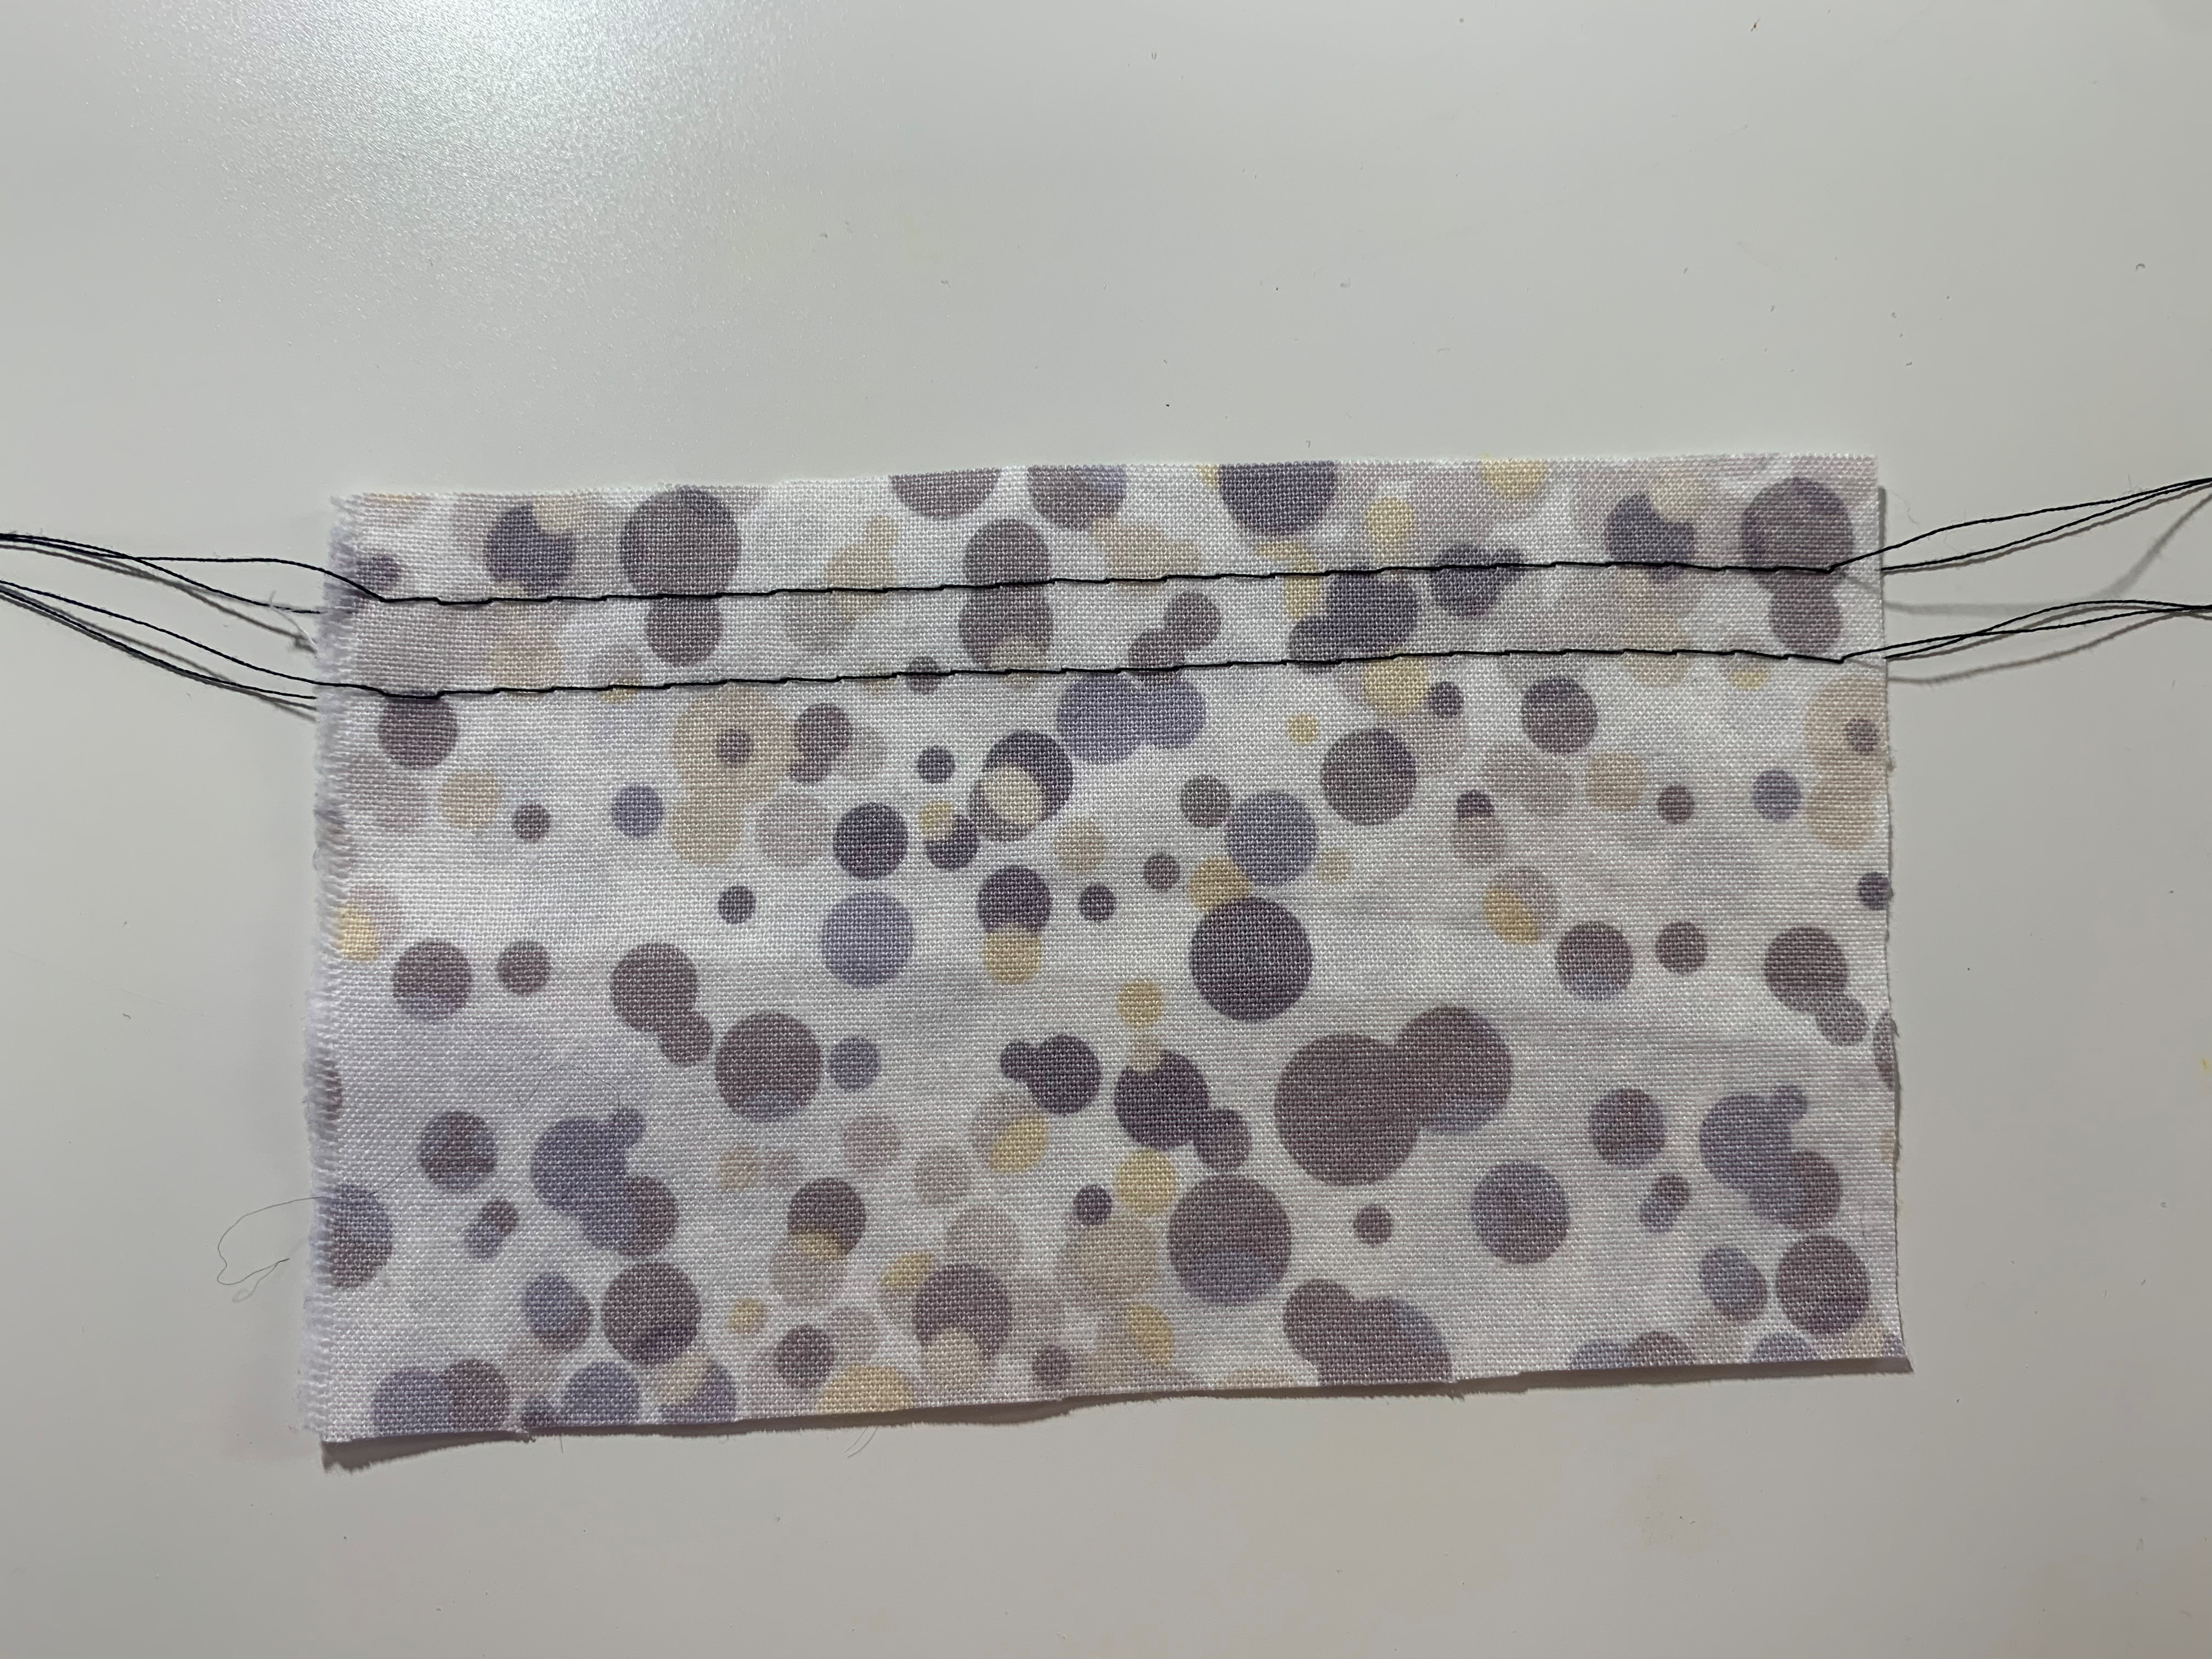
To gather the fabric, you’ll hold onto the bobbin threads and push your fabric down the basting stitches. There are lots of other ways you can gather a piece of fabric and there’s a great tutorial post on that here.
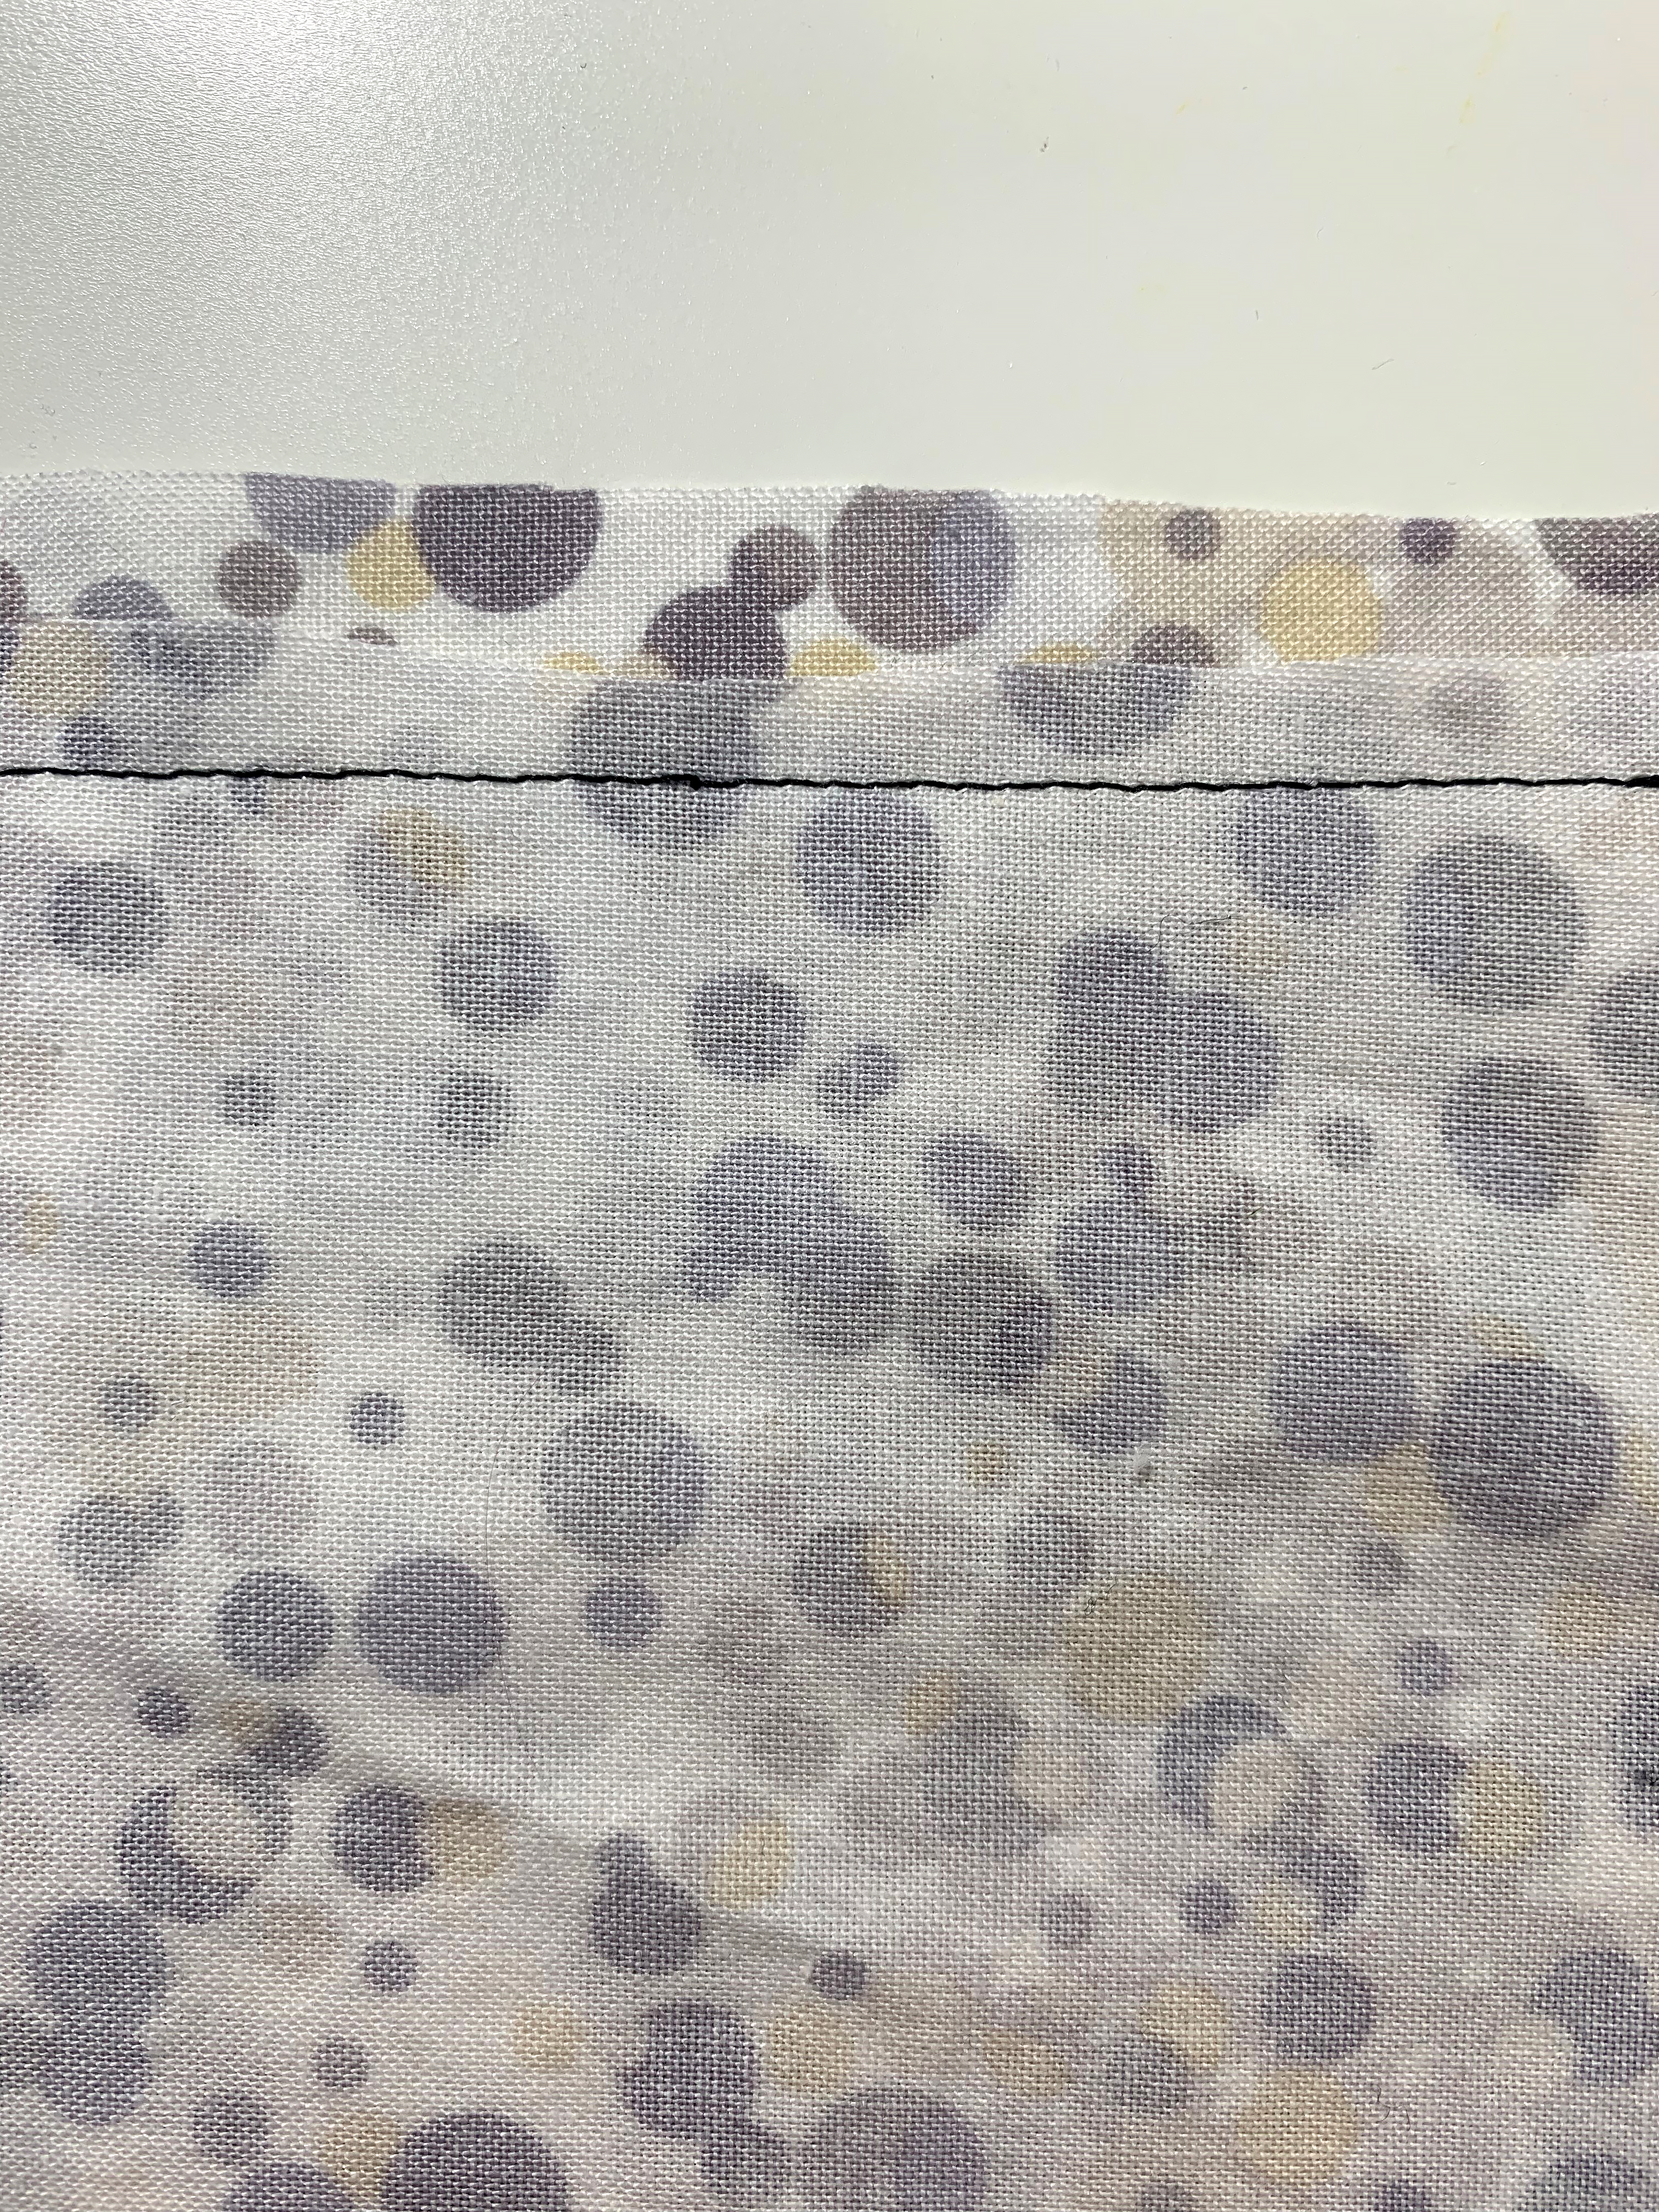
Grade
Grading a seam will help reduce bulk in your seam allowance. In order to grade a seam allowance, you’ll trim one side shorter than the other.
Finish Seams
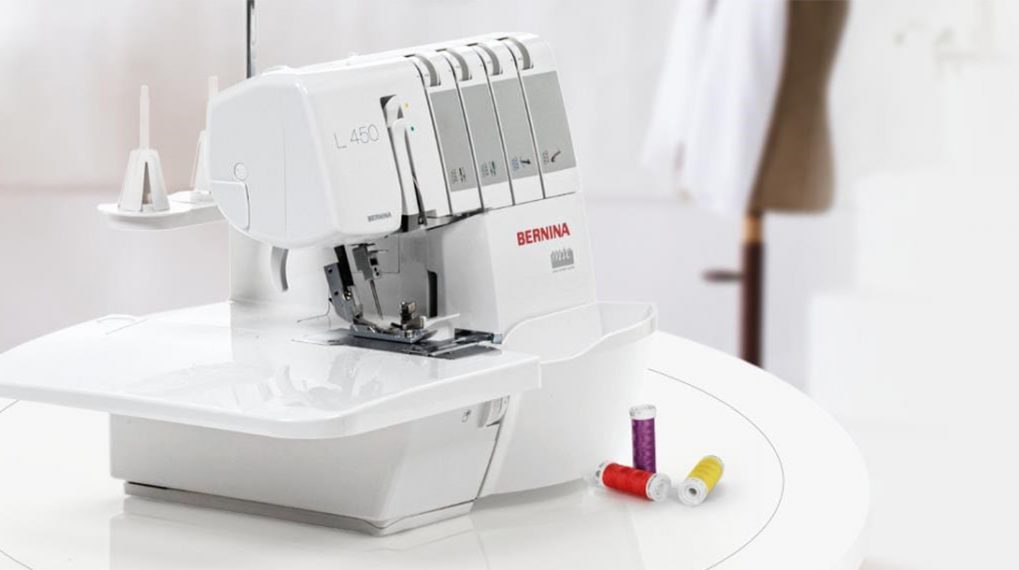
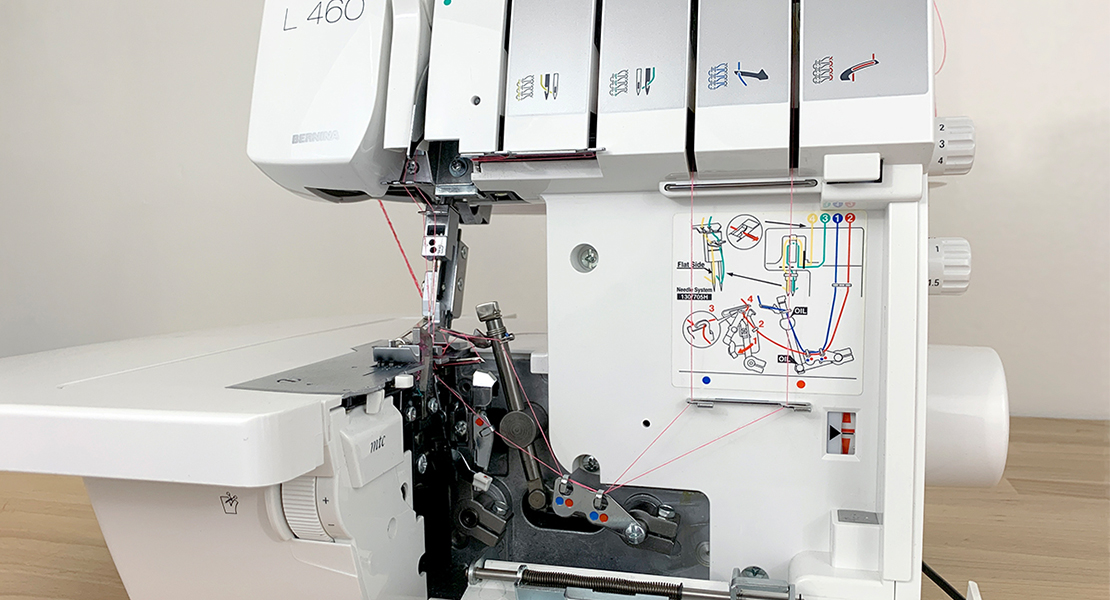
Finishing seams will prevent the fabric from fraying. You can finish seam allowances with a serger or overlocker, with pinking shears, or with a zig zag stitch. There are lots of other seam finishing options that you can try out by making this seam finishes sampler.
Hem
Hemming is the finishing step for the edge of fabric. There’s a lot of different ways to hem fabric, but the most common is a double fold hem. To hem your fabric with a double fold hem, you’ll fold the raw edge of the fabric to the wrong side twice. This will sandwich the raw edge between two layers of fabric. When you stitch this fold down, the raw edge will be enclosed inside.
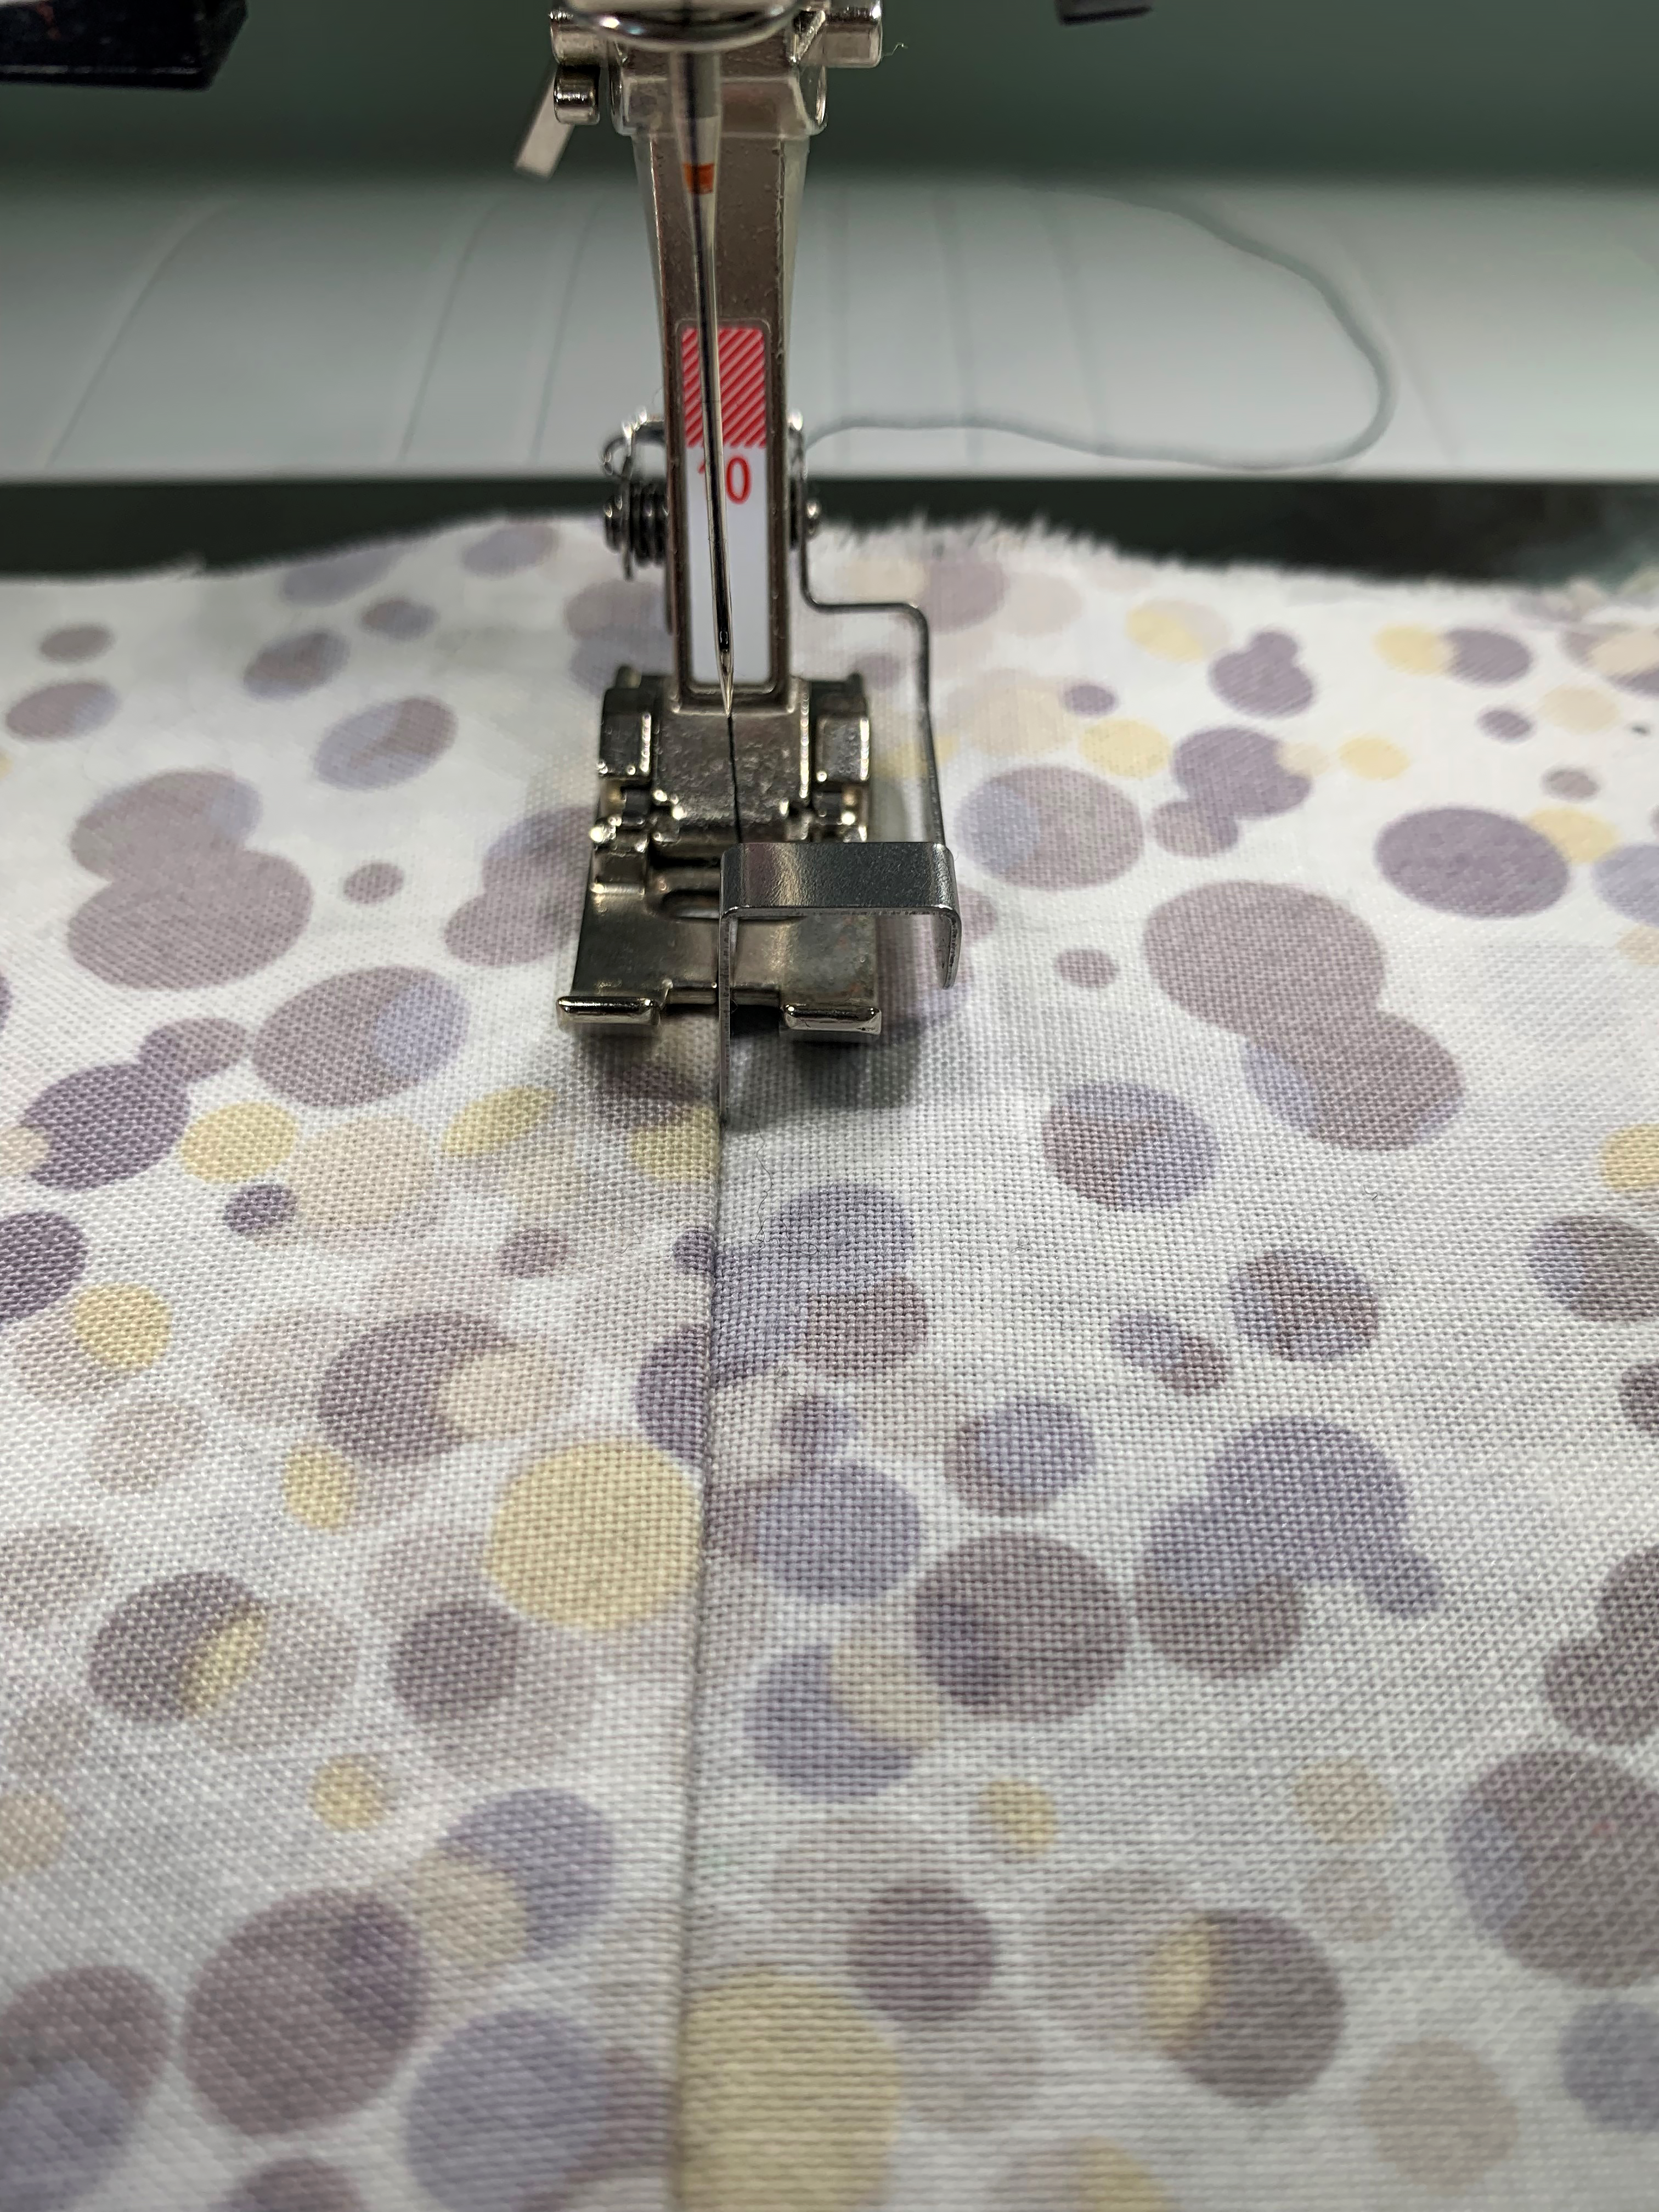
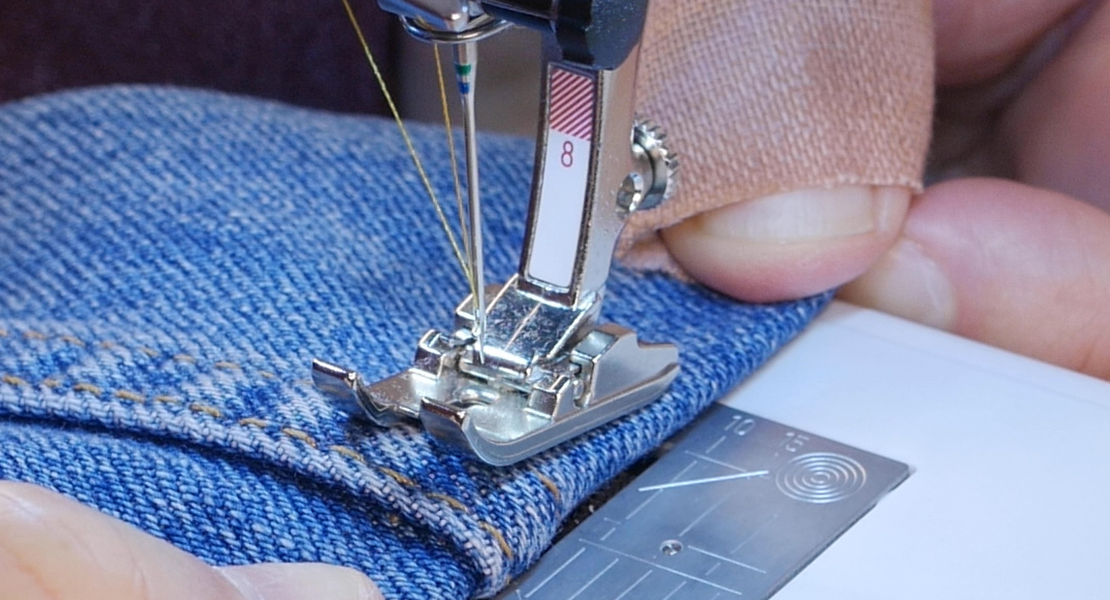
Stitch in the Ditch
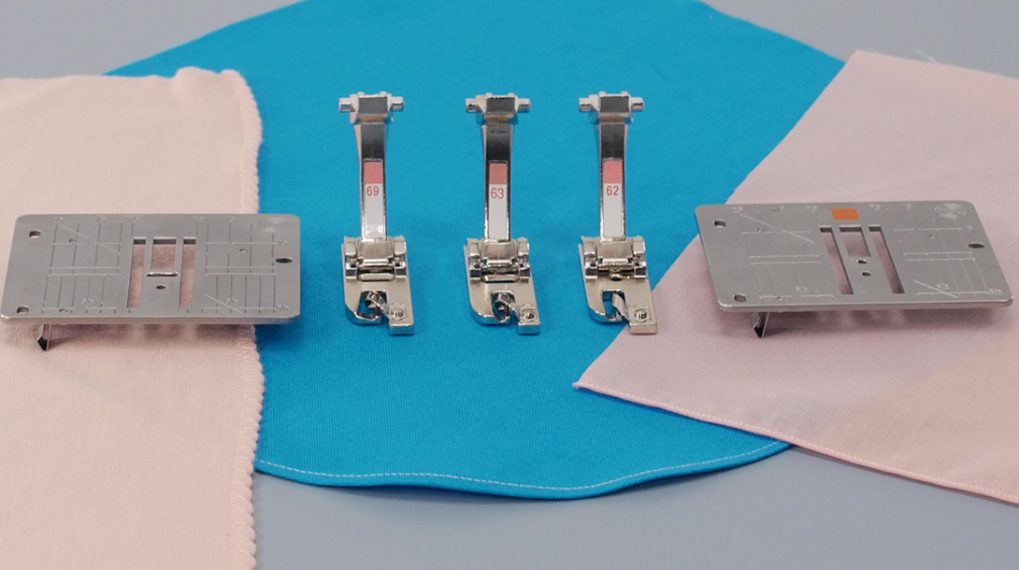
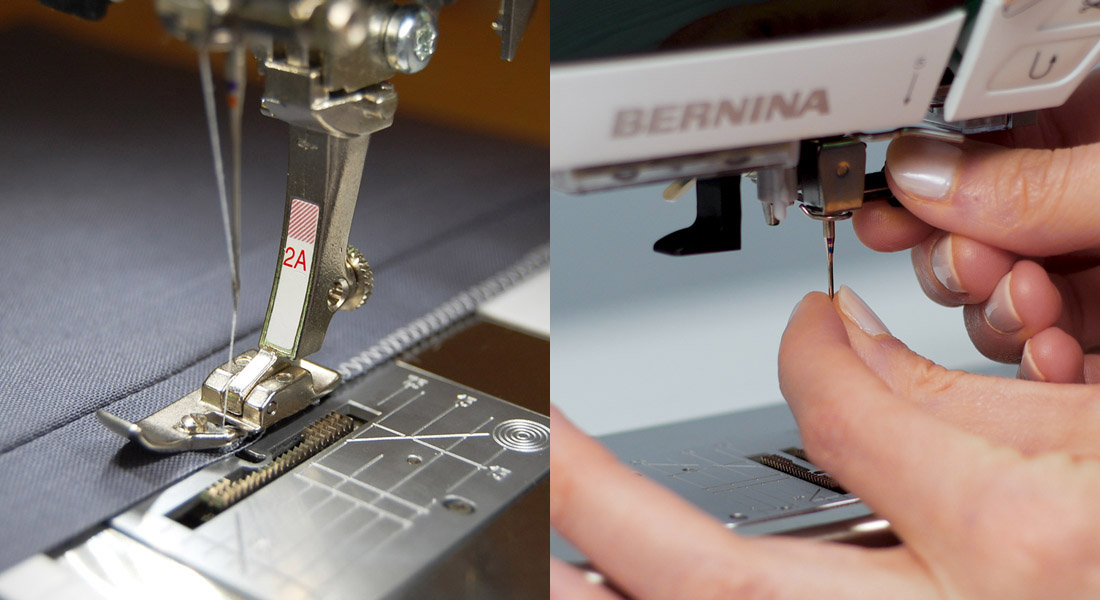
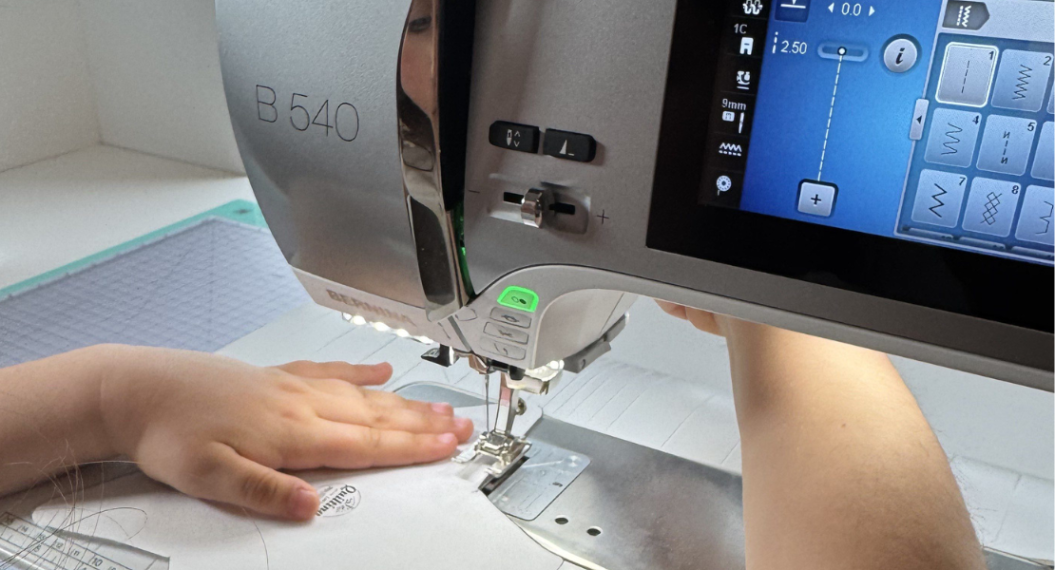
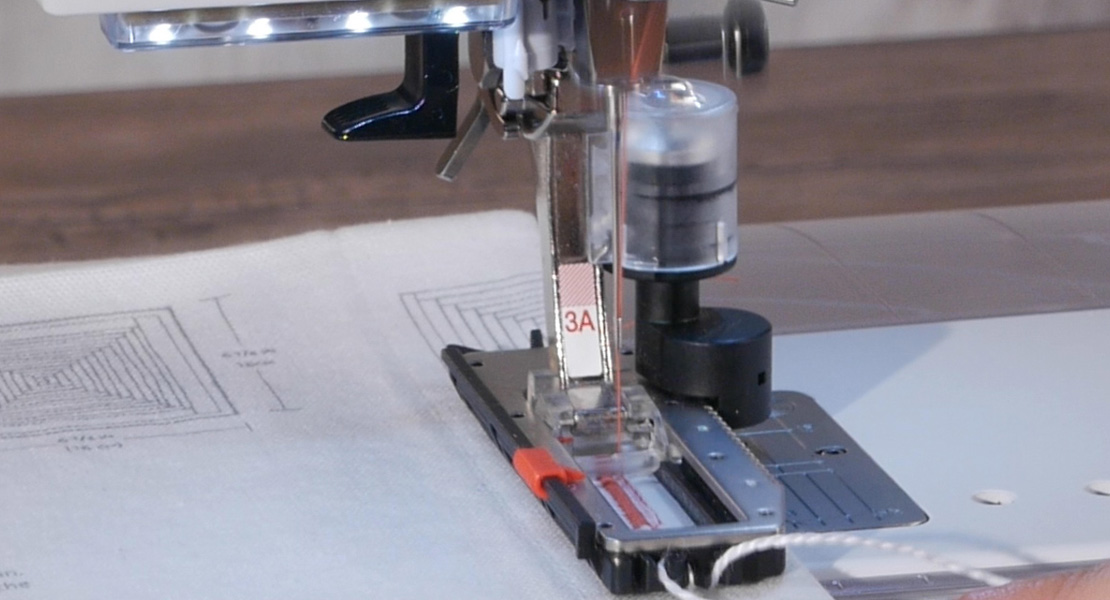
Stitching in the “ditch” of a seam is commonly used to catch another seam underneath. You’ll see this a lot when finishing a waistband. I like to use the Edgestitch Foot #10 in order to easily stay right in the seam.
Topstitch
Topstitching is adding a visible line of stitching on the right side of your fabric. This can be decorative, or it can help add strength to a seam. Topstitching is commonly used on jeans and in jackets, but you can choose to add it to any project. It can be a visual element with a contrasting thread, or more subtle with a thread that matches your fabric.
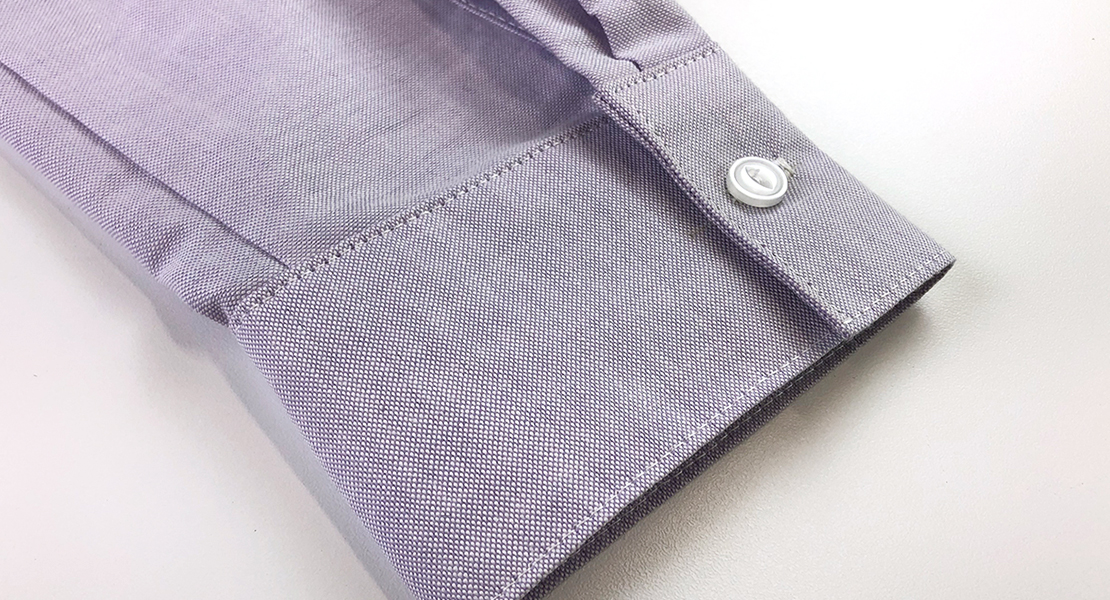
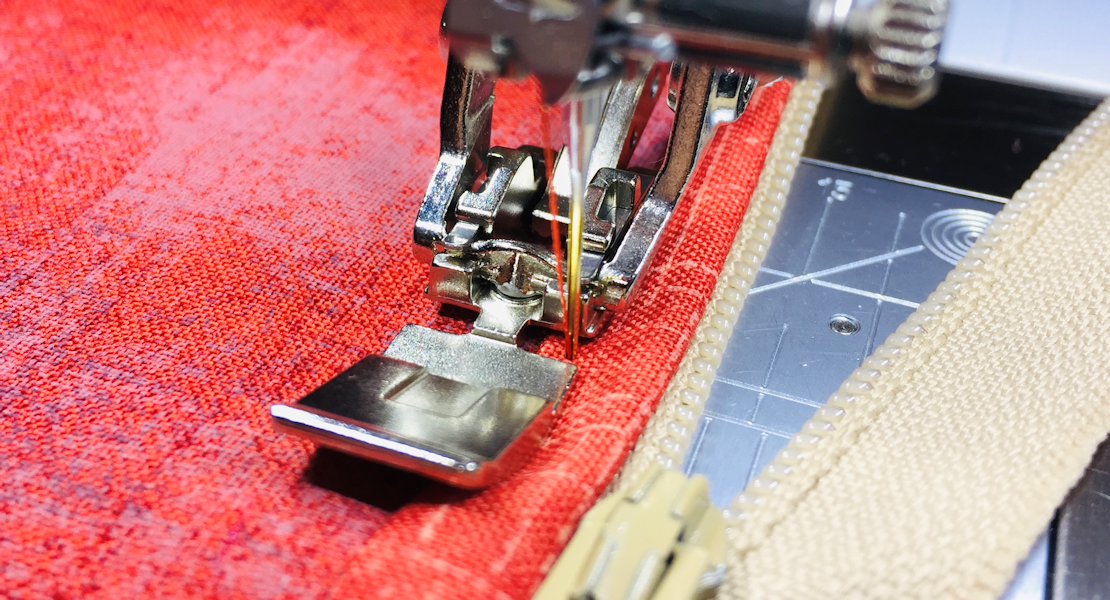
Understitch
Understitching has to be my favorite sewing step. It will make a seam turn to the inside of a garment so easily, making the seam look so neat. You can understitch on any piece of a garment that you don’t want to see, like a facing or an inseam pocket. To understitch, you’ll stitch the seam allowance to the piece of fabric you don’t want to see (the blue fabric in the photo below). I like to line the seam up with the inside edge of my presser foot in order to keep this understitching line nice and even.

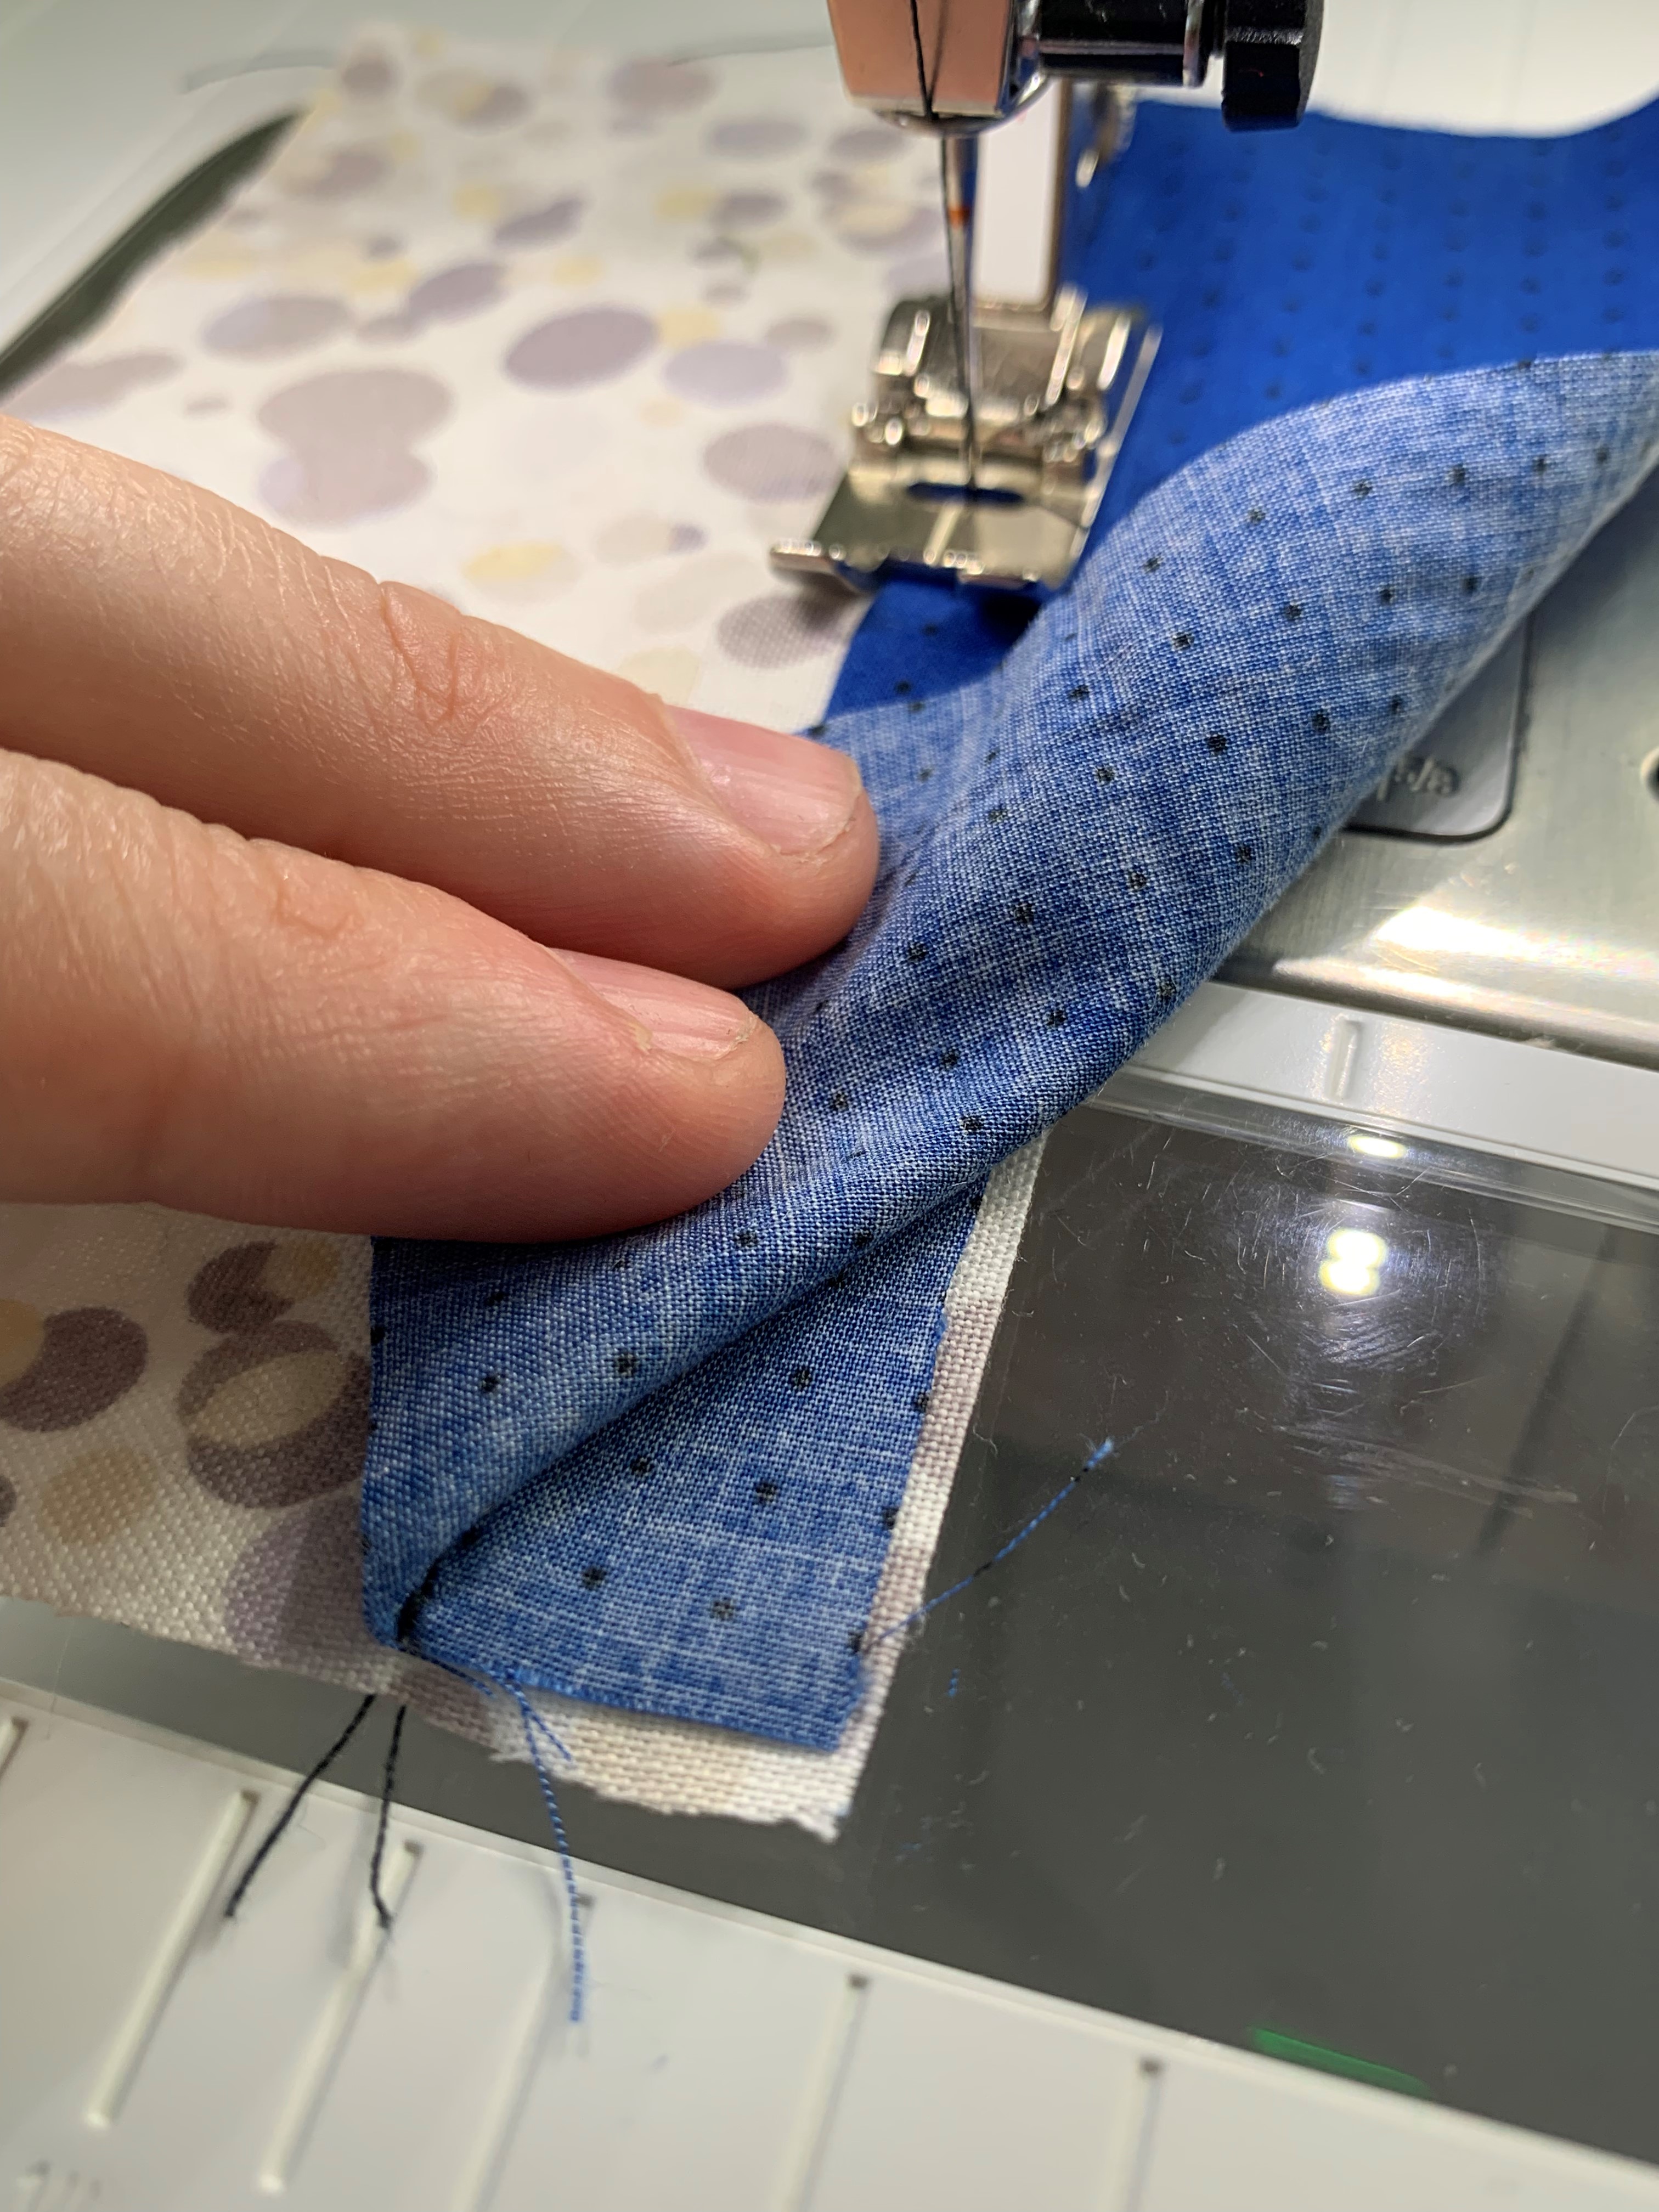
When you press to turn the fabric you understitched to the inside of your garment, you’ll be amazed at how easy it turns, making it so you cannot see it from the right side.
I hope that this beginner sewing glossary will give you the knowledge to follow pattern instructions without fear. Learning this language is the first step to your sewing journey and from here there’s no limit to what you can create!
Used Products


What you might also like

8 comments on “Beginner Guide to Common Garment Sewing Terms”
-
-
Yes, they come in so handy!
-
-
Great content…as someone taught by Mom, on an old Singer, it is great to have guides and instructions like this…keep um coming! Maybe a similar on of quilting terms?☘️❤️
-
I’m so glad you found this helpful! Thank you for the suggestion!
-
-
I also learned to sew on my mom’s Singer, so old that there wasn’t even a zigzag stitch. I forget how we got buttonholes done. It is so great to have all the various functions available on even the basic Berninas and it makes sewing a pleasure.
-
Doesn’t having those functions make all the difference? I love being able to focus more on the project and worry less about the machine doing what I need it to.. it makes the process much more enjoyable!
-
My mom’s old Singer is straight stitch only. It has a buttonhole attachment with “cogs” for different sizes (including a large keyhole buttonhole). I think that it moves the fabric side to side to achieve the zig zag. I haven’t used the buttonholer since I was a kid, but as I recall, it was a serious pain to use. The machine itself is great!
-
-
Can one use a 10D foot to do a blind hem? I had a 5 foot for my older machine, but it went with the trade-in. I have a 10D foot and love it for quilt bindings and stitch in the ditch. I find it really useful and wonder if I can use it for blind hems?
Leave a Reply
You must be logged in to post a comment.

Love the # 10D, 20D, 97D and 50 feet. Use them the most. #8 comes in handy with heavy fabric. Love them all!