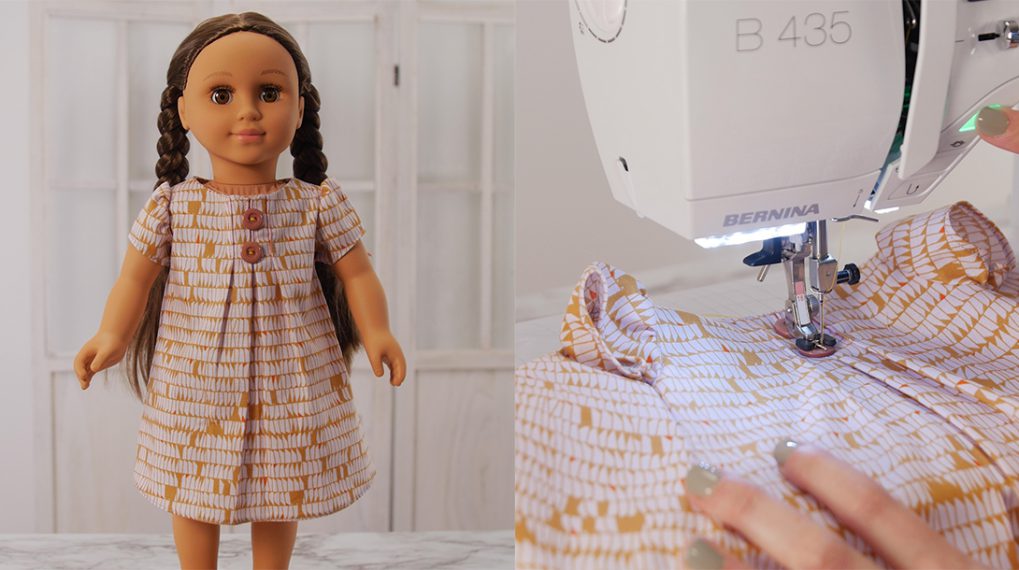
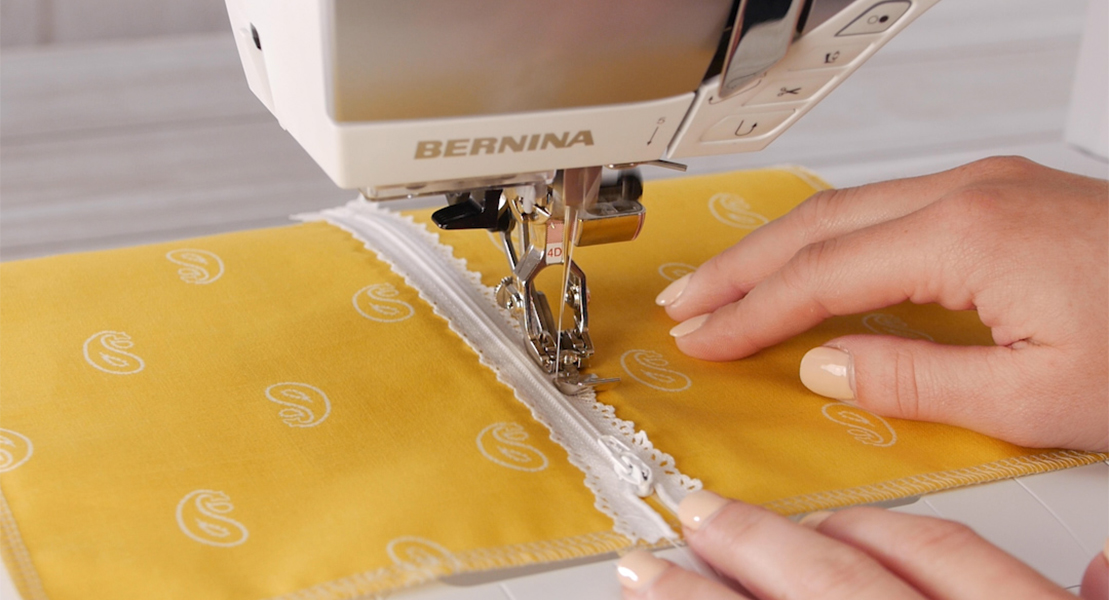
How to Use Three Common Hemmer Feet
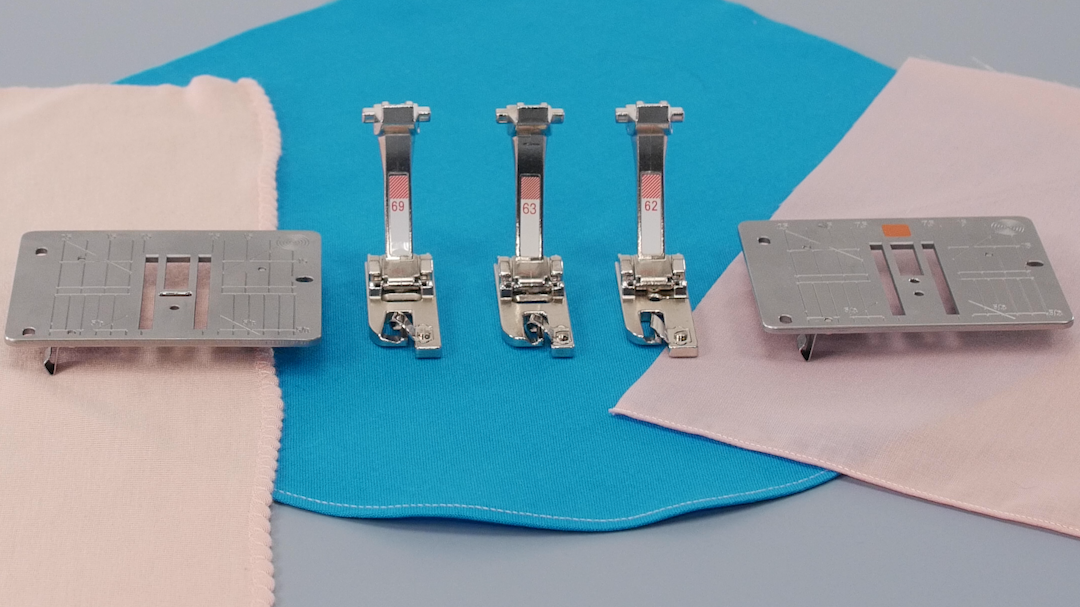
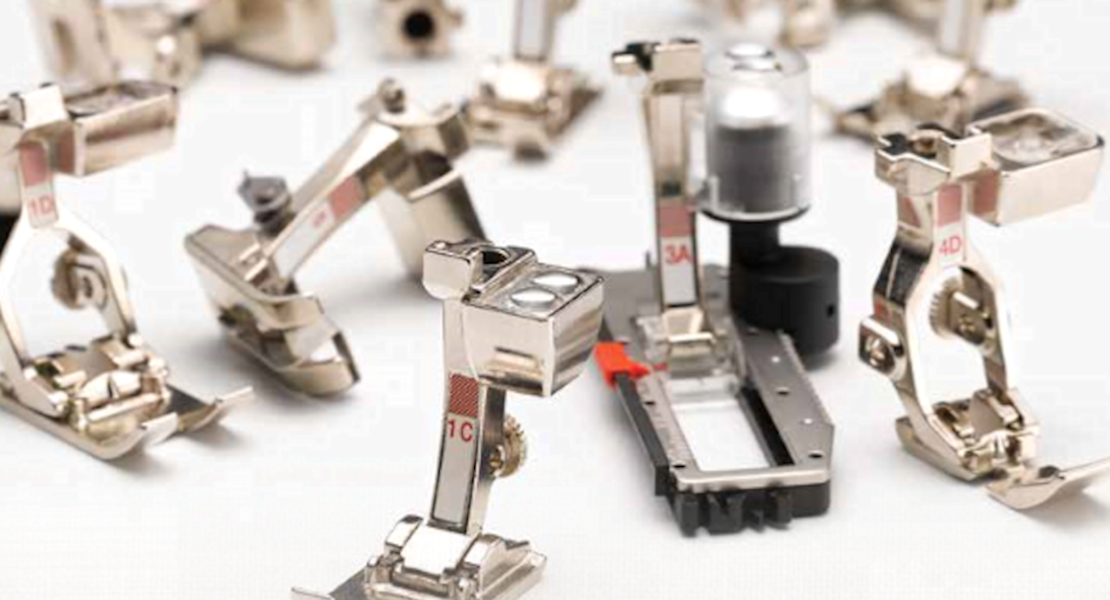
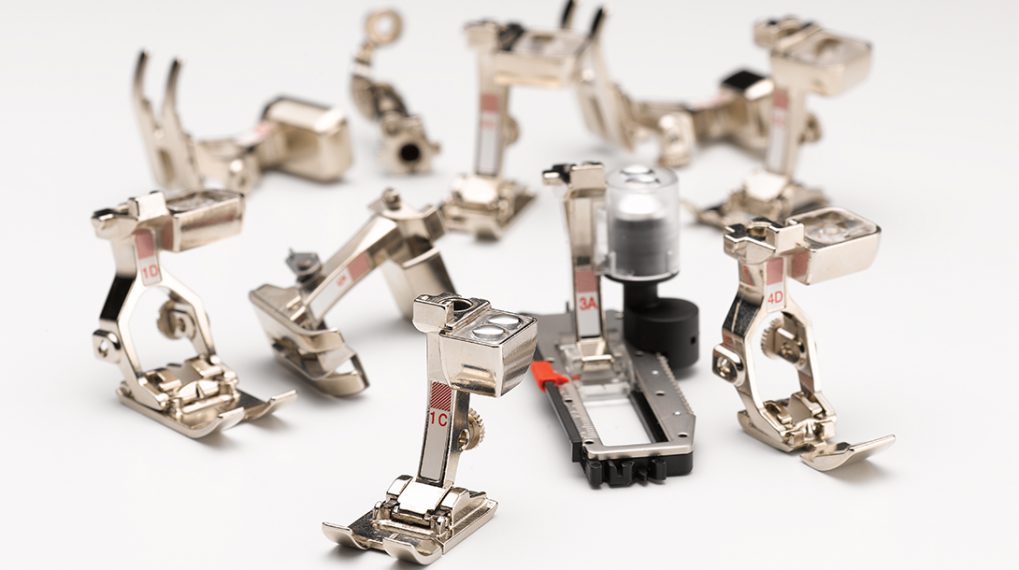
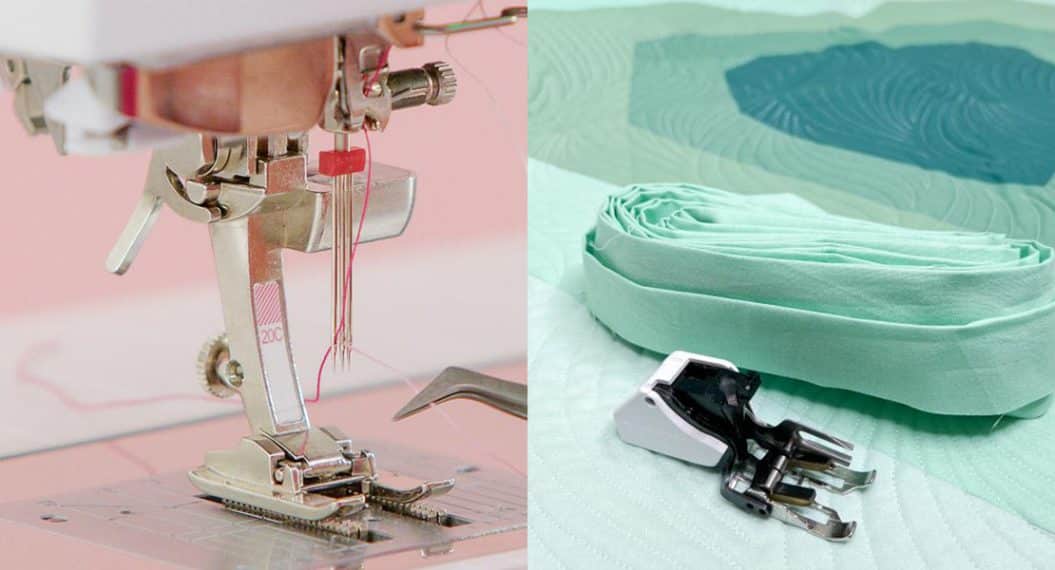
BERNINA offers seven different hemmer feet, covering a wide variety of applications on various fabric types and weights. This article will focus on how to use three common applications, using three of the hemmers:
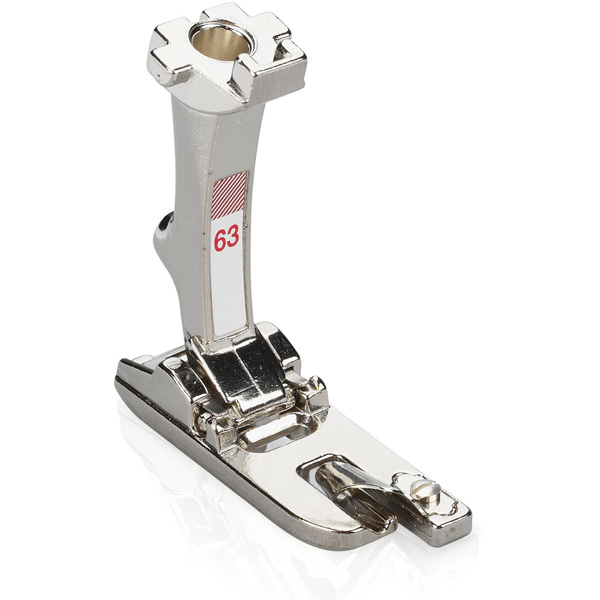
- Zigzag Hemmer Foot #63: Great for a curved hem on fine to lightweight fabrics for blouses and shirts.
- Roll and Shell Hemmer Foot #69: Use for rolled-shelled hems on tricot and fine knits for a decorative edge.
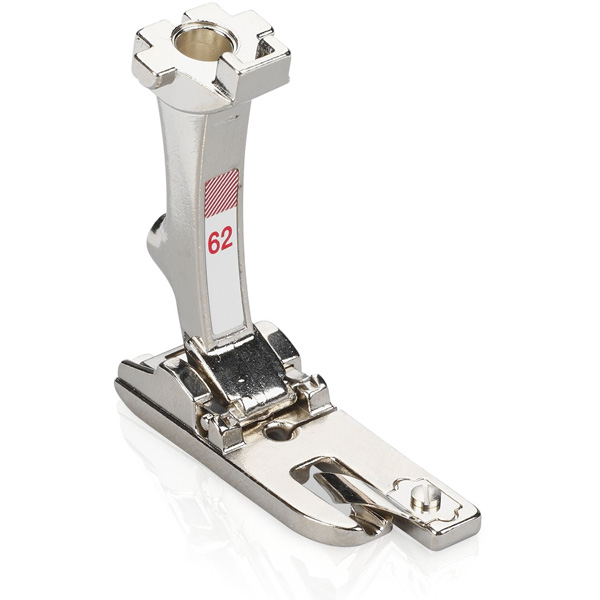
- Straight Stitch Hemmer Foot #62: Wonder for a fine hem on lightweight fabrics like silk scarves.
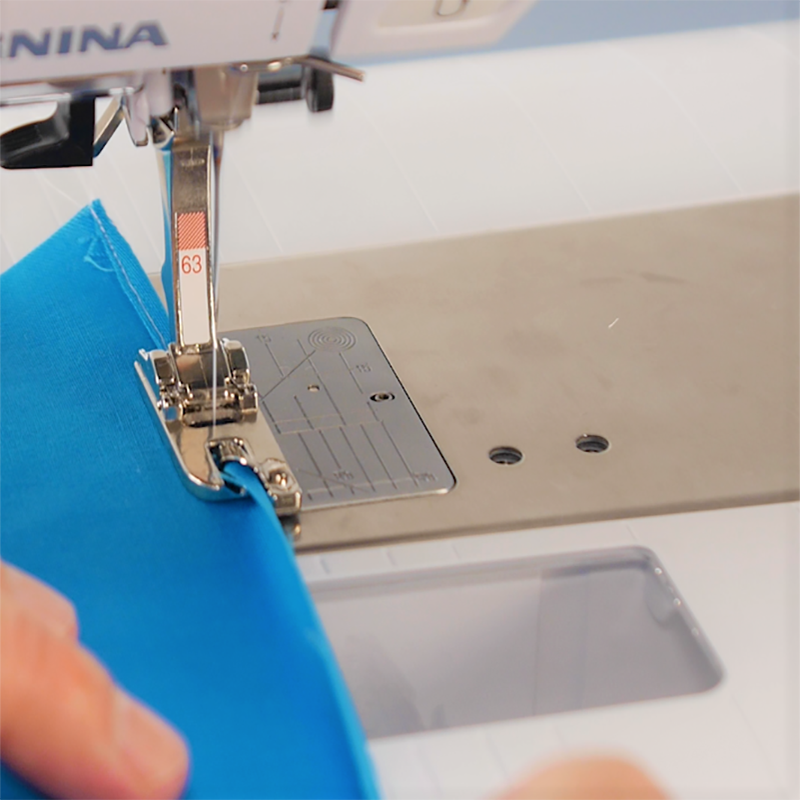
Curved Hems with Zigzag Hemmer #63

While this hemmer foot allows zigzagging over the hem if wanted, it is more commonly used with a straight stitch on blouse and shirt hems. Its unique design includes the scroll that will double-turn the hem (3 mm wide, approximately 1/8 inch), and the groove underneath that will accommodate the rolling of the hem. It also has a unique feature: the groove underneath tapers off at the back of the foot, providing a pivoting point under the foot which allows one to hem around curves.
Tips for sewing successful curved hems
- Use a Straight Stitch, Length: 0 mm.
- Use a Straight Stitch Plate to support the fabric at the stitching point. It helps yield a perfectly even hem, even around curves.
- Use a sharp needle (Microtex or Jeans, size 70 or 80, depending on how fine the fabric is)
- Engage the Needle Down
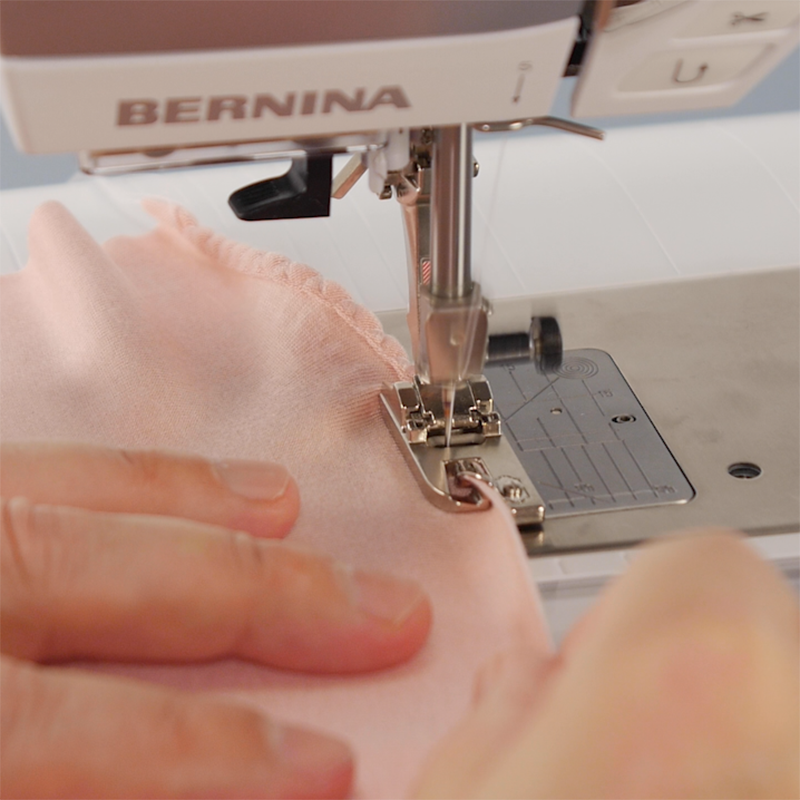
Priming the Hemmer: How to insert the fabric into the scroll so that the hem will form correctly
- Hold threads at the back of the foot.
- Place fabric flat under the foot.
- Align fabric at the right edge of the foot.
- Take 6 stitches.
- Remove fabric and reinsert in the foot using the thread tails to prime the hem (by flossing back and forth once or twice).
- Sew a few stitches to anchor the threads.
- Holding the lead threads to the back, roll the raw edge of the fabric up by 1/4 -1/2 inch and sew forward. NOTE: Upon entering the foot, the fabric should fold over just enough to reach the inner edge of the left toe
- Continue sewing around the curved hem until the end.
Tip: If possible, pre-starching the fabric before cutting it along the hem line will help prevent ‘beards’… aka peekaboo threads that may otherwise get pulled along the raw edge and show outside of the hem roll.
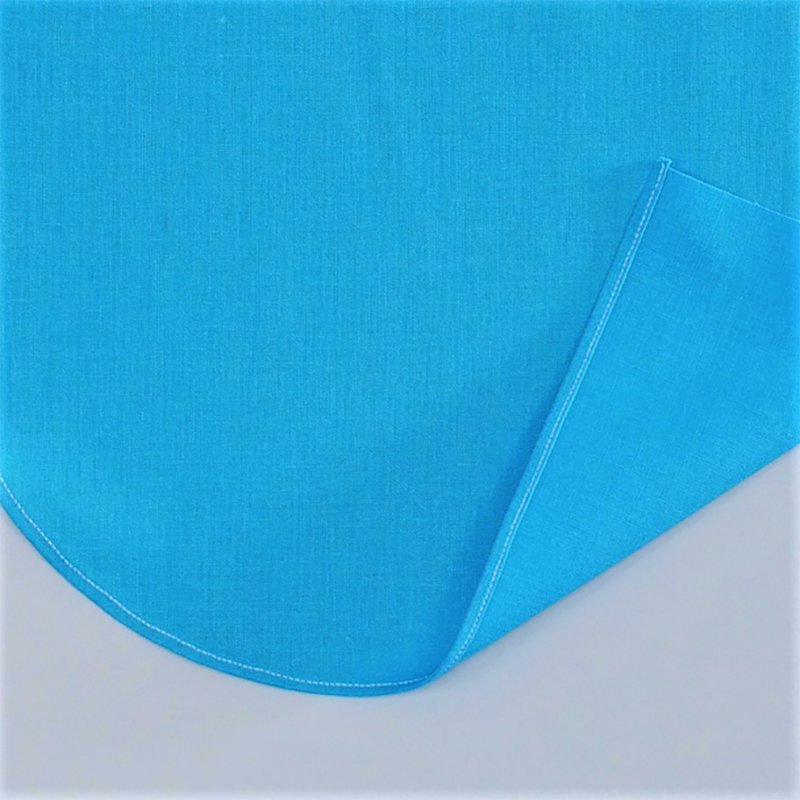
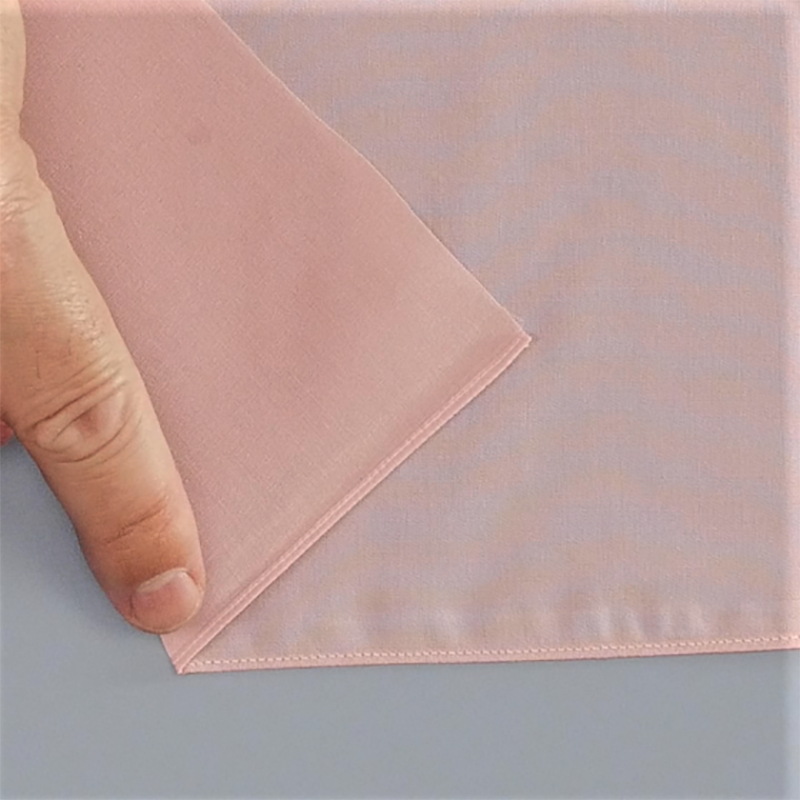
Here’s a sample of the finished curved hem from both the right and the wrong side:
For more details about Zigzag Hemmer #63, click here to visit the bernina.com website.
Watch an additional video with more details on priming the foot and hemming around curves:
To see this foot in action and for tips on priming the foot and hemming around curves, click here to view an Instagram video.
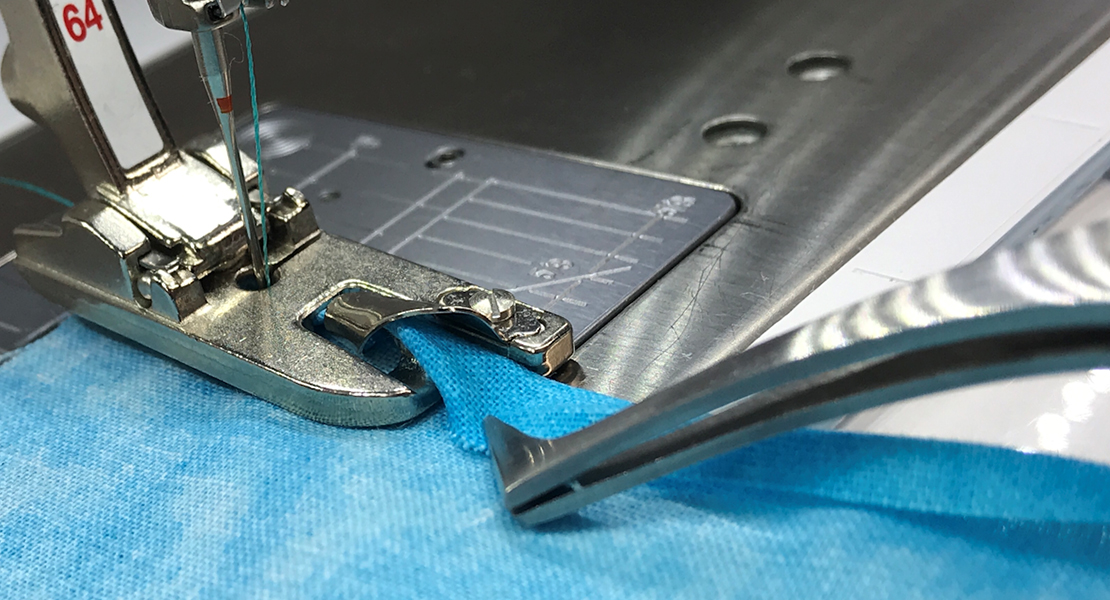
Roll and Shell Hemmer #69
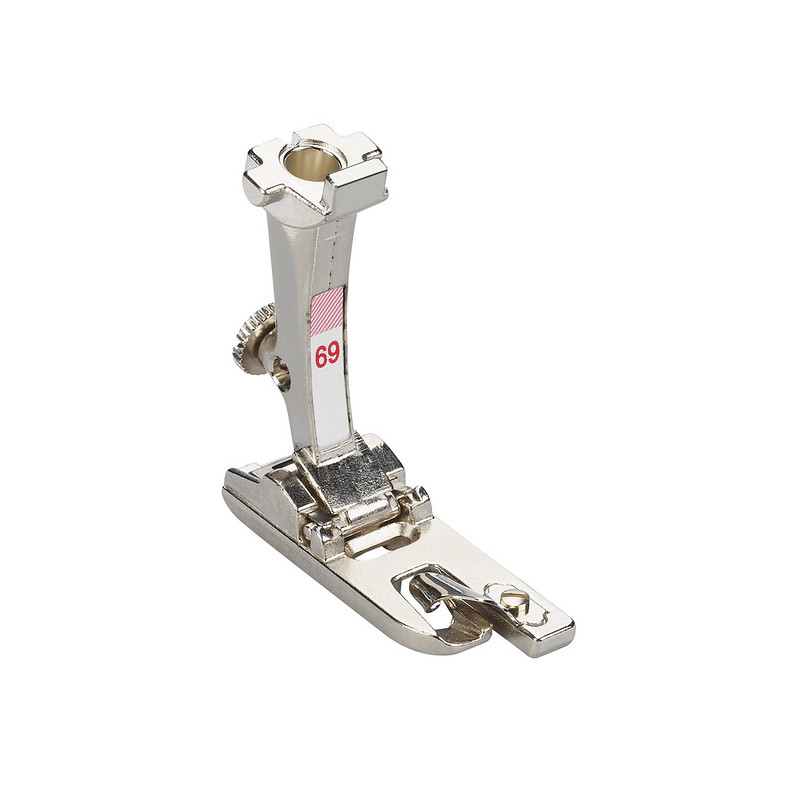
This hemmer foot combines the ability to zigzag with a slightly larger scroll (compared to foot # 63 above), making it possible to feed fine knits through the foot while stitching across the hem that will end up being about 4-6 mm wide.
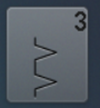
By using a Vari-overlock Stitch #3 (typically used to overcast raw edges), we can stitch down the hem with the straight stitches on the left, and then tucking the edge in with the zigzag stitch that juts to the right, creating the shell effect.
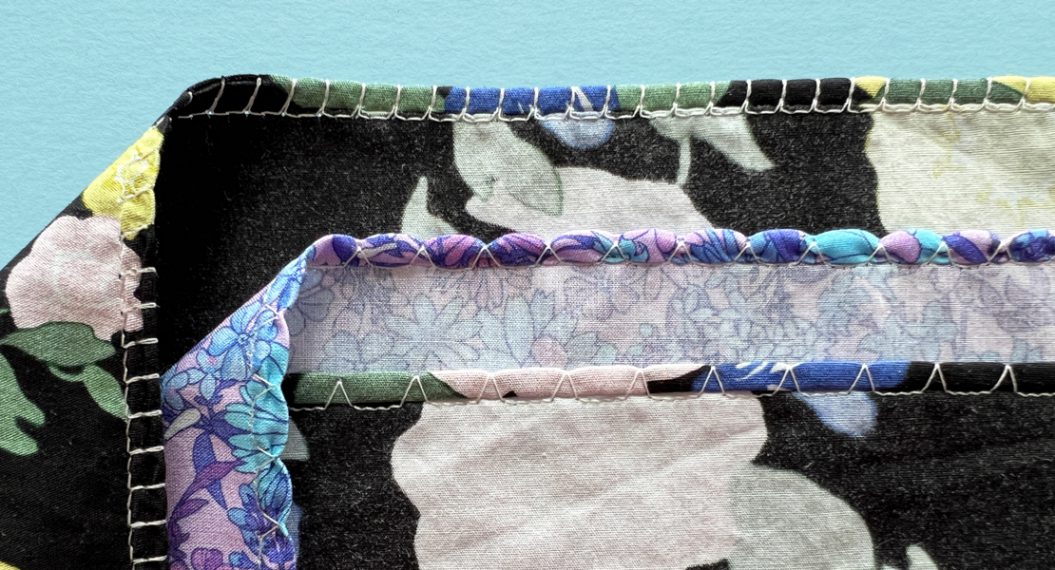
Stitching a scalloped hem on fine knits with Roll and Shell Hemmer #69
This type of hem was once popular on lingerie. It produces a textured edge that is still soft on fine knits. It can be done with the right or wrong side of the fabric against the bed of the machine, depending on whether the knit fabric is different on the wrong side or not.
Tips for sewing successful roll-shelled hems on fine knits:
- Prime the hemmer as indicated for Foot #63.
- Select the Vari-overlock stitch #3.
- Set Stitch Length at5.
- Use a5 mm Stitch Plate to better support the fabric as the hem is being stitched.
- Use a Stretch or Ballpoint needle, size 80.
- Engage Needle Down
- Hold the lead threads at the start and sew the hem, rolling up the raw edge of the fabric just enough so that it folds over to the inner edge of the left toe of the foot.
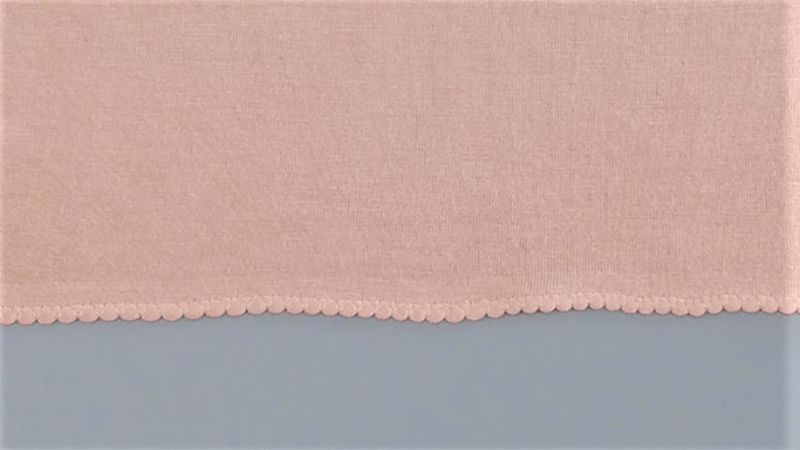
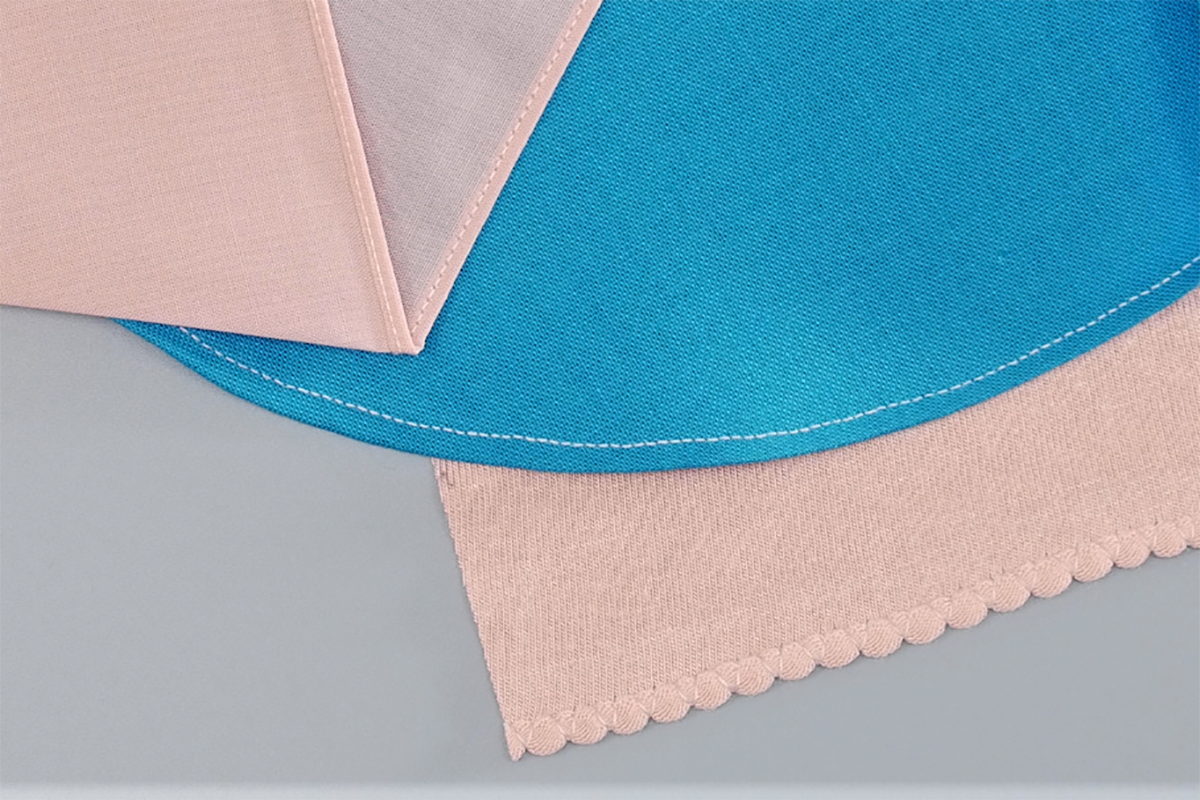
Here’s a sample of the finished hem on a fine knit:
For more details about Roll and Shell Hemmer #69, click here to view information on bernina.com.
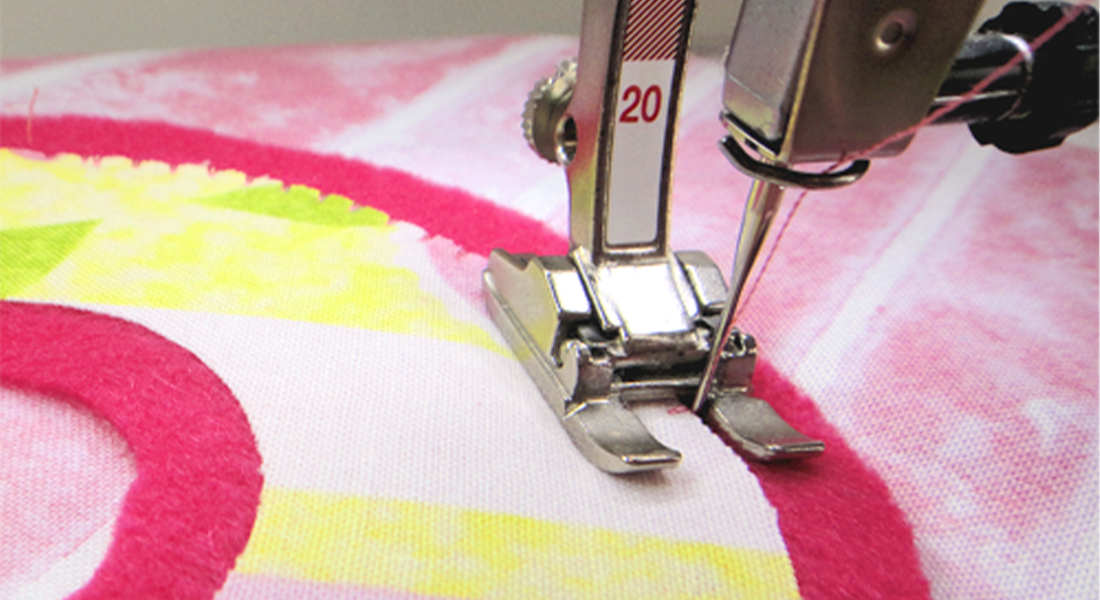
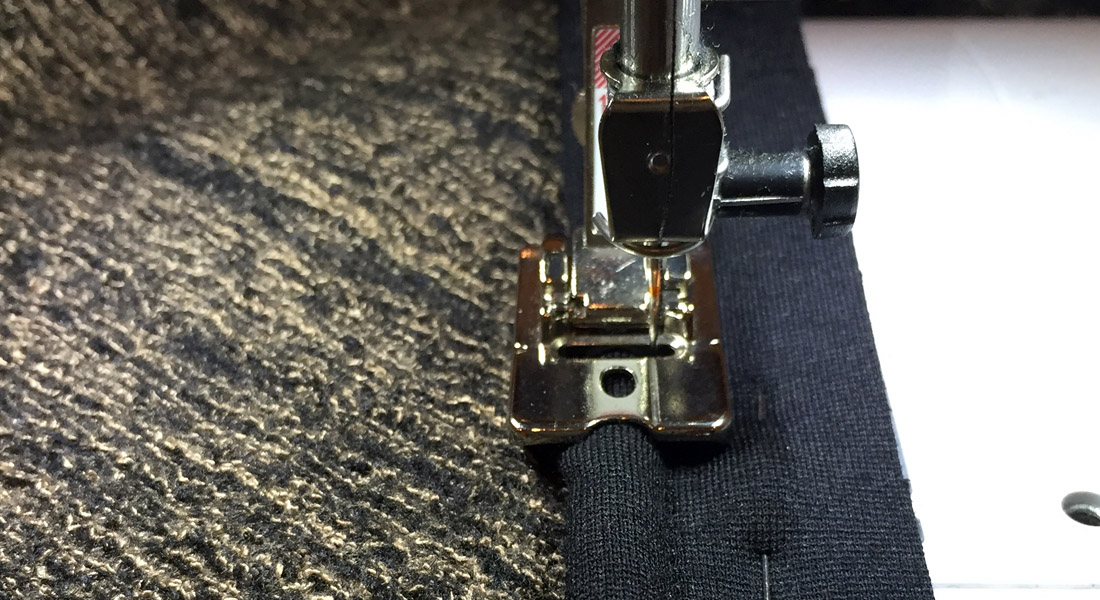
Straight Stitch Hemmer #62
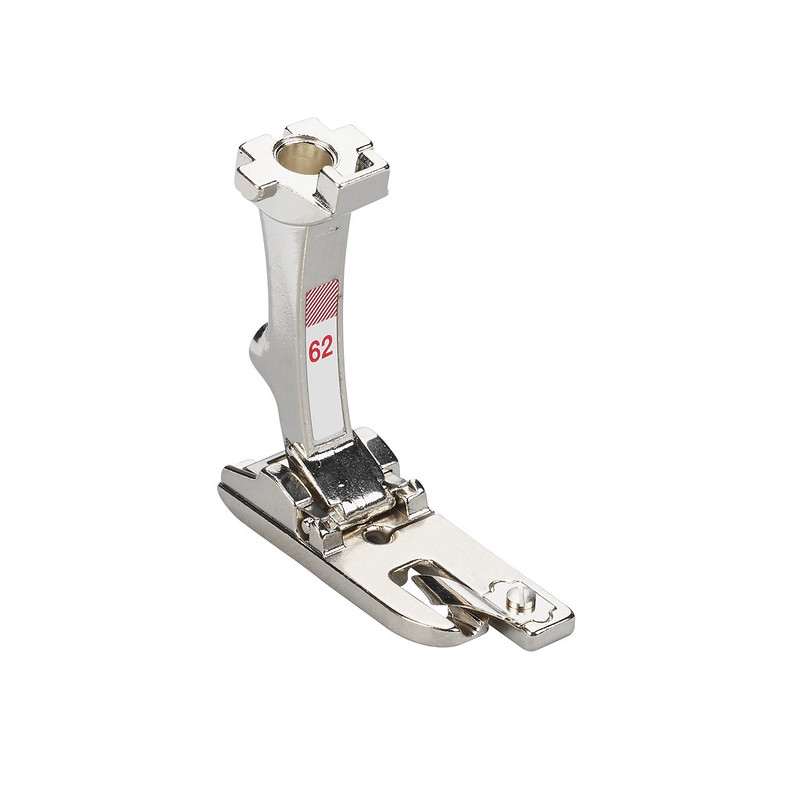
This hemmer foot is plain, straight and narrow. It will turn a 2 mm wide hem on fine fabrics using a straight stitch. It makes it possible to turn a durable hem on fabrics that would otherwise be cumbersome to turn by hand.
Stitching a hem with Foot #62 is done the same way as above with Foot #63. Note that this hemmer is not recommended for curved hem, so stitching will be done in straight lines only.
Suggested Machine settings for fine hems with Straight Stitch Hemmer #62:
- Use Straight Stitch #1.
- Set Stitch Length at 2.0.
- Use Microtex needle size 70.
- Use a Straight Stitch Plate.
- Engage the Needle Down
Prime the foot as for Foot #63 above and sew along the hem.
Here’s a sample of a fine hem on a sheer fabric. The beauty of the Straight Stitch Hemmer Foot #62 is that it effortlessly yields a perfectly even fine hem on both the right and wrong sides.
Here are the three types of hem we reviewed in this article. All made in straightforward fashion by using the right type of hemmer foot.
What you might also like


3 comments on “How to Use Three Common Hemmer Feet”
-
-
the bernette 79 has a separate assortment of presser feet. You can review the included and optional accessories on the model’s web page at:
https://www.bernette.com/en-US/models/bernette-79 -
Zigzag hemmer #63 has been backordered over a year now. No dealer can get it. When will Benina make it available again?
Leave a Reply
You must be logged in to post a comment.

Do all Bernina feet fit the Bernettes, specifically, the B79?