How to Insert a Zipper Three Different Ways
In my opinion, the zipper was one of the greatest inventions ever made. Think about all of the places that zippers are used: on your dress pants you wear to work, on the suitcase you travel with, and maybe even on the packaging of your favorite product at the store! This blog post walks you through how to set in a zipper 3 different ways, to be used for a variety of applications and projects.
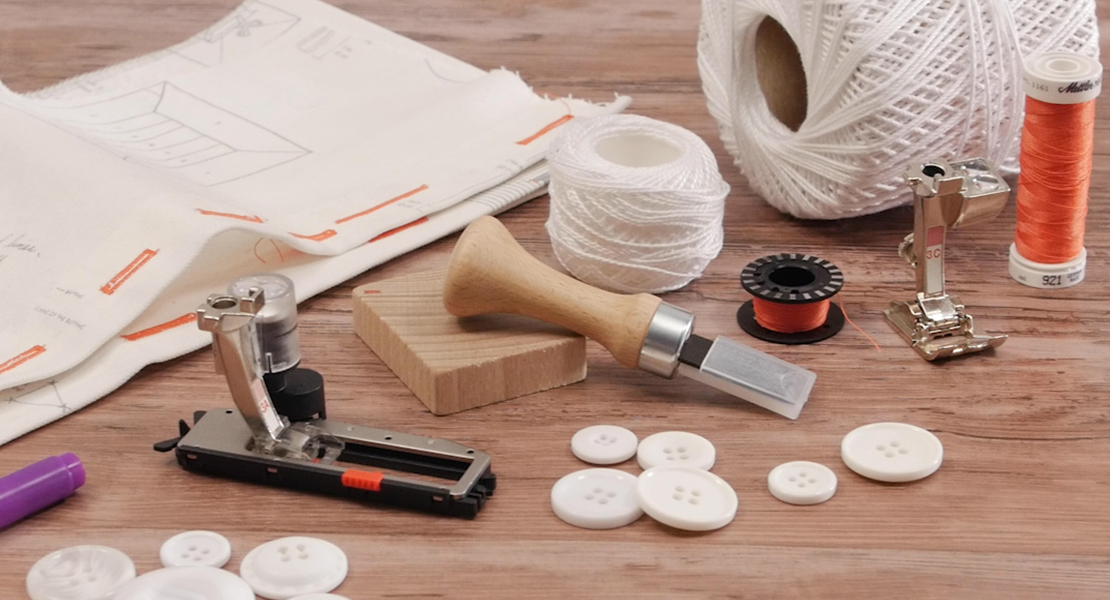
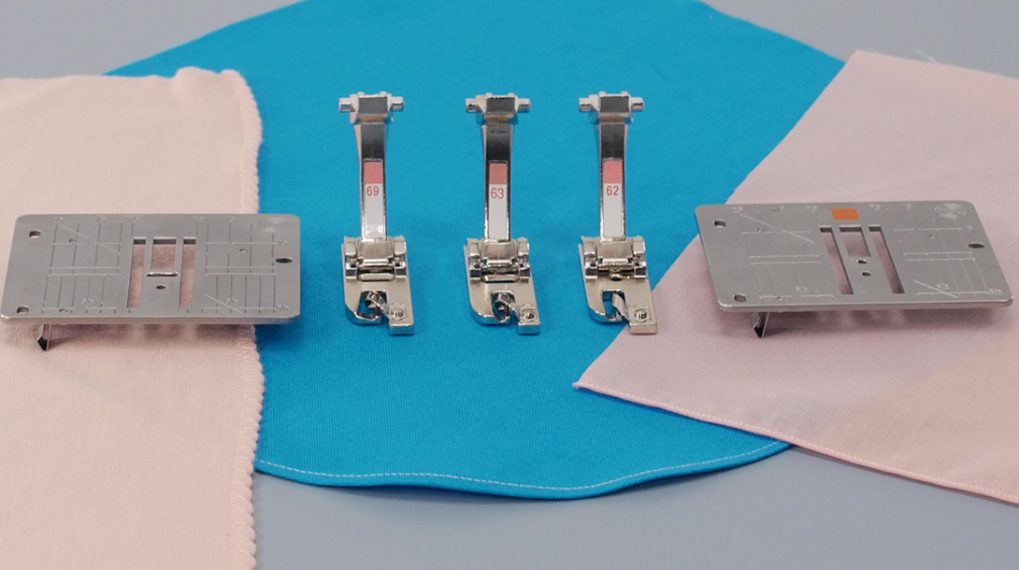
Supplies to Insert a Zipper Three Different Ways
- BERNINA 570 QE
- Reverse Pattern Foot #1/1C/1D
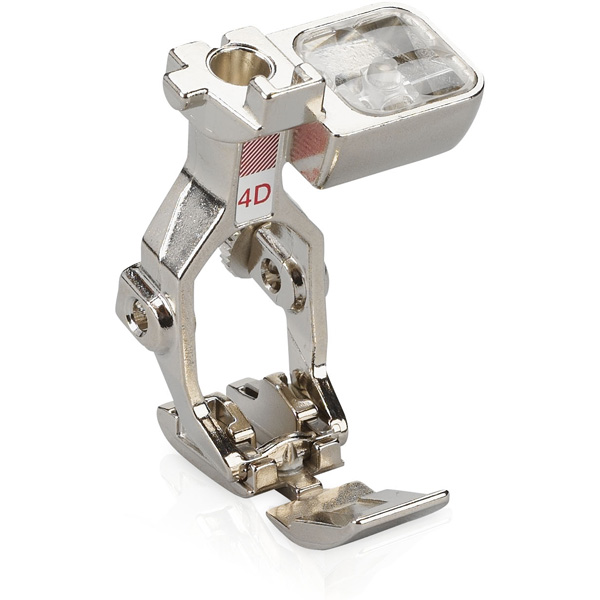
- Zipper Foot #4/4D
- Invisible-Zipper Foot #35
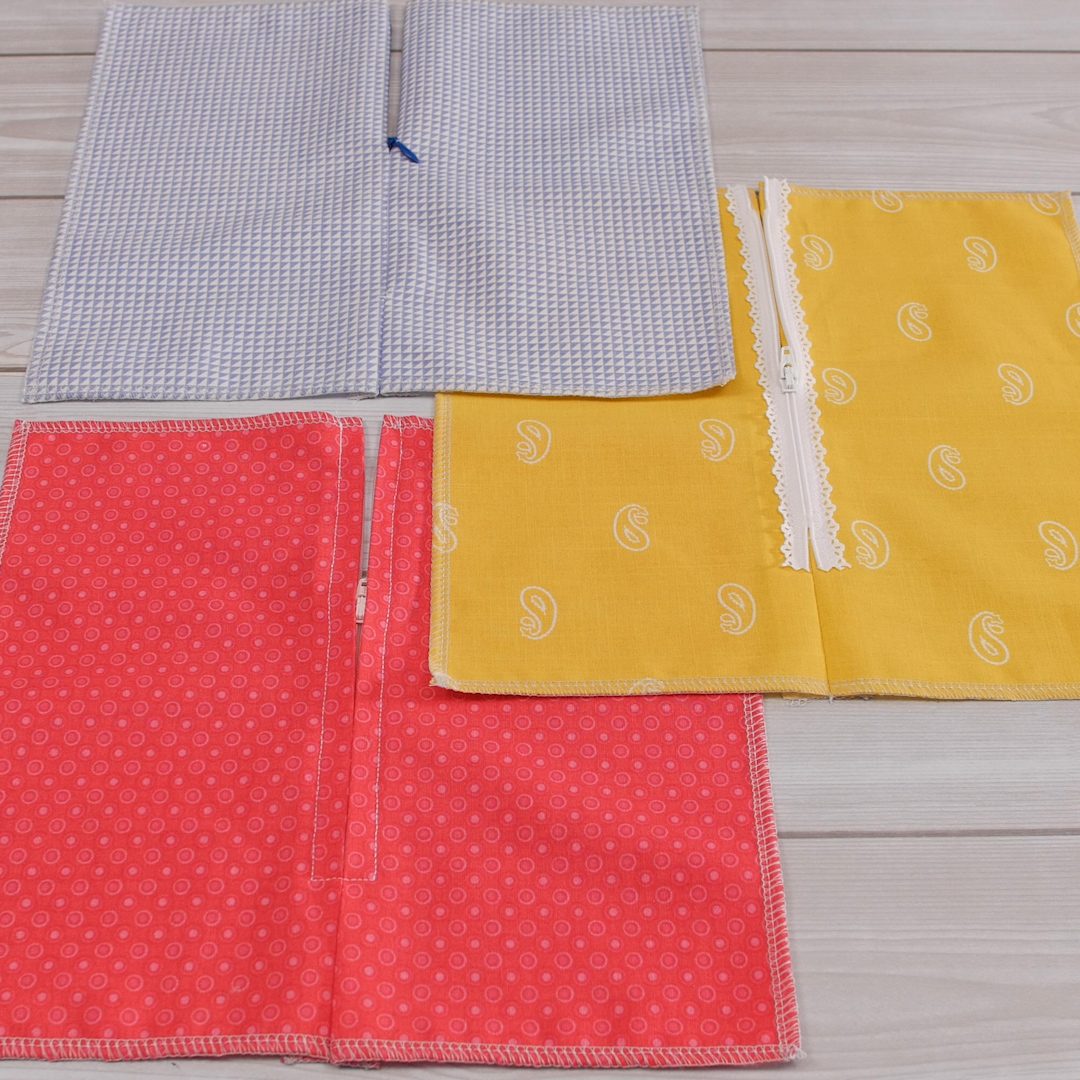
- Standard zipper (desired length)
- Decorative zipper (desired length)
- Invisible zipper (desired length)
- Dritz Wash Away Wonder Tape
- Pins
- Chalk/fabric marking pen
- Seam ripper to remove basting
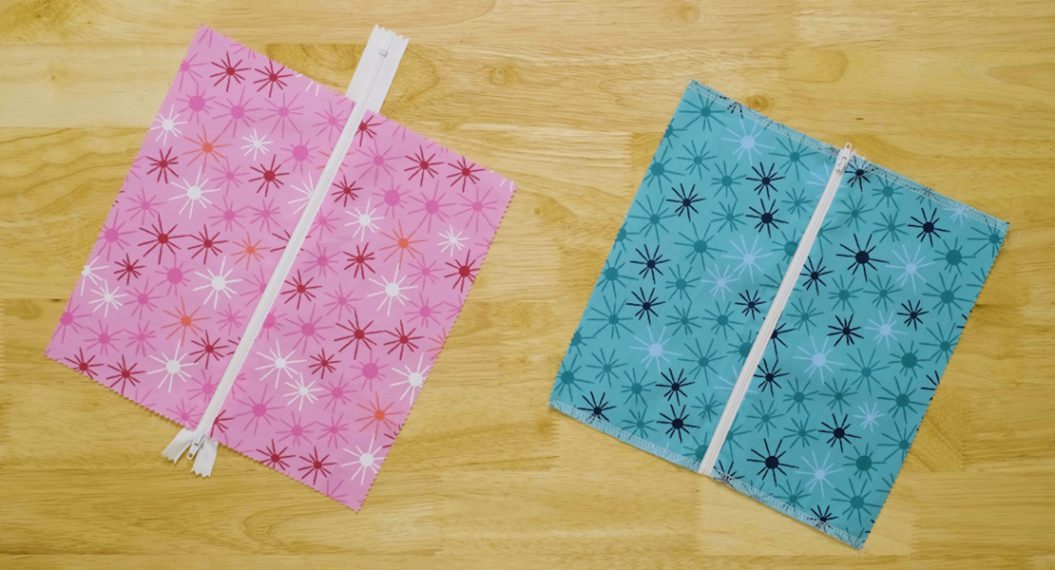
How to Insert a Standard Zipper
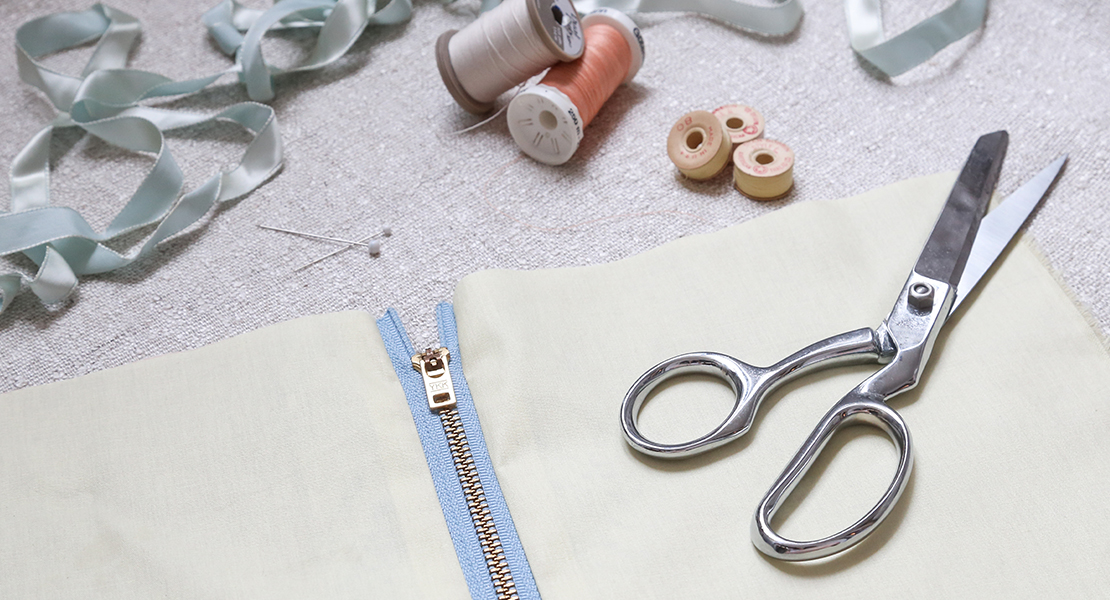
Standard zippers are the most common type of zipper. They are usually a polyester material and may have plastic or metal teeth. This type of zipper can be used in a variety of ways, whether that be more functional in garments and craft projects, or even just a decorative accent. Select the color of zipper that best matches the project you are sewing.
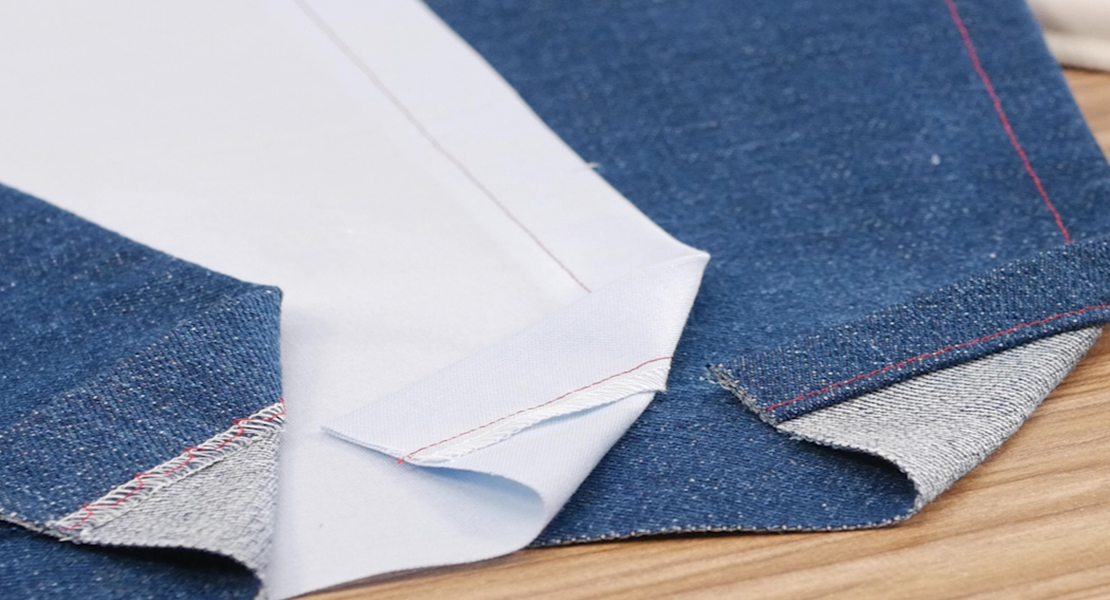
Most patterns requiring a zipper call for the seam beneath the standard zipper to be sewn to a specific dot marked on the pattern piece. Start by marking the dot and pinning the fabric right sides together.
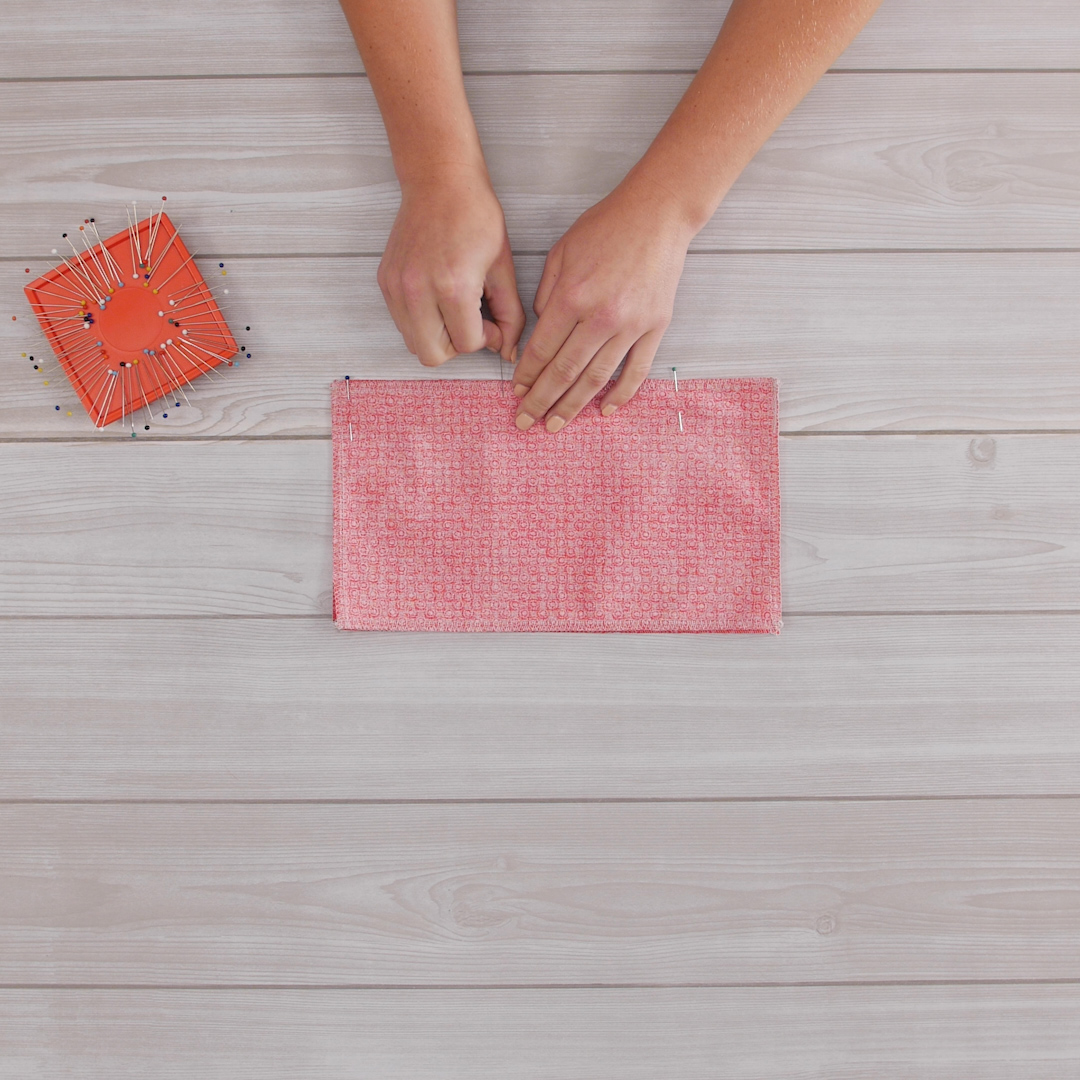
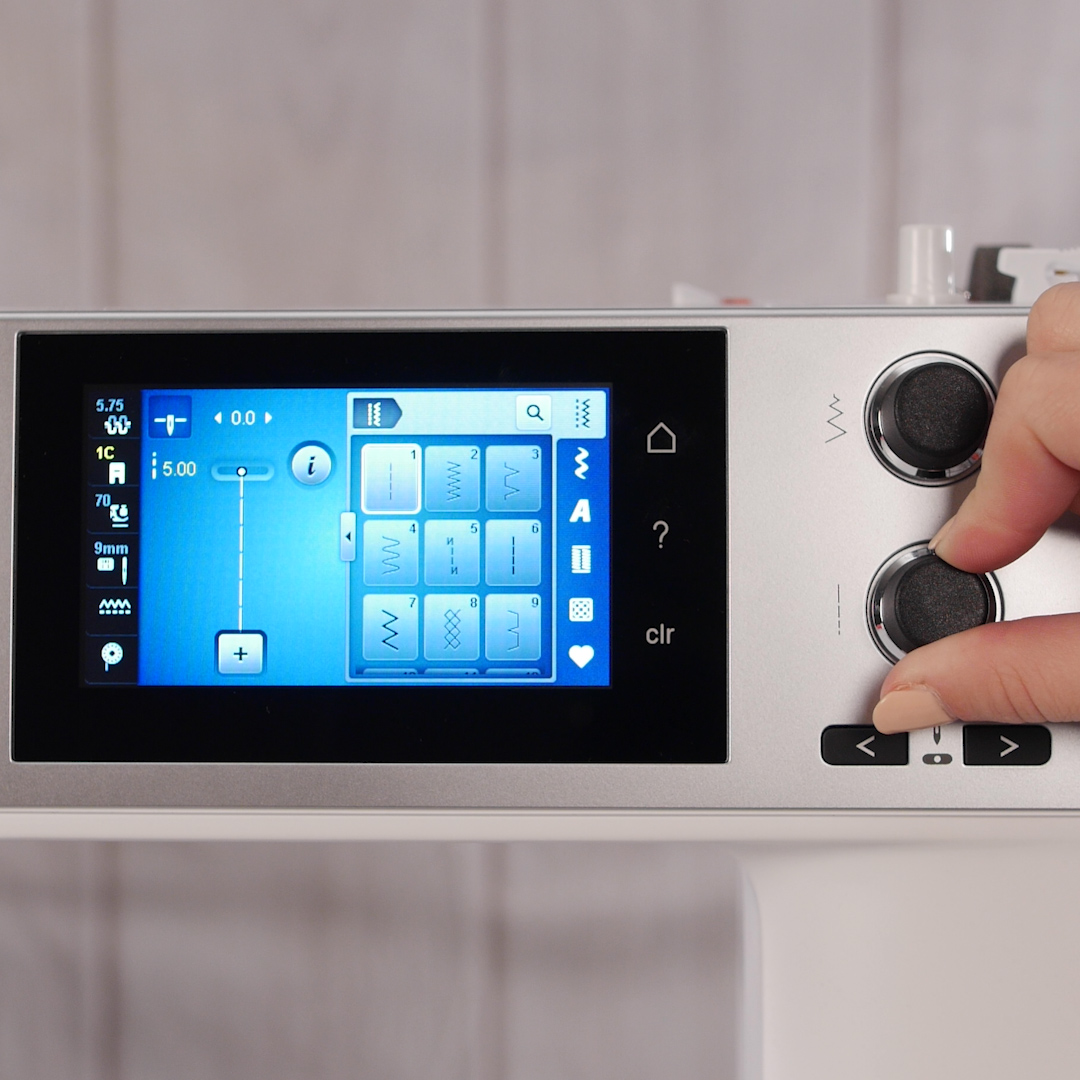
From that dot to the top of the seam, baste the seam closed with a 5.0 mm stitch length with the seam allowance called for in the pattern. This can be done using Reverse Pattern Foot #1/1C/1D. Leave the thread tails long for easy removal of the basting later. The seam allowance just created will become the flaps that cover the zipper on the finished piece.
And
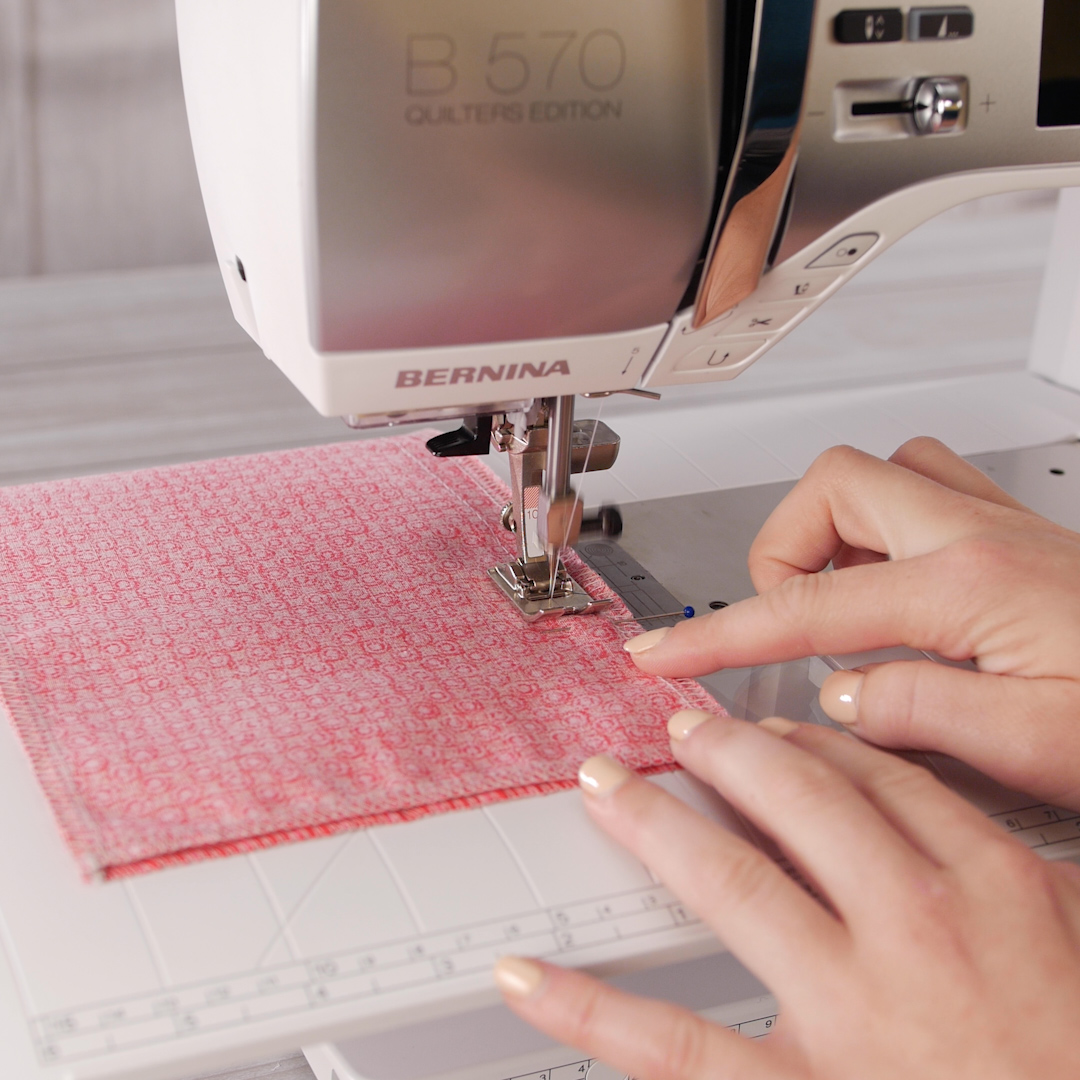
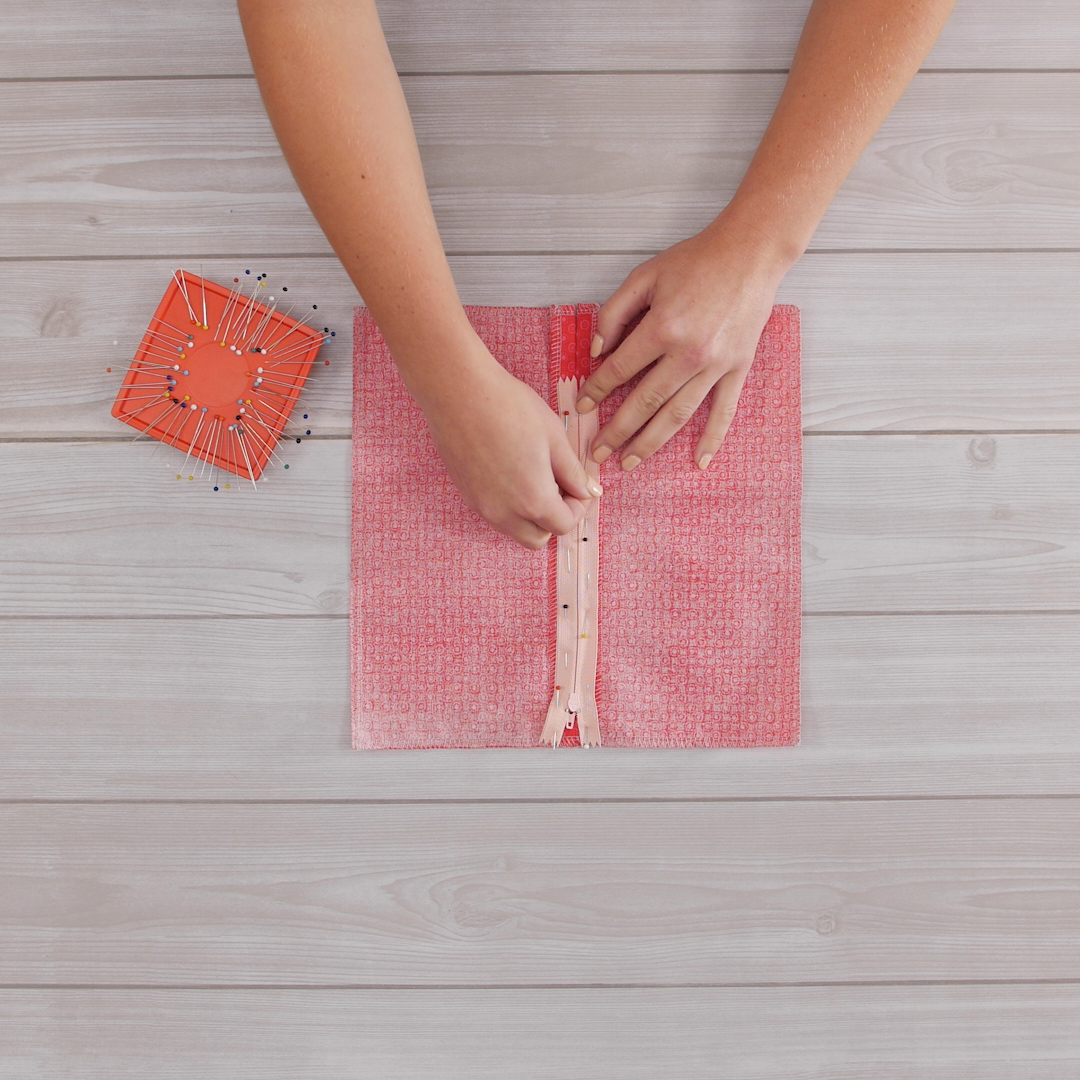
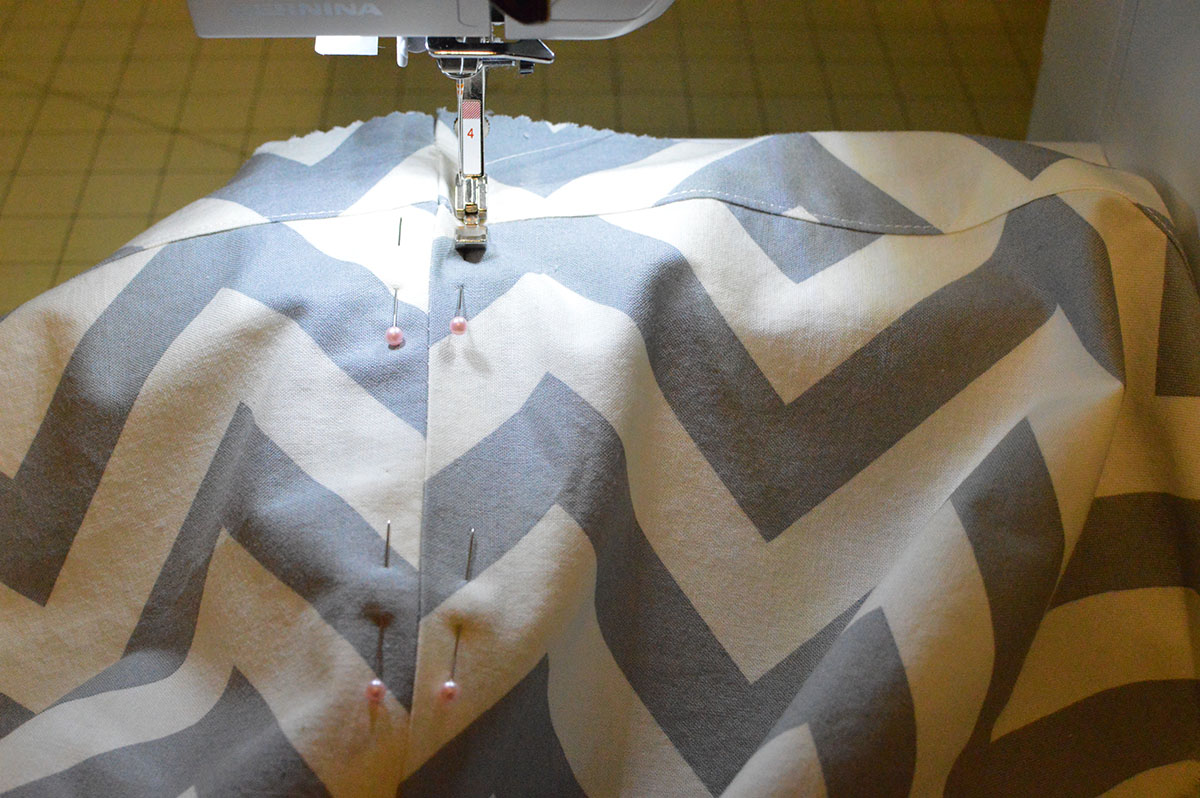
Press the seam open and pin in your zipped-up zipper. The zipper pull should be face down in the seam allowance. Pin all the way around the zipper, being sure to keep the teeth centered.
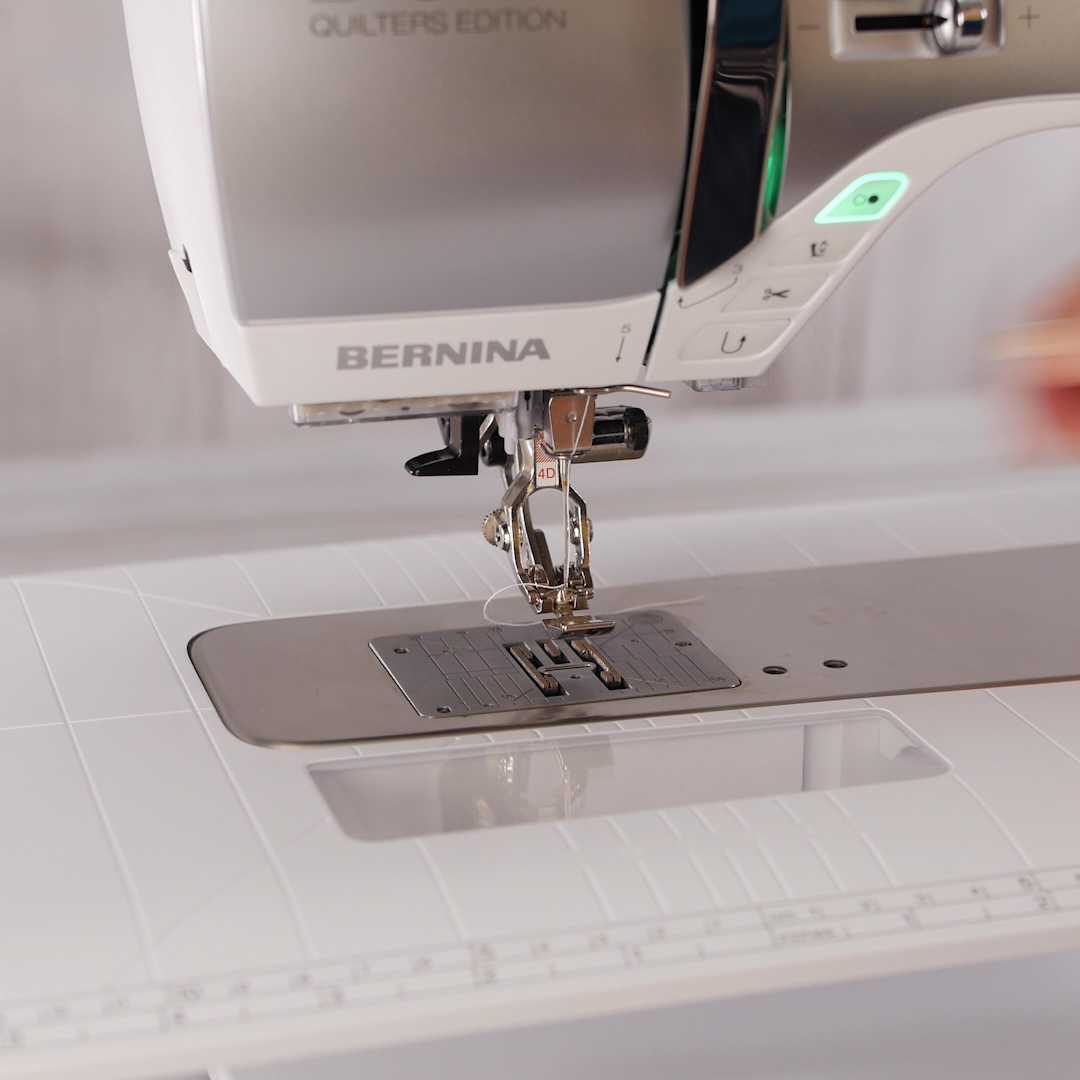
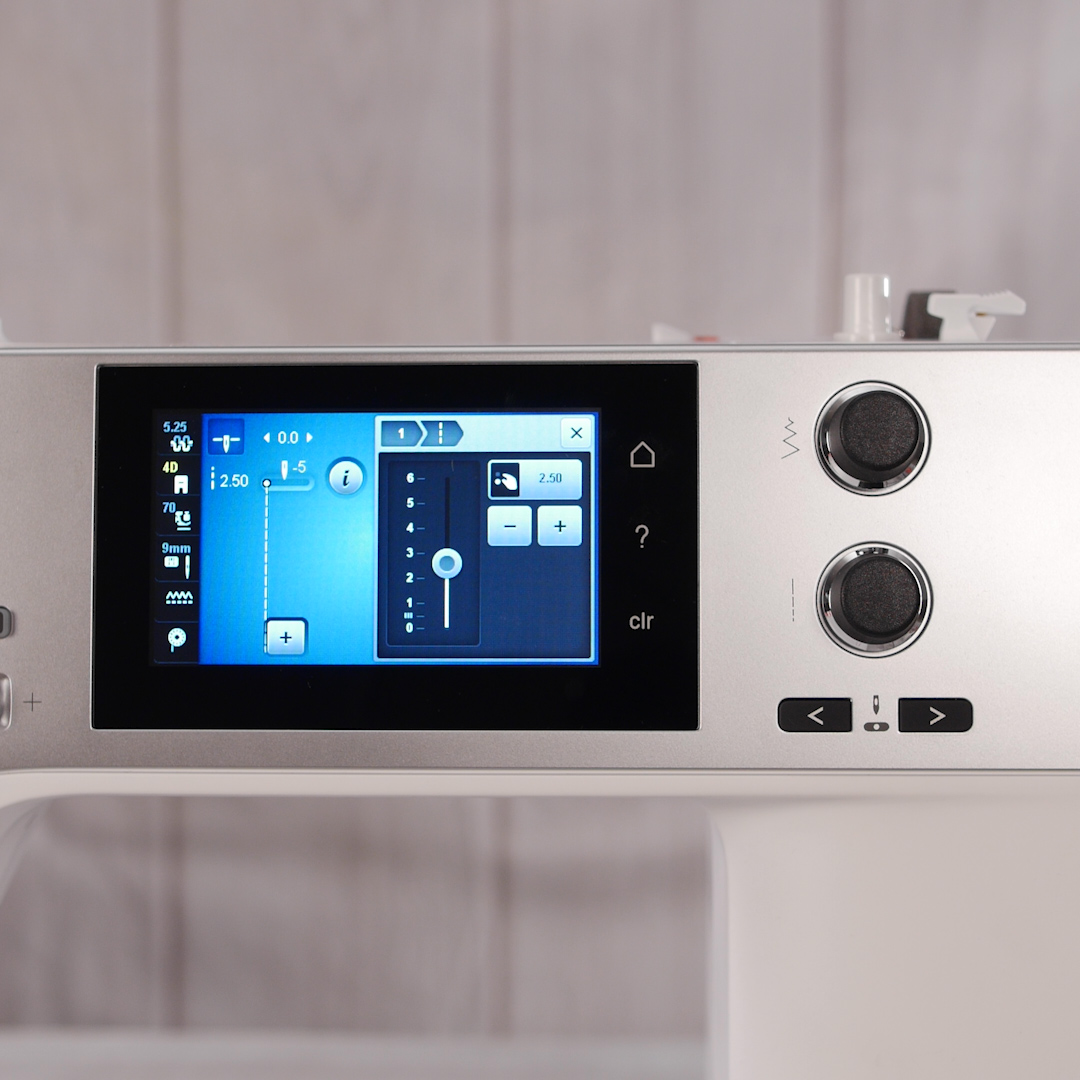
Attach the Zipper Foot #4/4D and adjust the needle all the way to either the left or right side, whichever you are more comfortable sewing on. If you move the needle to the right, you will begin sewing on the left side of the zipper, and vice versa for the needle all the way to the left. The BERNINA Zipper Foot has a single toe on the sole that remains flat on either side of the zipper teeth. With the stitch length still increased to 5.0 mm, baste the zipper in on the wrong side, stitching all the way around. Pivot around the corners, and stitch slower over the teeth of the zipper at the bottom. Again, leave the thread tails of the basting long for easy removal.
And
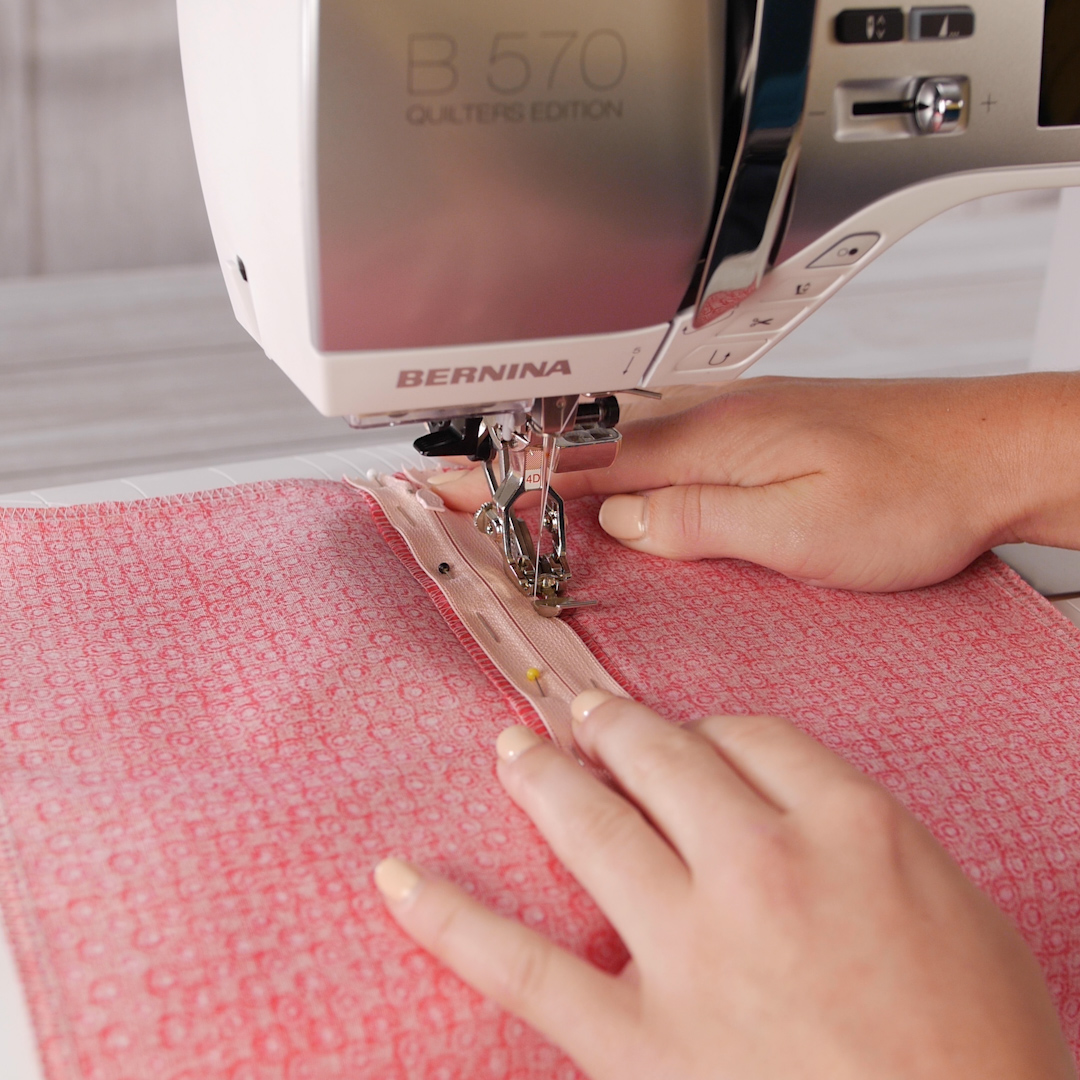
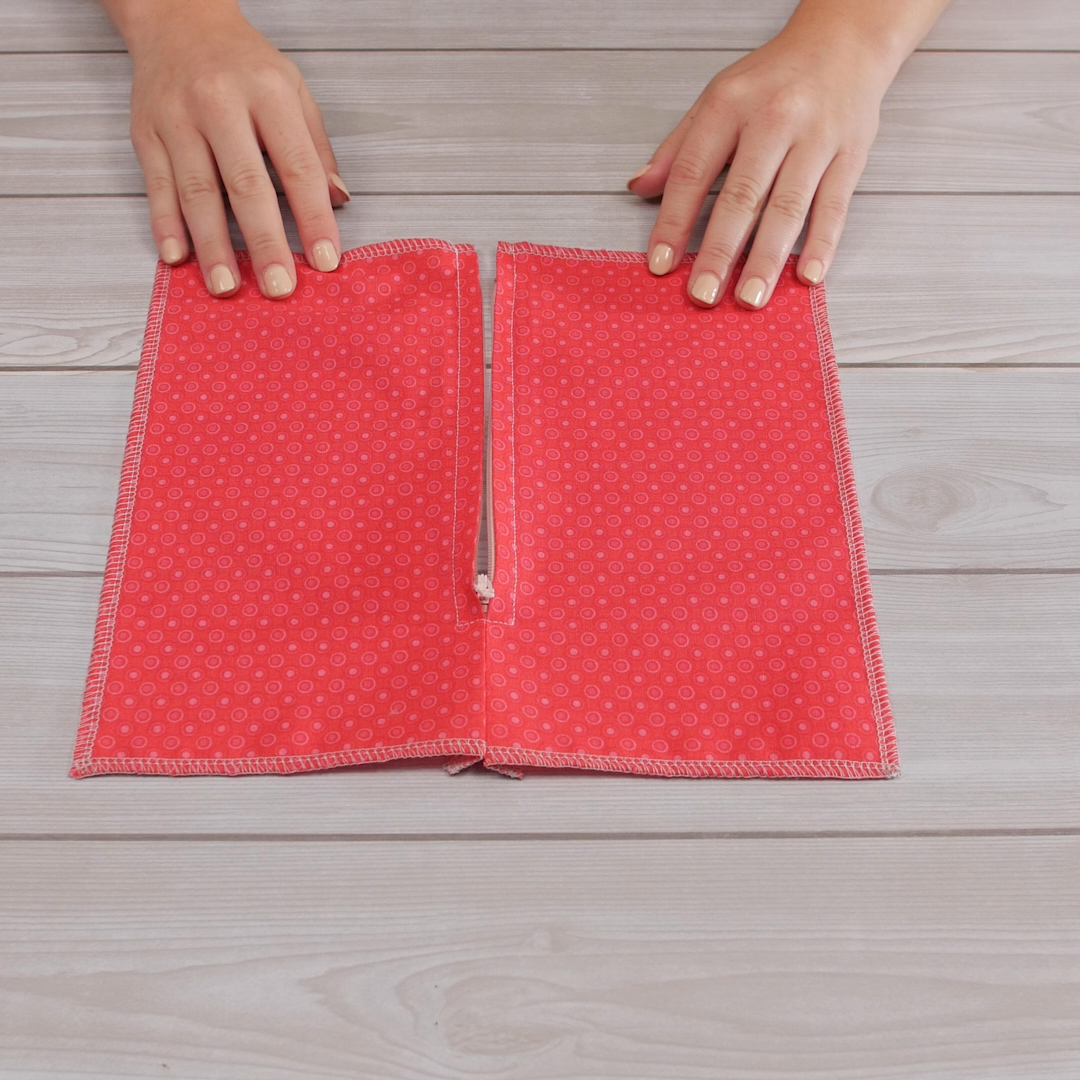
After basting, return the stitch length to 2.5 mm, flip to the right side of the project, and stitch around again. Setting in the zipper this way allows you to see that you are stitching in the center of the basted seam allowance. Once you are done stitching, remove the basting from both the seam allowance and around the zipper.
and

How to Insert an Exposed Zipper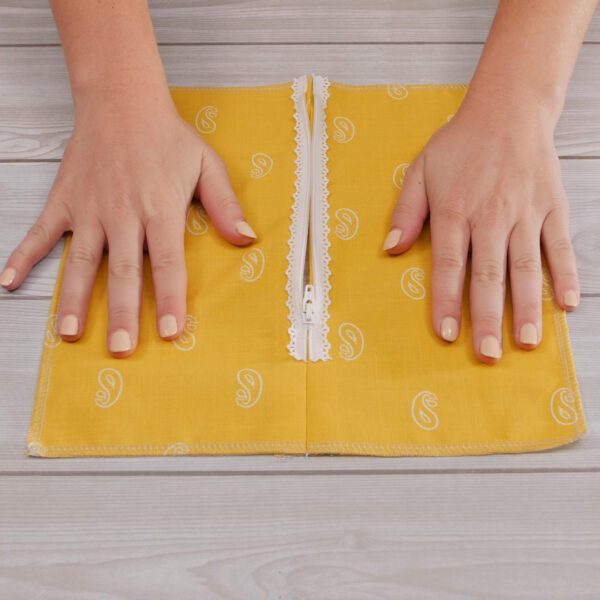

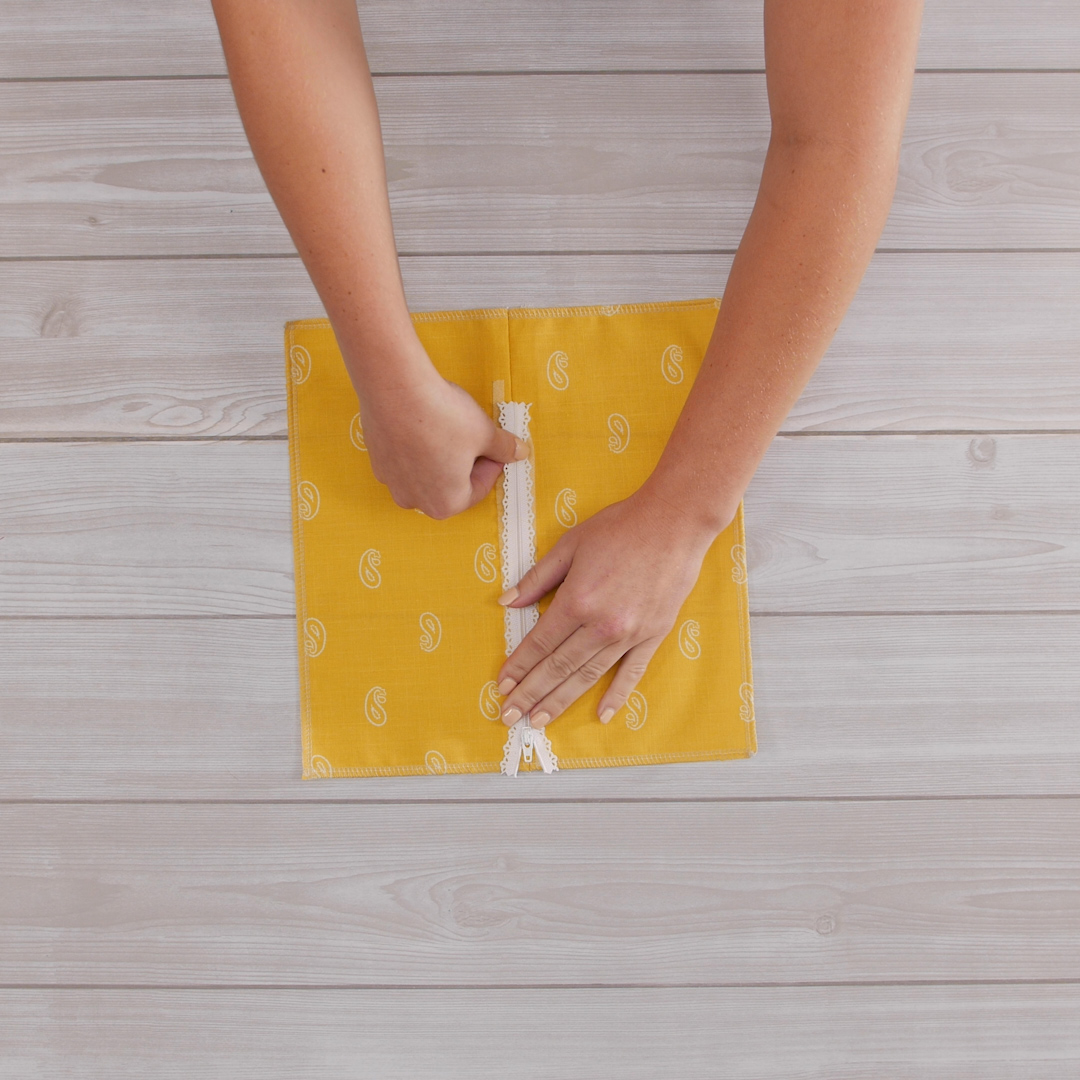
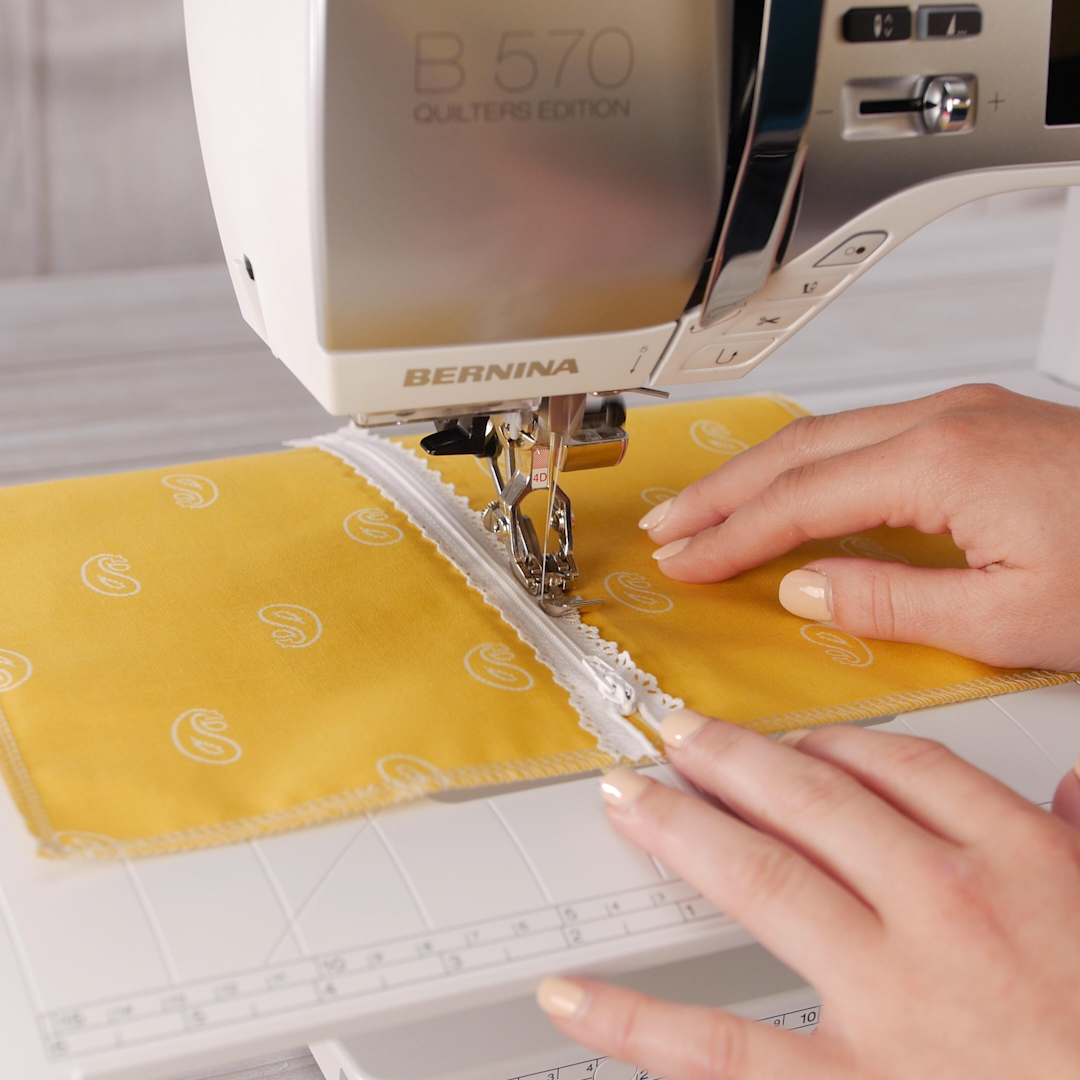
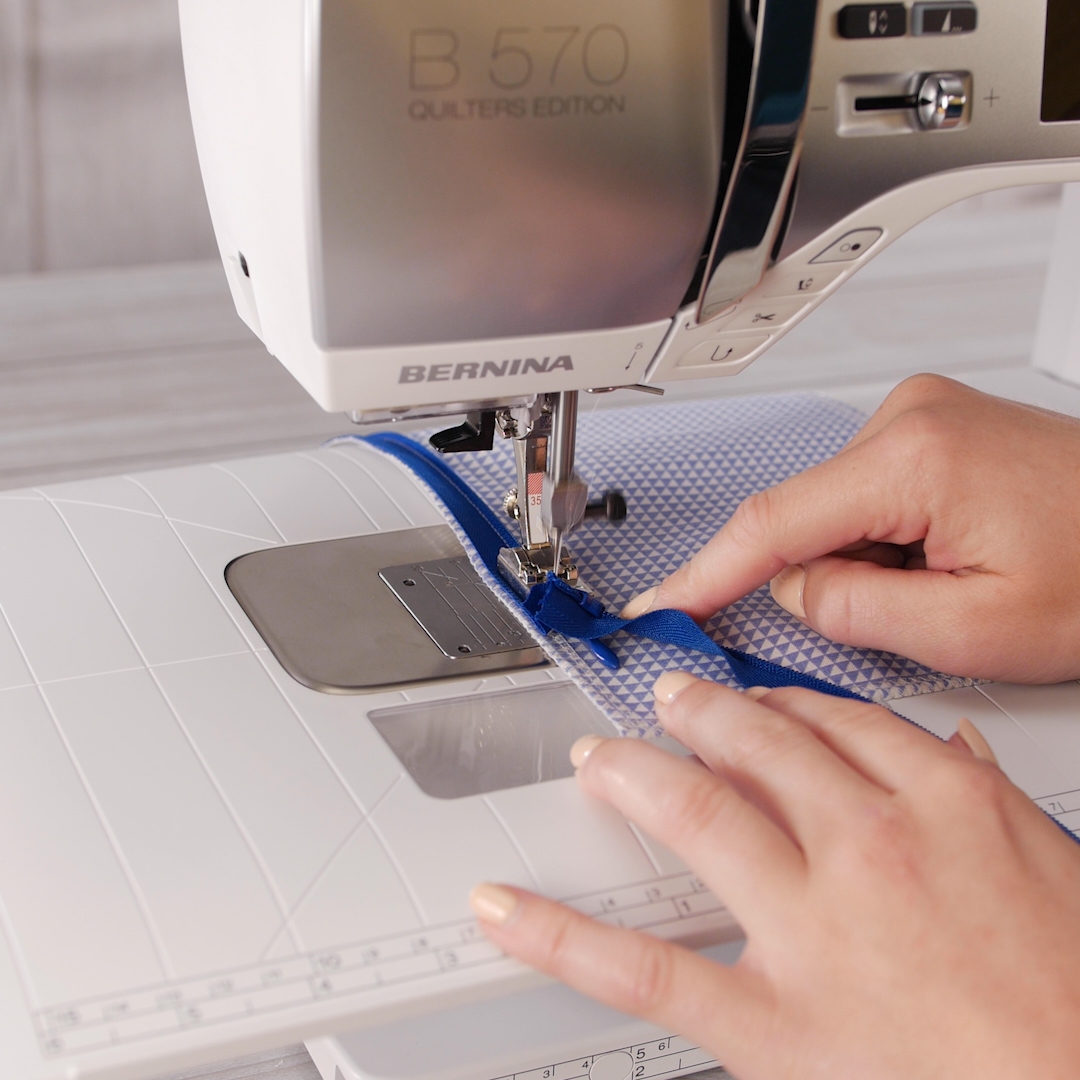
The name gives this type of zipper away! These zippers are sewn to the outside of a seam allowance, and typically have their own decorative features. My exposed zipper has a lace detail on the outside edge.
To begin, start by basting the seam allowance like that of the standard zipper. This time, however, when pinning in the zipper, the zipper should be on the outside of the seam with the teeth facing up. If you find it difficult to pin in the zipper, try using Dritz Wash Away Wonder Tape to hold it in place. Wonder Tape is essentially double-sided tape that washes away with water. Center the zipper on the basted seam.
Before sewing in the zipper, you may find it necessary to baste first. If so, repeat the instructions above for basting around the zipper on the wrong side. Because the stitching around the zipper will also be exposed, I chose to use a more decorative stitch, like a triple stitch. Still using Zipper Foot #4/4D, keep the needle all the way to one side of the zipper foot and adjust the stitch settings as desired. Stitch around the zipper completely. Once finished, remove the basting from the seam allowance, and the exposed zipper is set!
How to Insert an Invisible Zipper
Invisible zippers are primarily used in garment sewing, but also serve their purpose with different bags and craft projects. Once set in, they are completely hidden in the seam, and create a finished look on the outside. The only thing that should be visible on the right side of the project is the zipper pull.
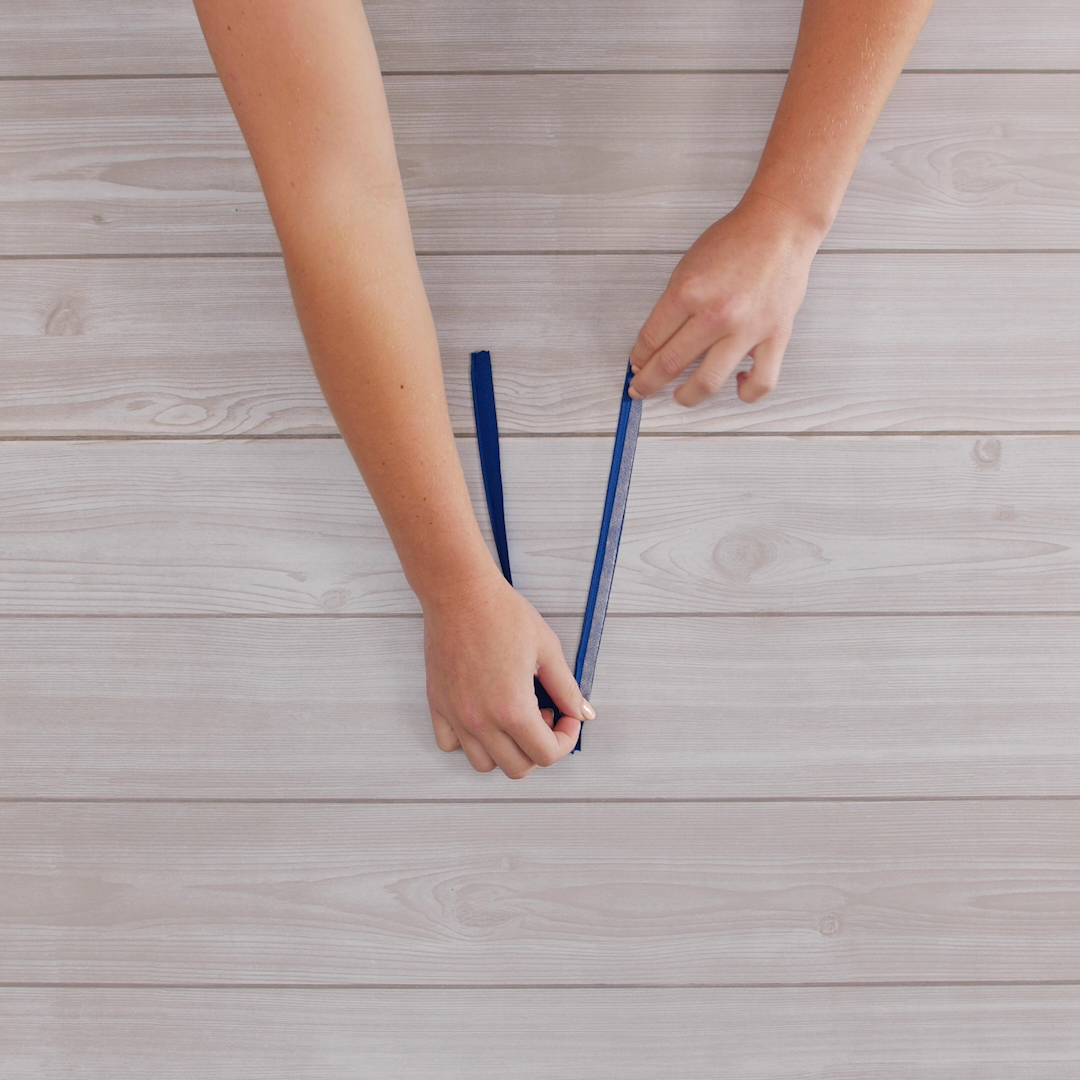
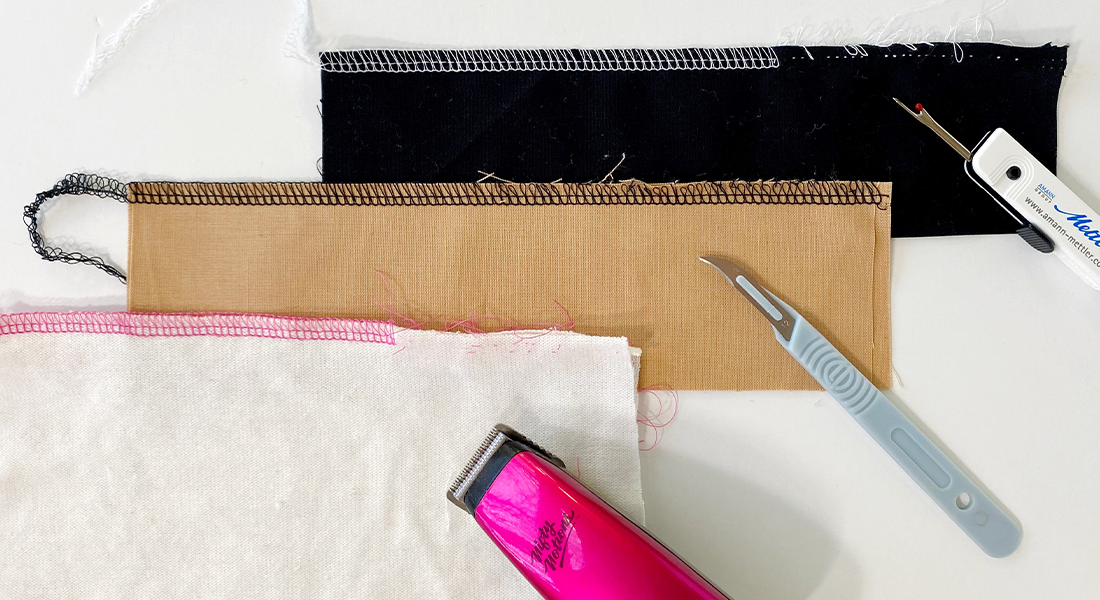
Do note that once the invisible zipper is set in, it is very difficult to finish the raw edges of the seam allowance. If you prefer to finish the edges of the fabric, do it before setting in the zipper. Although not totally necessary, I always start by ironing the edges of the zipper flat. To do this, unzip the zipper and press out the crease below the teeth. Use a low heat setting on your iron.
Keep the zipper unzipped for the remainder of the process. The tricky thing about these is that the invisible zipper does not start with a basted seam allowance. Match up the right side of one side of the zipper to the right side of one piece of the fabric. The zipper teeth should be face down, away from the edge of the fabric. Hold in place with Wonder Tape or pins. Keep in mind what the seam allowance is for your project. If the pattern calls for 5/8” seam allowances, set the zipper in place 5/8” away from the edge of the fabric.
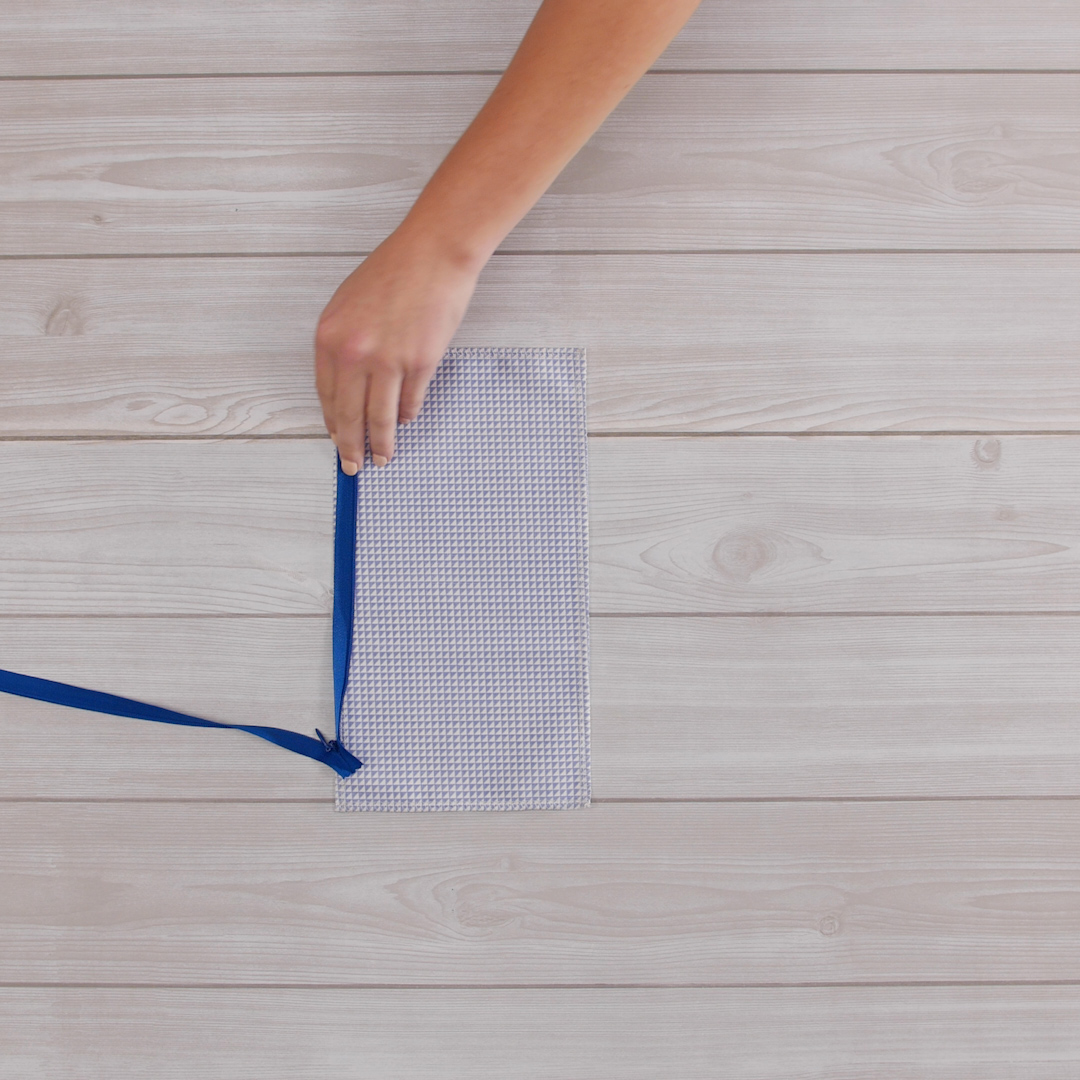
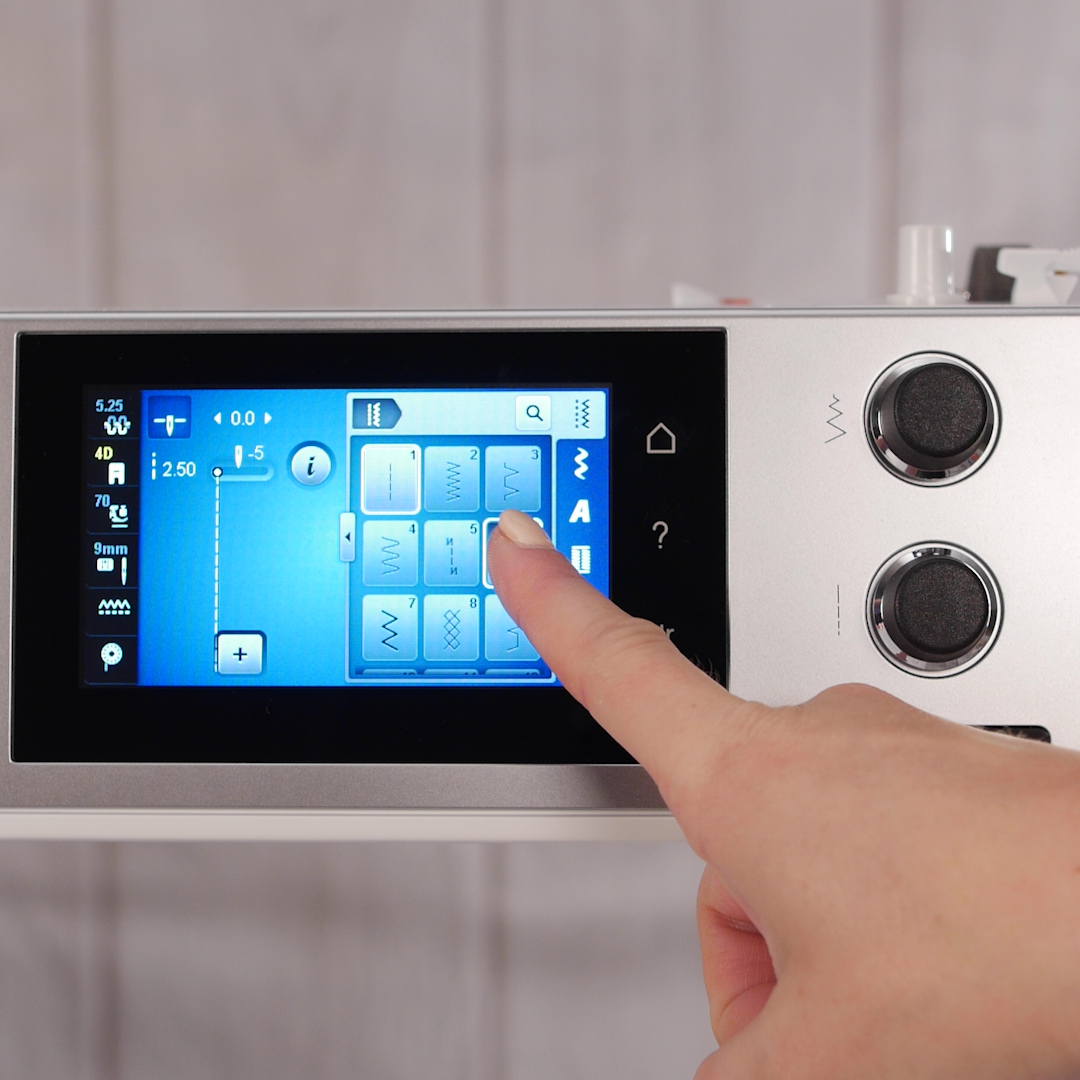
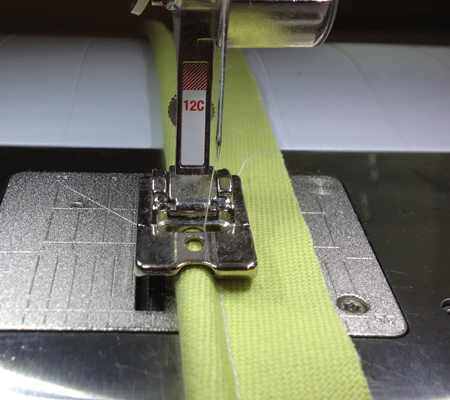
Attach Invisible-Zipper Foot #35 to the machine. This foot has two grooves carved out in the bottom or the sole that are perfectly designed to fit the teeth of the zipper. Move the needle back to center and select a regular straight stitch.
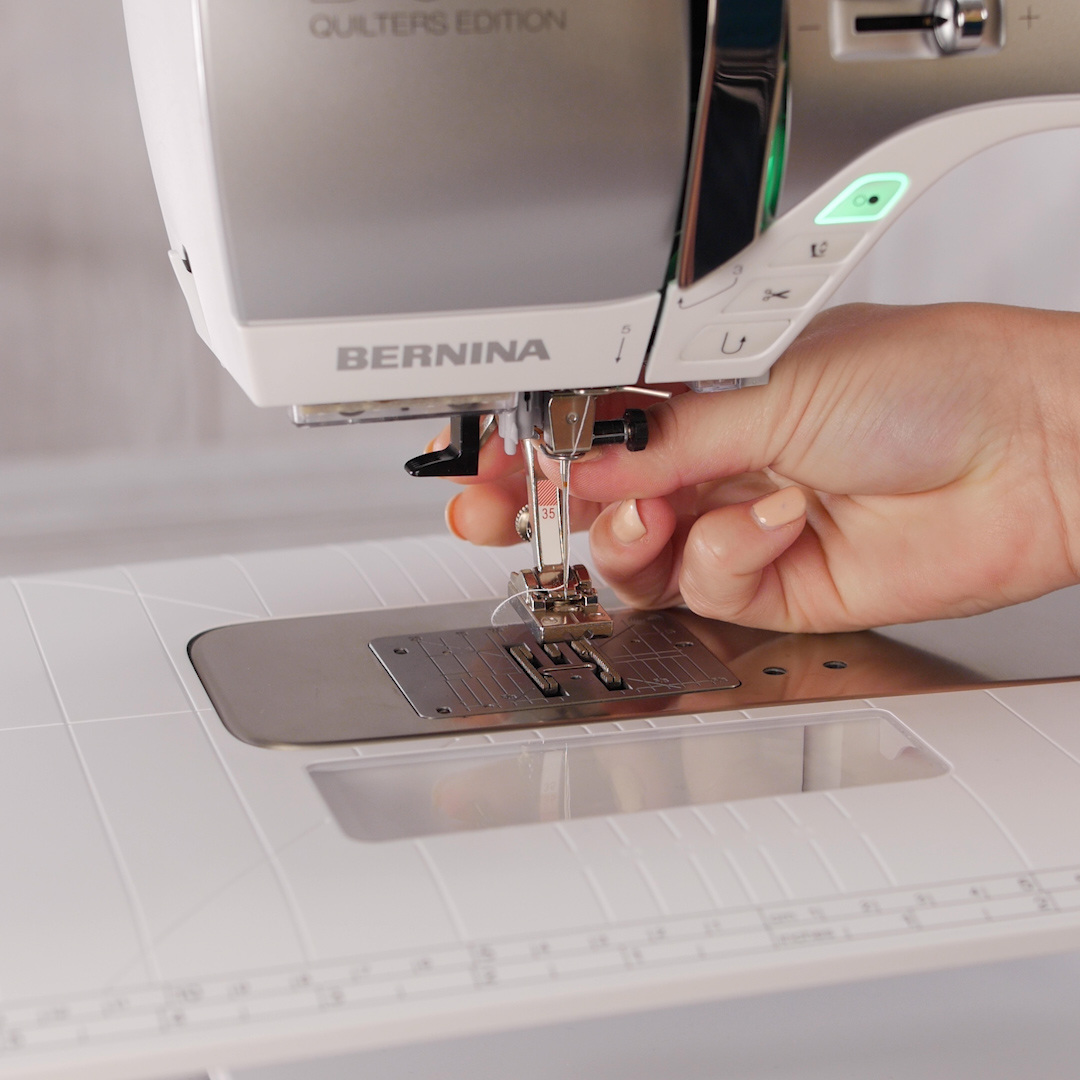
Starting at the top, fit the teeth of the zipper into the groove of the foot. Stitch as far as possible, then reinforce by backstitching or inserting a knot.
Repeat the instructions above for the other side of the zipper, being sure to keep the zipper pull and zipper stop straight at the bottom. When stitching, put the zipper teeth in the opposite groove of the foot.
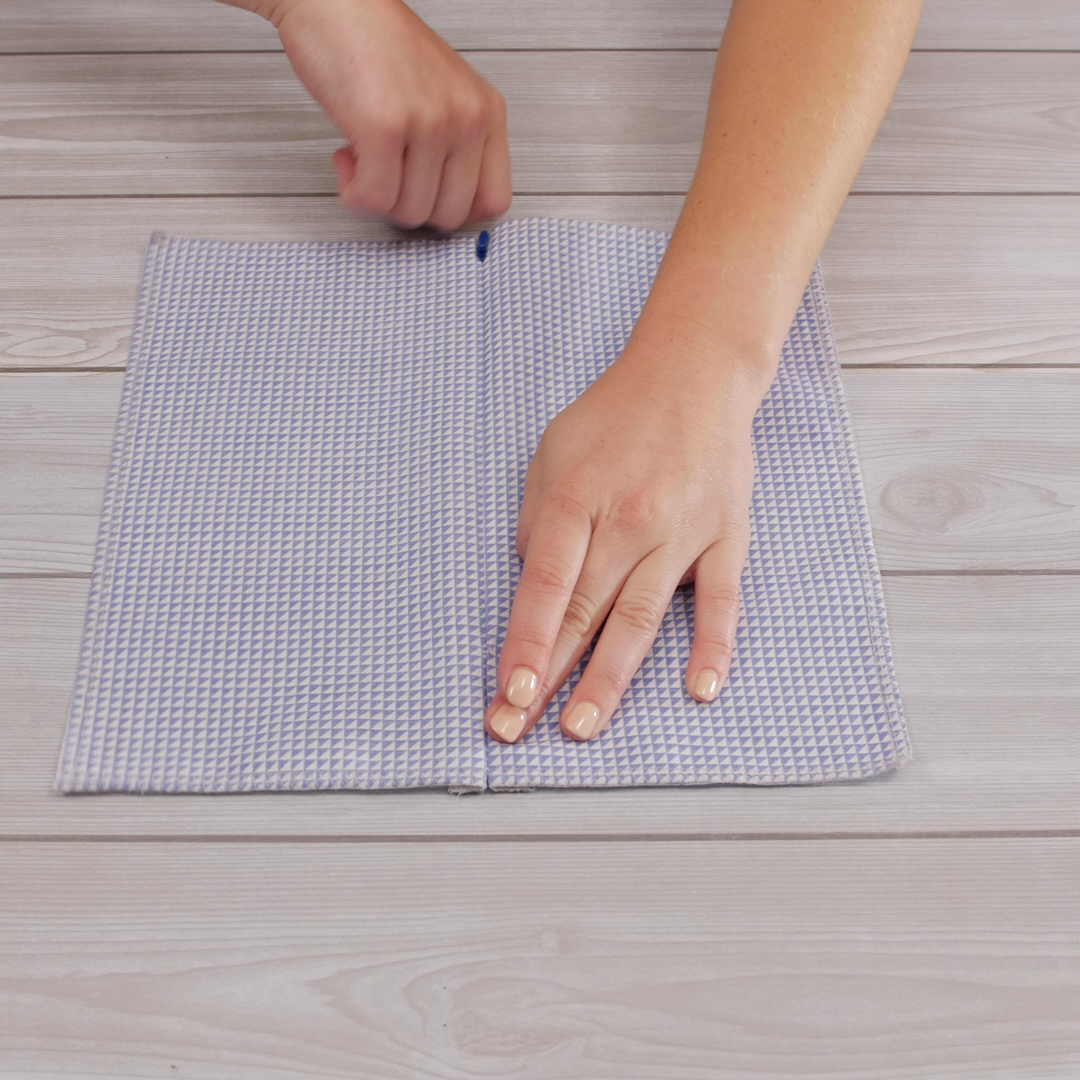
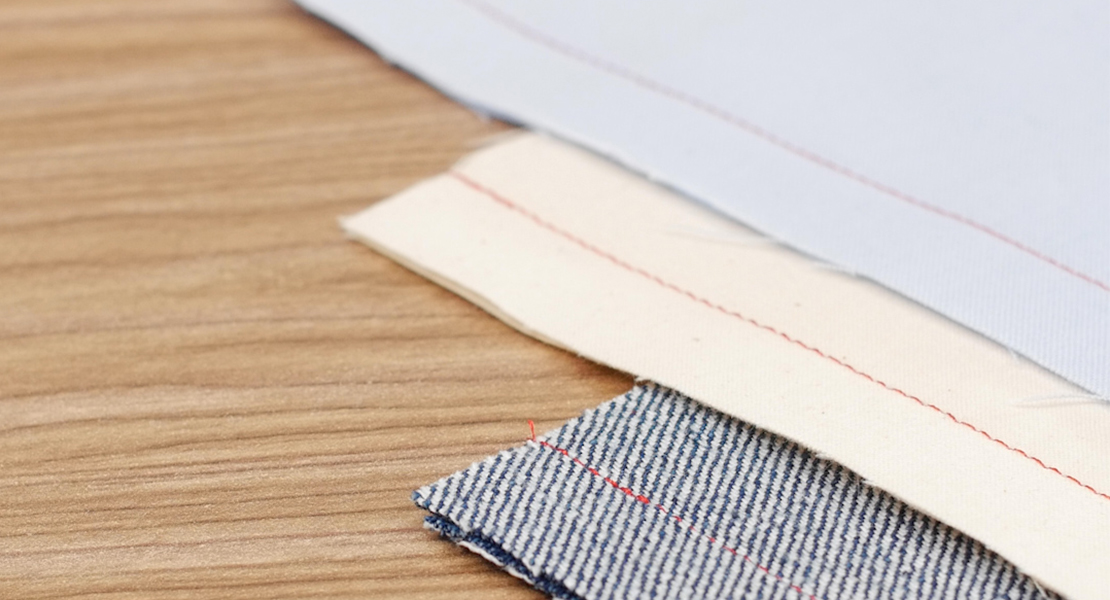
Remember that the seam allowance is not complete below the zipper. To finish it, pull the tail of the zipper outside of the seam allowance and pin the right sides of the fabric together. Reattach Zipper Foot #4/4D to the machine and move the needle to either side, depending on where you would like to begin sewing. Whether starting at the bottom of the seam, or where the stitching on the zipper ended, the new stitching should create the seam allowance called for by the pattern. I started at the bottom and stitched up towards the zipper. The new stitching should begin/end even with the stitching from the zipper, but about 1/8” to the outside of it.
Now enjoy setting zippers with these helpful tips!


What you might also like


6 comments on “How to Insert a Zipper Three Different Ways”
-
-
Are you referring to the seam below the invisible zipper? If so, no, I did not get a pucker near the zipper. If you are getting that result, try sewing from the end of the zipper down to the bottom edge of the project and begin stitching as close as possible to where the zipper stitching ended (less than 1/8″ away)!
-
-
Just a bit of information on the darling lace zipper with the scalloped edges. I found these at Hobby Lobby and they are the perfect size when making a little purse out of old jeans legs! preferably the bottoms which already have a hem.
Cut bottom pieces from legs leaving the bottom open. it is already finished with the original hems. make a lining of accent material and sew the zipper to the top! Wallah a cute little jeans purse with 2 compartments. make a strap and your done! I wish I could add pictures I have made 2 and they are adorable!-
What a fun idea! Be sure to post the pictures on the community page!
-
-
I’ve sewn for years and really don’t understand your method #1. When moving needle all the way to the right, the zipper flaps are so large! What am I doing wrong? I have 770QE. and use foot 4 or 4D.
-
Hi there! When you have the needle to the right, are you beginning on the left side of the zipper? It does not matter what side of the foot you move the needle to, just as long as the needle is next to the zipper teeth.
-
Leave a Reply
You must be logged in to post a comment.

Nice tutorial! However , starting at bottom and working up do you ever find a little pucker at the base of the zipper?