Three Ways to Remove Overlocker Stitches
Hello fellow sewists.
Let’s talk about the dreaded moment when you realize you made a mistake and have to get the seam ripper out to remove some stitches. But not for any simple, straight seam. For an overlocker seam.
AAAAAHHHHHH!!!!!
Terror sets in, anxiety levels rise up and all you want to do is throw away that cursed project.
But wait! There is still hope! Removing overlocked stitches is not that scary. In fact, I will show you three ways to remove overlocker stitches that will get you back on track in a jiffy.
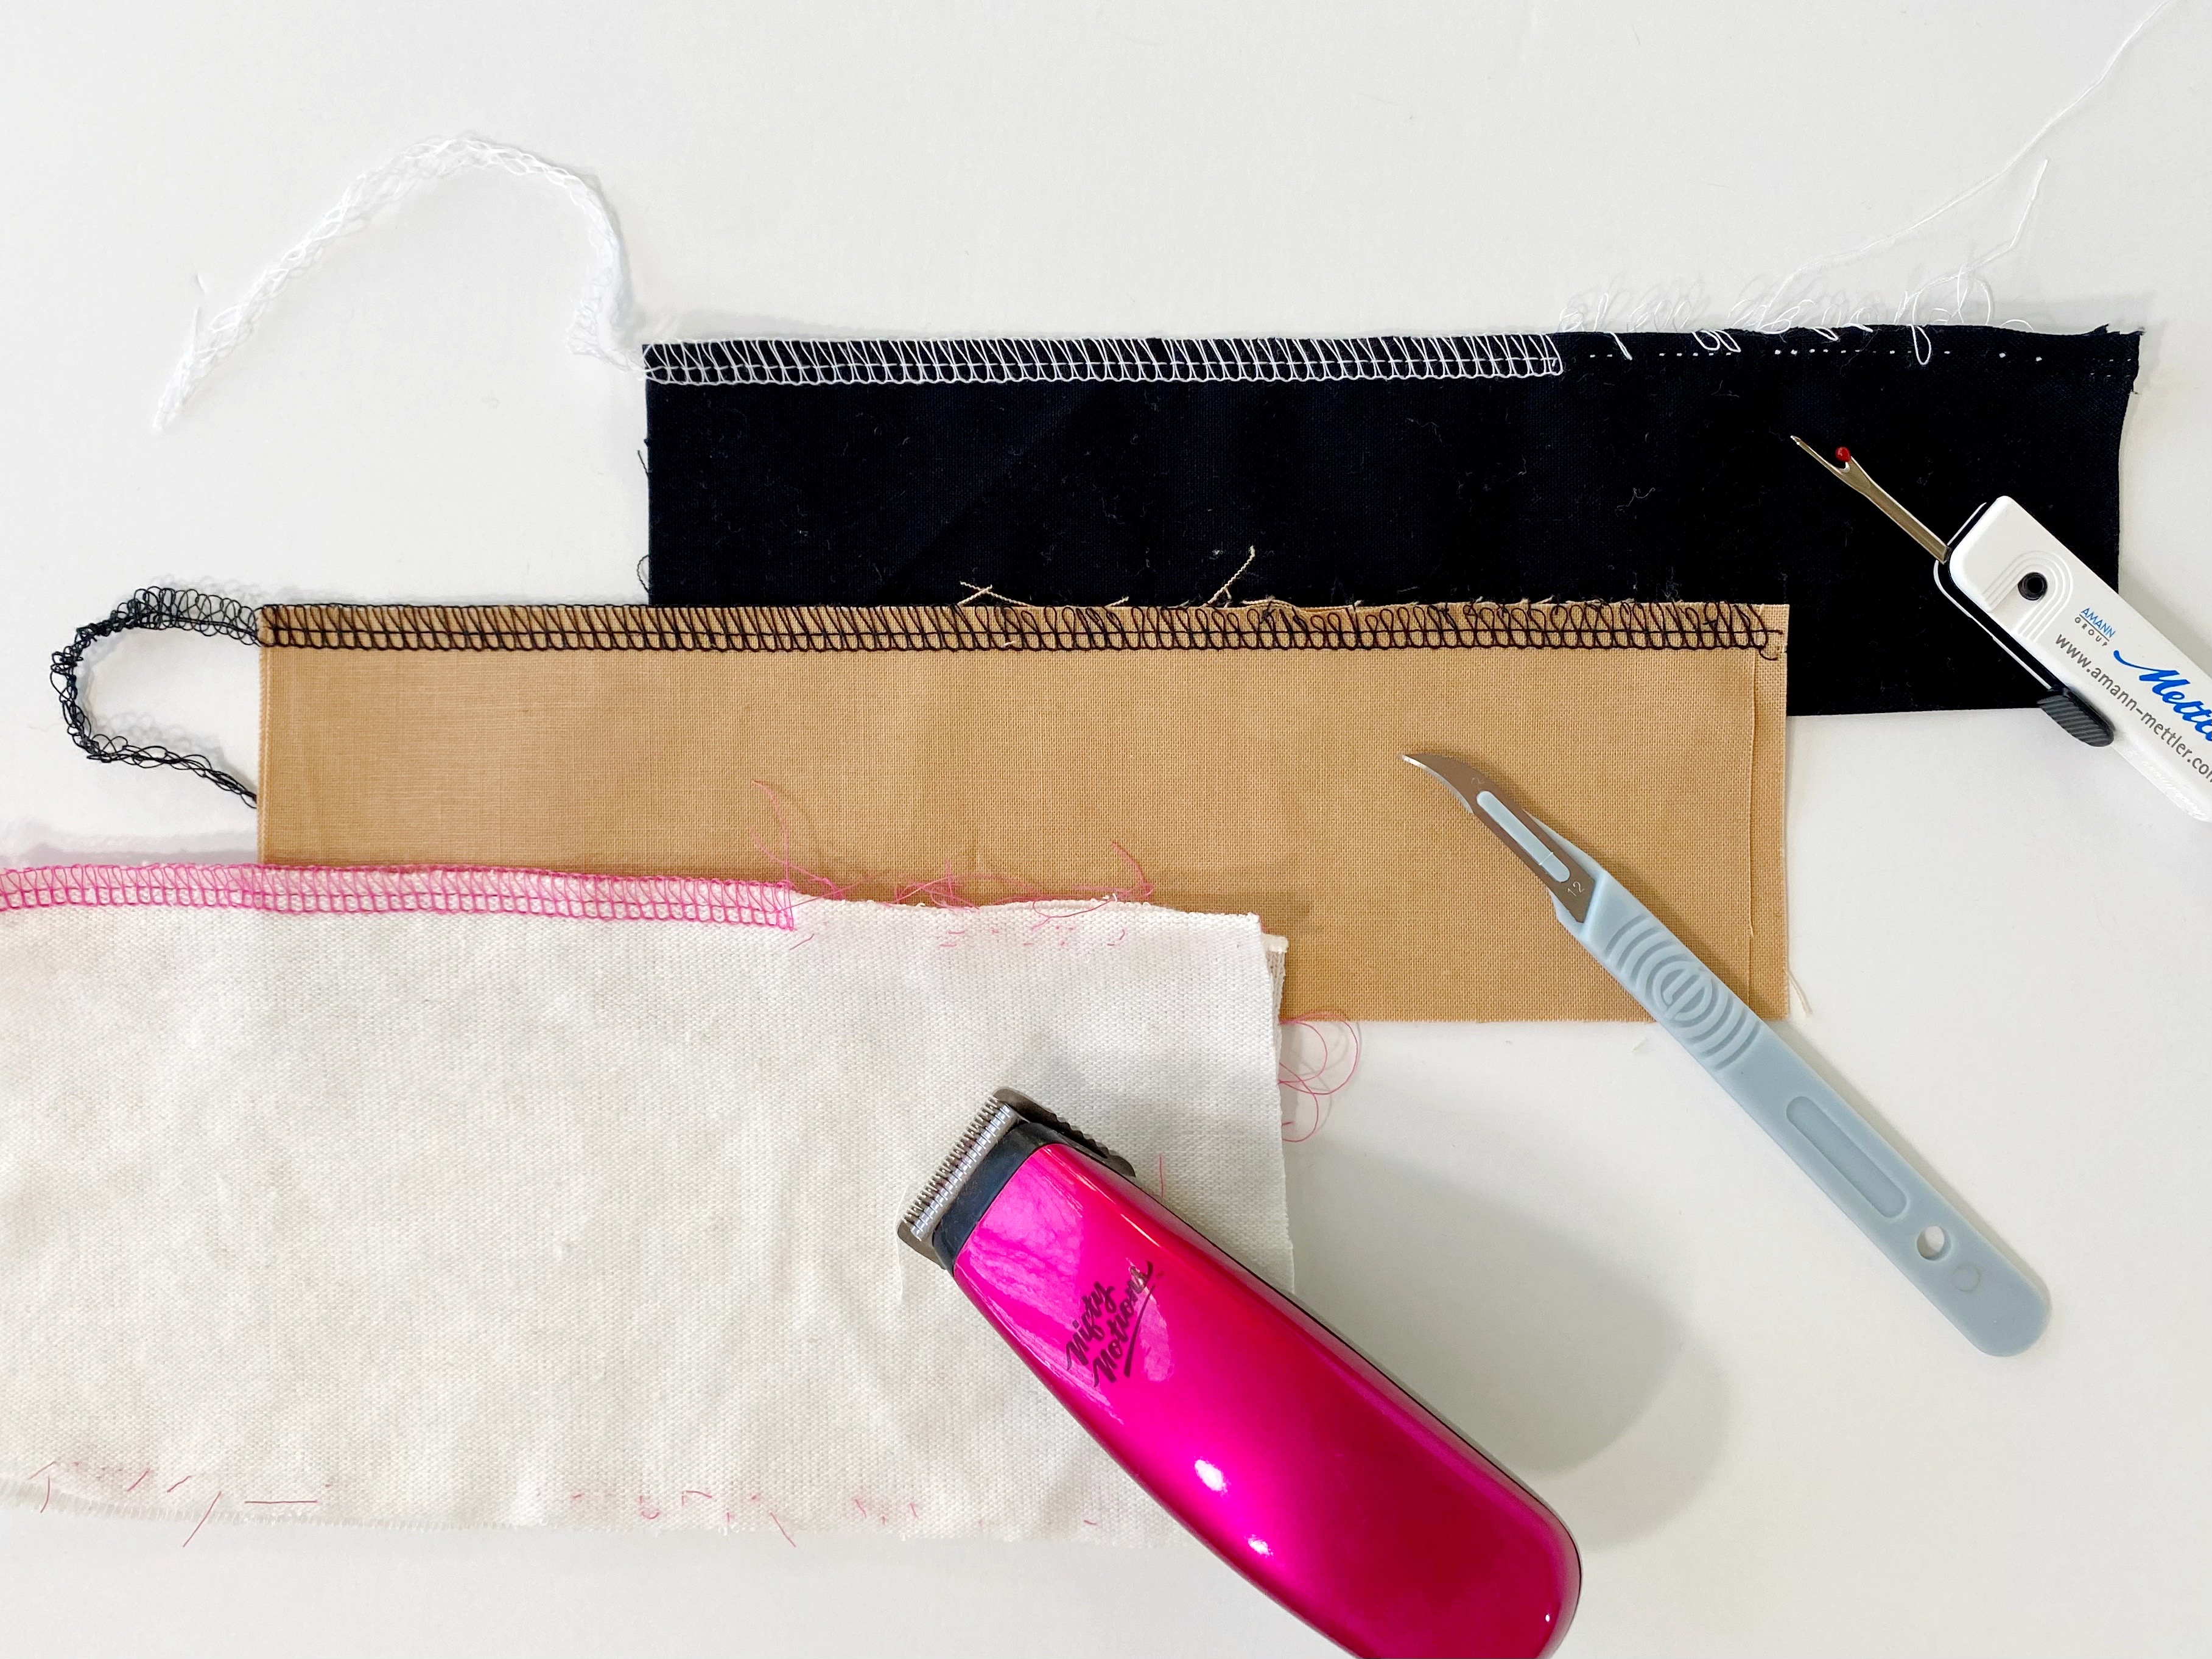
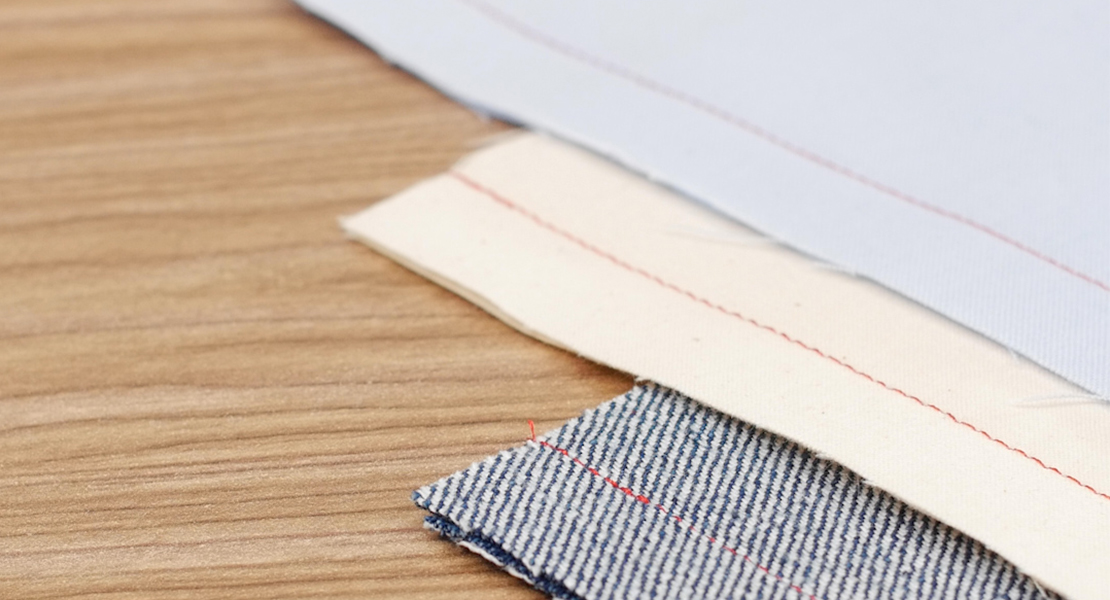
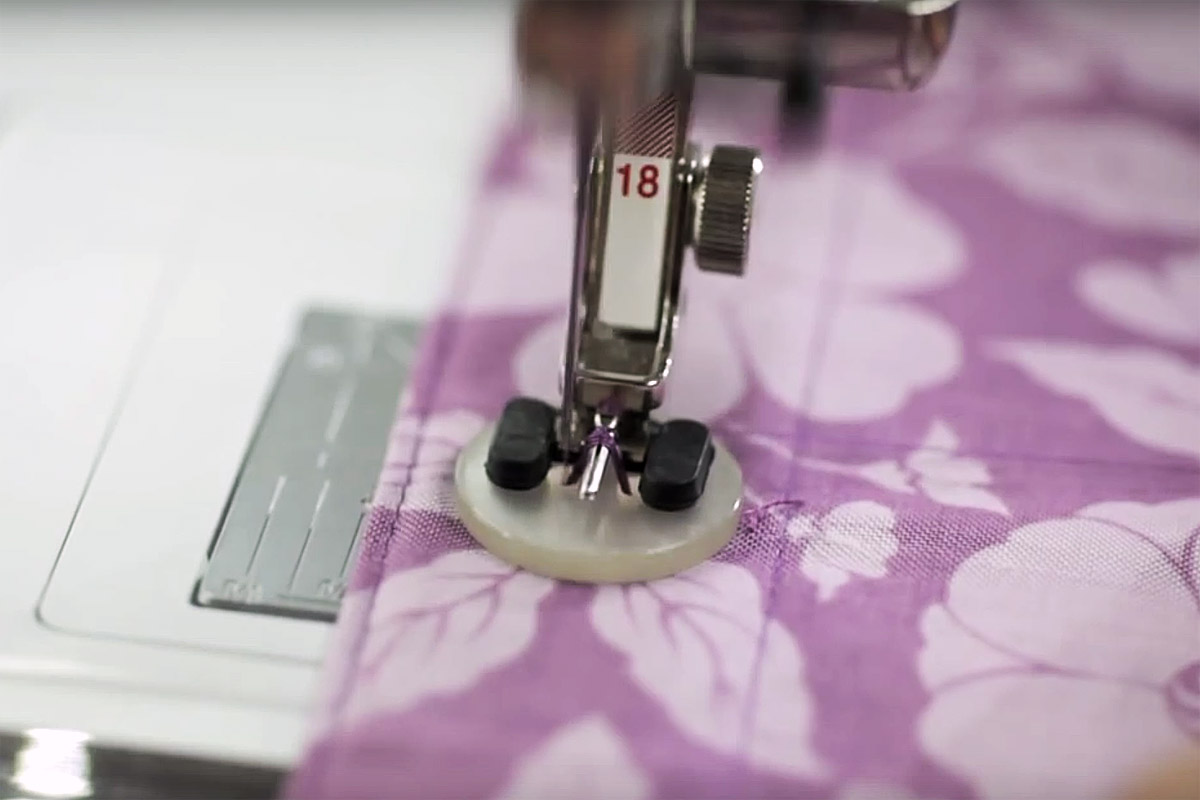
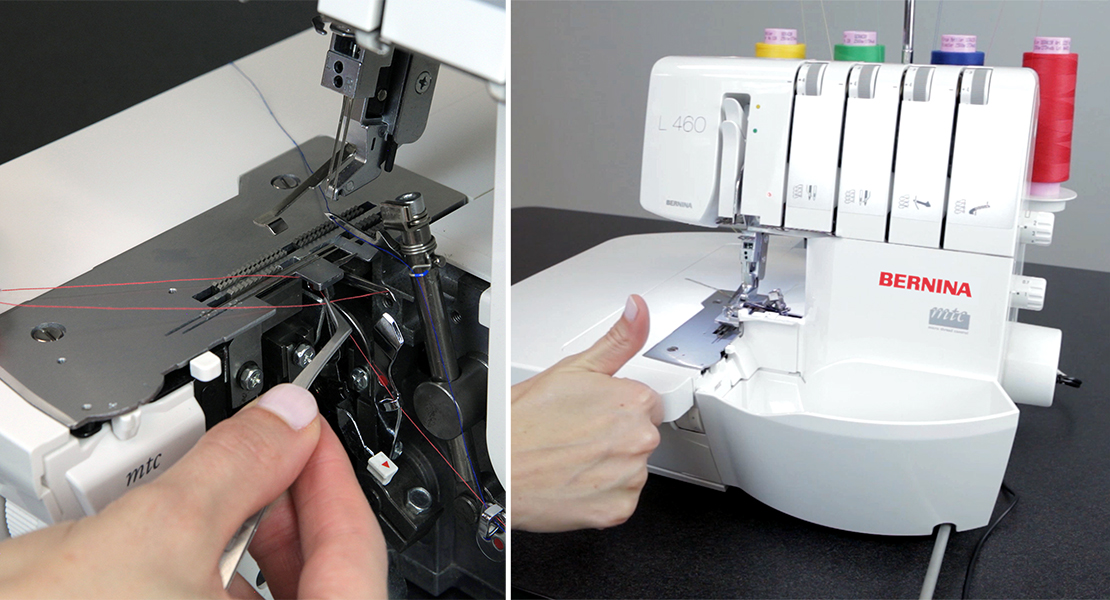
Note: In all of these methods, I am removing the 4-thread overlock stitches done on the BERNINA L 890, using Mettler Seracor thread. However, these can all be done in the same manner in any of the other stitch formations and with different threads.
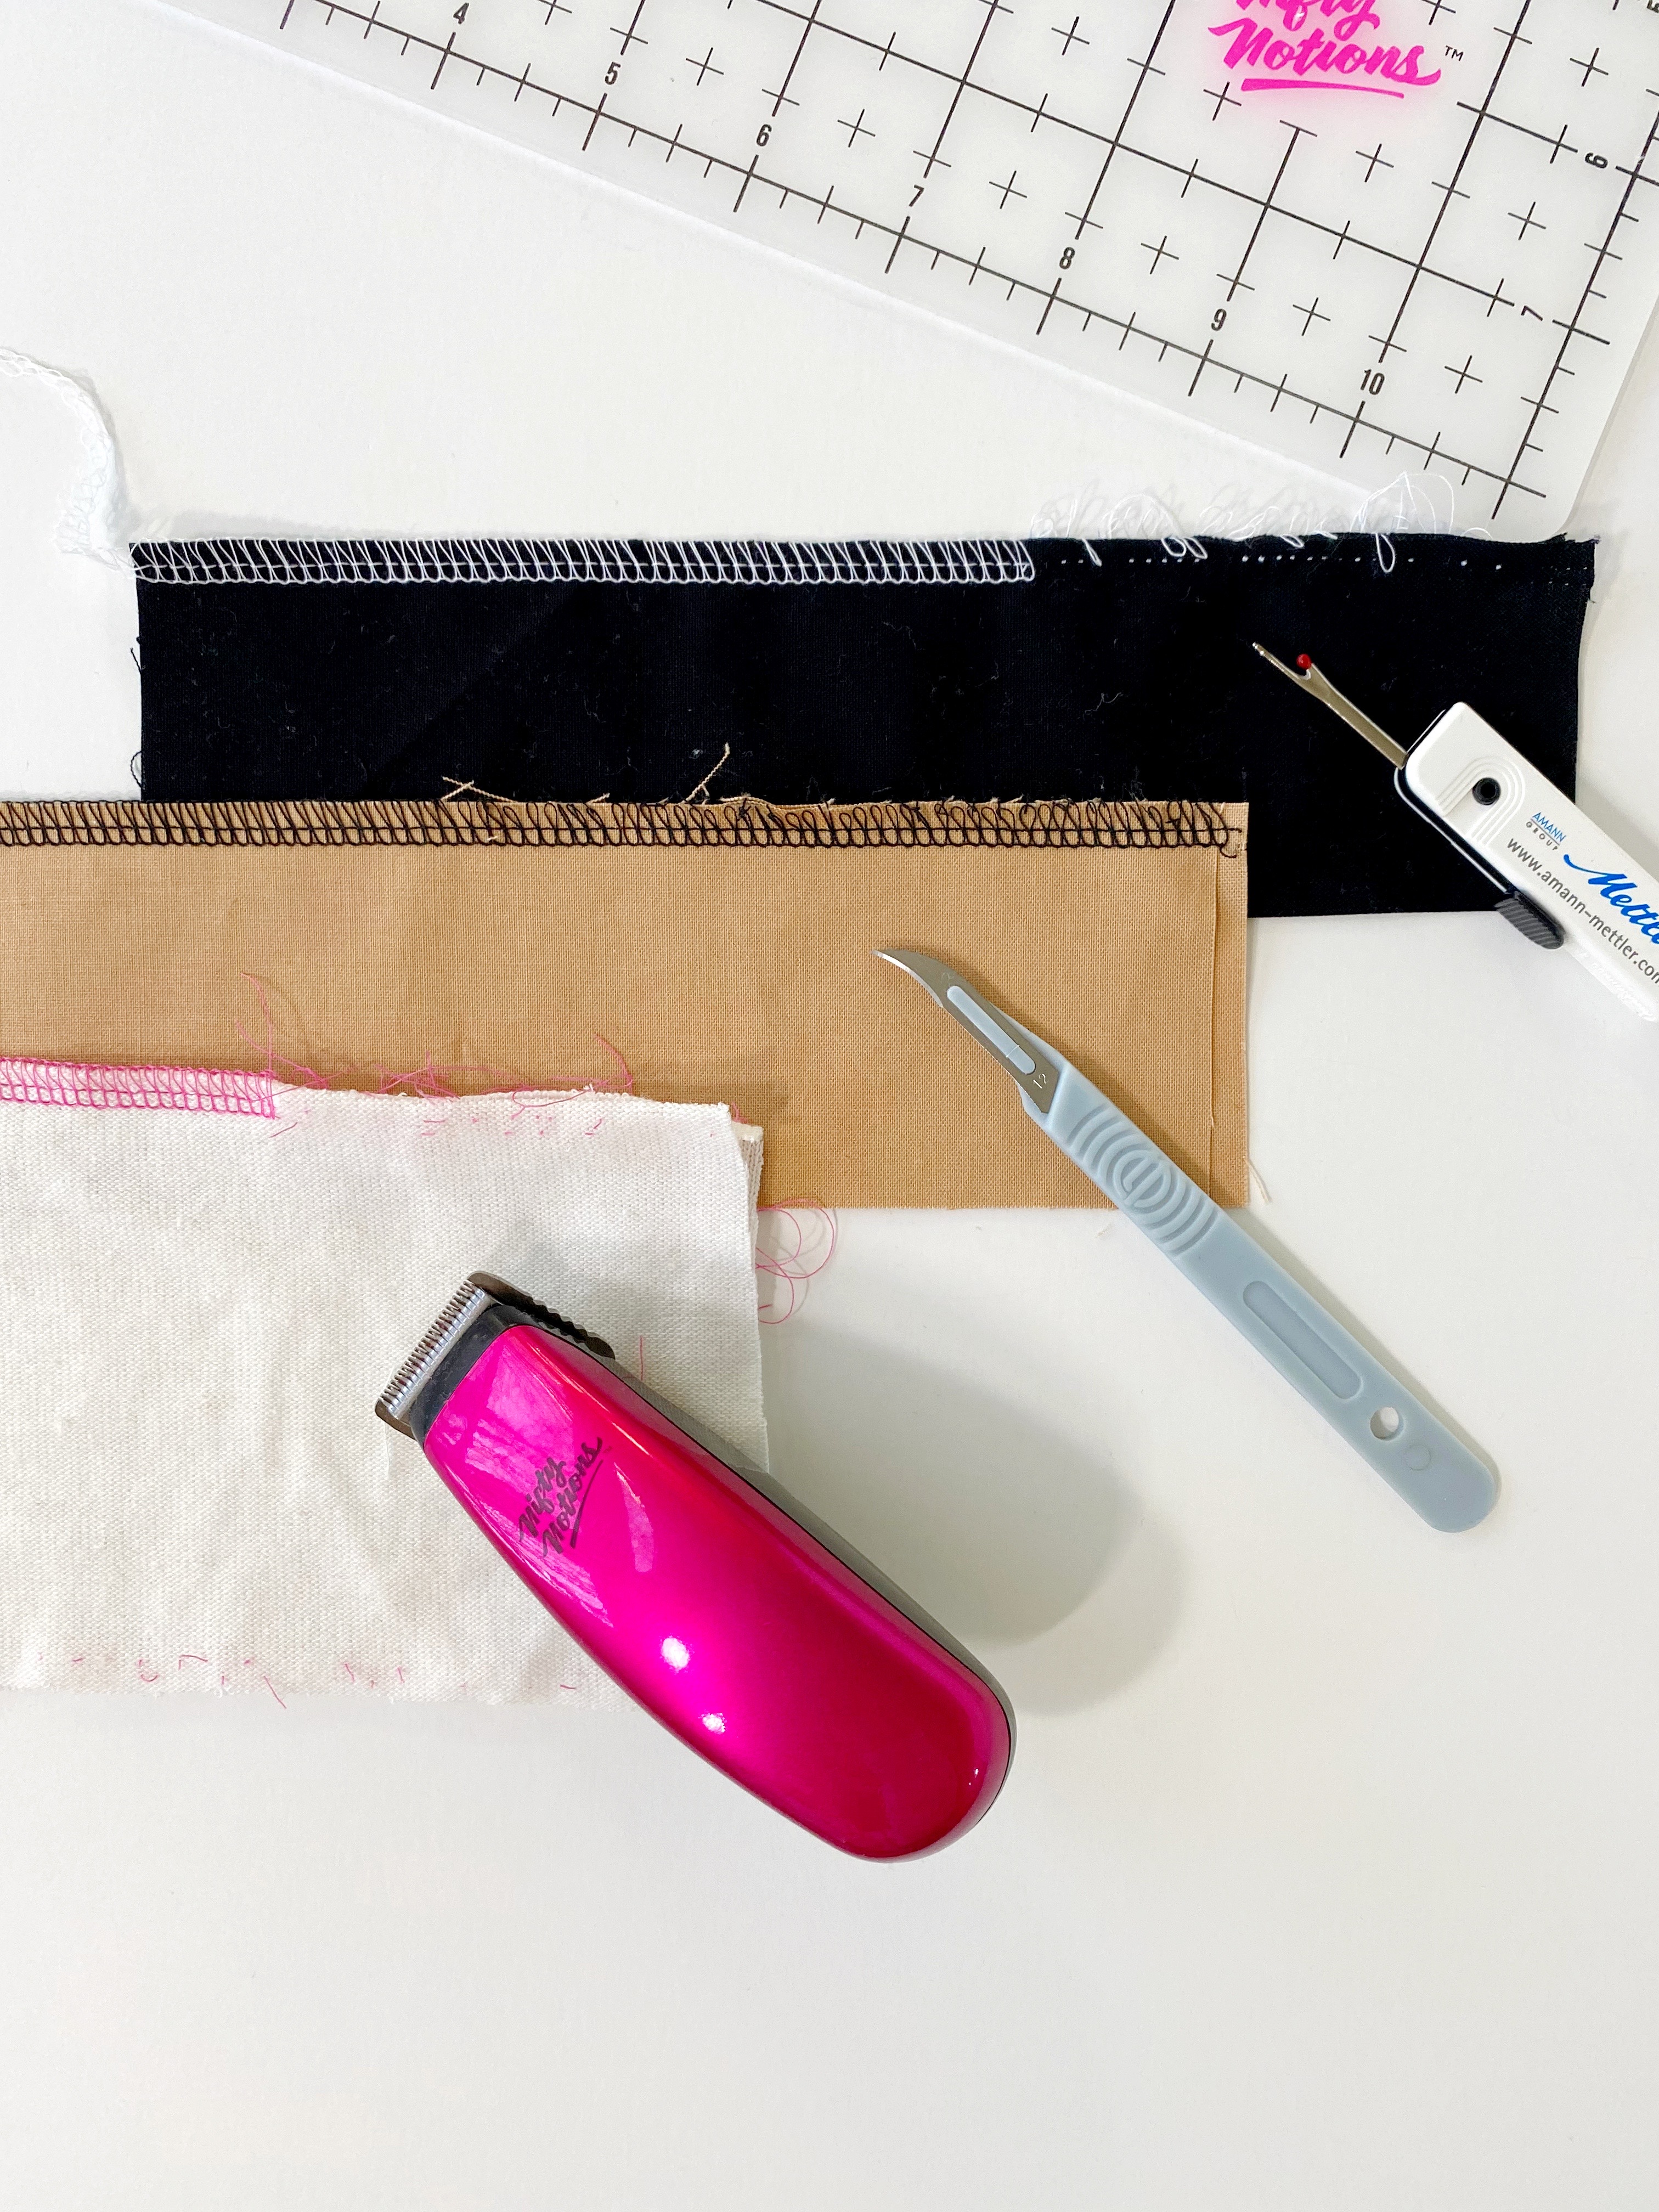
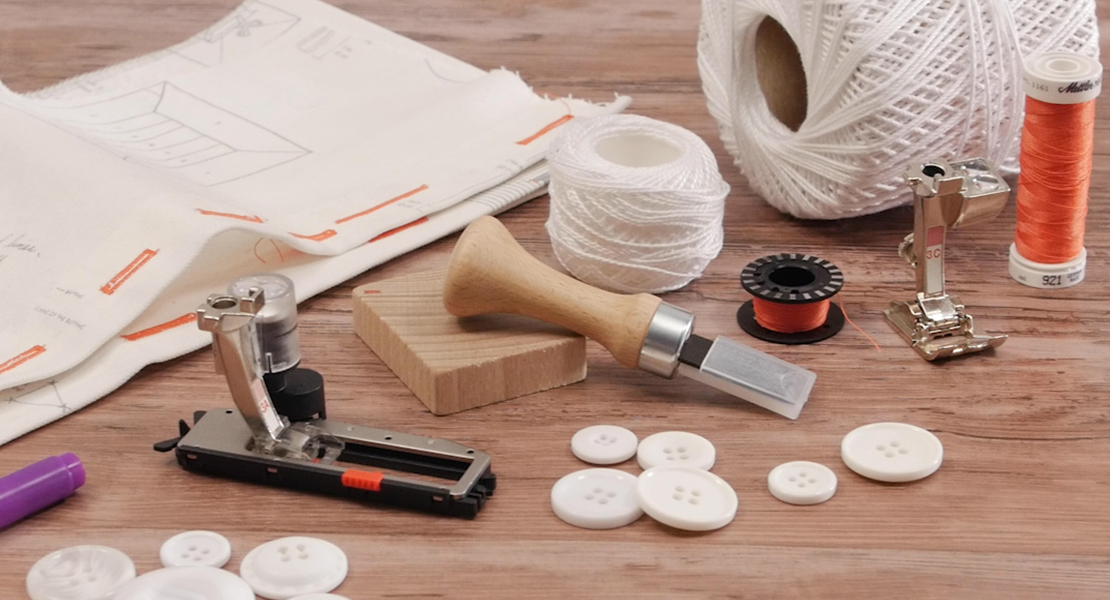
Supplies Needed to Remove Overlocker Stitches
- Seam ripper with or without rubber cap (like this one)
- Serger seam ripper (optional)
- Electric seam ripper (optional)
- Thread snips/scissors (optional)
- Wool mat (optional)
- Pins
Three Ways to Remove Overlocker Stitches
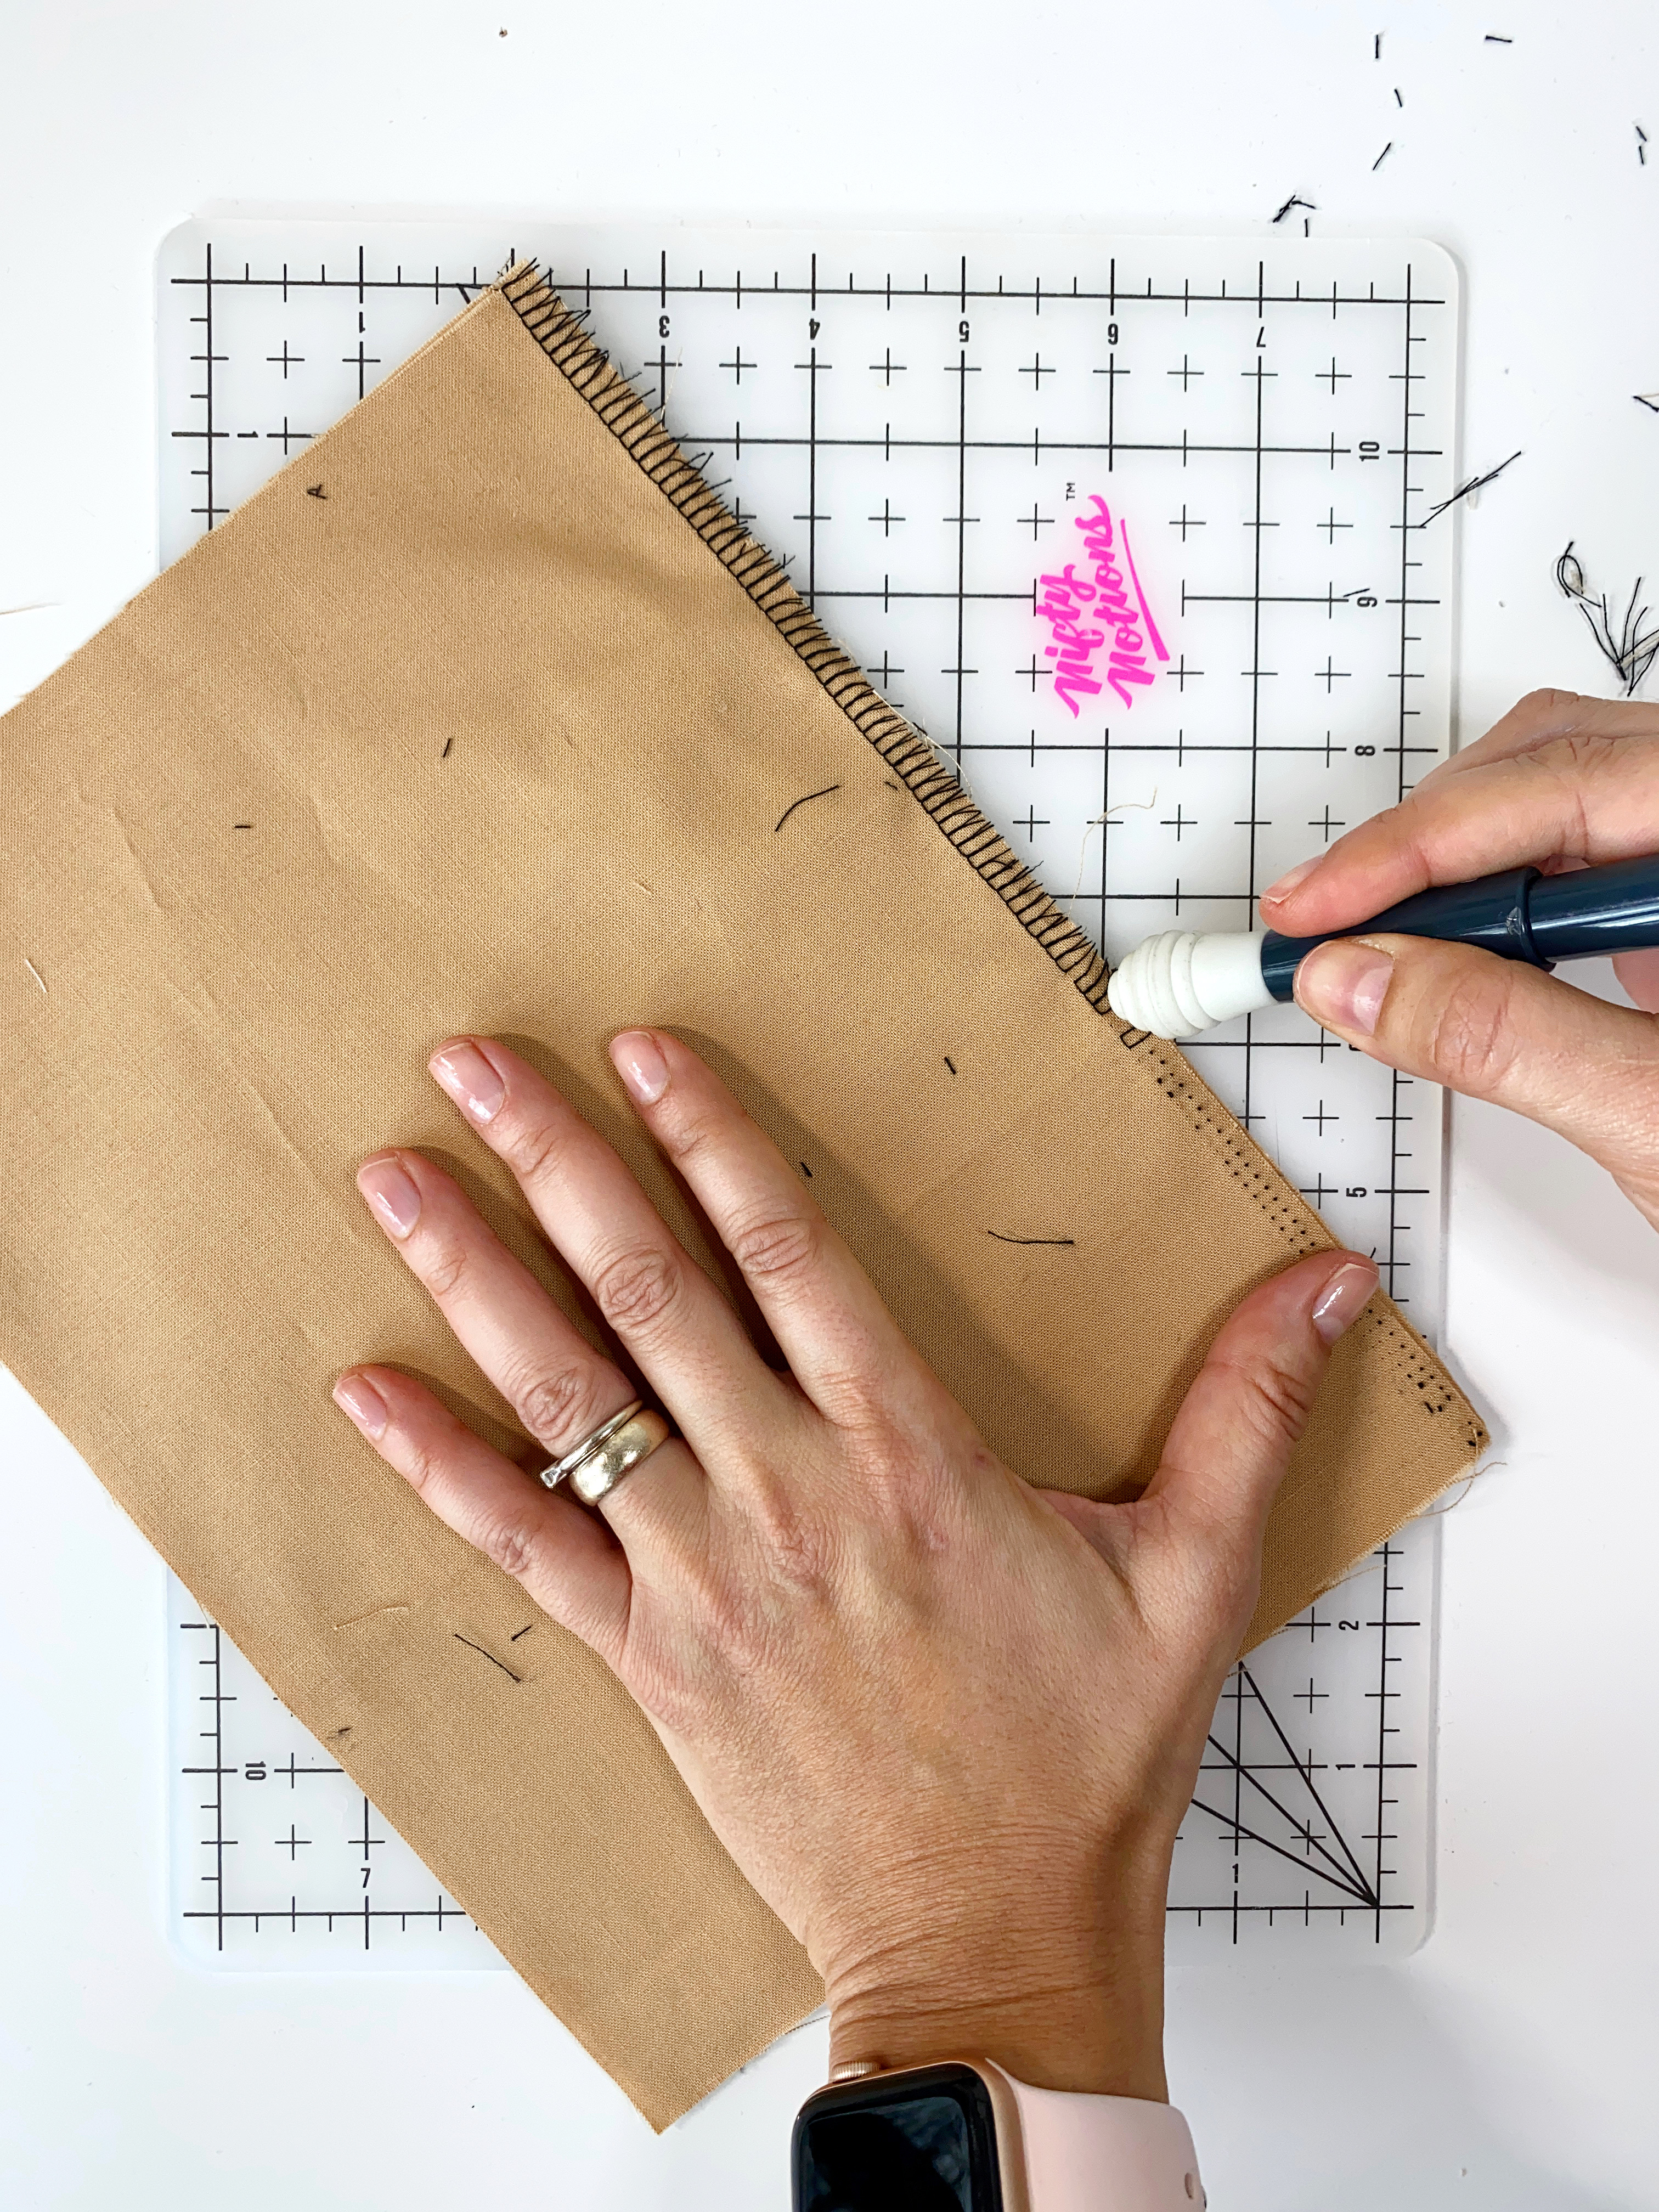
Removing the Needles Stitches
For this first and most common technique of removing overlocker (serger) stitches, I will use our long-time friend (or frenemy), the regular seam ripper but it can also be done using a serger seam ripper or sharp thread scissors.
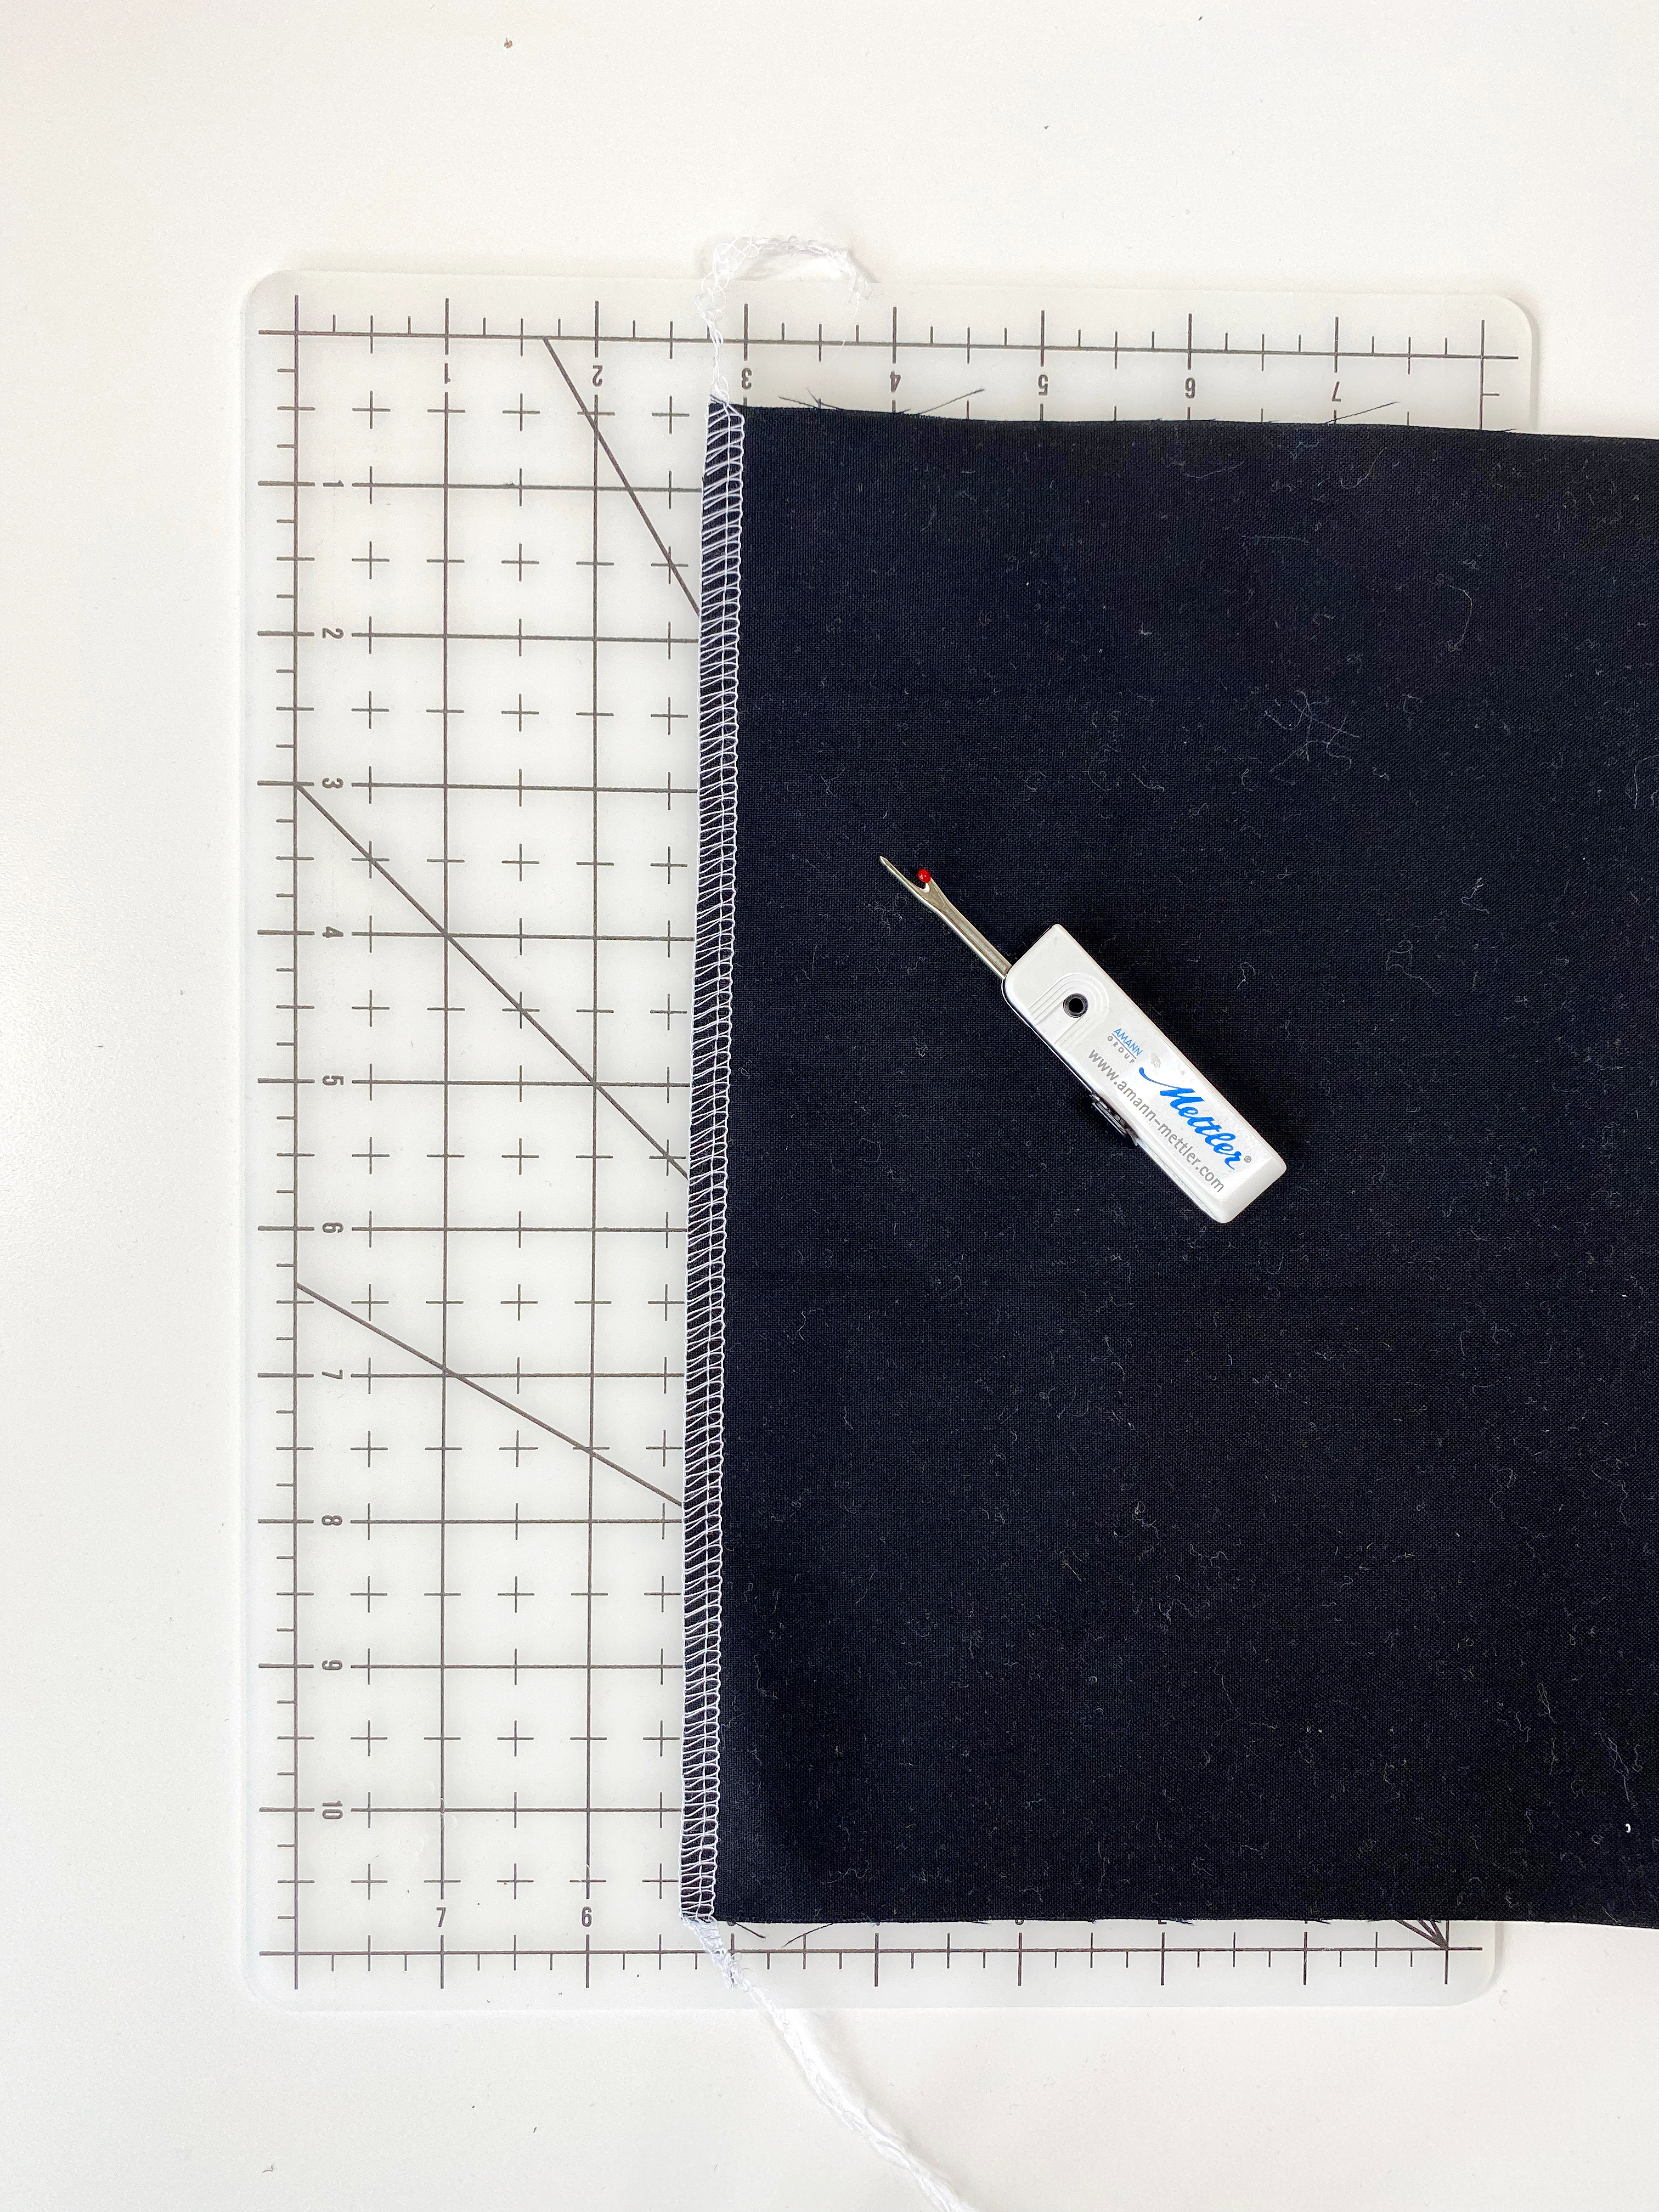
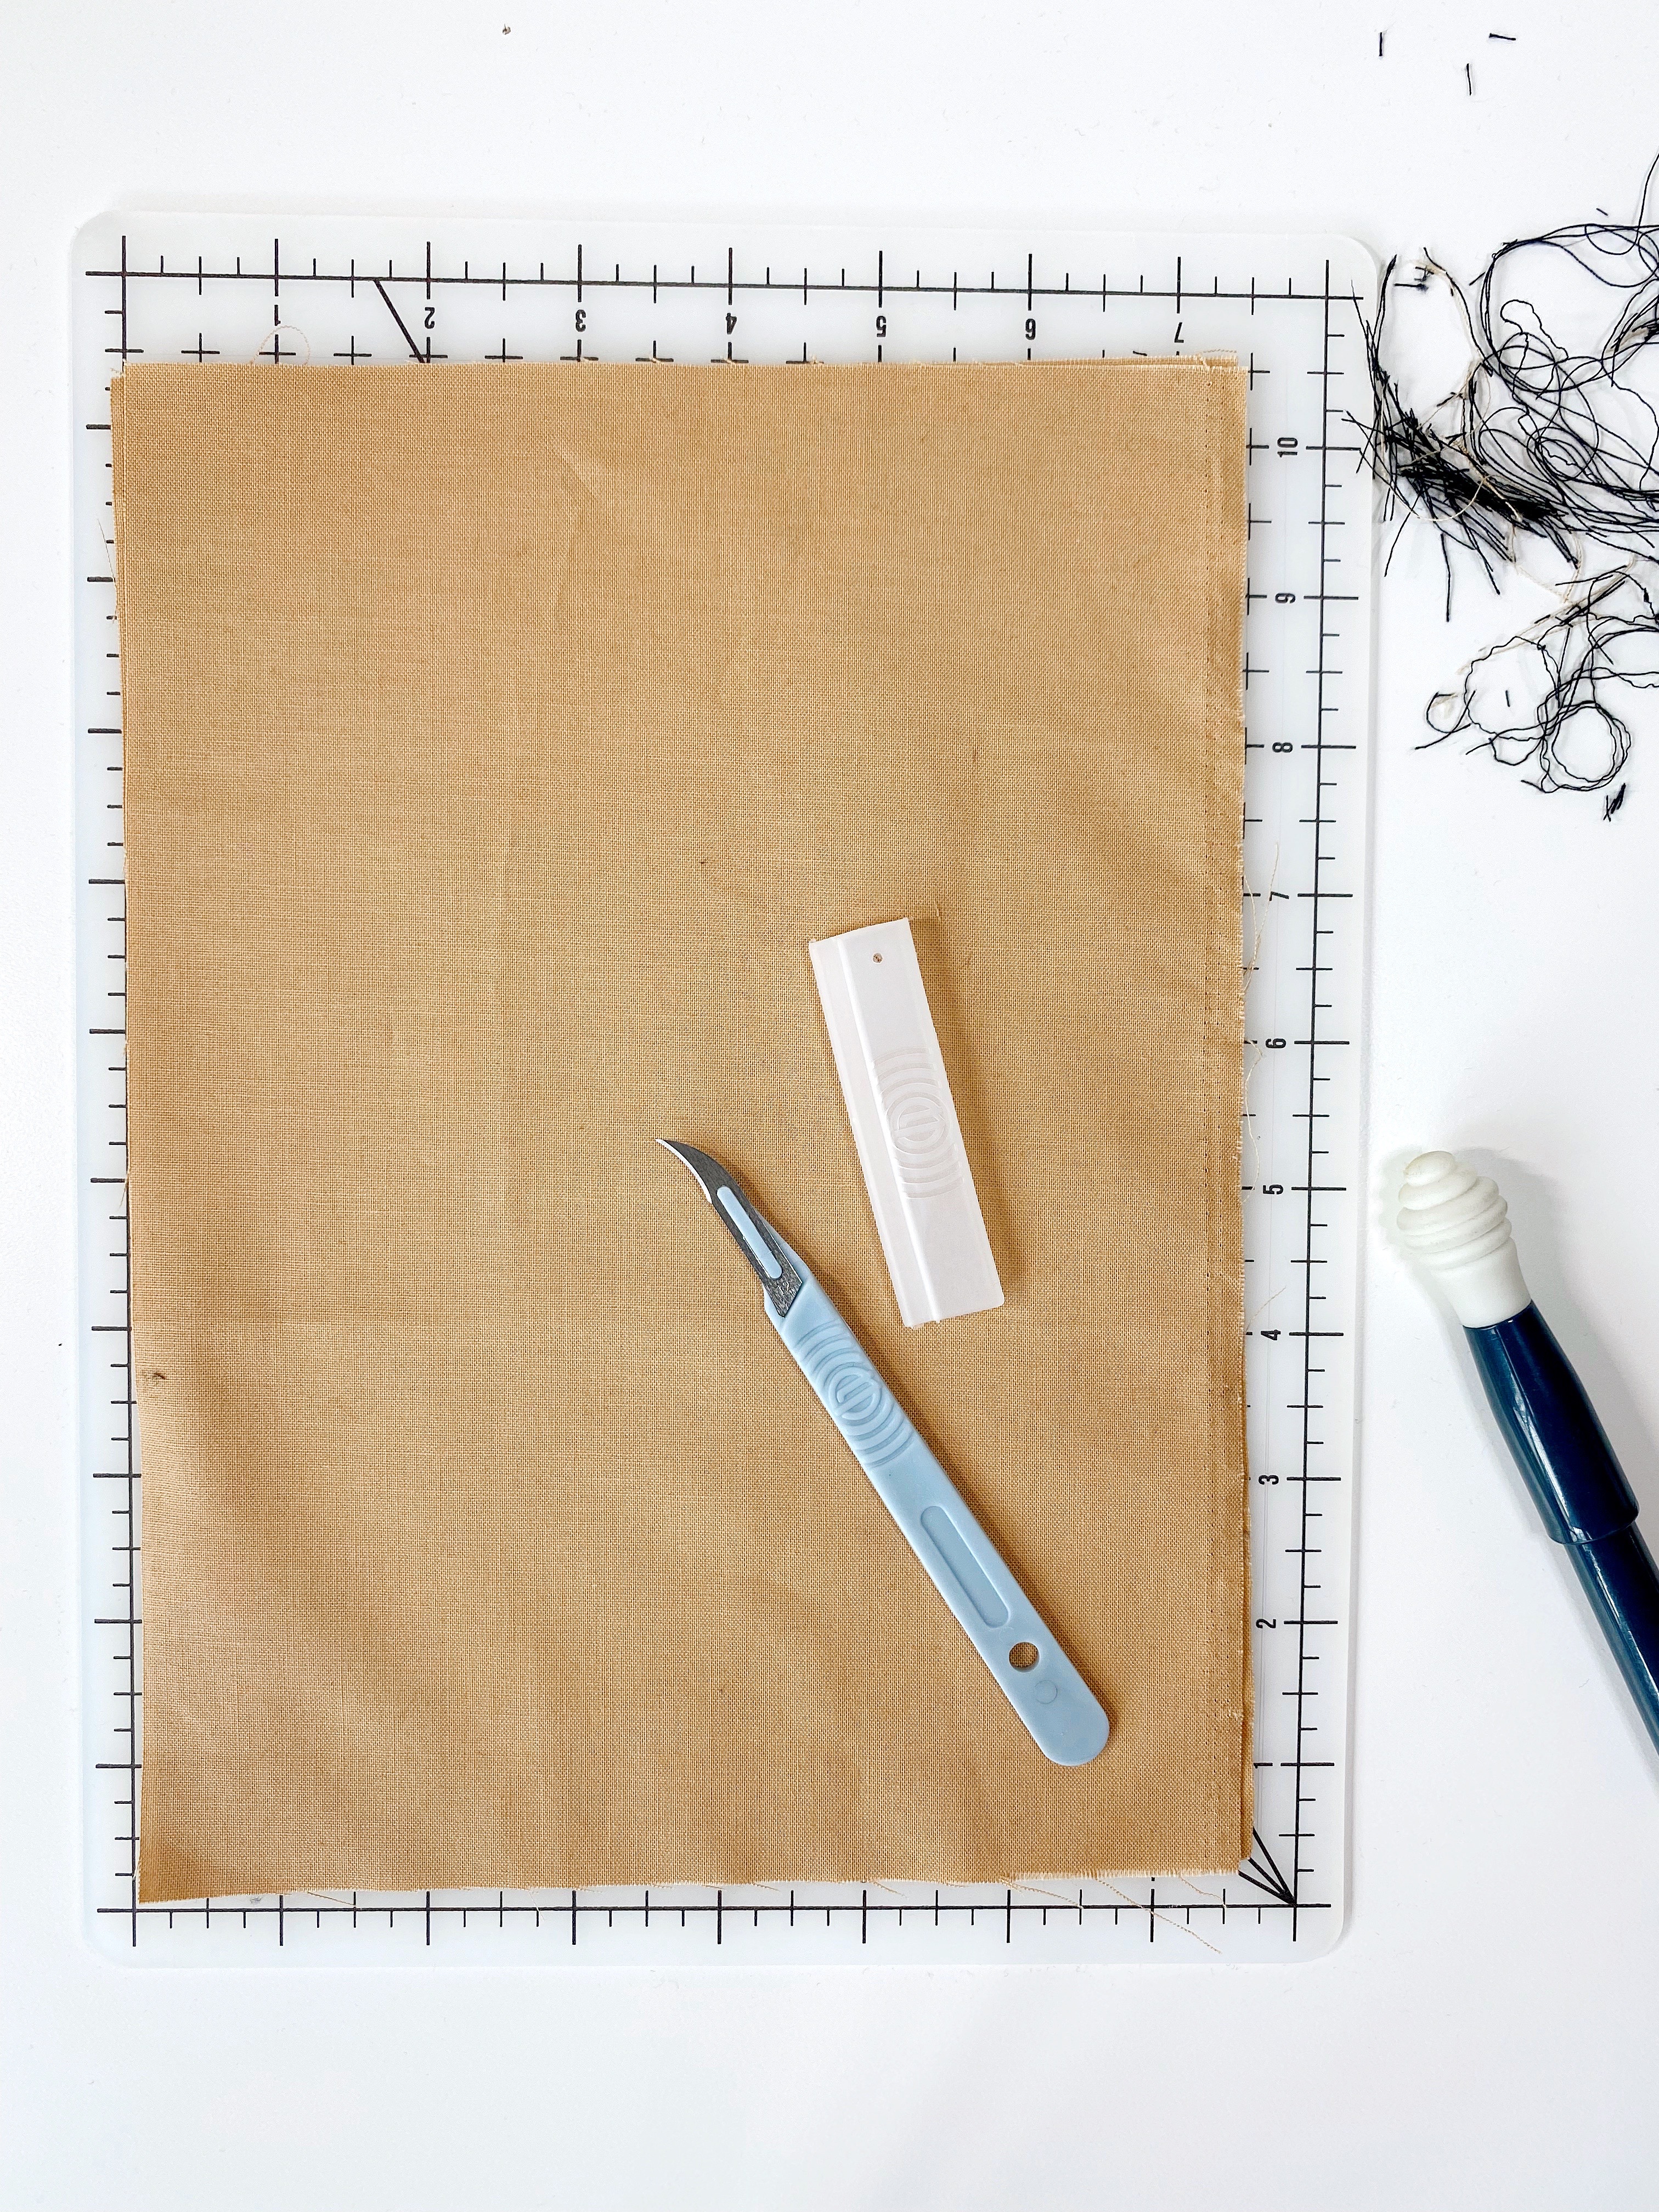
Start by cutting the tails if you haven’t done it yet.
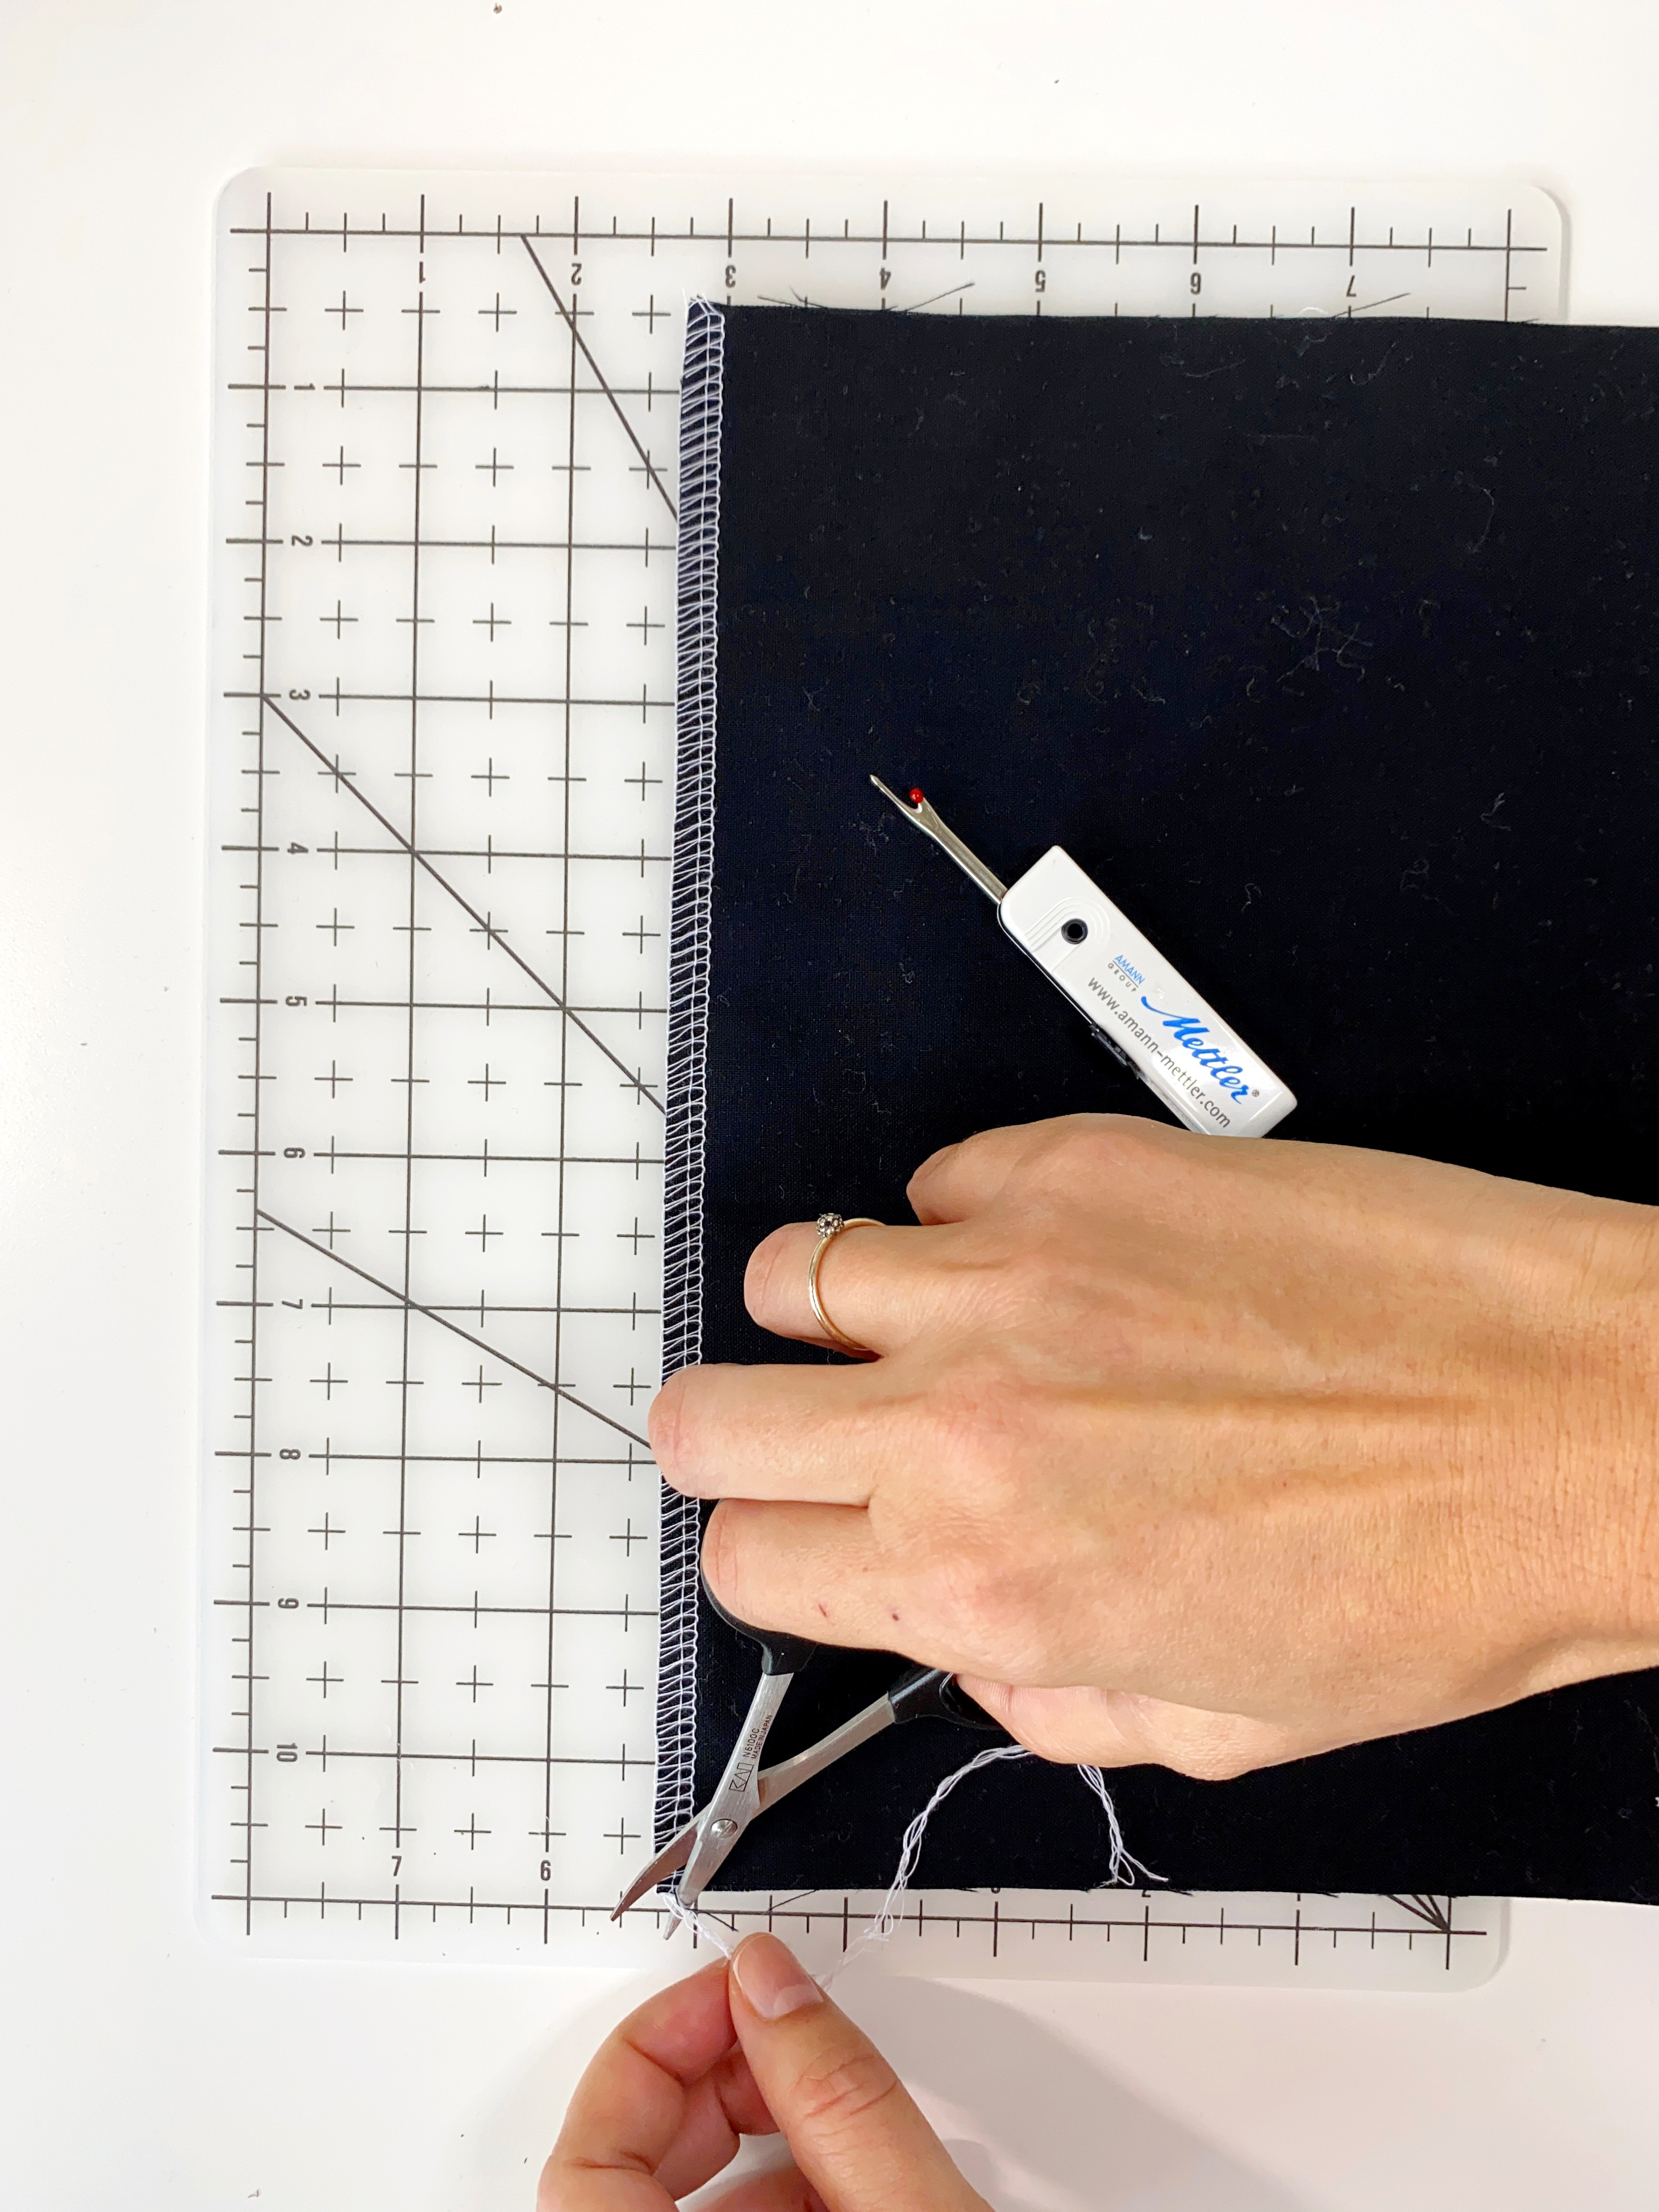
Then, with the tip of your seam ripper pull the right and left needle stitch, one by one, without cutting the thread, until you have enough length to grab the end.
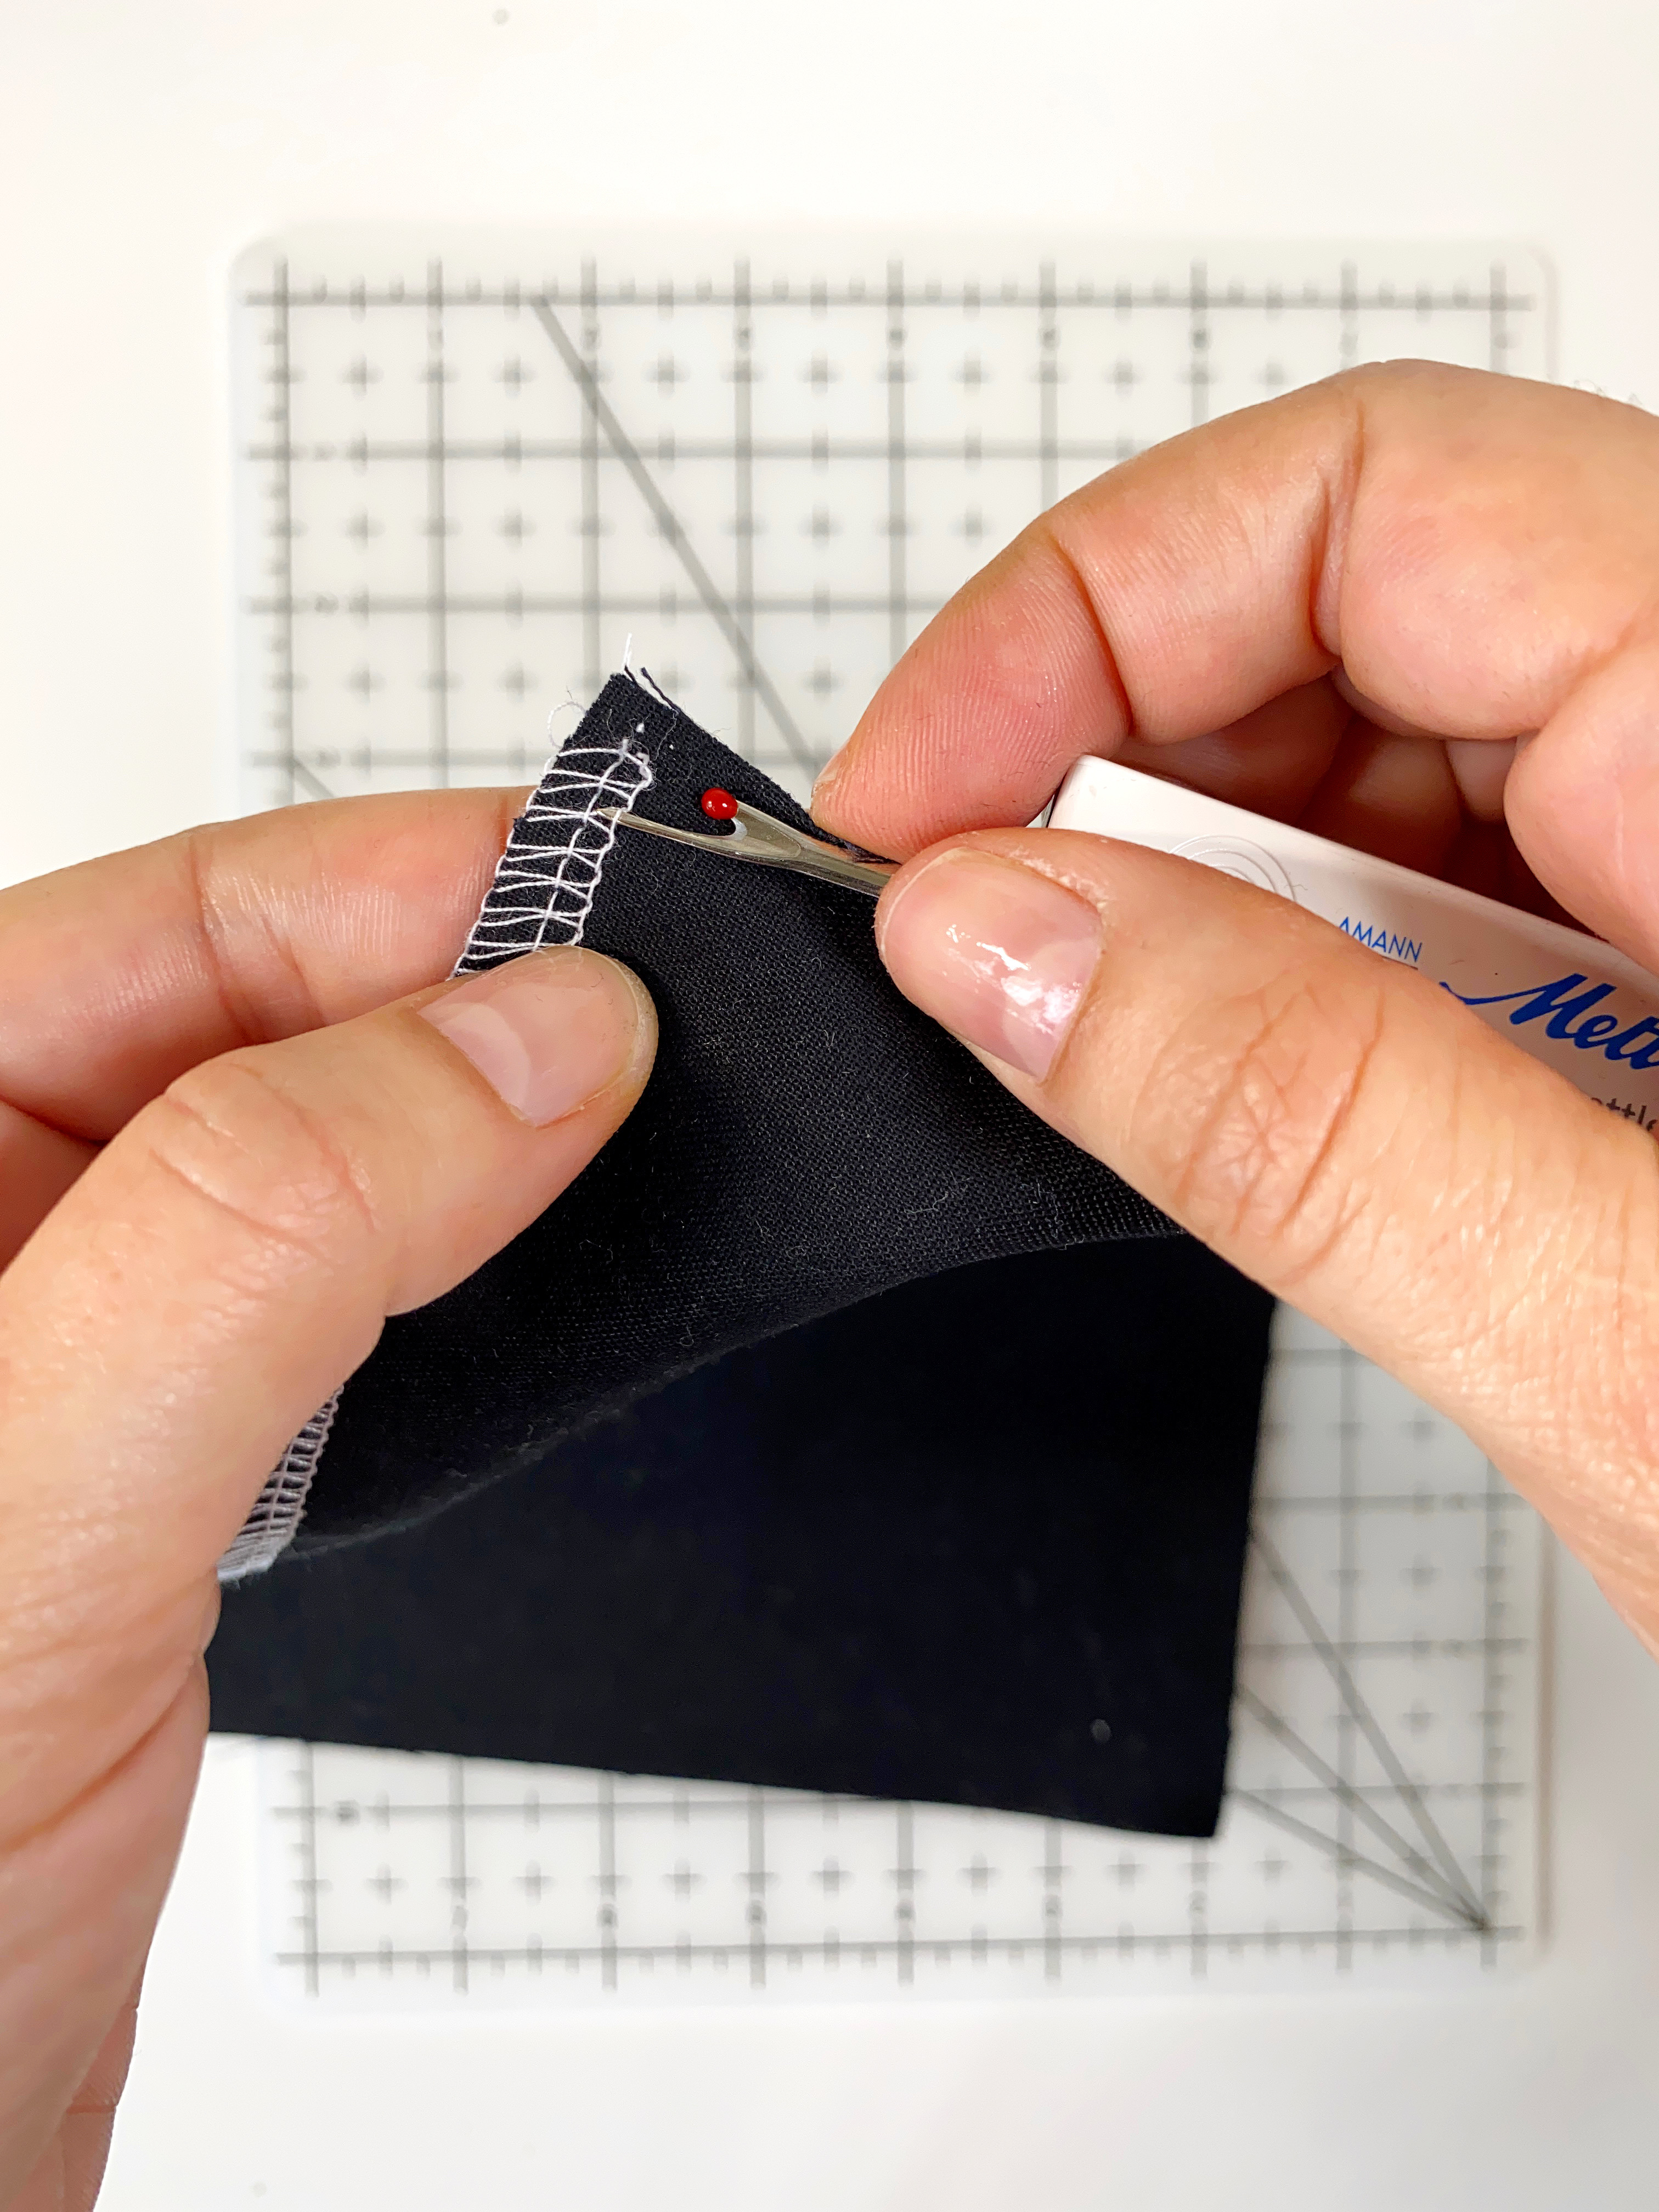
It is easier if you place your seam ripper between the loops. You can do each needle stitch separate or carefully remove both at the same time, just try not to cut through it.
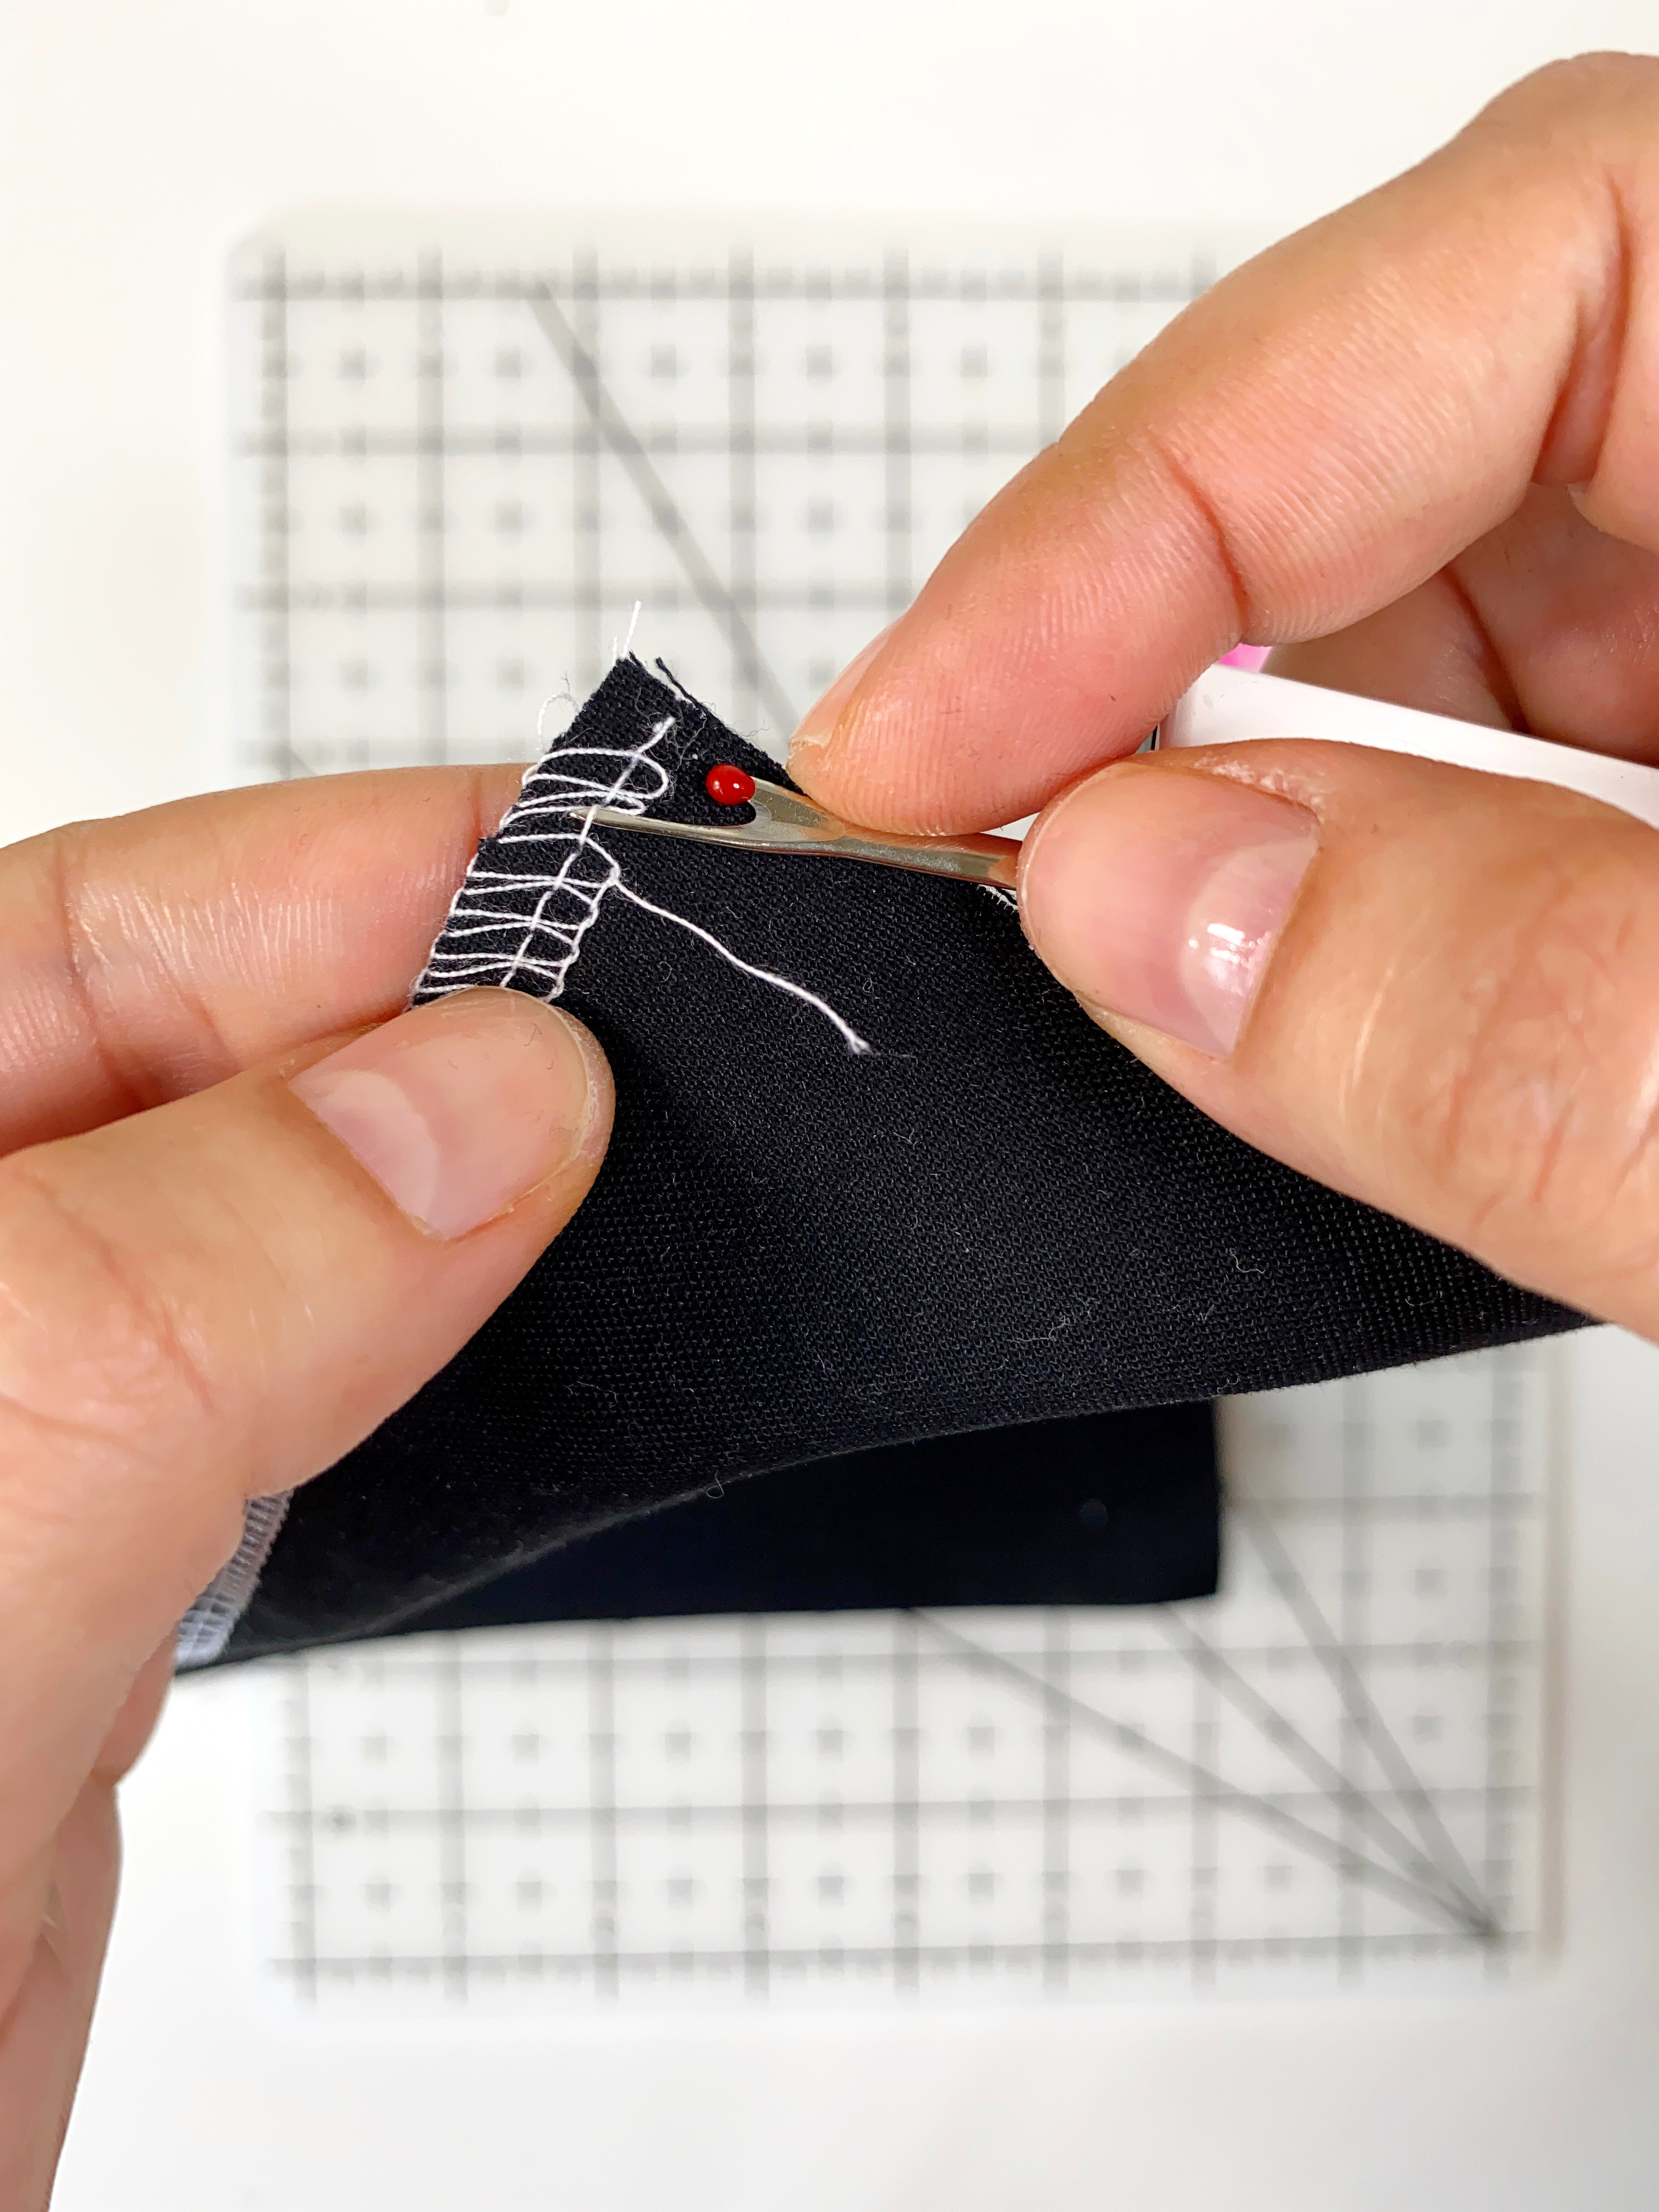
Once you can get a hold of this new made tail, cut the right and left threads about 1” away from the tail and pull it out.

Continue in this fashion until you reach the end of your seam.

Once all the right and left needle stitches have been removed, you will notice that the loopers just fall off. Pull these loose loopers out and you are done.
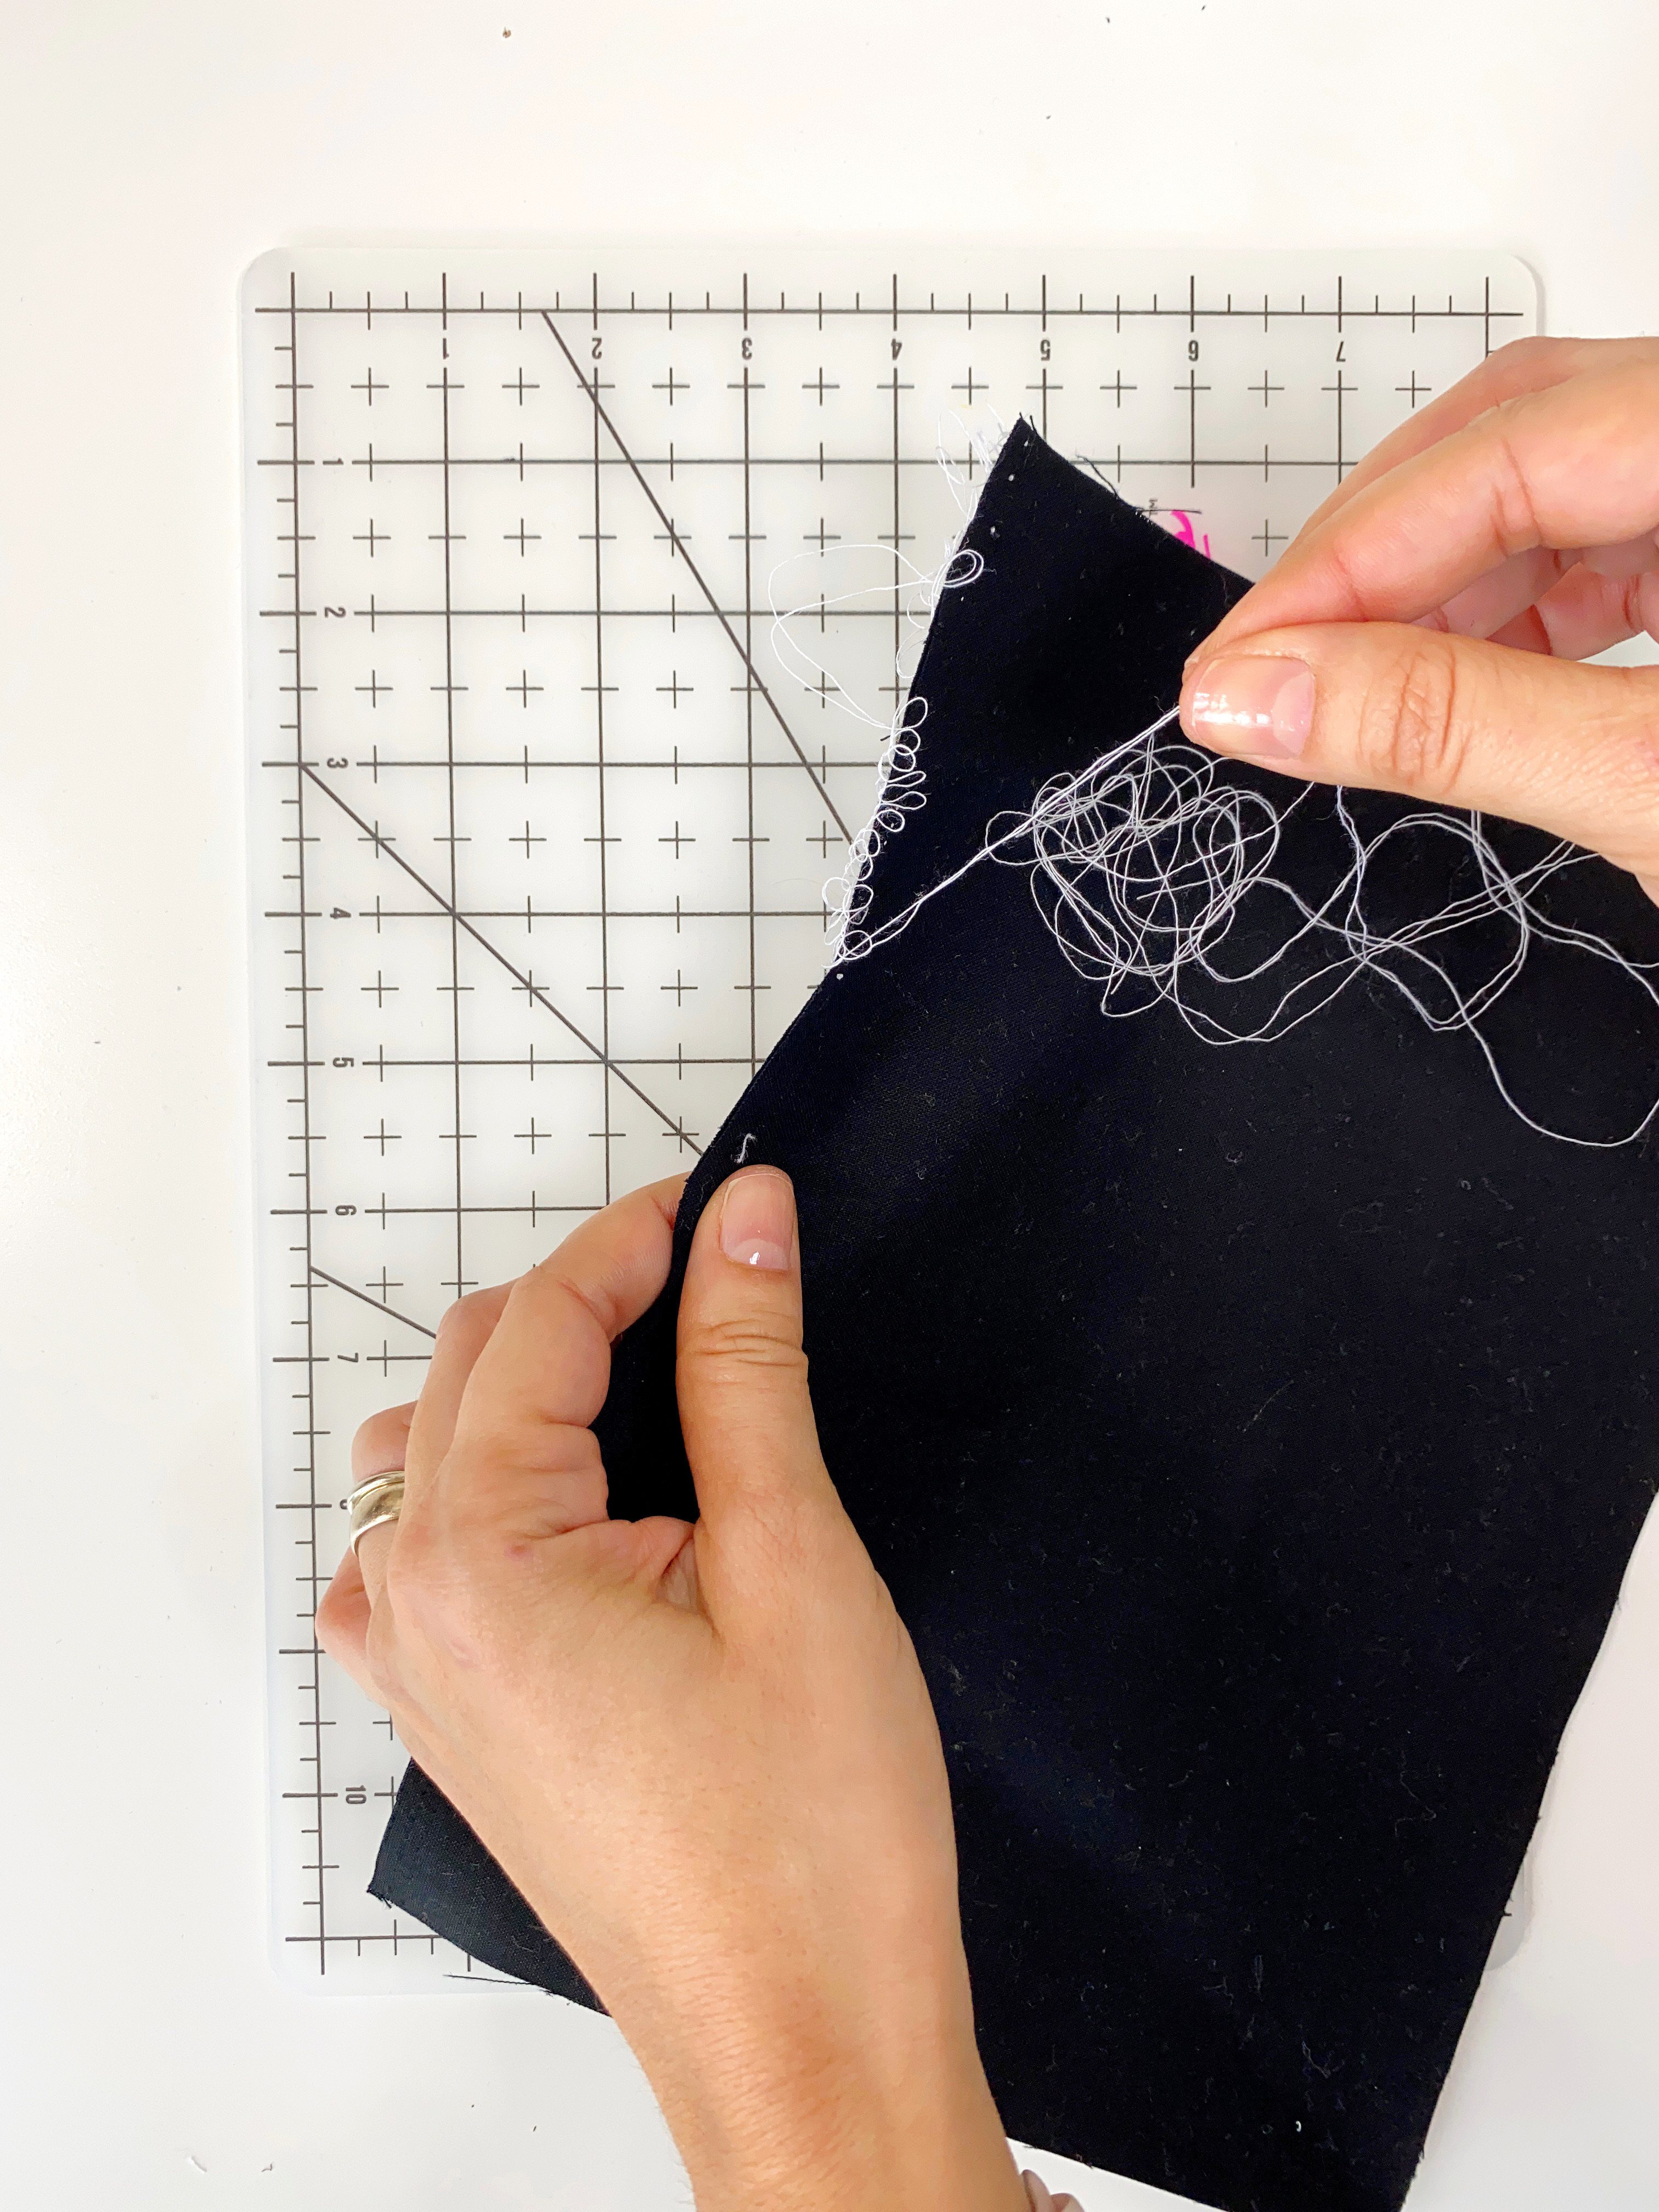
I like this technique for wovens and stable knits as it does not leave any thread mess on the fabric, but it is probably the most time consuming of all the three ways.
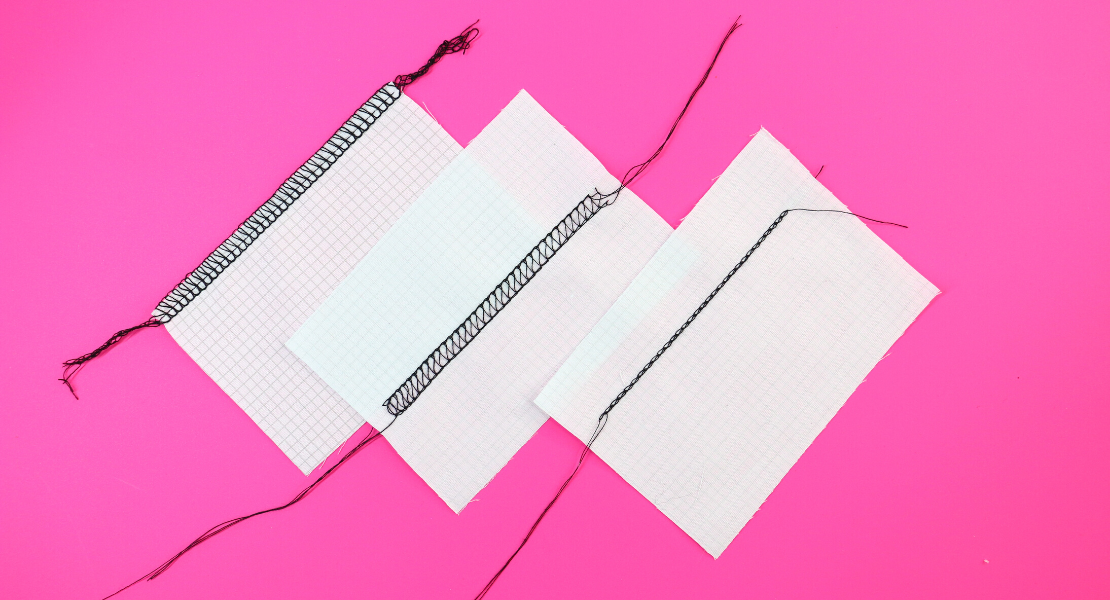
Removing Stitches by Slicing Through the Loopers
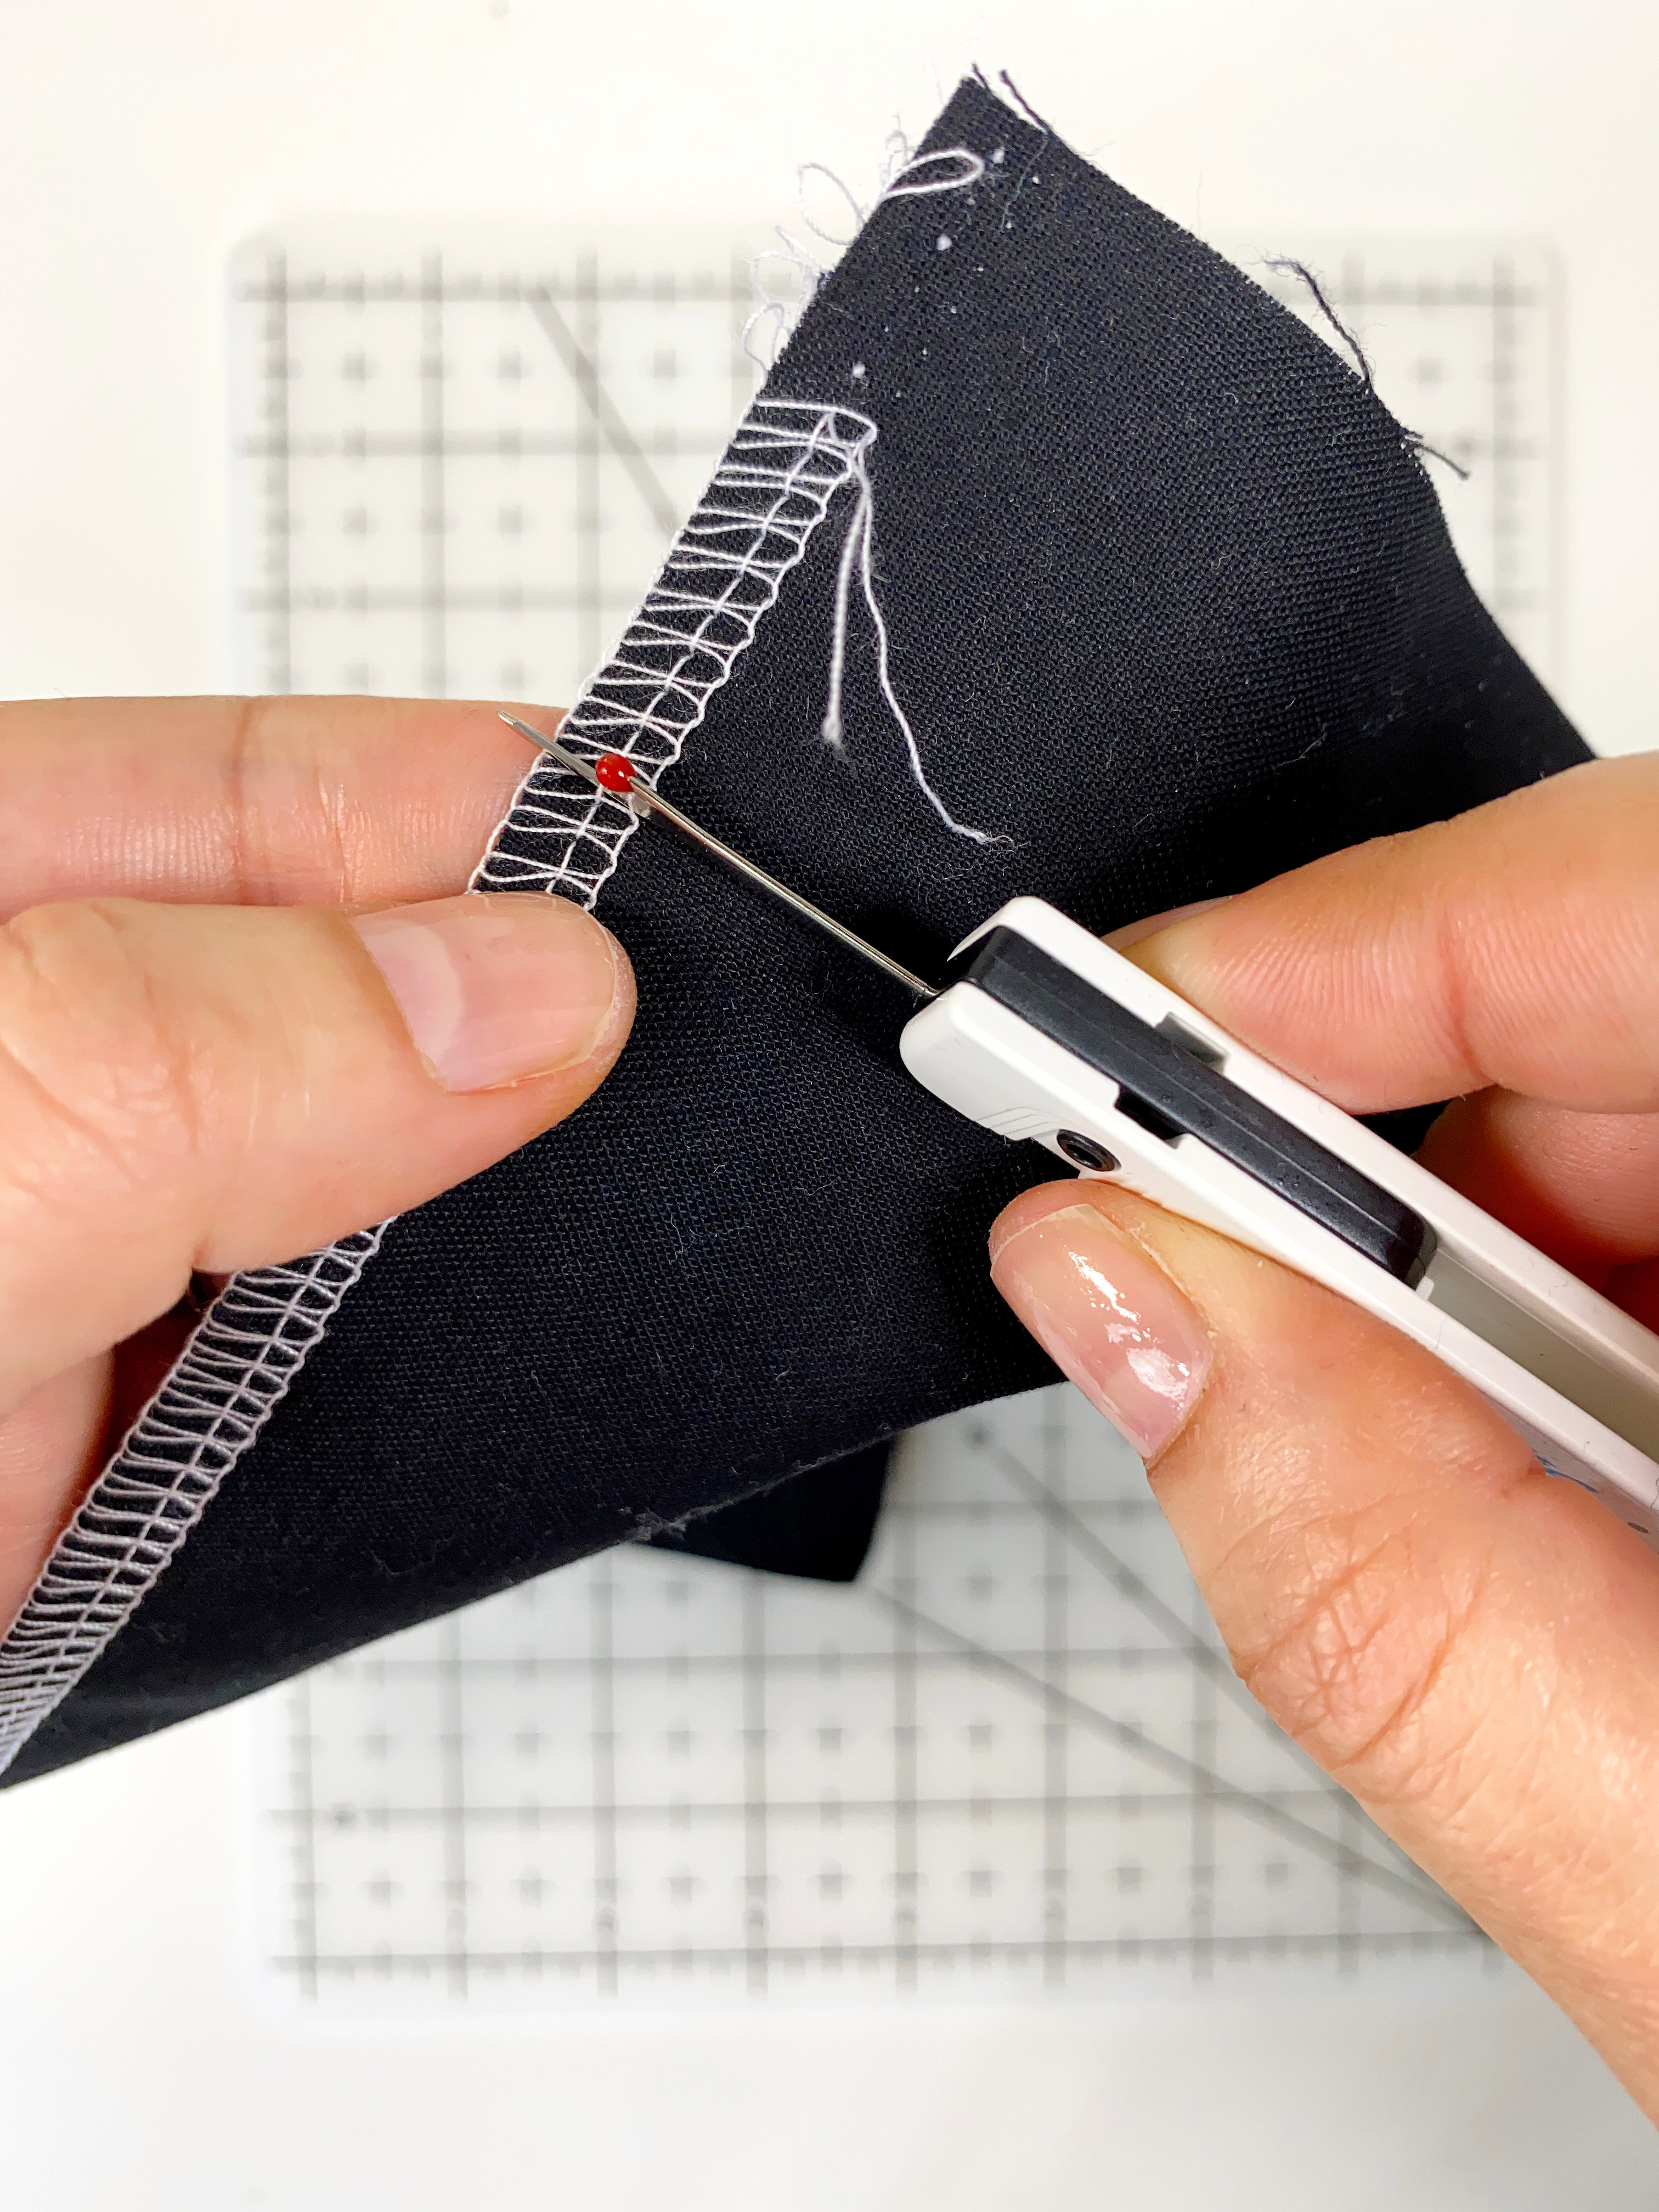
For this second technique a serger seam ripper was used to remove the overlocker stitches, but it can also be done with a regular seam ripper or sharp thread scissors. The serger seam ripper is a great tool because of its curved blade that fits perfectly in the seam where the stitches are formed.
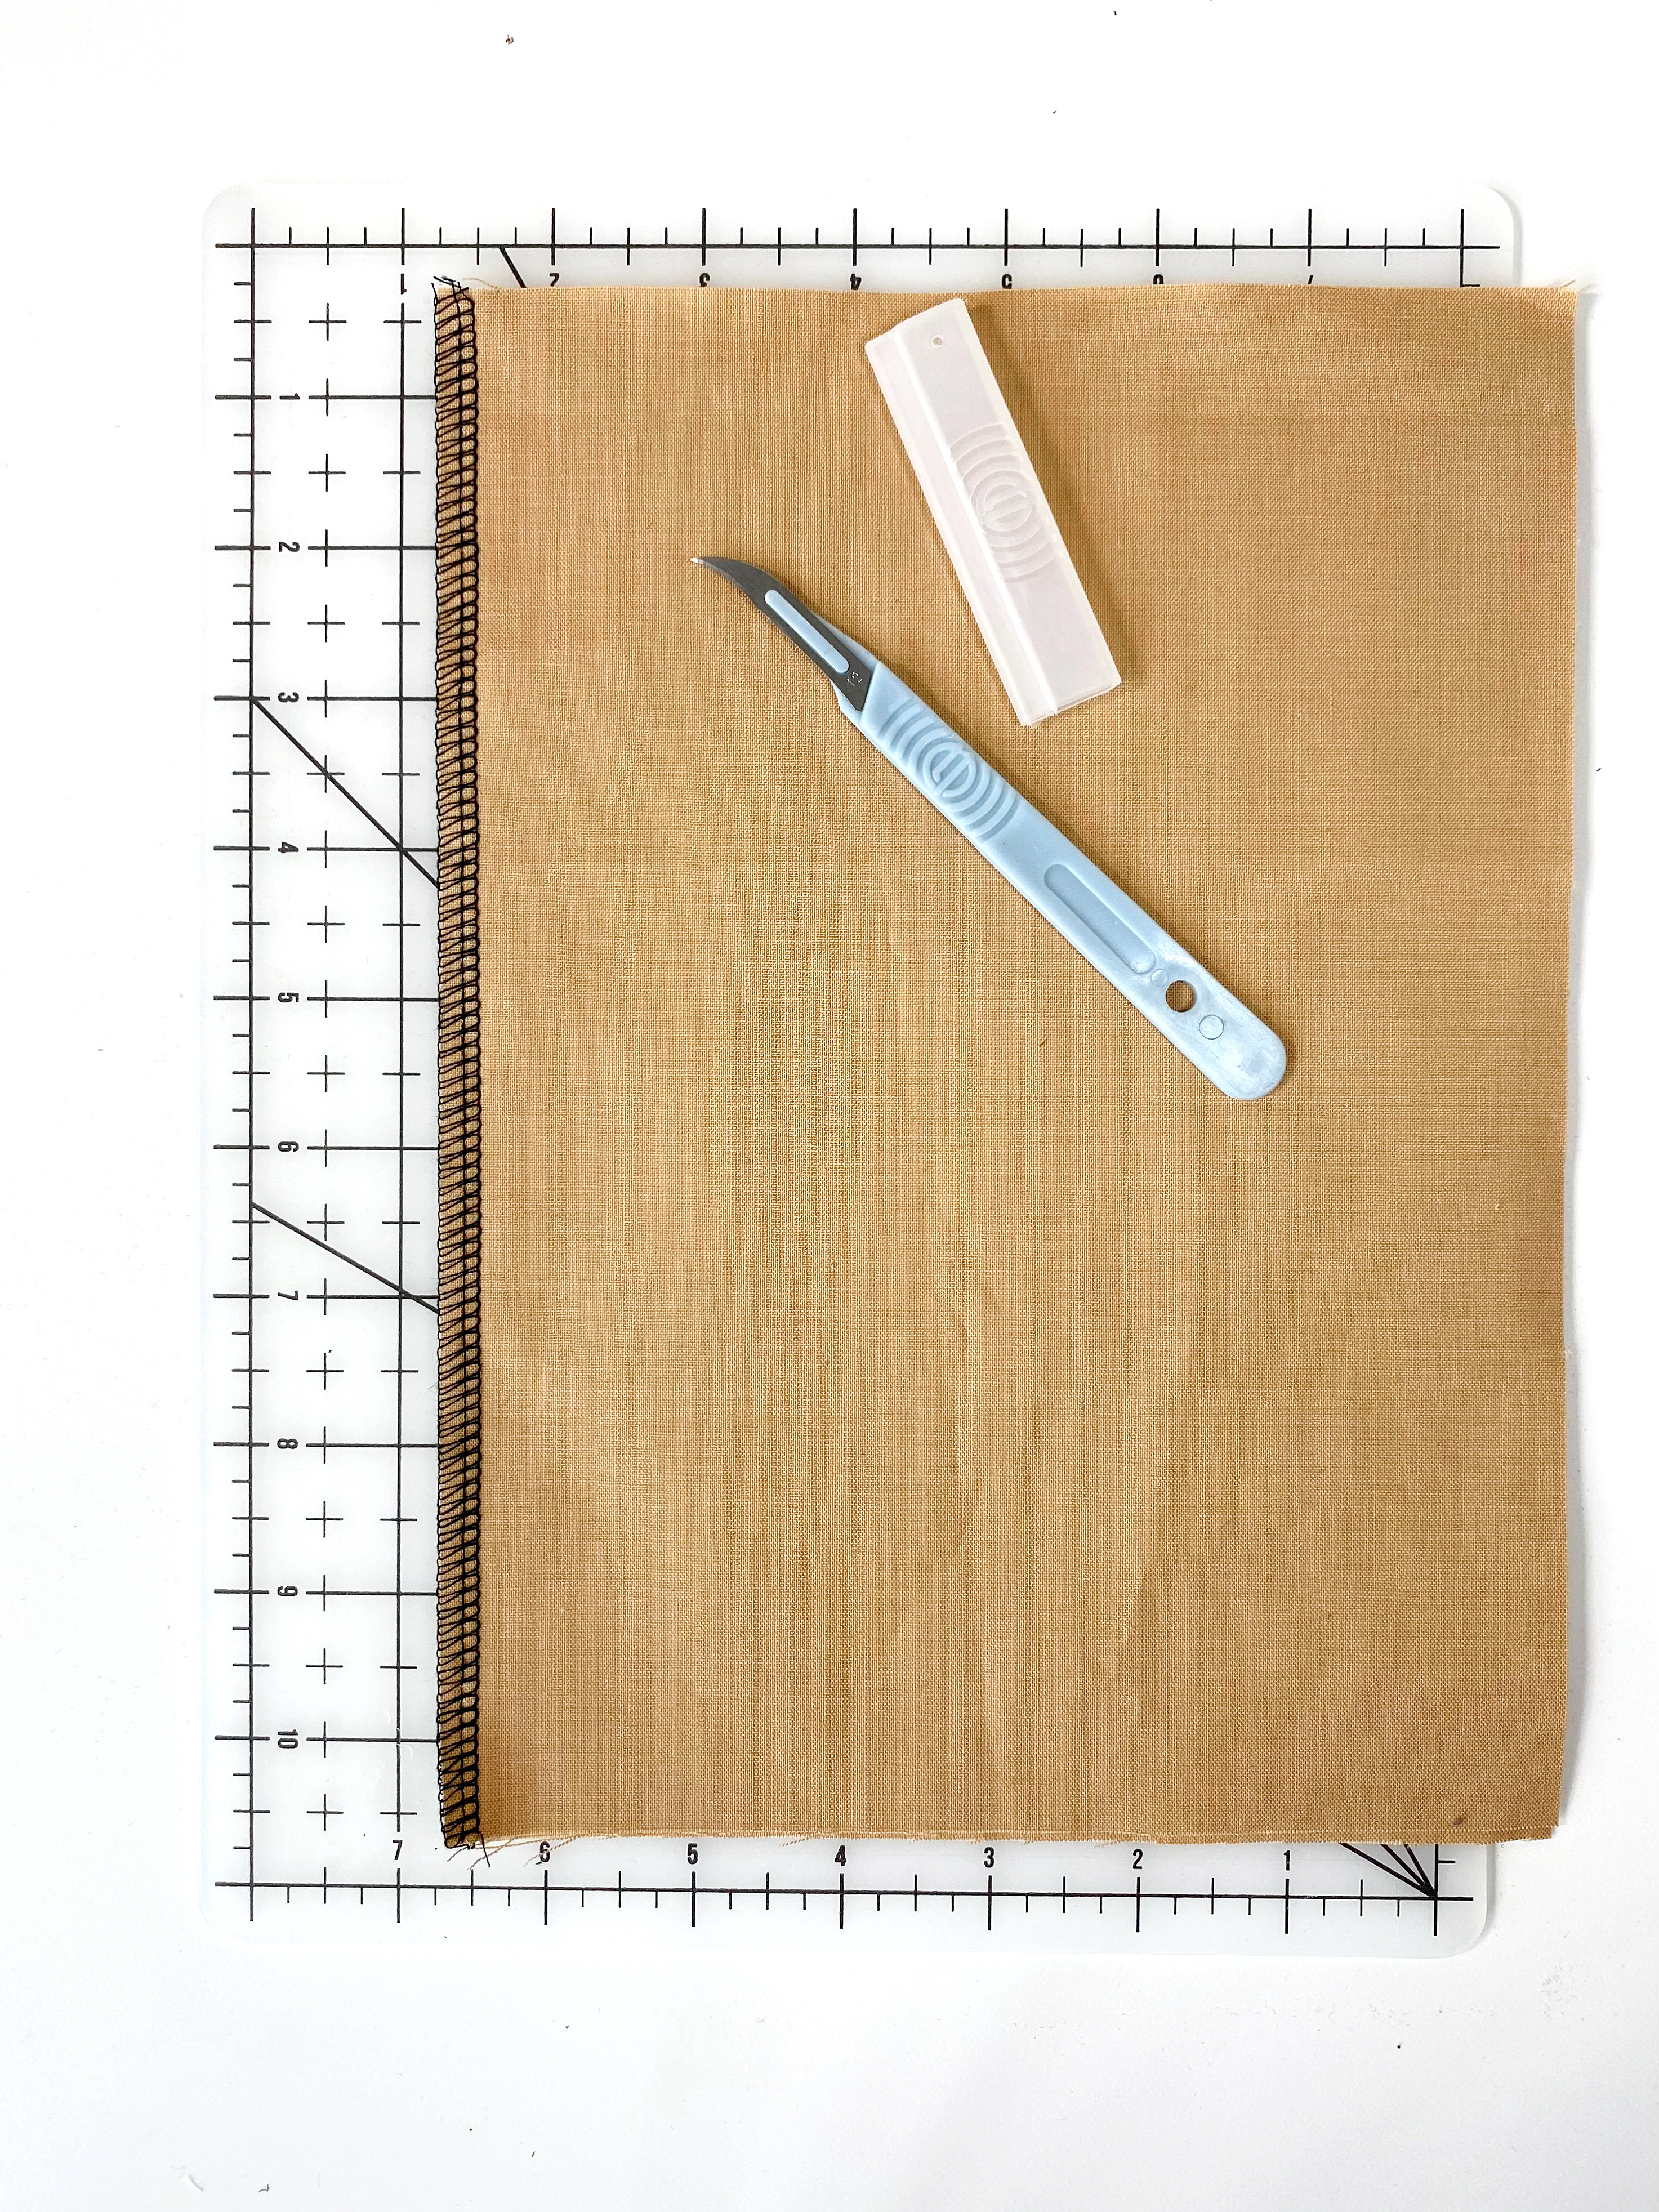
Once again, start by cutting the tails if you haven’t done it yet. Insert the tip of your seam ripper or serger seam ripper between the stitches and the two layers of fabric.

Glide the blade through, cutting all the looper stitches until the end of the seam.
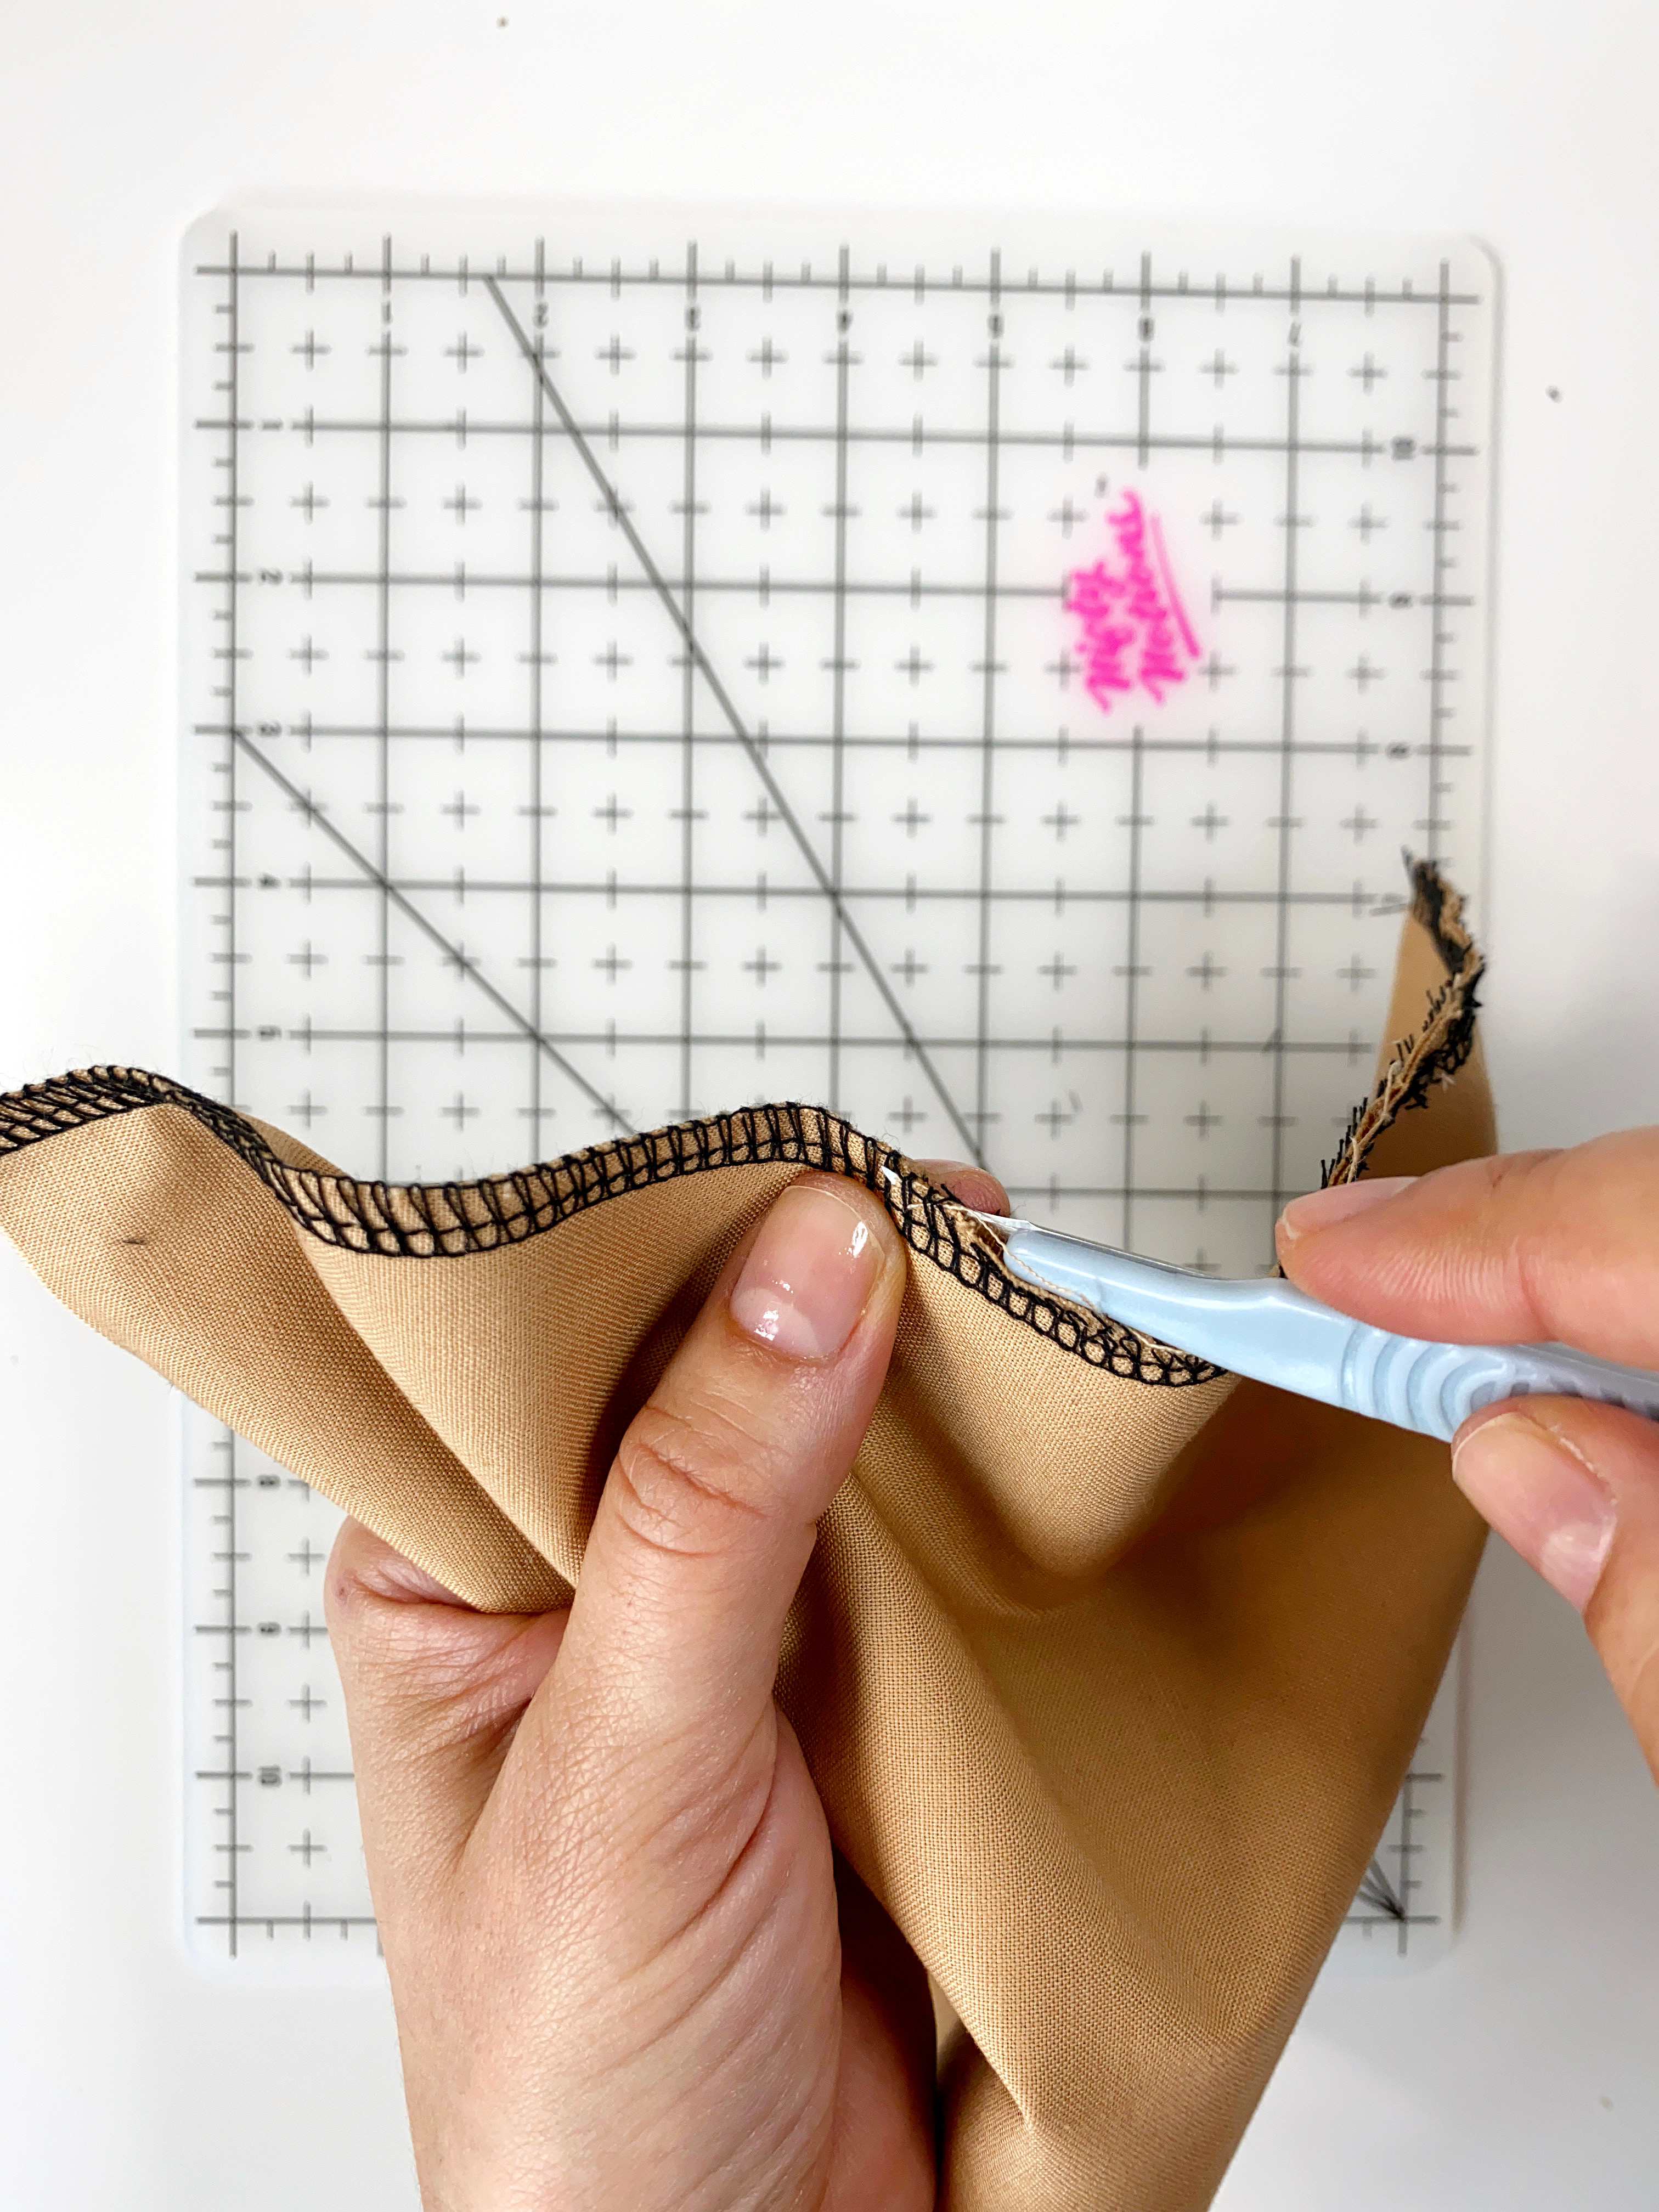
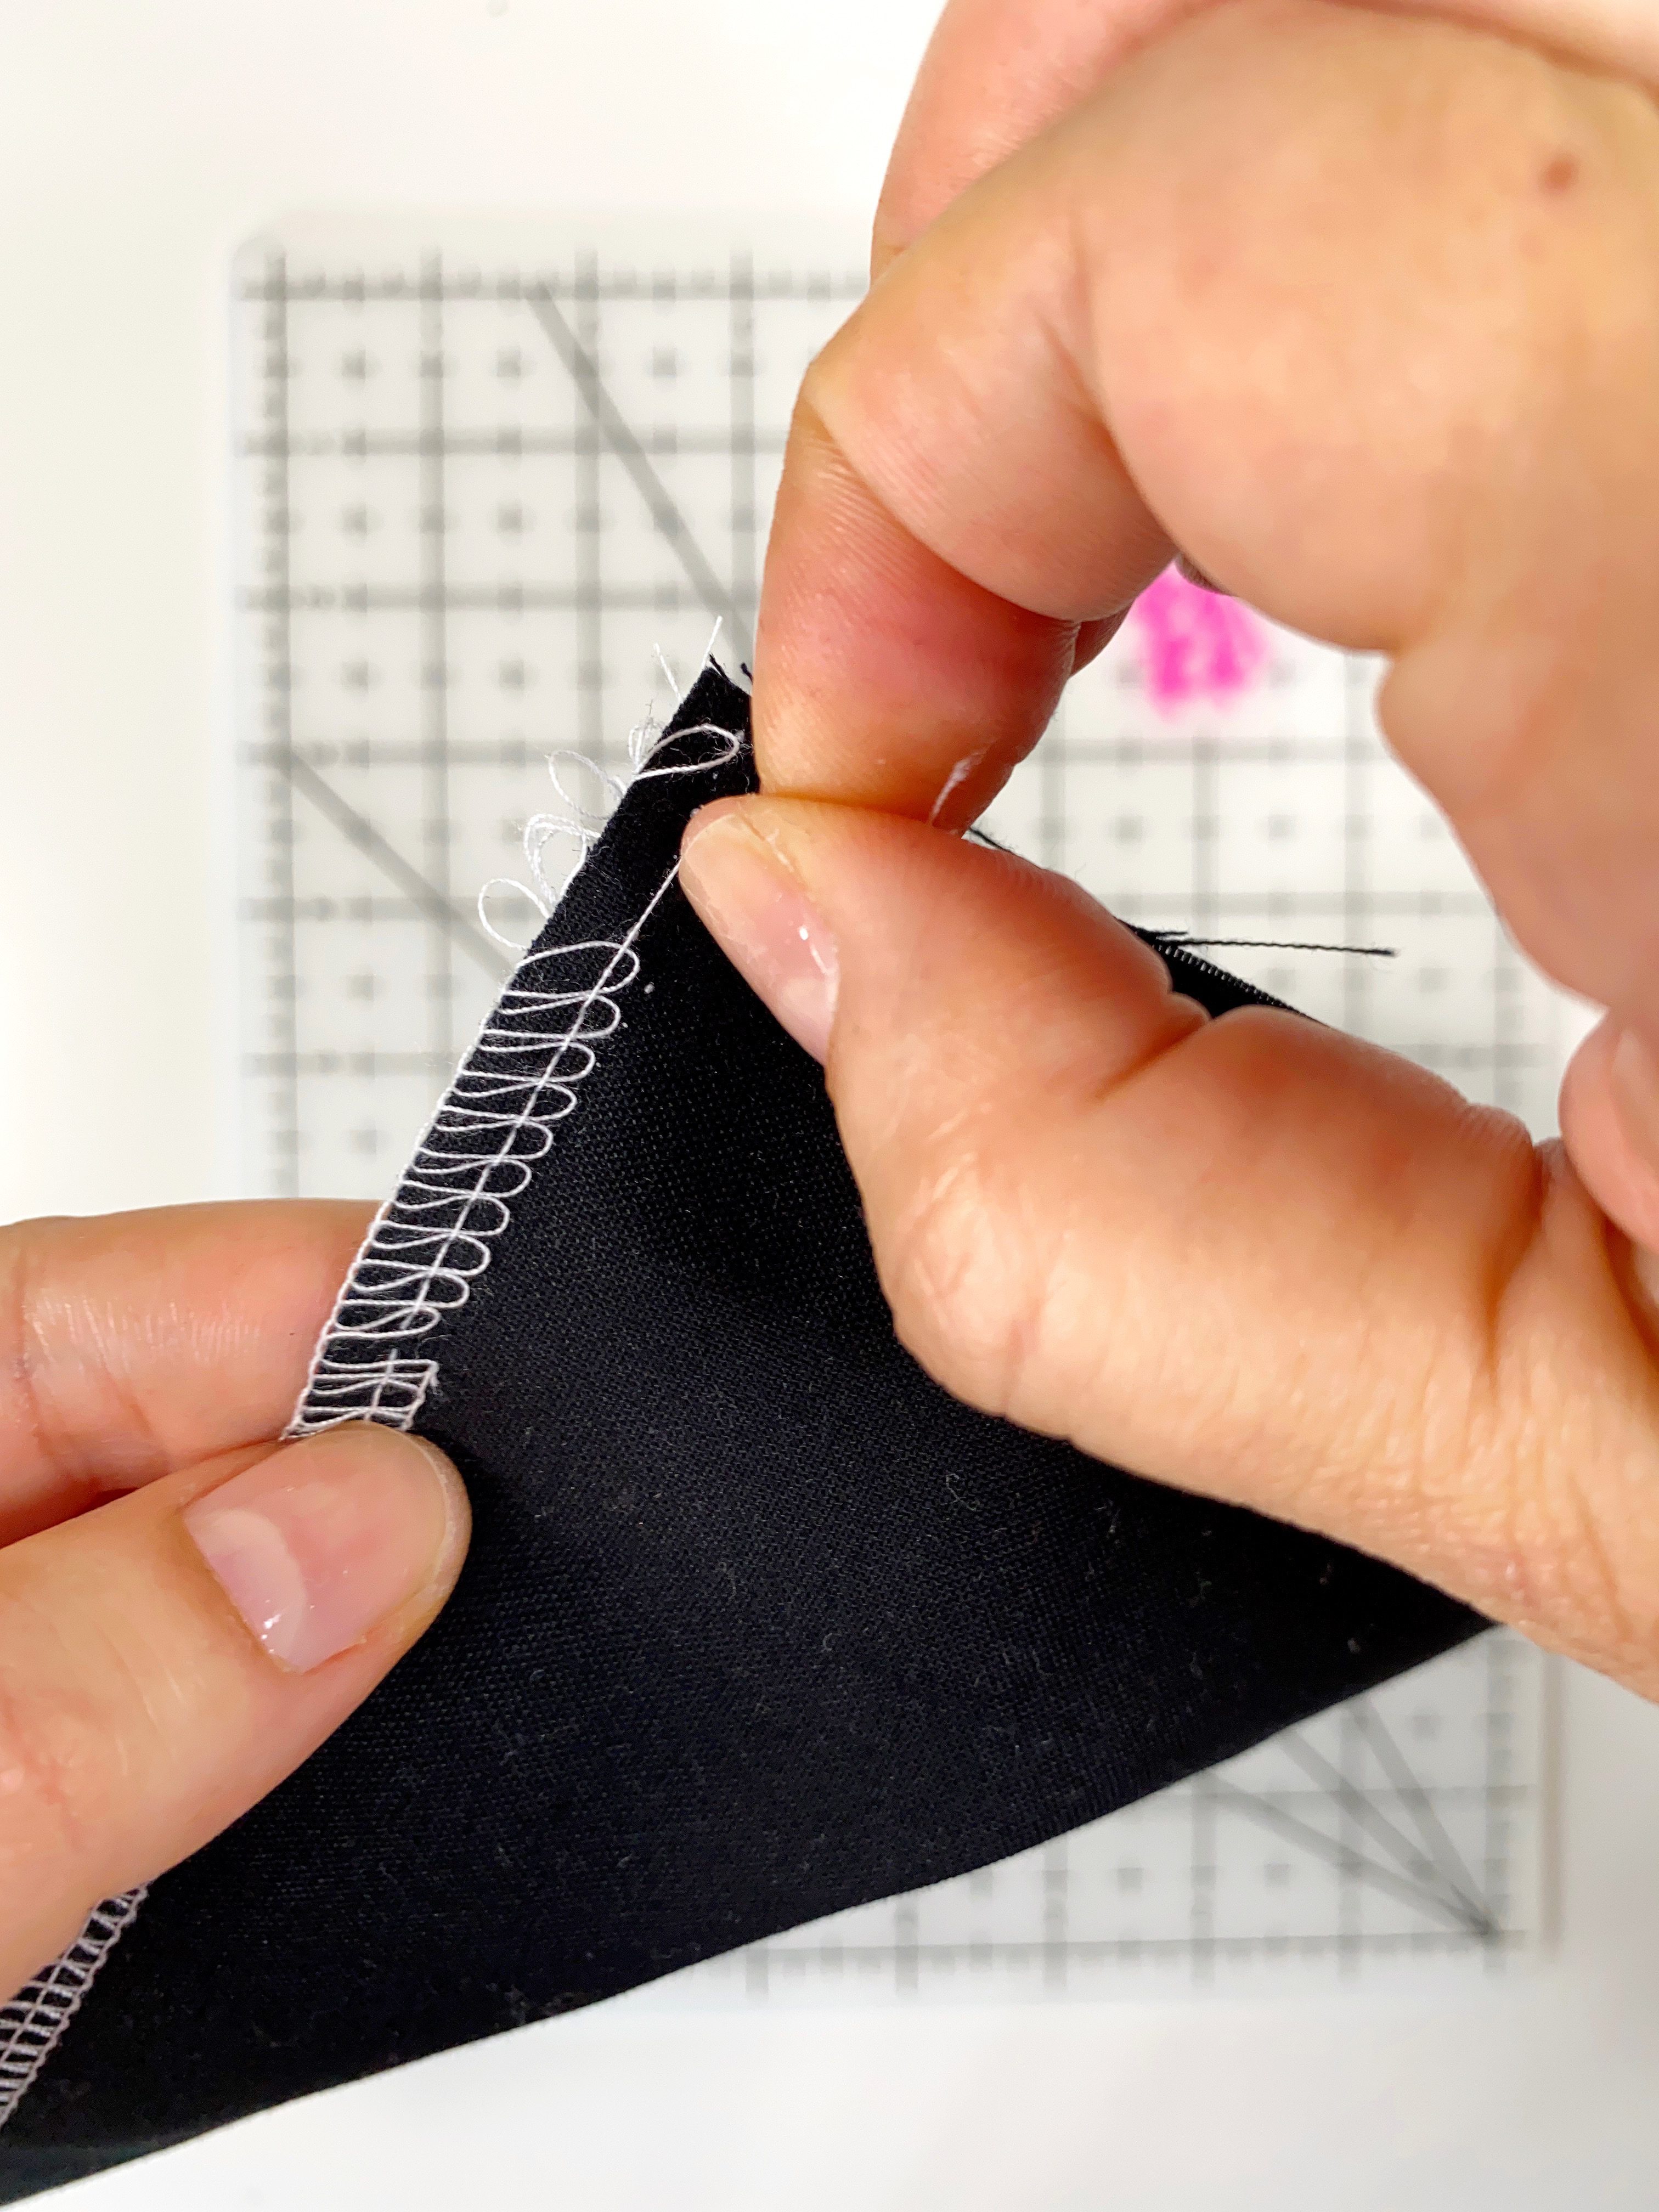
Pull on the upper looper until it all comes off, then remove as much of the lower looper thread as you can. Remove it by picking with your finger or if you have a seam ripper that has the rubber end. Use it like an eraser to get all these little thread pieces off the fabric.
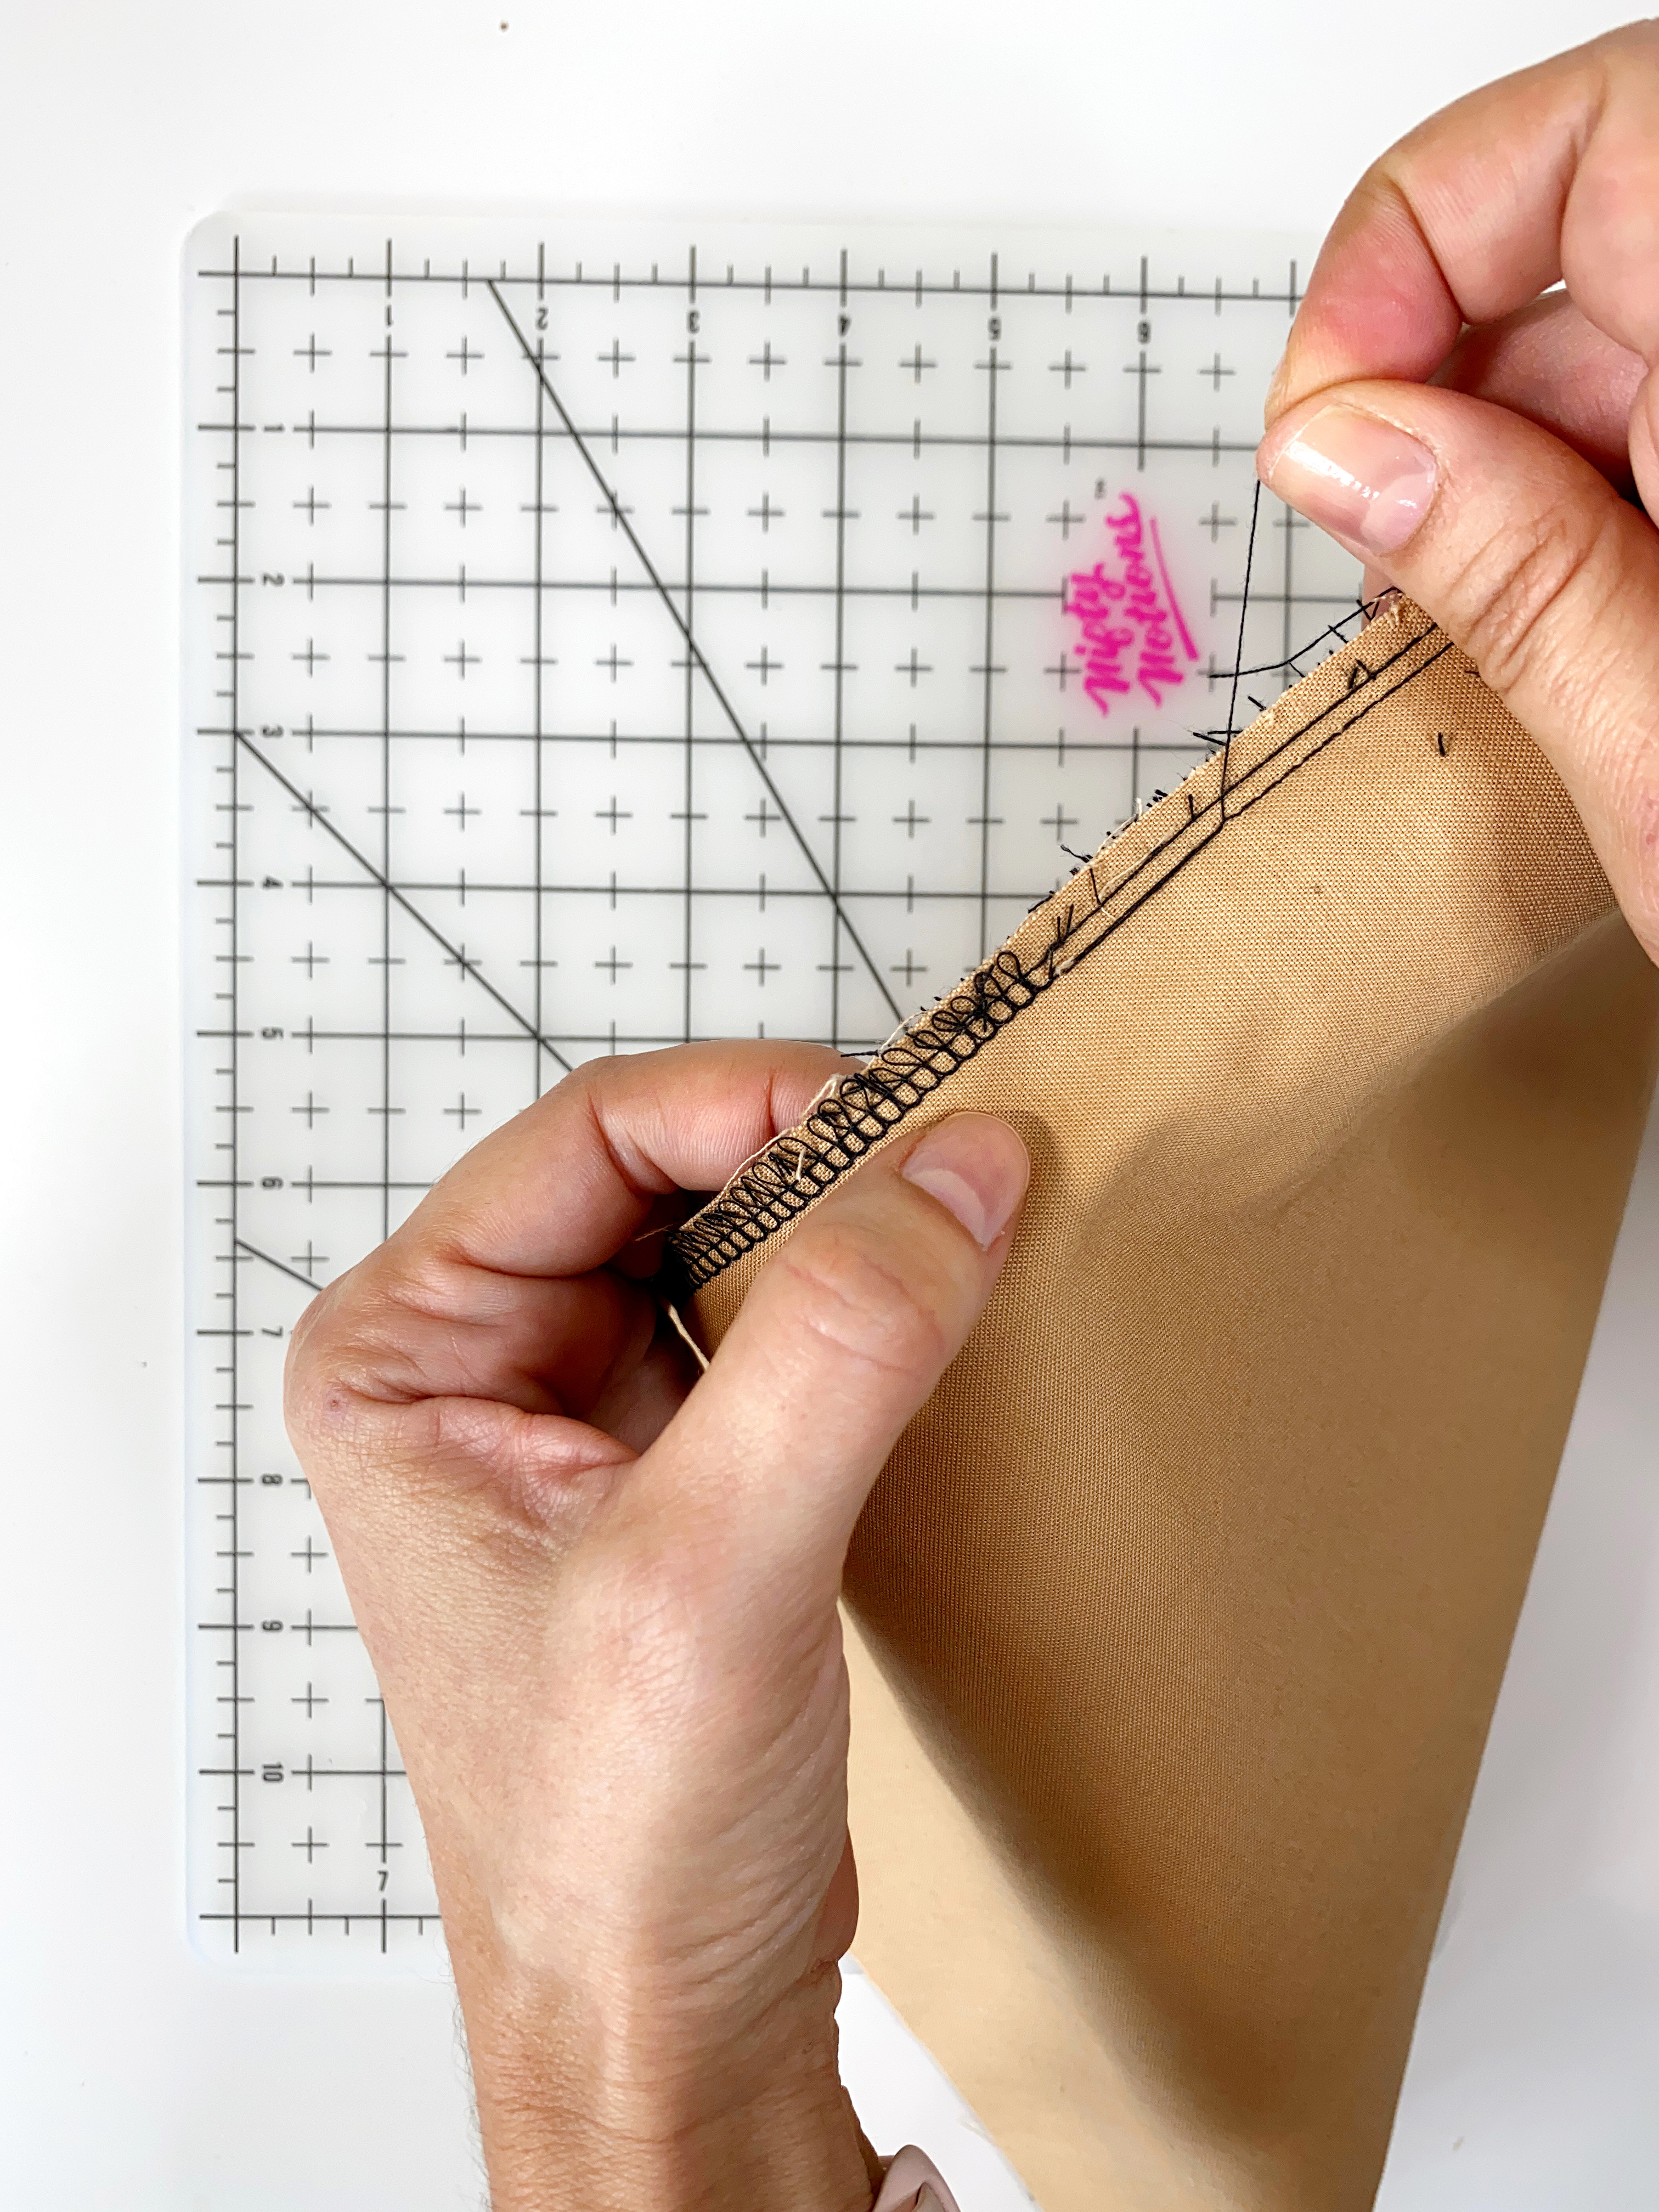

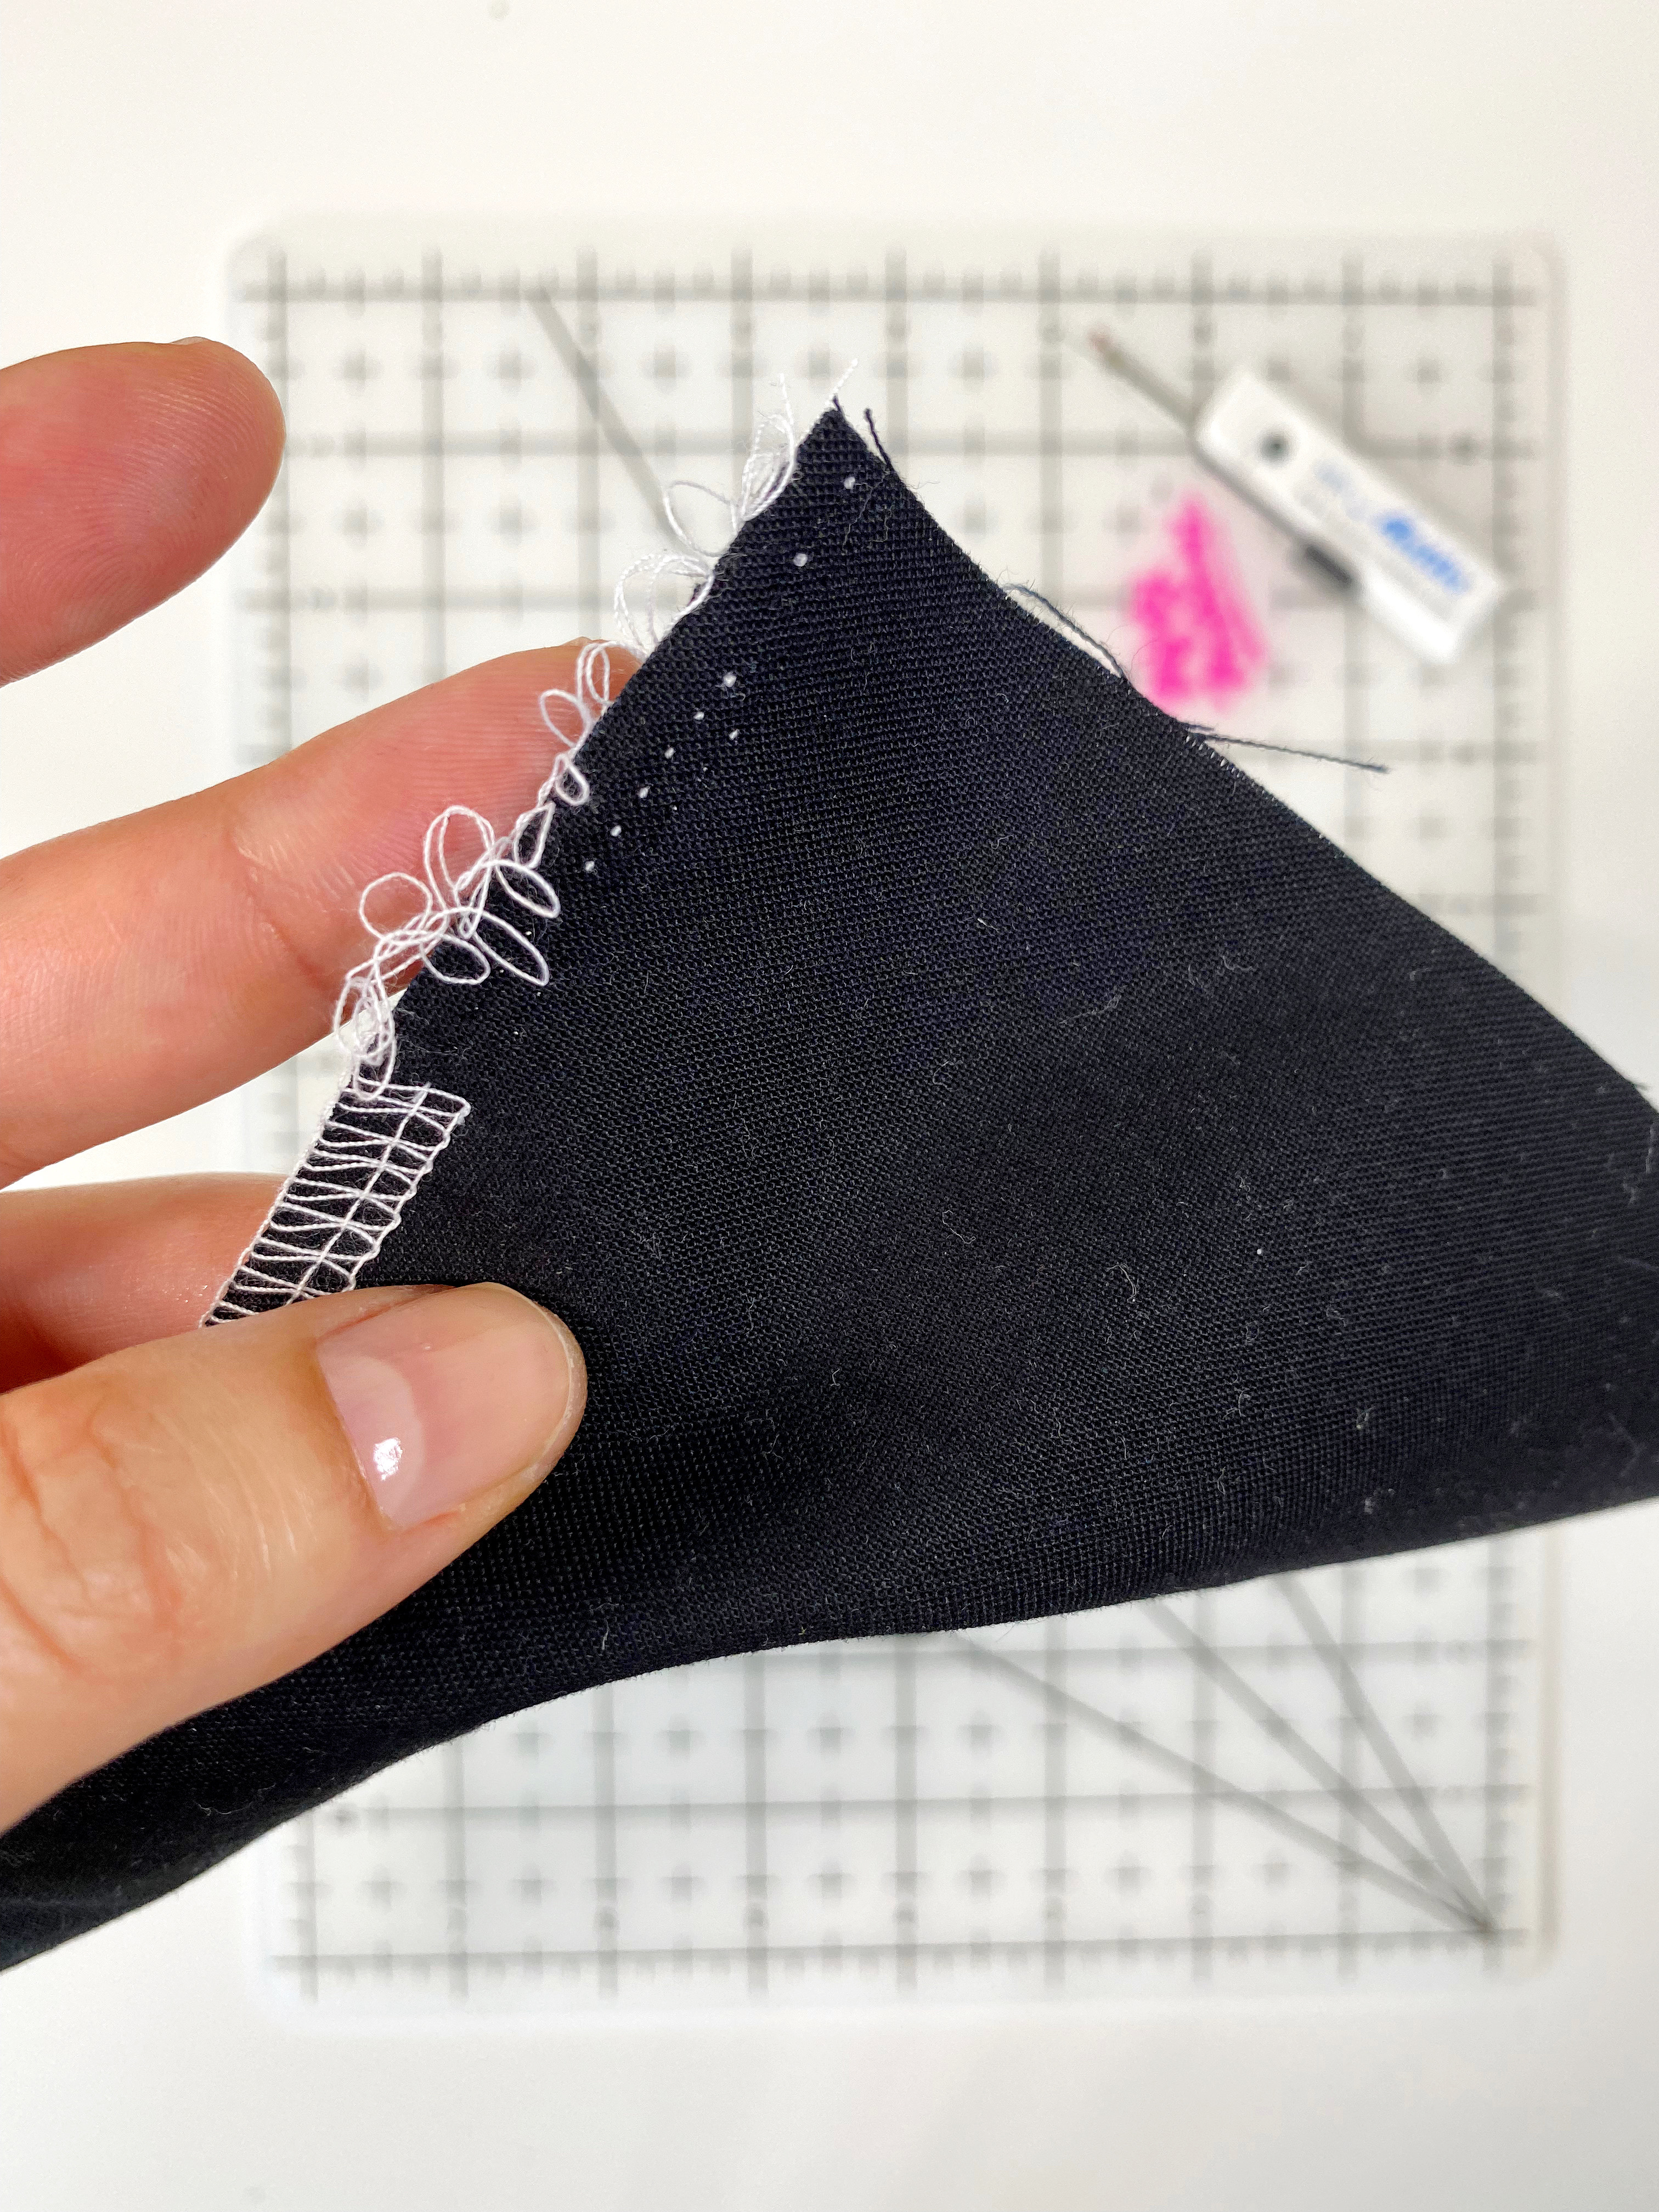
Now, both of the needle threads are left, which will come off easily by pulling on them.
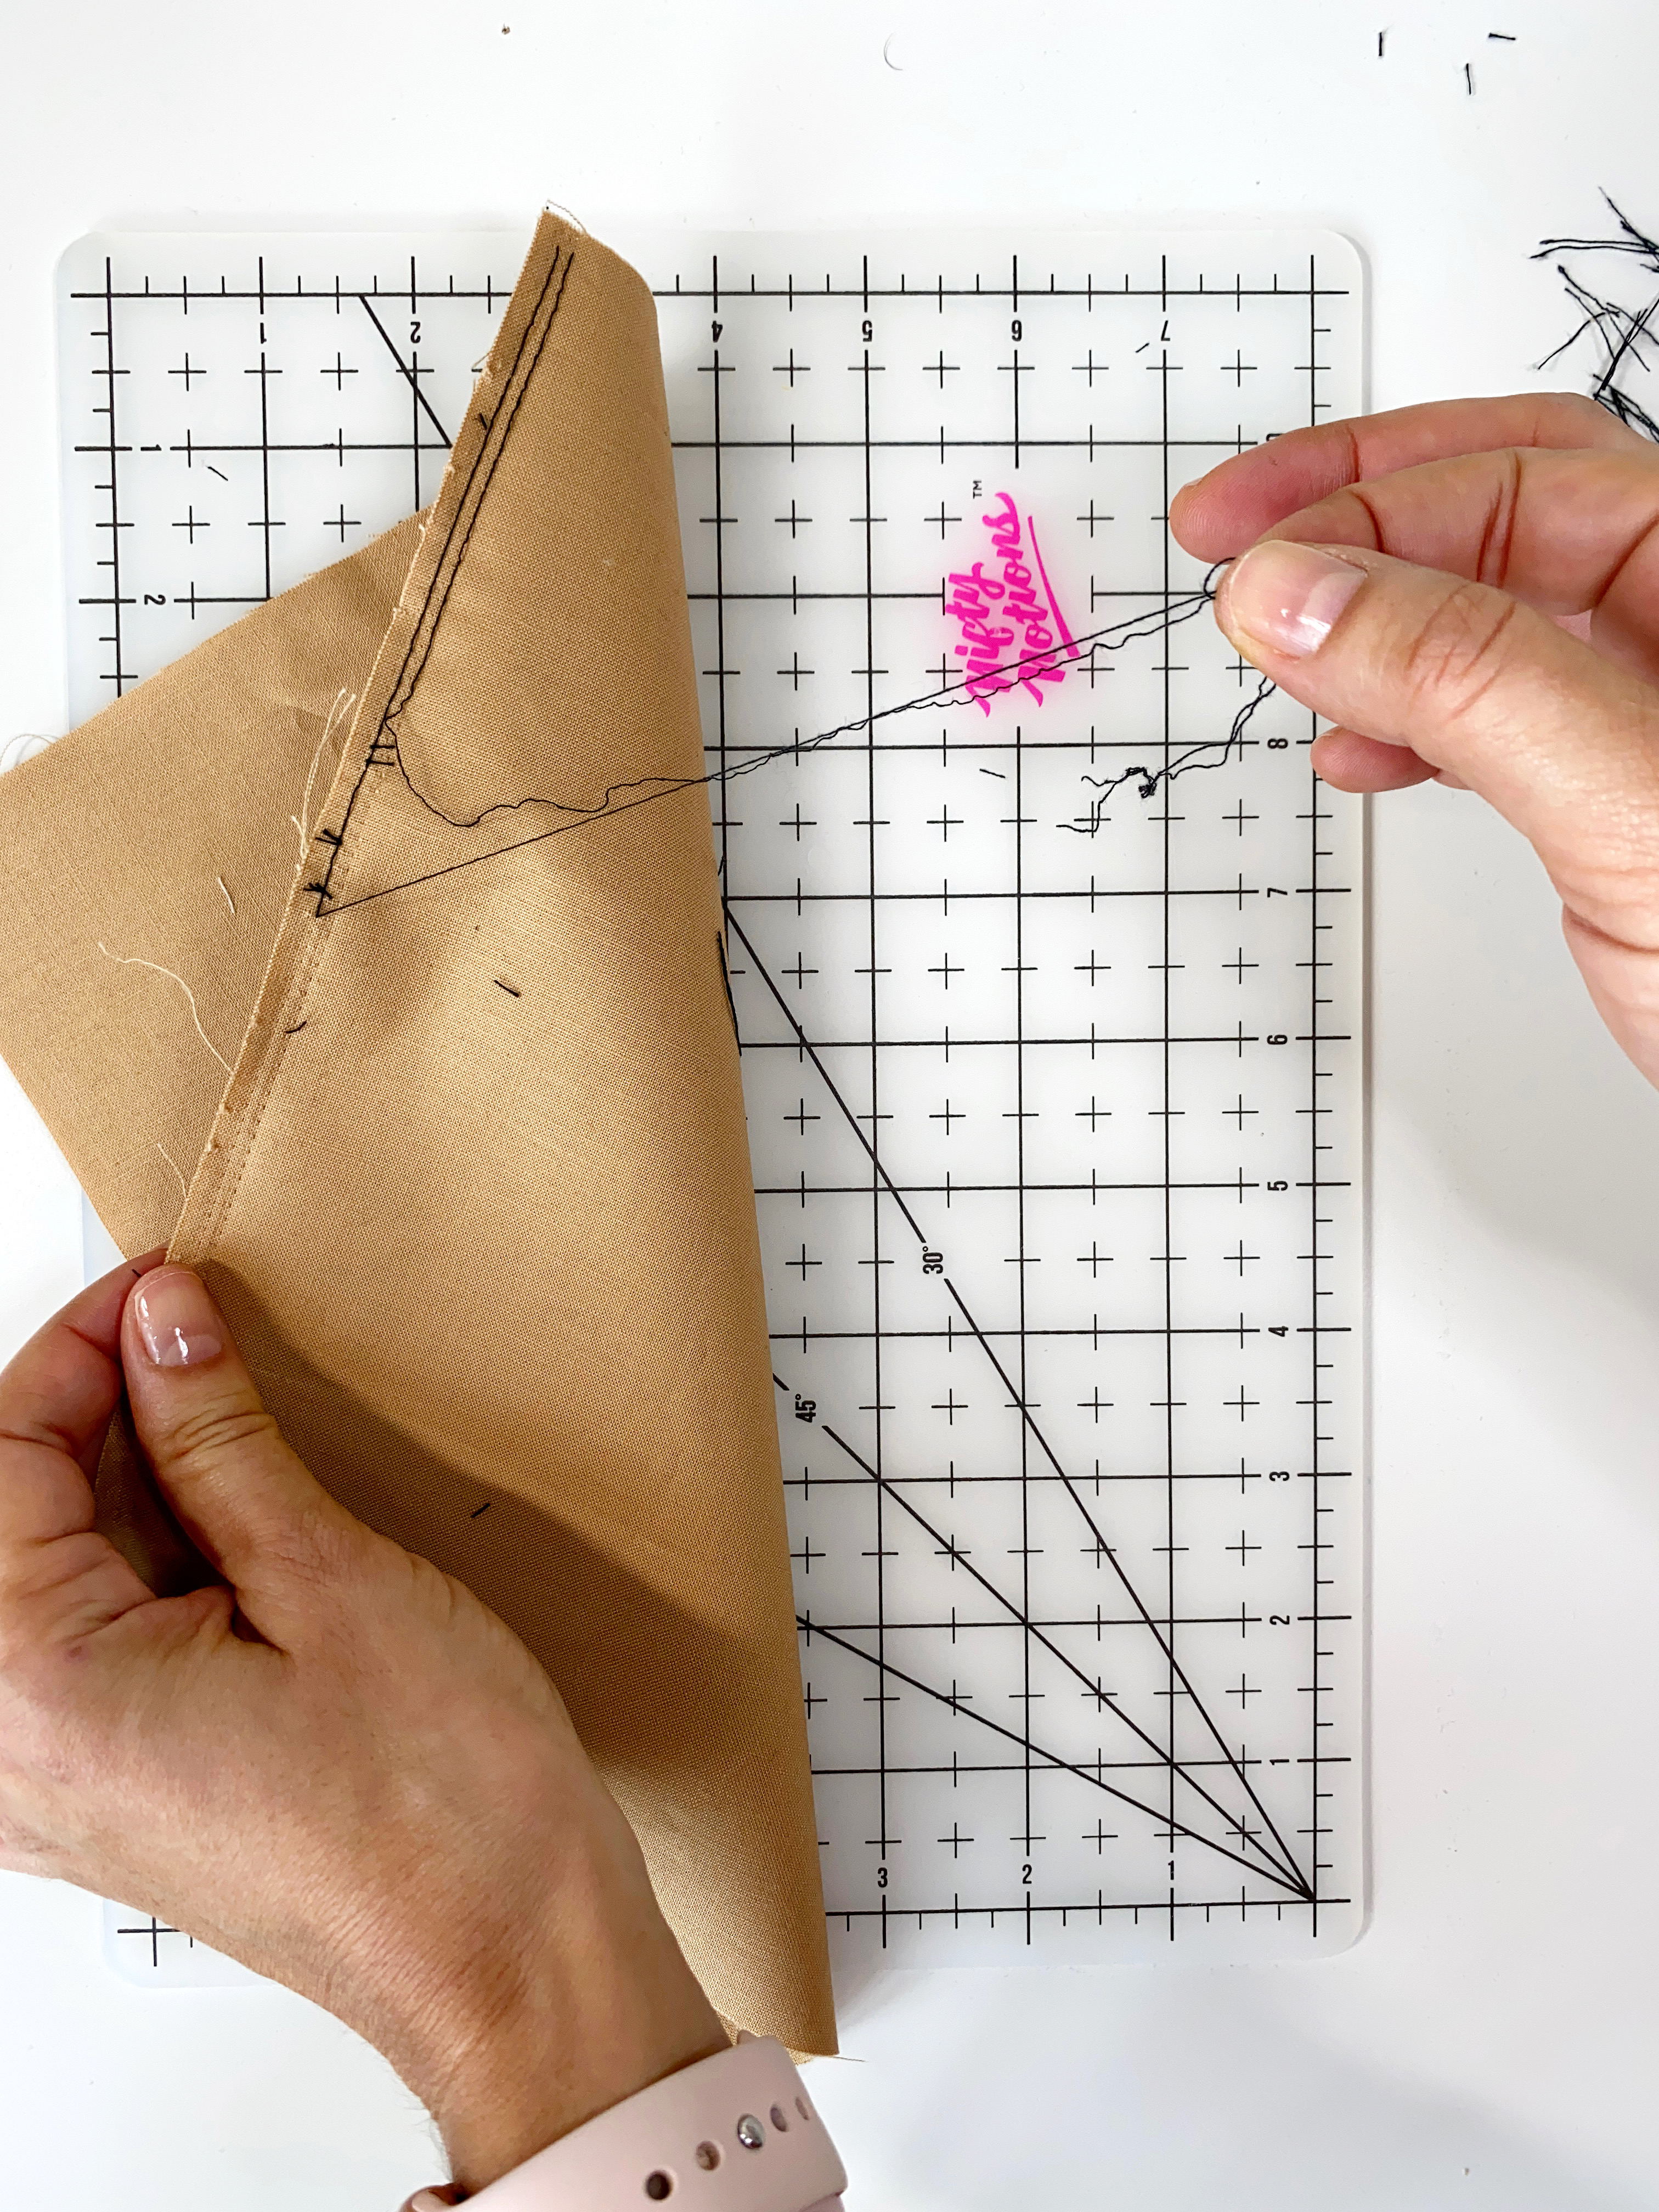
This example is done on a woven fabric, but this technique is best with knits in which the needle threads are hard to be picked (such as for the previous technique). It is messier, but most times it goes faster than the needles technique for some fabrics, as the loopers come off pretty easy on a knit fabric. Just make sure to do it over a trash can for an easier clean-up.
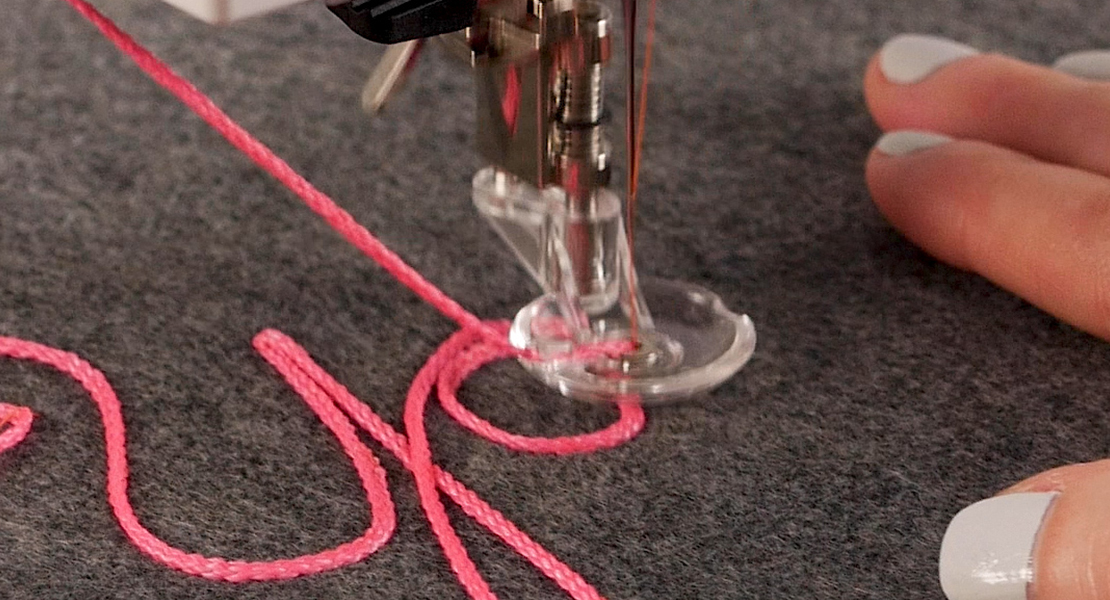
Removing Stitches with an Electric Seam Ripper
Lastly, for this third technique to remove overlocker stitches, we will discover a new (to me) tool, the electric seam ripper.
Of all my sewing years, I just recently heard of such a thing as an electric seam ripper. It is basic a mini clippers tool. It is super fast and kind of satisfying. Don’t worry, it does not hurt the fabric.
To set up, it is helpful to have an ironing board or a wool mat and some pins. I am using a wool mat where I can pin my project to it, to keep it from moving. Some people like to pin it on their pants. I like my clothes too much to do that, plus the wool mat does the job perfectly.
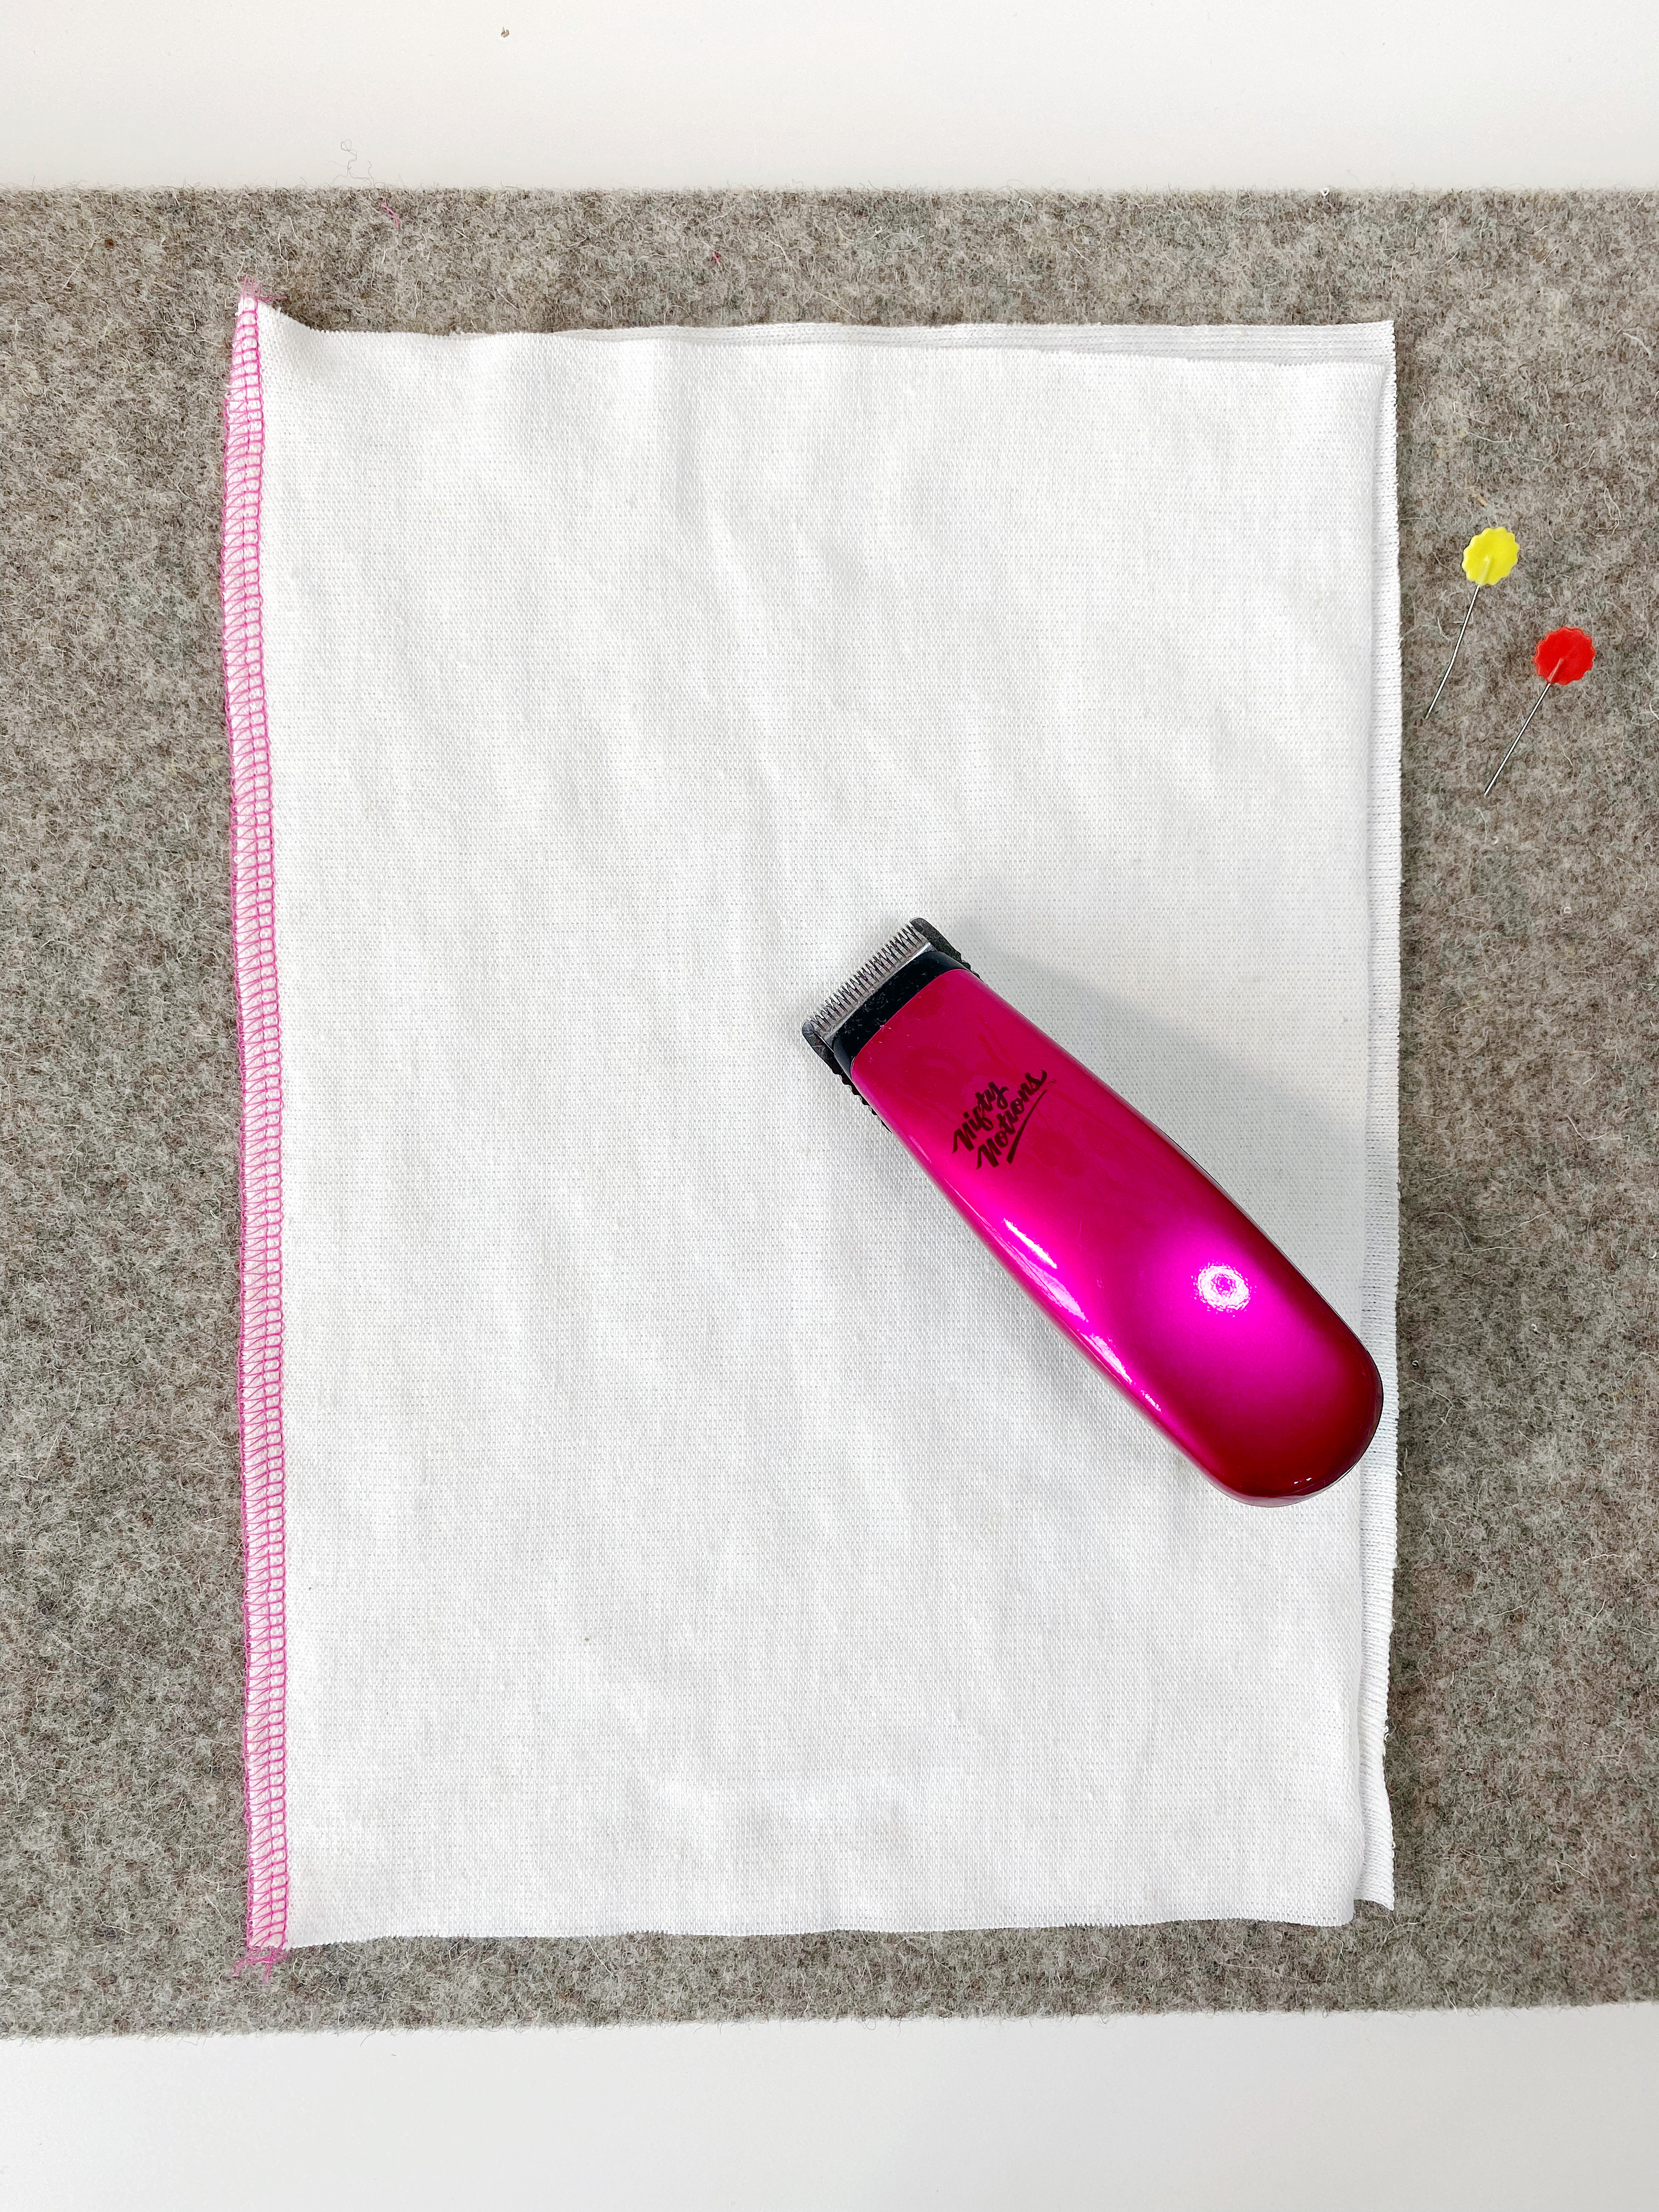
If you haven’t done so yet, cut the tails of your project before starting. Pin the project to your surface and with the electric seam ripper touch the fabric on an angle until it starts to open between the two layers of fabric.
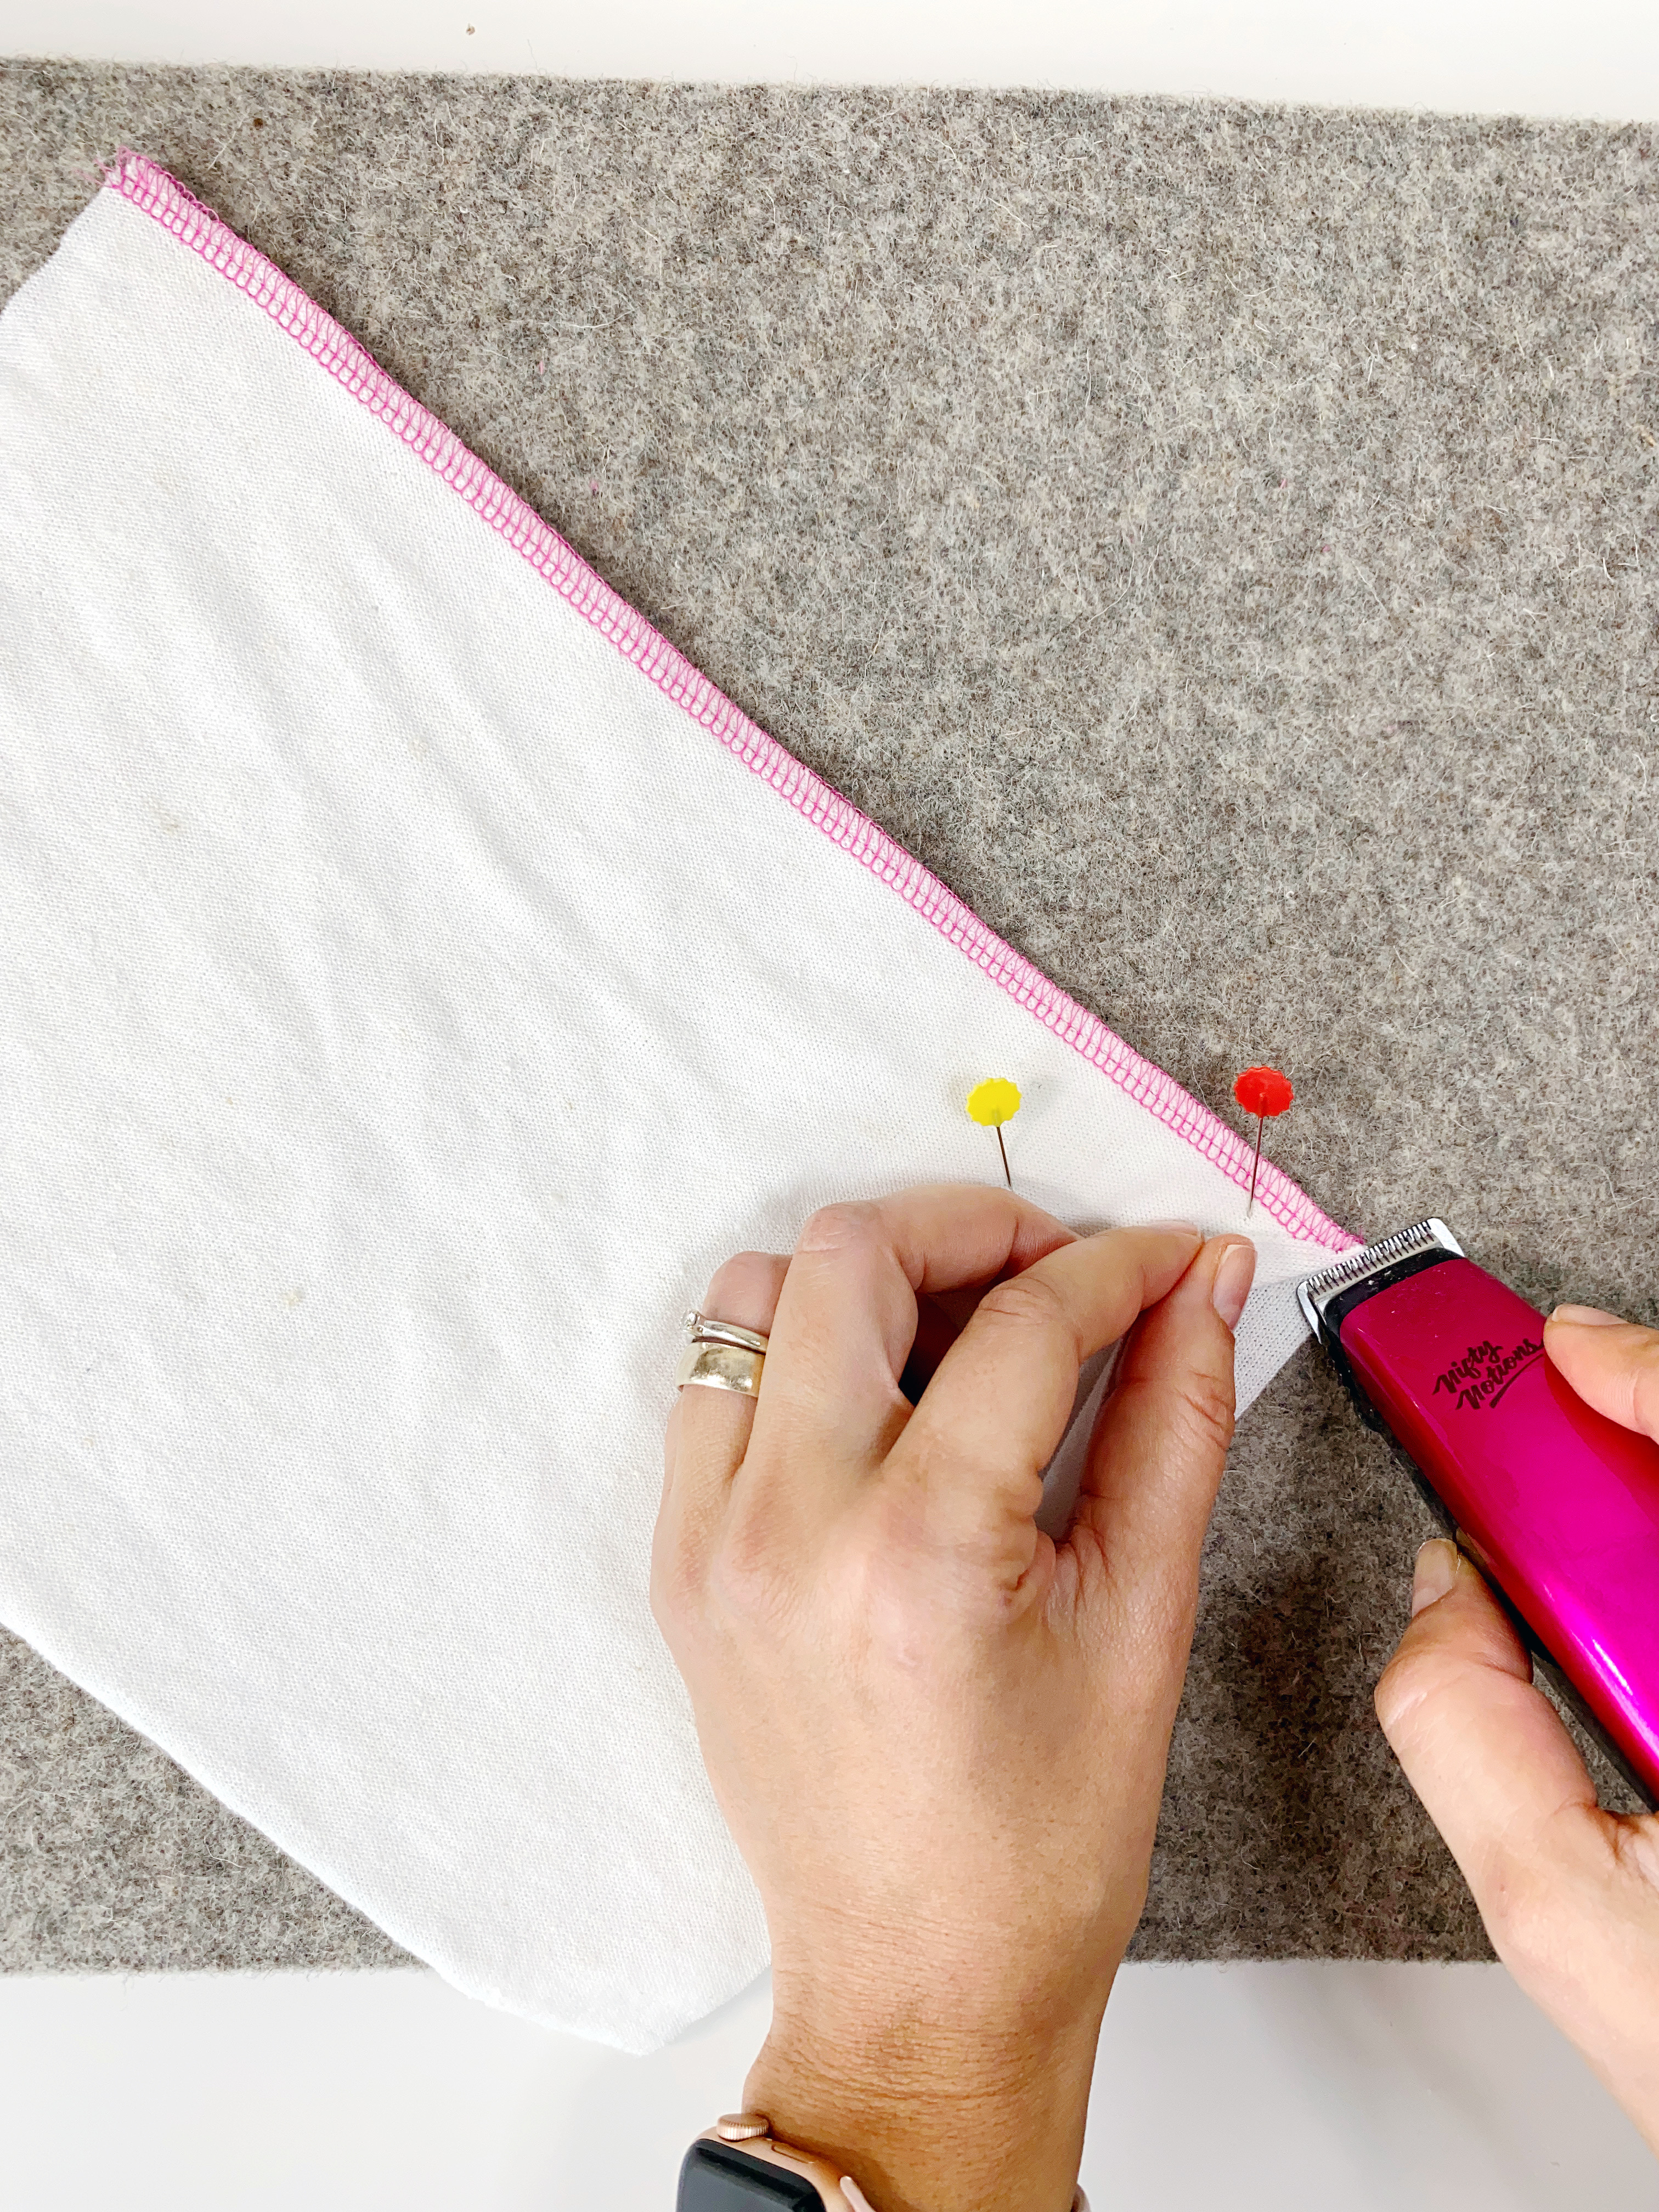
Continue cutting through the stitches, getting really close to the fabric and applying pressure behind the electric seam ripper.

Go forward, moving slightly up and down, until the end.

All you have to do now is to clean up all the cut thread. Give it a little shake, a little pat, pat, brush and if you have a lint roller, this is the time to use it.
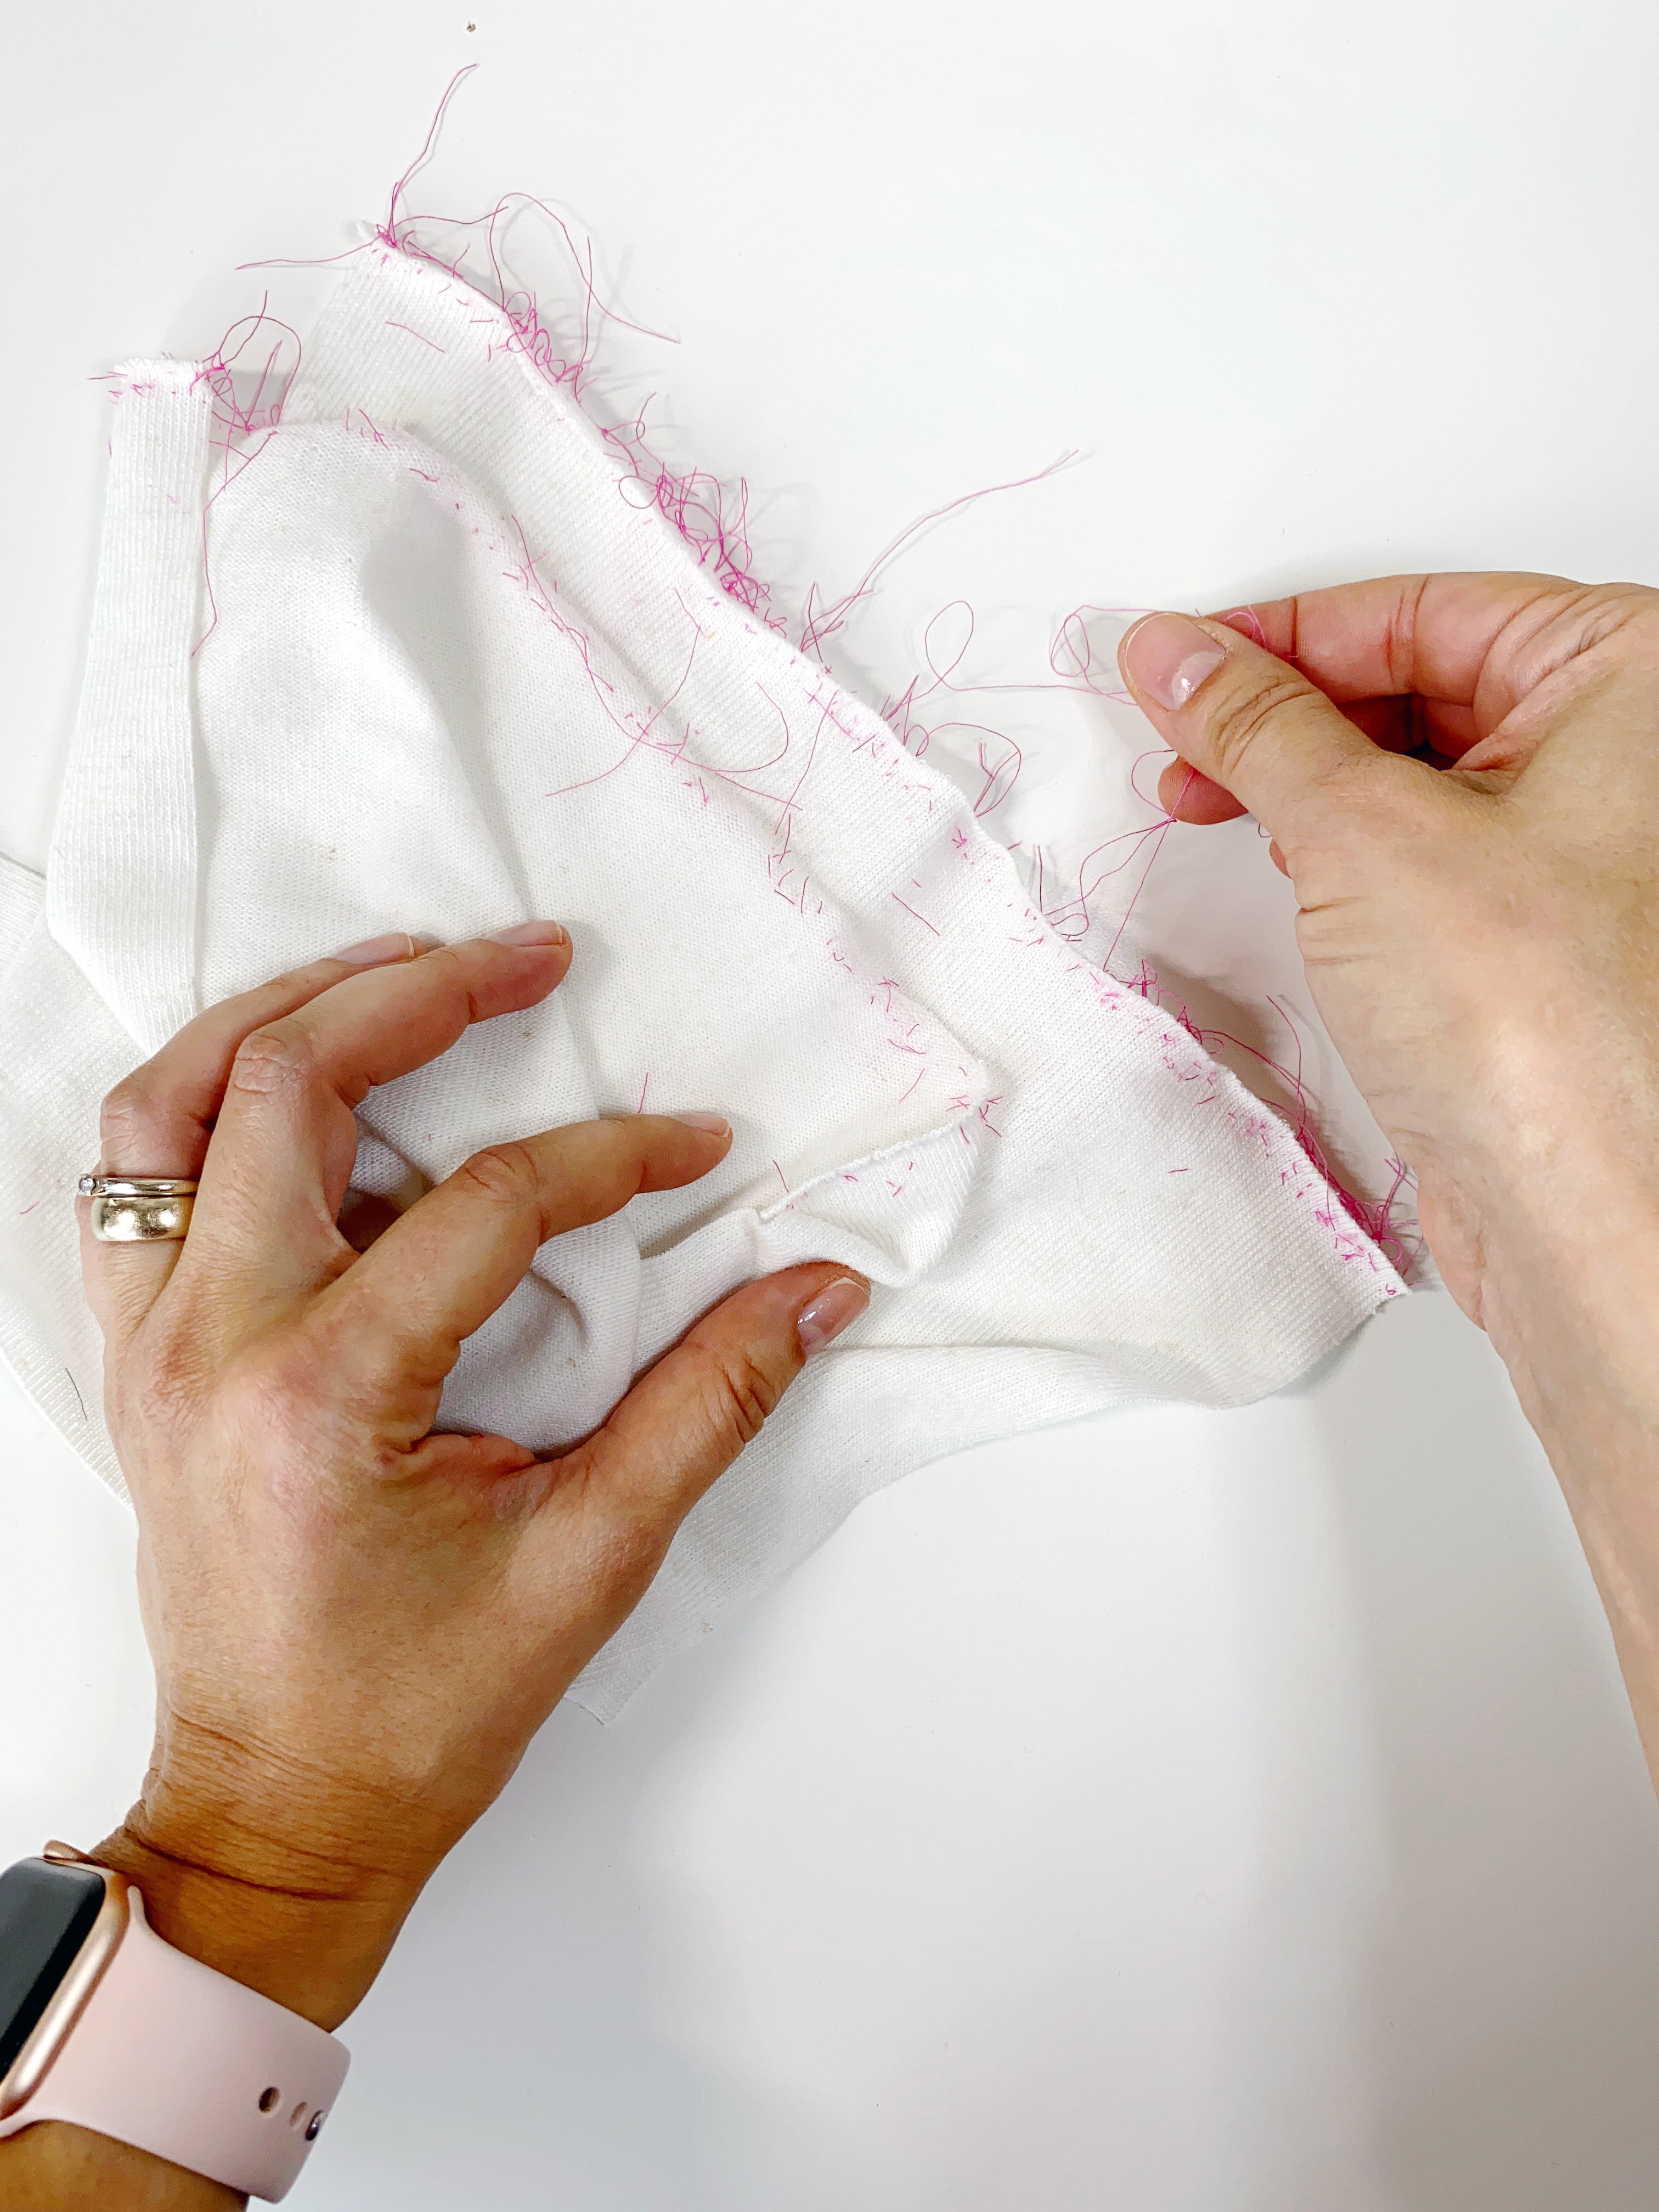

Removing stitches this way is probably the messiest as you are cutting through all threads, but it is also the fastest. It is a great way to remove stitches on sweater knits, athletic knits or materials where the stitches bury in and are hard to get under it with a seam ripper. Just give it a try.
That’s it! Three easy ways to remove overlocker stitches. I hope you found that it isn’t as bad as you thought it would be. No need to throw away your project or to put it on time out. Let me know which one of these do you prefer.
There are a million and one ways to do something. Let me know how do you remove your stitches, if not in one of these aforementioned methods. I would love to hear.
One more thing, if you are new to overlockers, I previously posted on the basics of using and understanding your machine. Click here if you need help getting started.
Have fun and keep on serging.
Love,
Silvia
Used Products

What you might also like


2 comments on “Three Ways to Remove Overlocker Stitches”
-
-
Thanks Silvia! I’m putting together a t-shirt and absolutely confused myself on which side of the jersey is the ‘right’ side. So, I’m taking apart the seams:/
I had 50/50 odds, lol.
Leave a Reply
You must be logged in to post a comment.

The first one seems the least messy, to me.
I like my seam ripper, so I would probably use that technique.
I do not have an overlocker sewing machine, so I honestly do not understand the mechanics of the stitch. Now I sort of do.
Thank you for the explanation and I will not be intimidated ever again