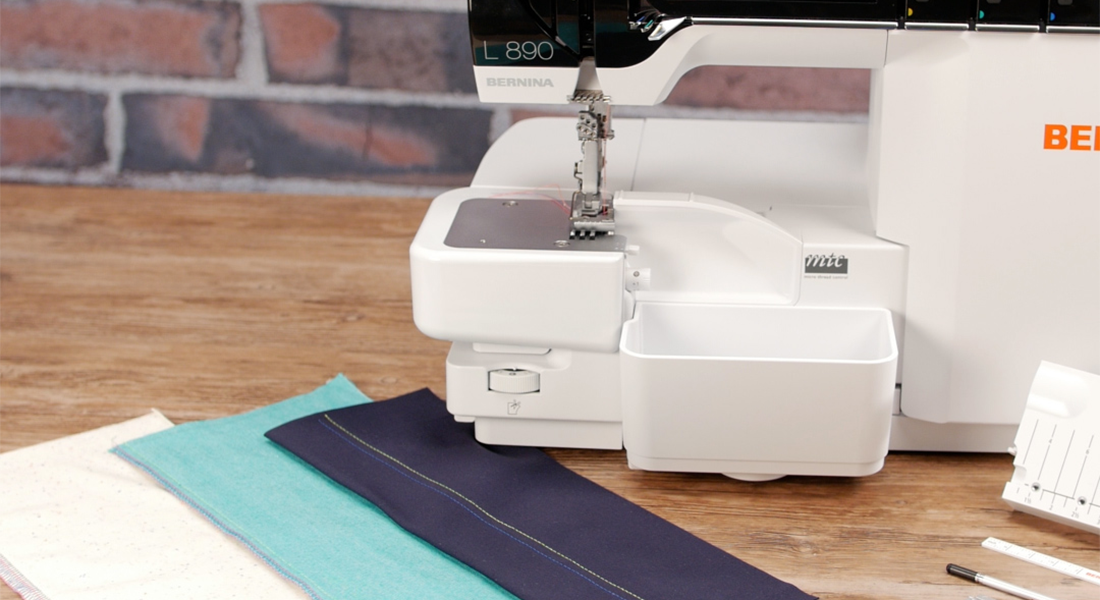
How to Remove a Serger Stitch
Sergers are great and can be our best friend but when it comes to ripping out the serged stitching, it can be a little overwhelming. Today I will cover how to remove a serger stitch for three of the most popular serger stitches: 4-thread overlock, coverstitch, and chainstitch.
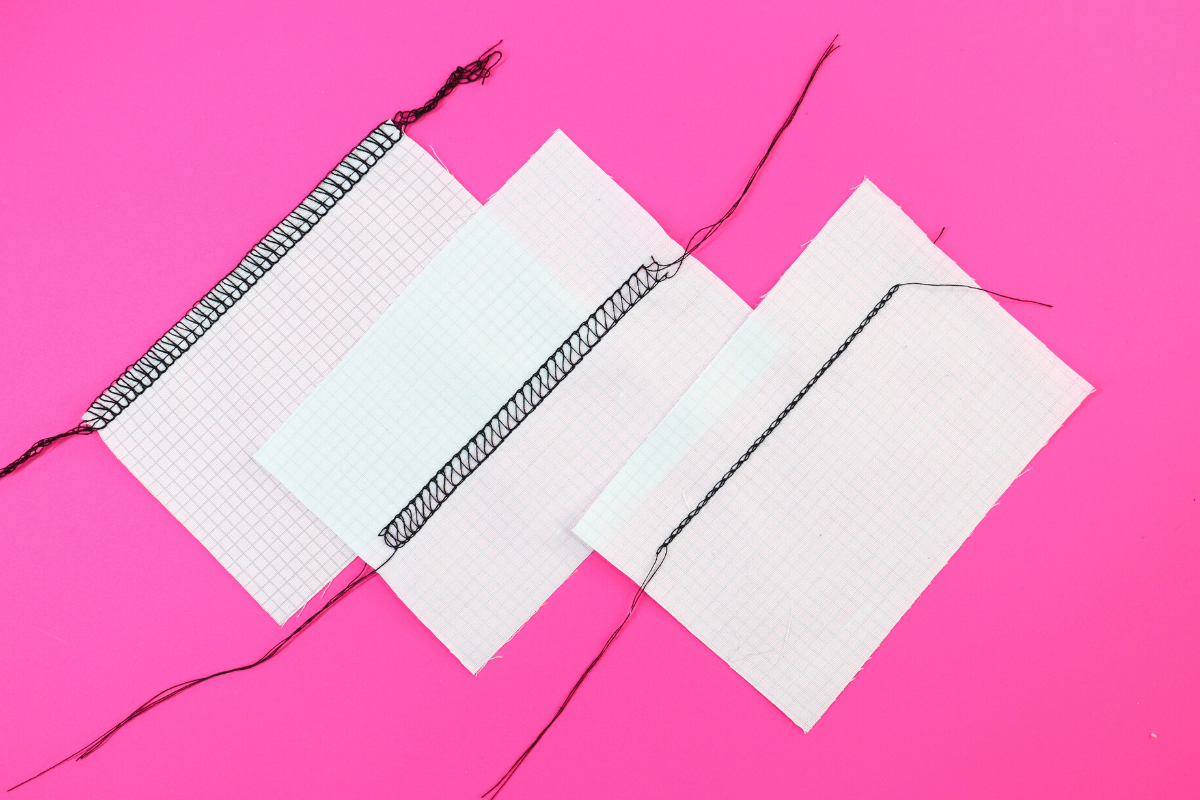
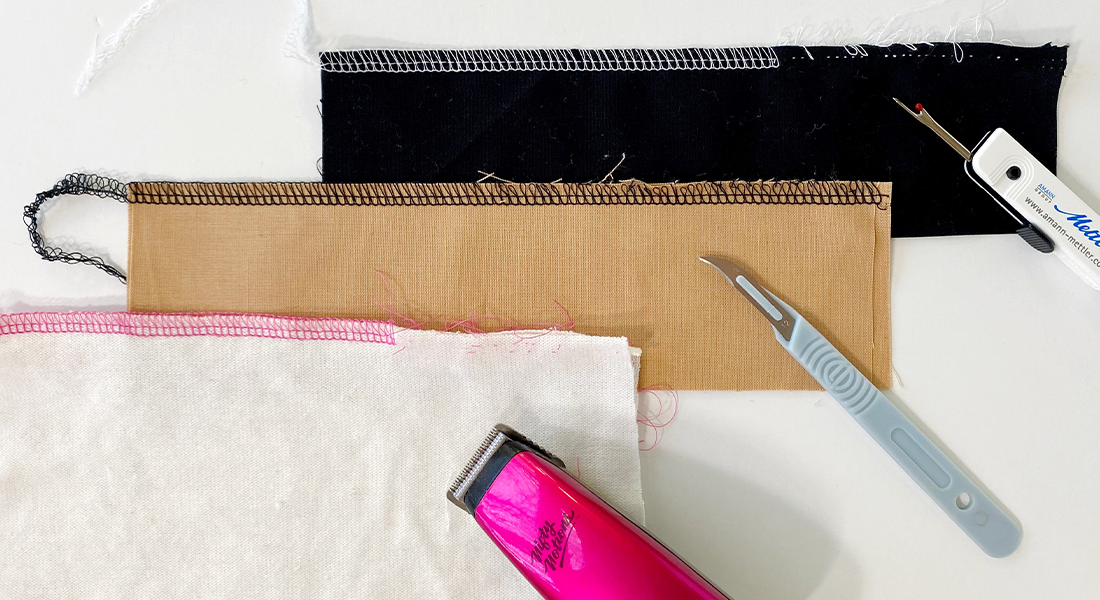
Removing a sewing machine stitch is pretty easy because there are only two threads to manage. When it comes to our sergers, there are a lot more threads to deal with, making it seem more difficult to remove. Of course, you can just rip out the stitches with a Serger Seam Ripper but sometimes that isn’t always the case. This type of seam ripper has a very sharp point that you carefully run down the seam from the front side to cut the needle threads. But perhaps your fabric is delicate, you need to reuse the fabric, or you don’t want to run the risk of cutting the fabric while removing the stitches. Here are a few options of gently and effectively removing three different serger stitches where the fabric will not be hurt in any way.
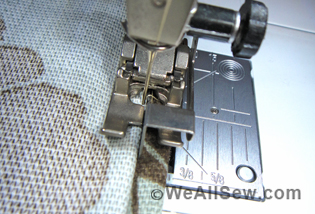
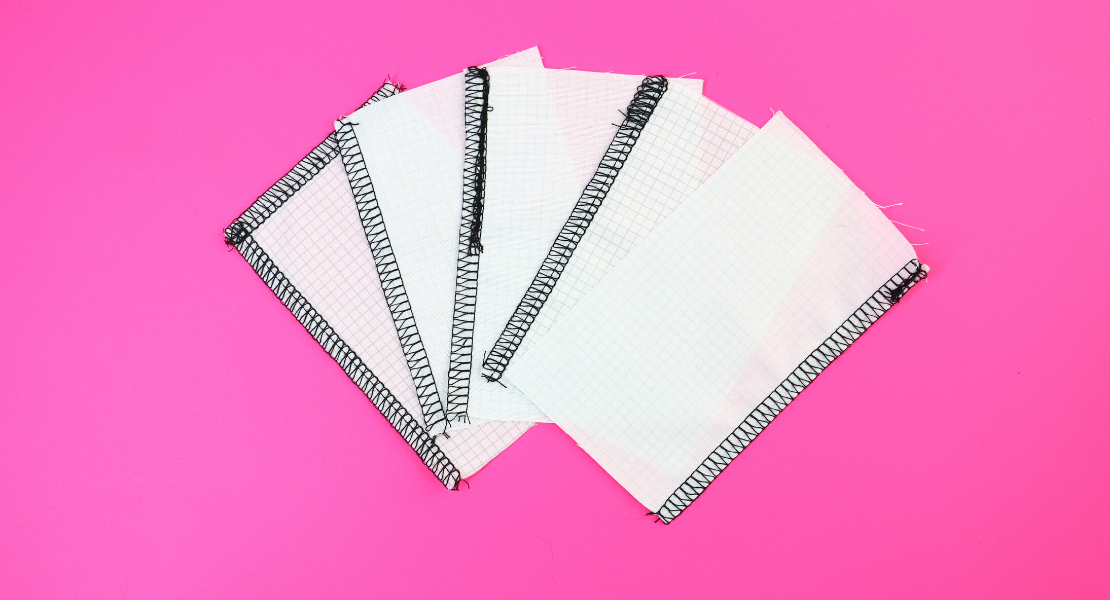
1 – 4-thread overclock
Most overlock stitches used for seaming will be removed similar to the 4-thread overlock.
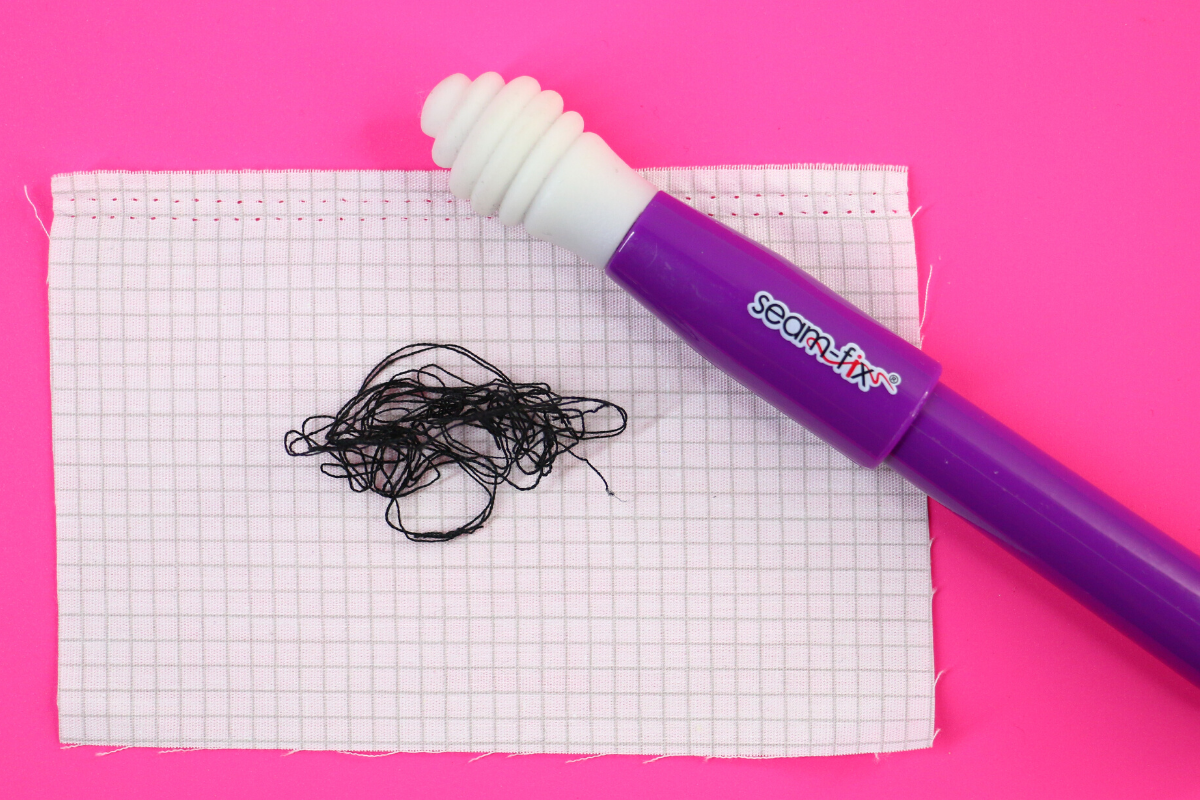
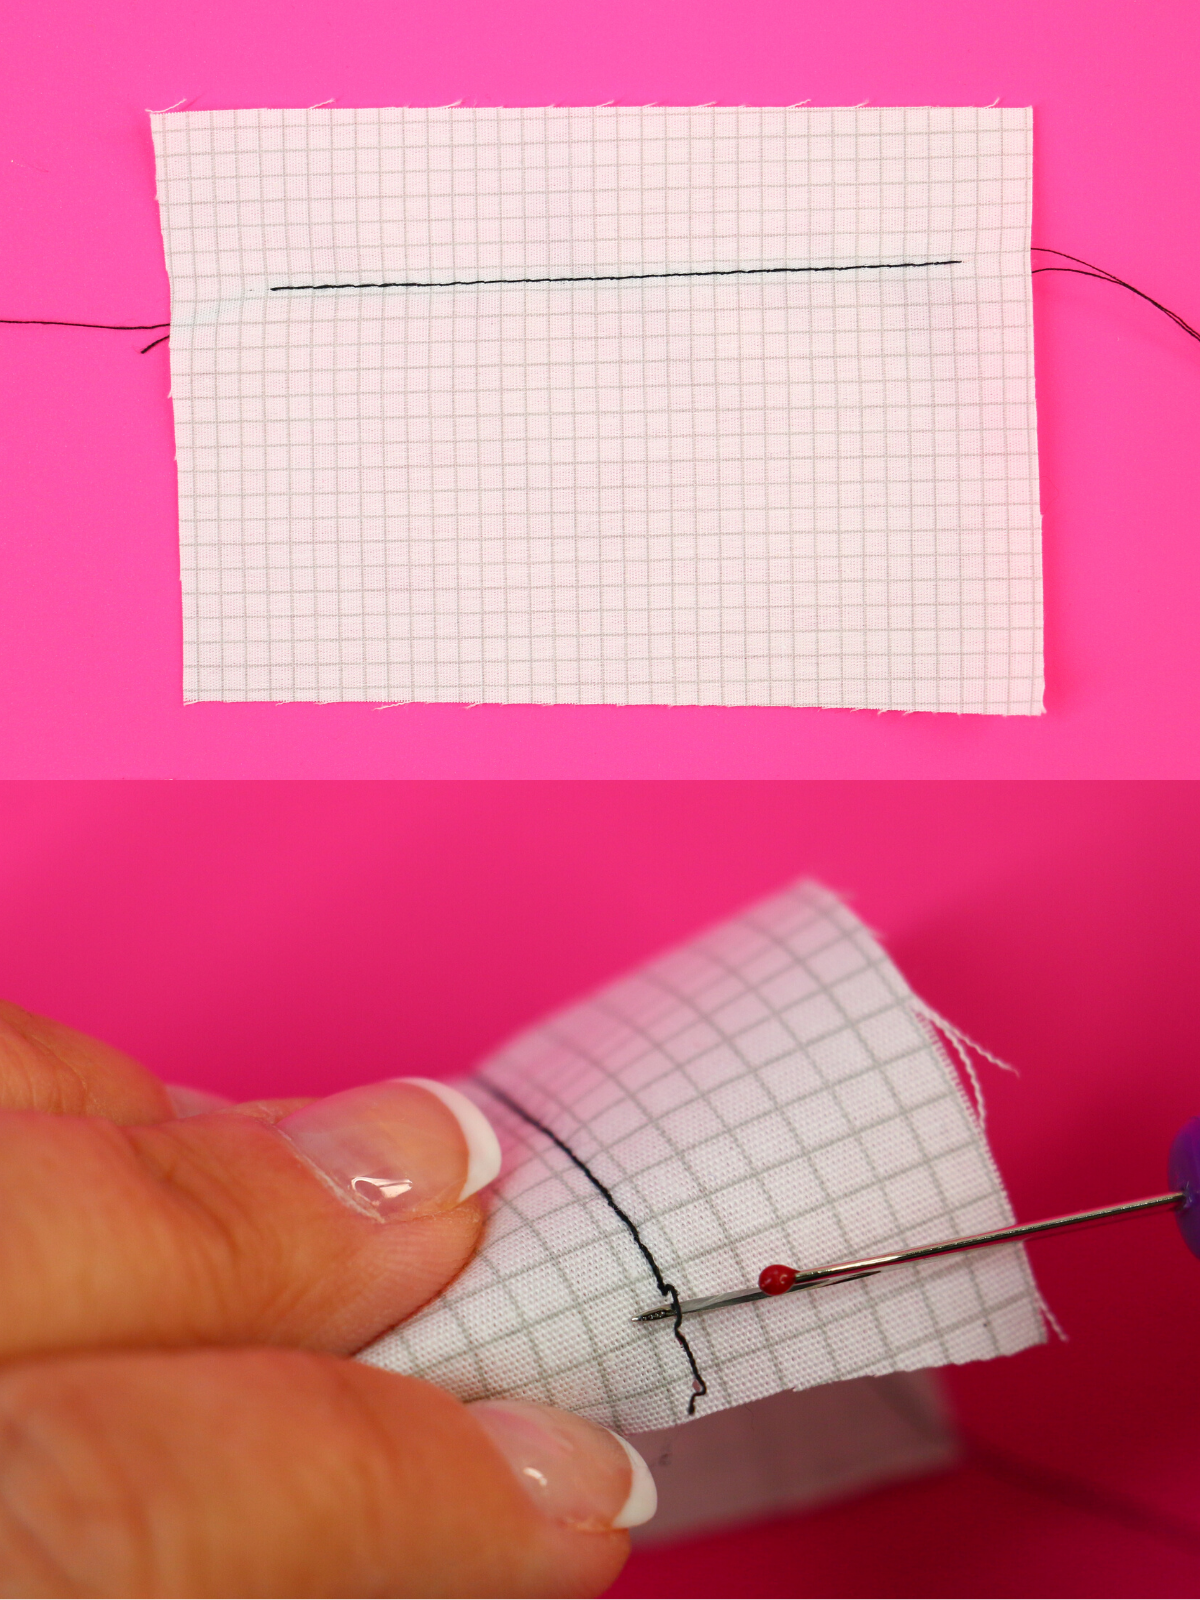
Clip the thread tails at the end of the fabric with a pair of sharp scissors. I prefer the Tula Pink, Large Ring Micro-tip scissors because my fingers can go in and out of the rings with ease plus they are super sharp. Next, with a seam ripper, pull out the needle stitch. My favorite seam ripper is the Seam Fix because it has a rubberized tip which helps remove little stubborn threads.
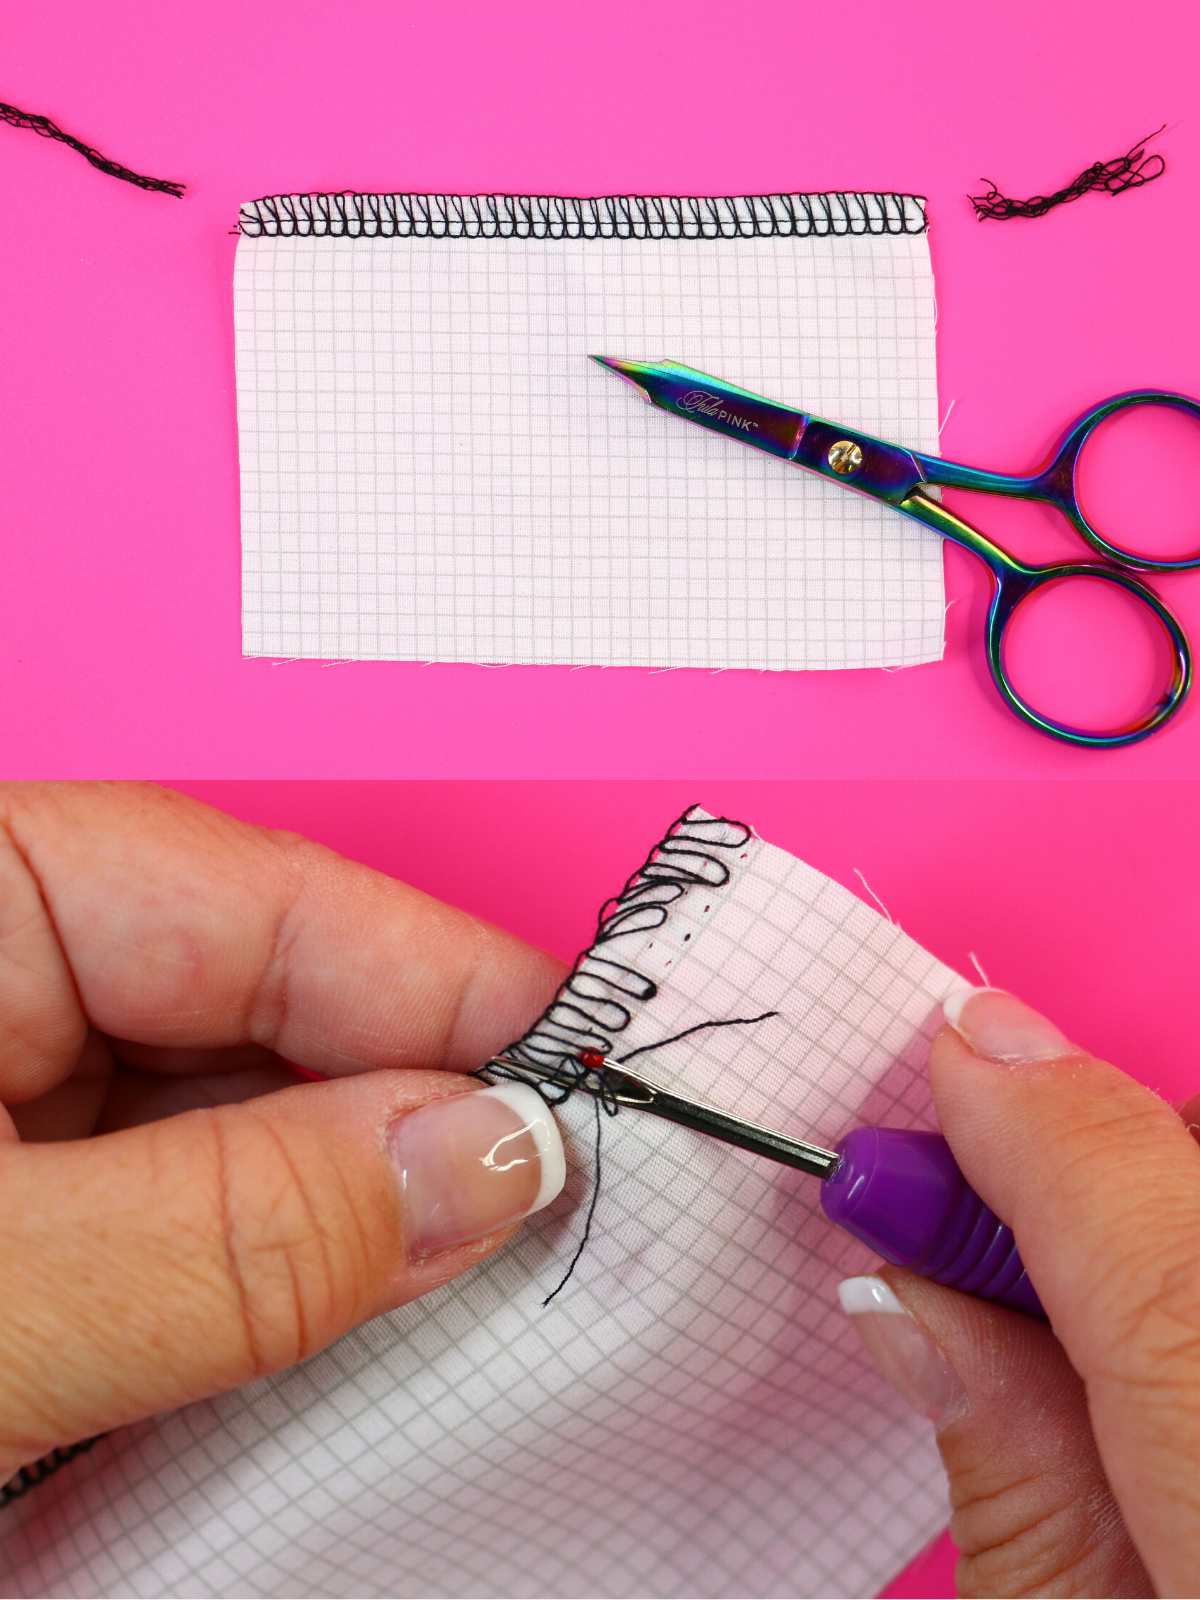
You can rip every 5-7 needle stitches, be sure to get both the needle stitches 4-thread overlock (left and right needle). ONLY cut the needle stitches and avoid cutting the looper stitches.
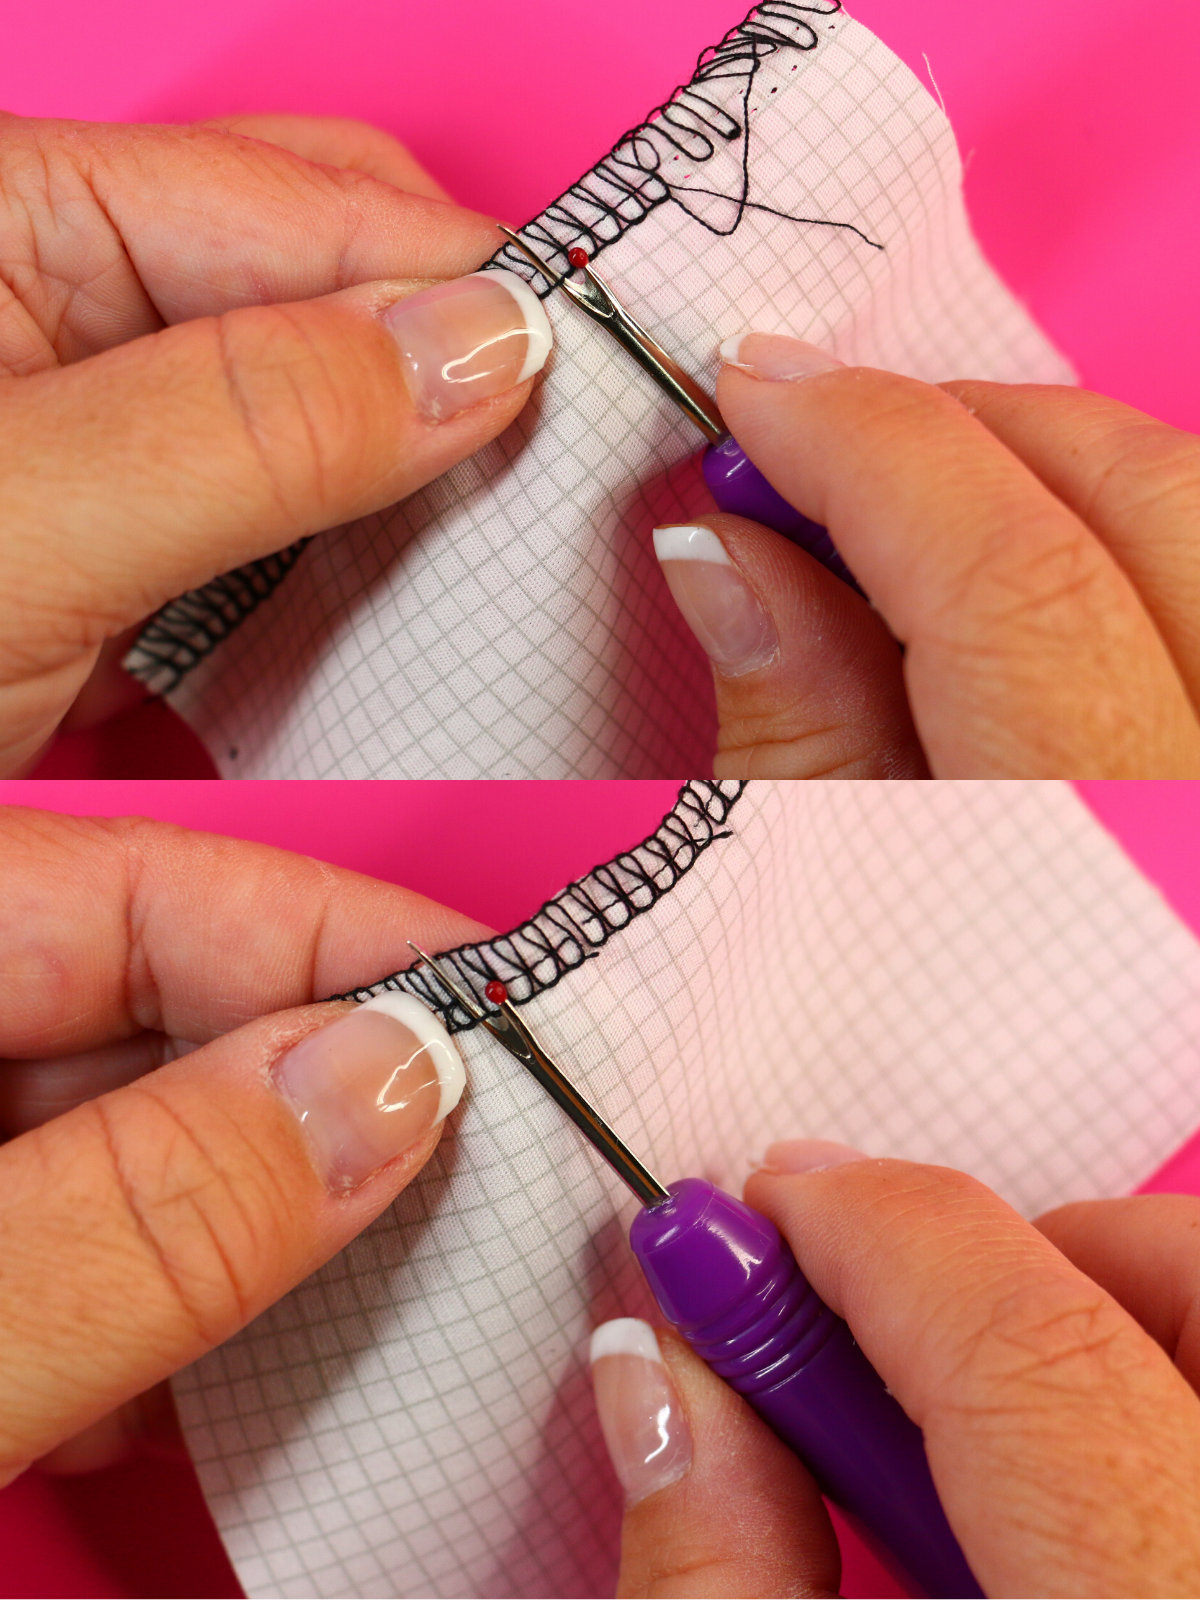
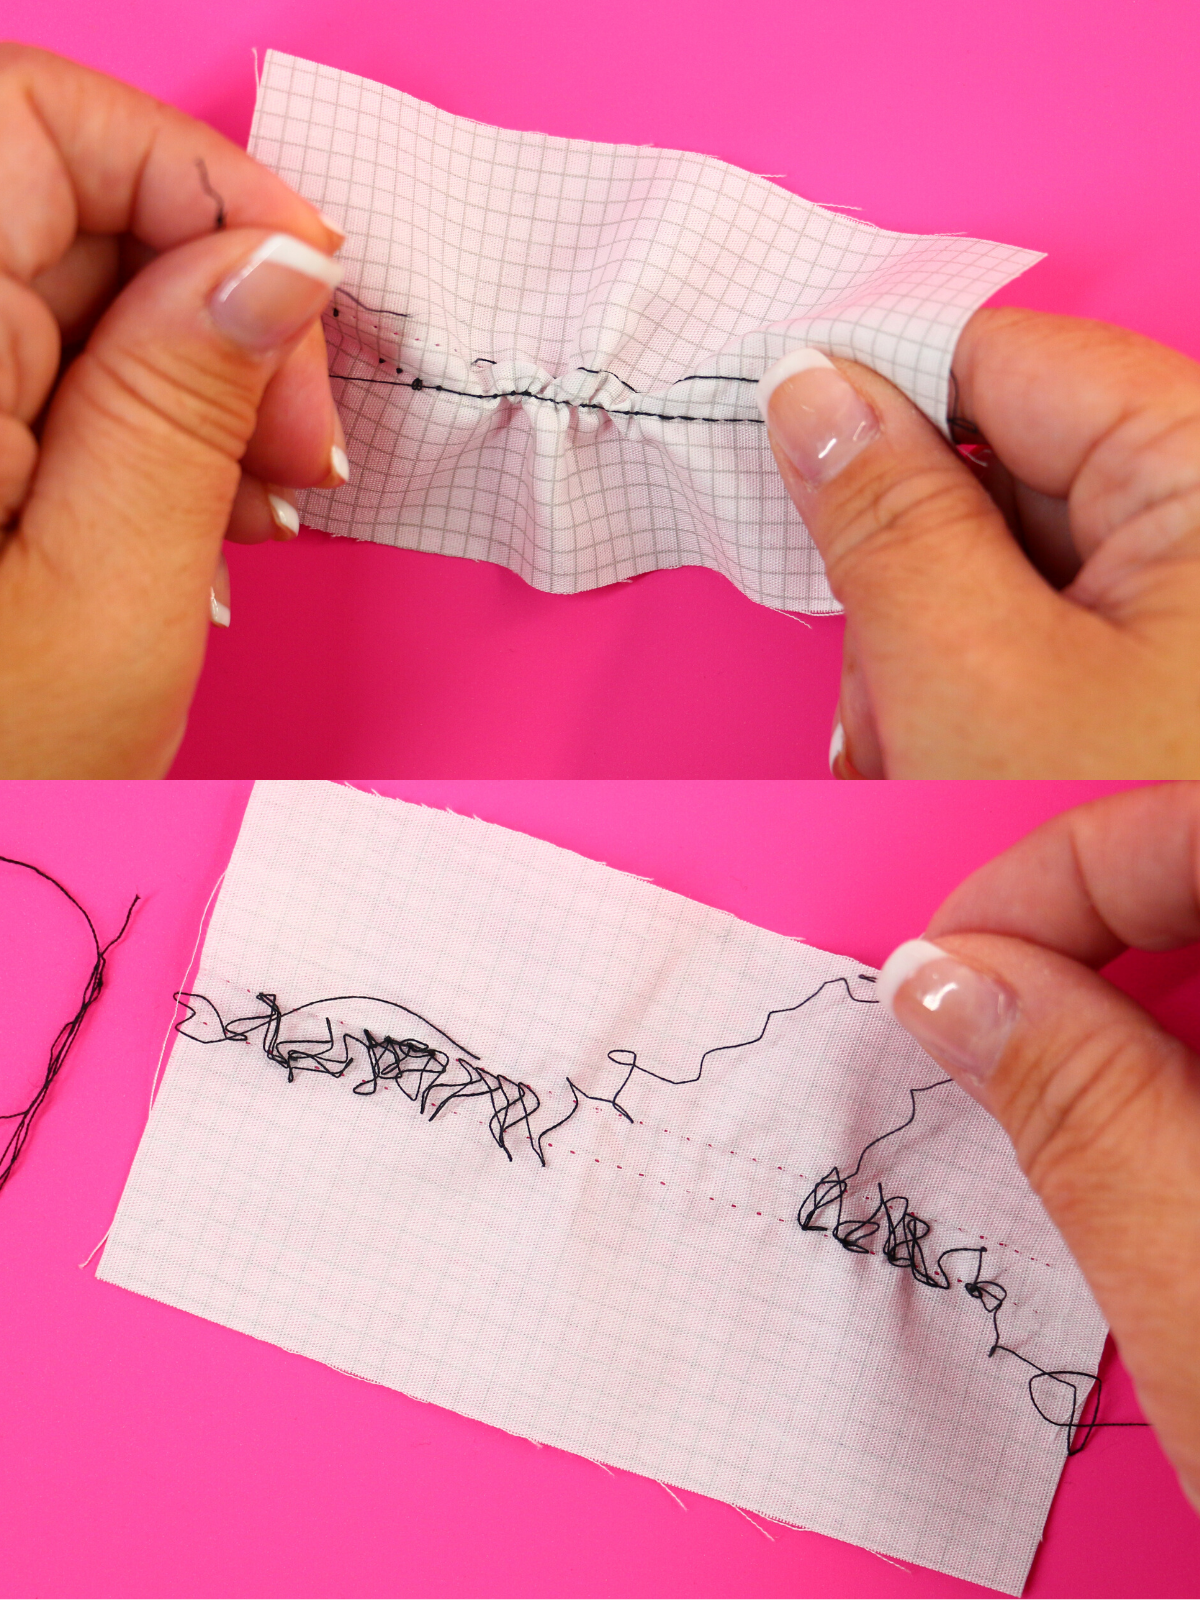
Once the needle stitches are cut throughout the entire seam, the looper stitches will easily pull out. Use the rubber end of the Seam Fix to remove those little threads that are difficult to remove.
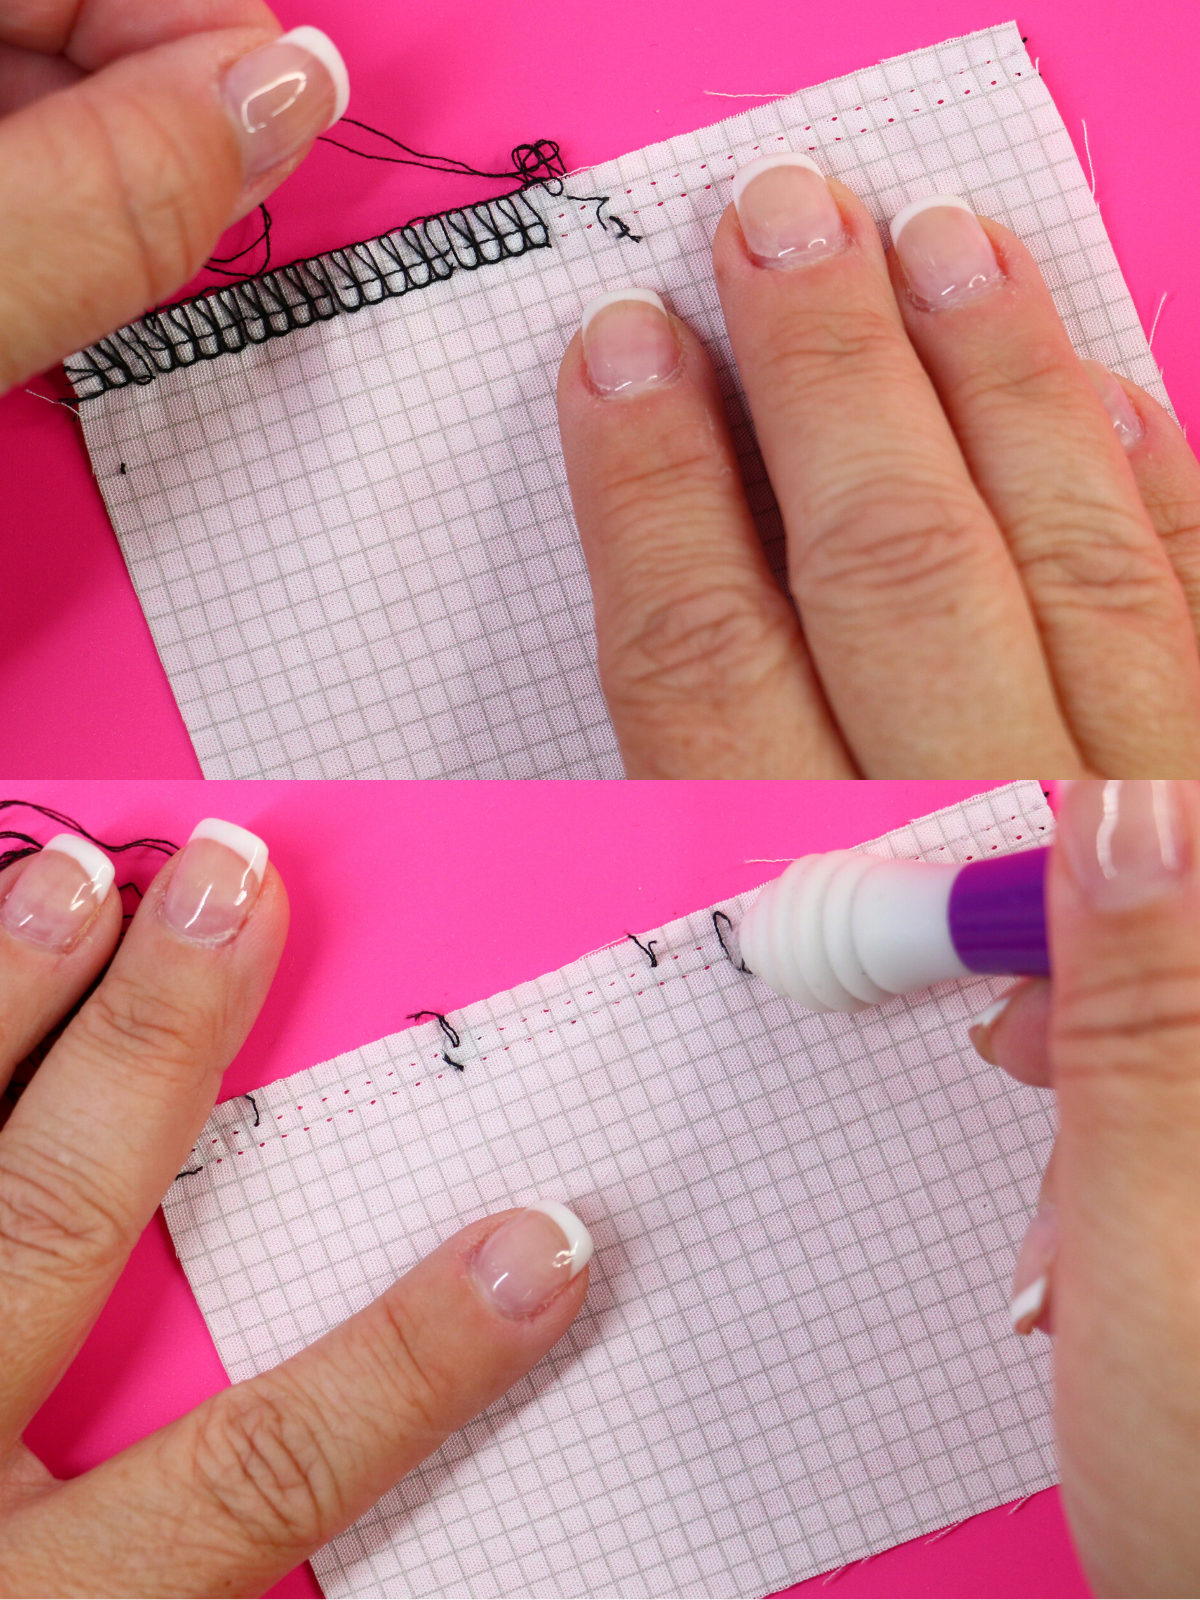
Basically, with a 3- or 4-thread overlock stitch the needles are what is holding the looper threads in place. By removing the needle stitches, the looper stitches will easily come out.
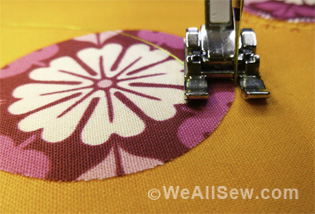
2 – Coverstitch
Two or three needle Coverstitch will be removed exactly the same. This example is a 2-needle wide coverstitch. Much like the 4-thread overlock, the coverstitch will easily be removed by omitting the needle stitches. With your seam ripper, gently pull out as much of both needle threads as possible, try to not cut the threads. 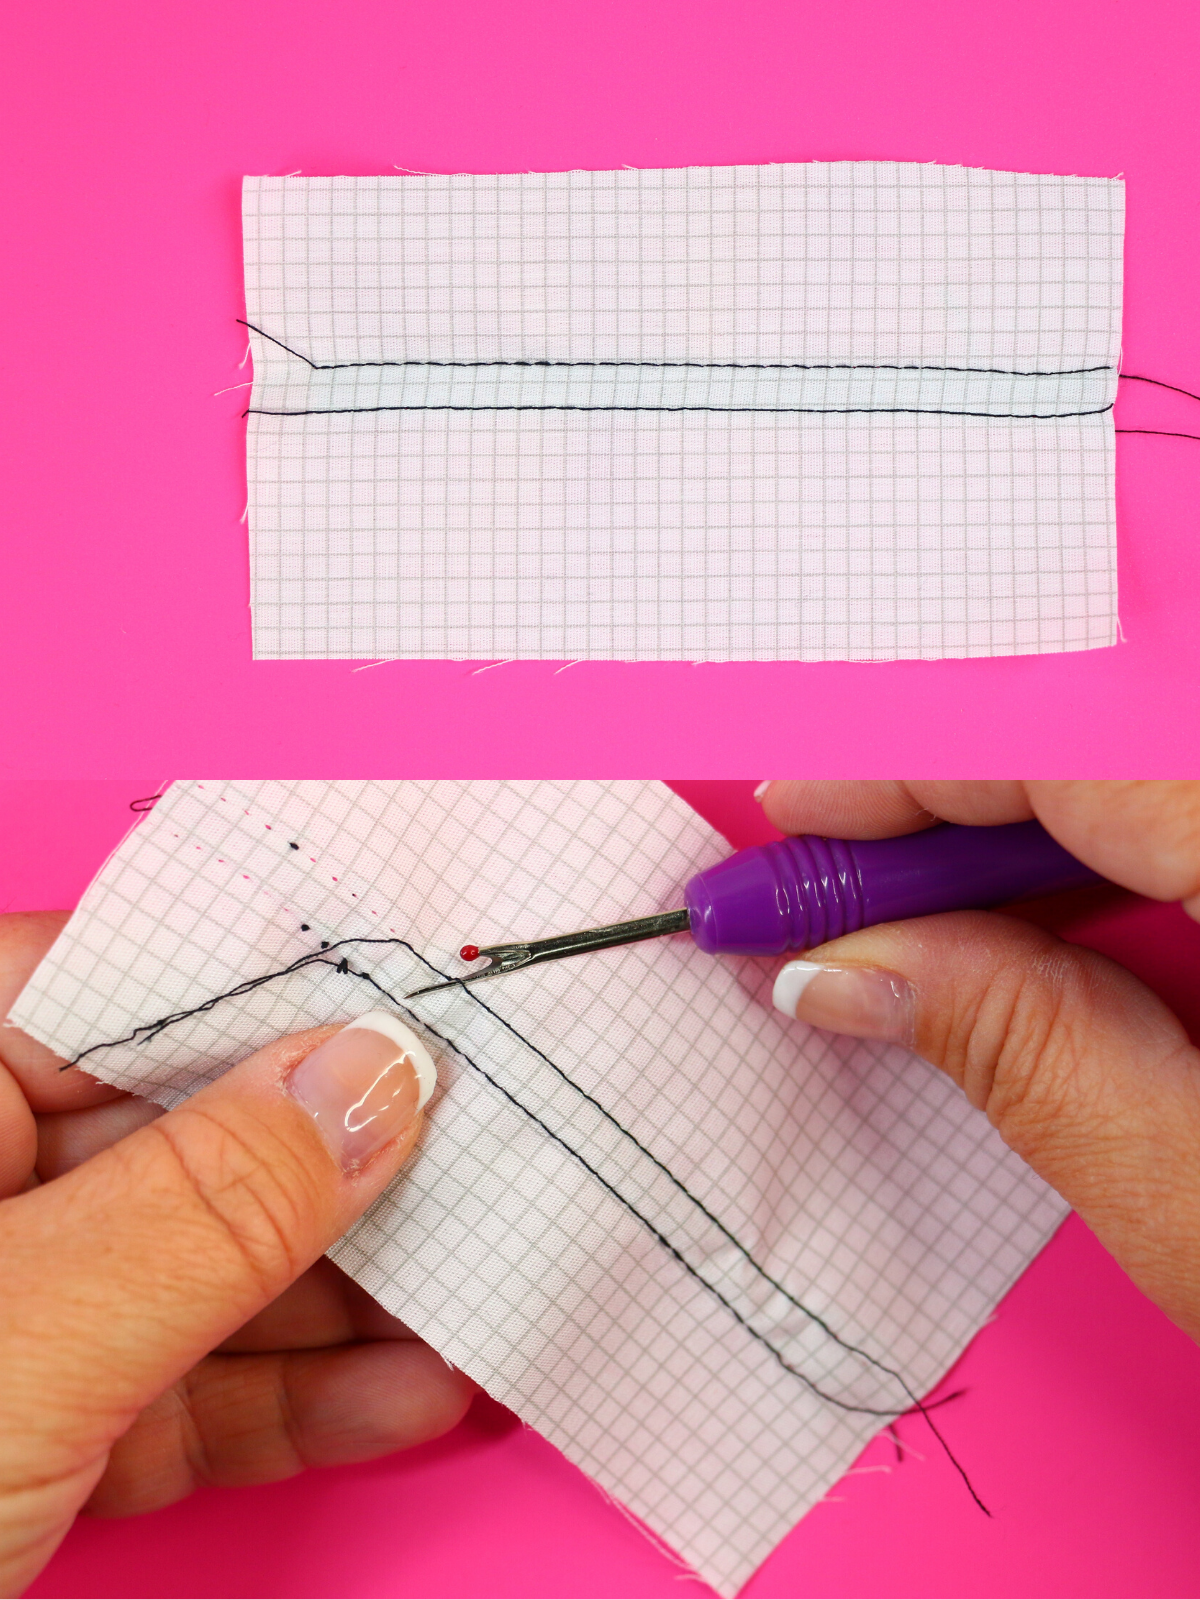
Once you have 1″-2″ of the needle threads, gently pull the threads, try not to snap the thread as the goal is to pull the threads out in one swoop. If the threads do break, just grab another 1″-2″ strand. The fabric will slightly gather as you pull on the thread tails, this is okay. Gently begin to remove the needle threads from the fabric until all needle threads are out. This will leave you with only the chain looper thread on the backside of the fabric.
 Remove the chain looper thread and you are finished. This method is fast and will not damage the material.

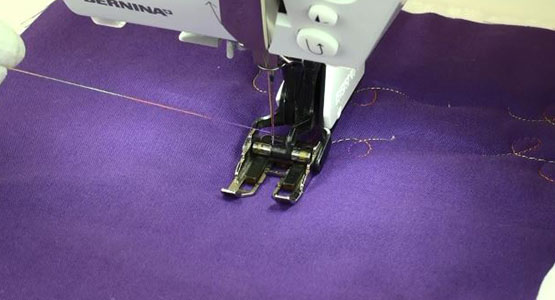
3 – Chainstitch
If you’ve ever opened a bag of dog food, kitty litter, or bag of oranges, this is that stitch along the top that either opens perfectly or is stubborn.
It is important to know the beginning and ending of your stitch with a chainstitch. The beginning is where you began your stitch and the ending is where you removed the fabric from the machine. The left side of the below photo is where the stitch ended. Where the stitch ends, USA a seam ripper to remove the first couple of running stitches. Attempt to not cut the stitches, only remove.
Turn the fabric to the wrong side, this is the chain looper stitch. Gently pull the thread out one stitch. A loop will pop up. Once the loop pops up, pull back on the end of the thread tail. The chainstitch will easily pull out now. You might need to wiggle the needle thread on the front of the fabric. 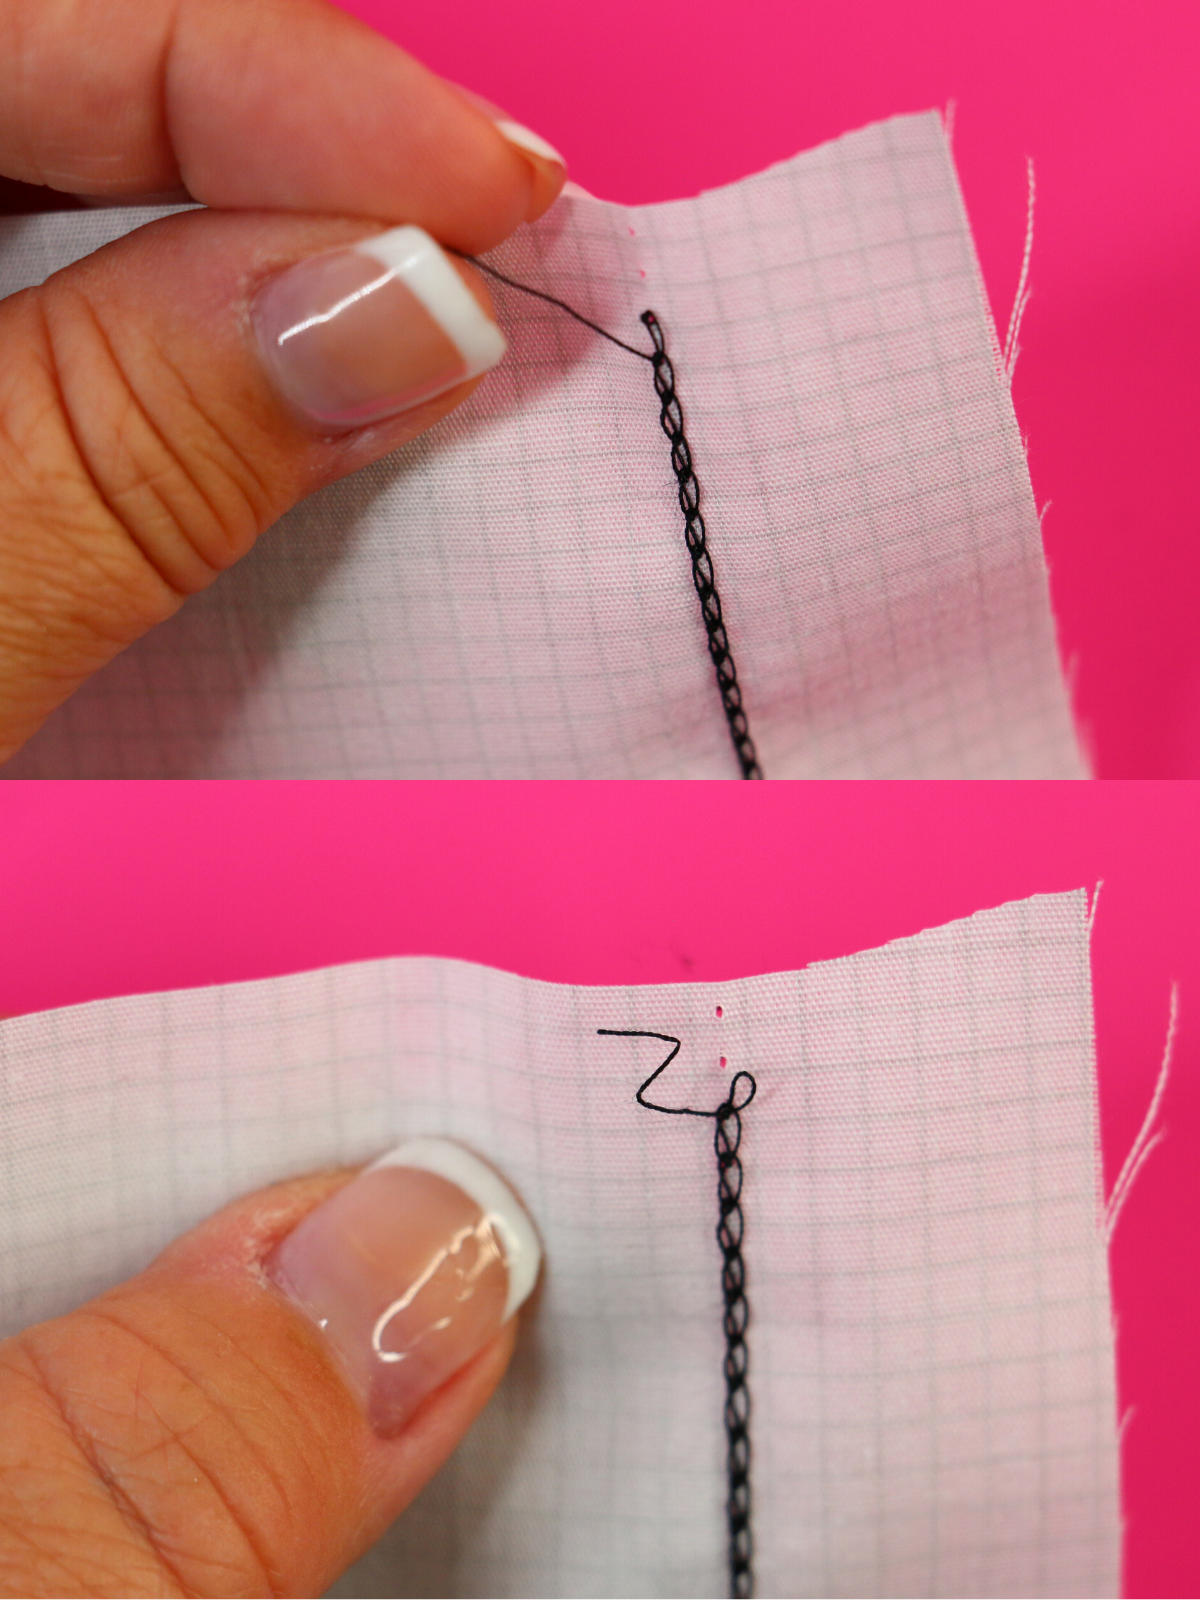
Continue pulling until the chain looper thread is completely removed.
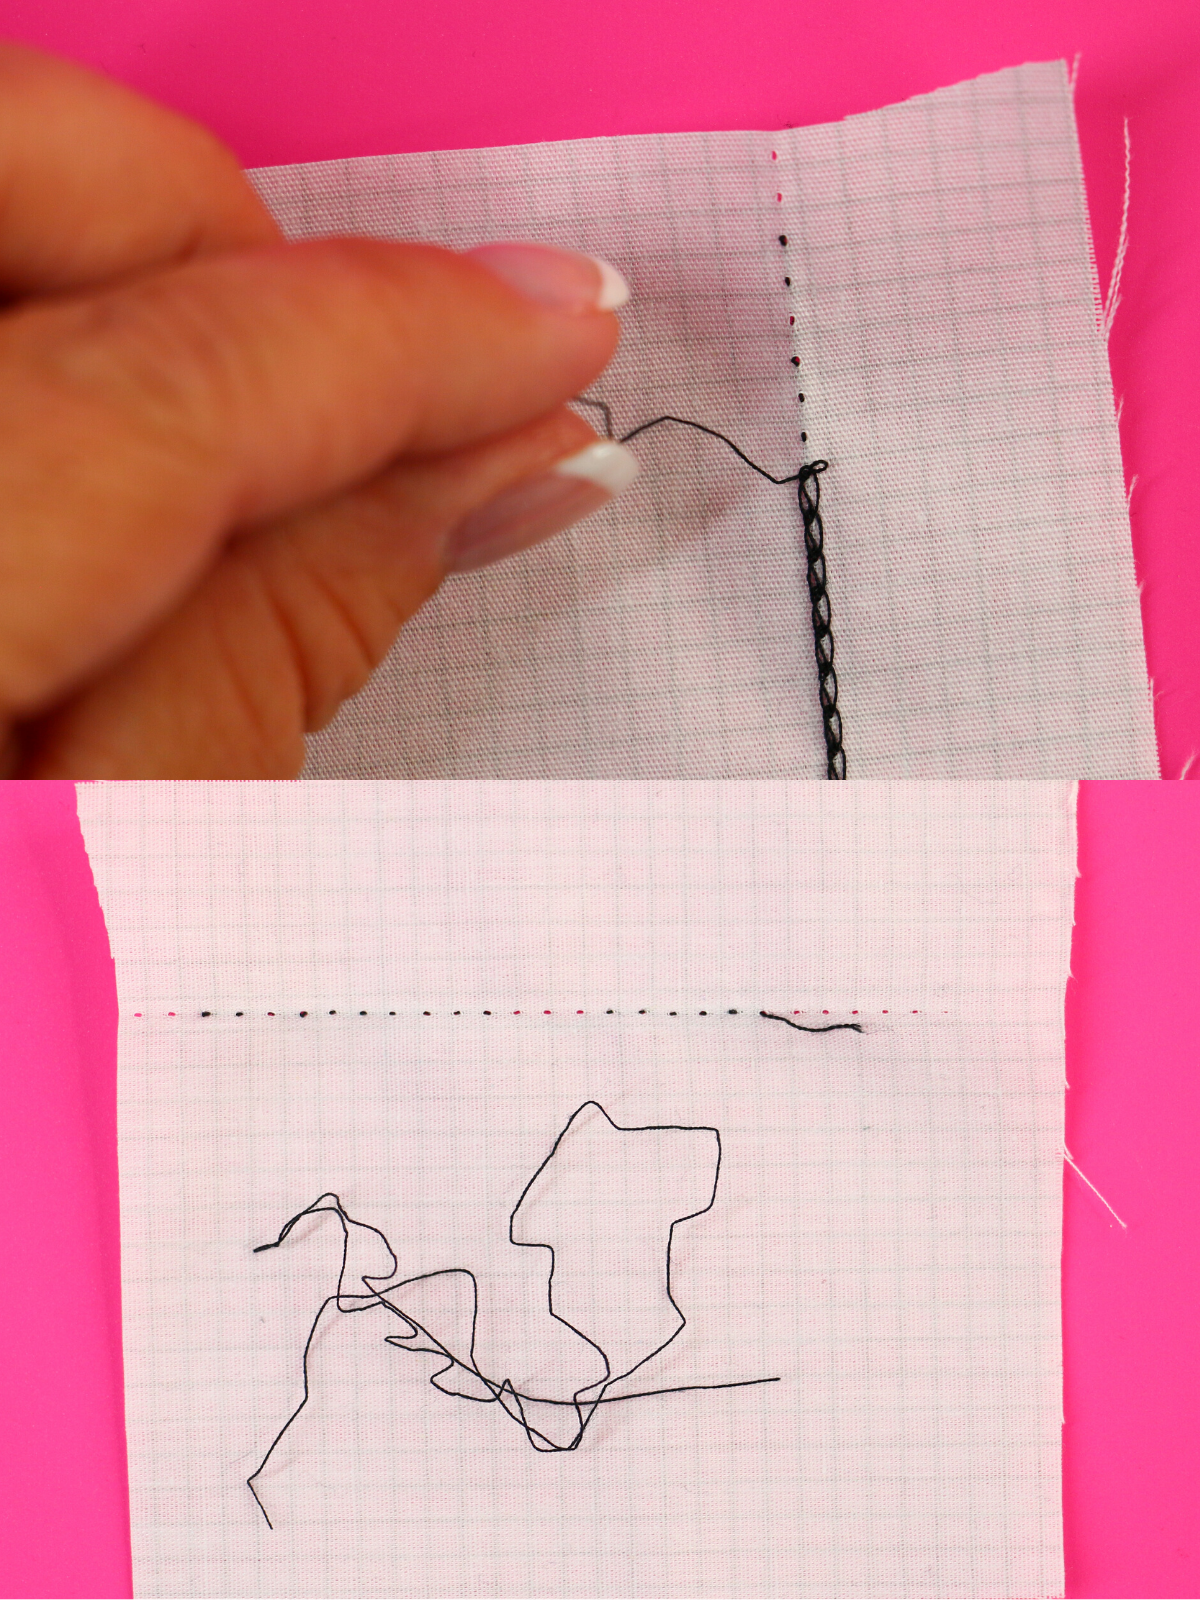
Then remove the needle thread on the right side of the fabric. If the chain thread doesn’t easily pull, remove one needle thread stitch again, and repeat the process. Once you get the hang of it, removing a chainstitch will be quite easy and I promise you will show all your friends.
Which of these tricks is new to you? Let me know in the comments below.
Until my next serger blog post, I hope you have a Creative Day!
Sue


What you might also like


4 comments on “How to Remove a Serger Stitch”
-
-
I love that this blog post refreshed your memory!! This blog post can be printed, so maybe create your own 🙂 I just “laminated” something the other day for my daughter using packaging tape. Didn’t look professional but sure did the trick!
-
I can’t figure out how to get this to print
-
-
An interesting technique to undo a cover- or chainstitch. I learned it an easier way for either:
Cut the needle thread(s) and undo 2 to 4 needle thread stitches. Turn the seam or hem and pull on the looper thread. It will run undone towards the beginning of the seam. On the other end, or where the seam started you find the seam end (if the project is a circle) from there you can undo the rest of the stitching.
Leave a Reply
You must be logged in to post a comment.

Aghhh, thank you. I learned this in a guide lesson over thirty years ago but forgot the details. Been frustrated ever since. I would love to have this on a laminated post card next to my serger. I will give you my money if you will make me one!