How to Make Decorative Stitch Placemats
Have you tried sewing with heavy thread, such as 12 or 30 weight? And not just sewing straight stitches, but decorative stitches also? The possibilities are endless when you factor in hundreds of decorative stitches that can be altered, hundreds of thread colors and color combinations, and couching to top it off! Maybe you have tried this sewing technique with poor results. I’ll reveal the essential steps to success when sewing with heavy thread and show you how to make placemats to show off your newfound sewing technique. My placemats are farmhouse style but depending on your fabric, they can be any style. These placemats are easily adaptable to any style of home! Let’s get started!
Machine Set-up
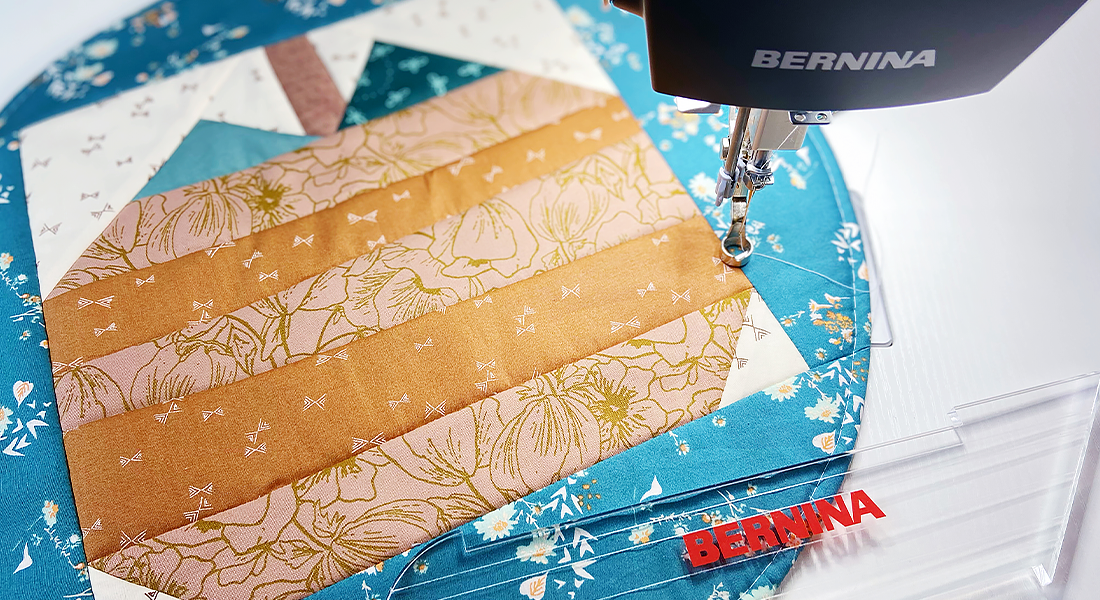
- BERNINA 790 PLUS
- Open Embroidery Foot #20/20C/20D
- Clear Embroidery Foot #39/39C
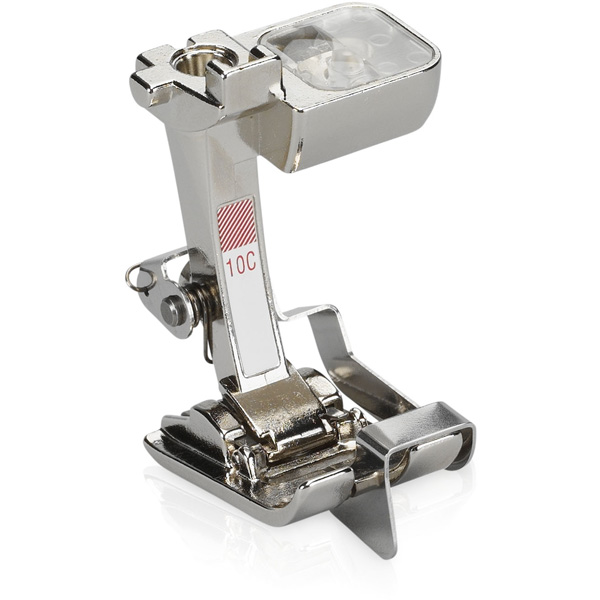
- Edgestitch Foot #10/10C/10D
Materials to Make Four Placemats
- 1/2 yard front fabric
- 1 yard back fabric
- 2 1/2” – 3” ribbon roll
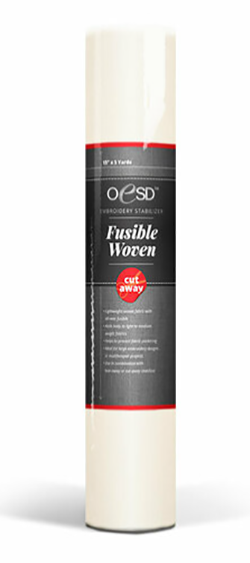
- 1/2 yard OESD Fusible Woven or 15” roll
- Schmetz Topstitch Needle Size 90
- Schmetz Jeans/Denim Needle Size 80
- Heavy thread: Mettler Cordonnet or Wonderfil Spagetti
- Mettler Silk Finish Cotton thread 50 wt
- Scissors
- Rotary cutter and ruler
- Sewline Styla Water Erasable Roller Pen
Note: Read the entire tutorial before starting to sew.
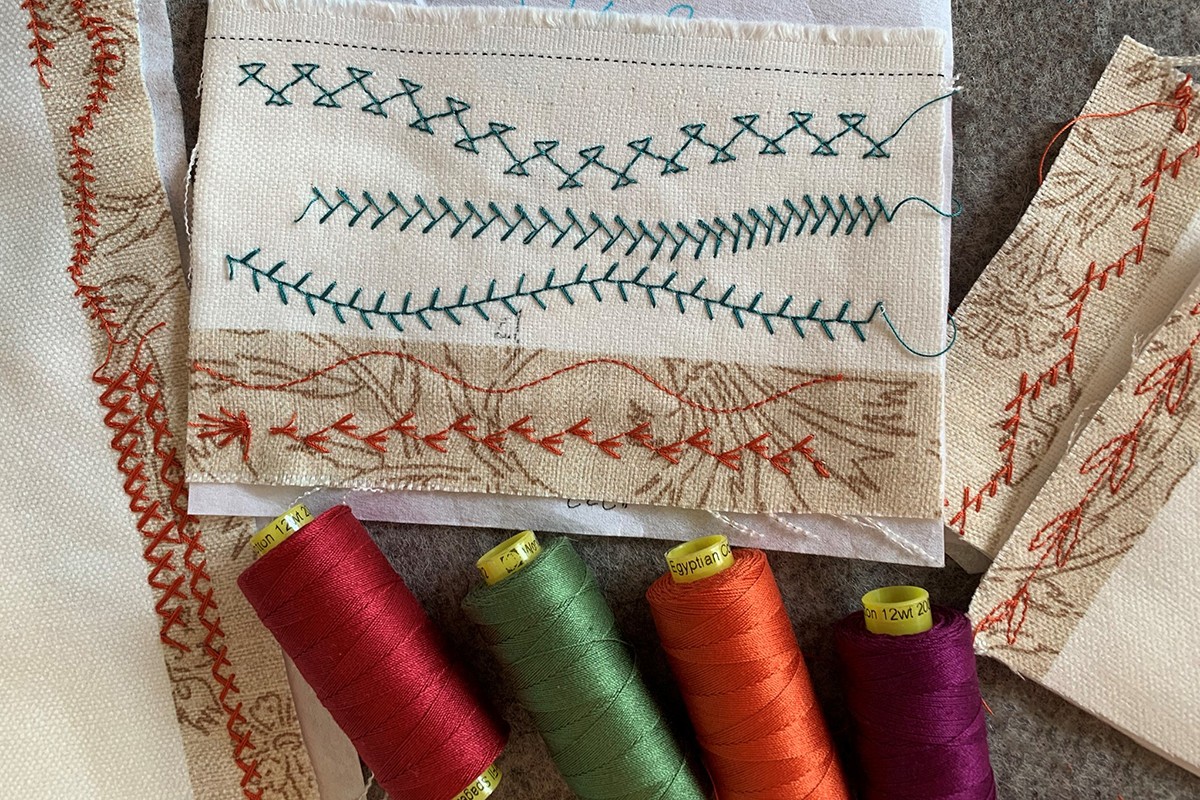
Decorative Thread
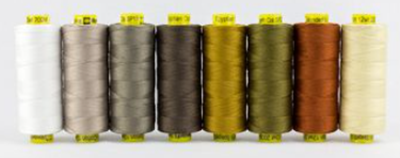
There are many options available for heavy thread that will work beautifully with this sewing technique. One option is Mettler Cordonnet. This thread is a 30 wt polyester thread that comes in 54 colors. Another option is Wonderfil Spagetti. This thread is a 12 wt cotton thread that comes in 60 colors and several collection sets, including this Neutrals Set.
Stabilizer
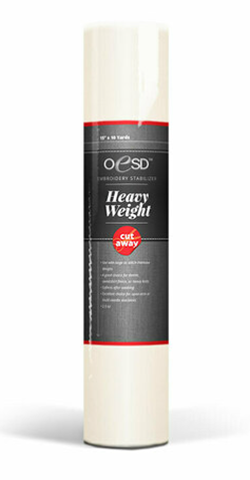
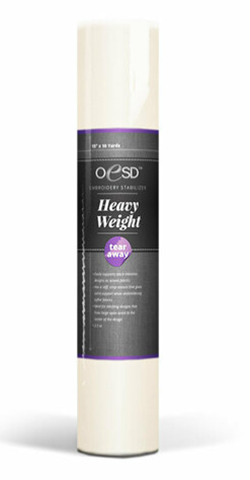
Let’s talk stabilizer! Decorative stitches need some stability to form. The denser the decorative stitch, the more stability it needs. Add a heavy thread to a dense stitch and you need even more stability! OESD offers many different kinds of stabilizers depending on your fabric and project. For test sewing, I recommend the OESD Heavyweight Cut Away or Tear Away.
Test sew!
Important Tips
Before we start test sewing, let’s go over a few important tips:
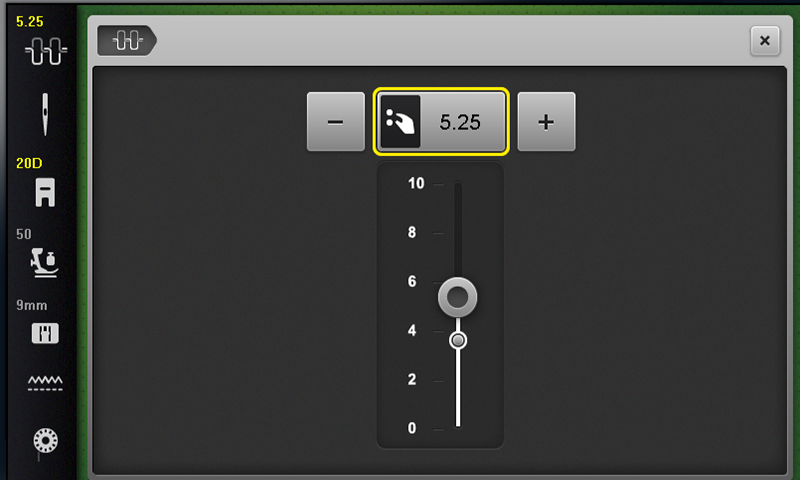
- Increase the upper thread tension. The upper thread is thick so you want to increase the tension for best results. I usually increase the upper thread tension by 2. For example, if the upper thread tension is 3.25, then I change it to 5.25.
- Use a 50 weight thread in the bobbin. It’s best to keep the usual 50 wt thread in the bobbin so you are only changing the upper tension.
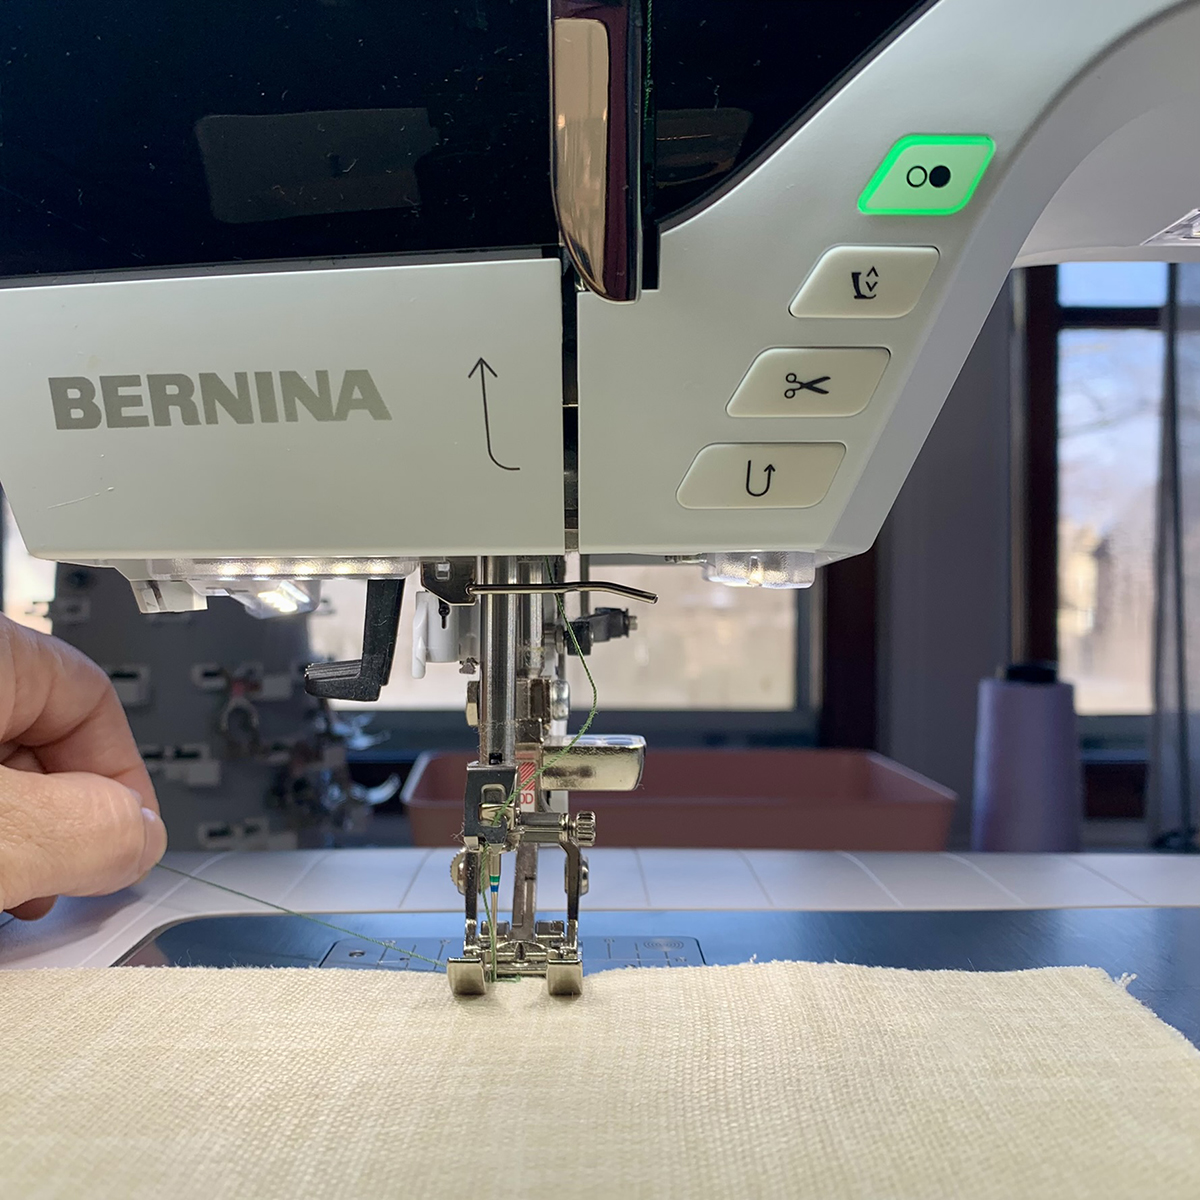
- During the first few stitches, hold upper thread at the back of the machine so it does not catch under the fabric. The thread is thick, so if it catches, it could cause a thread jam in the stitch plate.
- Use a larger needle to accommodate the thicker thread, such as a Size 90 or 100.
- Don’t speed sew. Slow down and sew at a medium speed. It’s still going to be faster than hand sewing!
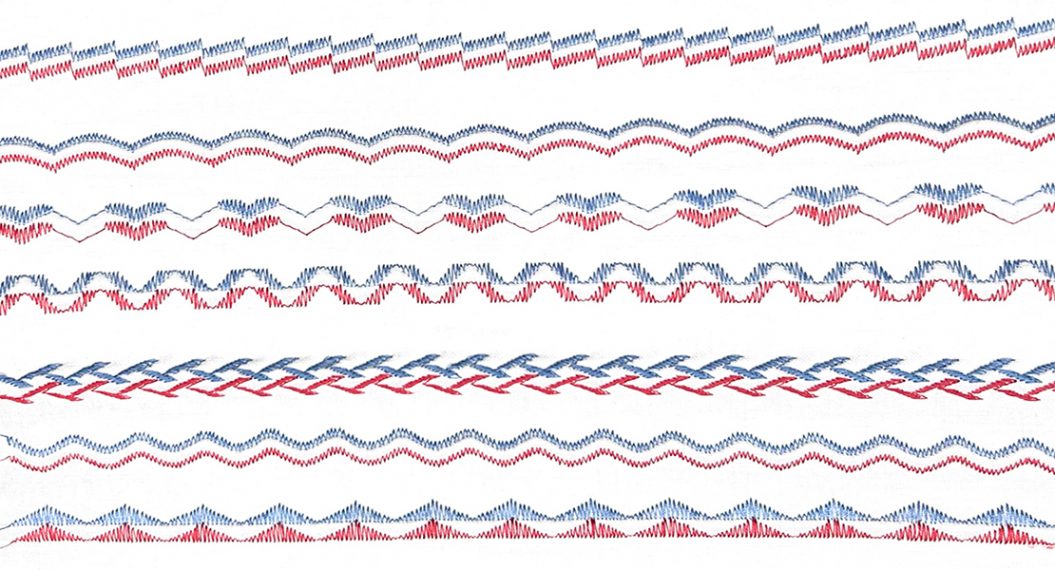
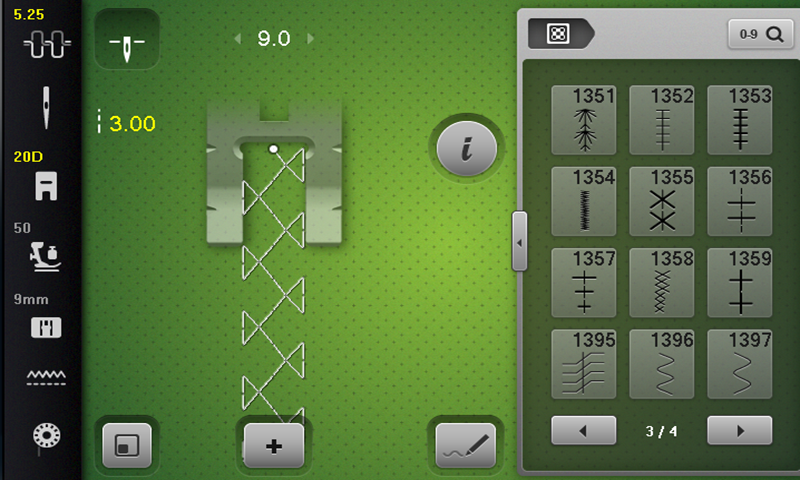
- Select decorative stitches that are open and have a longer length per stitch. With really dense stitches, the thread will start sewing on top of itself and you end up with a hill of thread. Also, do not select decorative stitches with small curves. The stitch length is much smaller with curves and again, the thread can quickly pile up on top of itself. Pictured below are some examples of good choices.
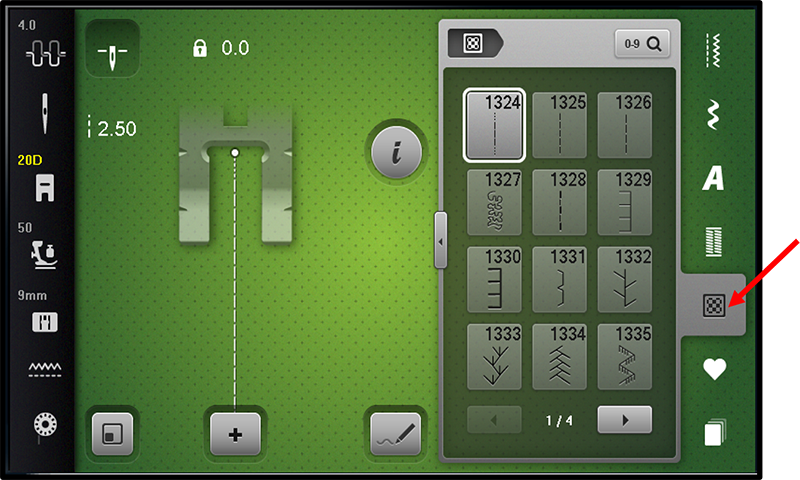
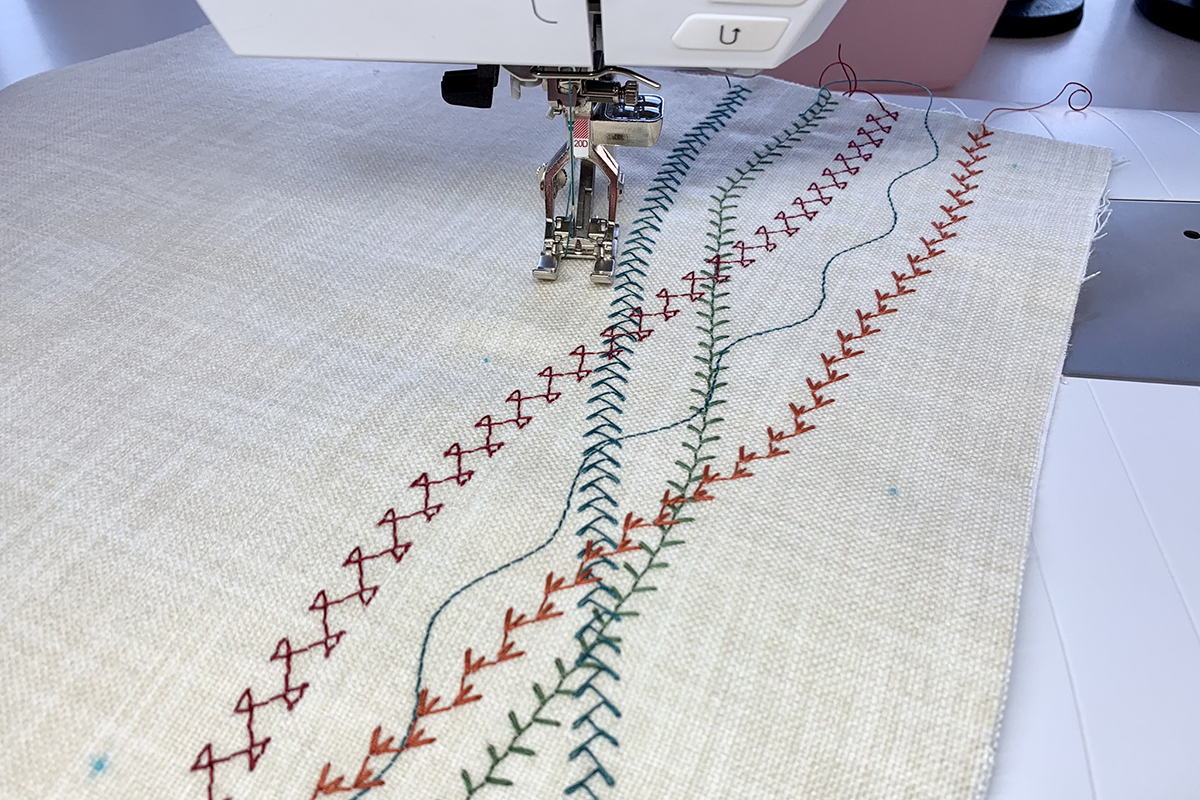
Let’s test sew! The decorative stitches we are using today are all found in the Quilting Stitches Menu. These stitches are open stitches with little or no curves that are great for this sewing technique. Select the Quilting Stitches Menu and look at the different stitches. Select the Help icon to learn more about each stitch.
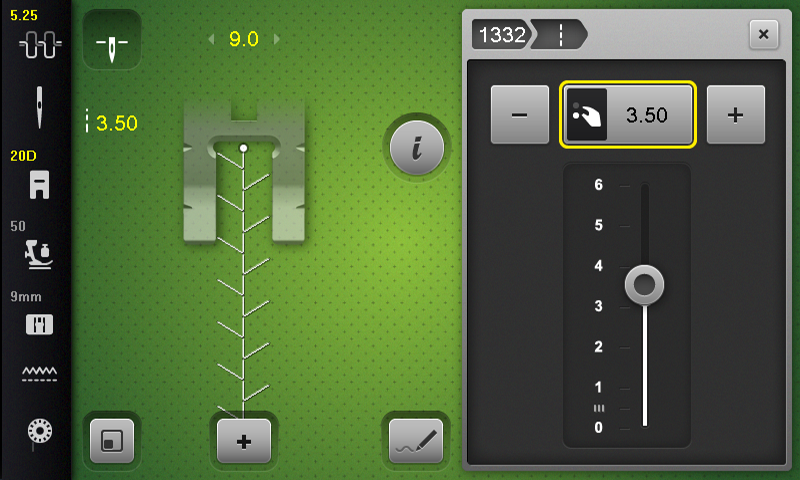
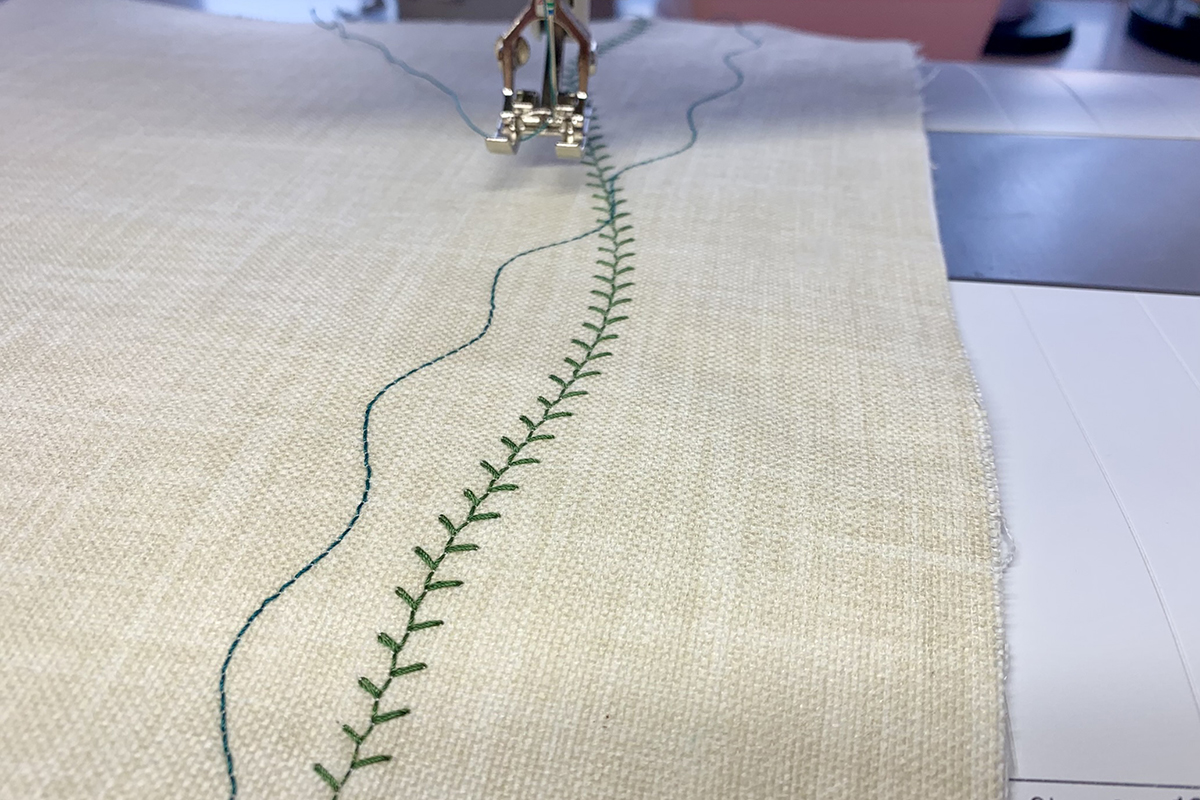
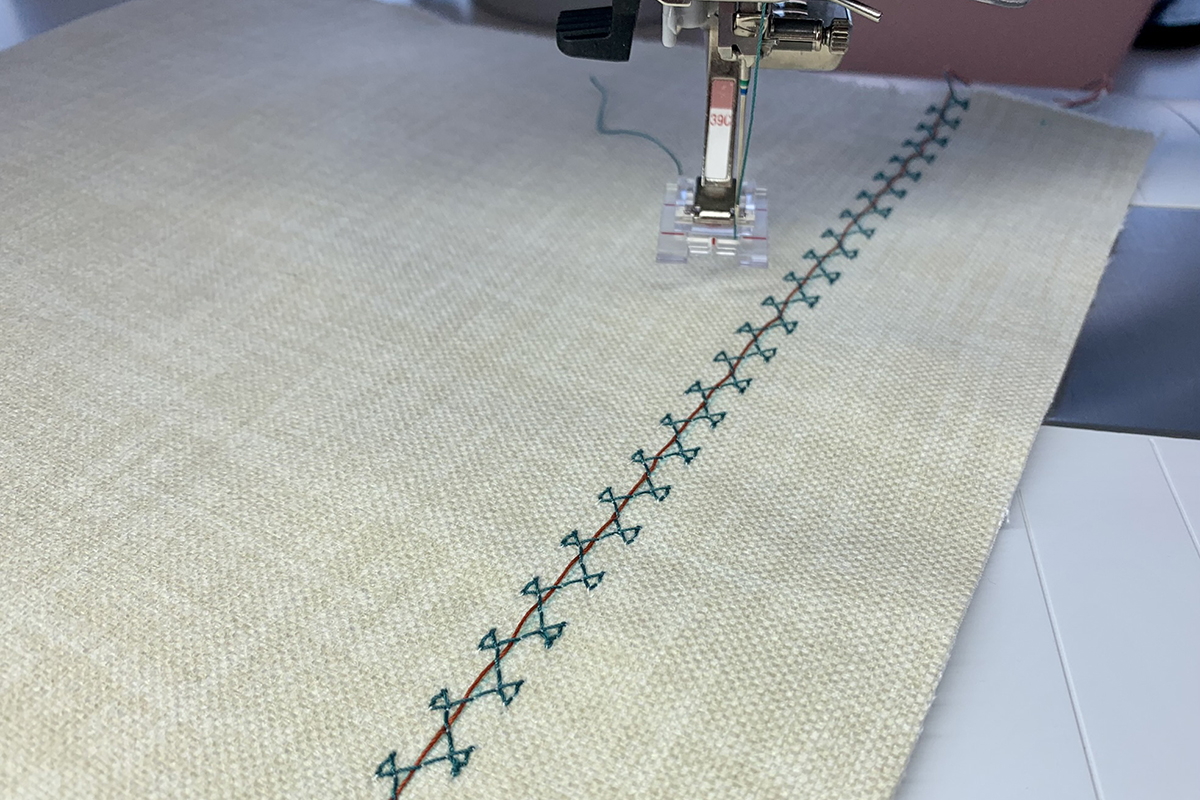
Attach Open Embroidery Foot #20/20C/20D to your machine. Add your heavy thread to machine and insert a Schmetz 90 needle. Grab some testing fabric and place OESD Heavyweight Stabilizer underneath it. Let’s start with Stitch #1332, a feather stitch. Increase stitch width to 9 mm, stitch length to 3.5 mm and upper thread tension to 5.25. It’s a good thing BERNINA machines allow us to have total stitch control!
Remember to hold upper thread at start and sew at a medium speed. Sew straight or curvy! The fabric I am using is a linen/cotton blend and a little thicker than a quilters cotton, but not as thick as a home dec fabric.

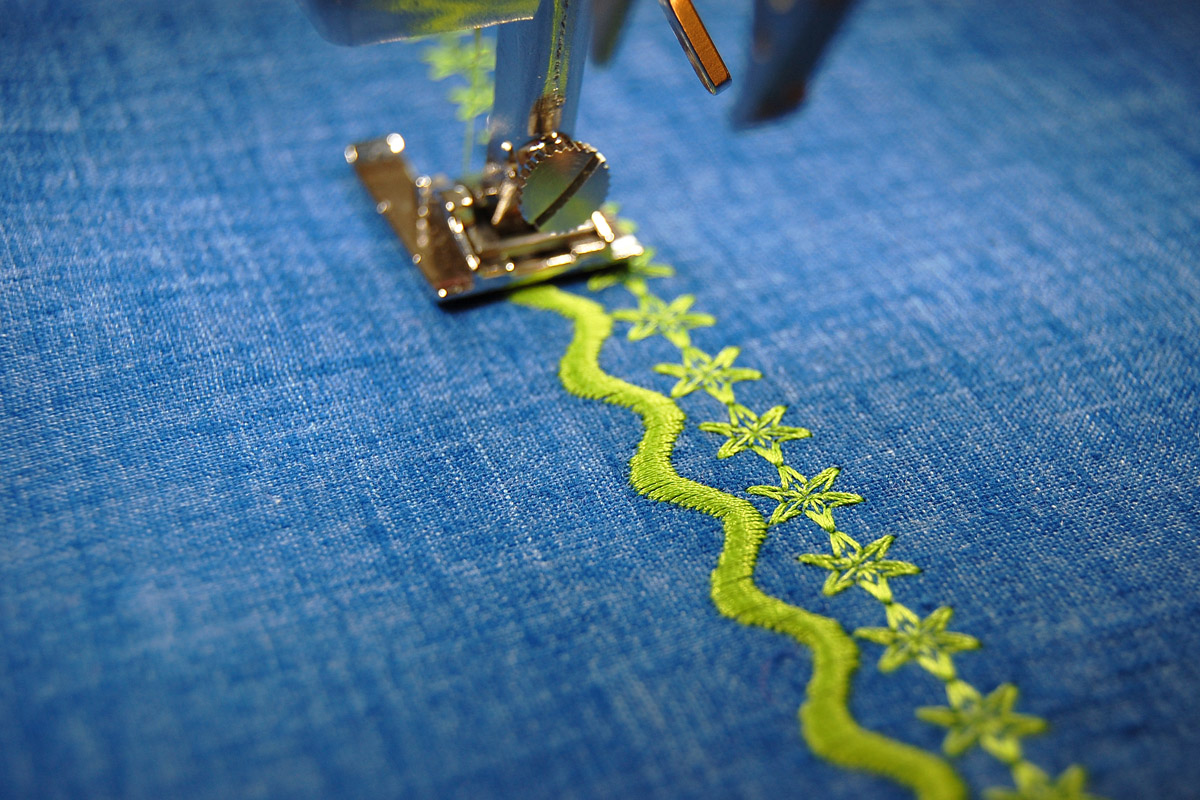
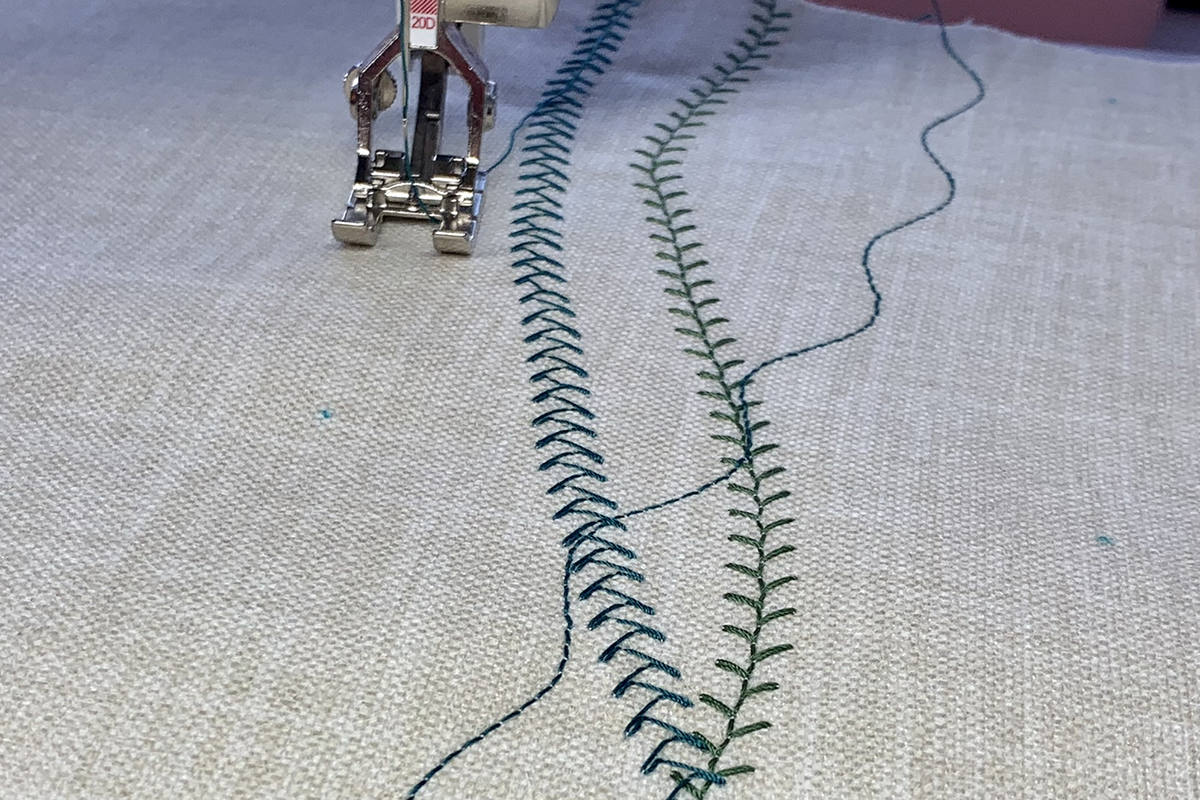
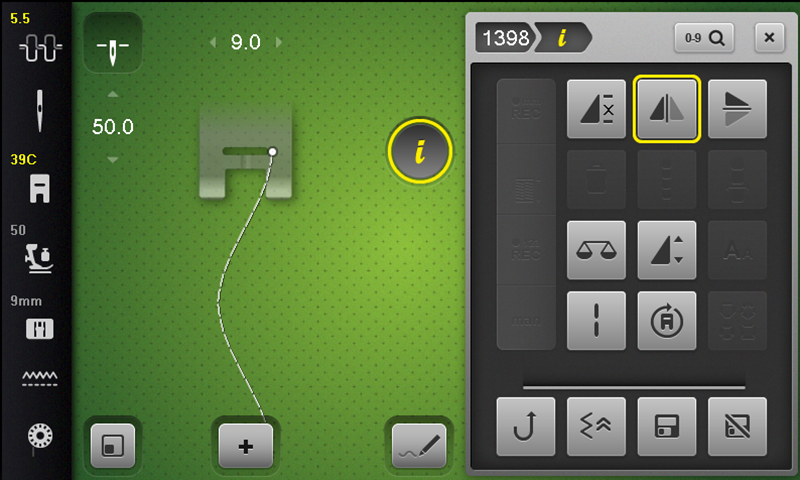
Next, let’s try Stitch #1398. This is a wavy, serpentine stitch. There are three of them in the Quilting Stitches Menu; #1398 is the longest wave. Increase the stitch length to 6 mm and increase the upper thread tension to 5.5.

Cross over the feather stitch at some point. Have fun!
How do your stitches look so far? Do you need to make any adjustments? Your fabric and machine may be different than mine, so make minor adjustments, if needed. Now let’s try stitch #1334 with the same or different color thread. Increase stitch length to 5 mm and upper thread tension to 5.

Randomly sew down the side, crossing over one or two previous stitches.
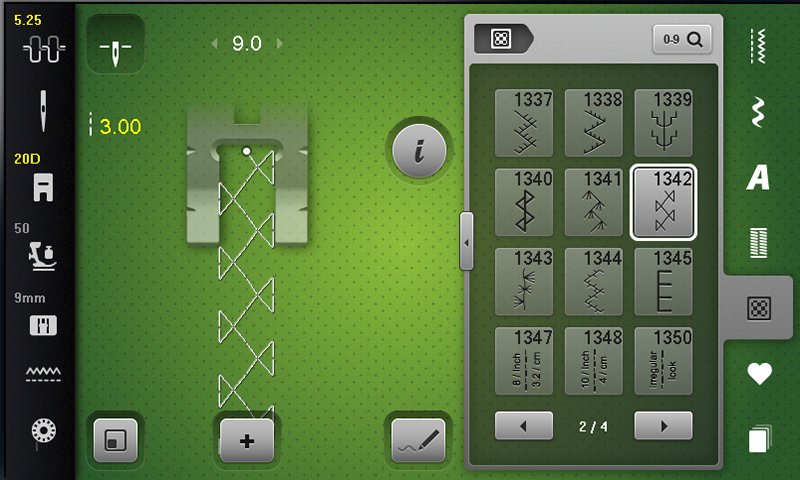
Stitch #1342 looks fun! Let’s try it! Increase stitch length to 3 mm and upper thread tension to 5.25.
Are you having fun?
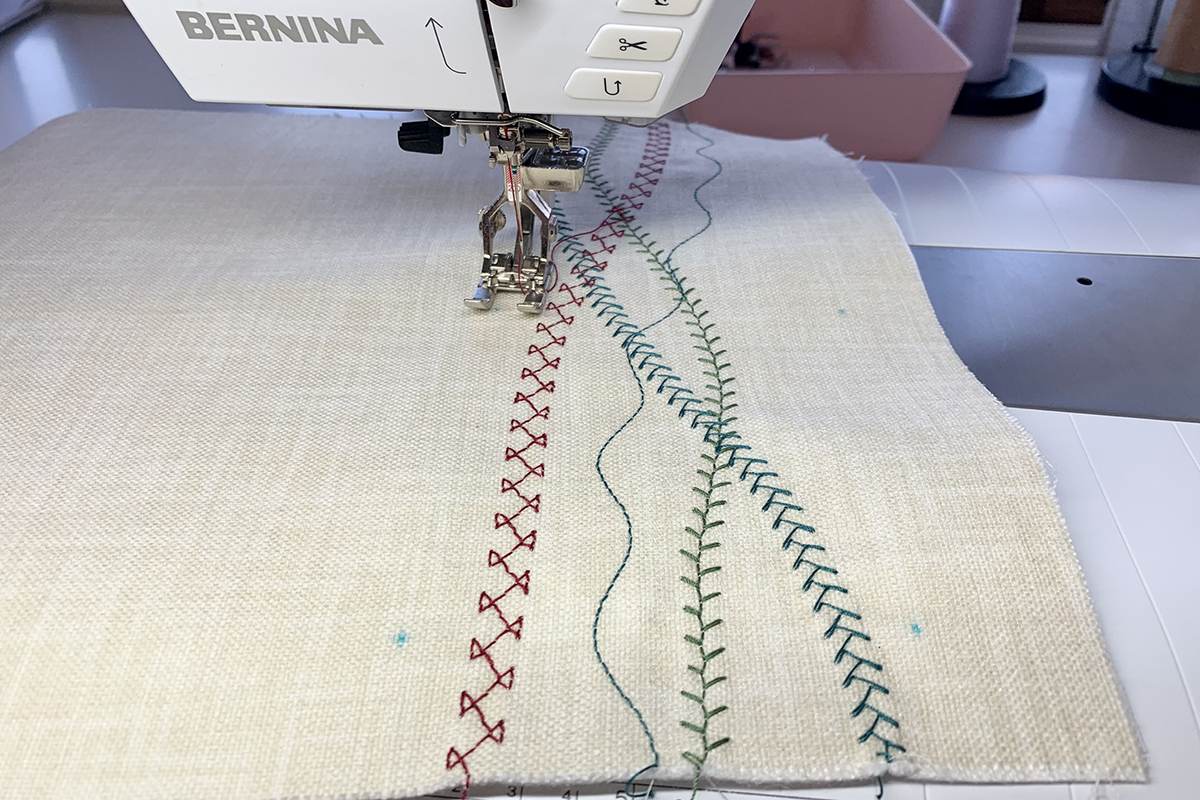
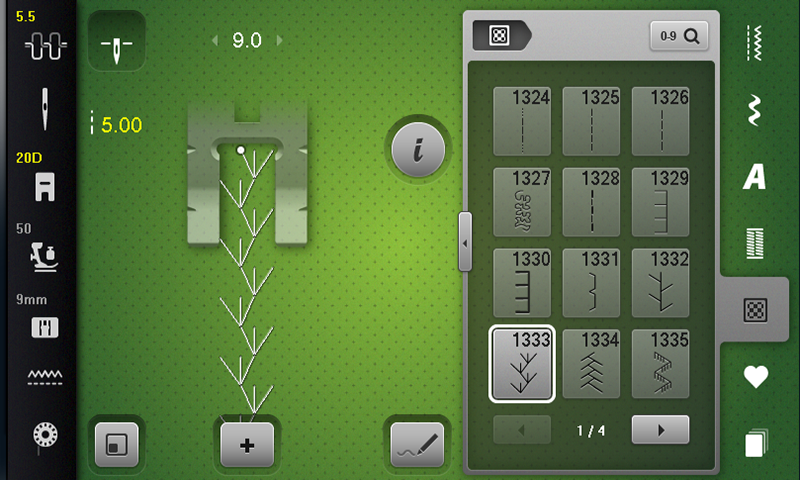
The last decorative stitch we’re going to try is #1333, a feather stitch variation. This stitch looks like duck footprints to me. Increase stitch length to 5 mm and upper thread tension to 5.5.
Sew this stitch down the side. See how easy this is when you know what adjustments to make and why?
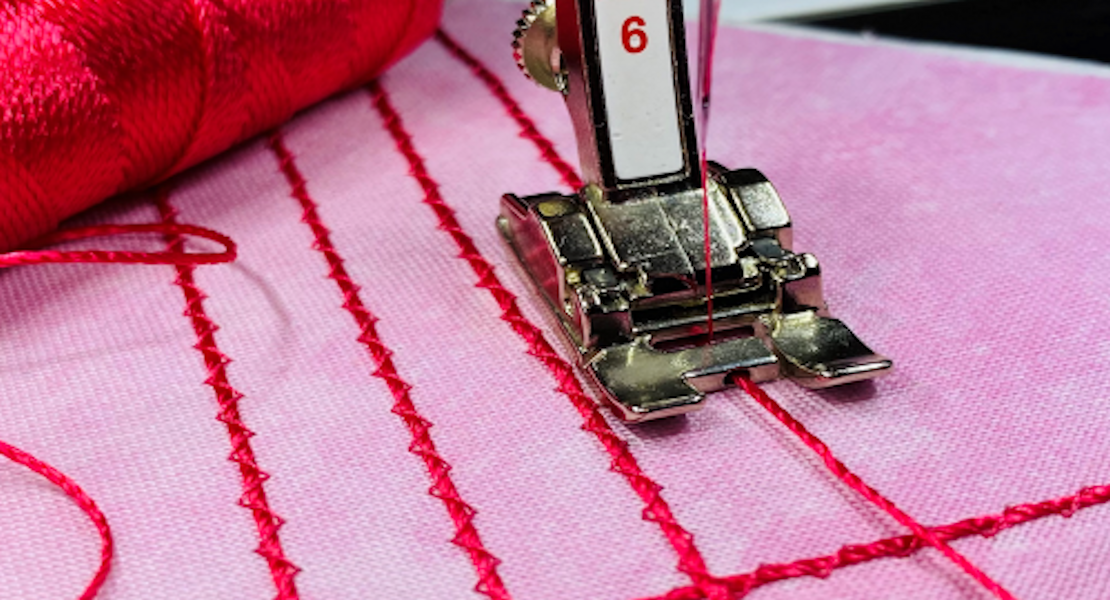
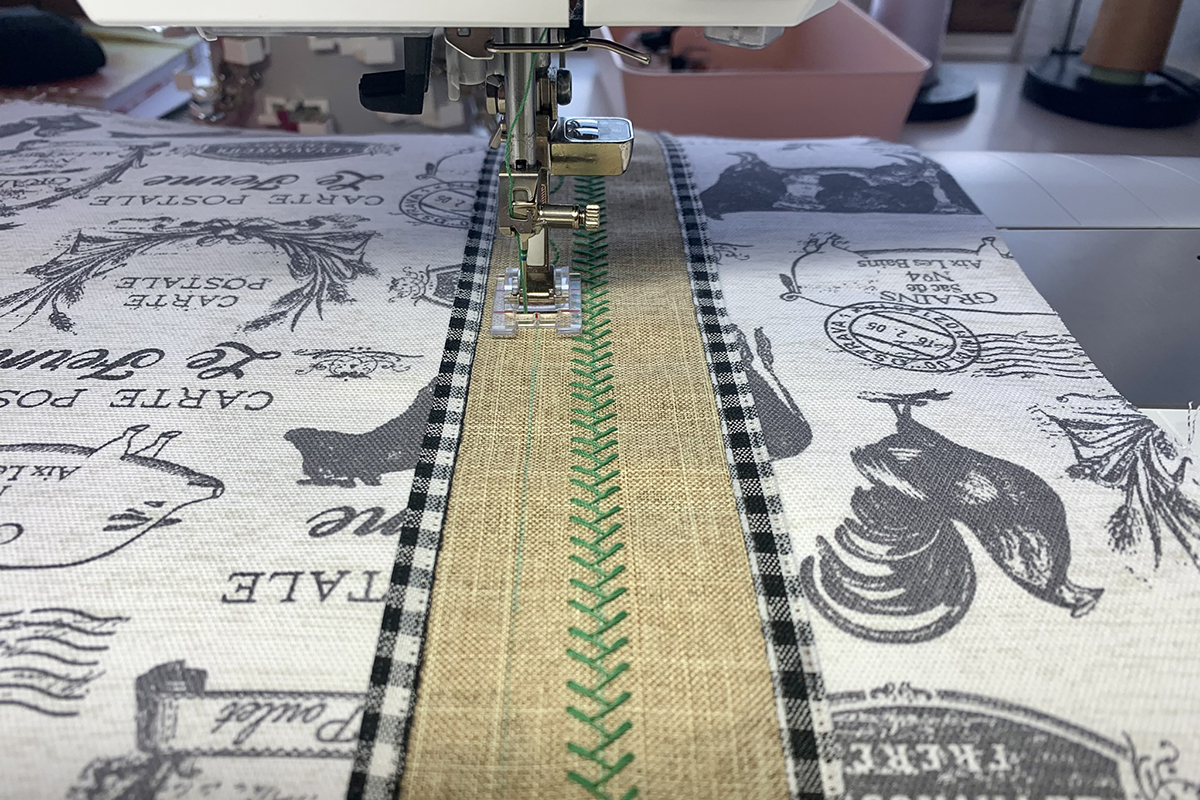
We’re not done yet! Get out your Clear Embroidery Foot #39/39C. This foot is clear (obviously!) and has three red markings on the sole. Also, there’s a small hole at the front and center to add cording, such as perle cotton, for couching! What a great way to add another color, texture and structure to a stitch.
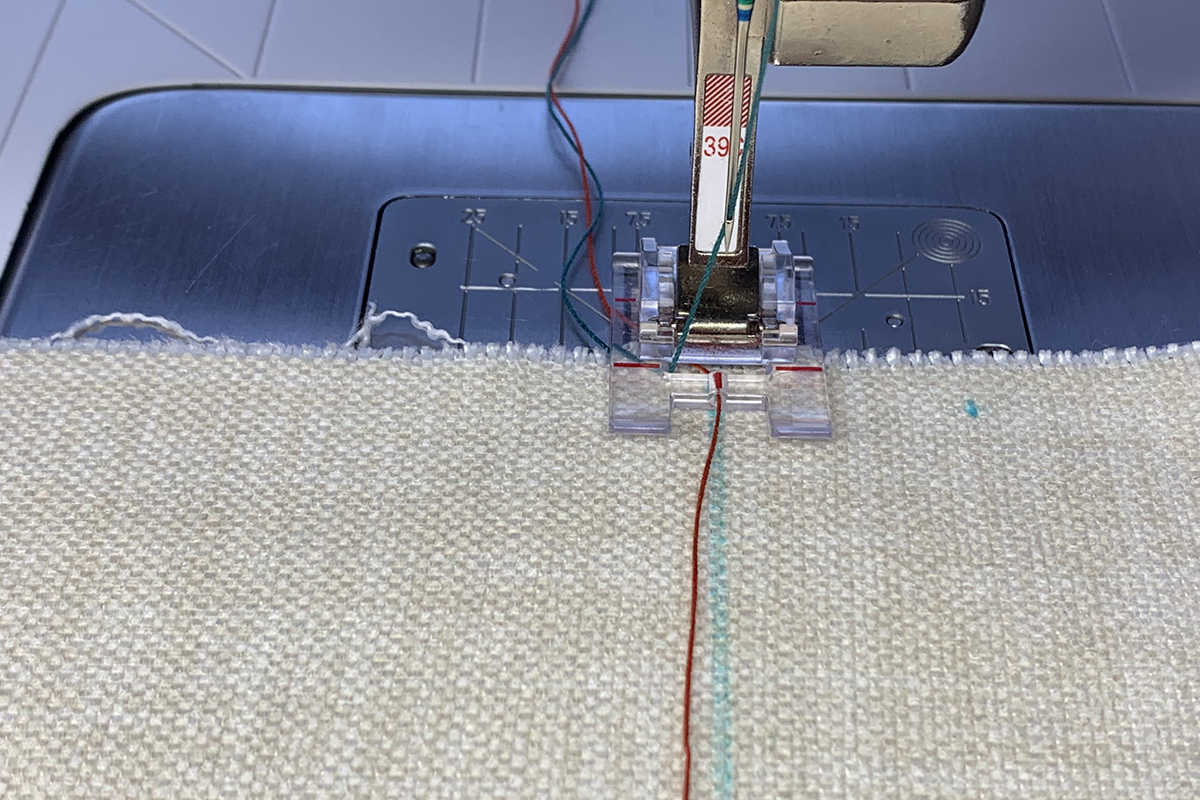
This technique looks best with open stitches that don’t have stitching down the center. Select Stitch #1342 again. Notice how the center of the stitch has plenty of room for the cord. The B 790 PLUS has temporary altered stitch memory so my previous settings for #1342 are still there – stitch length at 3 mm and upper thread tension at 5.25. The altered settings remain until I turn off the machine.
Draw a line down the length of your test fabric. Choose one color thread for the decorative stitch and one color thread for the cord. Add the stitch color to the machine and insert the cord color into the foot. Align the center red mark on foot with the marked line on fabric.
Hold both threads at back of machine and start stitching. As you sew, align the red mark on foot with the marked line on fabric. You don’t need to do much with the cord as the foot keeps it in place. In fact, you can move the cord a bit to the side so you have a better view of the marked line. Just make sure the cord doesn’t get stuck under the foot.
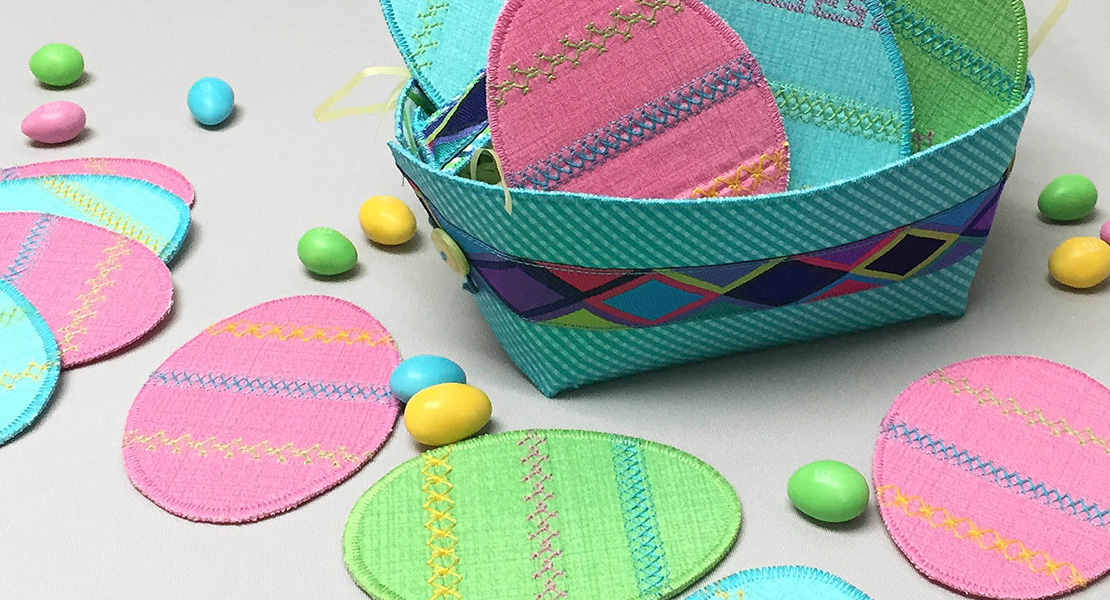
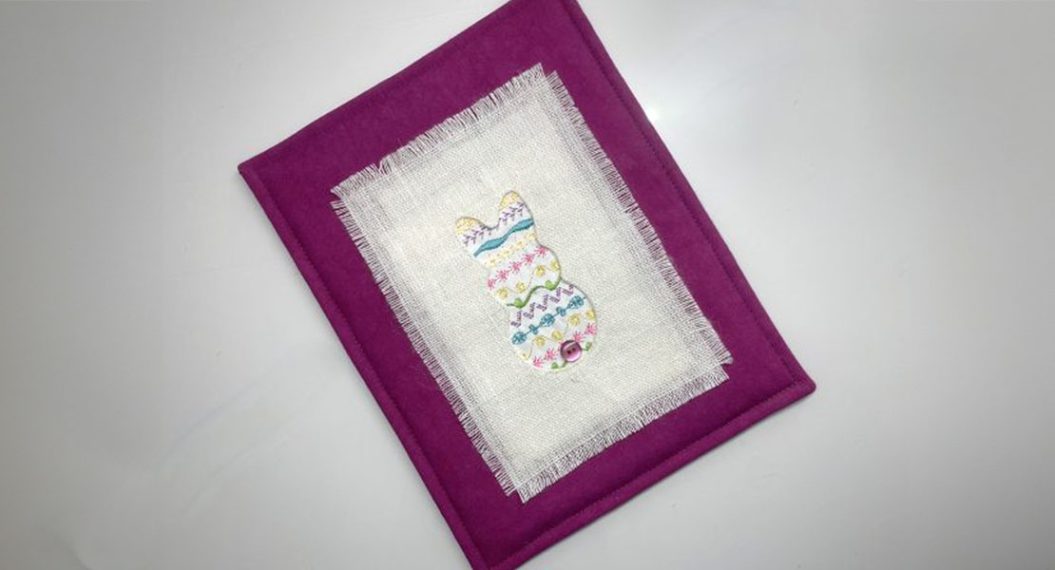
Isn’t this so cool? You can incorporate this technique into many different projects, including pouches, pillows, and placemats!
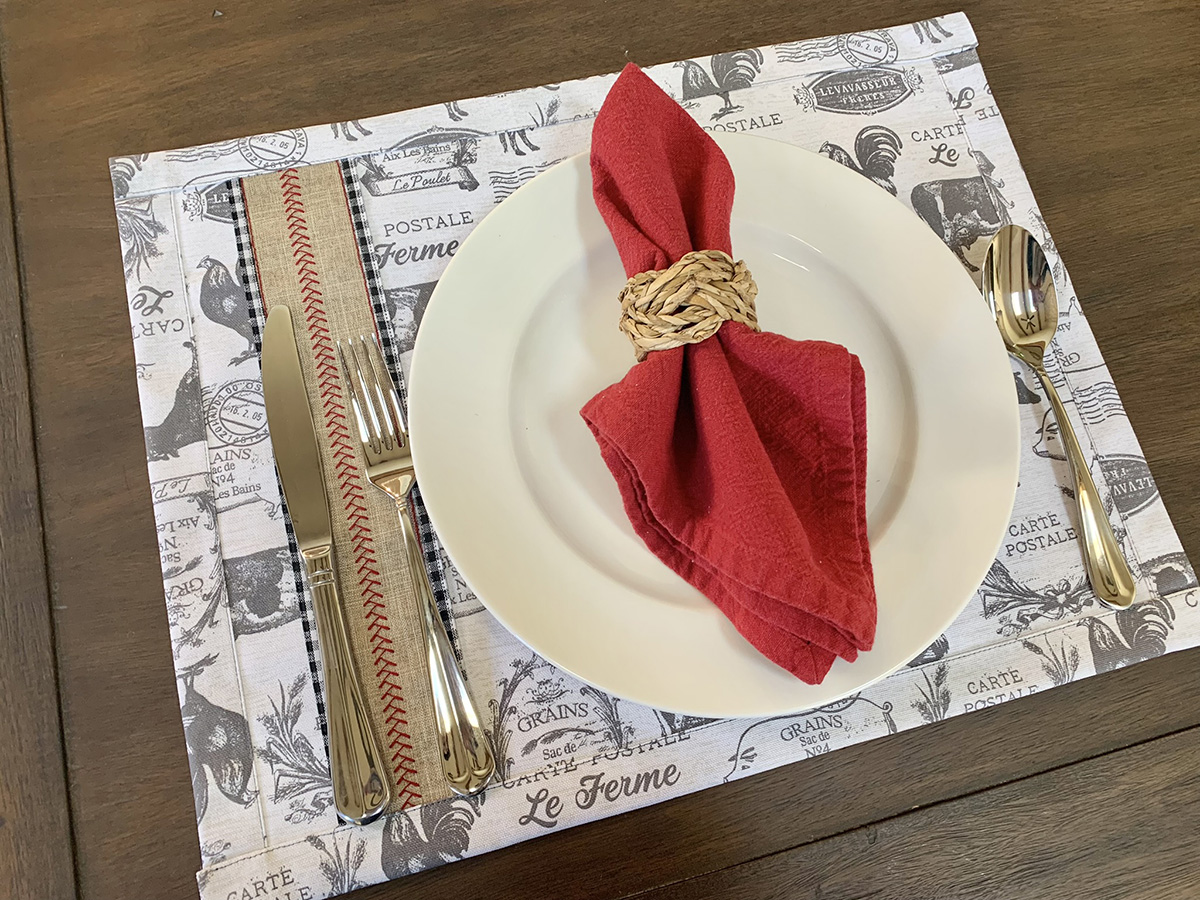
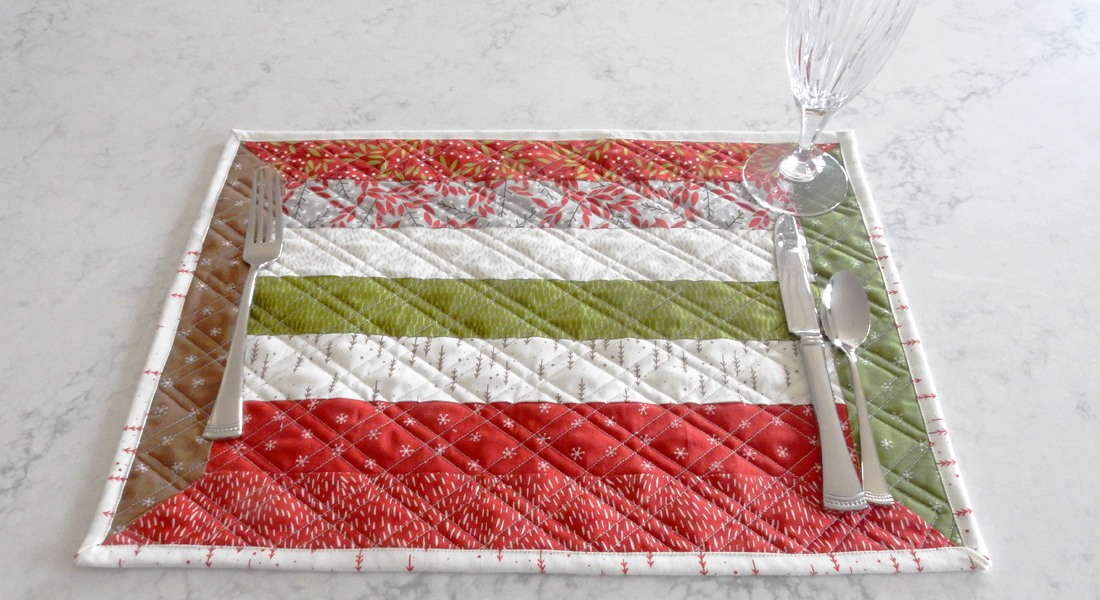
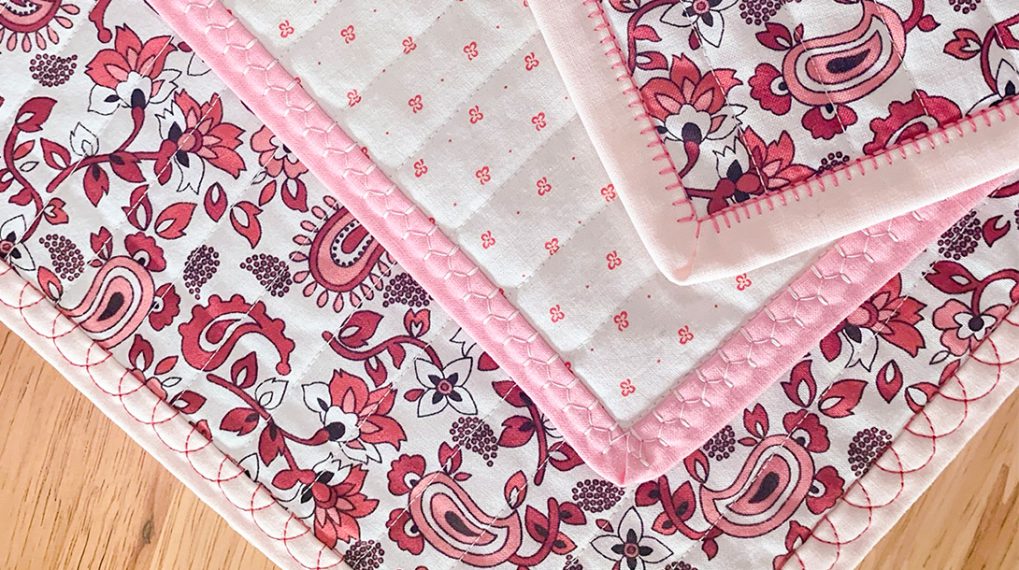
Farmhouse Style Placemats
These placemats are 13” x 18” finished. The size of the front fabric is the finished size of the placemats. The back fabric needs to be 4” larger than the front.
Cut front fabric into 4 – 13” x 18” rectangles.
Cut back fabric into 4 – 17” x 22” rectangles.
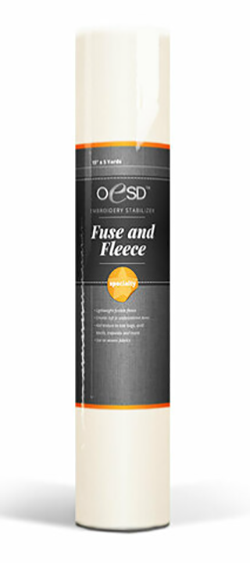
I’m using canvas fabric for my placemats. Because canvas is thicker, I’m only using OESD Fusible Woven for stabilizer. Fusible Woven is a lightweight fusible great for supporting decorative stitches and adding body. If you need to add more stabilizer to support the stitching, use OESD Heavyweight Stabilizer with the Fusible Woven. If you need more stabilizer and you want to add thickness to your fabric, try OESD Fuse and Fleece which is a lightweight fleece. Lots of options and everyone has their favorites, but it really comes down to your fabric and project!
Cut stabilizer same size as front fabric. Follow OESD’s directions for adhering stabilizer with iron on medium heat. If using two stabilizers, including the Fusible Woven, press Fusible Woven first.
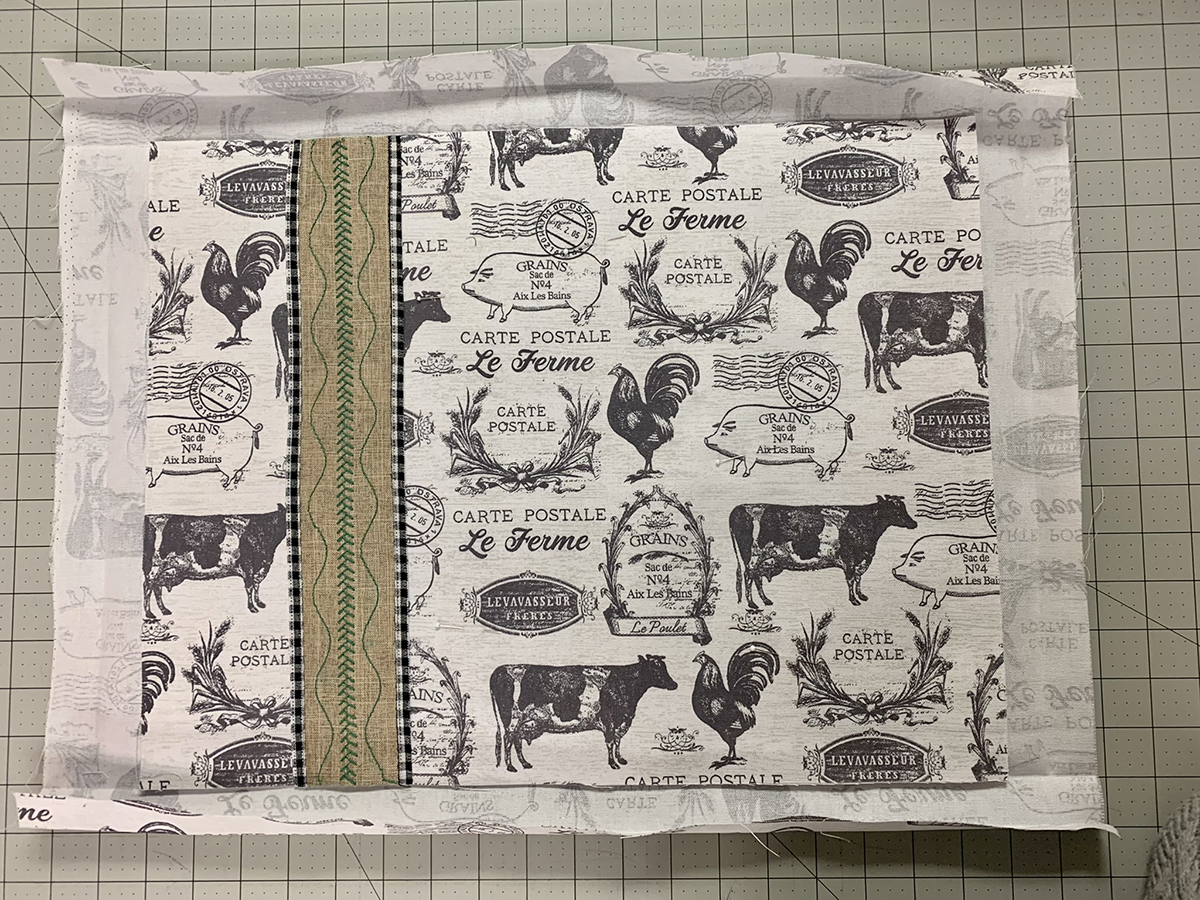
Cut a strip of your ribbon the length of placemat which is 13”. Pin in place so the ribbon is 3” from the raw edge of fabric. 2” from the raw edge looks good too.
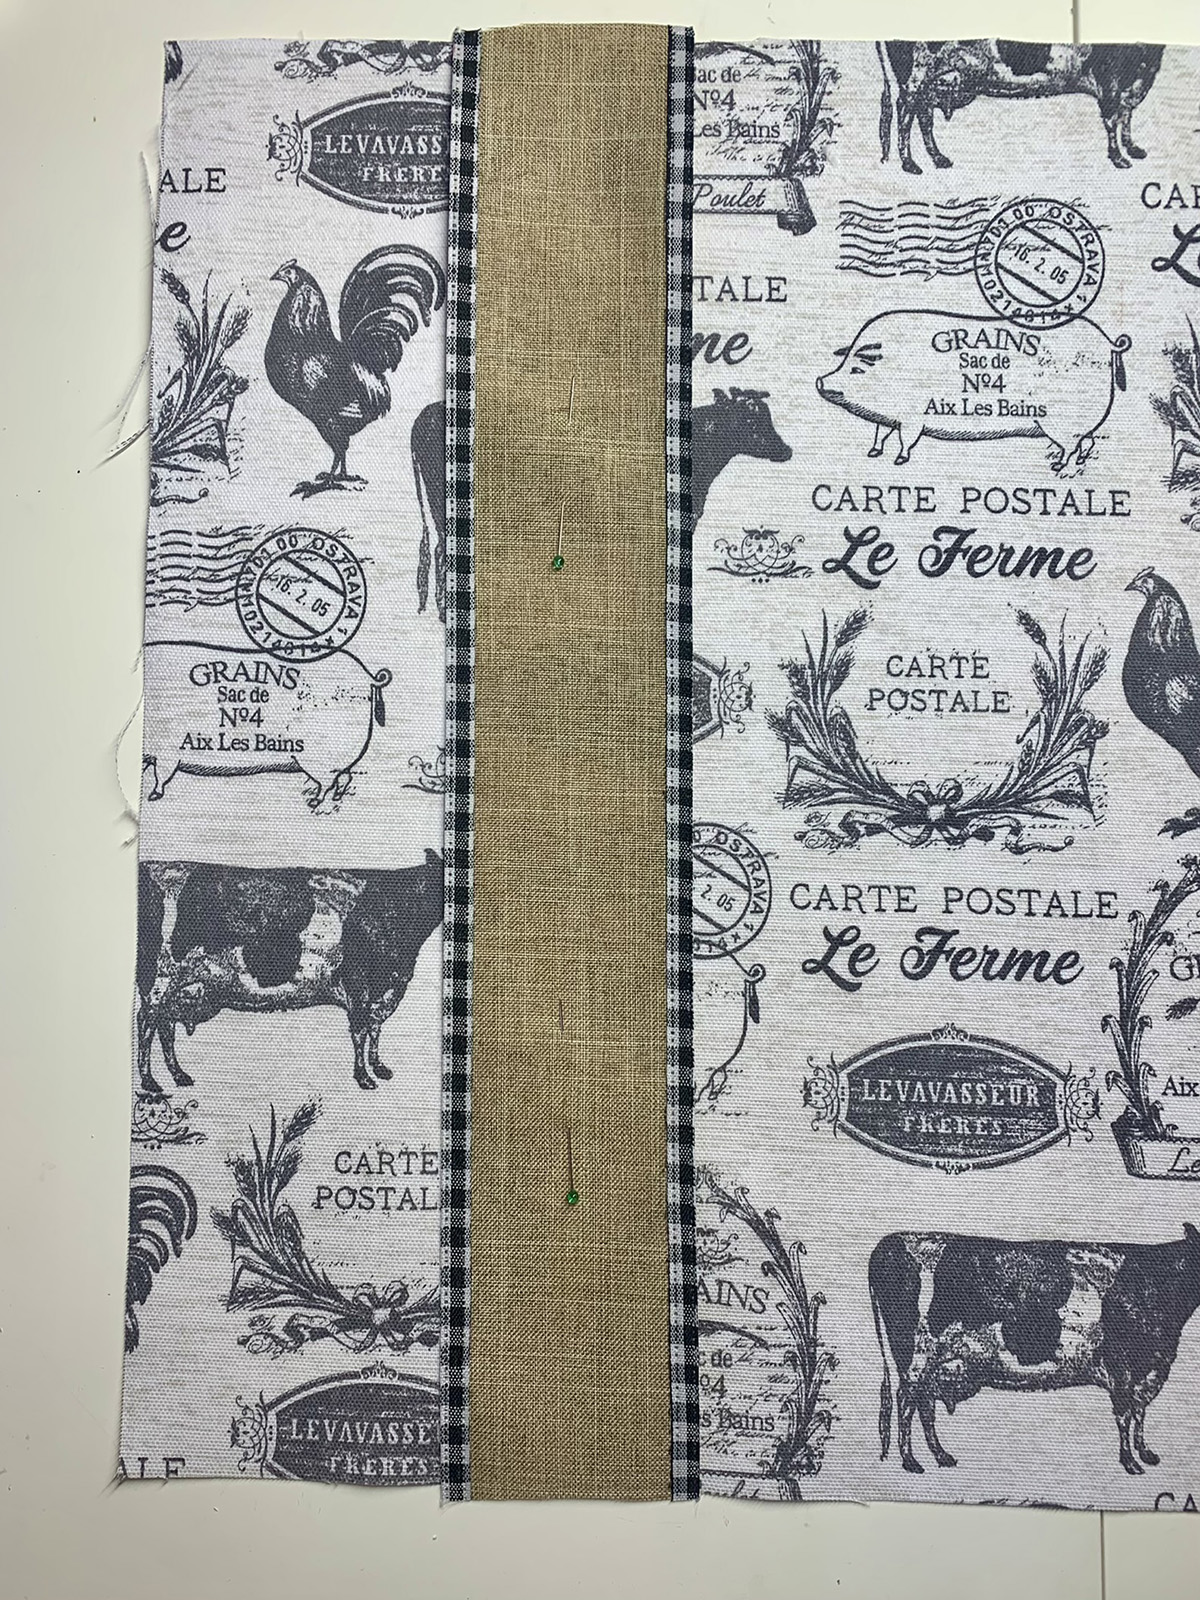
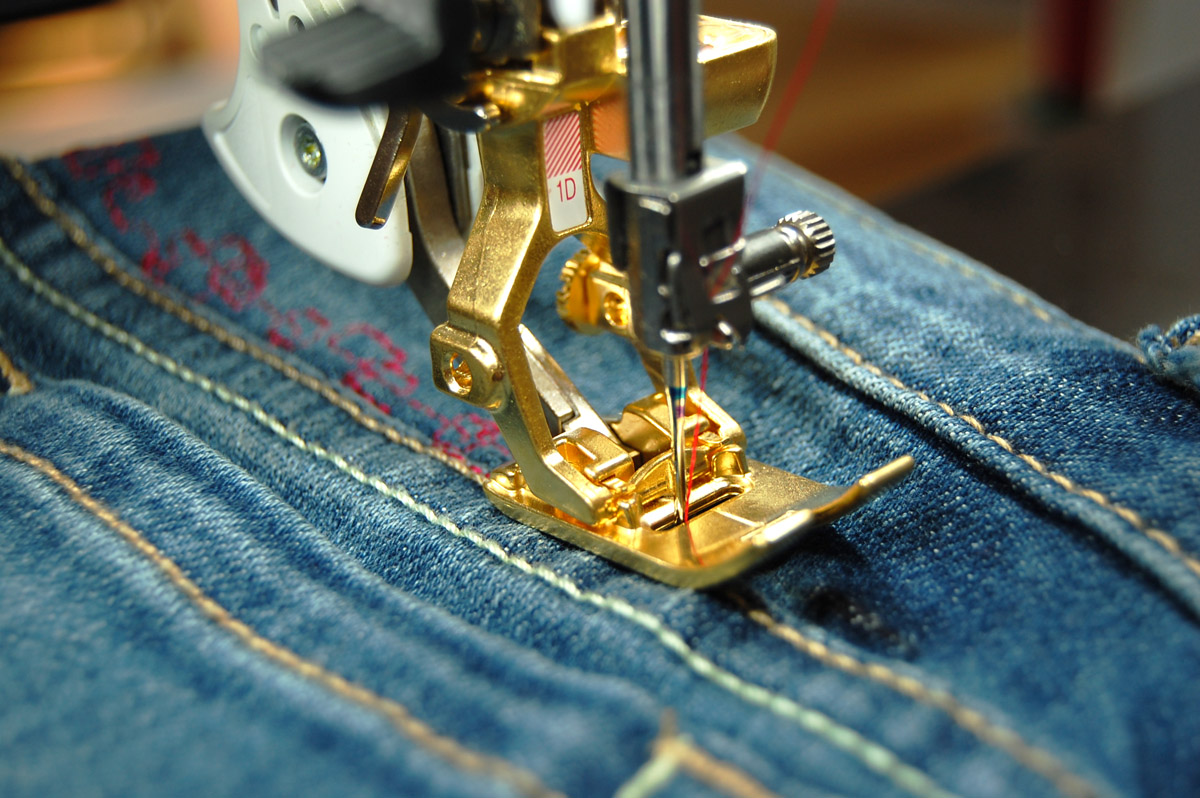
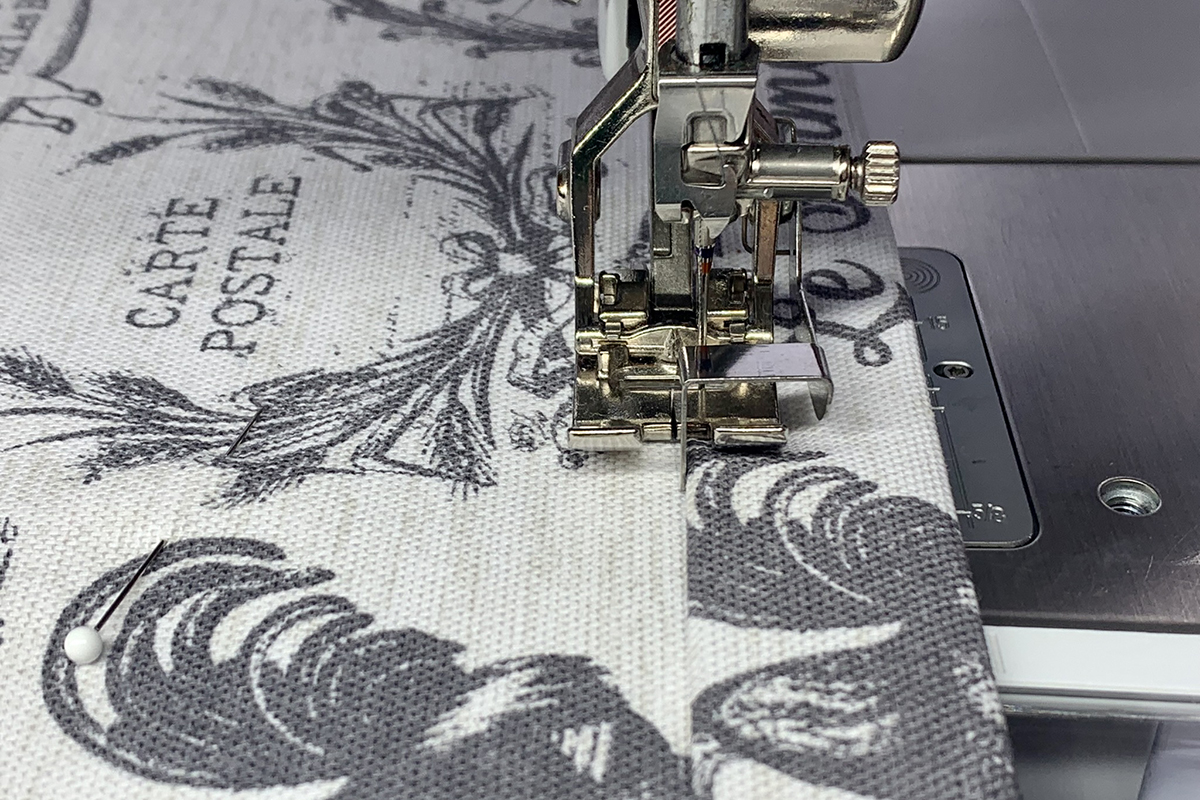
Attach Edgestitch Foot #10/10C/10D to your machine and a matching thread. Select Straight Stitch #1 and move Needle Position to -1. Place ribbon under foot aligning the center guide with the edge of ribbon.
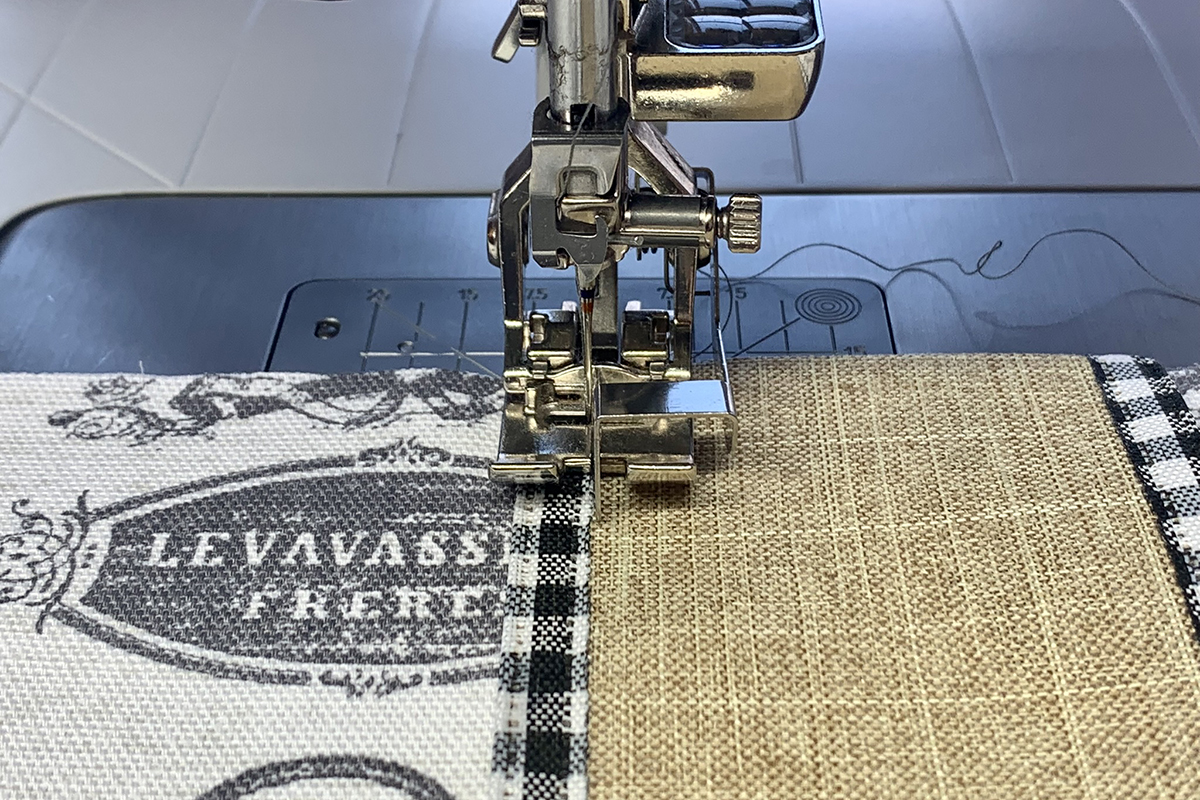
My ribbon has a gingham trim so I am lining it up against the trim rather than the edge. Lower needle with handwheel and check placement. Adjust needle position, if needed. Stitch down both sides of ribbon.

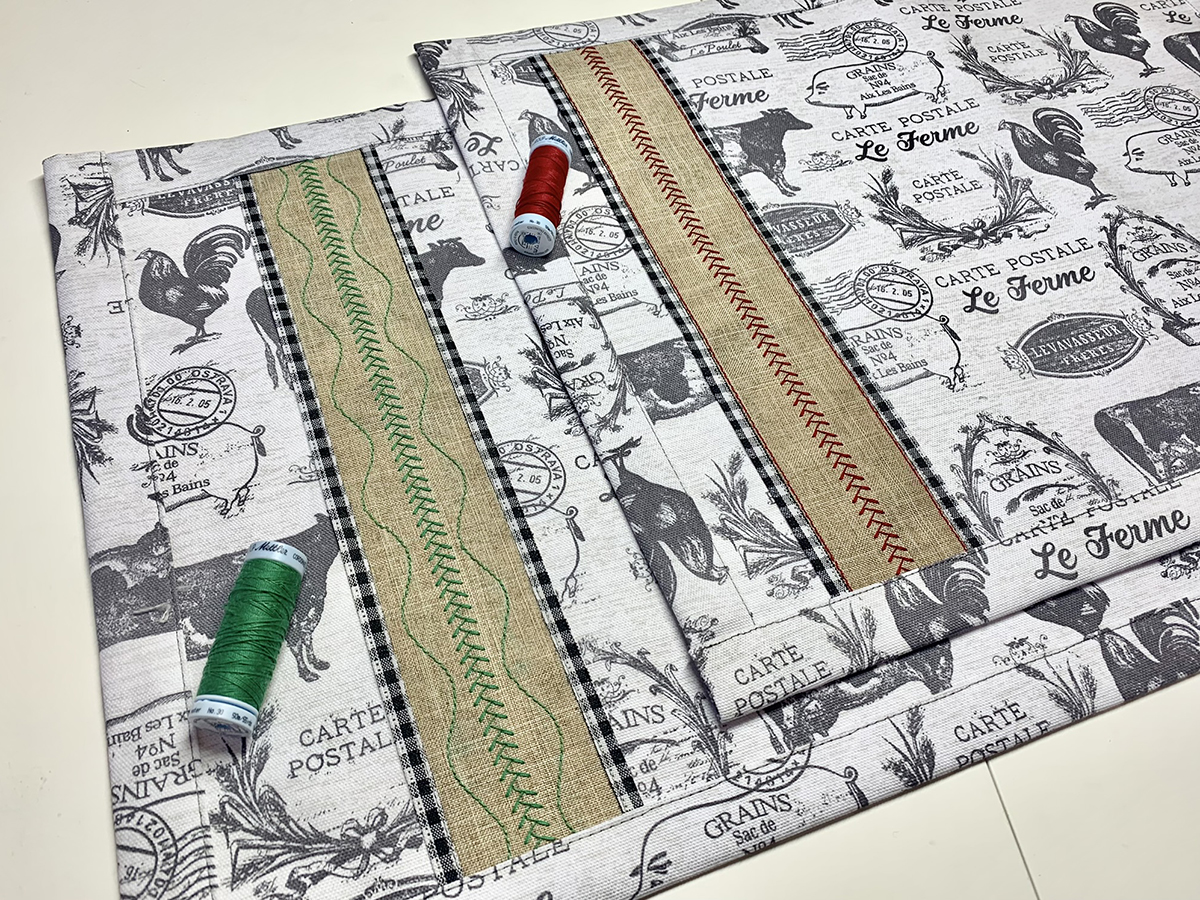
Add Decorative Stitches
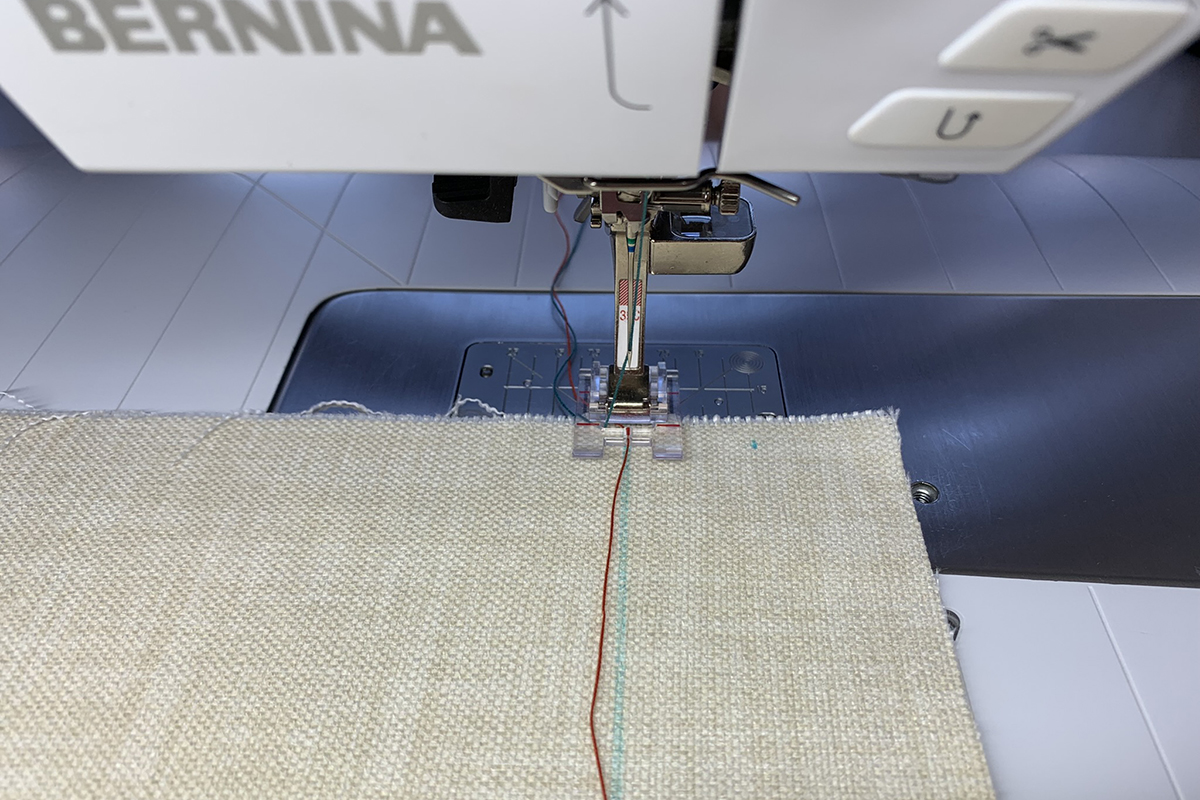
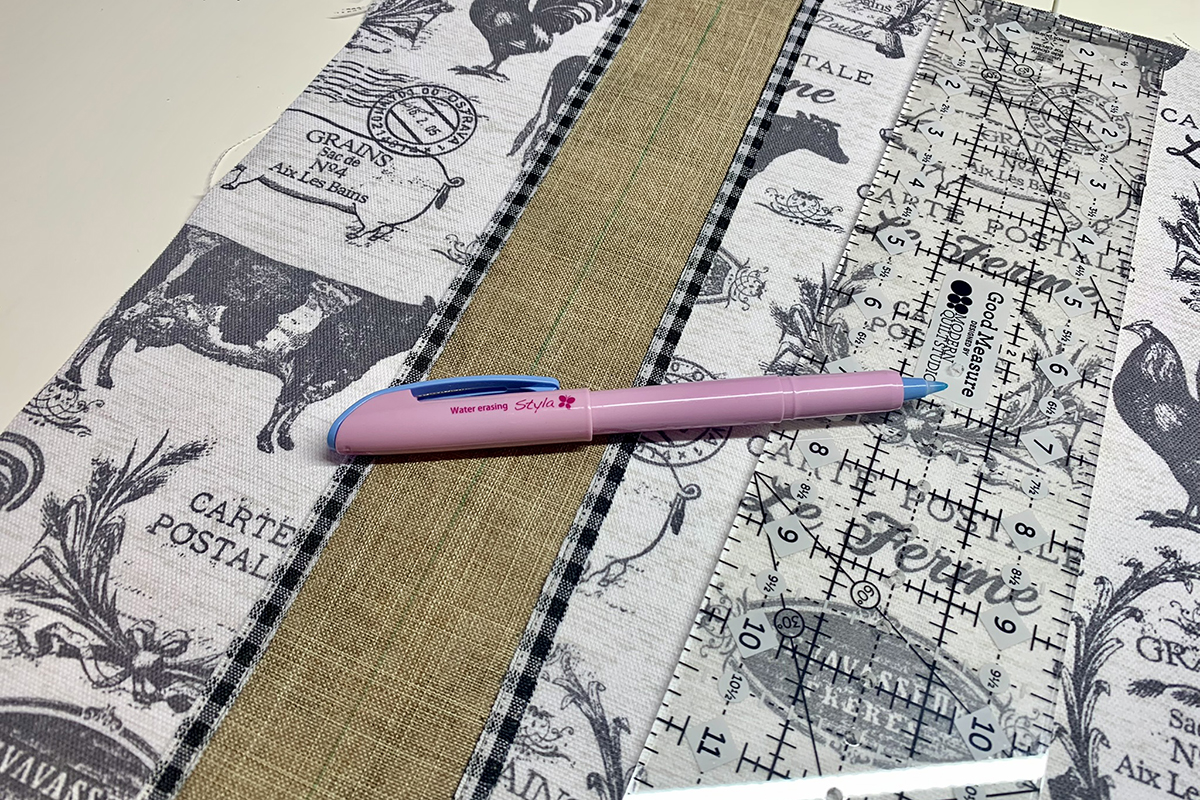
Select a heavy thread color and attach to your machine. Change the needle size to 90 and attach Open Embroidery Foot #20/20C/20D or Clear Embroidery Foot #39/39C. Select a decorative stitch, such as Stitch #1334. Make adjustments for sewing with heavy thread. As we did previously, increase stitch length to 5 mm and thread tension to 5. With a temporary marker, draw a line down the center of ribbon.
Hold upper thread to start and sew on the marked line. Follow the line with the indention on the Open Embroidery Foot or the red mark on the Clear Embroidery Foot.
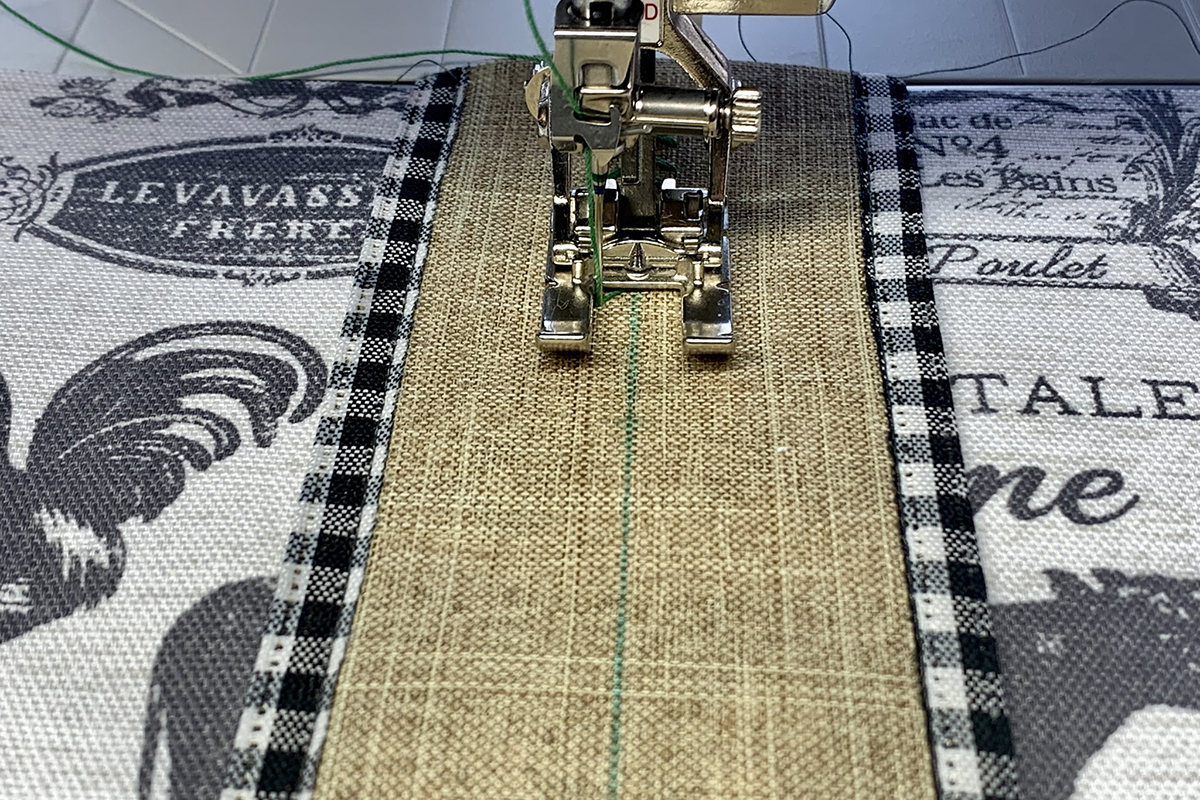
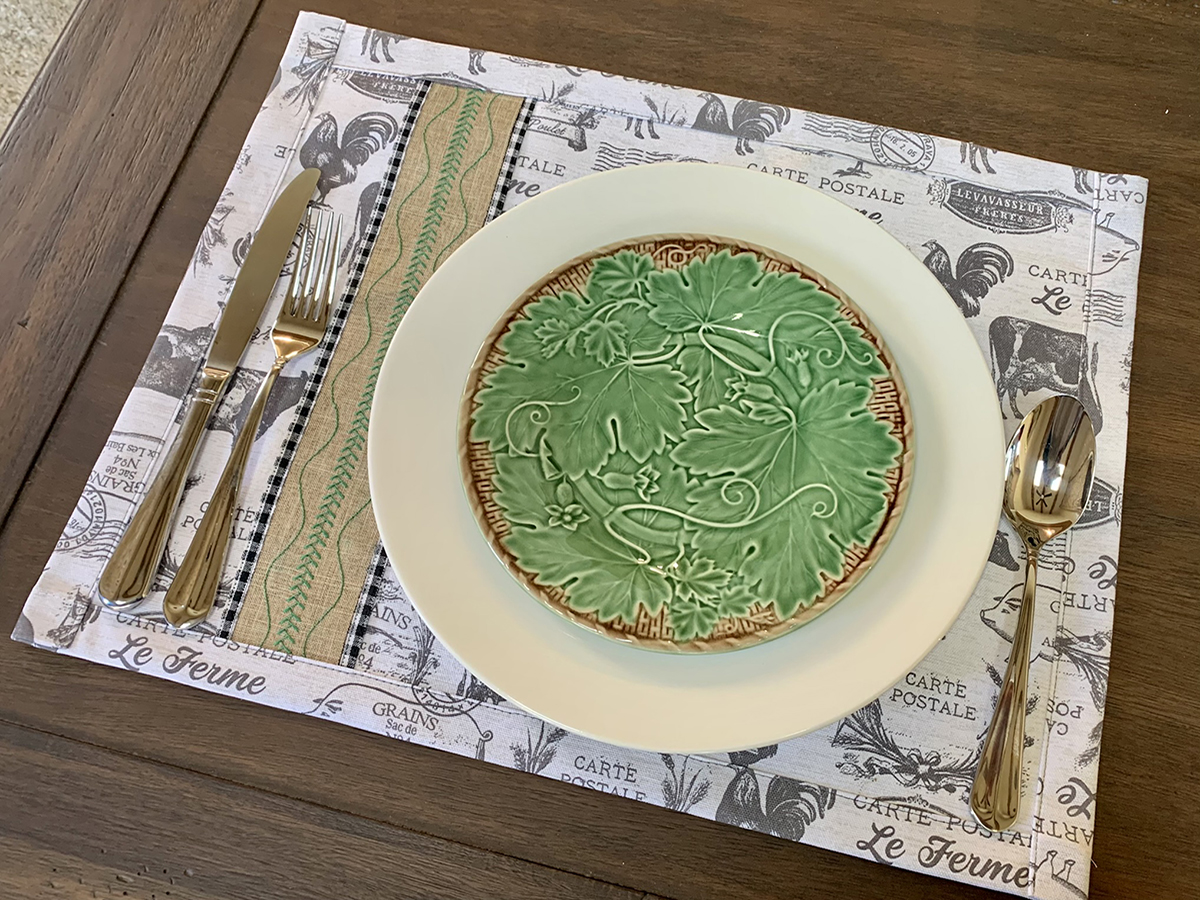
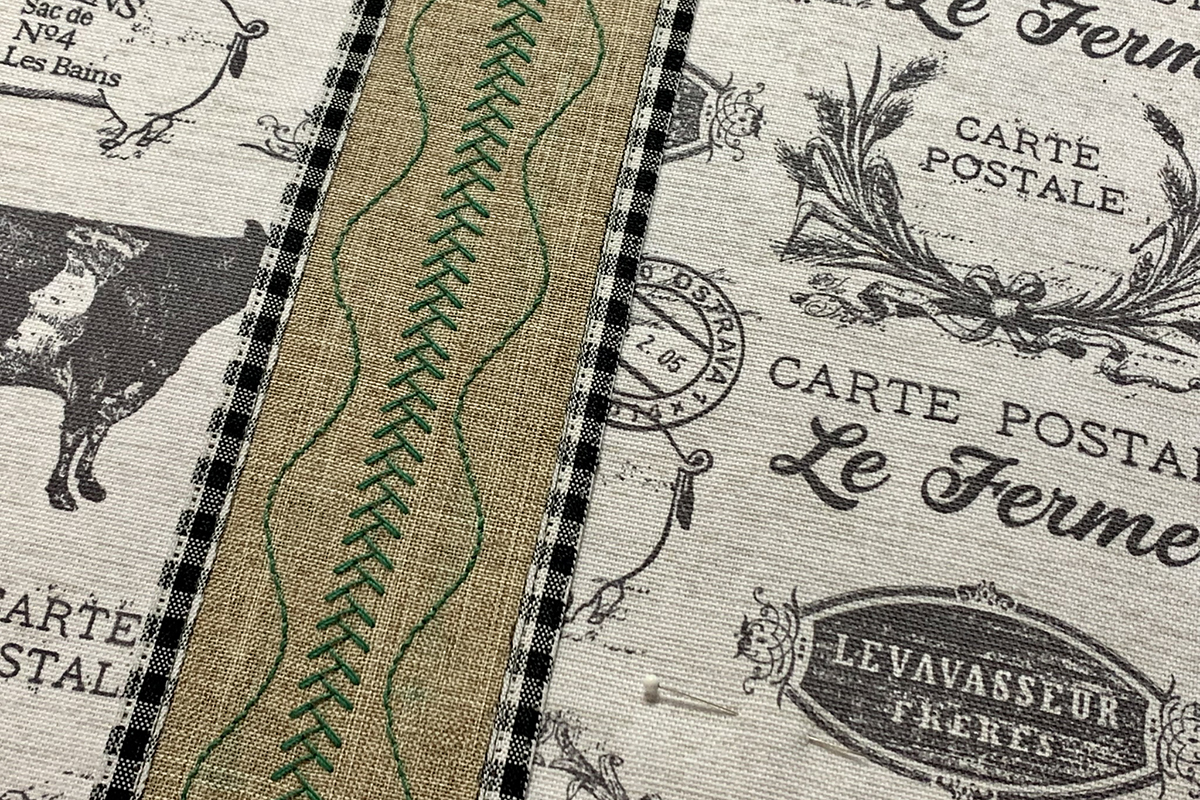
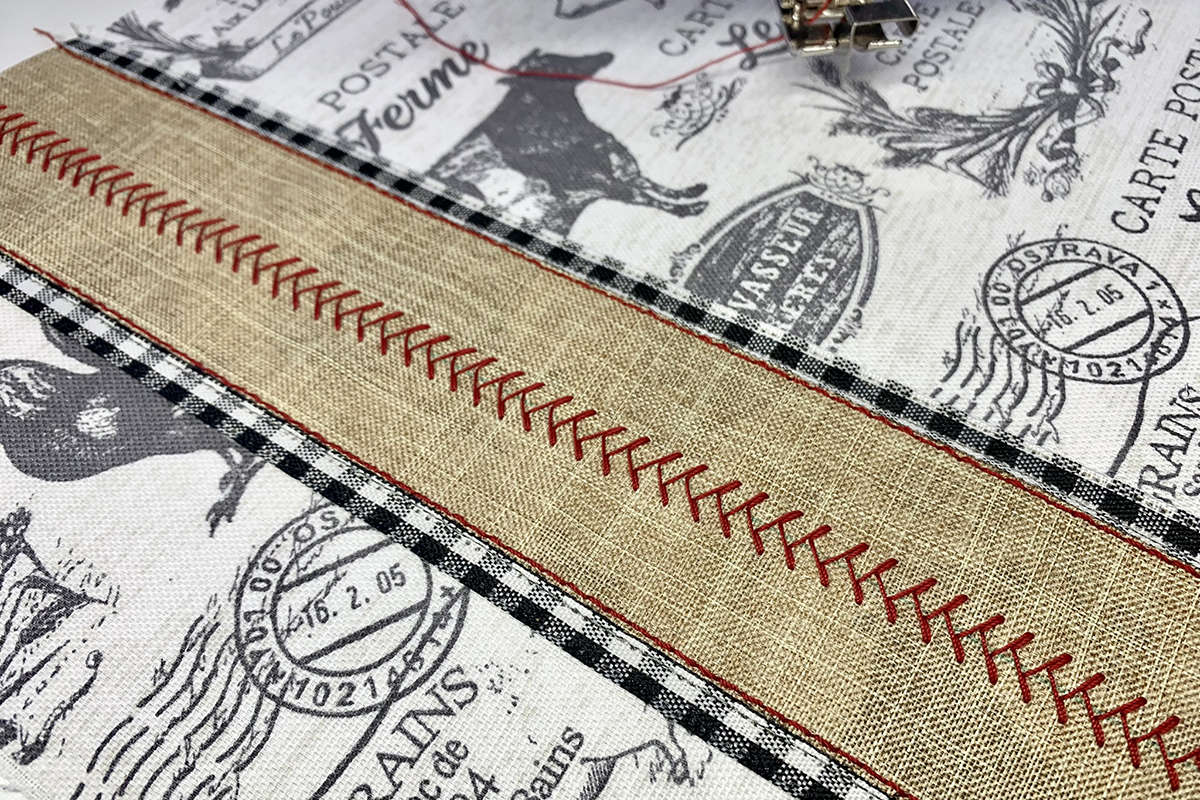
Next, decide on a second decorative stitch. I made one placemat with green thread and one with red. For the green, I added two lines of Stitch #1398 equidistant from the center stitch.
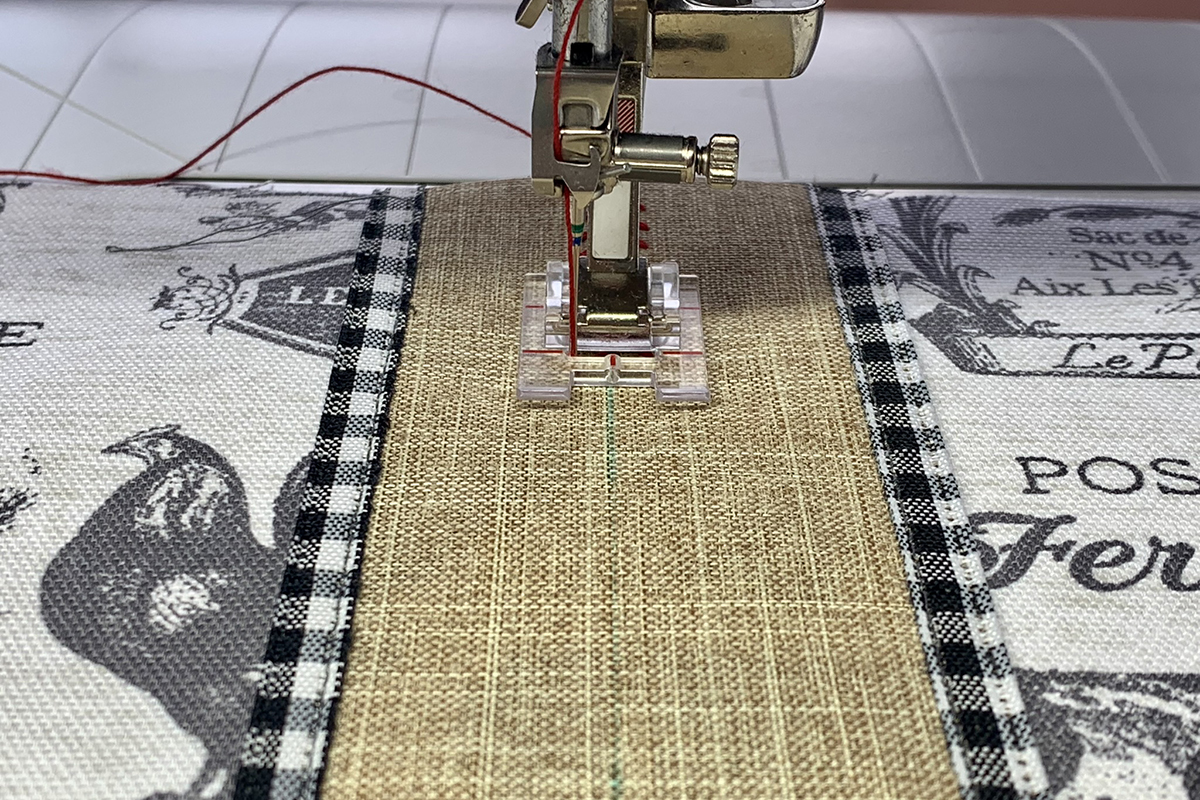
To mirror image the waves, draw a horizontal line at top and start sewing on the line. Make sure you start at the beginning of the stitch pattern. For the second wavy line, go into the Information Menu and select Mirror Image icon.
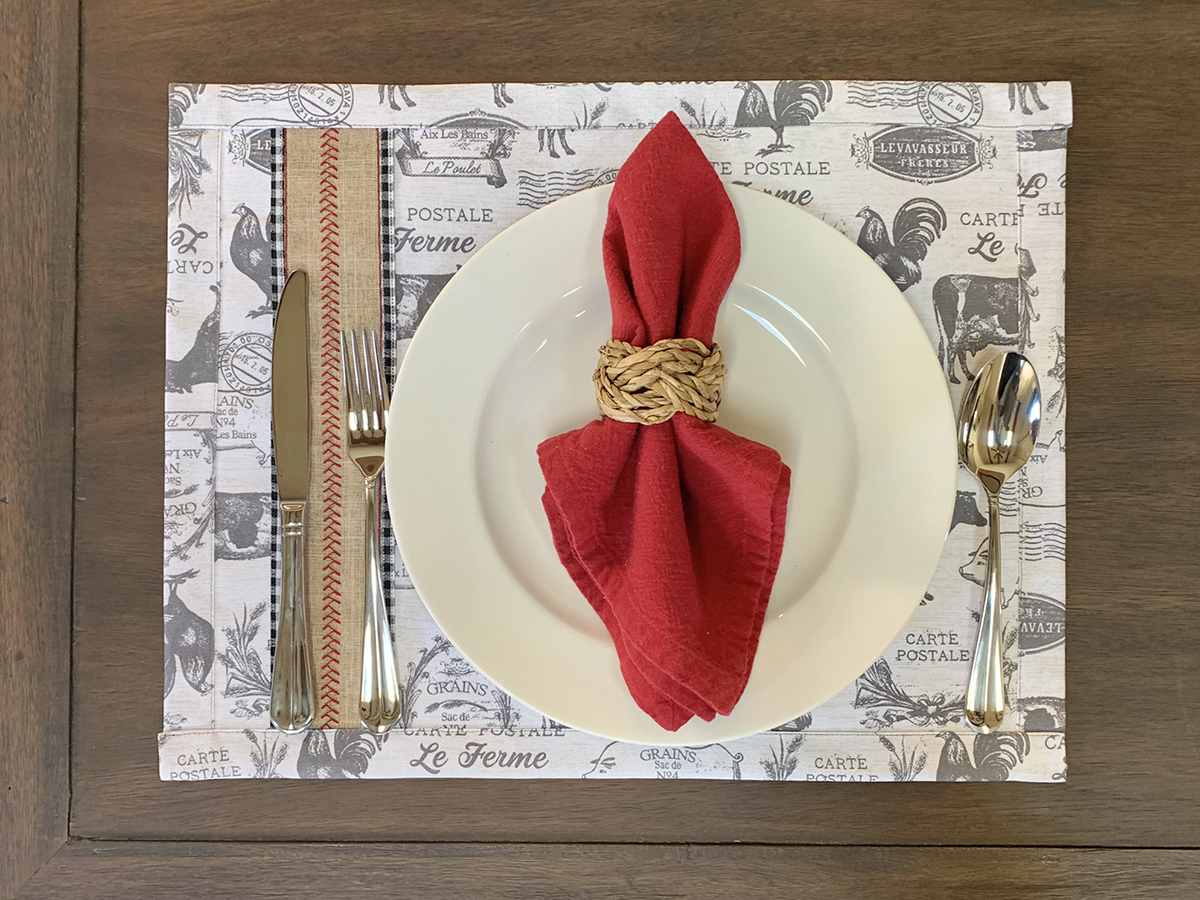
For the red thread, I decided to make a straight stitch along the gingham trim. I increased the stitch length to 3 mm and attached the Edgestitch Foot.
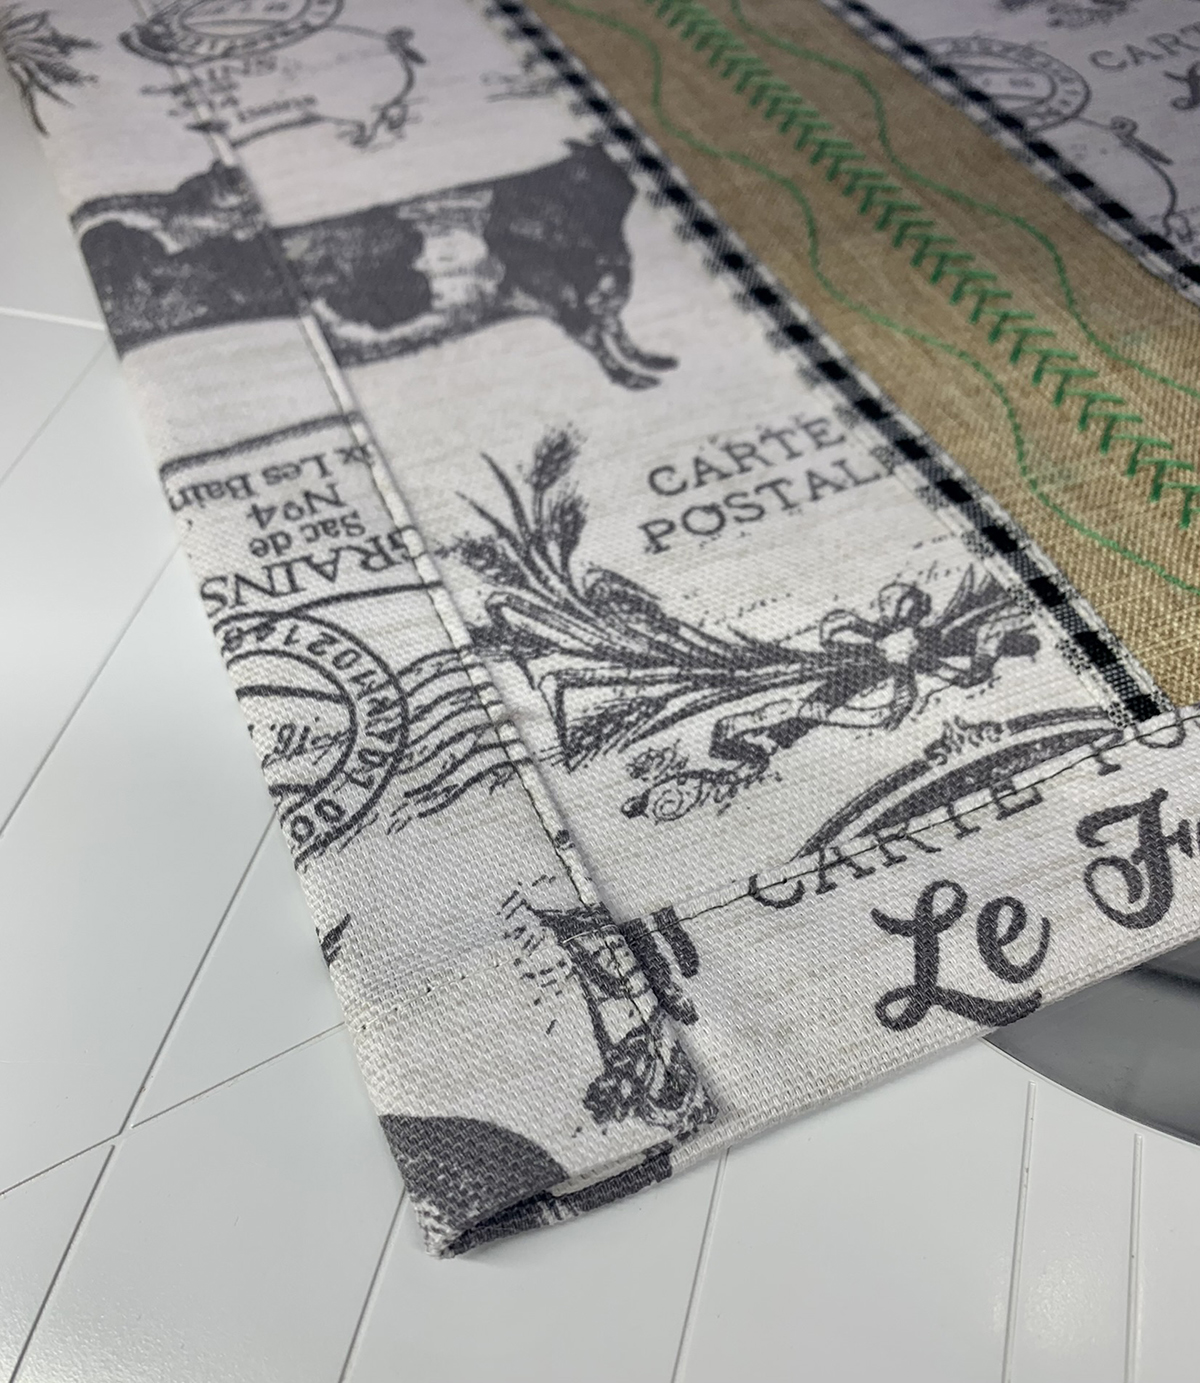
Add Backing
Center front fabric onto back fabric, wrong sides together. There should be about 2” excess on all sides. Fold and press back fabric so the raw edge meets the raw edge of the front fabric. This should be about 1”. Do this on all 4 sides. Then, fold over again about 1” and press. This is basically a double fold hem. You should have some nice creases to work with for the next step.
Attach Edgestitch Foot 10/10C/10D to machine, your size 80 needle and 50 weight thread. Refold one side and pin. It doesn’t matter if you stitch down short or long sides first. Select Stitch #1, increase stitch length to 3 mm, and change needle position to 3. Place fabric under foot with the binding butted up against the center guide. Use handwheel to check needle placement and adjust if needed.
Stitch down two opposite sides. Then stitch down the last two sides, securing at start and end. You are finished! Now you have a beautiful placemat not only to use, but to showcase your impressive sewing skills! We won’t tell anyone how easy it really is!