How to Quilt Insulated Pumpkin Placemats
Grüezi mitenand! Hello BERNINA Q . . . Quilters?!
Here is Carolina Asmussen from the BERNINA Ambassador Class of 2021 and of course, my “new, old friend”, the BERNINA Q 20 Sit-down model.
Welcome to our first “hands-on” blog post! I thought it would be fun to make a fall-related project. During the holiday season, we have so many opportunities to get together with friends and family. It’s the perfect time to share a meal without the everyday rush. With this in mind, I will teach you how to quilt and piece insulated pumpkin placemats using the BERNINA Q 20. These placemats will keep your dishes warm for a longer time while you catch up with everyone during the festivities!
I don’t know if you remember but I’m a quilting teacher. This means that most of my projects are actually “quilting classes in disguise”, and this one is no different. This project is actually a quilting with ruler class and my goal is to make you familiar with the ruler foot’s dynamic and the 1/4″ allowance that you always need to consider while working with rulers. But relax, focus on the project and you will learn everything without even noticing!
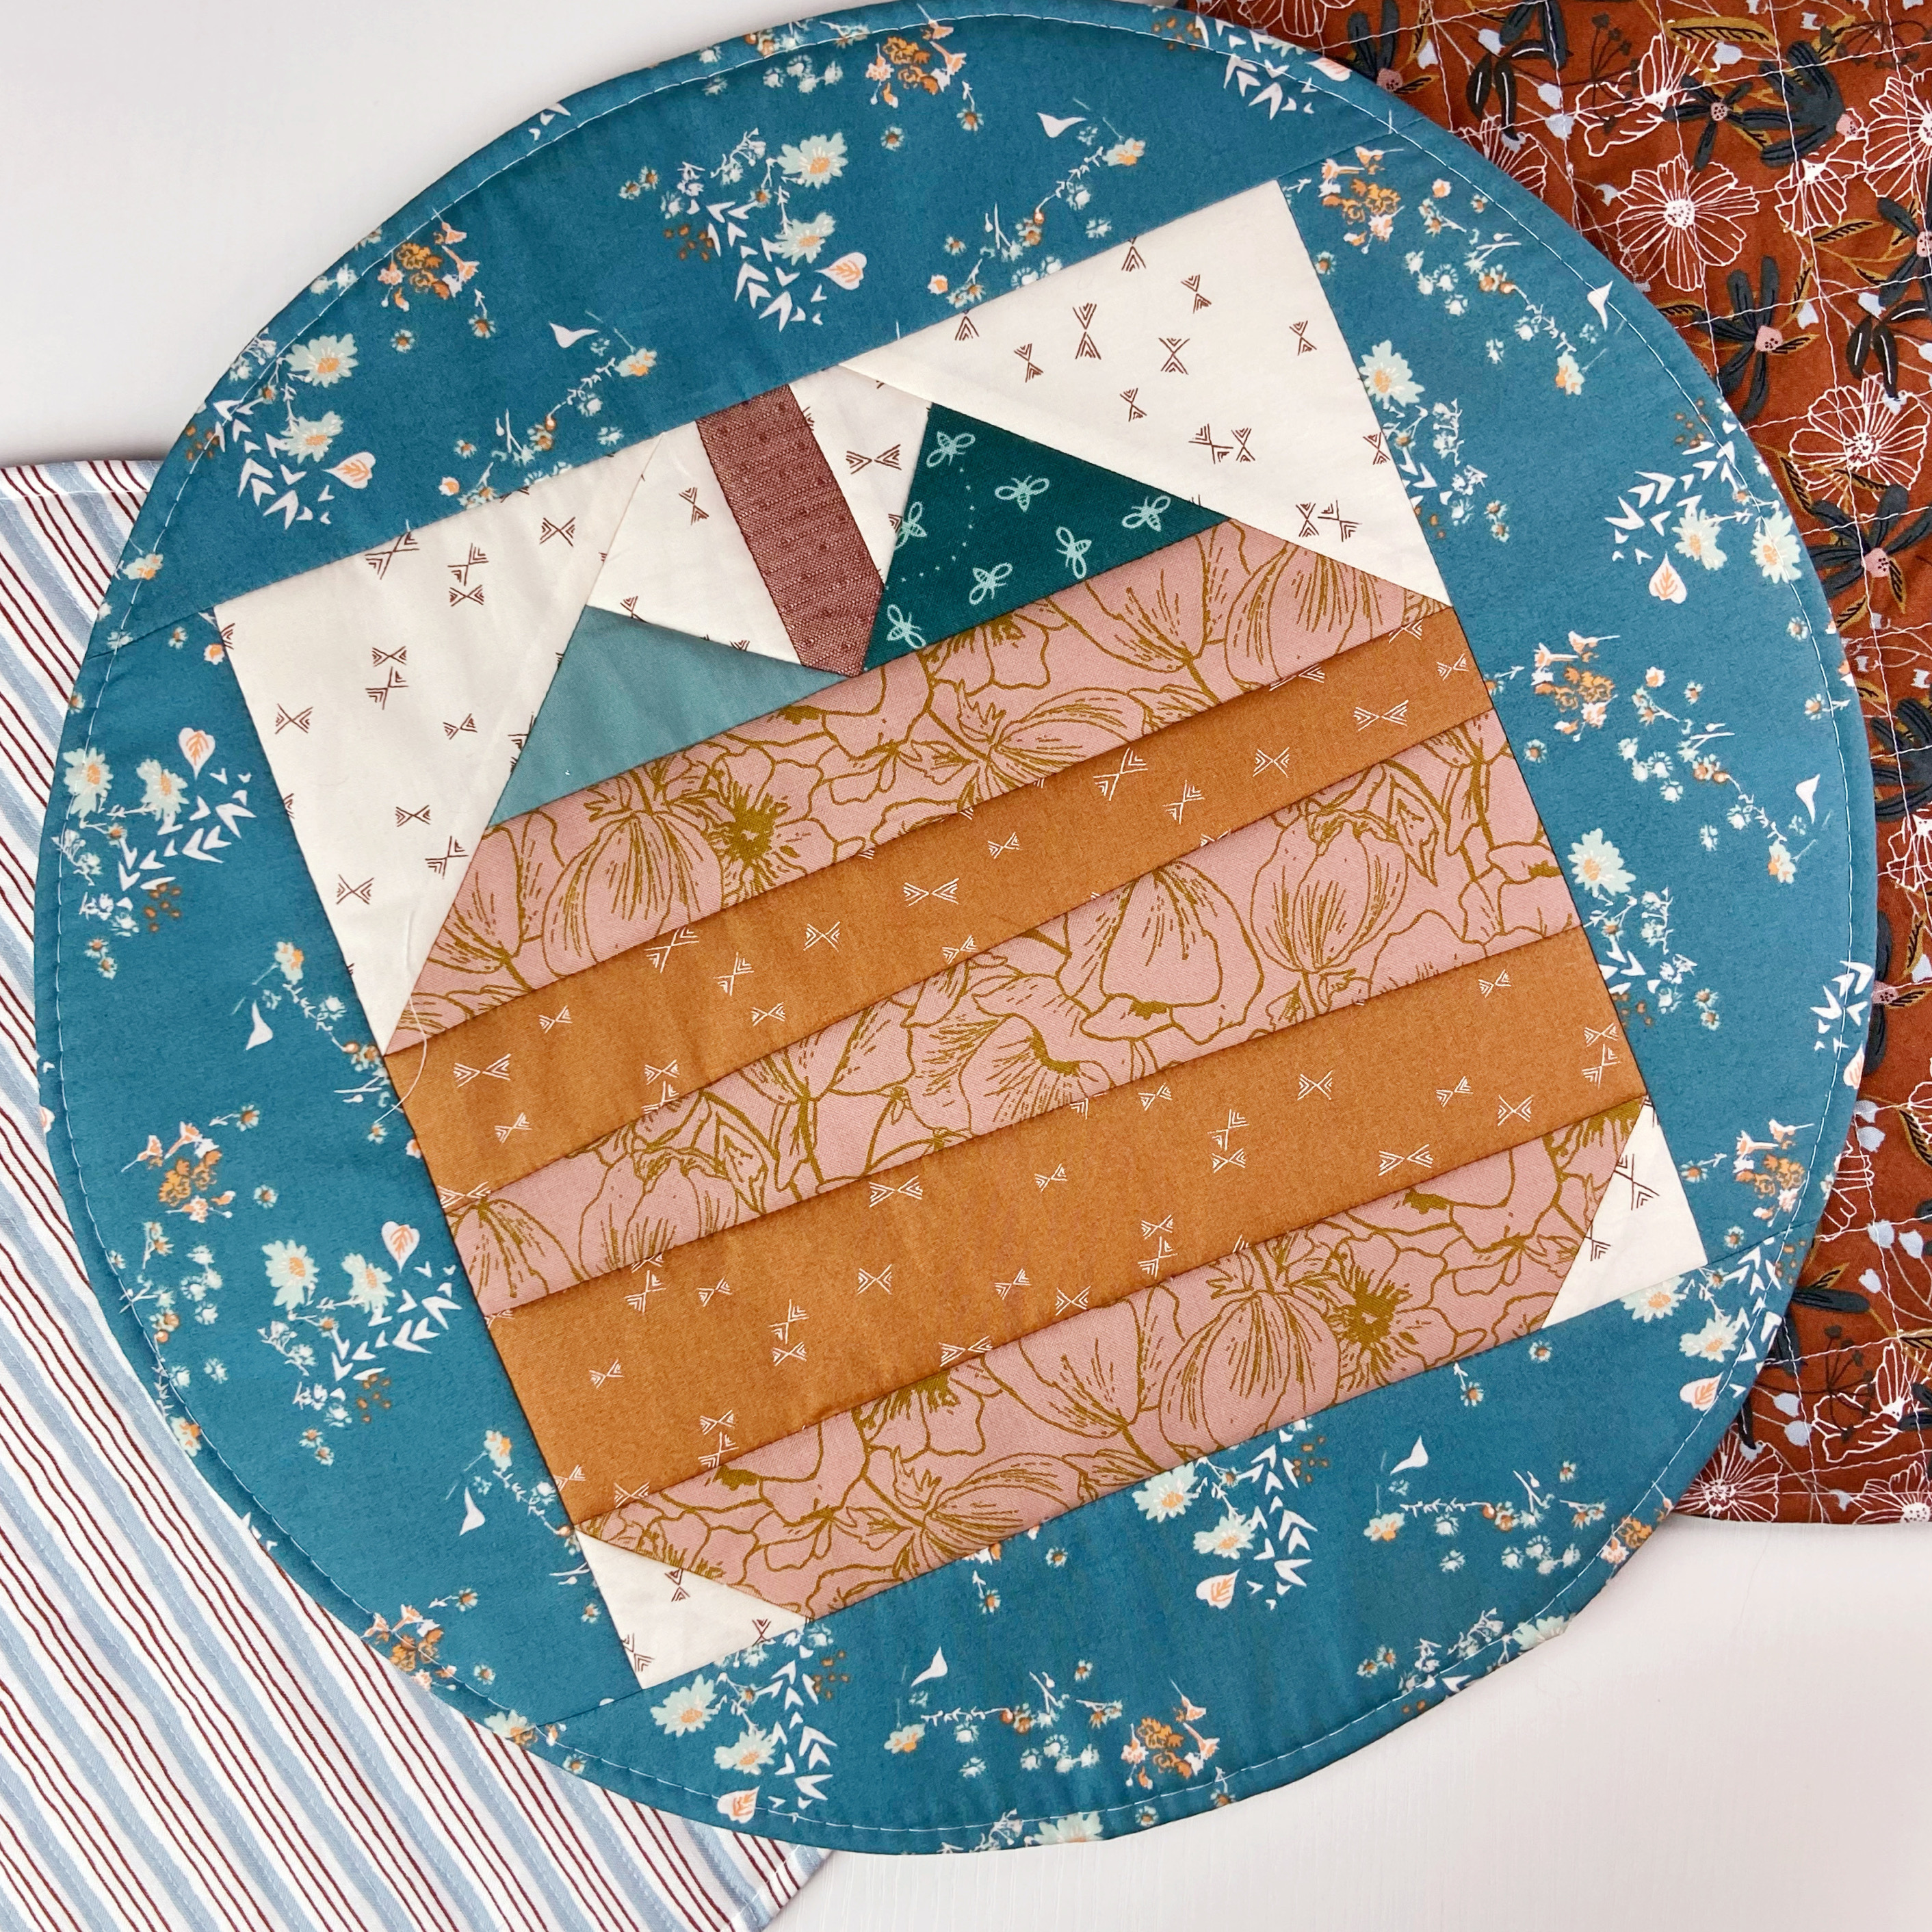
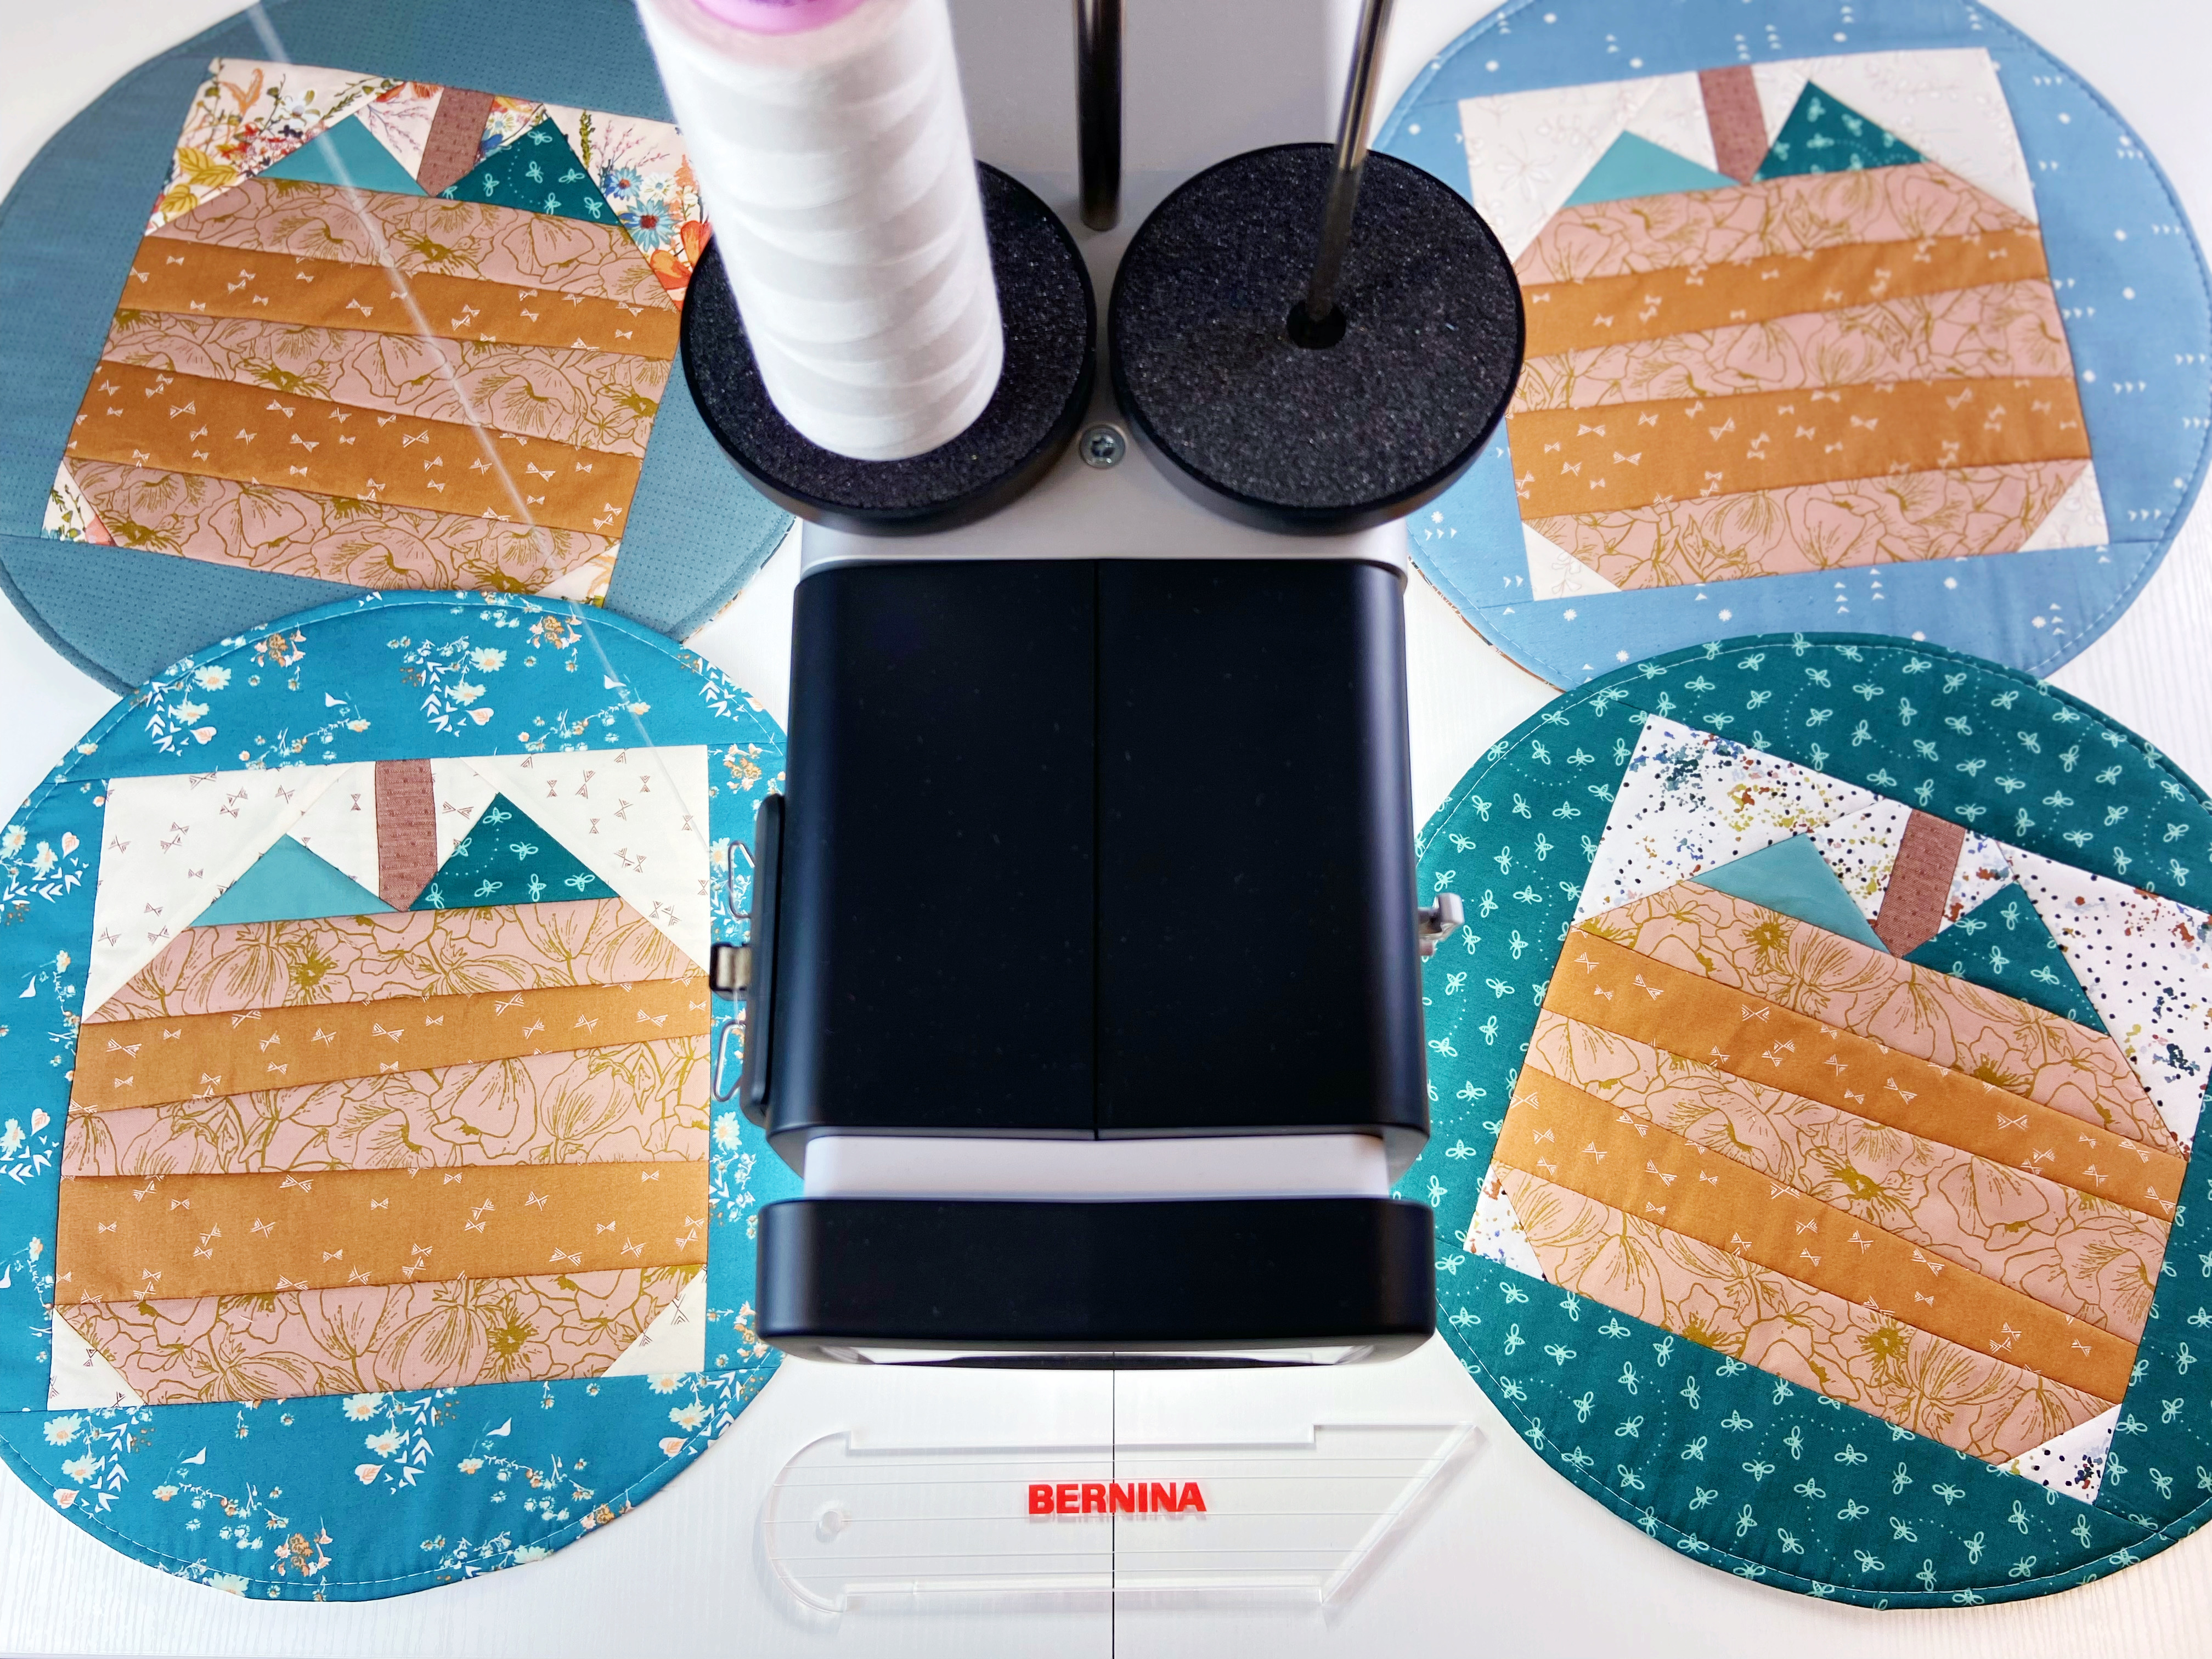
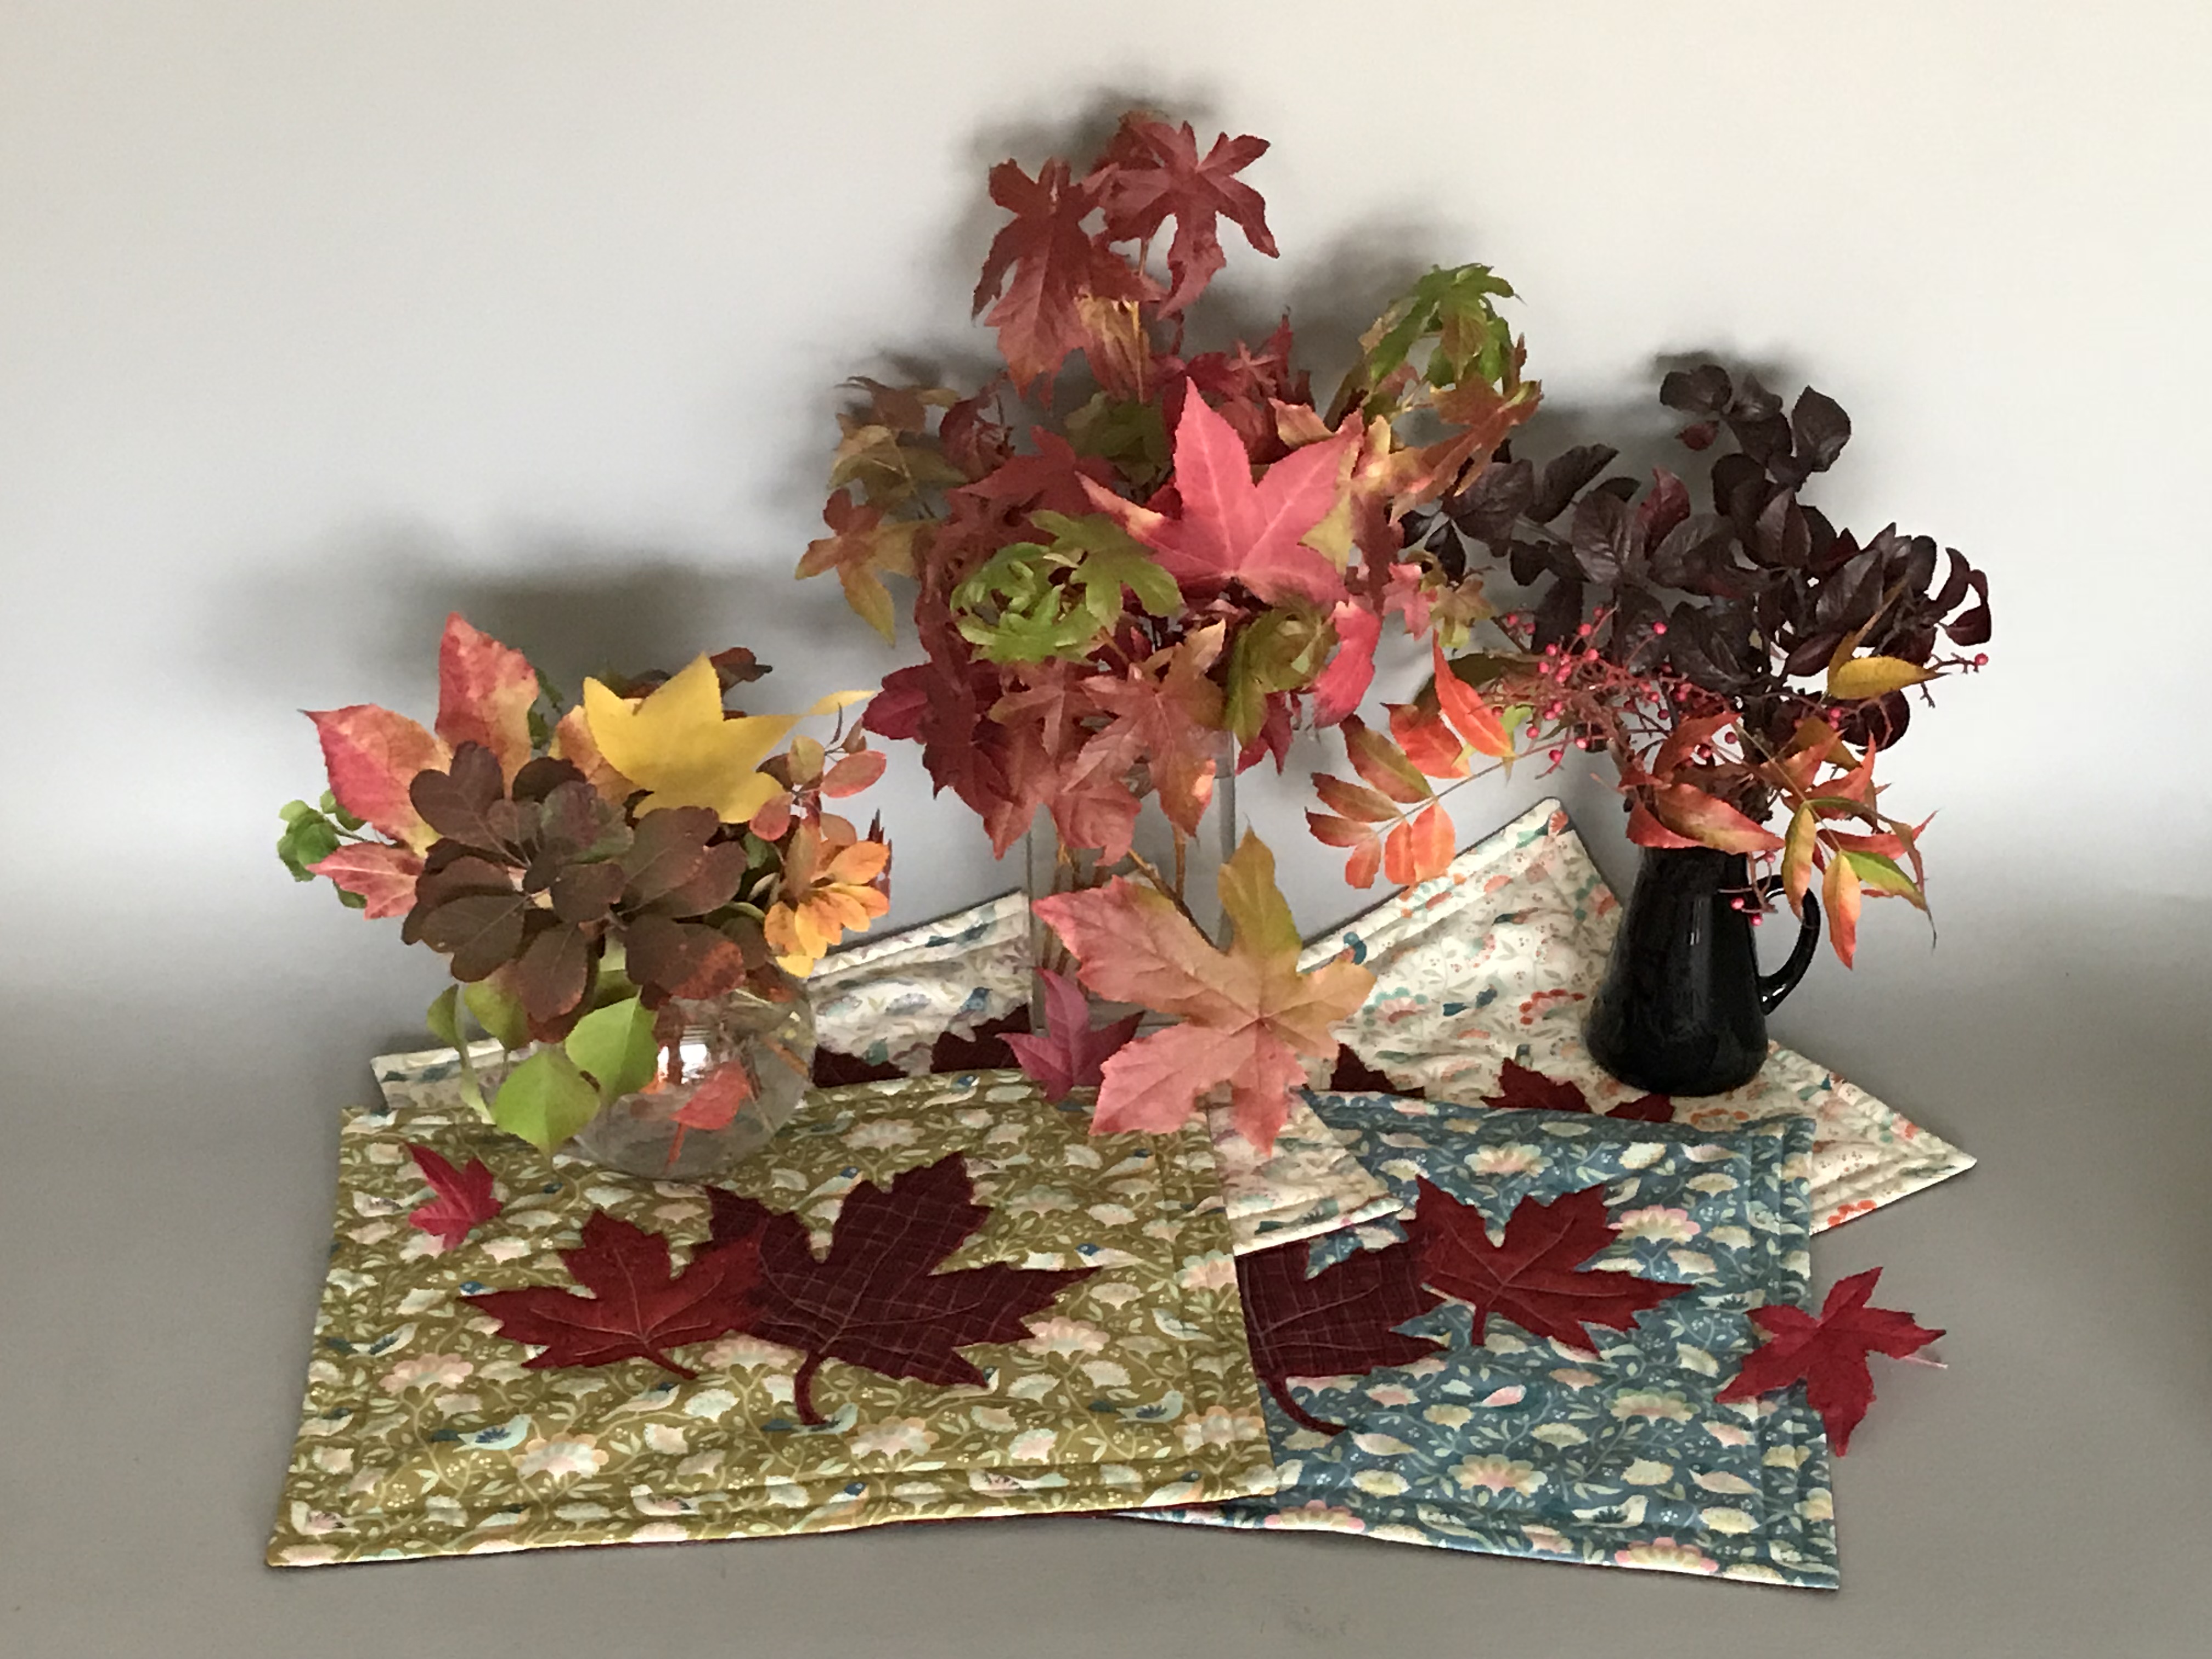
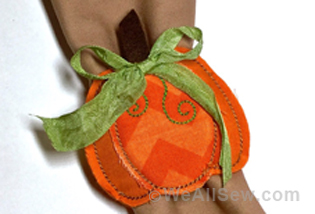
Insulated Pumpkin Placemats. Finished size: 16″ circle

Materials to Quilt Insulated Pumpkin Placemats
- Download and print (100% scale) the Insulated Pumpkin Placemats PDF with all the templates and fabrics requirements.
- BERNINA Ruler Kit for Sit Down Models, or any other 1/4″ thick straight quilting ruler
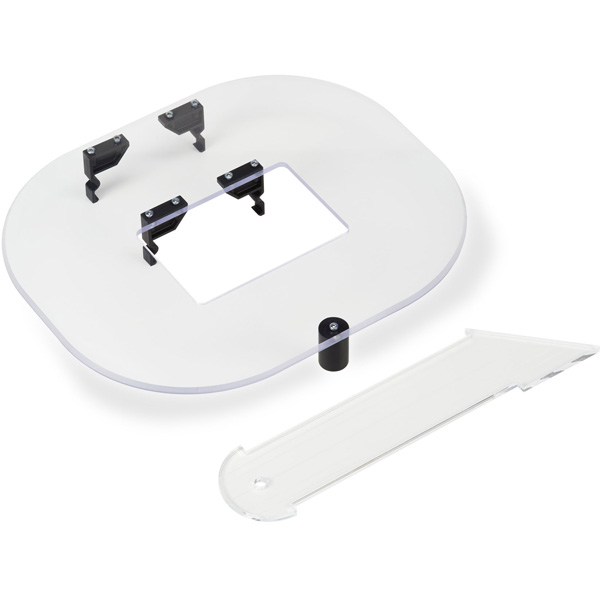
- BERNINA Adjustable Ruler Foot #72 and Echo-quilting clips
- Mettler SERACOR 100% polyester neutral color or coordinating with the fabrics
- Topstitch 80/12 needle
- Quilting gloves are not mandatory, but can help a lot!

How to Quilt Insulated Pumpkin Placemats
Before You Start
- Read all the fabric requirements carefully.
- Use the 1″ square printed in all the templates pages to check for right scale.
- Cut all the paper templates (A to R).
- Cut all the fabric pieces using the templates (A to R) and follow the diagram on page 01.
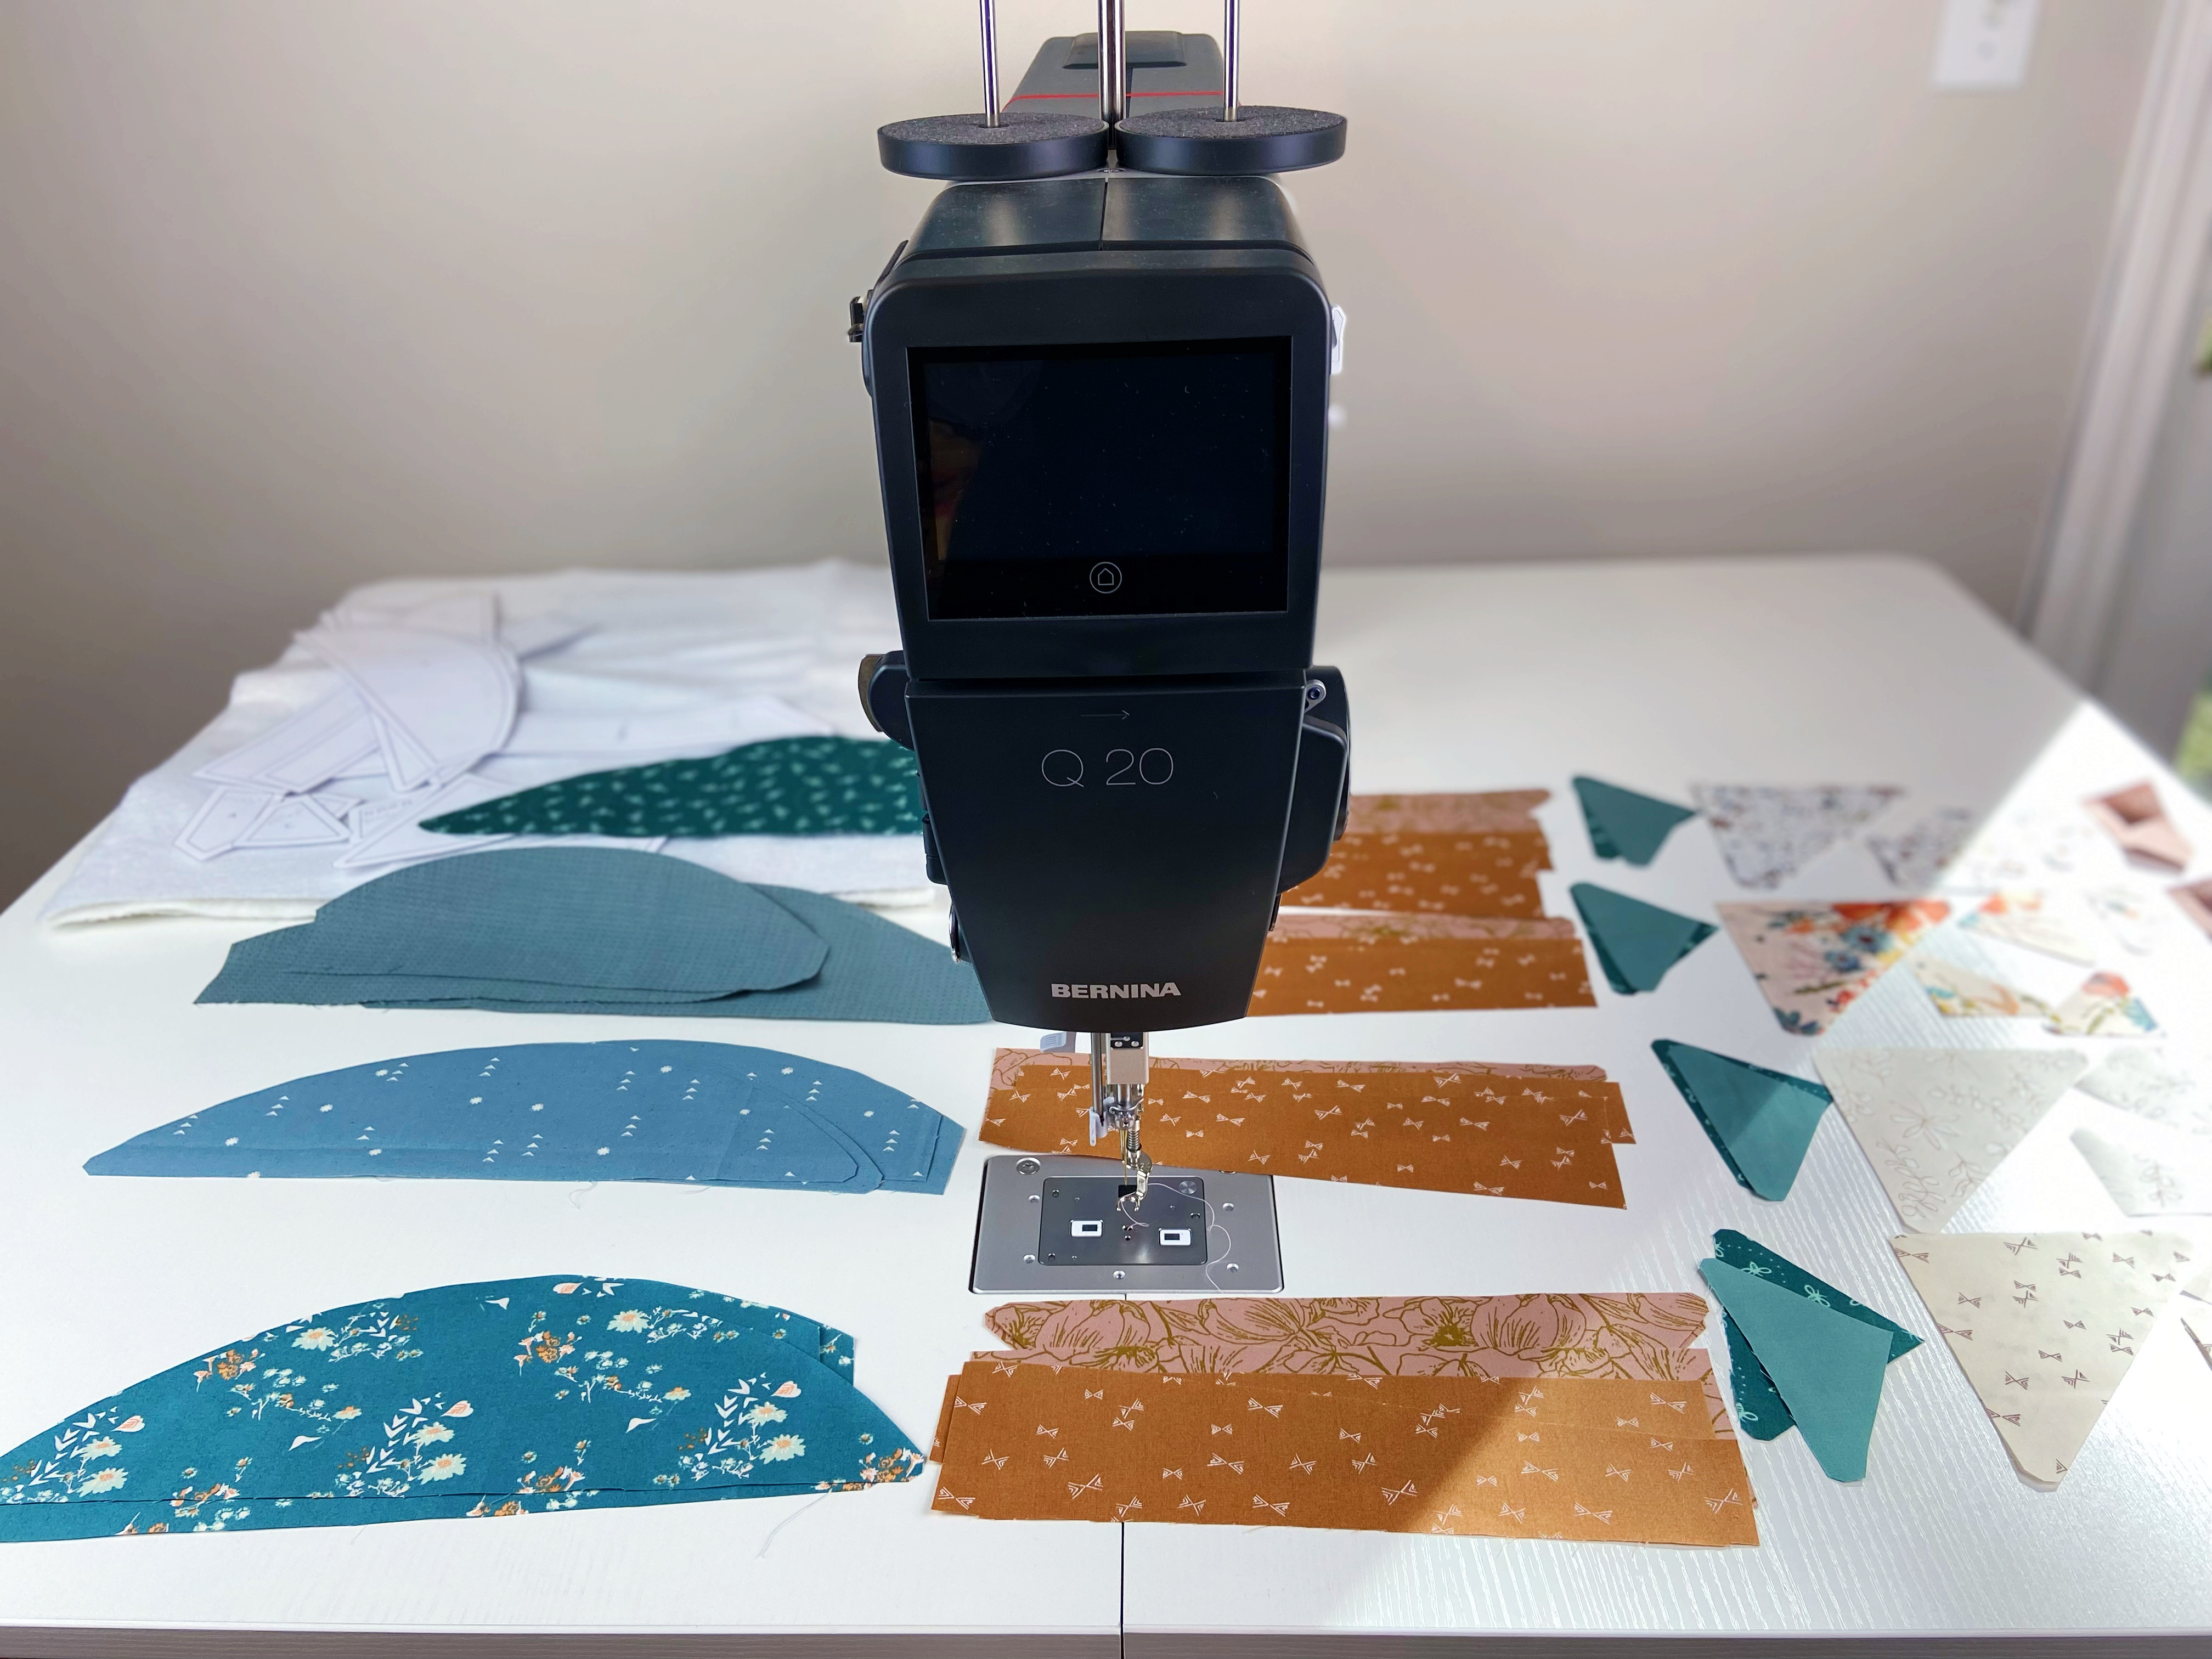
I love to take advantage of the extra space to check all the pieces and make sure that I’m not forgetting anything! Here I’m preparing a set of 4 placemats.
We will start piecing and quilting the pumpkin block on the top of the 20″ square of insulated batting as we go. After that we will quilt the 20″ square of backing fabric with the 20″ square of regular batting. So we will have two parts, the placemat’s top and the placemat’s back. The last part will be to sew them together.
How to Piece and Quilt the Pumpkin Block
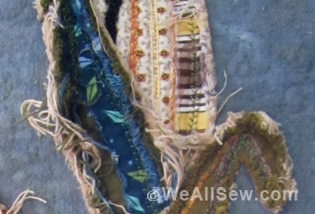
We will start placing template A (right side of the fabric facing you) on the center of the insulated batting square and 5″ away from the top. We will keep going piecing and quilting each template in alphabetical order. Click on the video below to watch the full tutorial.
How to Quilt the Placemat Back
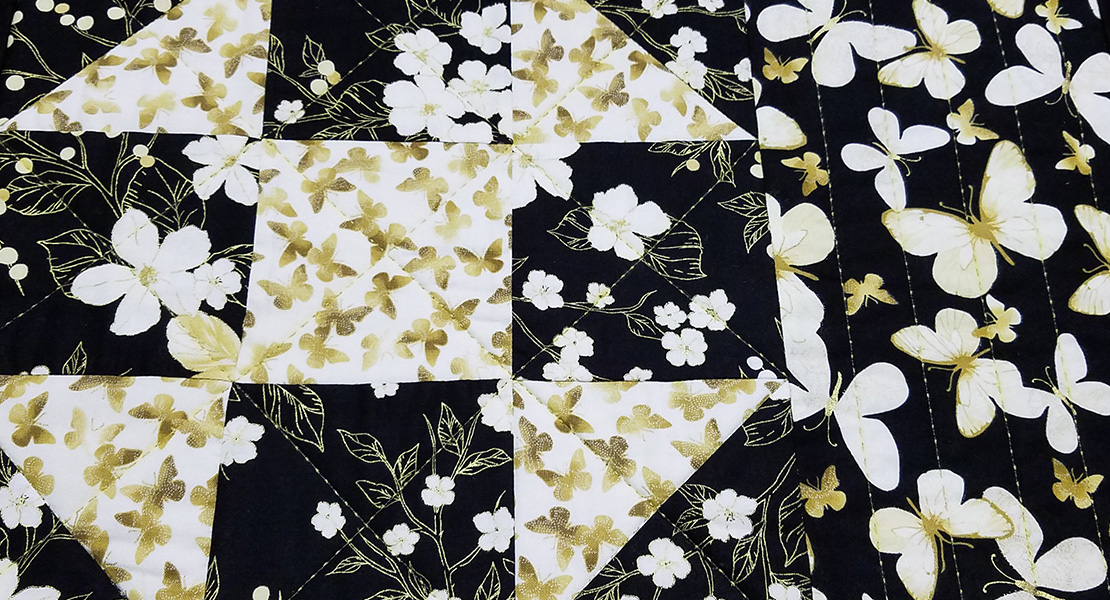
Align the backing fabric square with the regular batting square on the top. With a water-soluble pencil mark two diagonal lines across the square. We will use the BERNINA Adjustable Ruler Foot #72 with the echo-quilting clips and the straight quilting ruler to quilt 1″ apart lines in both directions.
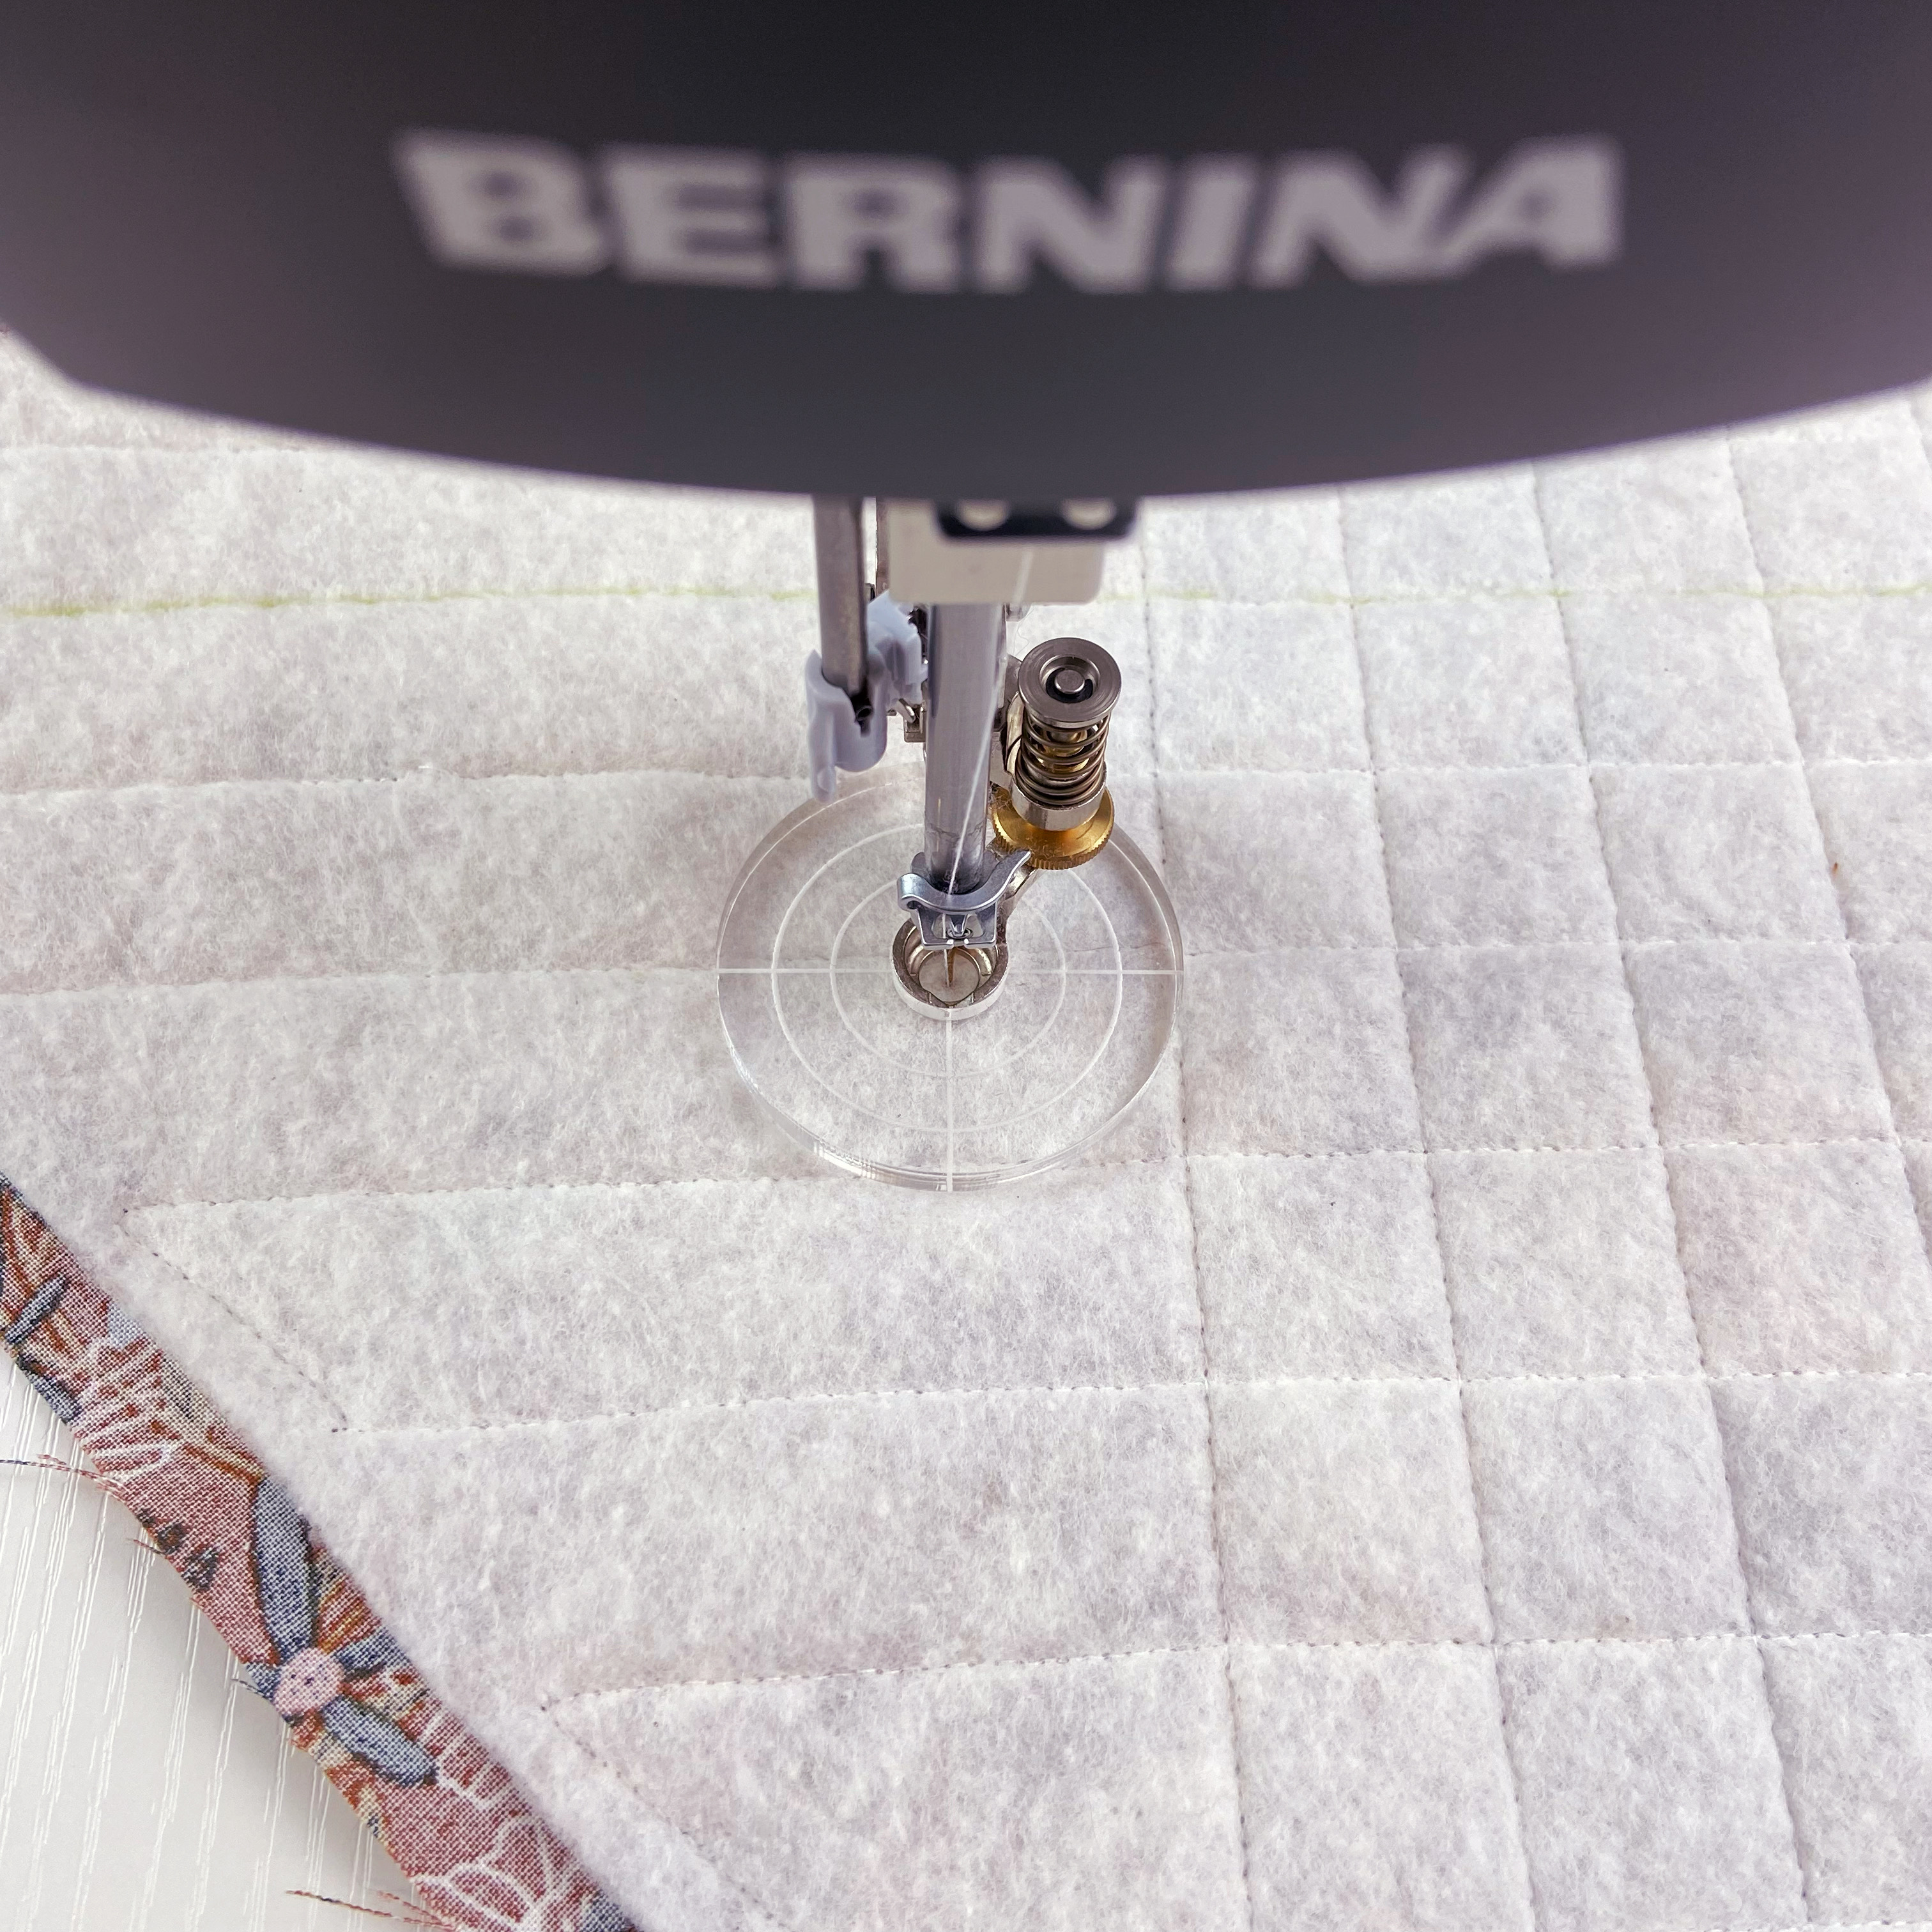
BERNINA Adjustable Ruler Foot #72 with Echo-quilting clip
Click on the video below to watch the tutorial and how to use the echo-quilting clips!
How to Sew the Pumpkin Placemat Together
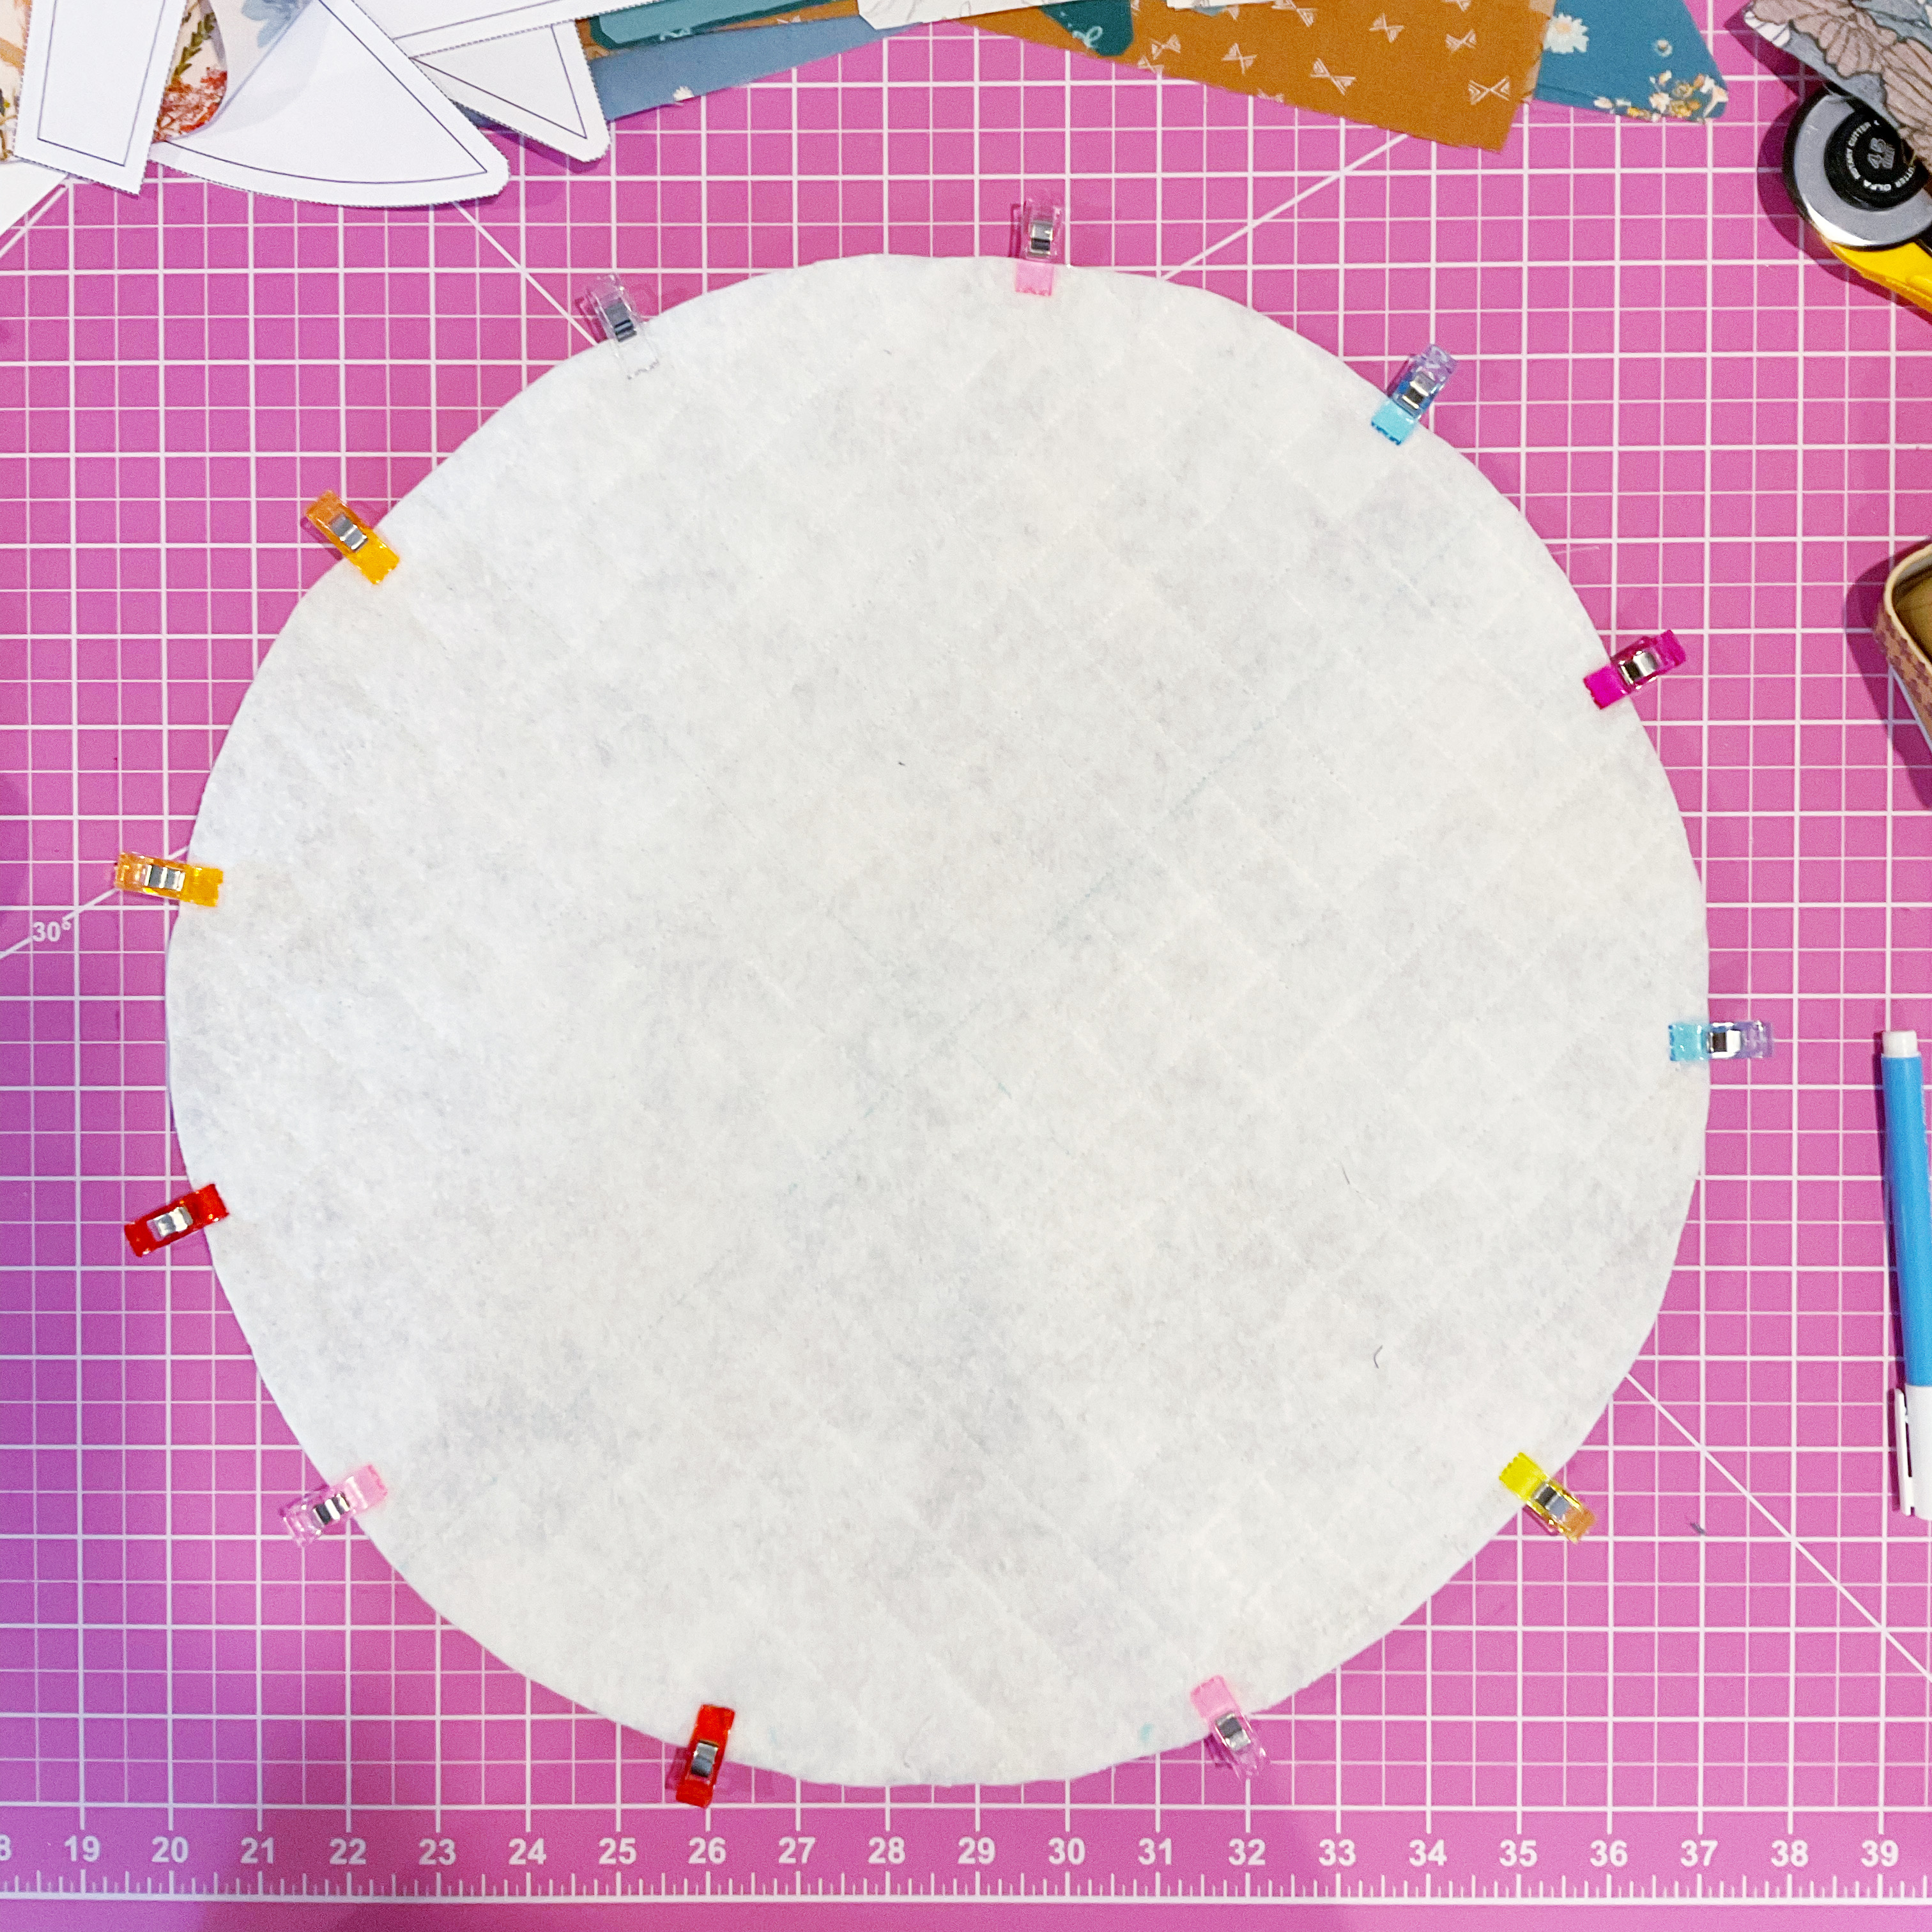
Place the back of the placemat with the batting facing up and the pumpkin block facing you. Carefully, cut the extra fabrics and batting around the circular block.

Place the two circle blocks with the right fabric face together and use clips to secure around the entire circle, leaving a 4 1/2″ gap open on the bottom. Using the quilting ruler edge aligned with the edge of the block stitch a 1’4″ seam allowance around the block, leaving the 4 1/2″ gap open. Carefully clip the edges around the circle and turn it inside out. Use your hand to fix the seams making sure that you have a perfect circular shape. Fold the raw edges of the gap inside and press with the iron. Use clips to secure the gap closed.
Change to the BSR3 with 4SPI (stitches per inch) and use the ruler foot to topstitch the placemat a 1/4″ from the edges. Click on the video below to watch the full tutorial.
And just like that, you have a placemat pieced and quilted entirely on your BERNINA Q20!
I hope you liked our “quilting with rulers class in disguise”!
Don’t forget to share online your own version of the Insulated Pumpkin Placemats using #weallsew, #insulatedpumpkinplacemats on social media, and with the BERNINA Community. We would love to see your work!
Uf Widerluege! (See you soon)
Used Products


What you might also like


One comment on “How to Quilt Insulated Pumpkin Placemats”
Leave a Reply
You must be logged in to post a comment.

The videos are good, but I find the background music very distracting and unnecessary.