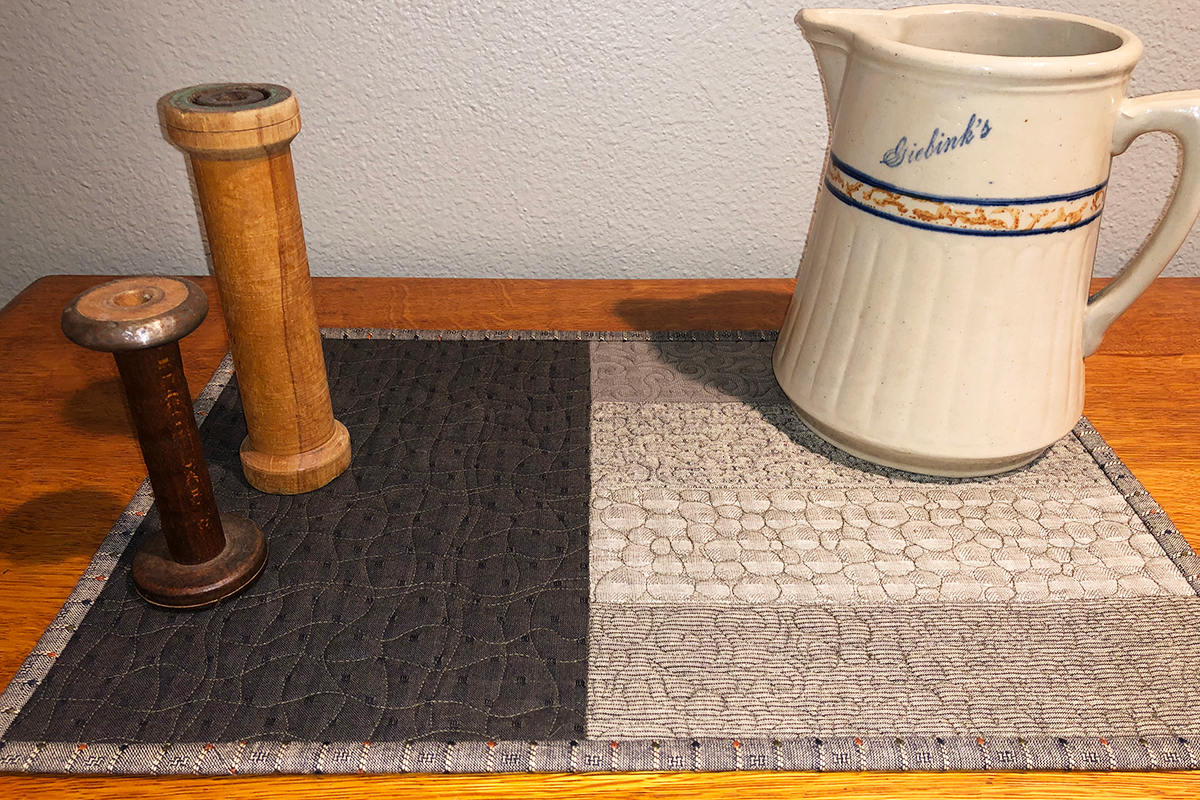
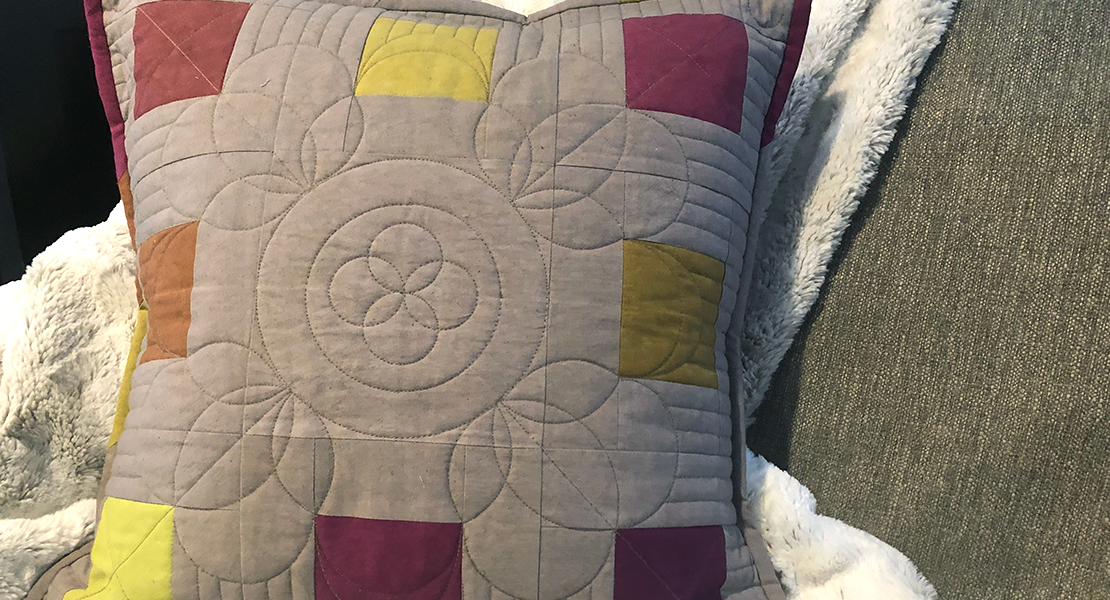
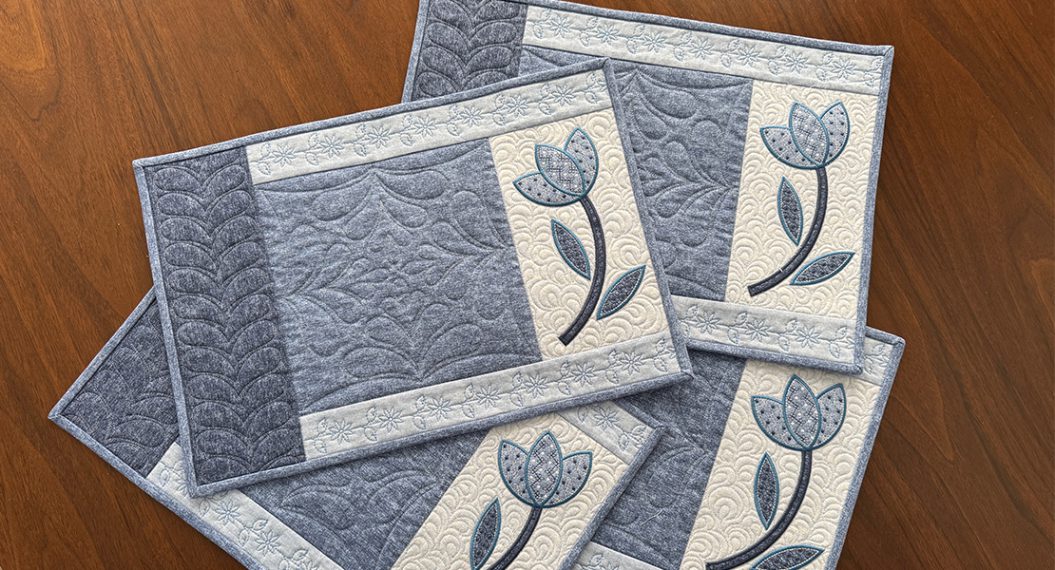
Free-Motion Quilted Placemats
This BERNINA Made to Create Studio online class will share tips and how-to steps for free-motion quilting success. The tutorial will take the quilting design from a sketch on paper to four unique placemats that will help practice your free-motion skills. Grab your favorite free-motion presser foot (mine is the BERNINA Stitch Regulator) and let’s get started!
Materials for four Placemats
- 1/2 yd main fabric
- 1/3 yd four different side fabrics
- 1 1/2 yd backing and binding
- 1 yd batting
- BERNINA 770 QE
- Patchwork Foot #97D
- Edgestitch Foot #10D
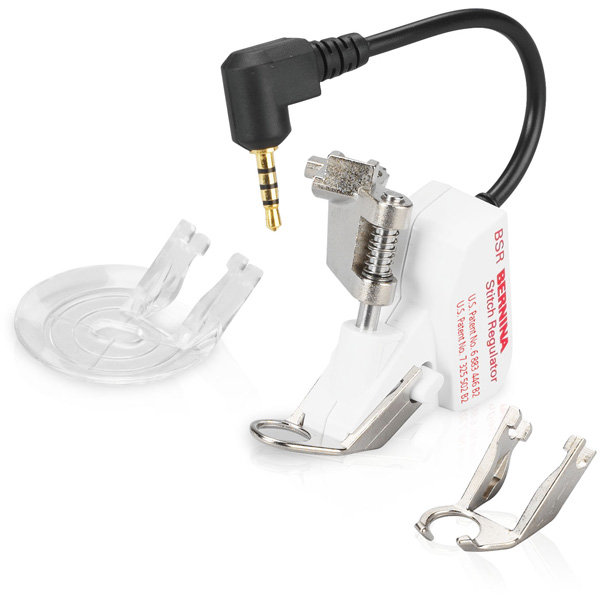
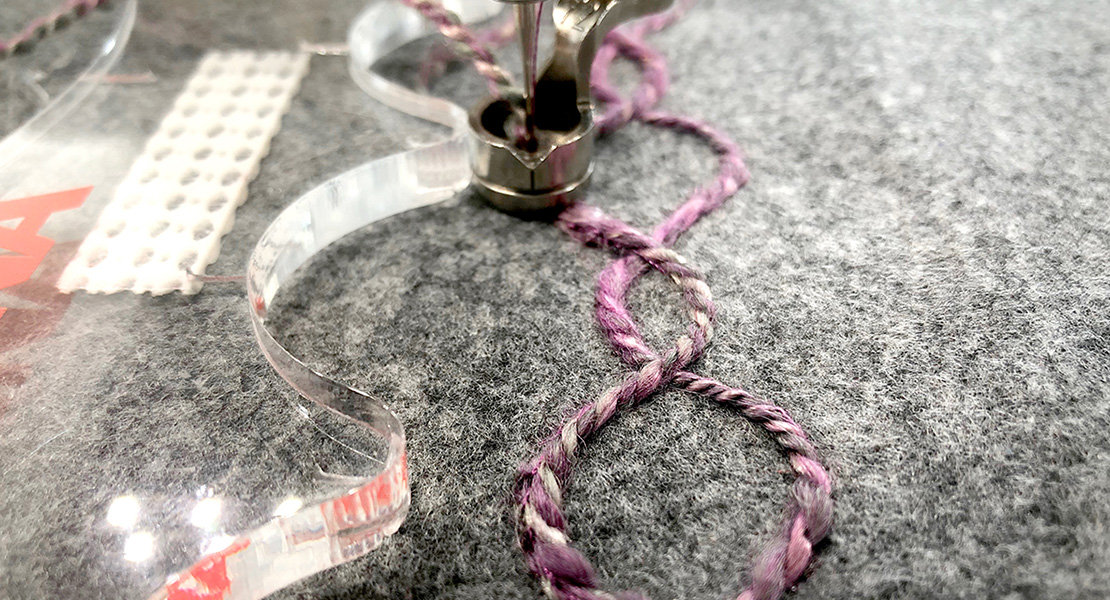
- BERNINA Stitch Regulator or free-motion presser foot
- Straight Stitch Throat Plate
- #70 Microtex Needle for piecing
- #90 Jeans Needle for quilting
- Cotton thread
- Basting spray
Instructions on How to Free-motion Quilt Placemats
Finished placemat size is 12″ x 18″
Step 1: Cut the fabrics:
1. 4 pieces 12 1/2” X 8 1/2” of main fabric
2. 16 pieces 3 1/2” X 10 1/2” (4 of each side fabric)
3. 4 pieces 20” X 14” of batting
4. 4 pieces 20” X 14” of backing fabric

Step 2: Piece the placemats and prepare for quilting:
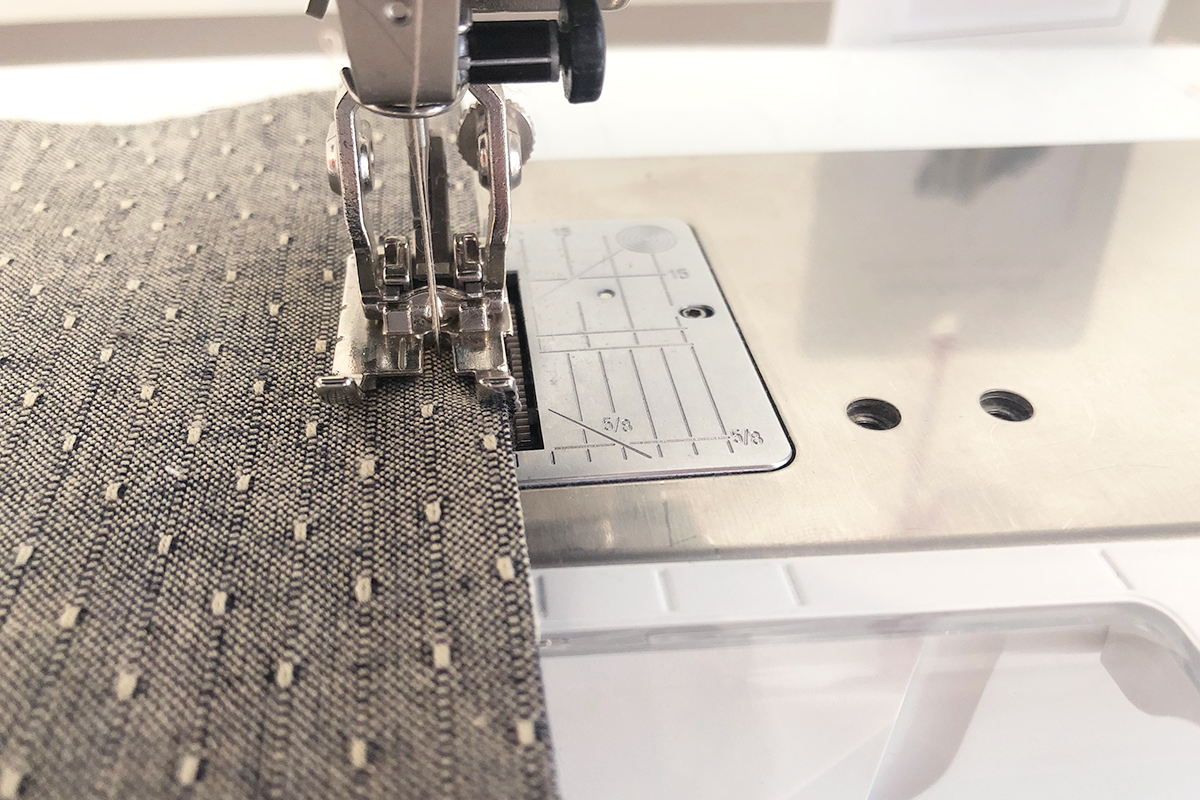
1. Set up the machine with the Straight Stitch Throat Plate, Patchwork Foot #97D, and a #70 Microtex Needle. Thread the machine with cotton thread.
2. Stitch four of the 3 1/2” strips together, creating one side of the placemat, 12 1/2” X 10 1/2”. Repeat with the other strips, mixing up the order of the fabrics to add interest. Seam a 12 1/2” X 8 1/2” piece of main fabric at the end of each pieced strip.
3. Lay out backing and place batting on top. Place the pieced placemat on top. Spray baste the layers together.
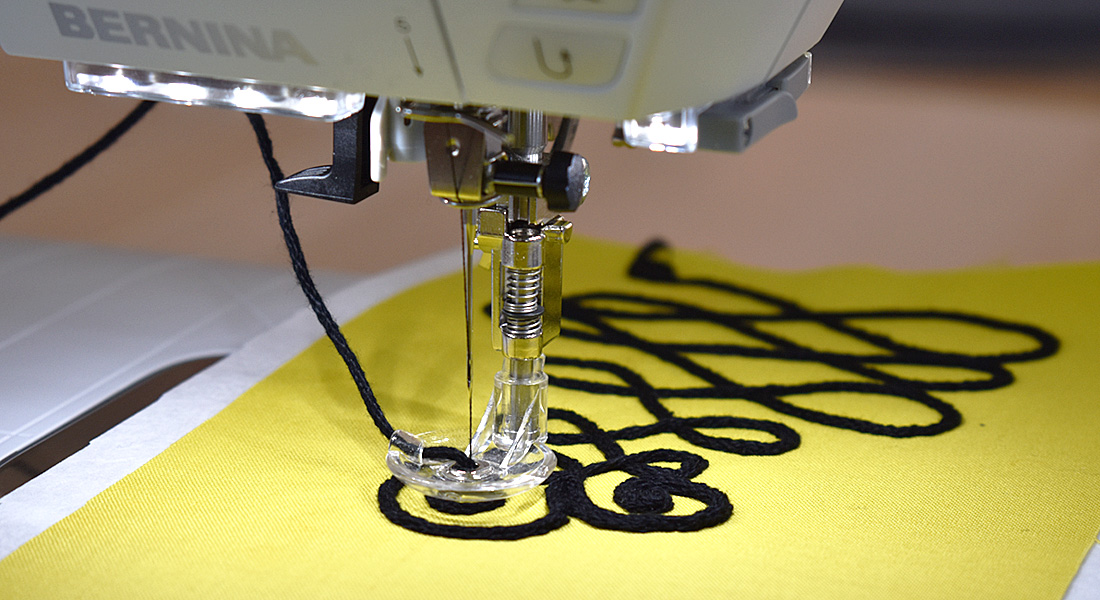
Step 3: Quilt the placemats:
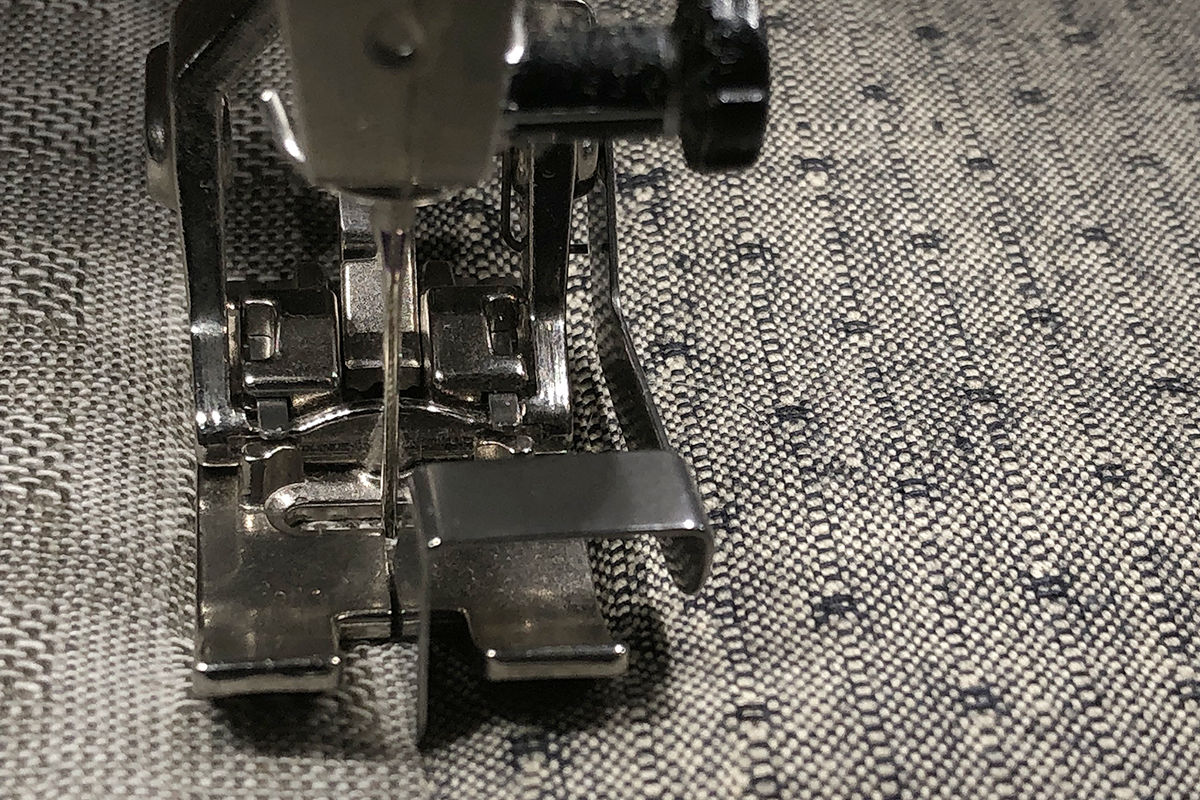
1. Attach Edgestitch Foot #10D, leaving the needle in center position. Place the guide in the ditch of the seam and quilt in the ditch of all 5 seams of the placemat. Set desired stitch length.
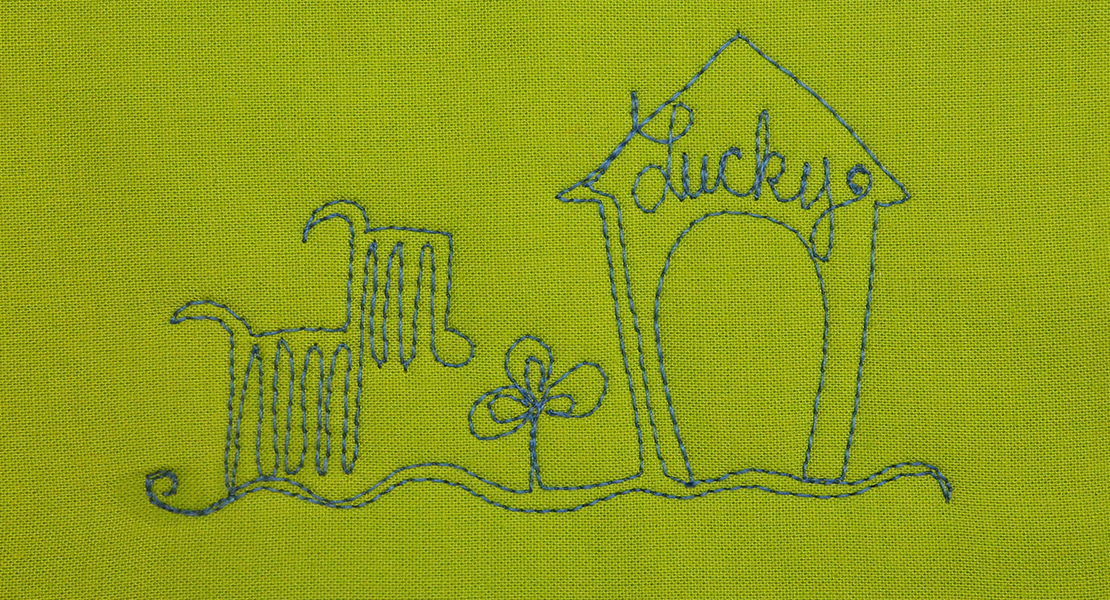
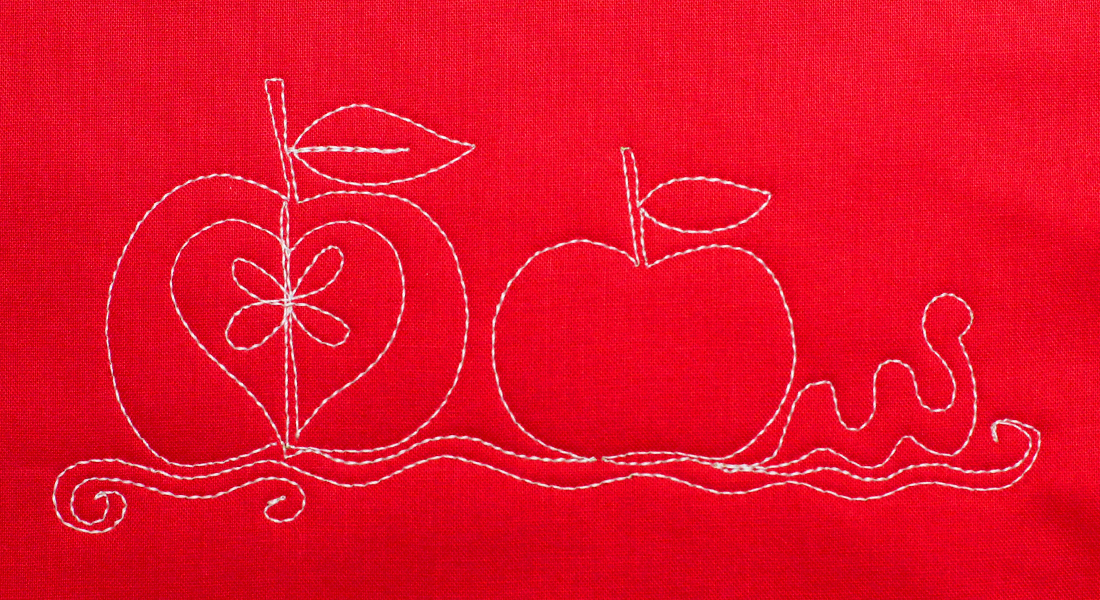
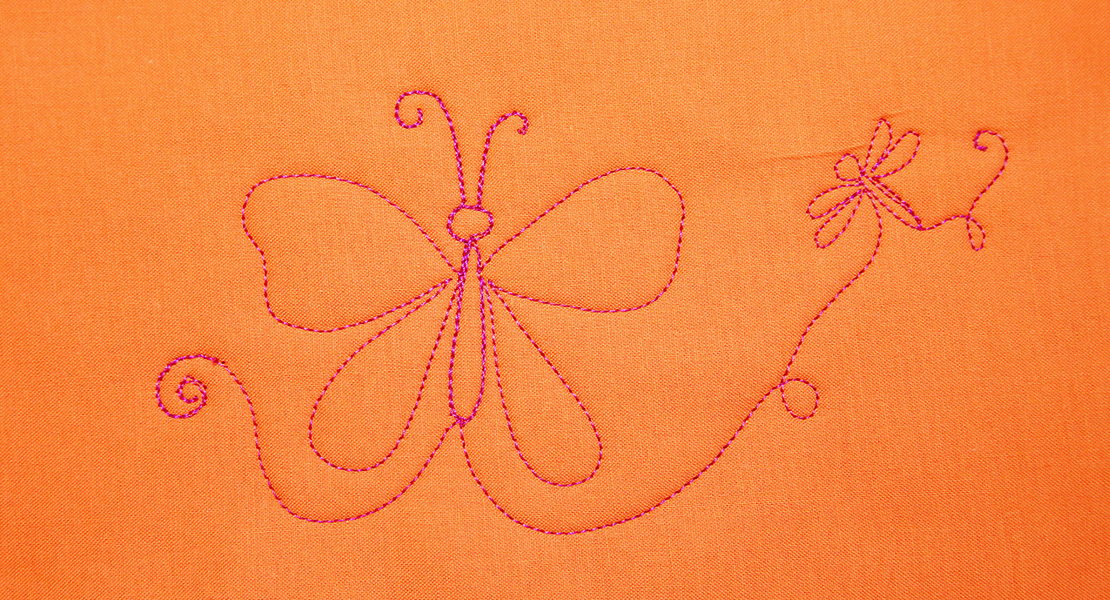
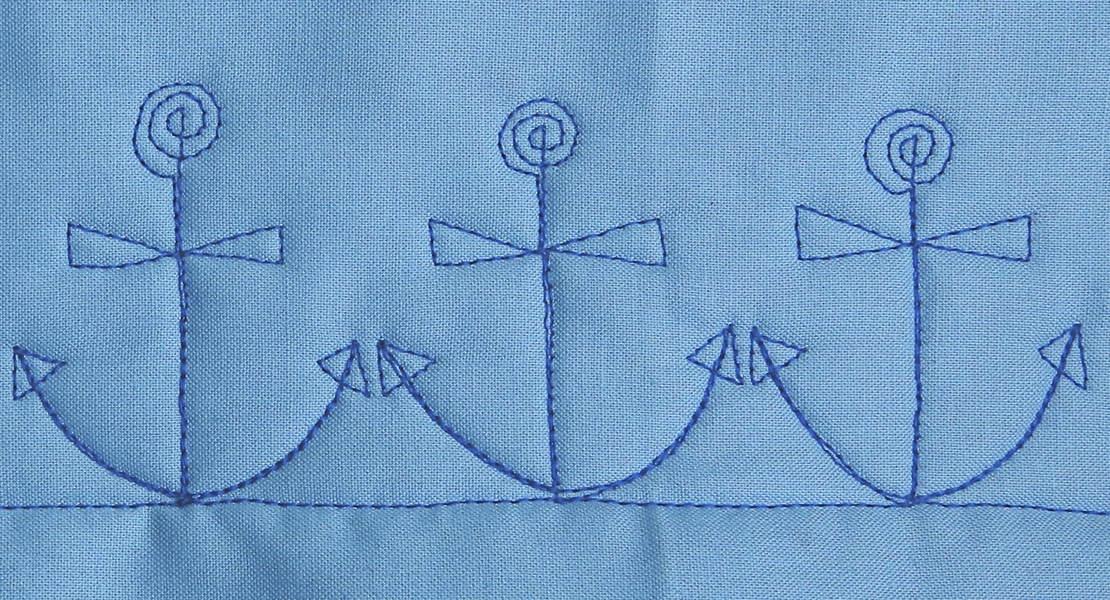
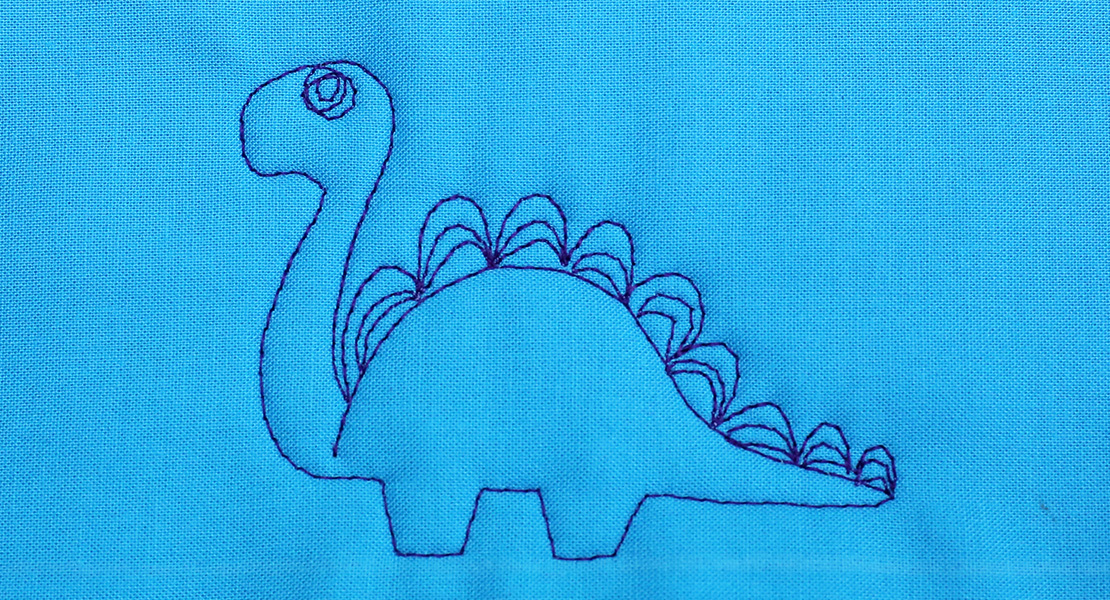
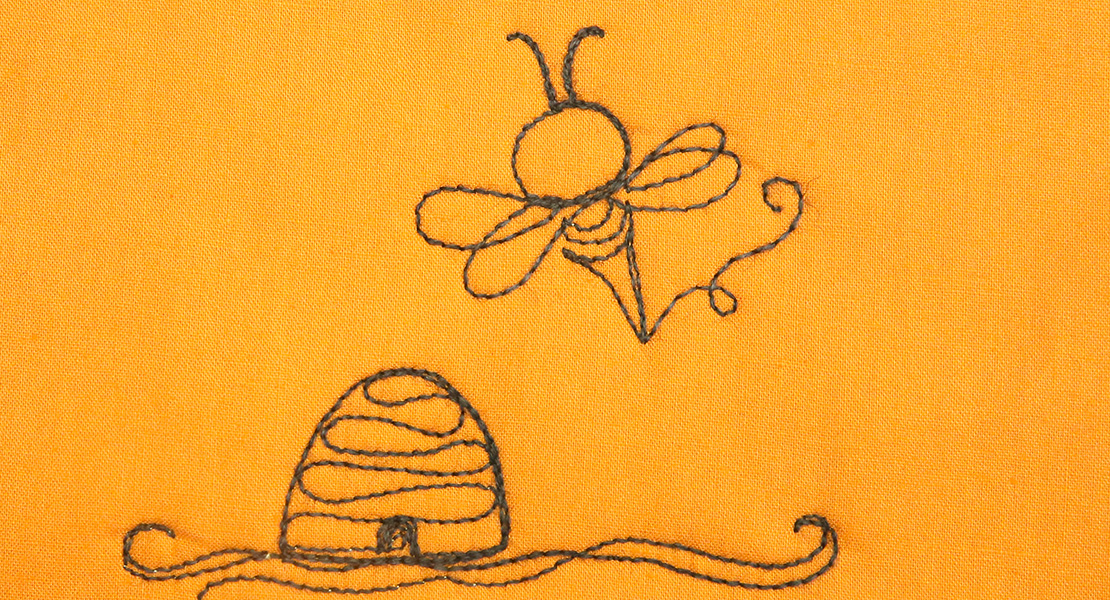
2. As you begin to quilt the placemats, you may want to draw the designs first to get a feel for the movement before you go to the fabric. The instructions given will be repeated for each placemat.
3. Begin by quilting gentle wavy lines up and down on the fabric end. The stitching will go from one edge of the fabric to the other end. The lines may echo each other or not. Vary the spacing to make it interesting.
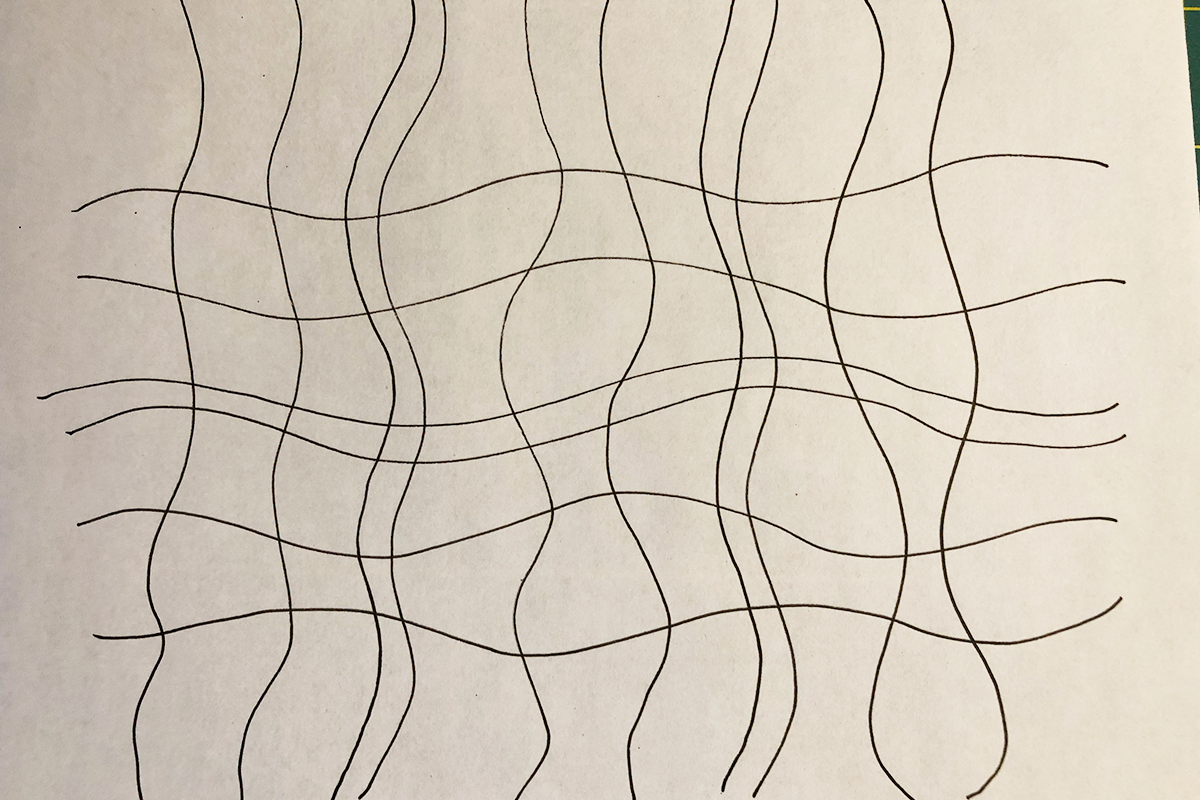

4. When the lines have been stitched vertically, stitch the same type of wavy lines horizontally. Fill the entire piece of fabric. No need to break the thread at the end of a stitching line, just stitch to the next row as the stitching will be in the seam.
5. Orientate the fabric so the already quilted end faces away from you and the 4 strips are closest to you. Looking at the strips, mentally number them, left to right, 1-4. Each strip will be quilted differently.
6. Begin with Strip #2. You have experienced up and down, and left and right movement so let’s combine those movements to stipple the strip. Draw the pattern.

7. Begin by pulling up the bobbin thread in the seam that joins the strip set to the quilted fabric. Secure the thread and then gently stipple the strip working to the raw edge of the strip.
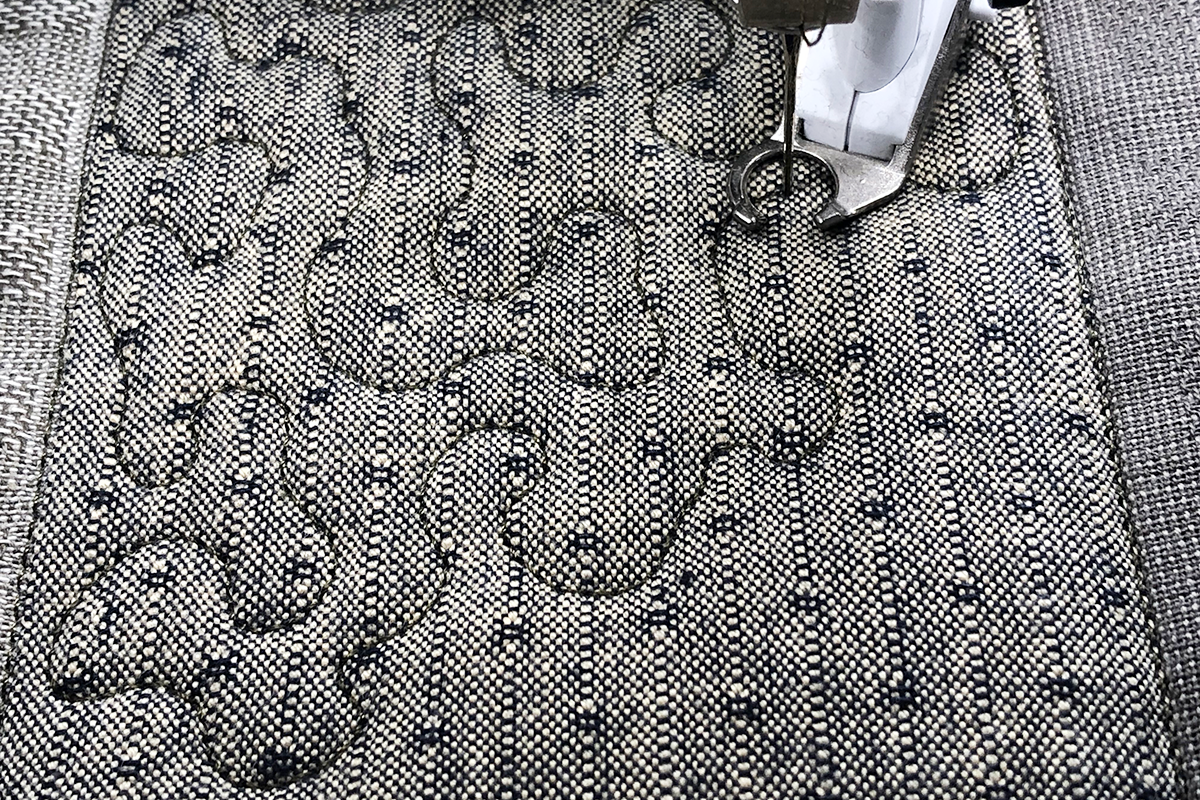
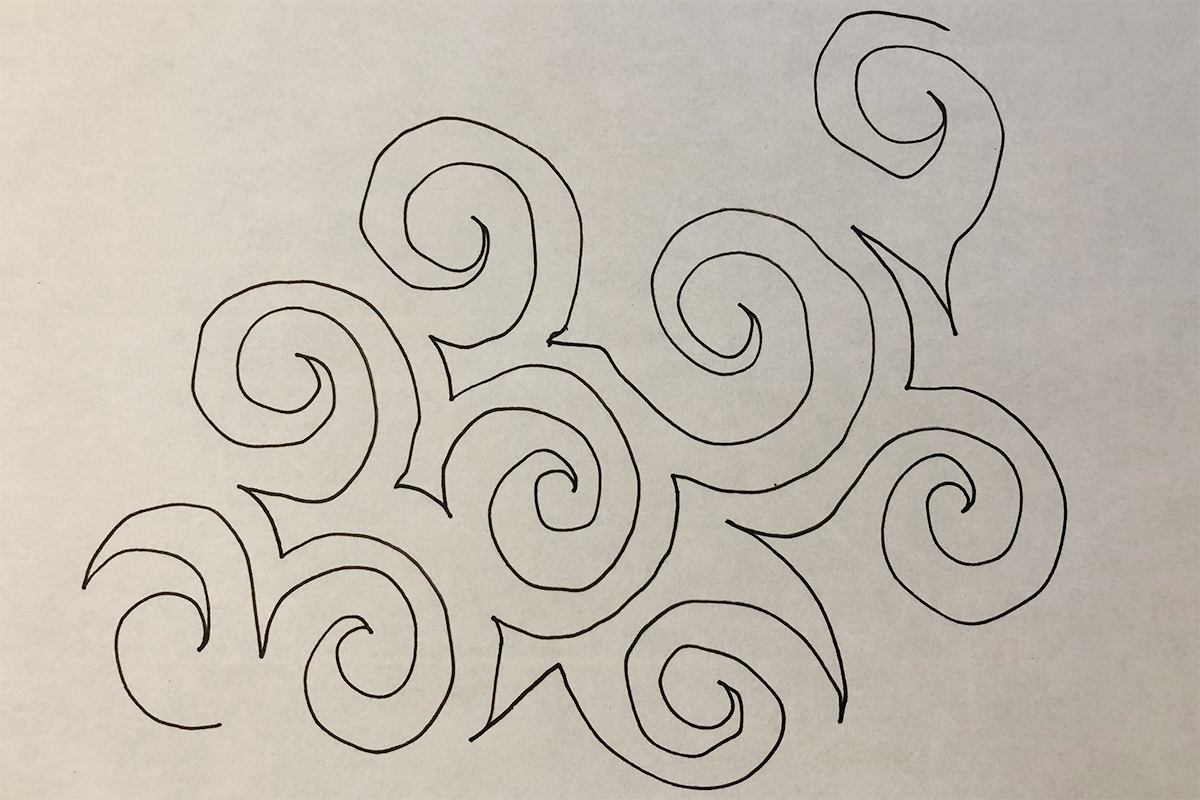
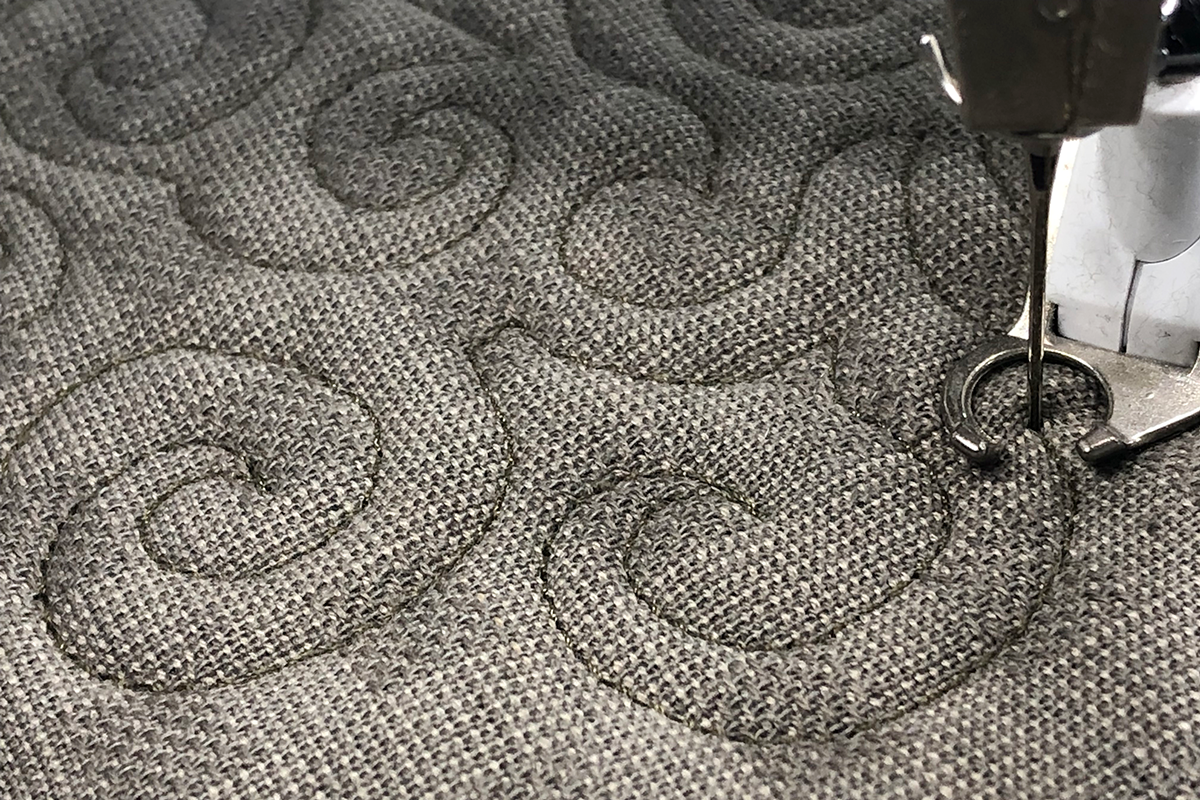
8. Move to Strip #1. This next design uses the same rounded movement as the stipple except you get to rest and form a point. This looks a little more advanced than a basic stipple and I like to call it stippling with an attitude. Practice the movement on paper until you are comfortable.
9. Begin in the ditch of the seam, and stitch across and down the strip, echoing when you need to move.
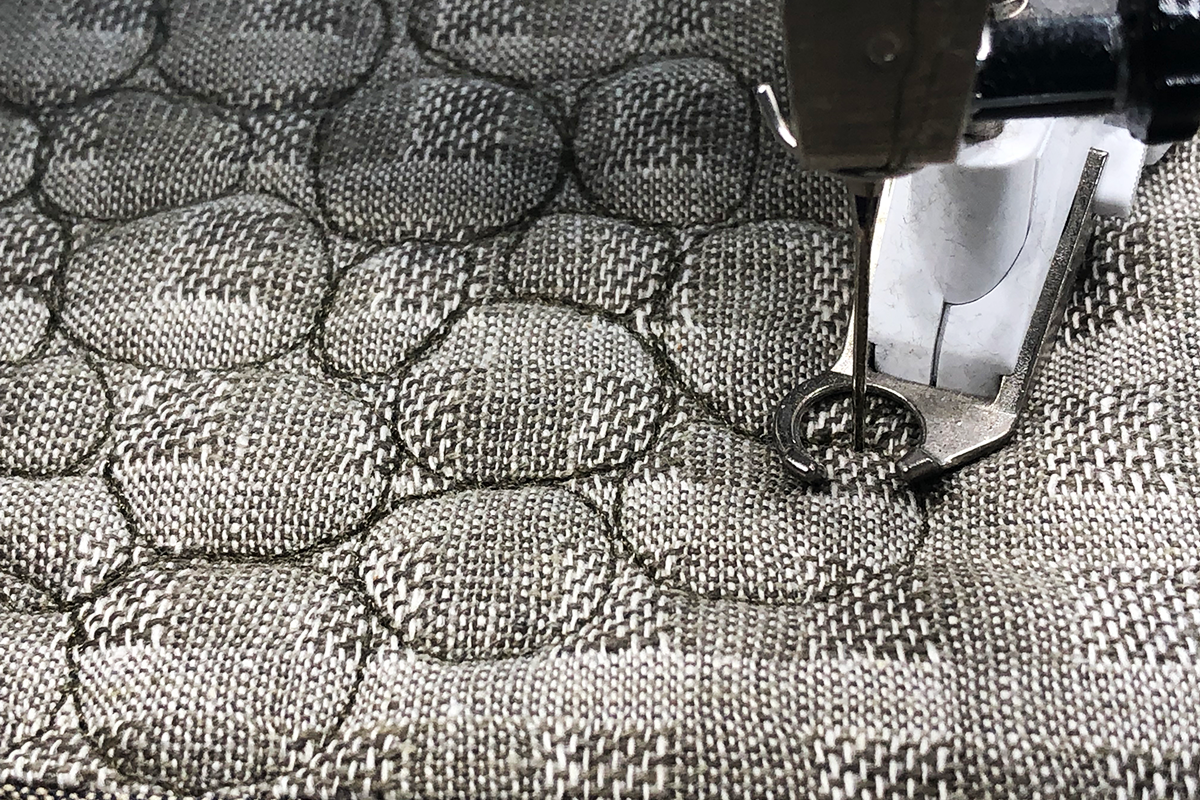
10. Move to Strip #3. We are going to perfect our circular movement by quilting pebbles. Pebbles do not have to be perfectly round and they do not have to be all the same size. Draw a circle in a clockwise direction. When the circle is complete continue around and then draw a second circle in counter clockwise direction.
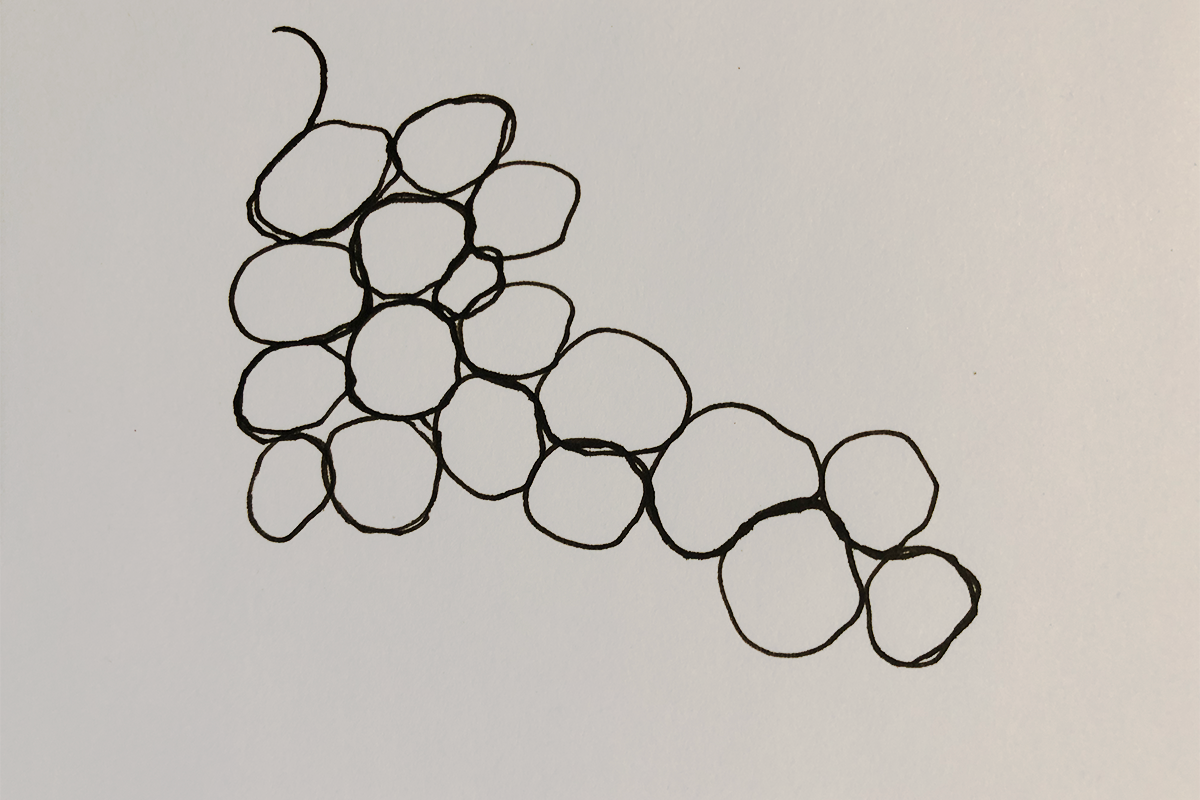
11. Always begin each circle in the opposite direction as the previous circle. And use the edge of the circles to travel where you need to go. Fill Strip #3 with the pebble design, always traveling on the outside edge of a pebble.
12. Continue to Strip #4. Here we will practice the 3 previous designs by combining them in one design. Draw them out again switching from design to design.
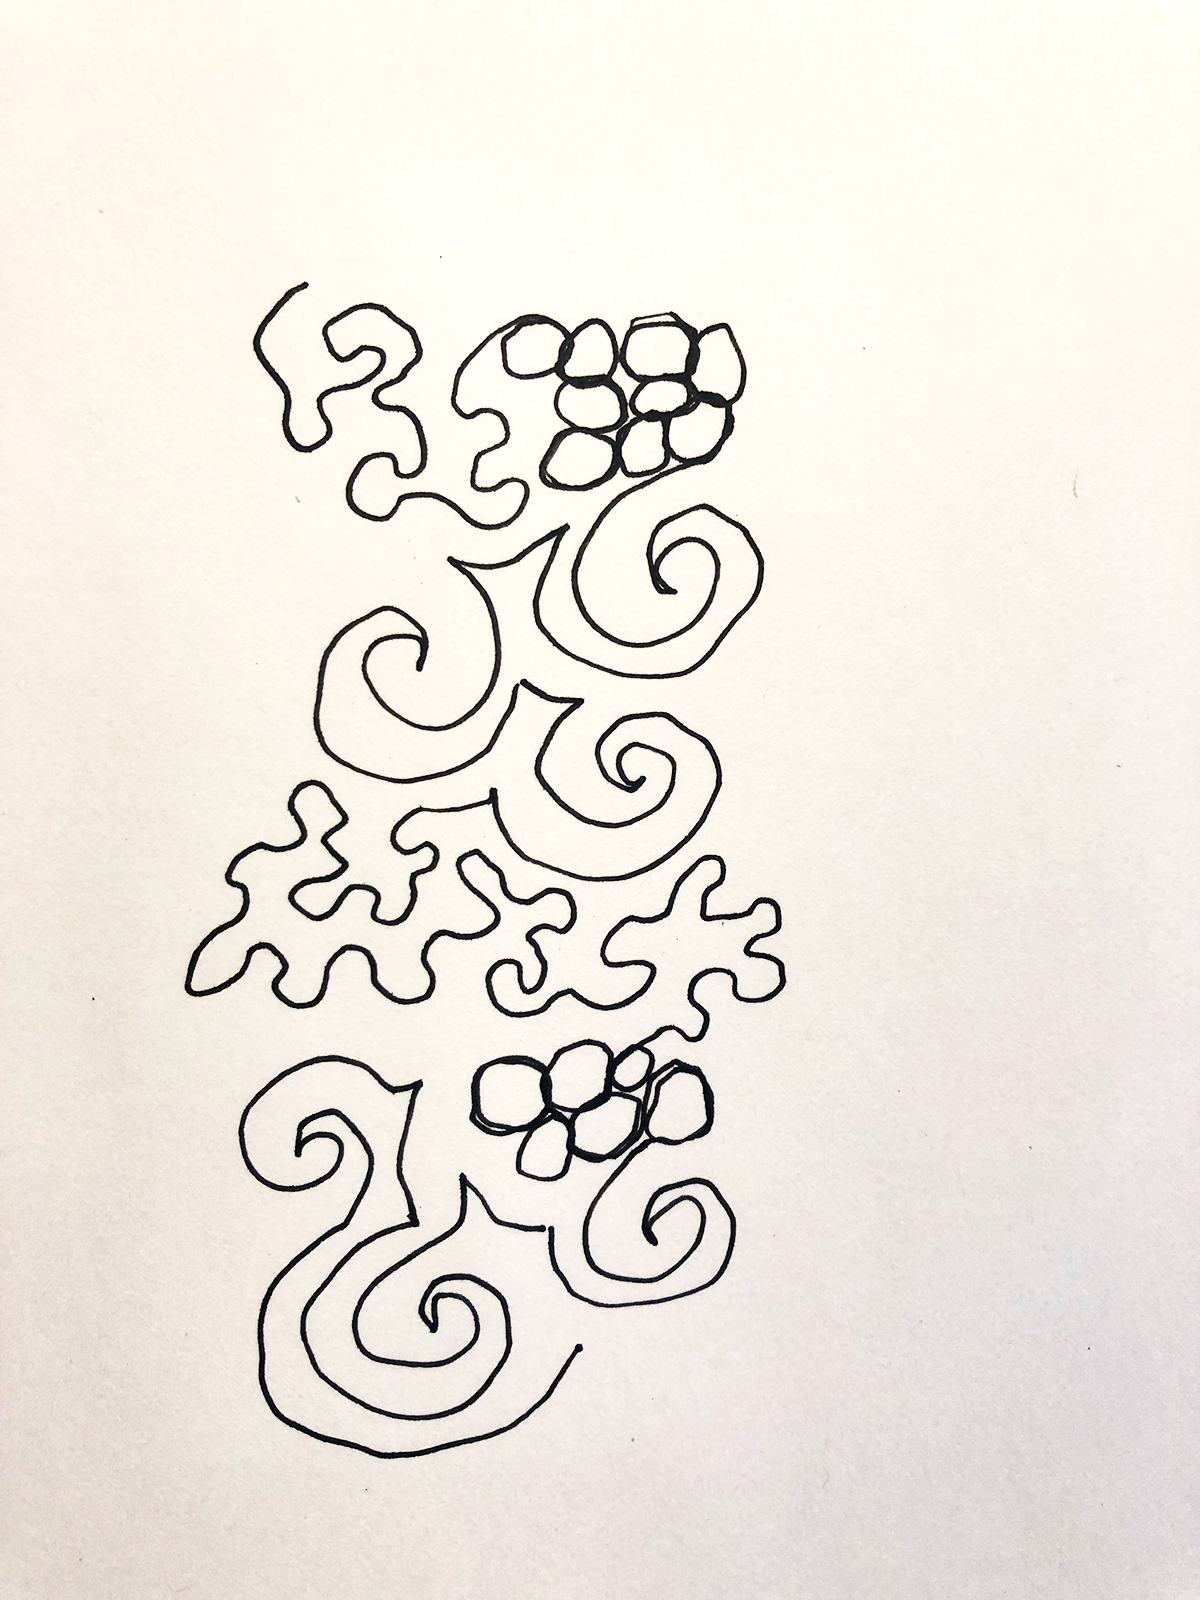
13. When comfortable, move to the strip and have fun stitching out the combination of designs.
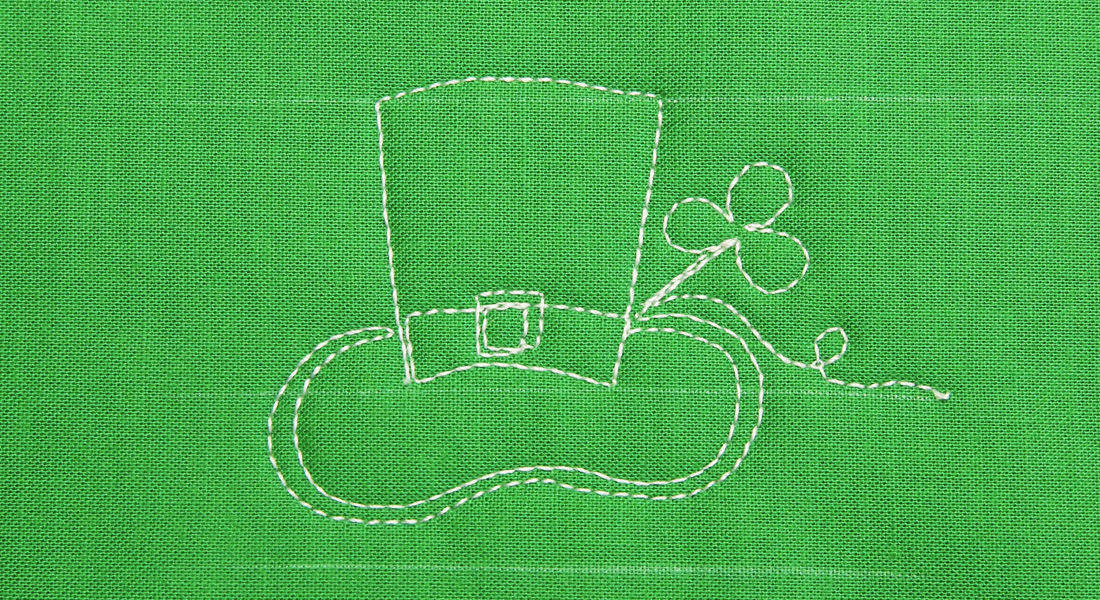
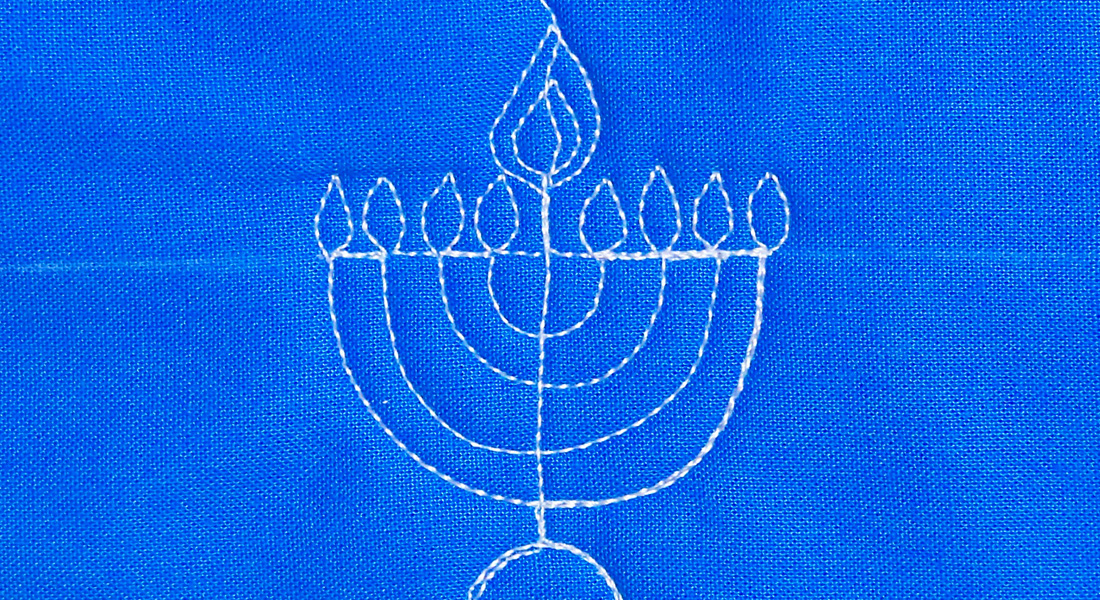
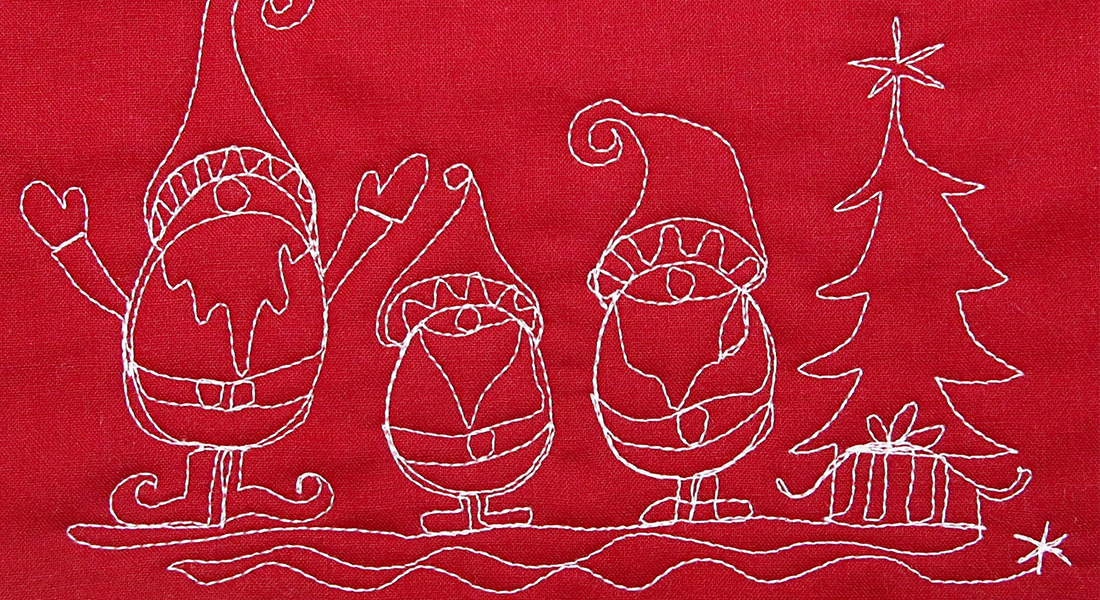
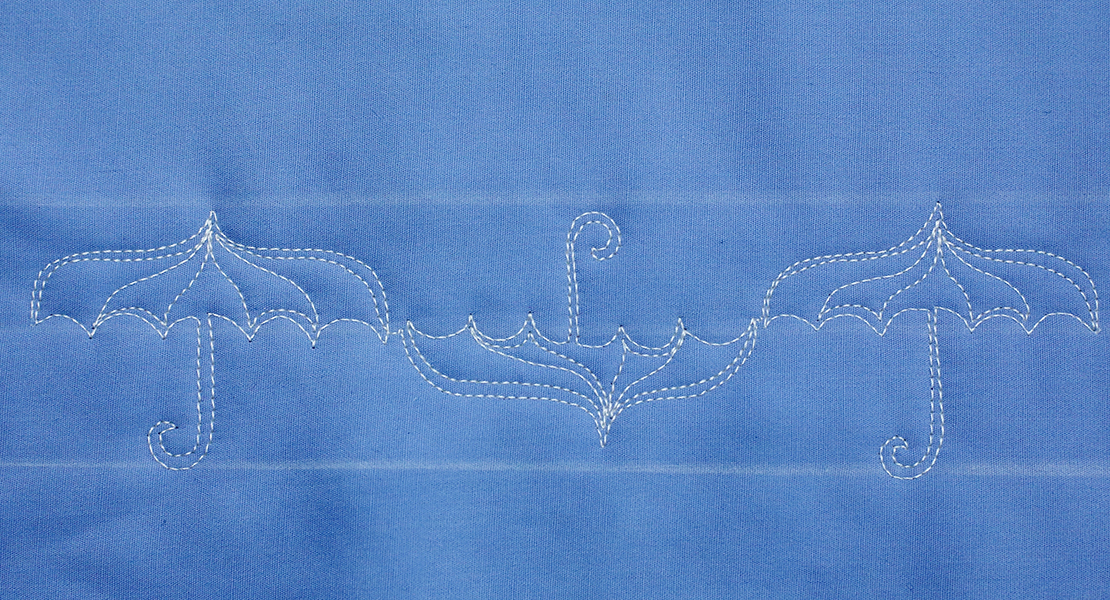
14. Repeat for each placemat, placing the designs in the strips in a different order, creating more interest in the set of placemats.
15. Square up the placemats and bind.

BERNINA Made to Create Studio Online Lessons
Equilateral Triangle Table Runner
Free-motion Quilting with Rulers
How to Quilt Feathers with Free-motion and Rulers
Used Products


What you might also like


6 comments on “Free-Motion Quilted Placemats”
-
-
Thank you for your questions. The BSR was attached when I started doing the free motion quilting. It can be used with the straight stitch throat plate as long as you are using a straight stitch. I like using a straight stitch throat plate because it perfects the straight stitch but it can also be used with the stitch plate that came with the machine. Give it a try, it is a wonderful part of the BERNINA machines.
-
-
Why use a jeans needle ?
-
I like using a Jeans Needle because it has a sharp point versus a Universal Needle which does not.
-
-
Is there a tutorial and video on using the BSR?
-
Yes, there are several tutorials available for the BSR. There is one located on the Bernina Website. Here is the link to that video. https://youtu.be/vVuZxbWEEIg
There are others that can be found on the BERNINA YouTube channel. There is a link to that channel located at the top of this page under the word BERNINA.
Leave a Reply
You must be logged in to post a comment.

When was the BSR used? Was it attached at the very beginning before piecing or when ready to start the quilting? Can the BSR be used with the straight stitch needle plate? I use a 475QE and have not used the BSR yet. I also do not have the straight stitch needle plate. Can the one that came with the machine be used?
Thank you.