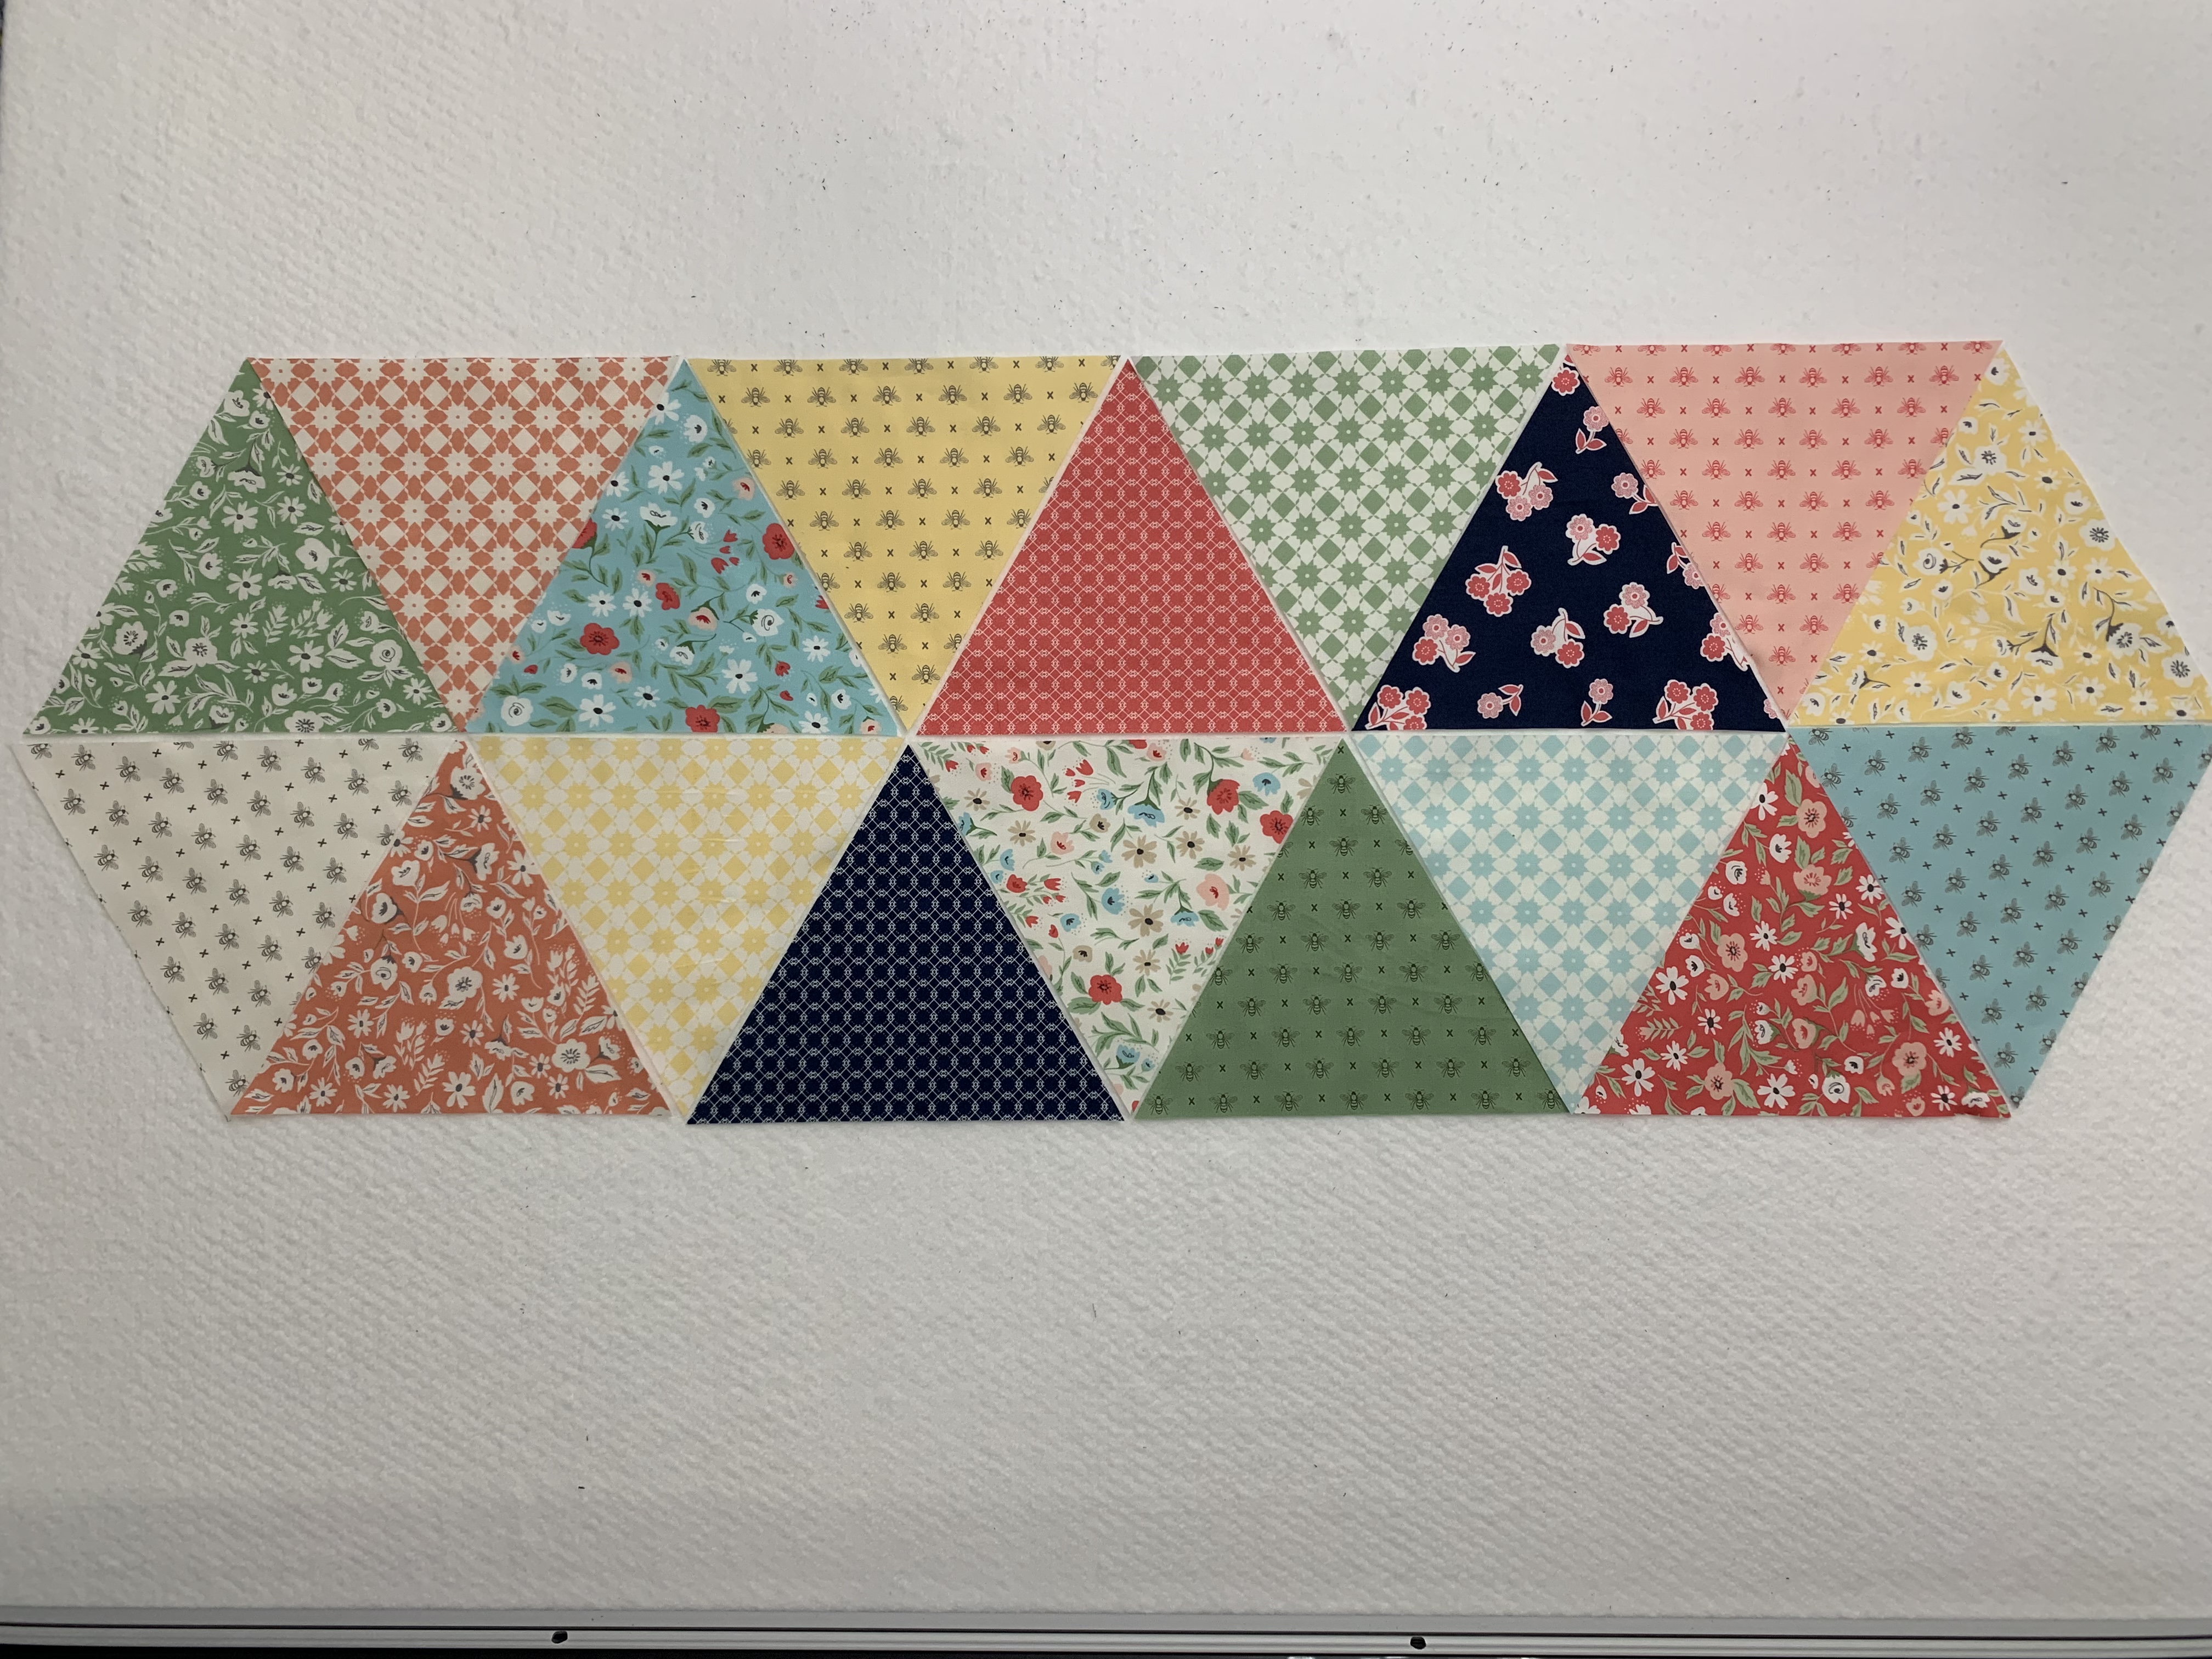
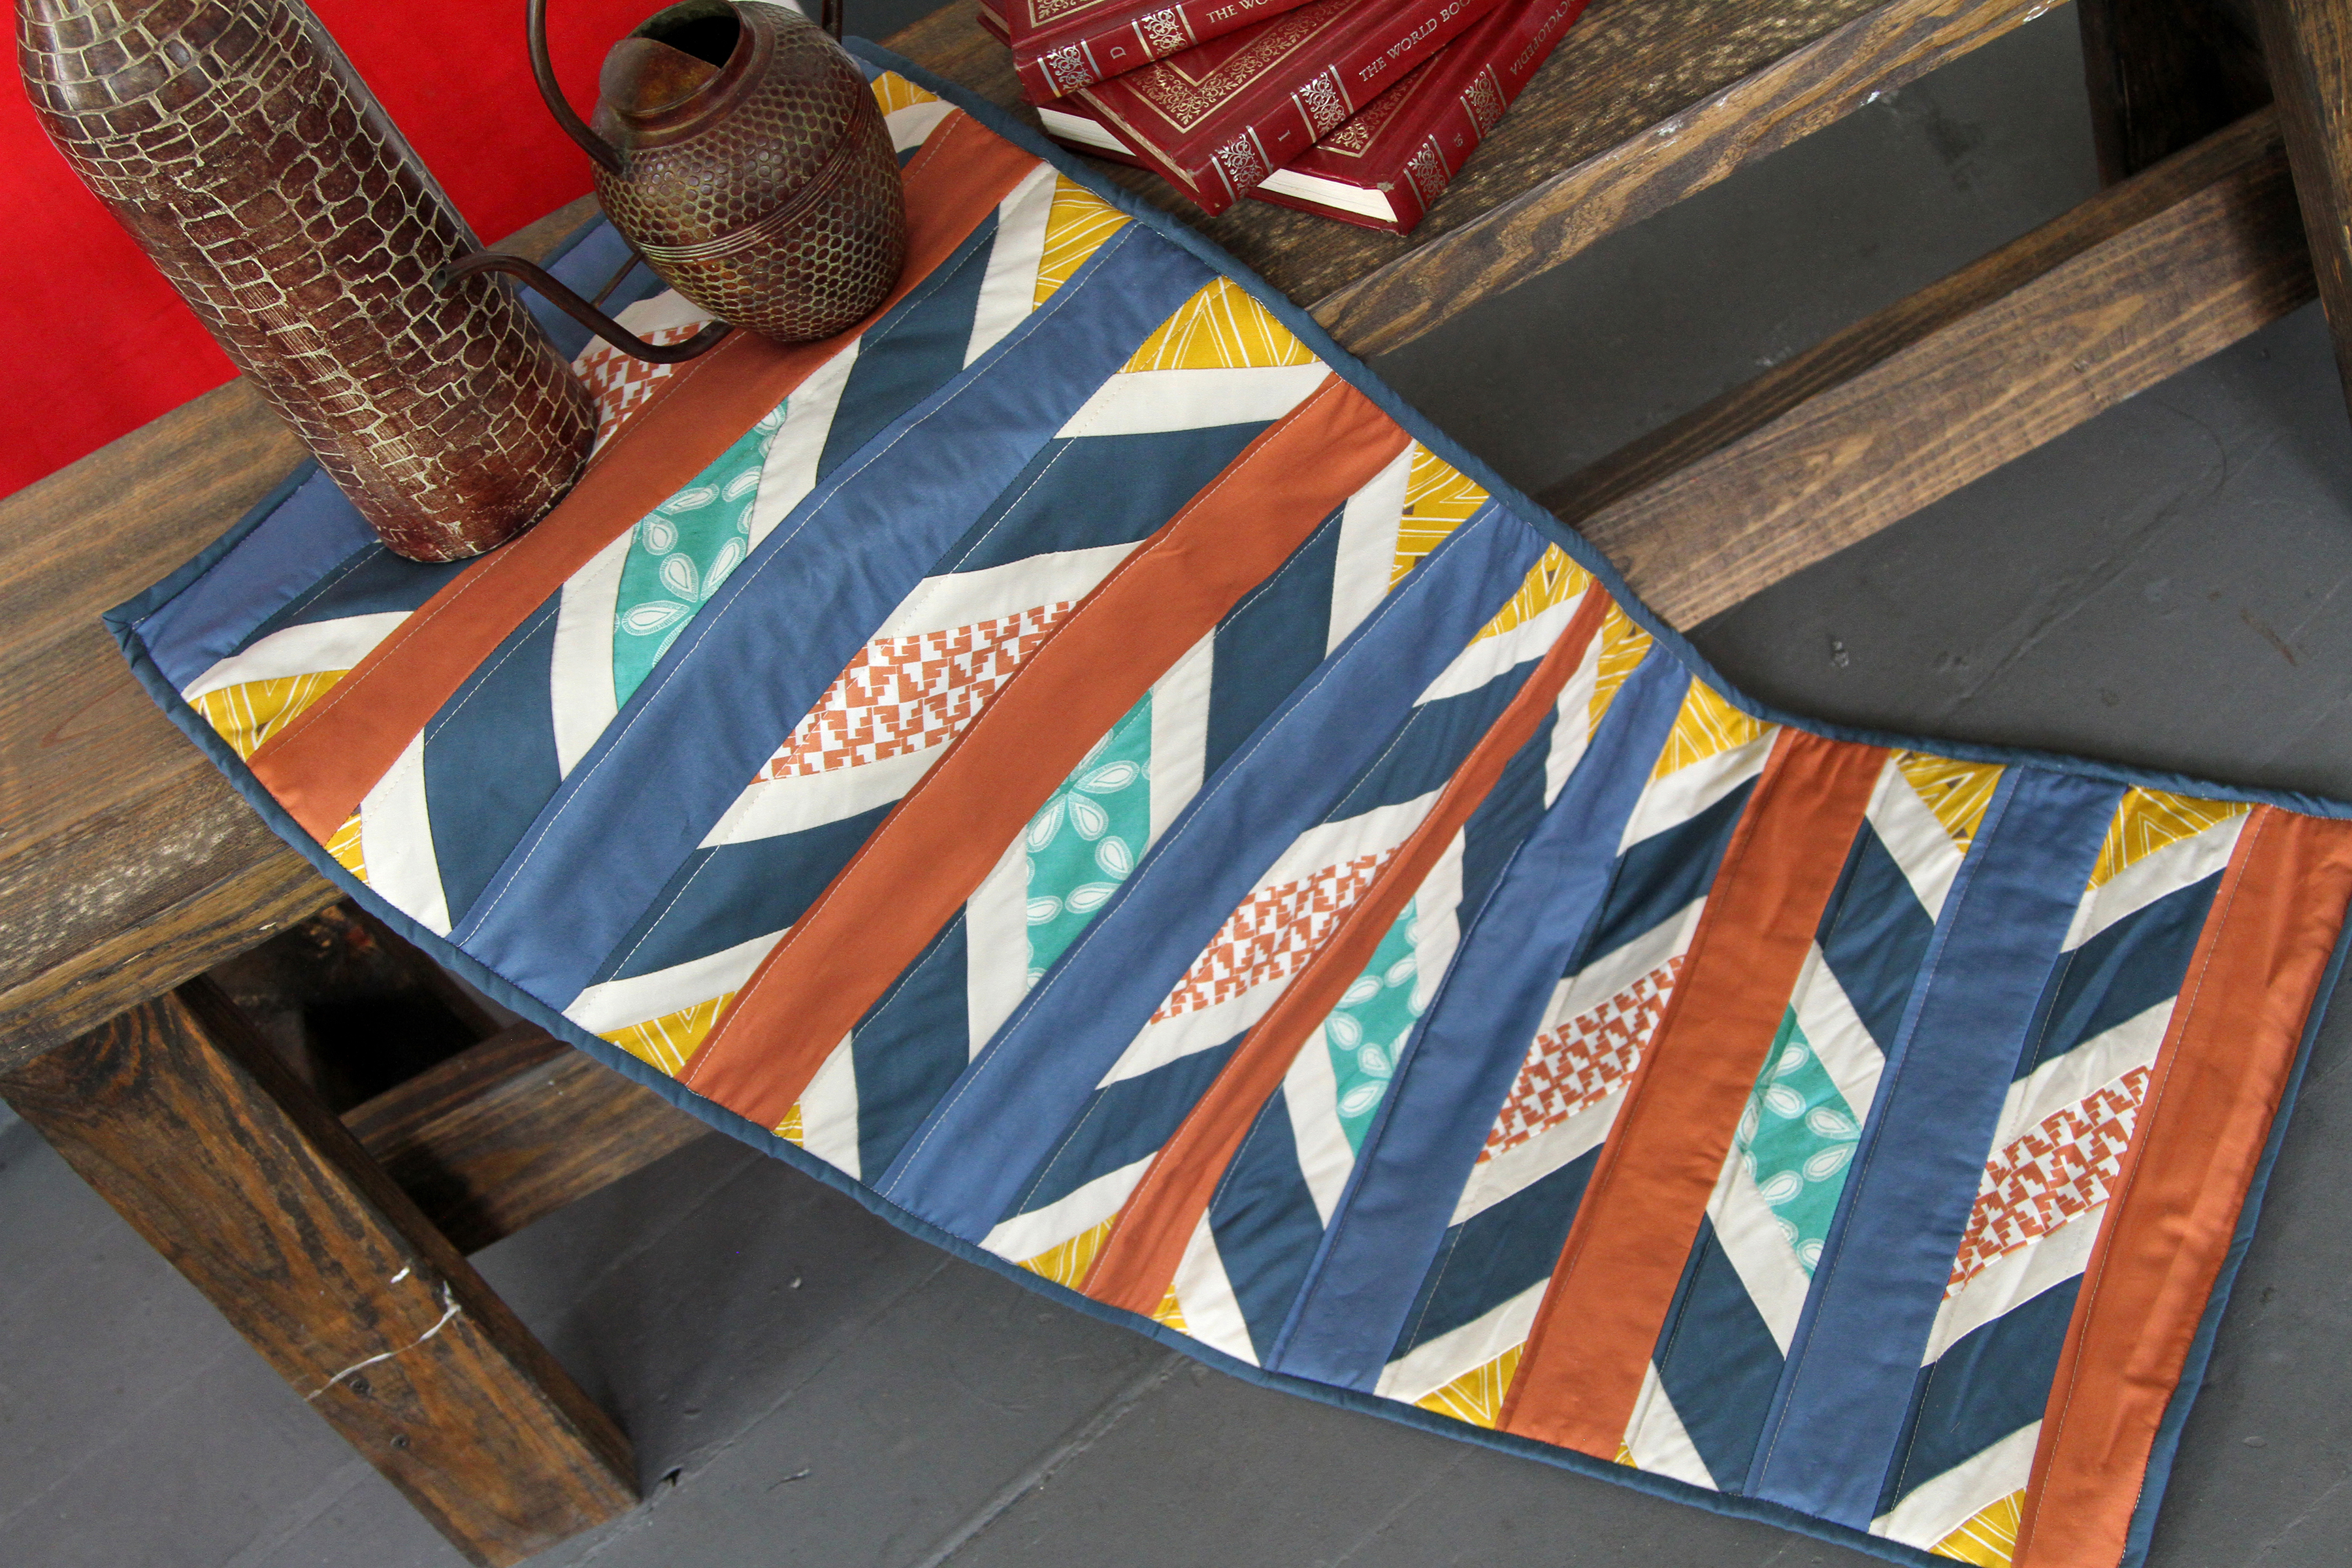
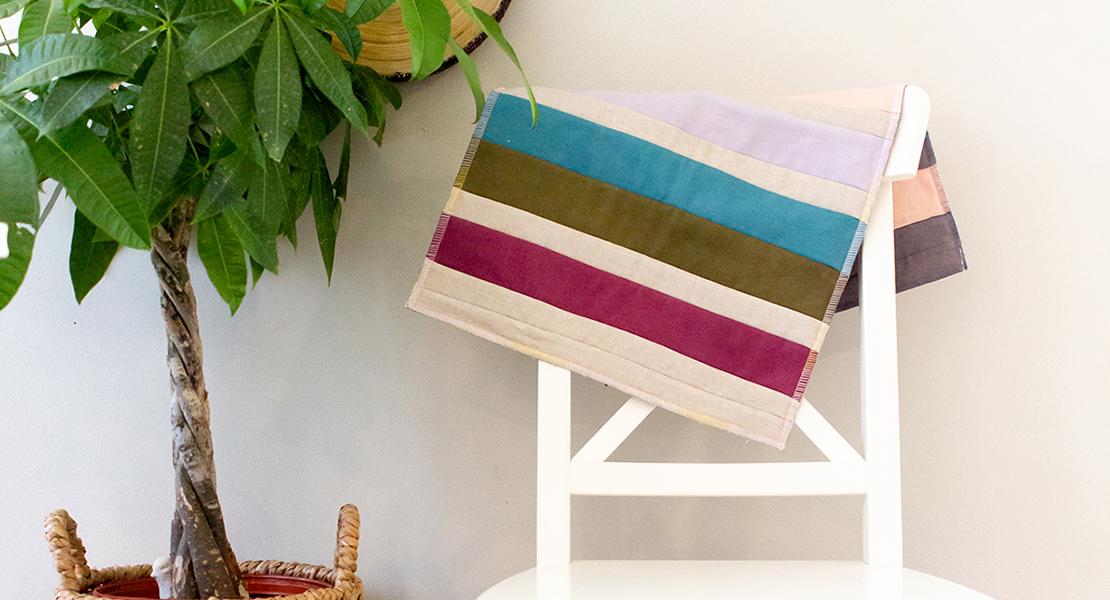
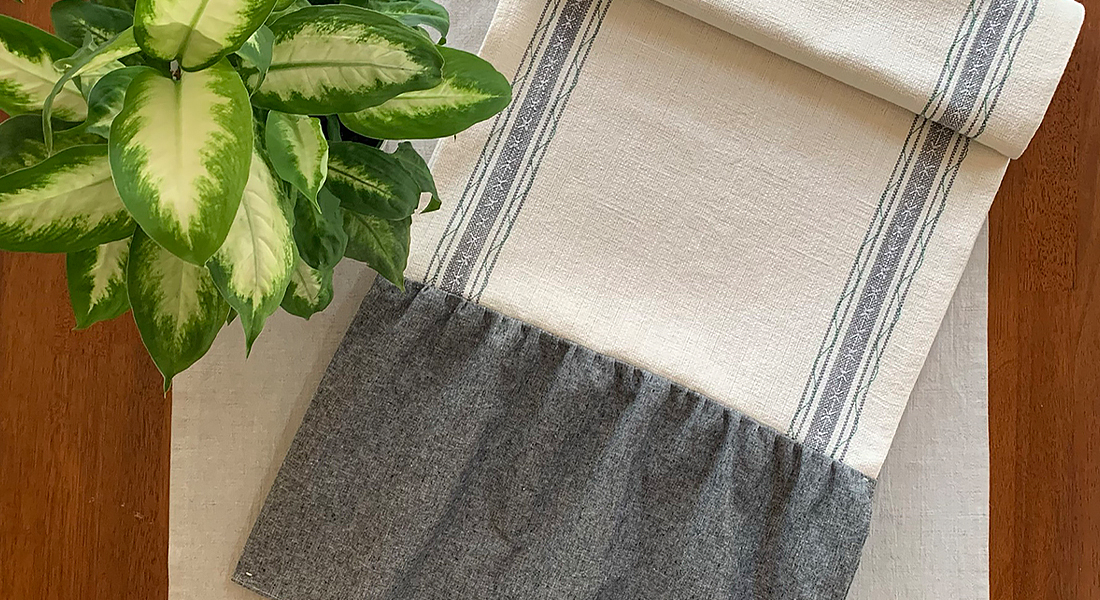
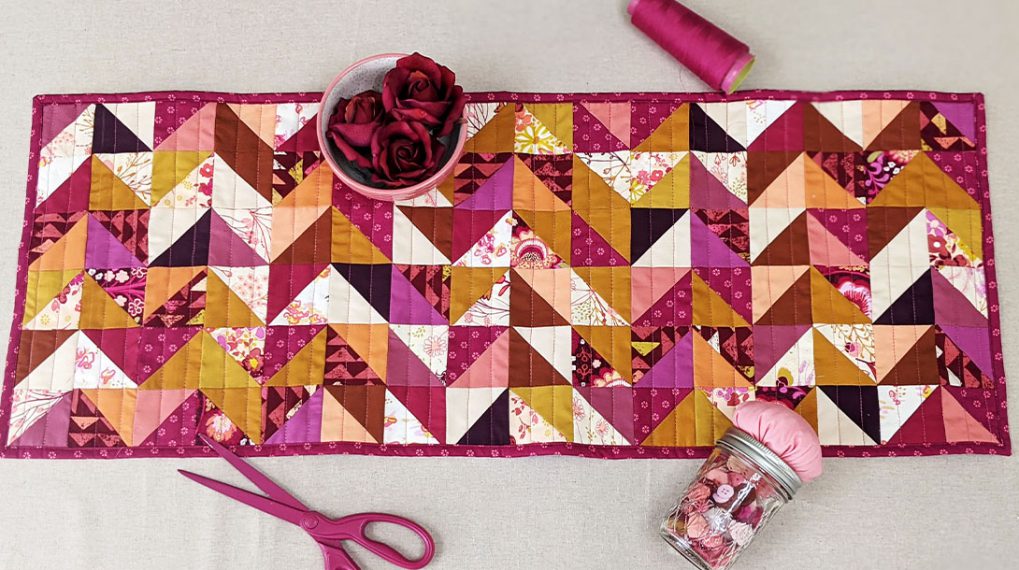
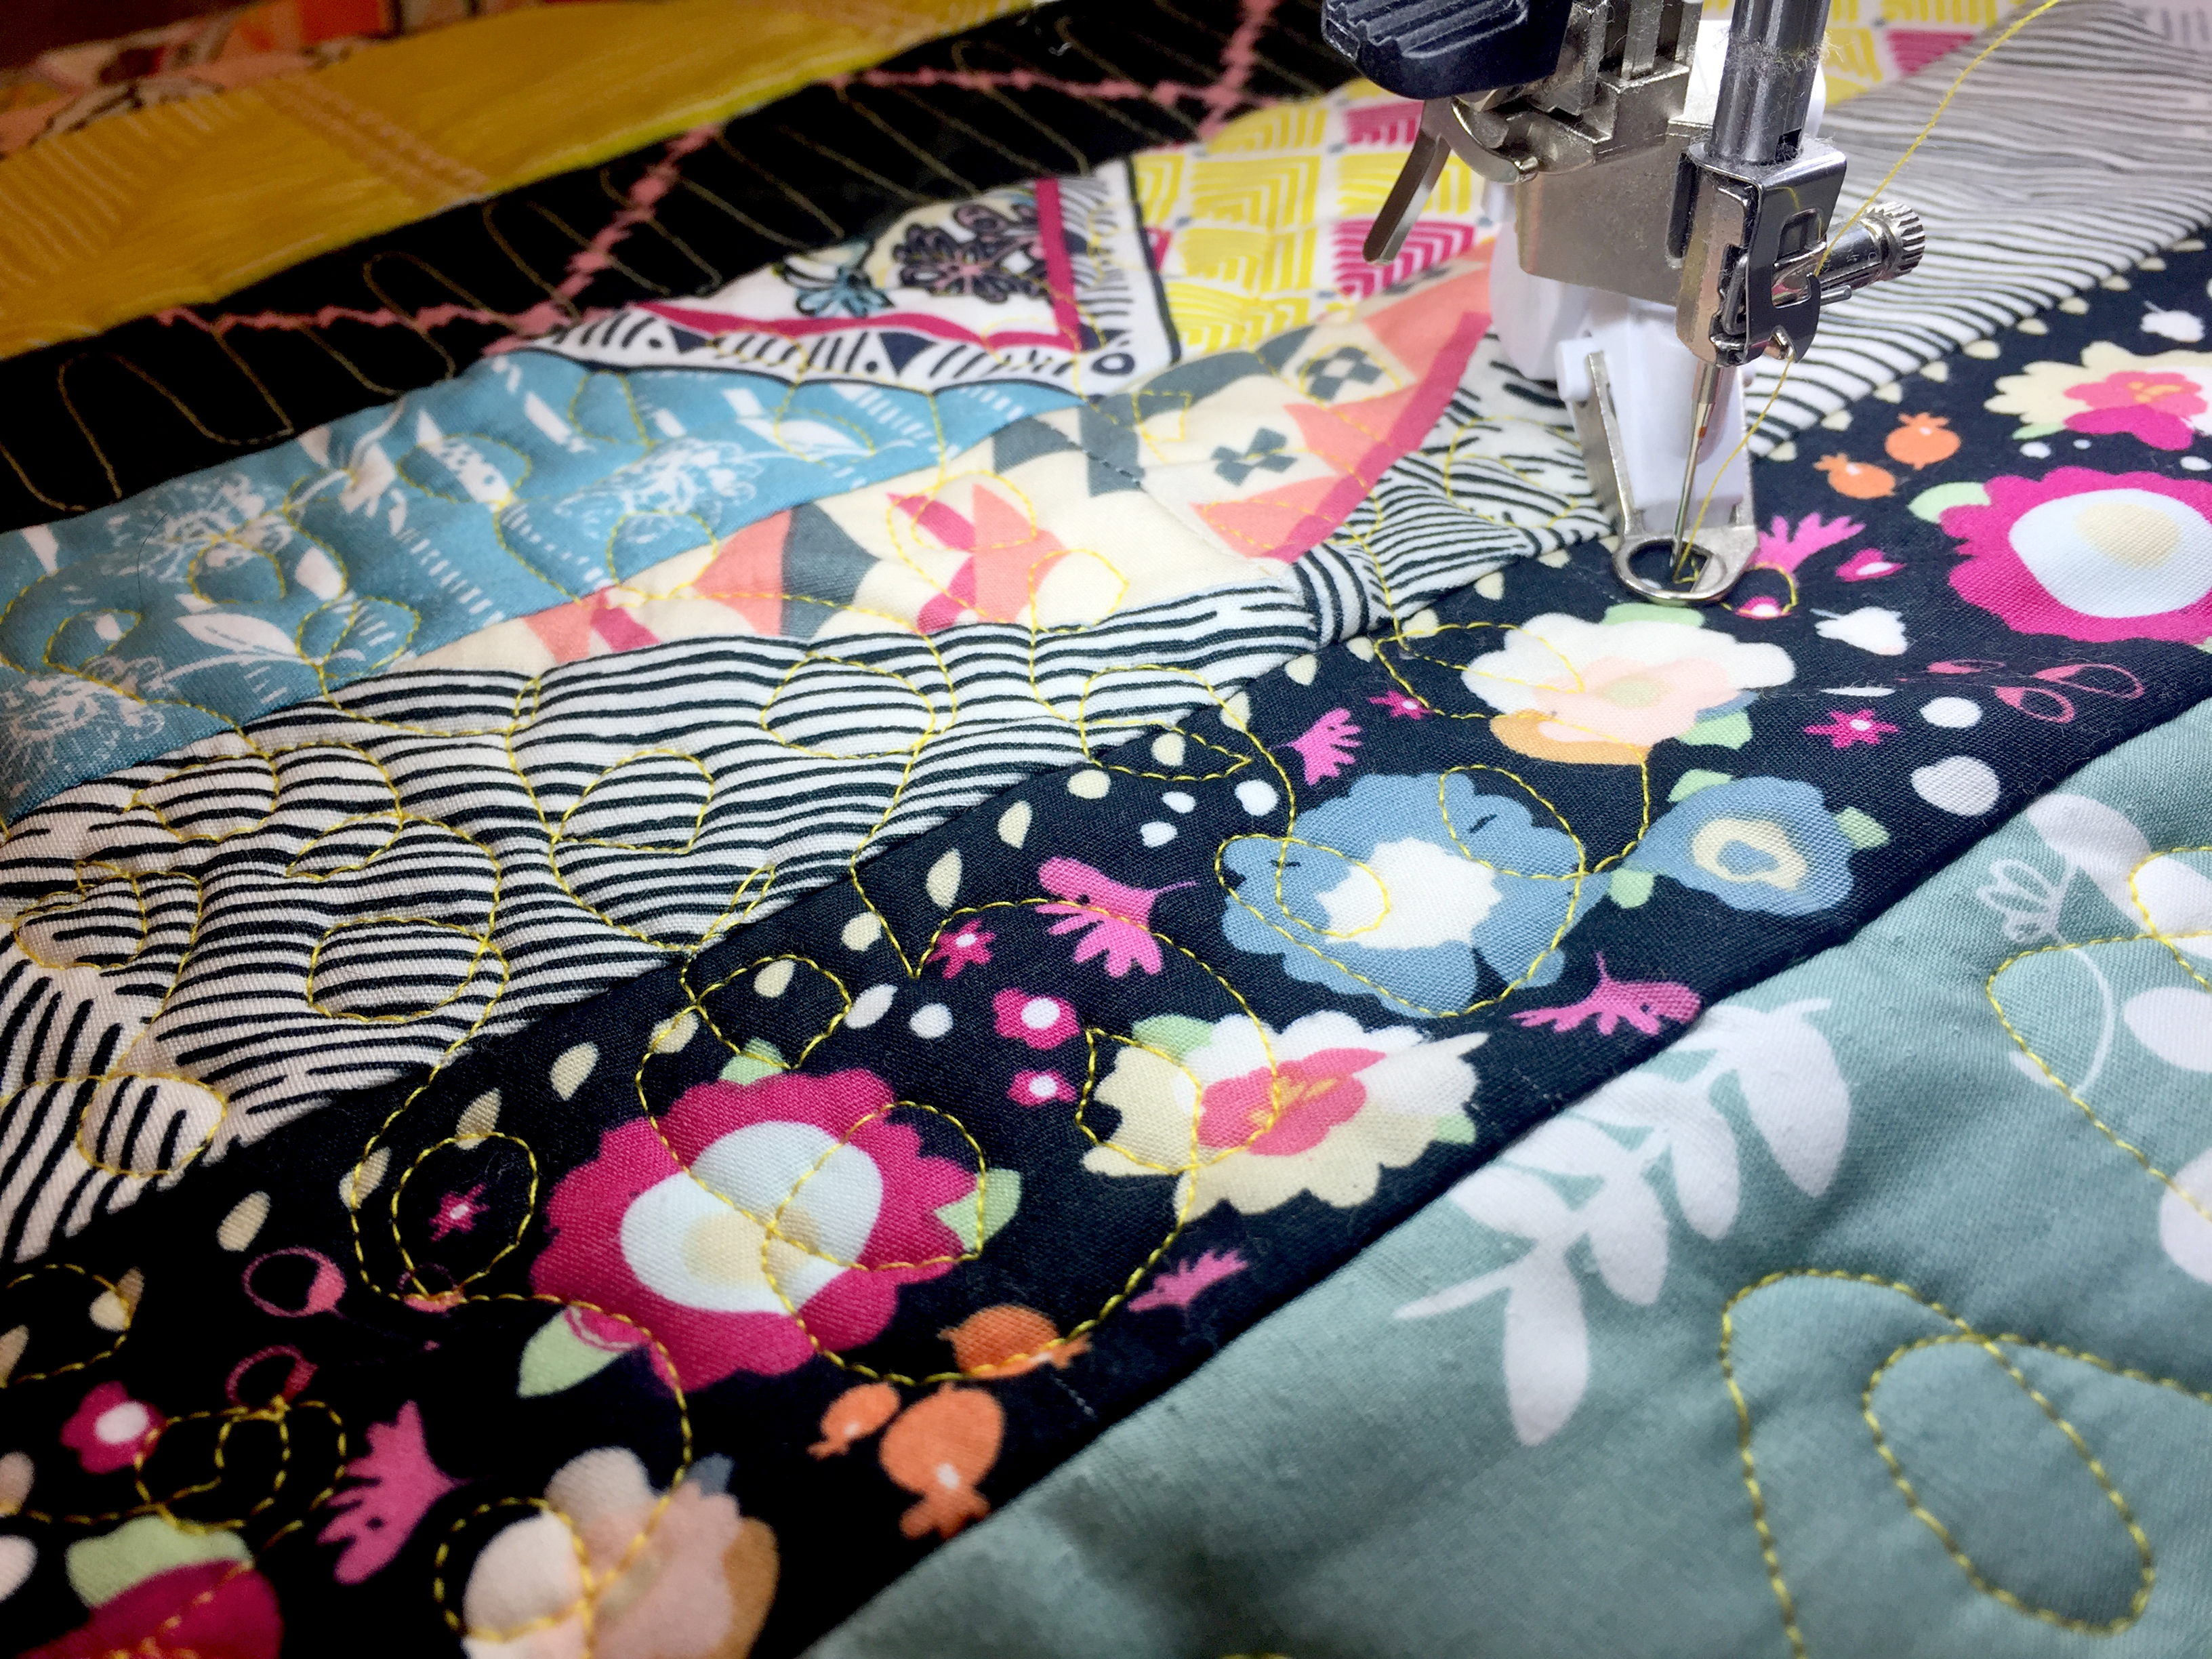
Equilateral Triangle Table Runner
This BERNINA Made to Create Studio online lesson is about creating this equilateral table runner out of 18 different 10 inch squares.

Materials for Equilateral Table Runner
- BERNINA 790 PLUS
- 18 squares of different fabric 10” X 10”
- 1/2 yard for backing fabric
- Thread to match fabric
- Insul Bright by The Warm Company
- Spinning 12” rotary mat
- Good Measure 60 Degree Triangle Ruler
- 505 Temporary Spray Adhesive
- 9 mm Patchwork Foot #97/97D
- Preferred presser feet for quilting
INSTRUCTIONS
All seams in this project are ¼” unless otherwise stated.
1. The Good Measure 60 Degree Triangle Ruler by Kay England is used to make this fast and easy table runner.
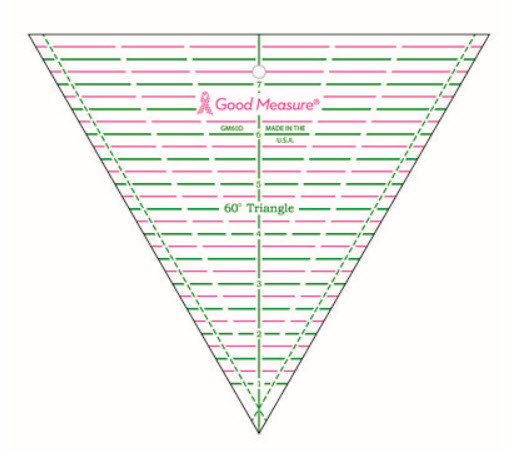
2. All of the Good Measure Rulers are made to work together for many of your projects.
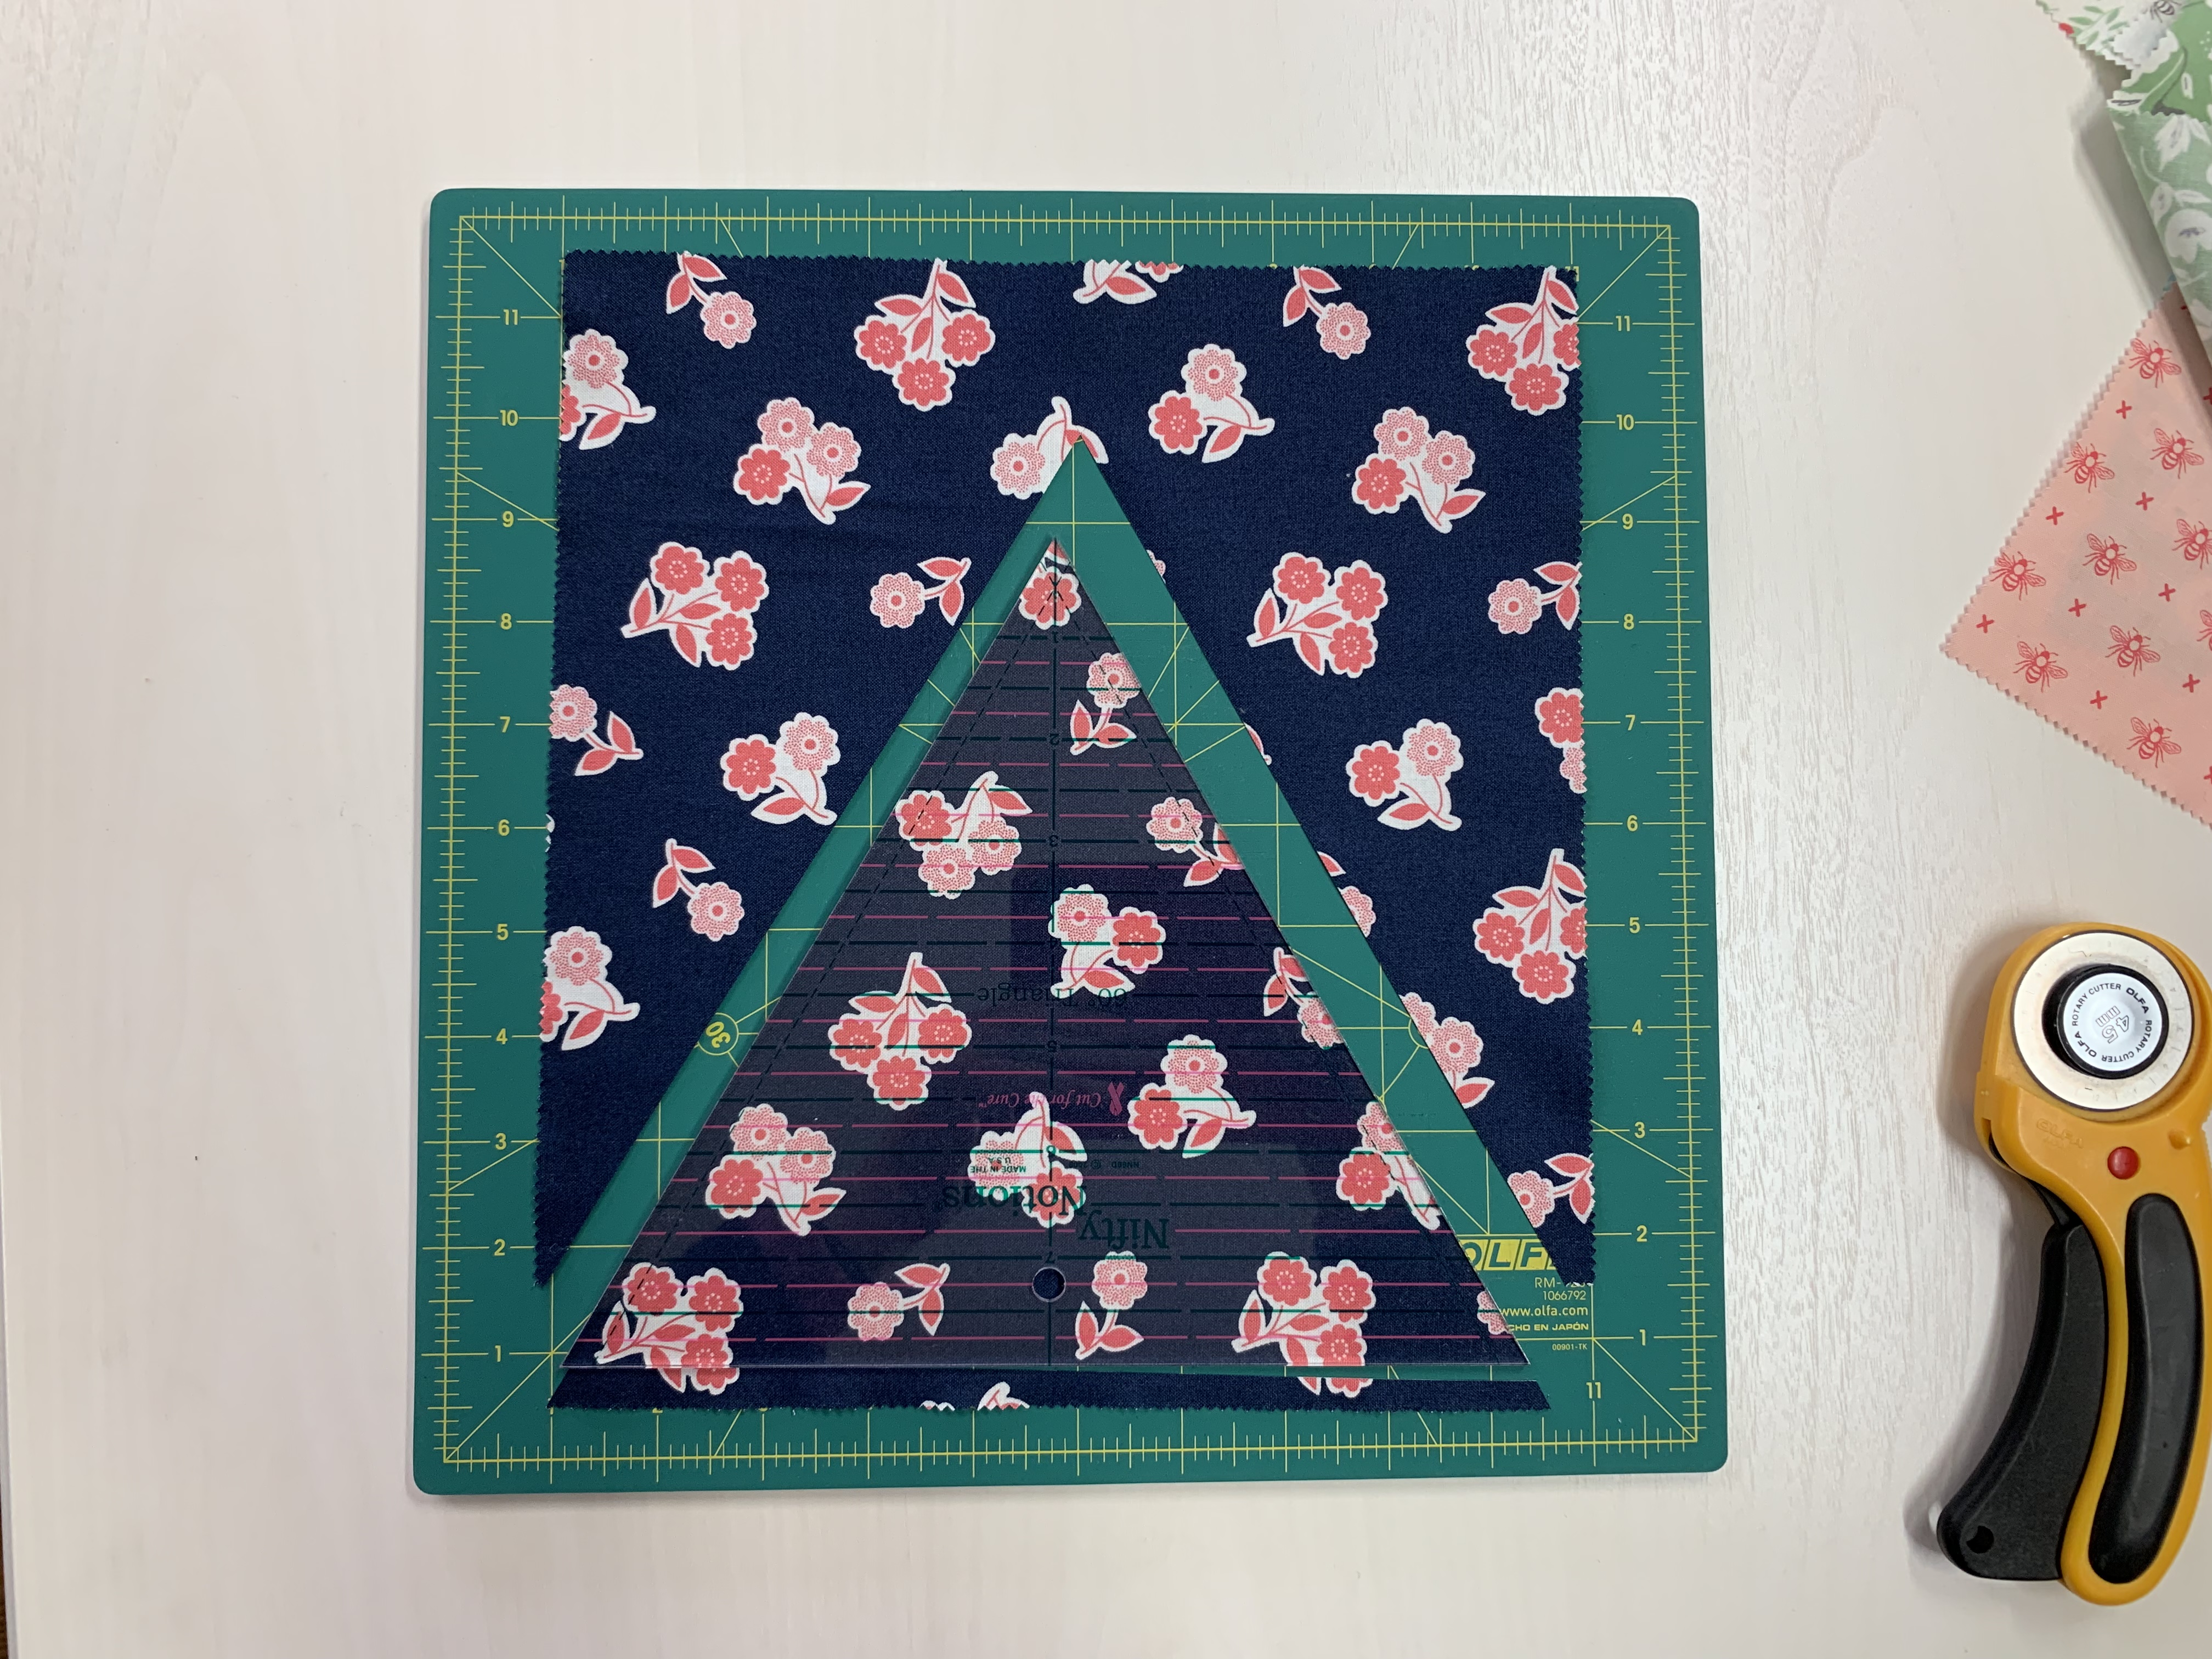
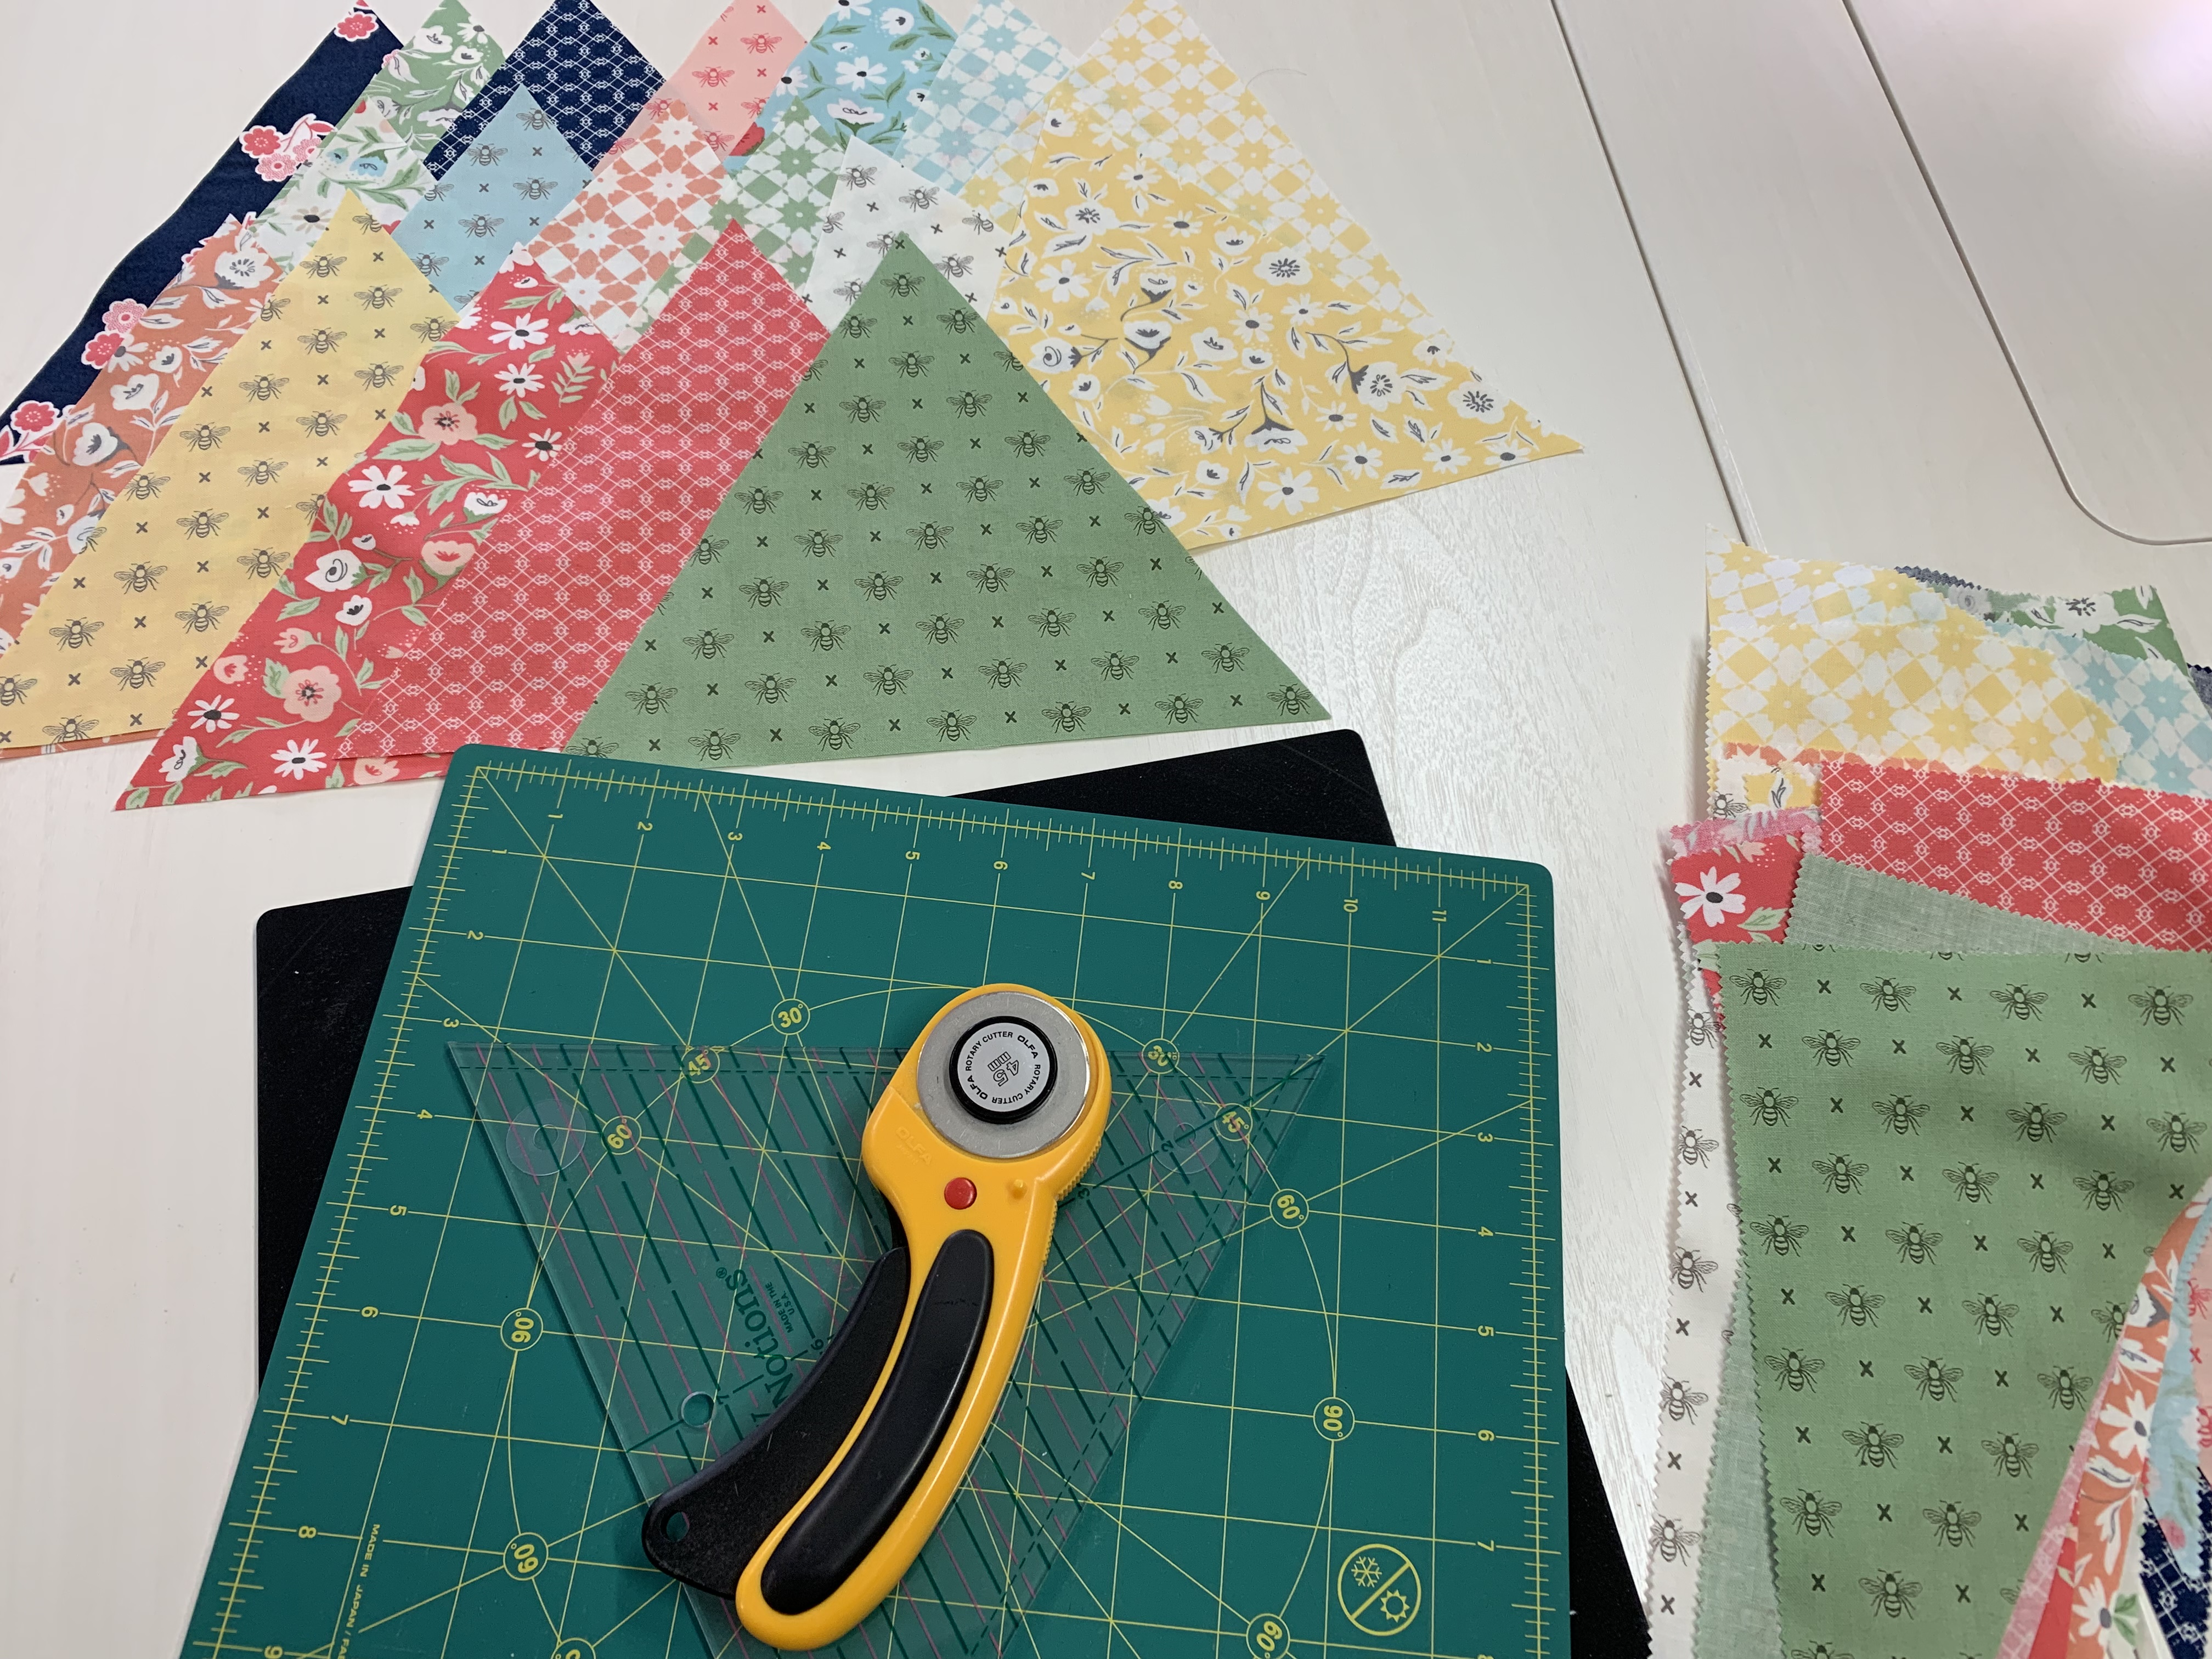
3. To make cutting the triangles easier we are going to use a cutting mat that turns. Cut all 18 triangles turning the mat as you go.
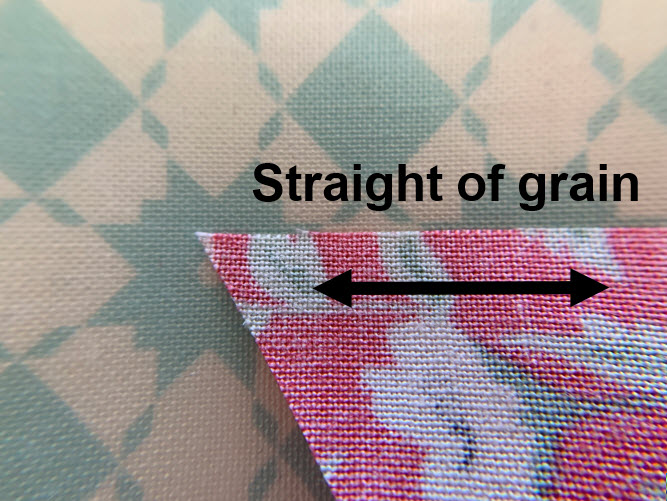
4. When working with a bias edge, as there are on these triangles on two sides, try to keep the straight of the grain to the outside edge. Putting it on the outside edge will help the project lay flat and straight when putting the binding on.
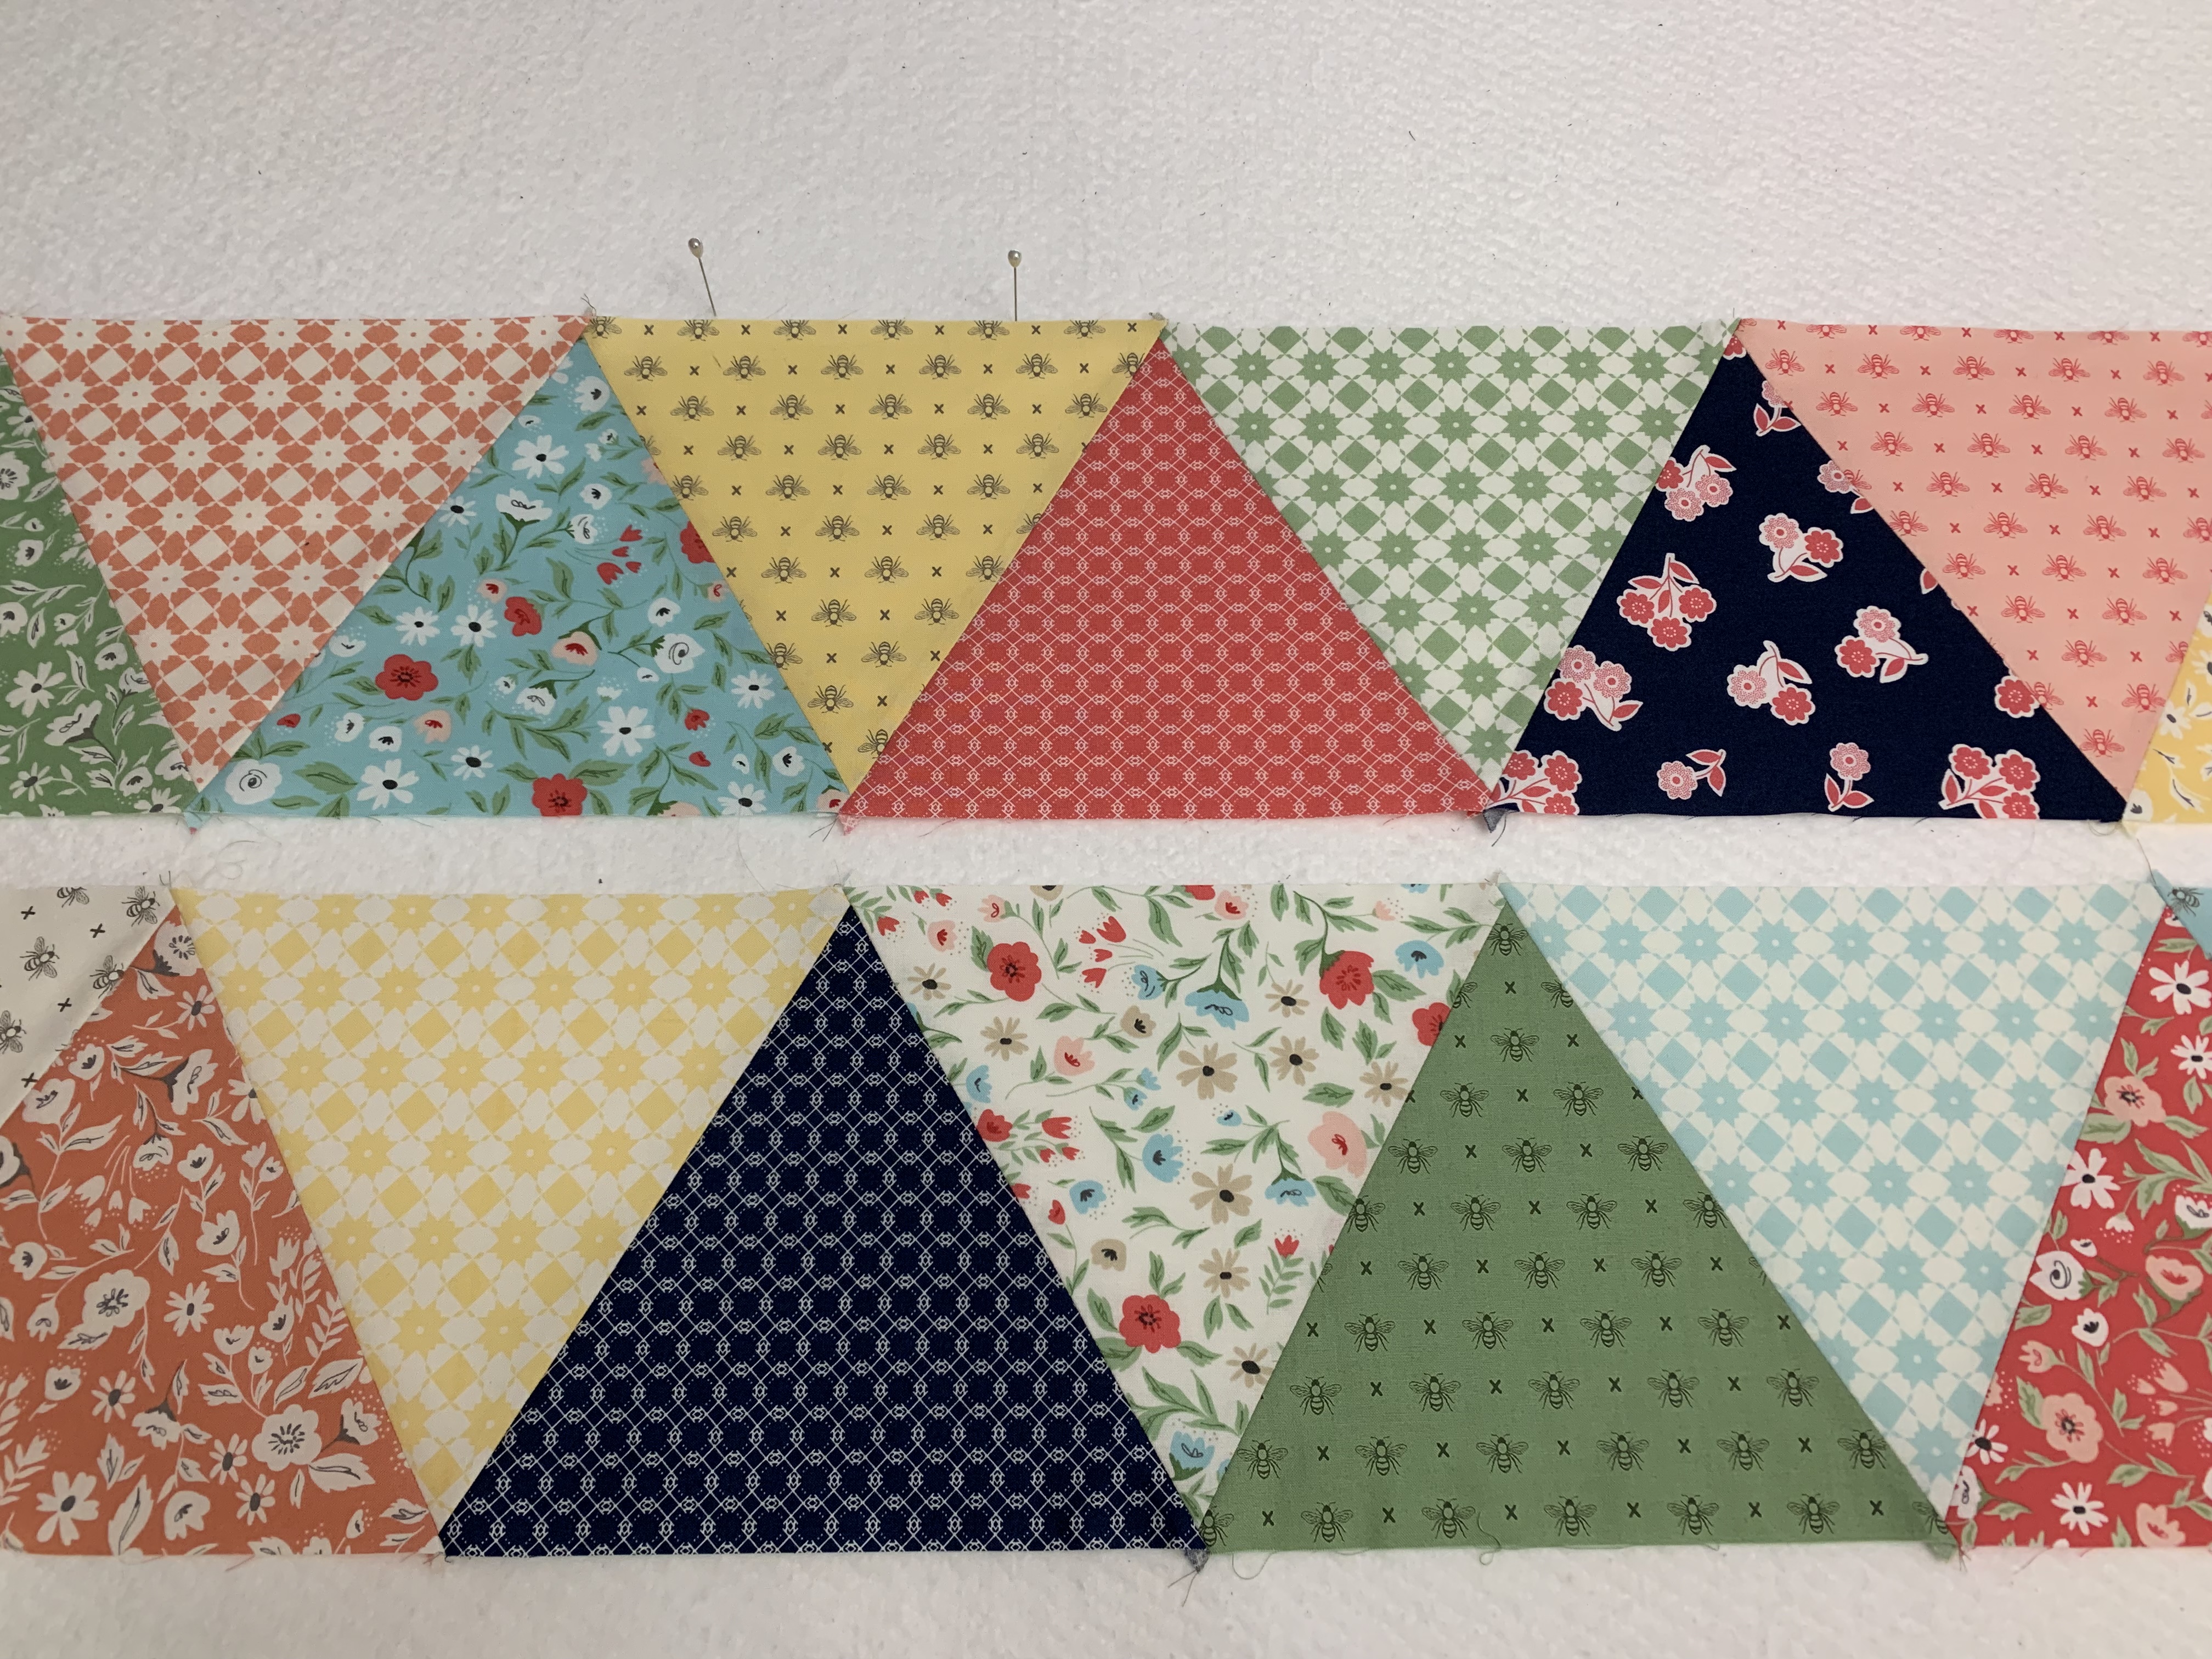
5. Lay your triangles out in a pleasing manner. Check the grain.
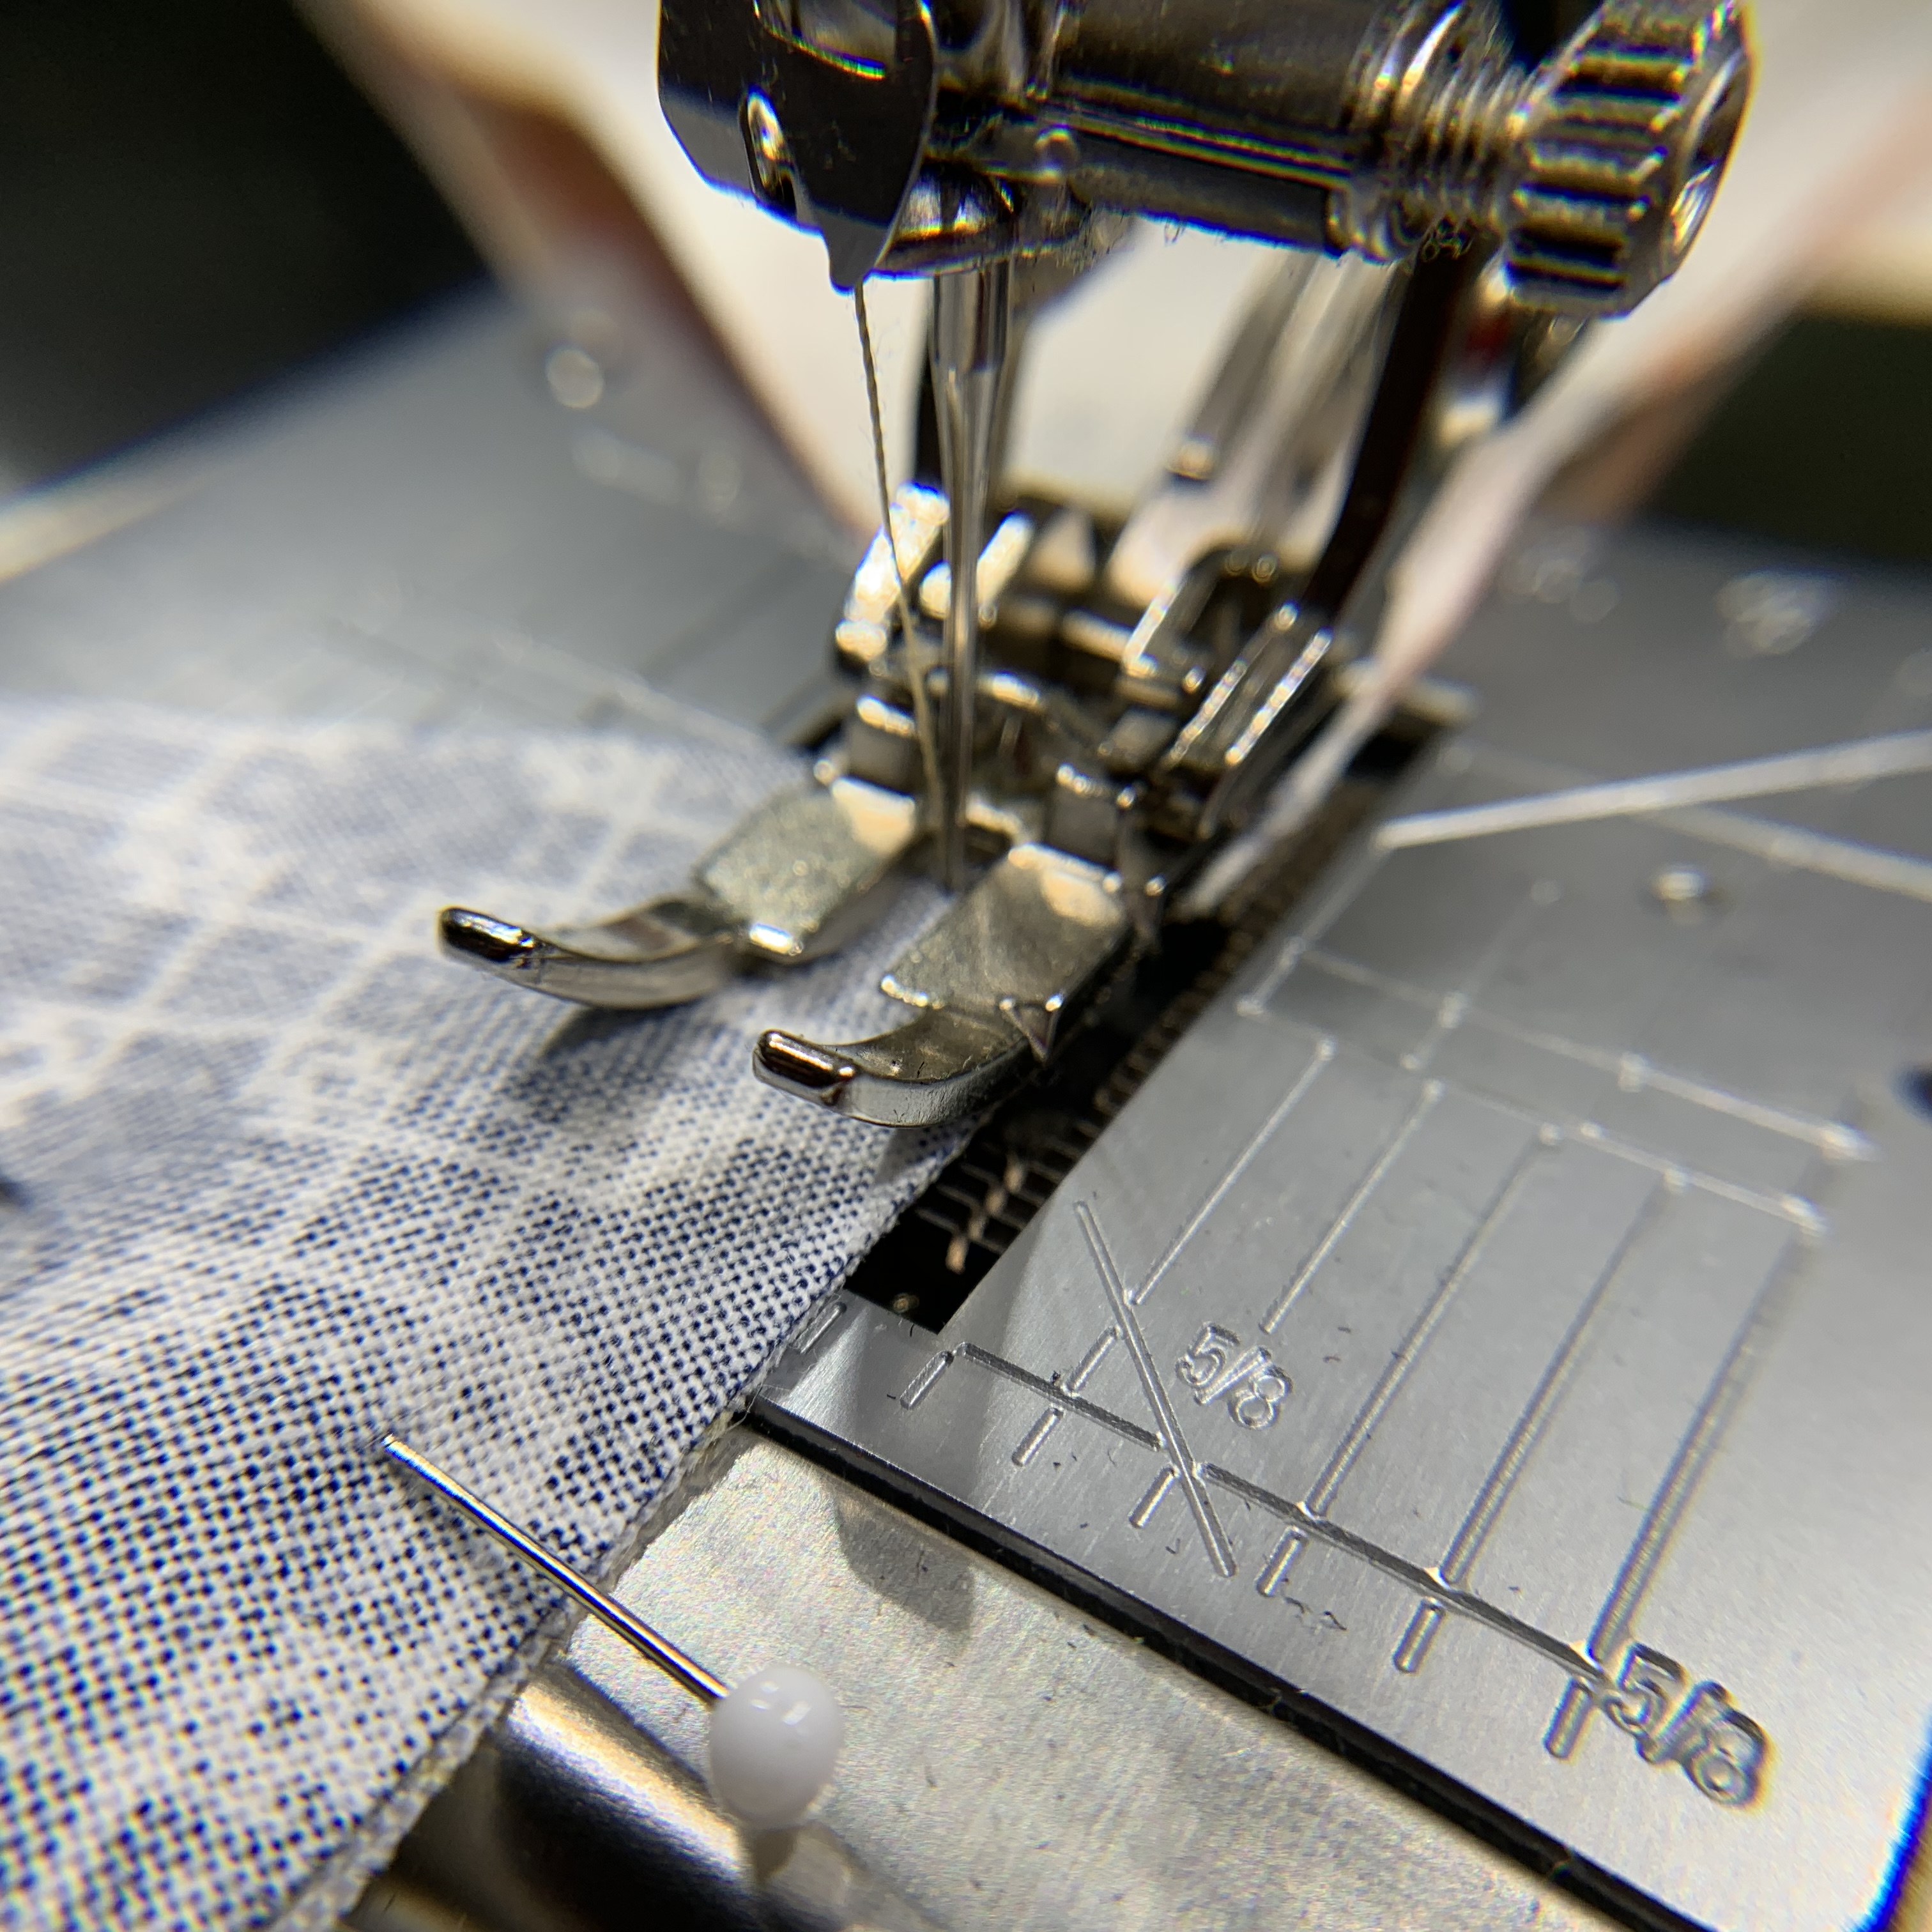
6. Stitch the triangles together using a ¼ inch seam and foot #97D with the Dual Feed engaged.
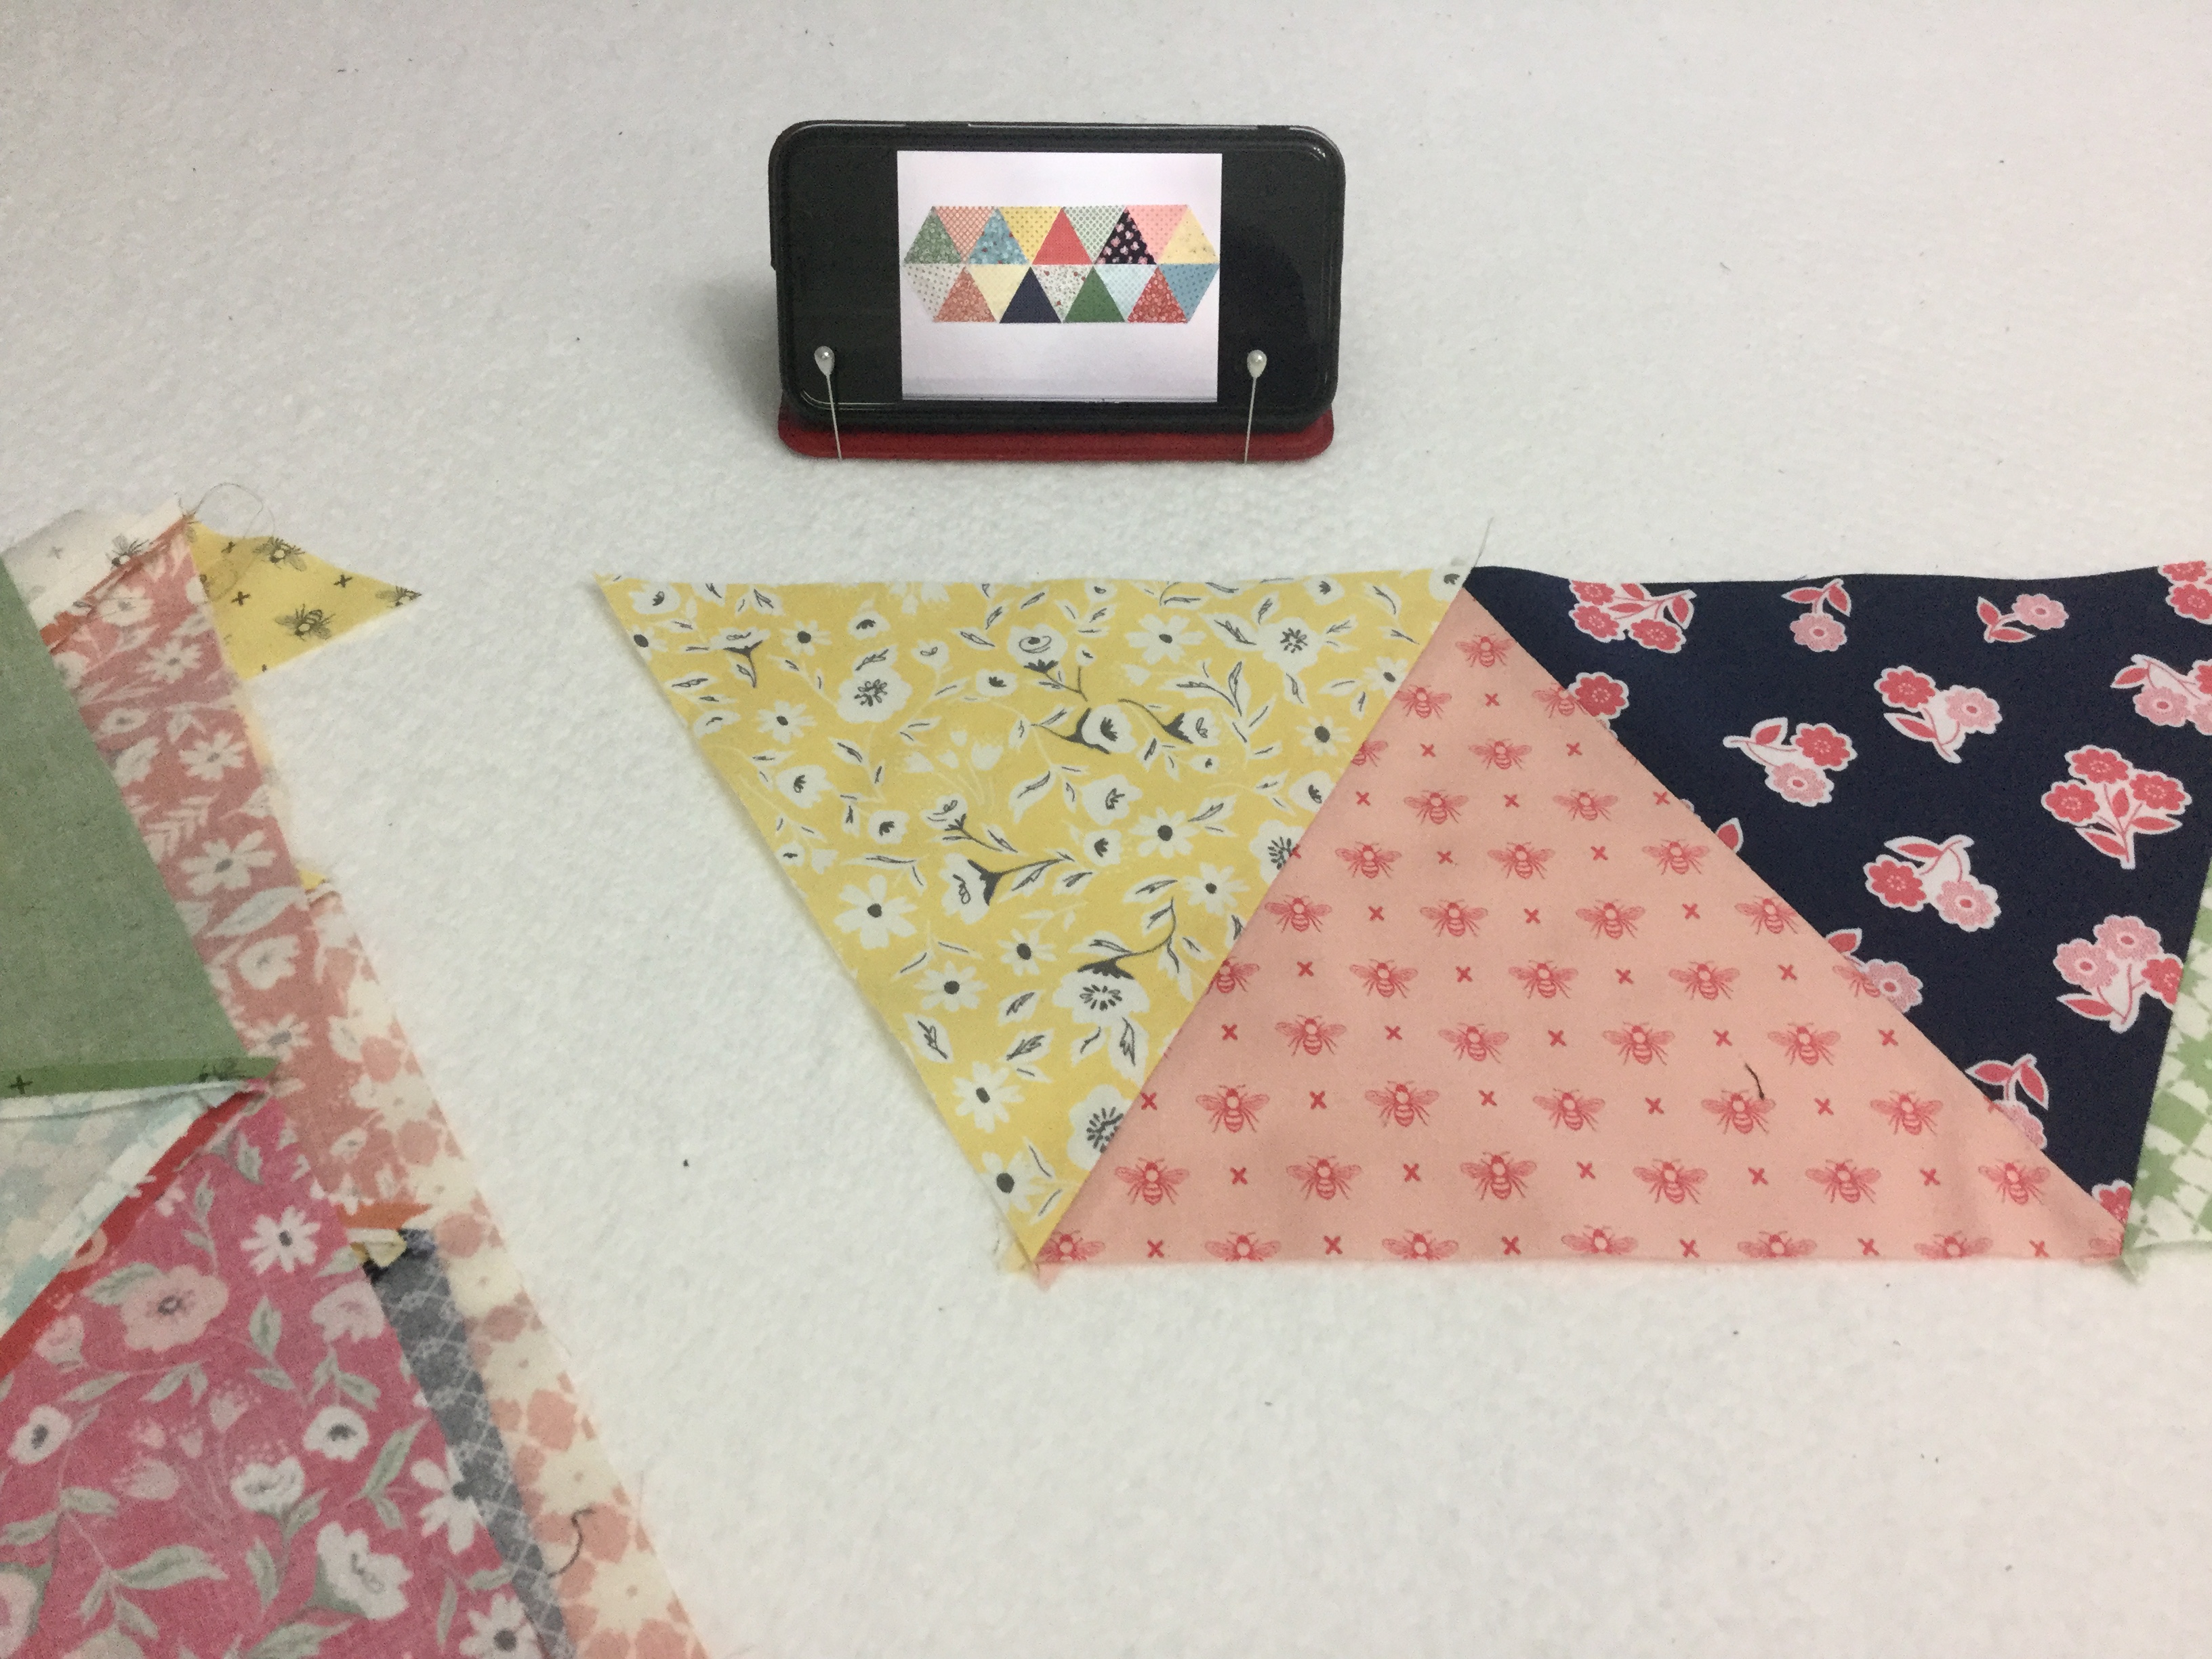
7. To make sure they are stitched like the layout first take a picture and use it for reference.
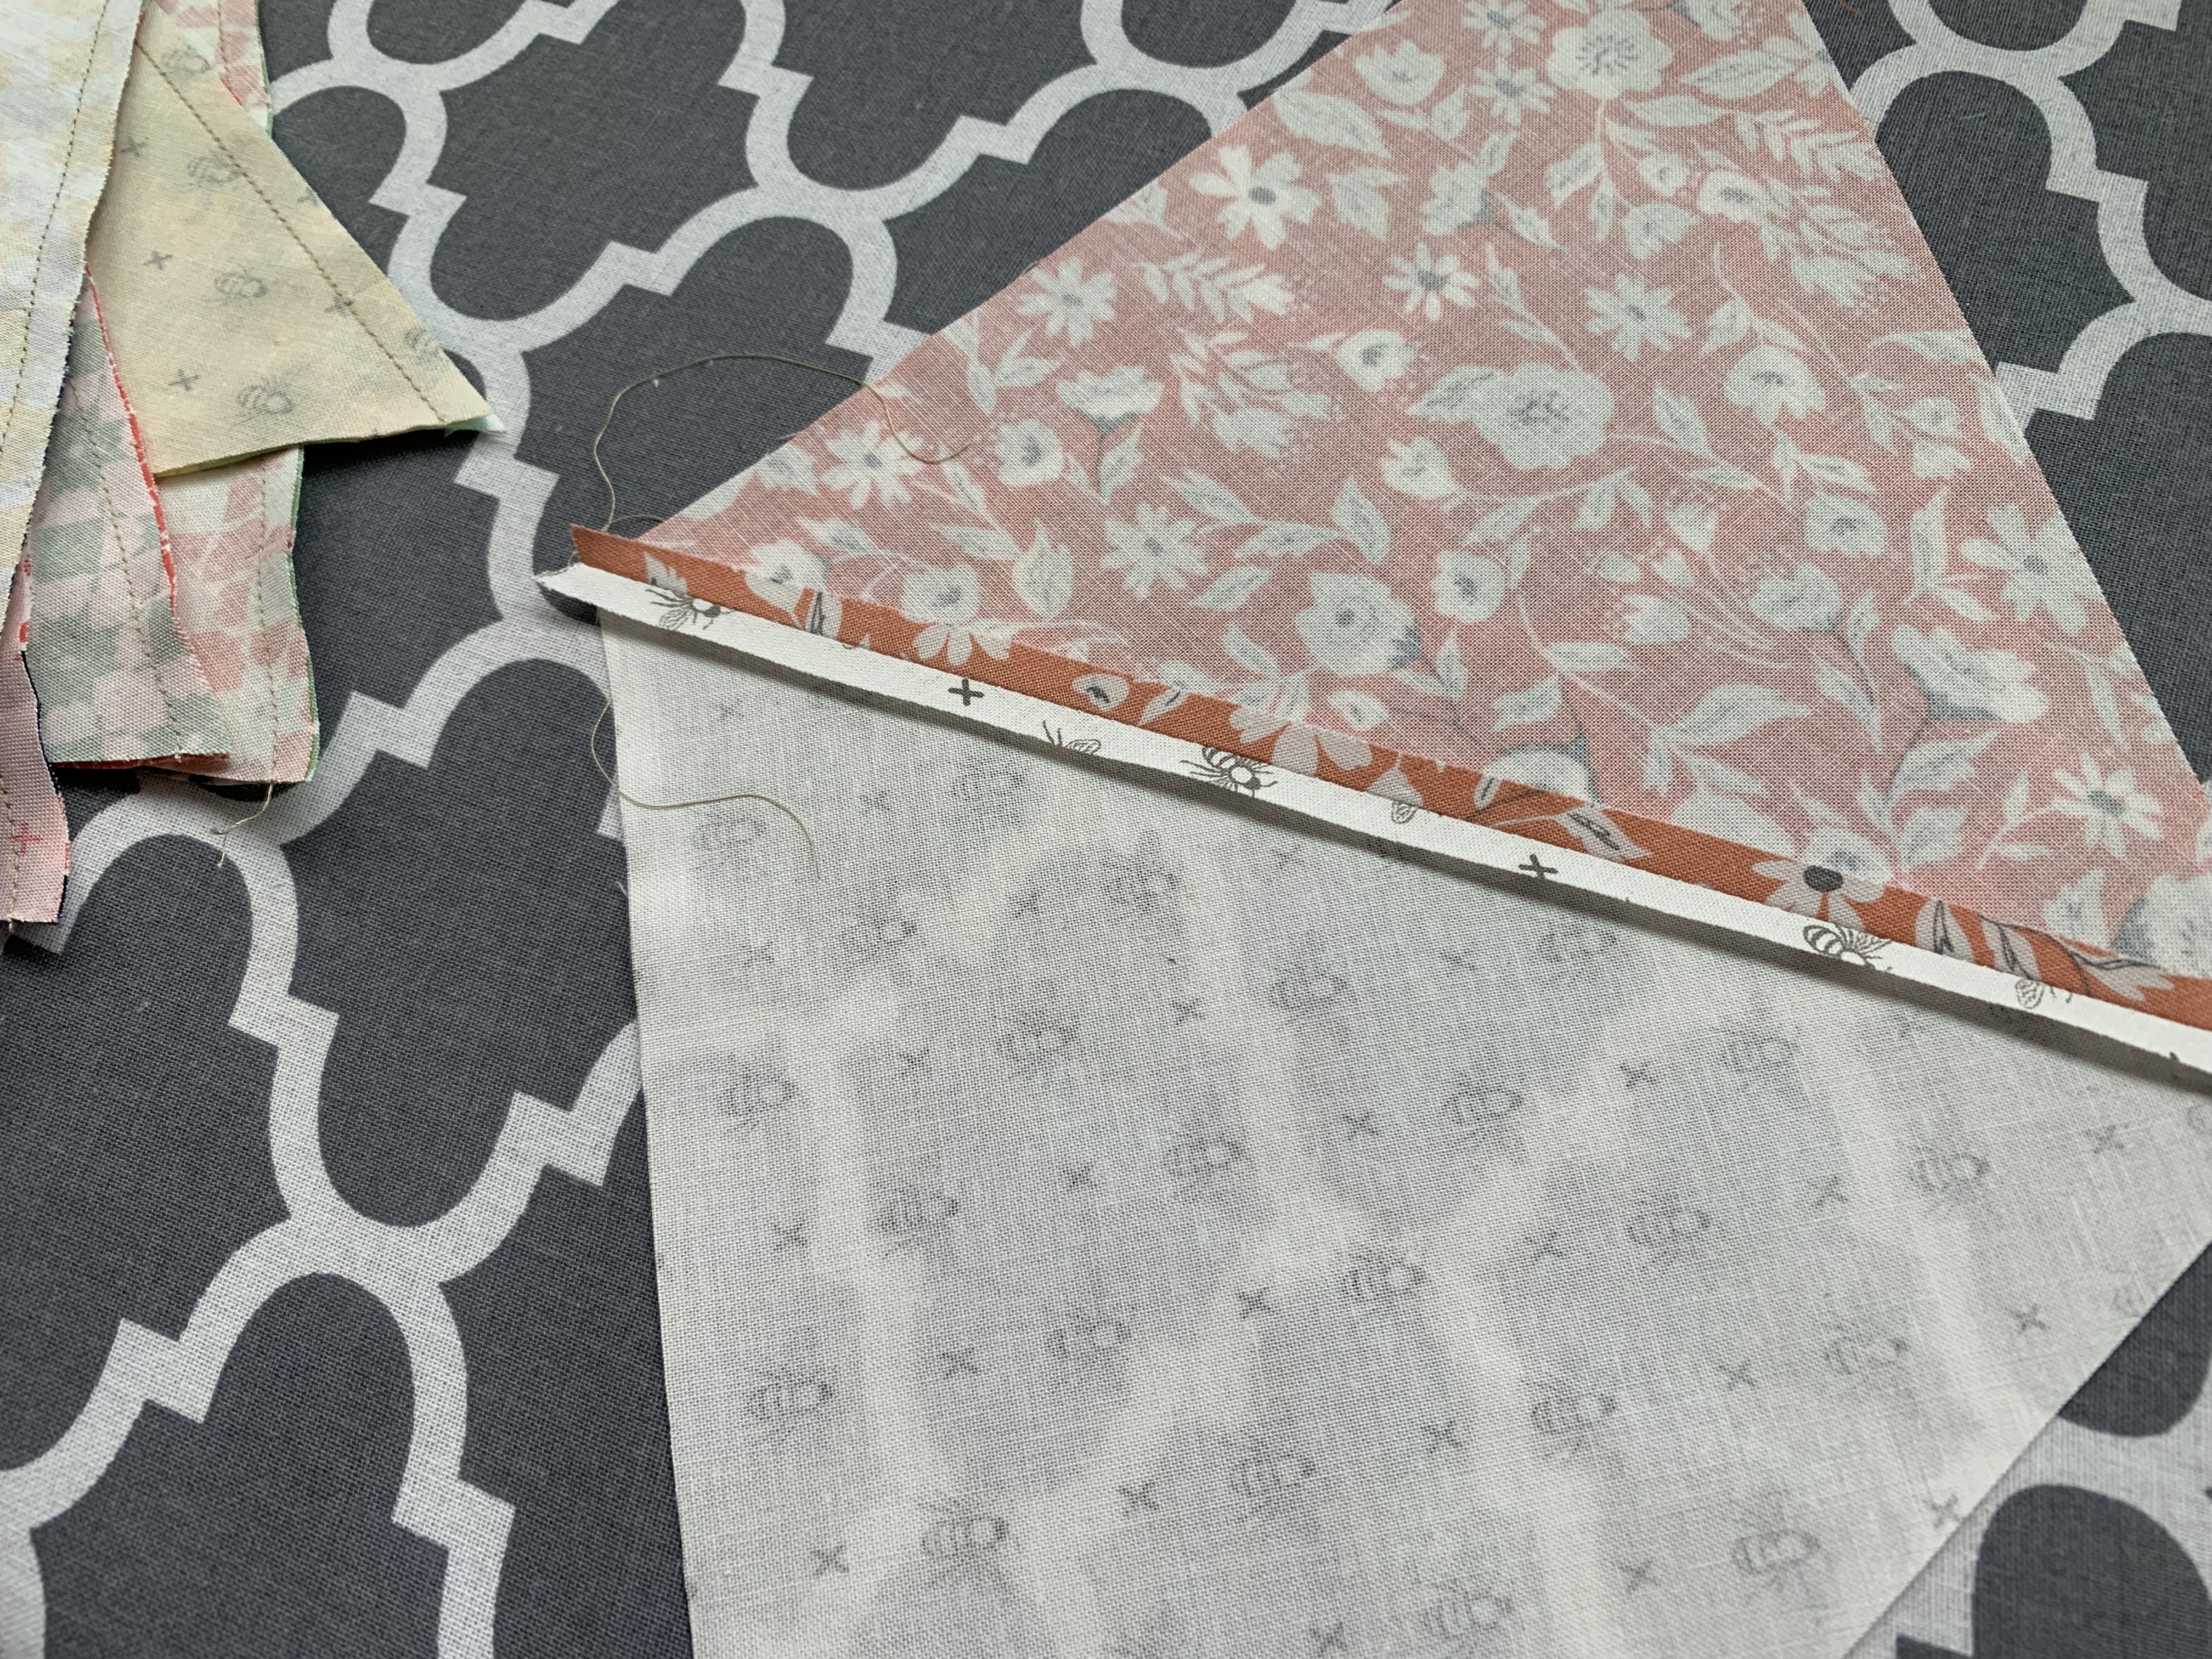
8. Press the seams open in this project to help the intersection lay flat and help with lining up the points.
9. Make two rows of 9 triangles in each.
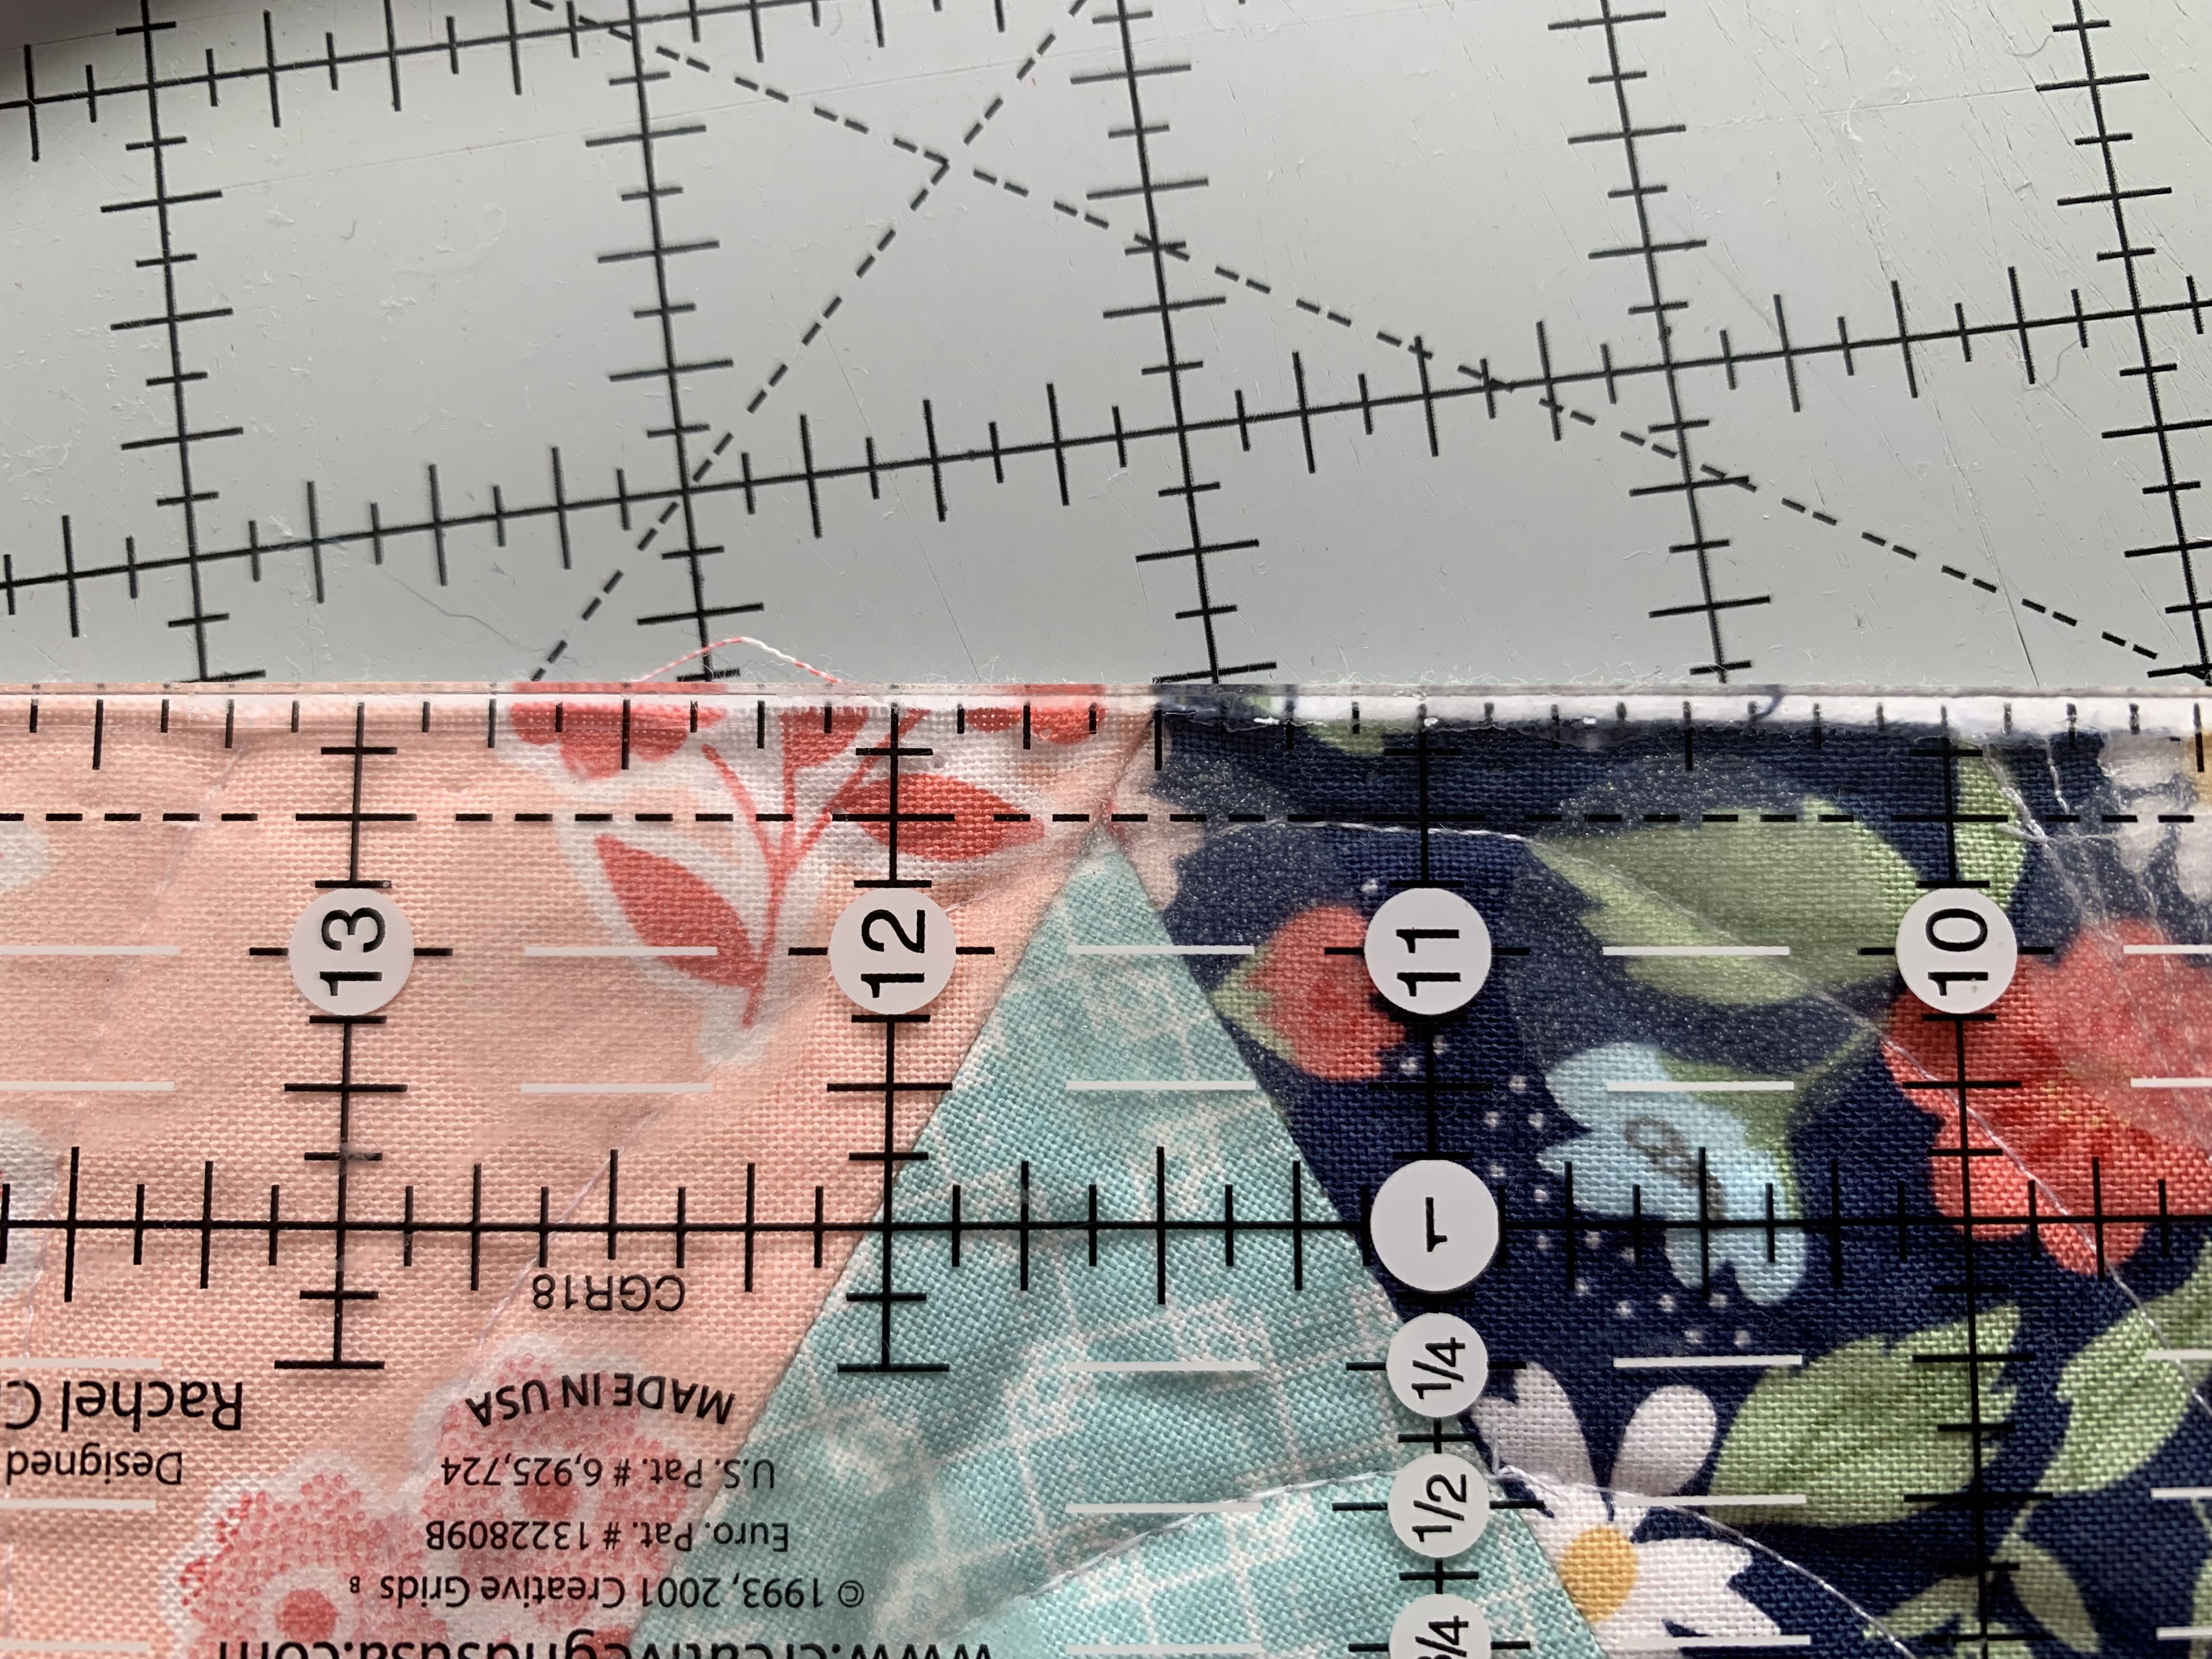
10. Don’t trim your dog ears off until you have the rows finished. This will help with lining up the triangle and give you the point that is ¼ inch away from the edge.
11. Stitch the two rows together. To help keep those points, just place a pin through the point on the top row and then through the point on the bottom row.
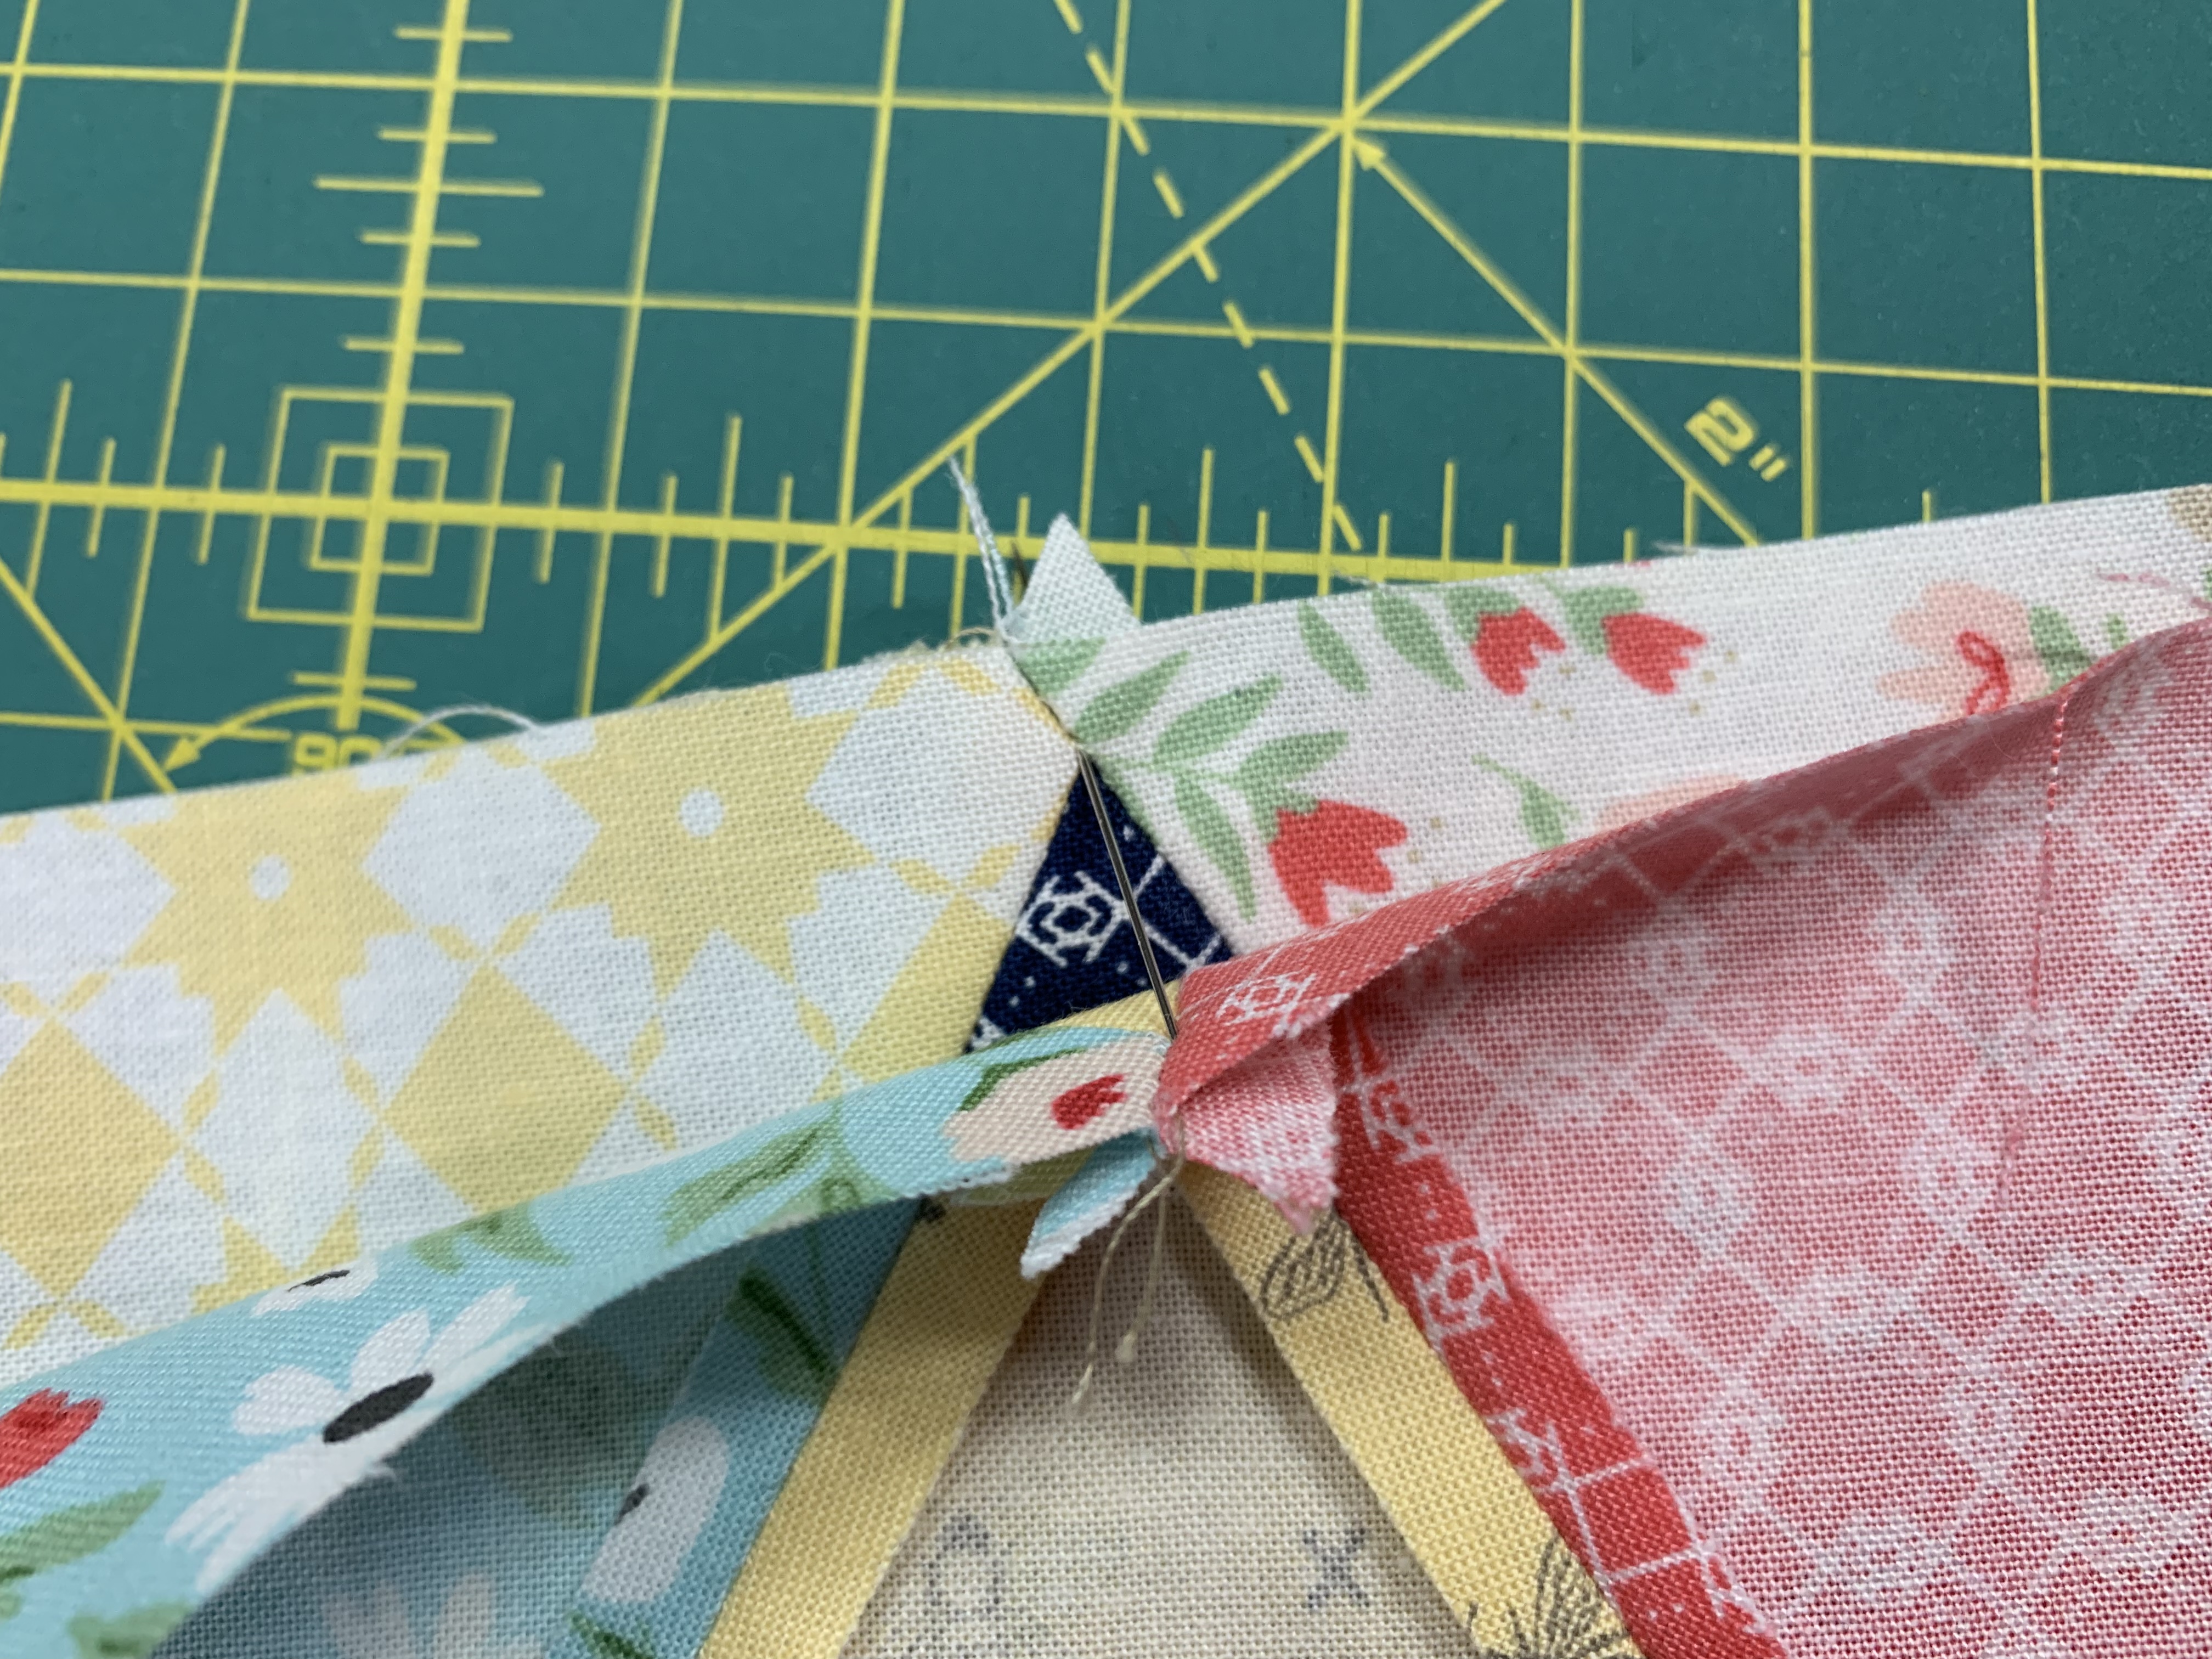
12. Leaving the pin where it is, bring the two rows close together and place a pin on each side of the one going straight through. Now remove the pin in the middle.
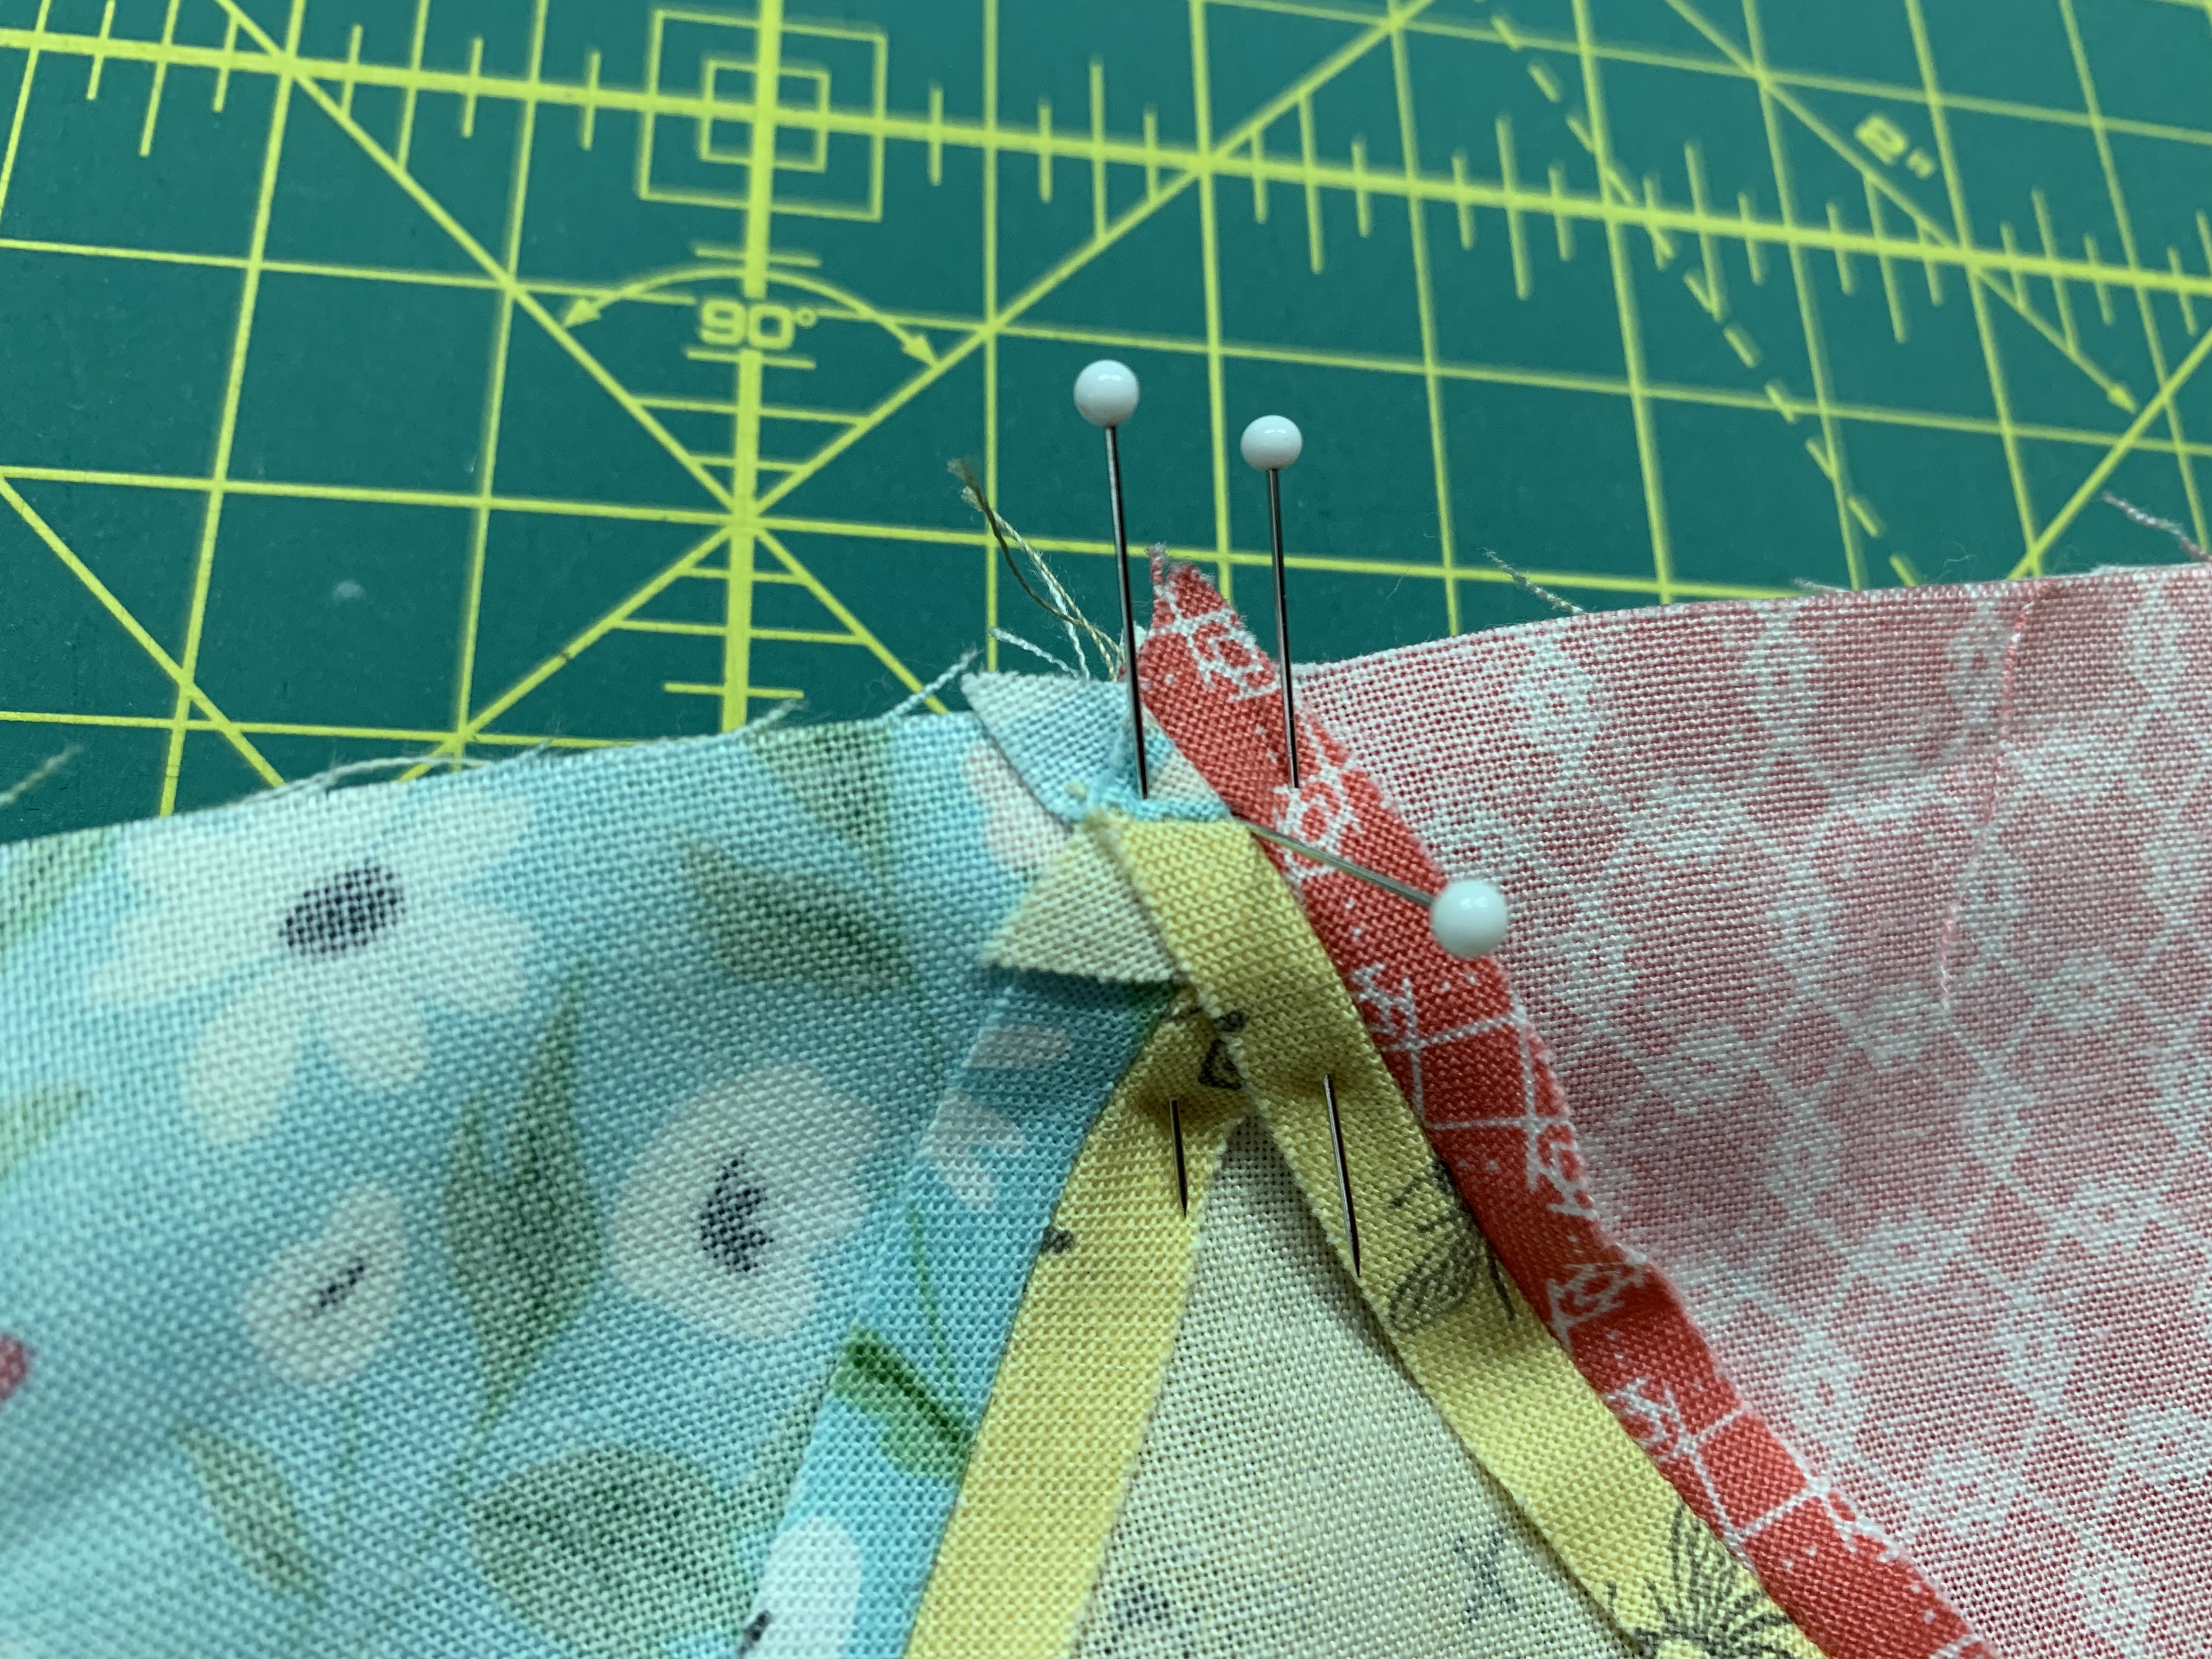
13. Stitch across.
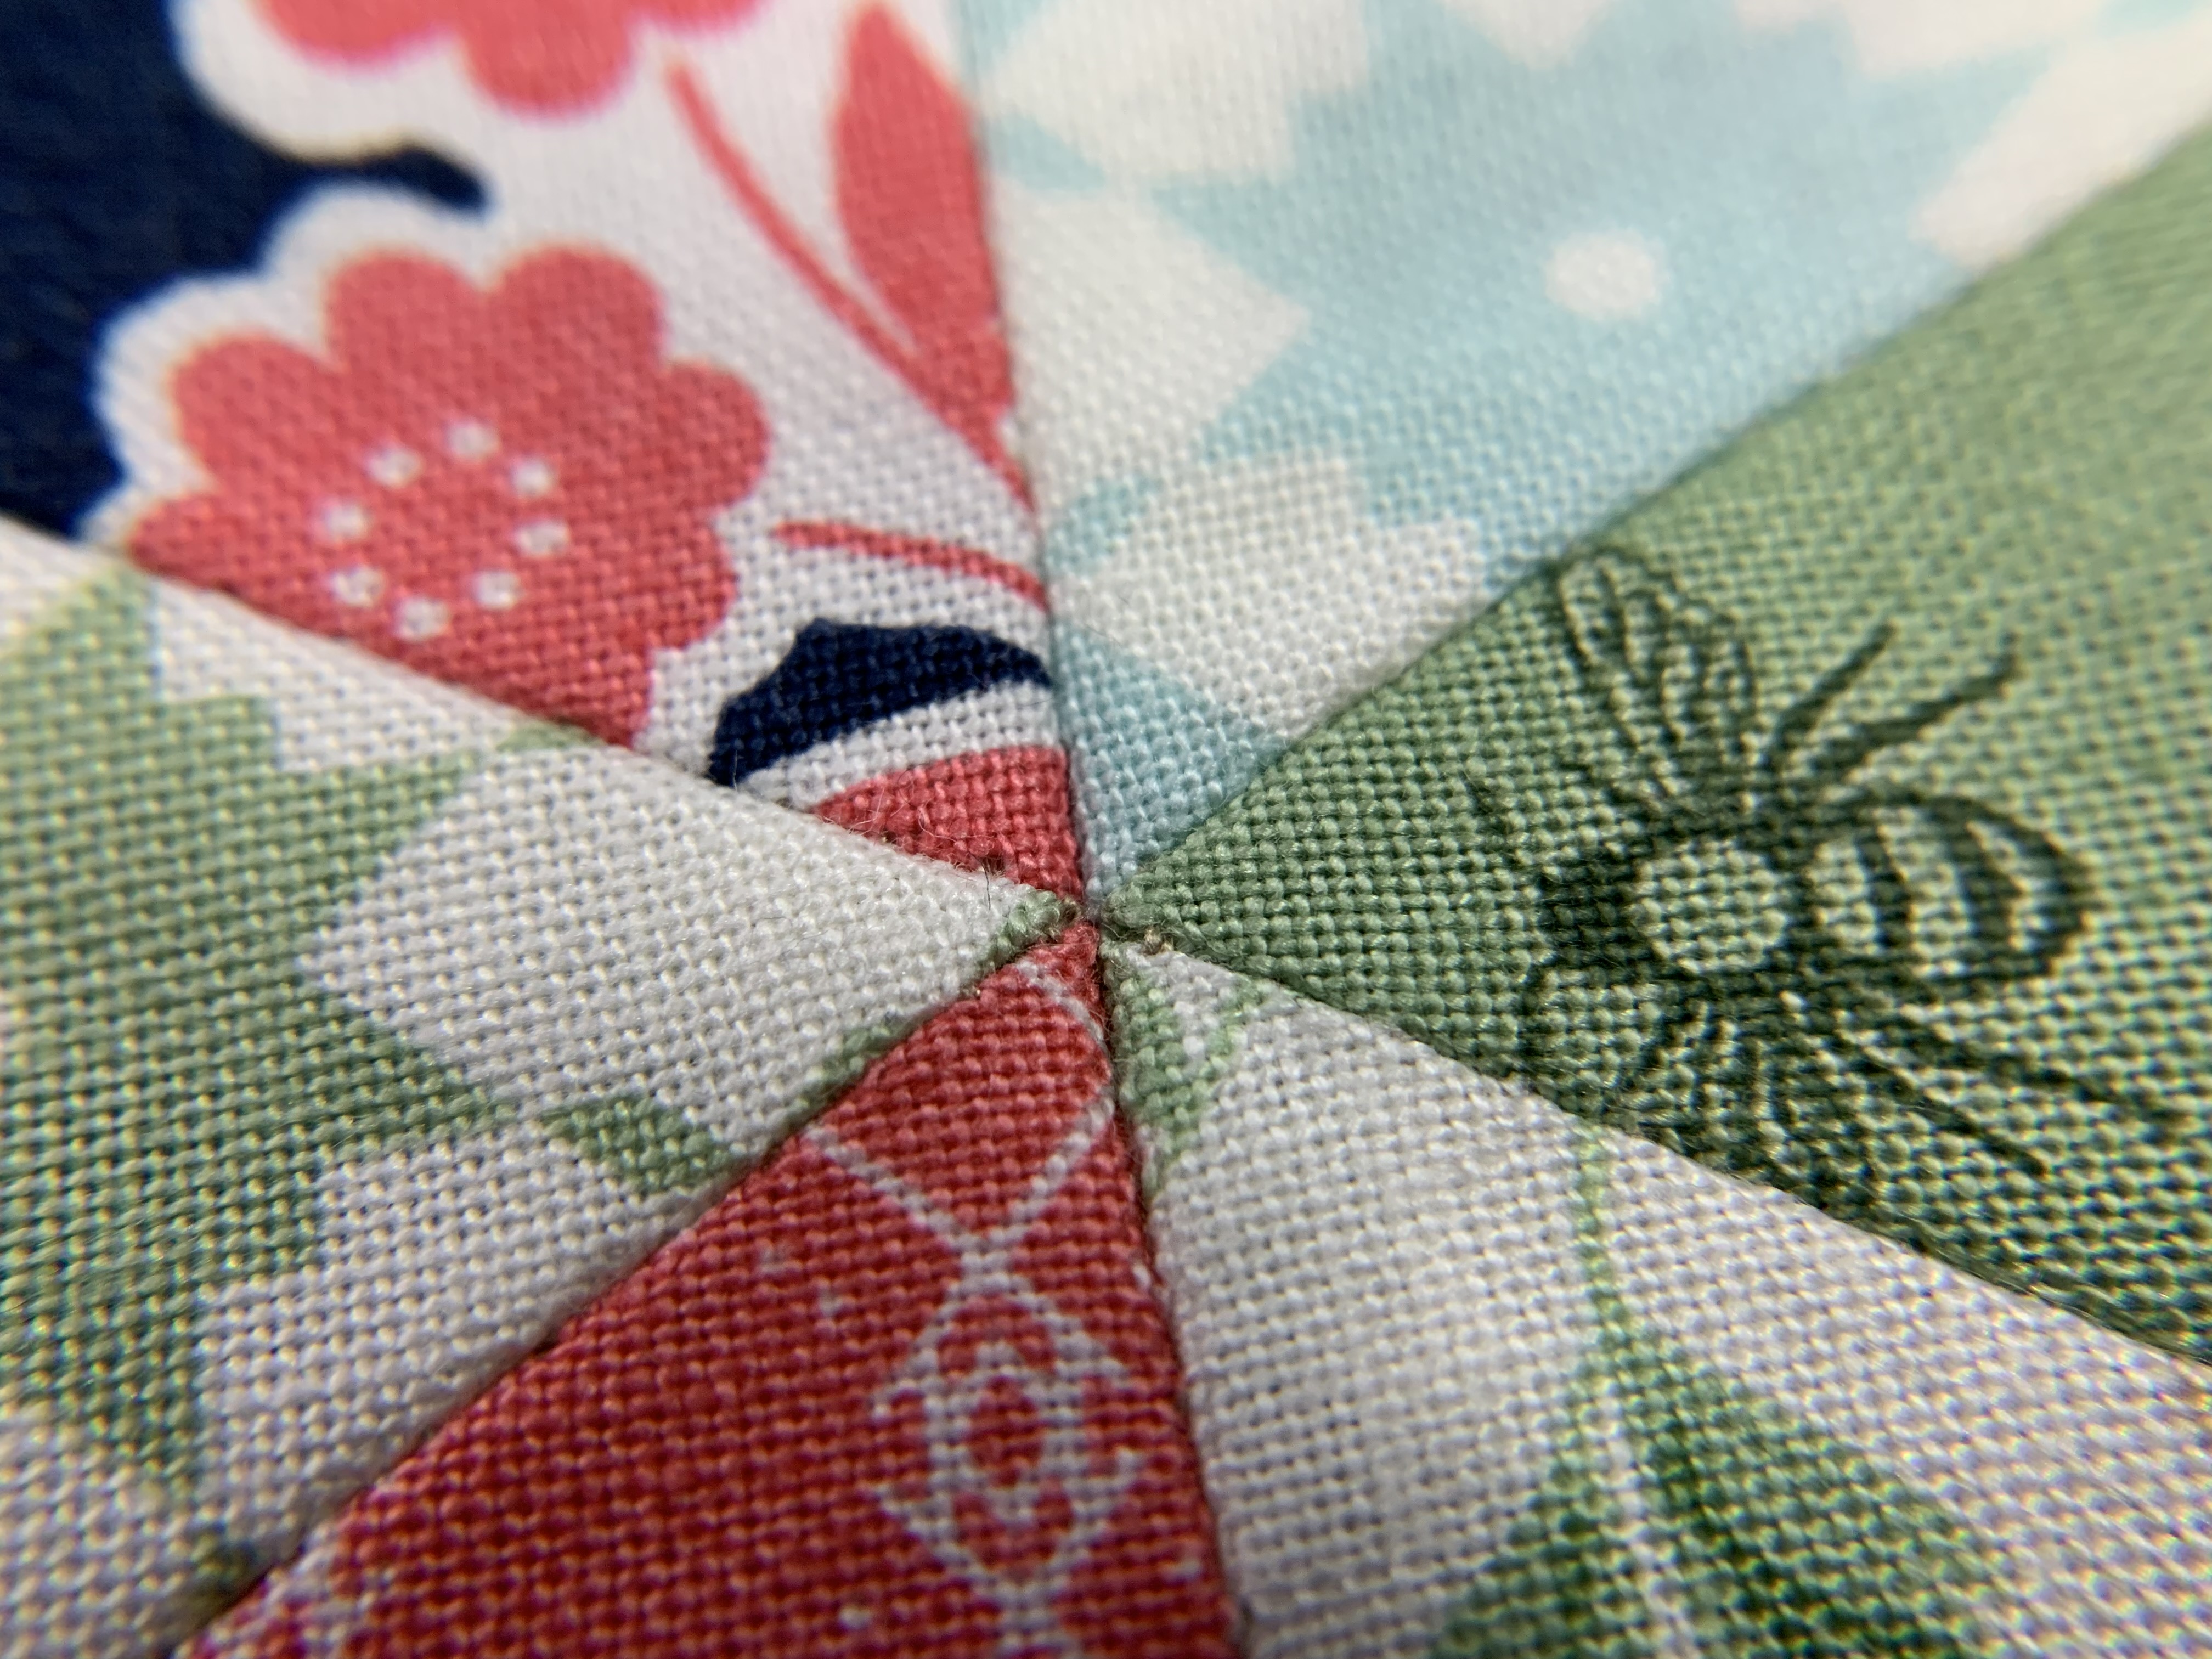
14. Open the seam up and look at those great points still right there. Press seams open.
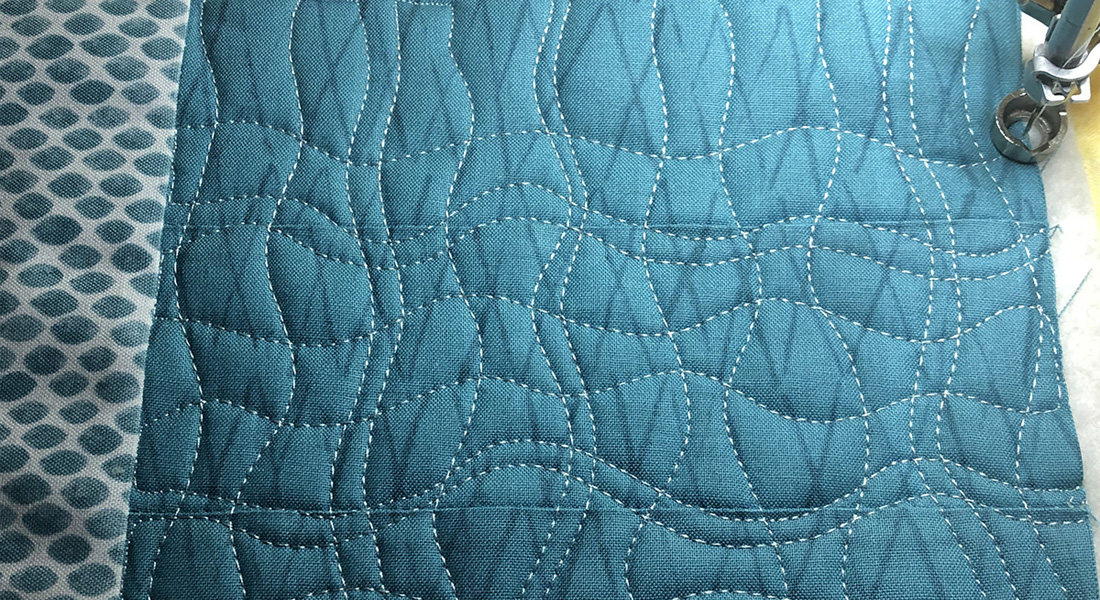
15. Layer the runner top, batting, and backing to get ready to quilt. Putting Insul-Bright by the Warm Company in the table runner will help if there is something warm that needs to be placed on it.
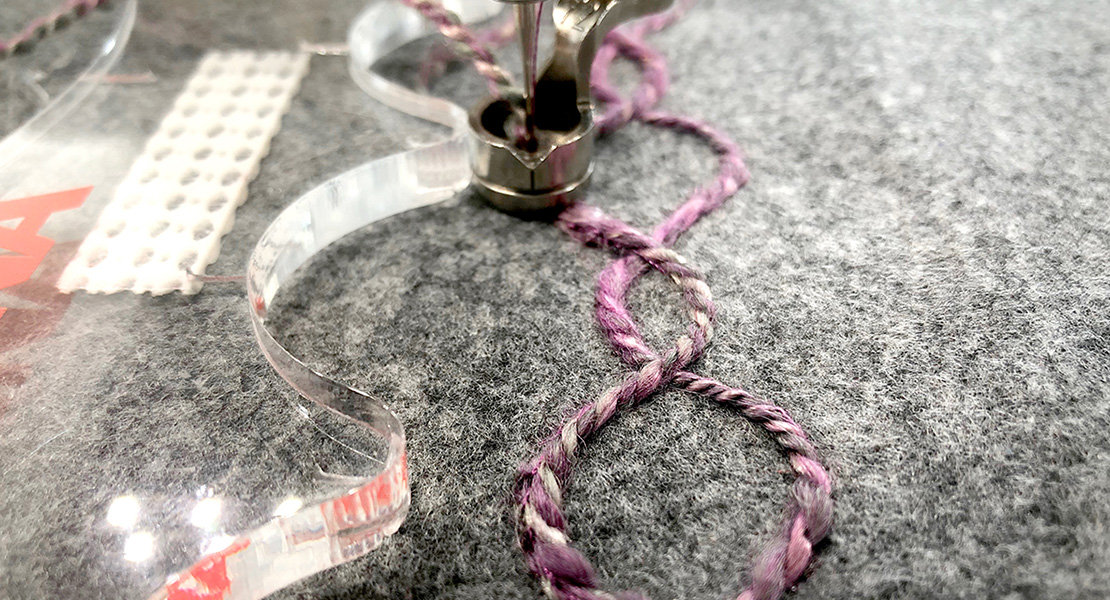
16. To quilt the runner, you could use Walking Foot #50 and quilt straight lines or decorative stitches. You could free-motion quilt, ruler work quilt or even put on frame with longarm and quilt. Try using presser feet such as Freehand Quilting Foot #29/29C, Freehand Embroidery Foot #24, and Adjustable Ruler Foot #72.
17. With quilting completed it is time to trim. Make sure you leave the ¼” from the points.
18. Then add binding. Use a small 2 inch cut binding to have a ¼ inch showing on the front of the runner to show off these great points on the triangles.
You now have a completed table runner! Make one for you and one for a friend, or change the fabric for each season!
BERNINA Made to Create Studio Online Lessons
Equilateral Triangle Table Runner
Free-motion Quilting with Rulers
How to Quilt Feathers with Free-motion and Rulers
Used Products


What you might also like


16 comments on “Equilateral Triangle Table Runner”
-
-
Thank you, so glad you like it.
-
-
FABULOUS job Denise – – I’m off to hunt 10″ squares so I can make one – – – Thanks for sharing
-
Have fun with this project. Thank you.
-
-
For those of us who haven’t used Insulbrite, do you put the silver side toward the table or away from it? Thank you.
-
I worked with Insul-Bright from the warm company and there is no right or wrong side of it. Thanks for checking. Have fun.
-
-
Hey Denise, – I love this, couldn’t wait to make one AND I added corners (half of the ruler + s/a to left of line) ’cause I’m not good with binding on angles (ha) – – I am going to make a bunch of these
-
Thank you so much. Have fun with this one. I have a few of them myself.
-
-
This is perfect timing 2 because I was just starting to attempt to figure out my sewing machine again after allowing it to sit for a very very very long time because I got overwhelmed last time so I want to say thank you very much for offering a project for beginners and for being free thank you very very much I’m hoping by doing a few of these projects that I’ll get over my fear or the feeling of being overwhelmed when I sit down to it I’m keeping my fingers crossed and I’m going to keep pursuing for now anyway thanks again
-
You are so welcome. i am glad you are going to try sewing again. Good luck and have fun.
-
-
What a wonderful project and use up a few of the layer cakes that I have. I really love the tip around getting your tips to line up. Thank you for taking the time to show us.
-
You are very welcome. Hope you have lots of fun with this project.
-
Which layer cake did you use for this project?
-
Hi, I used Garden Variety by Lella Boutique from Moda. It is great isn’t it. Thank you for checking.
-
Thank you! You had a very good tutorial for this project.
-
You are very welcome. Just think you could make one for every season.
Happy Quilting,
Denise
-
-
-
Leave a Reply
You must be logged in to post a comment.

Yay! Awesome project. I can’t wait to give this a try.