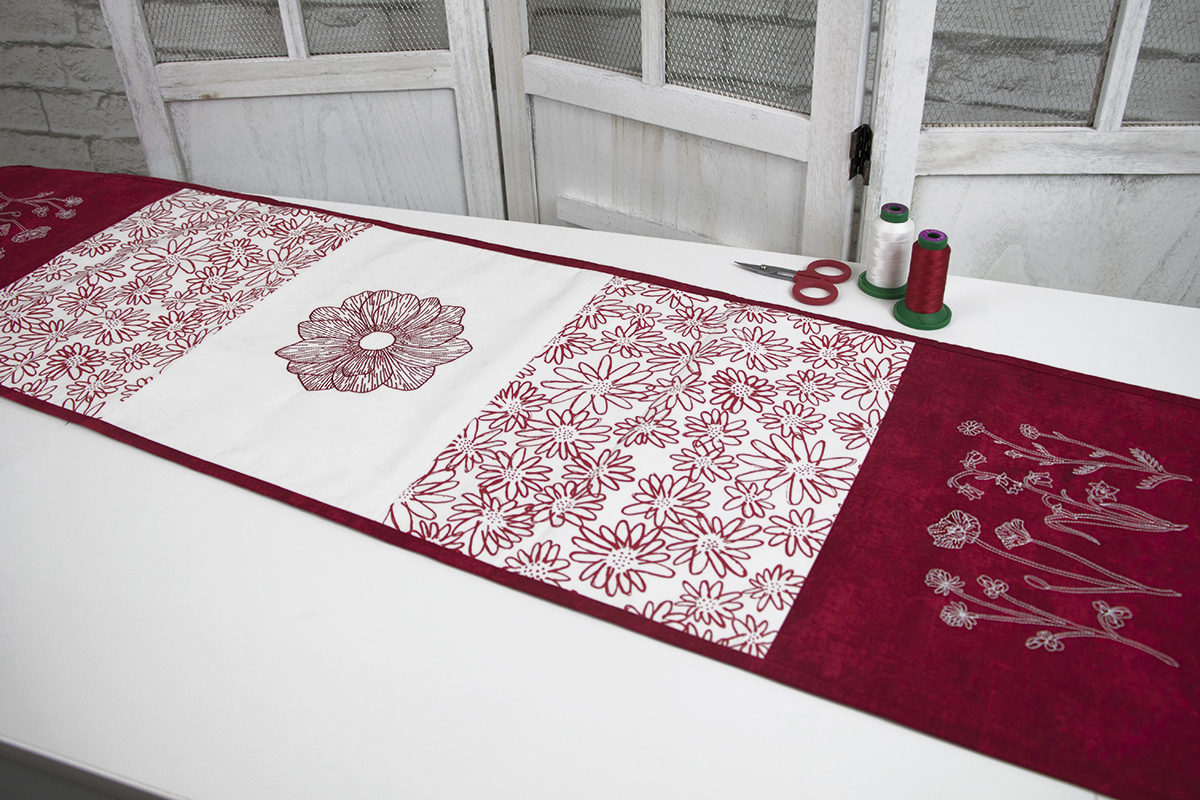
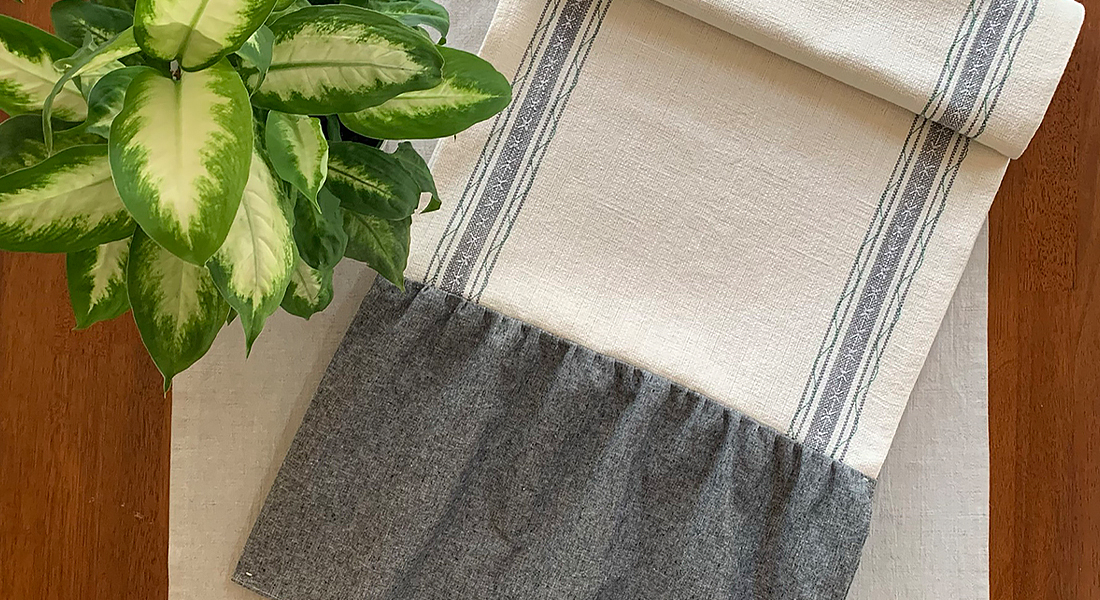
Redwork Table Runner
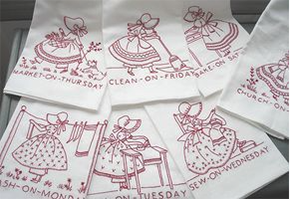
Redwork embroidery is a simple technique worked in a single shade of thread. In the early 1800’s when it first was popular, red was the only dye that was colorfast, which led to its popularity for this stitchery. Others colors were used later as the dying processes improved; blue thread was known as bluework, and as other colors gained availability, the term redwork became more of an identifier of a simple style of embroidery. The style consists of embroidering design outlines onto a white or off-white fabric with a contrasting thread.
Many different items had redwork embroidery added to decorate the home. Common items included tea towels, pillow cases, dresser scarves, napkins, and table clothes. Quilts or bed coverings were created using embroidered penny squares, which were preprinted squares of fabric ready to embroider and only cost a penny. Young girls and children learned and practiced embroidery with penny squares.
Redwork is still popular today. The traditional method using hand embroidery is enjoyed by many of all ages.
However, machine embroidery companies and designers have added a modern twist to redwork look designs by creating designs for use with the embroidery machine. Machine embroidery designs are referred to as redwork or linework designs and can be stitched in red thread or any color you want. They are usually single color designs. The machine embroidery designs can be stitched and used to create a variety of items. Redwork or linework designs are best stitched on cotton. Choose fabrics that do not have a nap and use an embroidery stabilizer, a tear away is recommended.
I hope you found learning just a little history on redwork embroidery interesting. Now let’s fast forward to the modern twist!
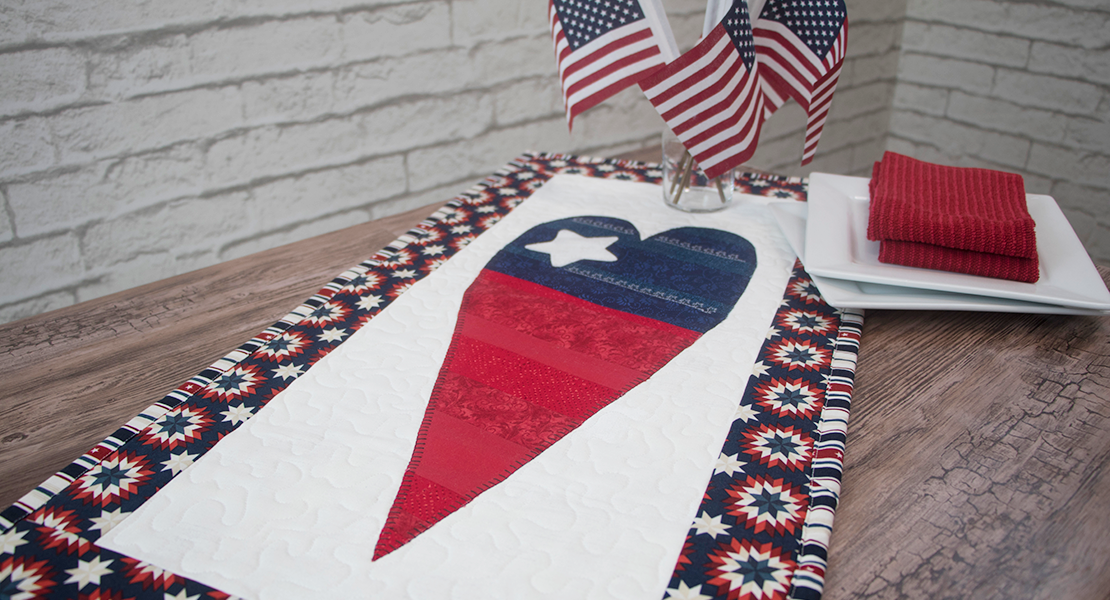
This Modern Redwork Table runner was a simple and fun project to showcase machine redwork embroidery. The most challenging step was deciding which designs to use. The designs I selected are from the OESD Design Collection “Botanical Beauty”; they just seemed to speak to “modern redwork”!
Let me show you my process for creating the Modern Redwork Table runner.
OESD Design Collection #12802 Botanical Beauty, (Designs 12802-04M Floral Row 4 and 12802-05M Anenome)
Supplies to Create a Redwork Tablerunner
- Fabric for Table runner
- 2/3 yard solid fabric (red) for end blocks and binding
- 1 fat quarter (white) 18” x 22” for center block
- 1 1/2 yard print (red print) for companion blocks and backing
- Thread for embroidery
- 40 weight Isacord Embroidery thread to match
- Color numbers used in project—0015 White, 1906 Red
- 60 weight Embroidery Bobbin Thread-white
- Thread for sewing
- 40 weight Isacord for top and bobbin thread to match project
- OR your choice of thread
- OESD Fuse and Fleece—10” wide roll
- OESD Ultra Clean and Tear Stabilizer
- Quilting ruler, mat and rotary cutter
- Wonder Clips by Clover or straight pins
- Scissors
Cutting Instructions
- Fabric for embroidery
- Cut 2 pieces red fabric 12” x 15” for end blocks
- Cut one piece white fabric 12” x 15” for center block
- Companion red/white print fabric
- Cut 2 pieces fabric 11” x 14”
- OESD Fuse & Fleece
- Cut 5 pieces 10” x 14”
- OESD Ultra Clean & Tear Stabilizer
- Cut 3 pieces 11” x 15”
- Backing
- Cut 16” x 53”
- Binding
- Cut 4 strips 2 1/2″ x width of fabric
Presser Feet and Accessories
Machine
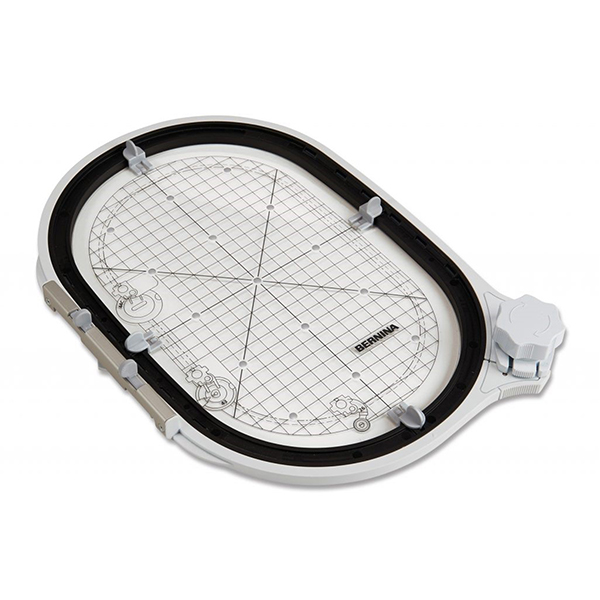
BERNINA Embroidery Machine compatible with the Midi Hoop, or you will need to select a small version of the designs suggested from OESD Design Collection #12802 Botanical Beauty. (I used the B 880 PLUS, but the 790 PLUS, 700, 590 and 500 embroidery machine machines all support the use of the Midi Hoop)
Setting up the design
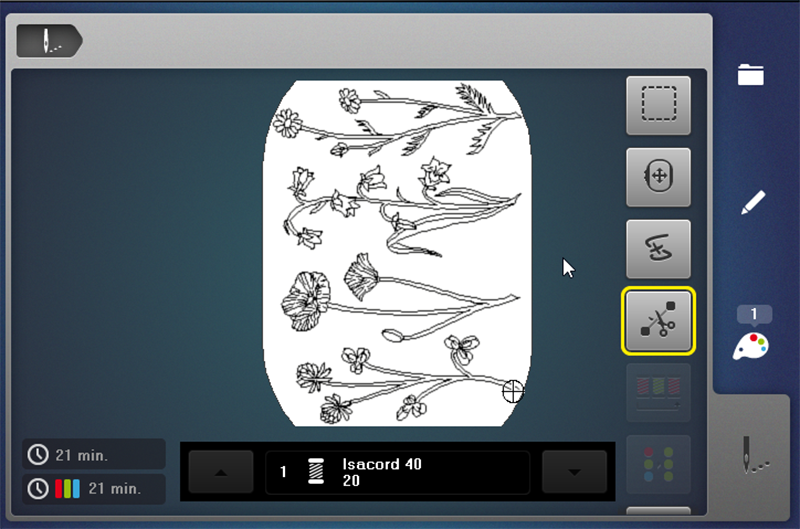
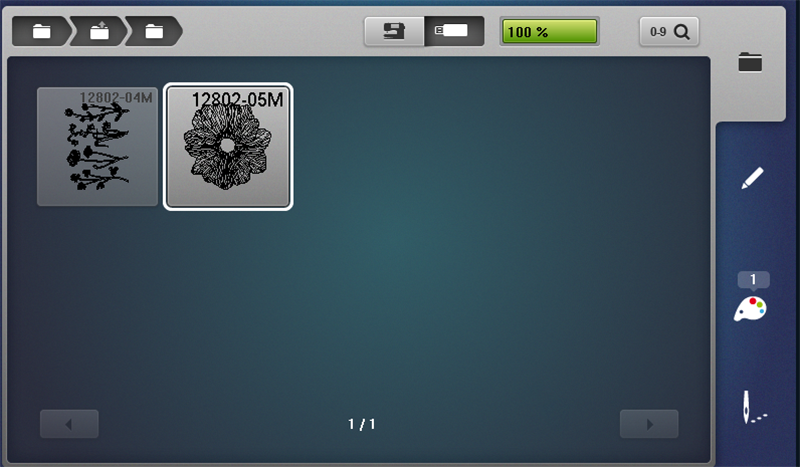
Save the embroidery designs to a USB drive in the BERNINA EXP format and insert the stick into the machine. Select the USB icon on the screen, and touch design 12802-04M Floral Row 4.
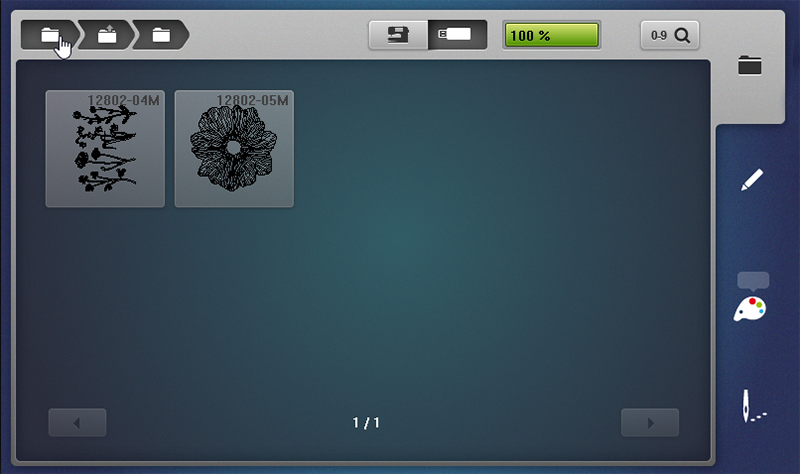
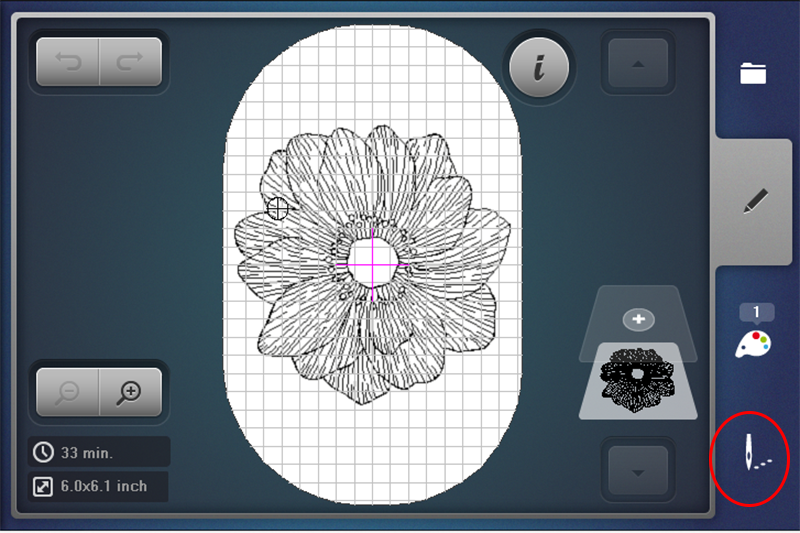
The design opens in the hoop size closest to the design’s size. This design will be stitched in the Midi Hoop.
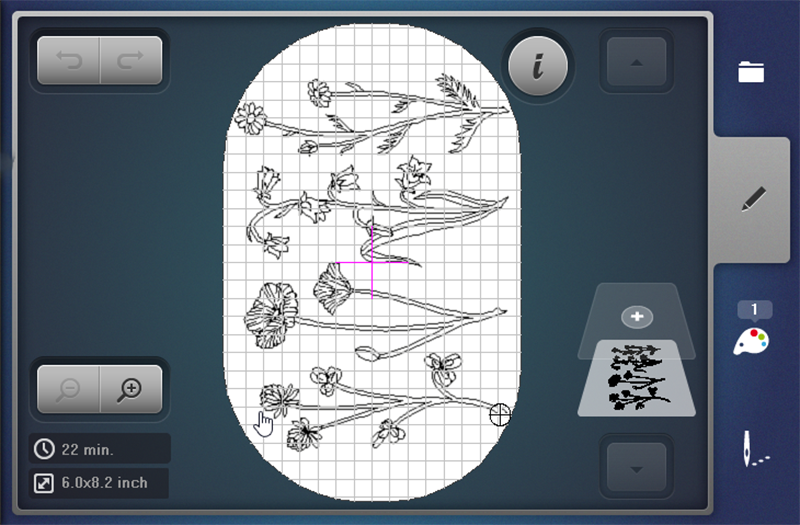
The first design is ready to stitch.
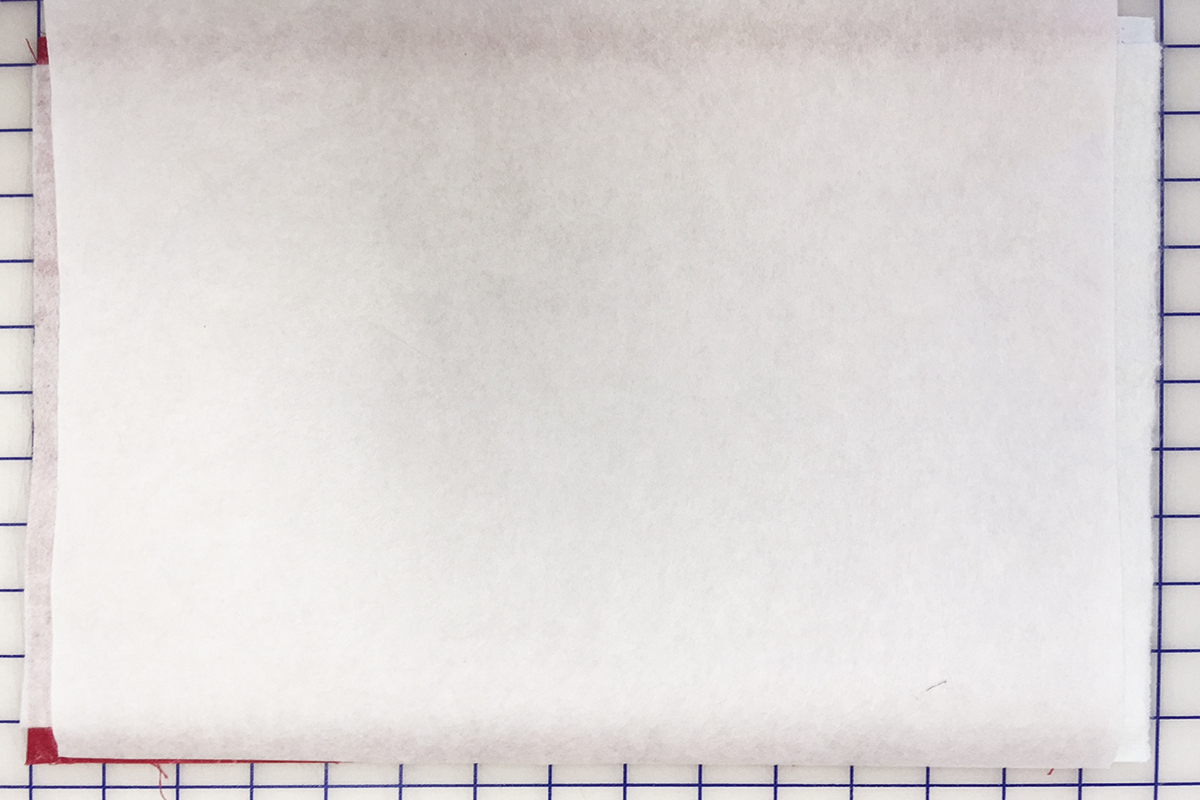
Prepare your center (white) and end (red) blocks (12” x 15”) of fabric for embroidery, center and press the Fuse & Fleece pieces (11” x 14”) to the wrong side of the fabric; there will be approximately a 1/2 “ of fabric showing around edge of each fabric block. Follow instructions on the package for fusing.
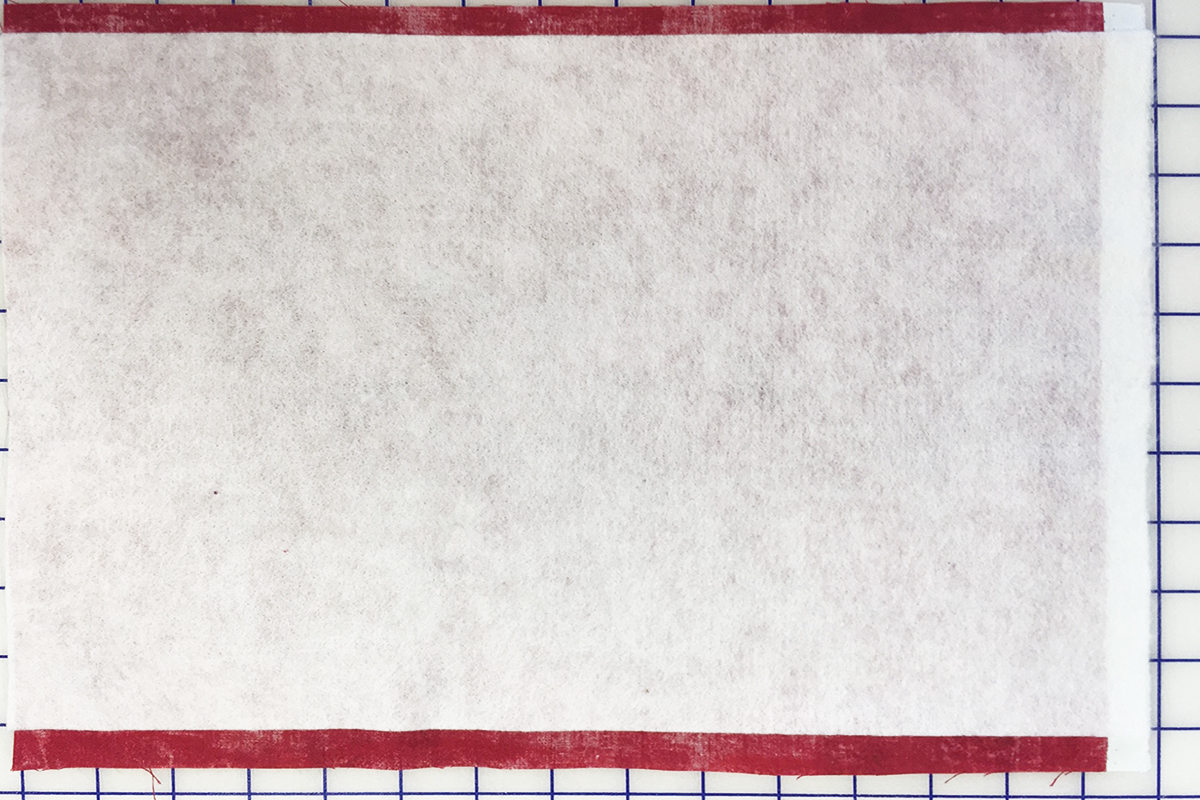
Use temporary spray adhesive to adhere the Ultra Clean & Tear Stabilizer to the wrong side of the fabric and fleece units.
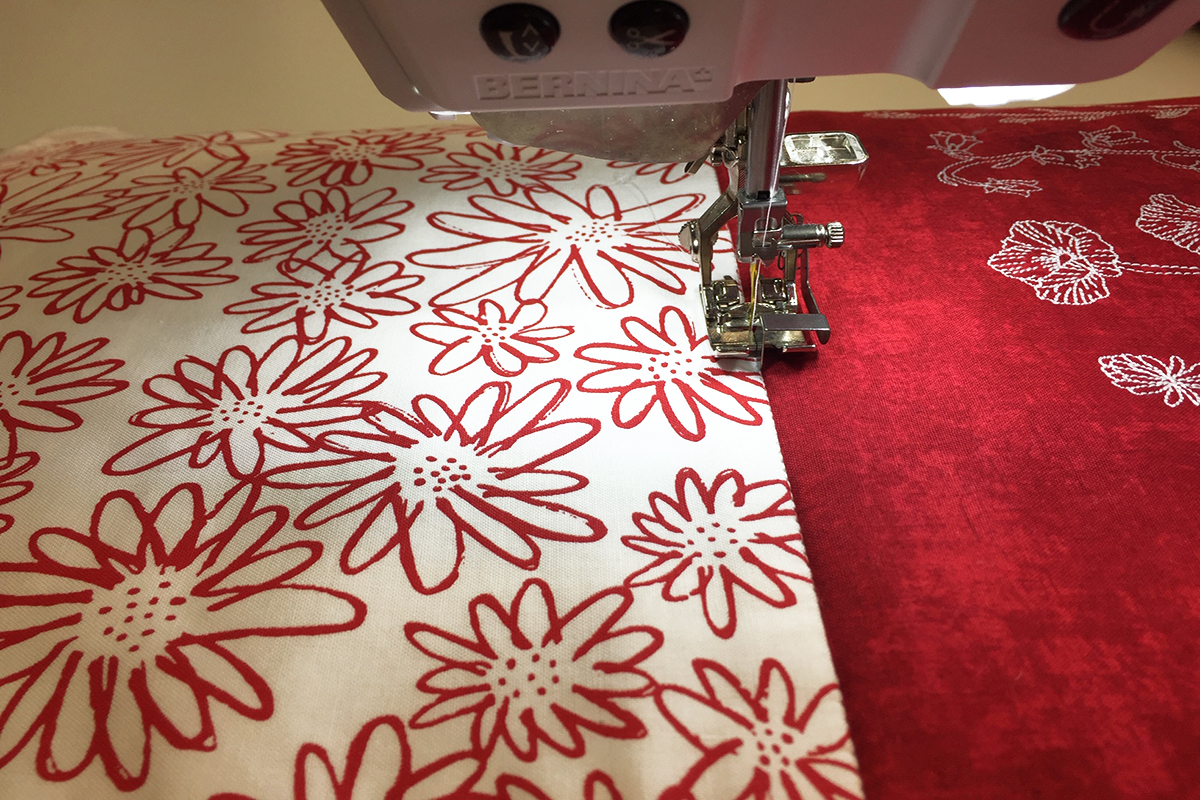
Stitch End Blocks
Hoop the first end block (red) prepared fabric in the BERNINA Midi Hoop.
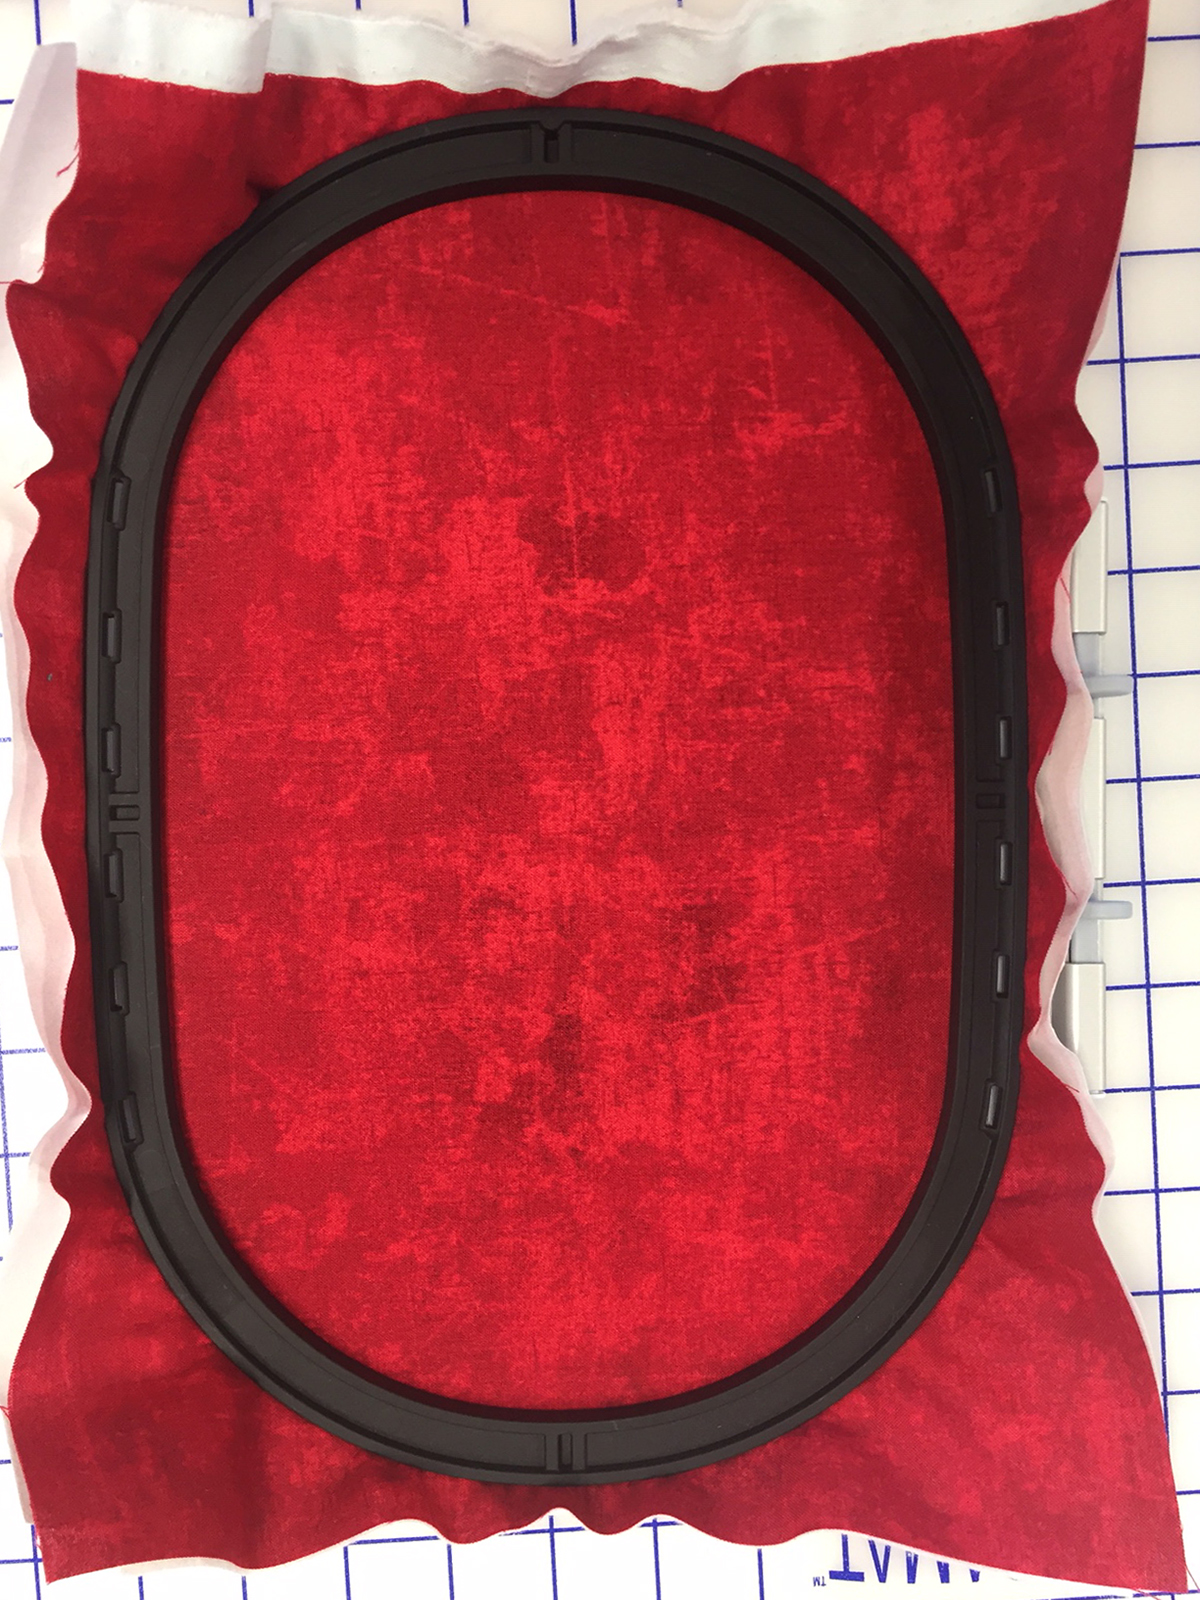
Attach the hoop to the embroidery machine.
Touch the OK icon to open the Embroidery display and stitch the first end block.

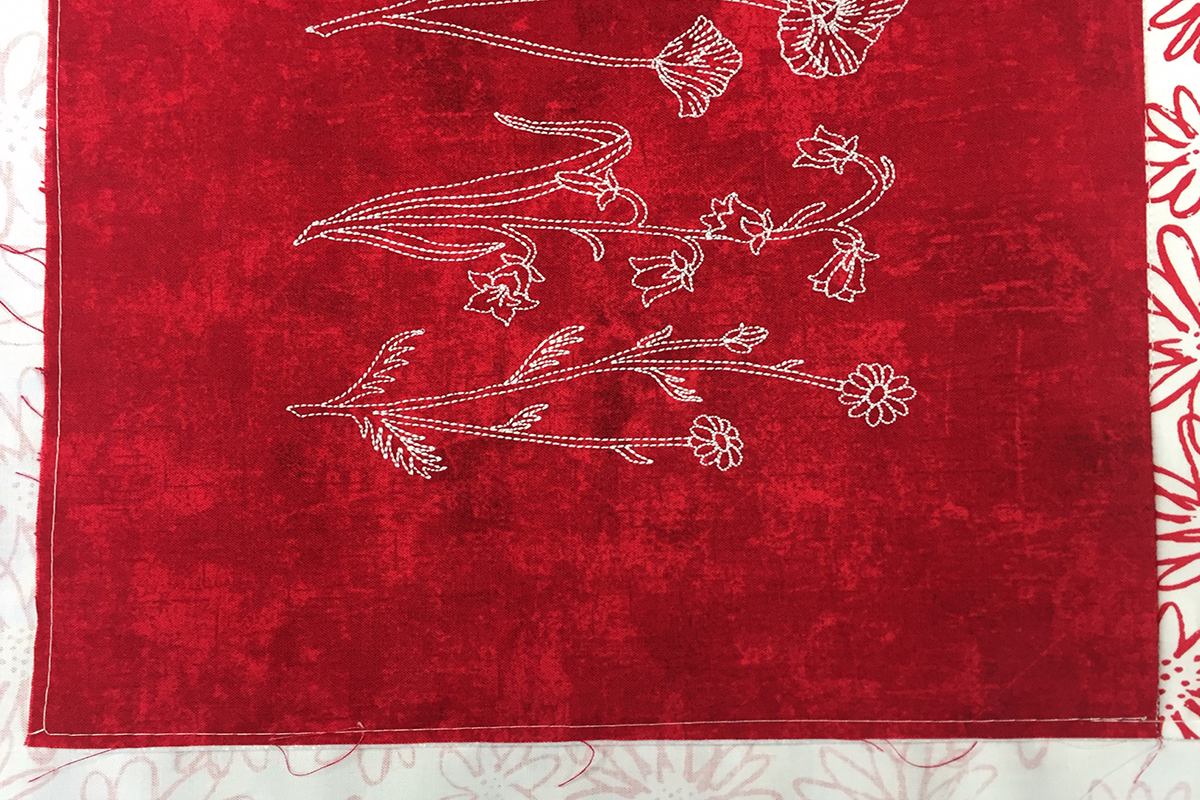
When the stitching is complete, remove the finished embroidery from the hoop.
Hoop and repeat stitching the second end block.
When complete, remove from hoop.

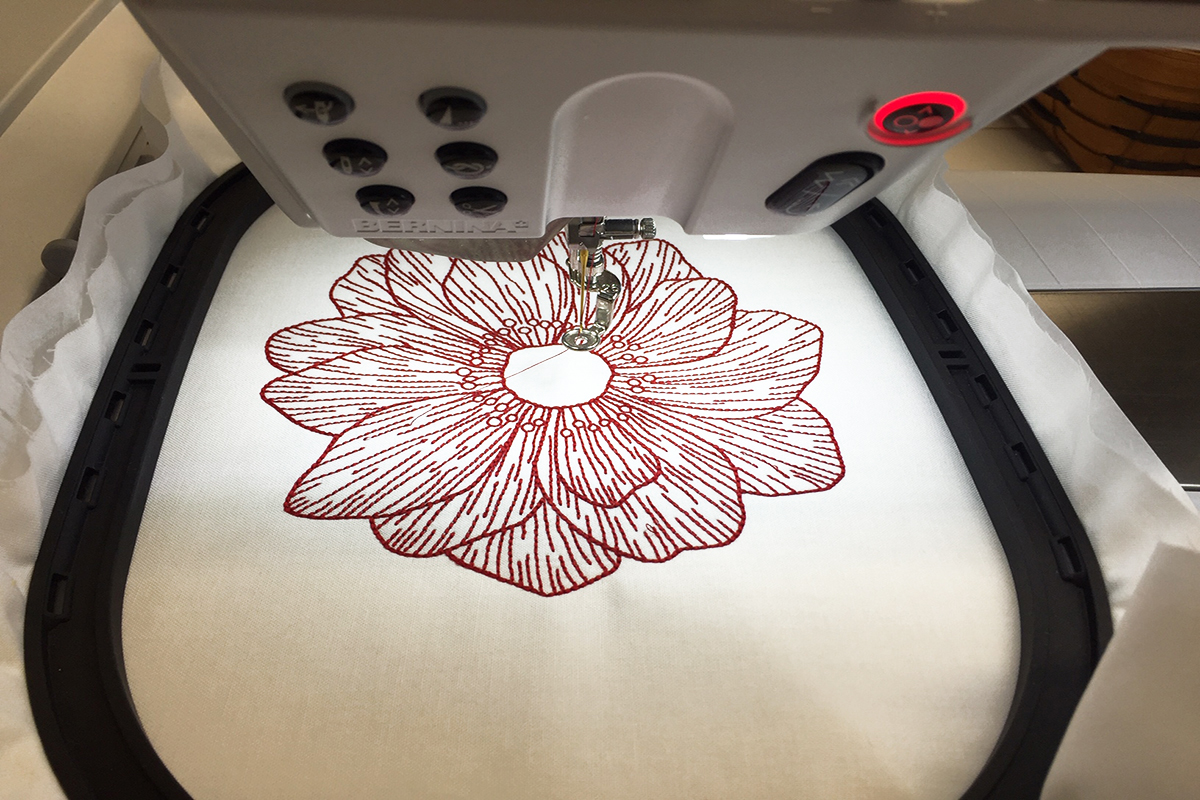
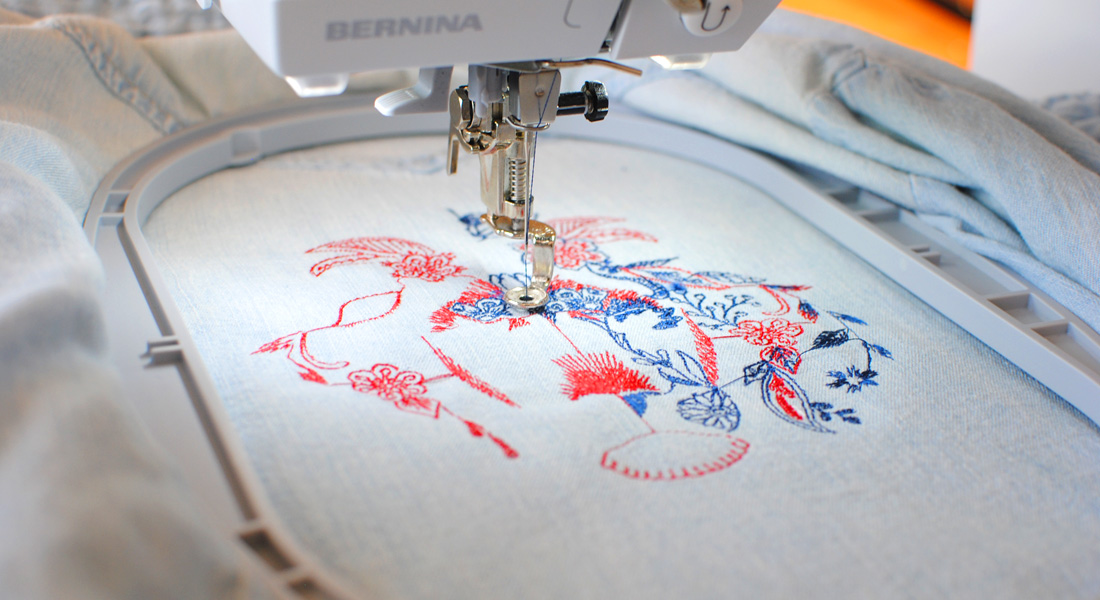
Stitch Center Block
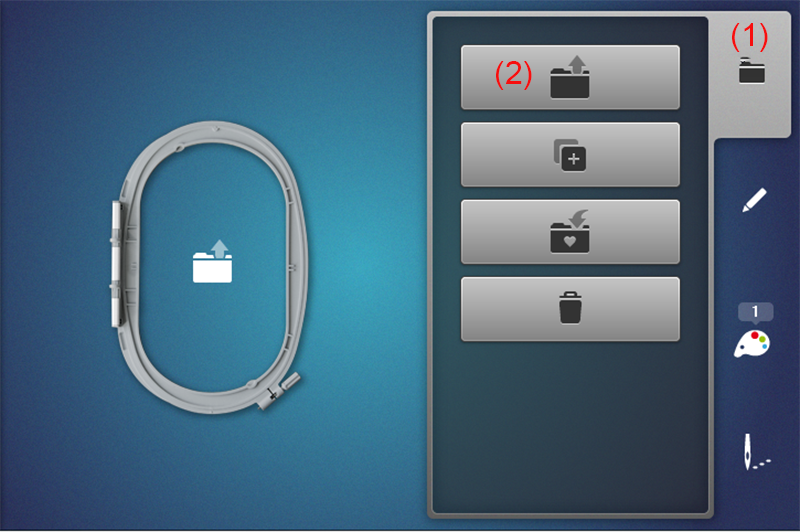
Touch the Selection icon (1) and touch New Motif (2) icon to open the center block design 12802-05M Anenome.
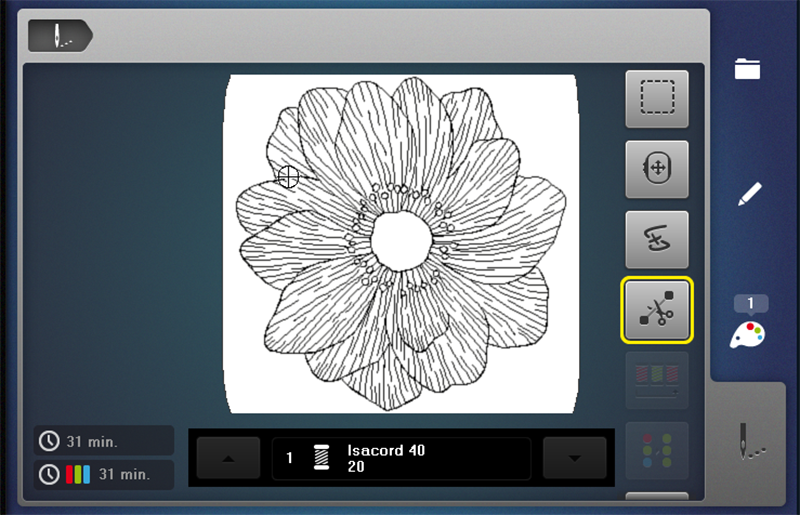
Touch the OK icon to open the Embroidery display.
Hoop the prepared center block (white) fabric in the BERNINA Midi Hoop.
Attach the hoop to the embroidery machine.
Start the machine and stitch the center block.
When the stitching is complete, remove the finished embroidery from the hoop.
Remove the excess tear away stabilizer from the embroidered blocks.
Trim blocks to measure 11” x 14”

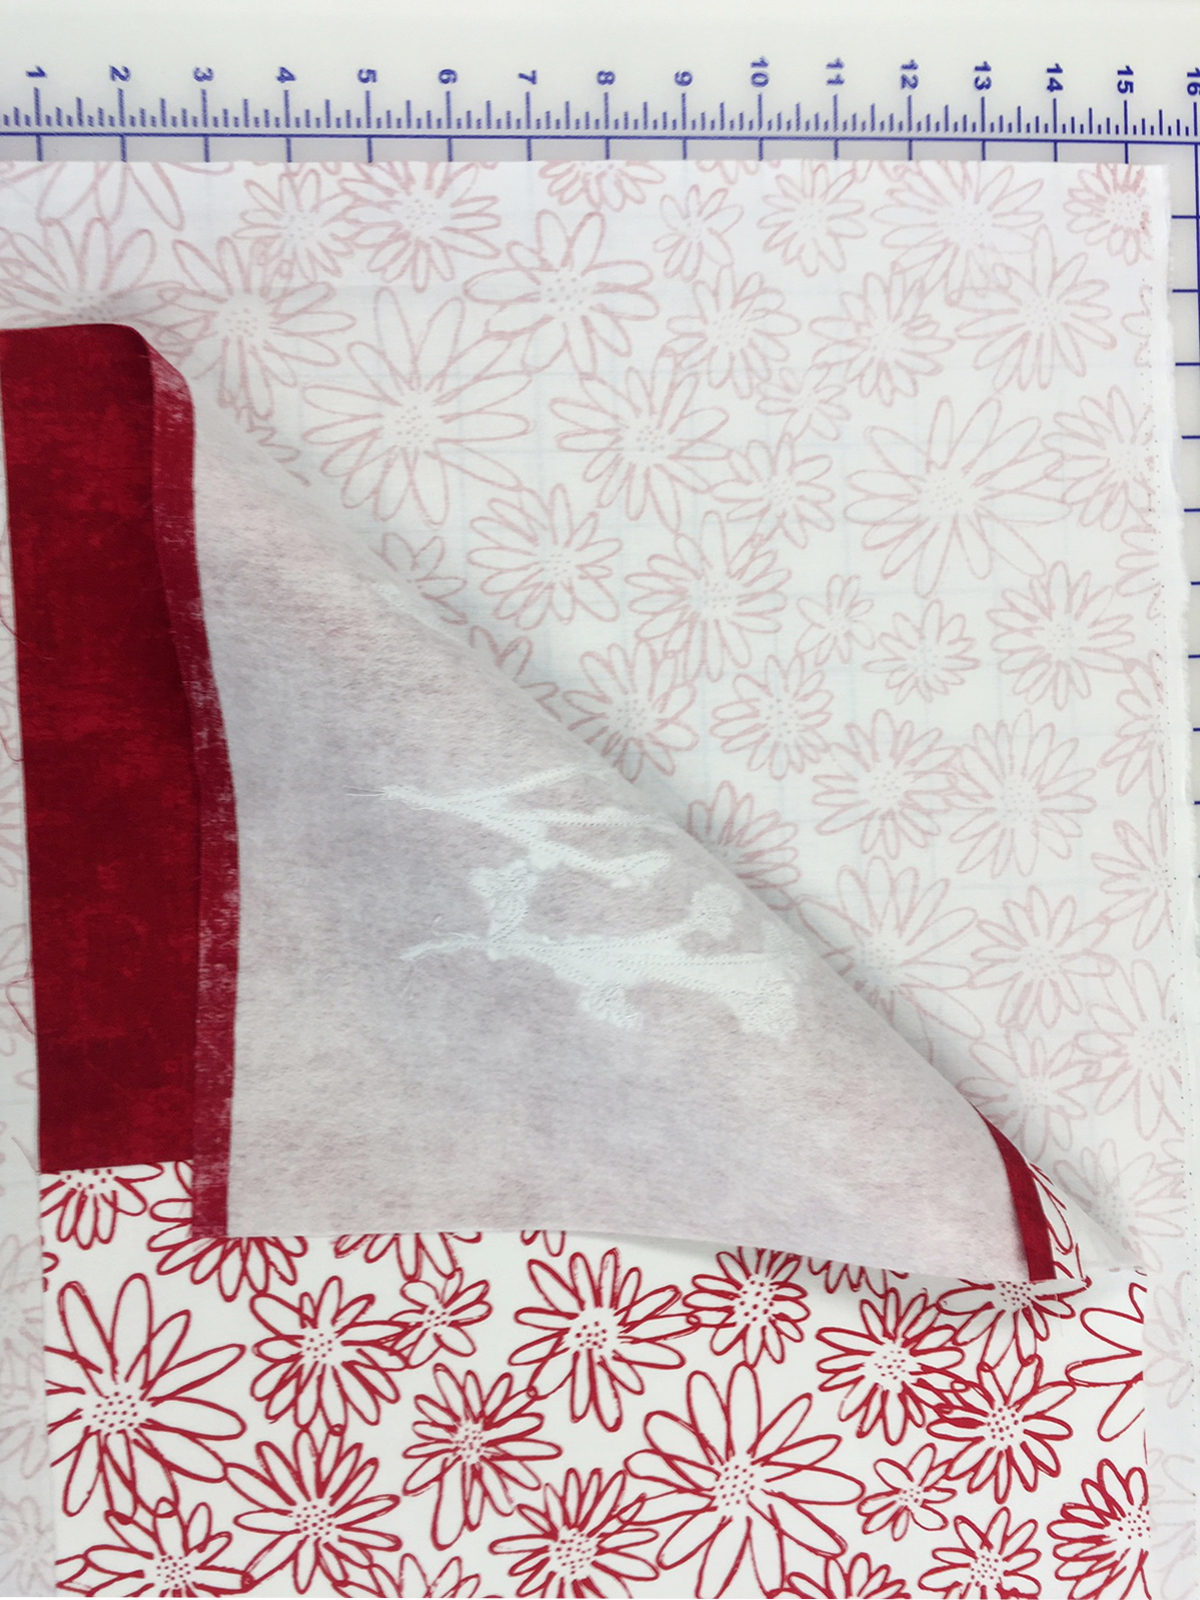
Prepare your companion print blocks (11 ”x 14”) by pressing the Fuse & Fleece pieces (10’ x 14”) to the wrong side of the fabric.
Assembling the table runner
Touch Home and select Sewing mode. Attach the Reverse Pattern Foot #1D and engage the Dual Feed.
Thread the machine with matching thread in the top and bobbin.
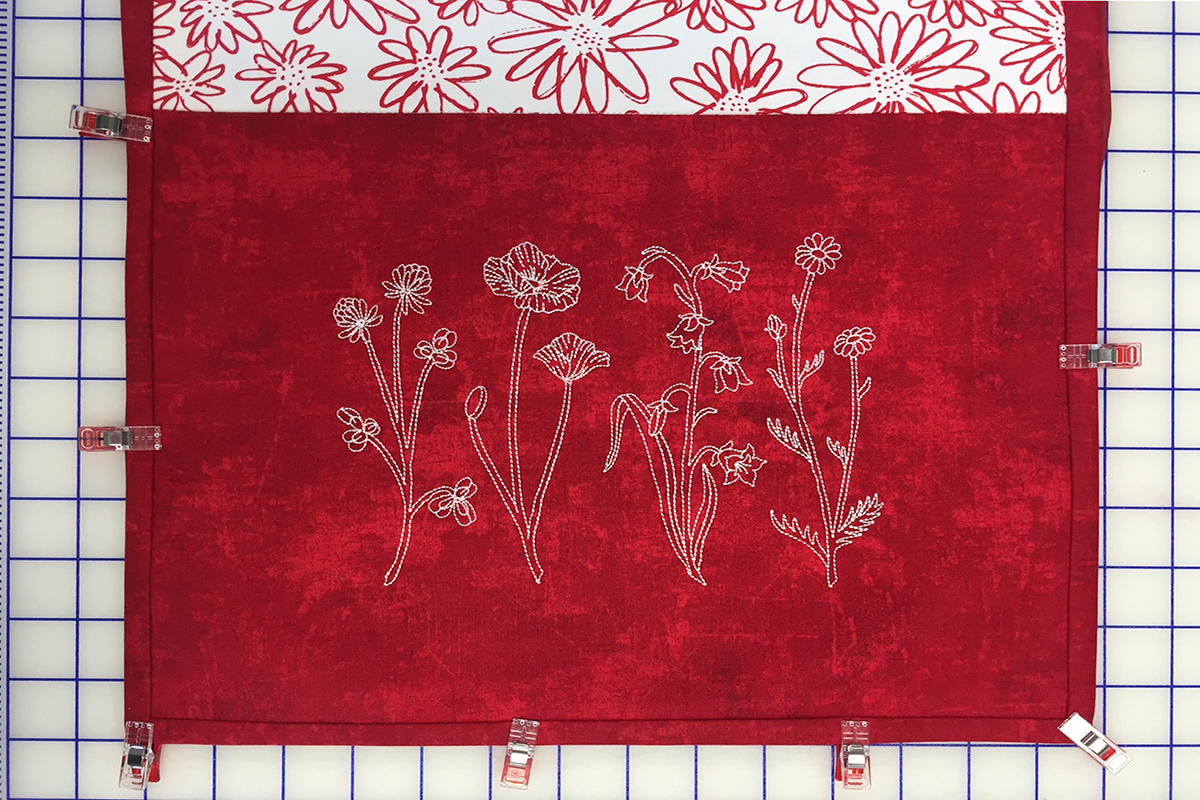
There are five rectangles 11” x 14”, three embroidered and two print.
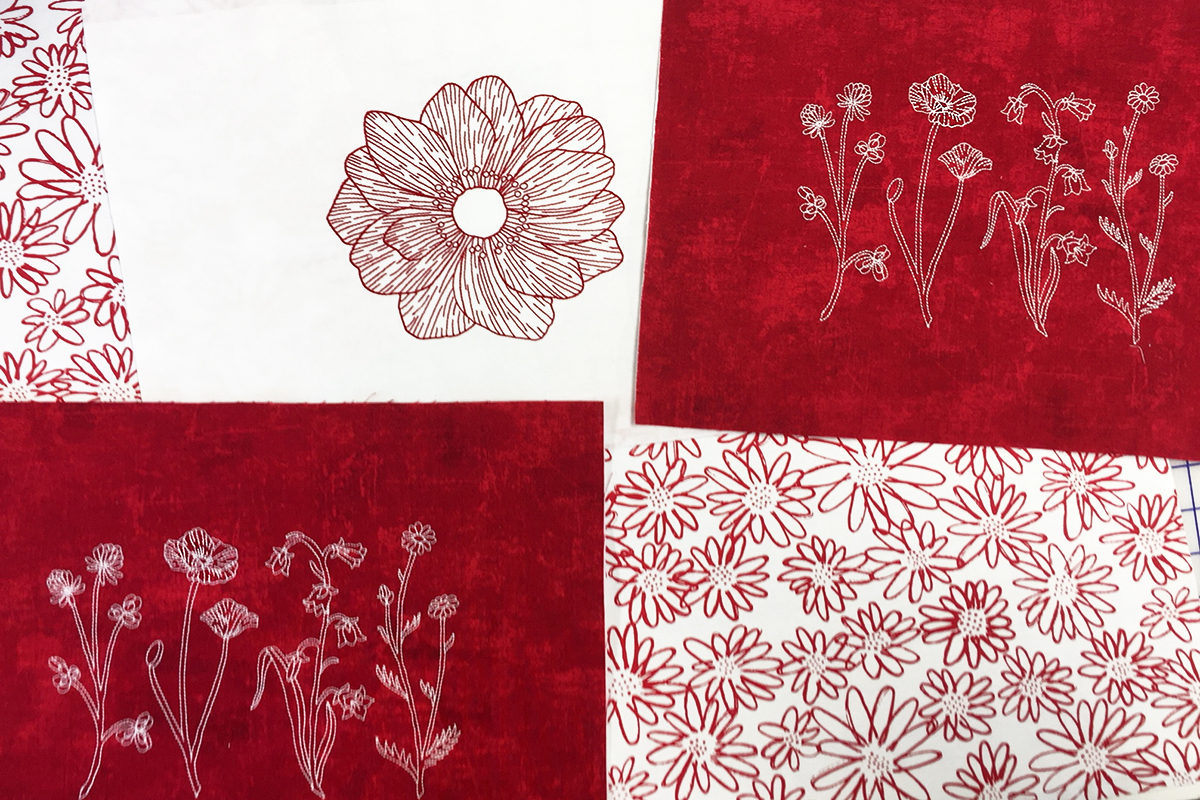
Layout the rectangles as shown below.

Stitch the blocks together using a 1/2 “seam allowance. Press the seams open.
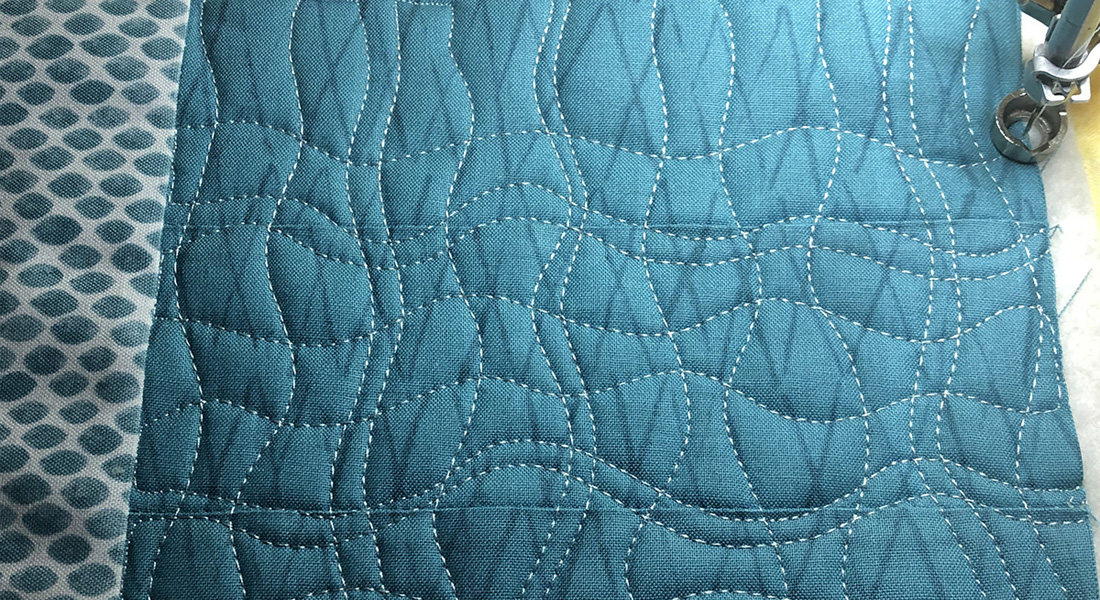
Lay the table runner top on the backing wrongsides together.
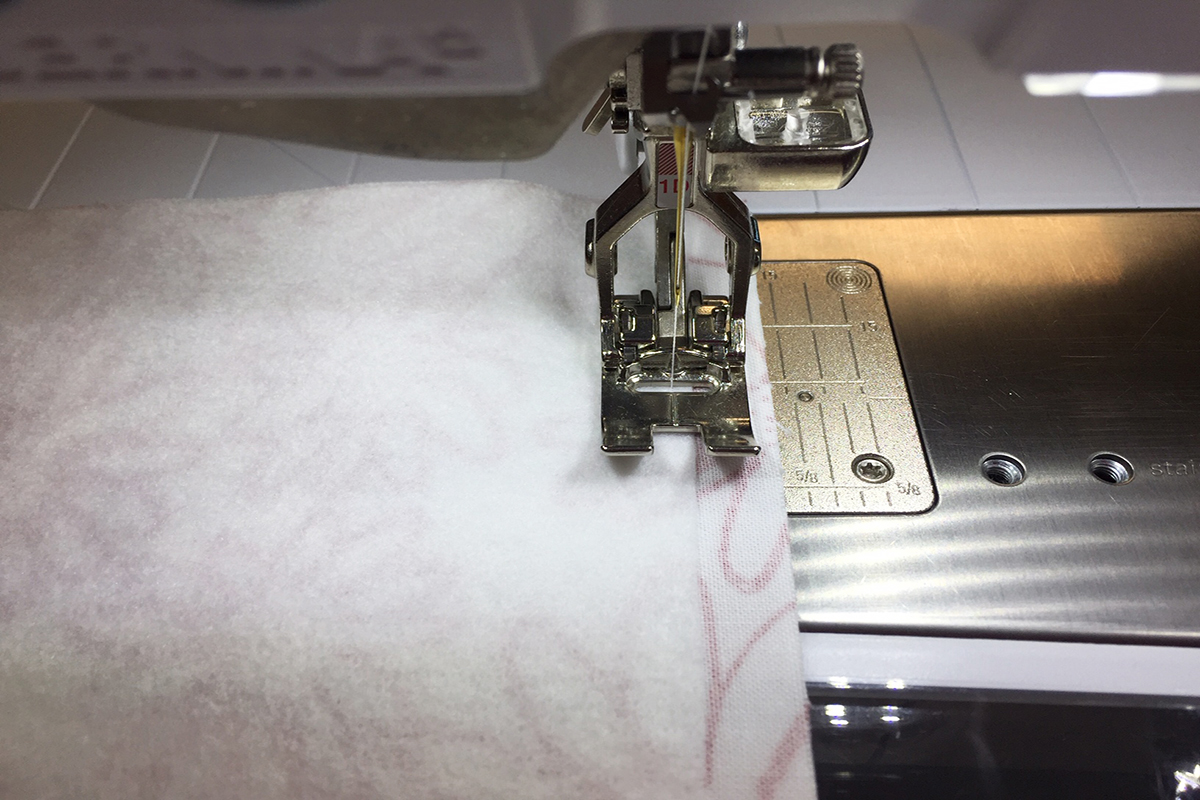
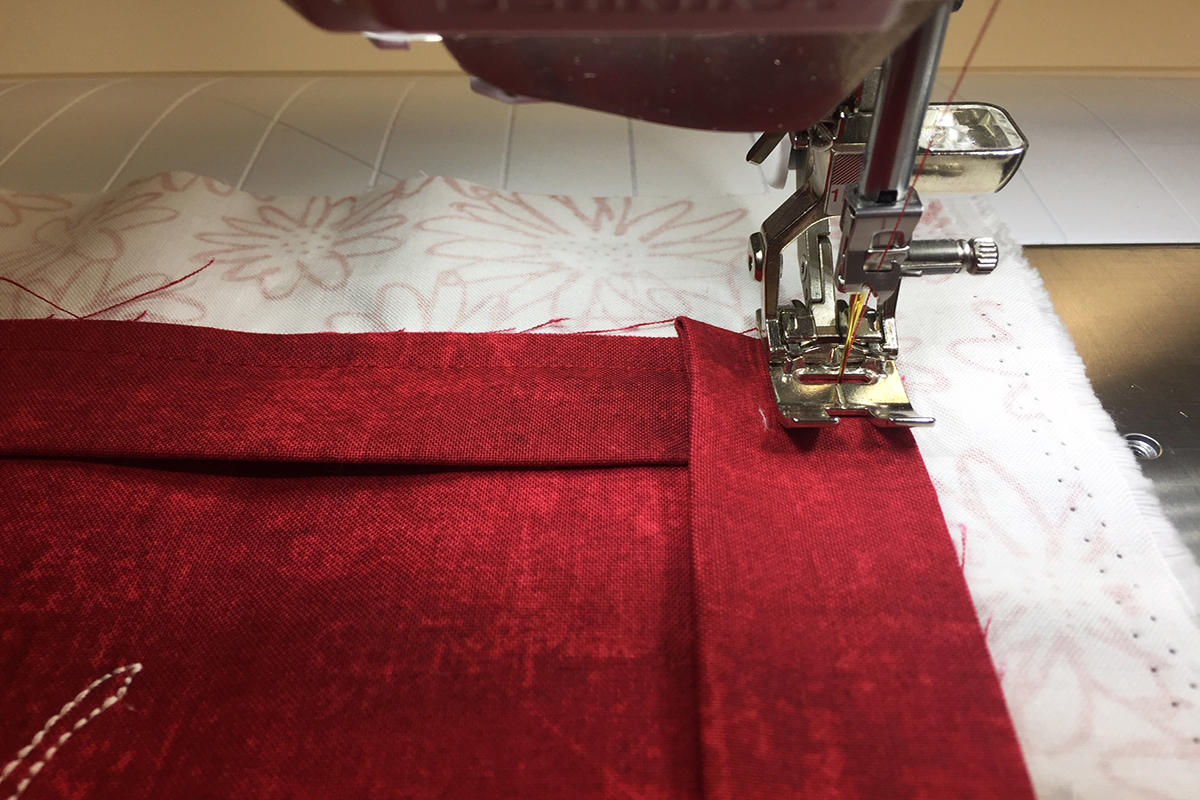
Attach the Edgestitch Foot #10D and engage Dual Feed. Change the stitch length to 3.0 mm.
The metal center guide of the foot is in the seam as you stitch in the ditch to quilt the layers together. Do this in each of the seams of the pieced top.
Attach the Reverse Pattern foot #1D and engage the Dual Feed.
Change the stitch length to 4.0 mm, move the needle position to baste around the outside edge of the table runner stitching 1/8” from the edge.
Sew binding strips together end to end, press seams open and press binding in half meeting the raw edges.
Line up the raw edge of the binding with the raw edge of the table runner top.
Stitch the binding to the table runner, miter each corner.
Trim backing to size of the table runner.
Press the binding flat and fold to the back using Wonder Clips or pins to hold in position. Stitch binding down by machine or hand your choice.
This modern redwork embroidery table runner went together quickly. The simplicity of redwork embroidery designs along with the simple rectangle blocks is a perfect pairing to showcase the stitchery. I hope you enjoy creating your own modern redwork embroidery project. The embroidery collection from OESD #12802 Botanical Beauty has additional designs to choose from and many more collections of redwork or linework designs are available on EmbroideryOnline.com.

Used Products


What you might also like


2 comments on “Redwork Table Runner”
-
-
My favorite embroidery projects are clothing projects for my five-year-old and three-year-old great-grandsons. I make them new pajamas at Christmas and a couple more times a year and they love them. I also make t-shirts for them.
Leave a Reply
You must be logged in to post a comment.

This is a beautiful runner. Red and white always make a great combo, i.e. redwork designs. I like the idea of red embroidery on white fabric, and white embroidery on red fabric, and then joining them into one project.