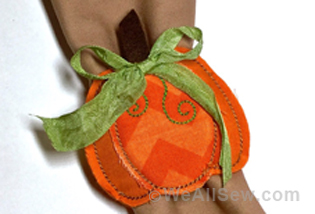
15-Minute Monogrammed Pumpkin
Hello! I’m Lisa Archer, BERNINA Brand Ambassador and Owner of Pickle Pie Designs. I have a fall project you’re going to love – it’s fast, easy, and creates a boutique decor look for just a few dollars!
This year, I’ve noticed tons of decorative pumpkins in stores in a rainbow of colors, and in materials ranging from glass to ceramic, and straw to velvet. Seeing these updated versions of a traditional fall decoration inspired me to create my own unique take on the old pumpkin!
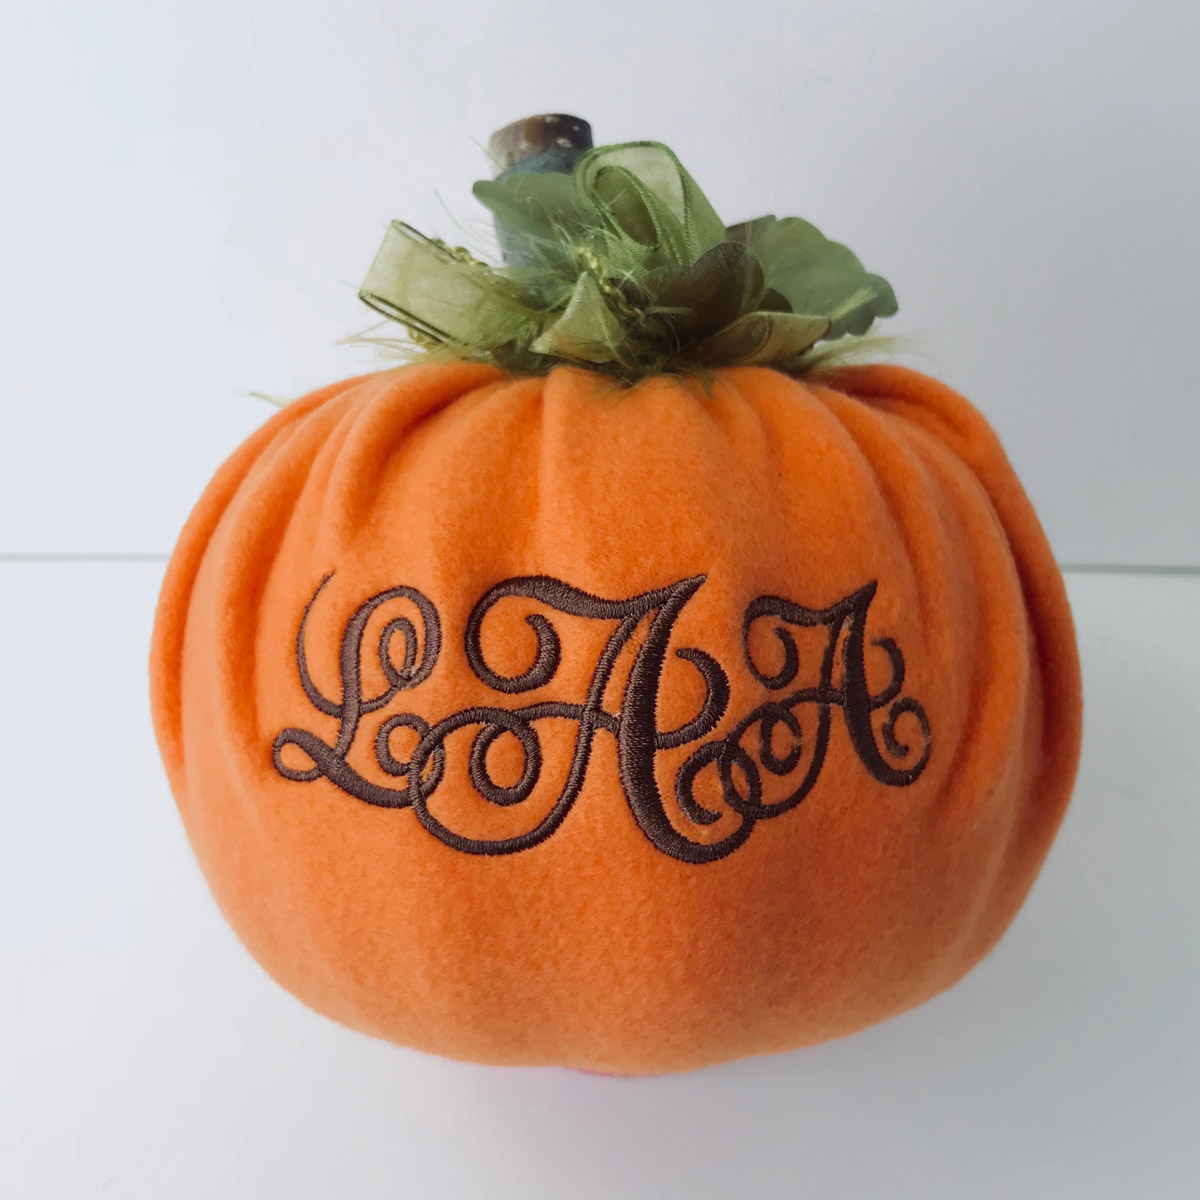
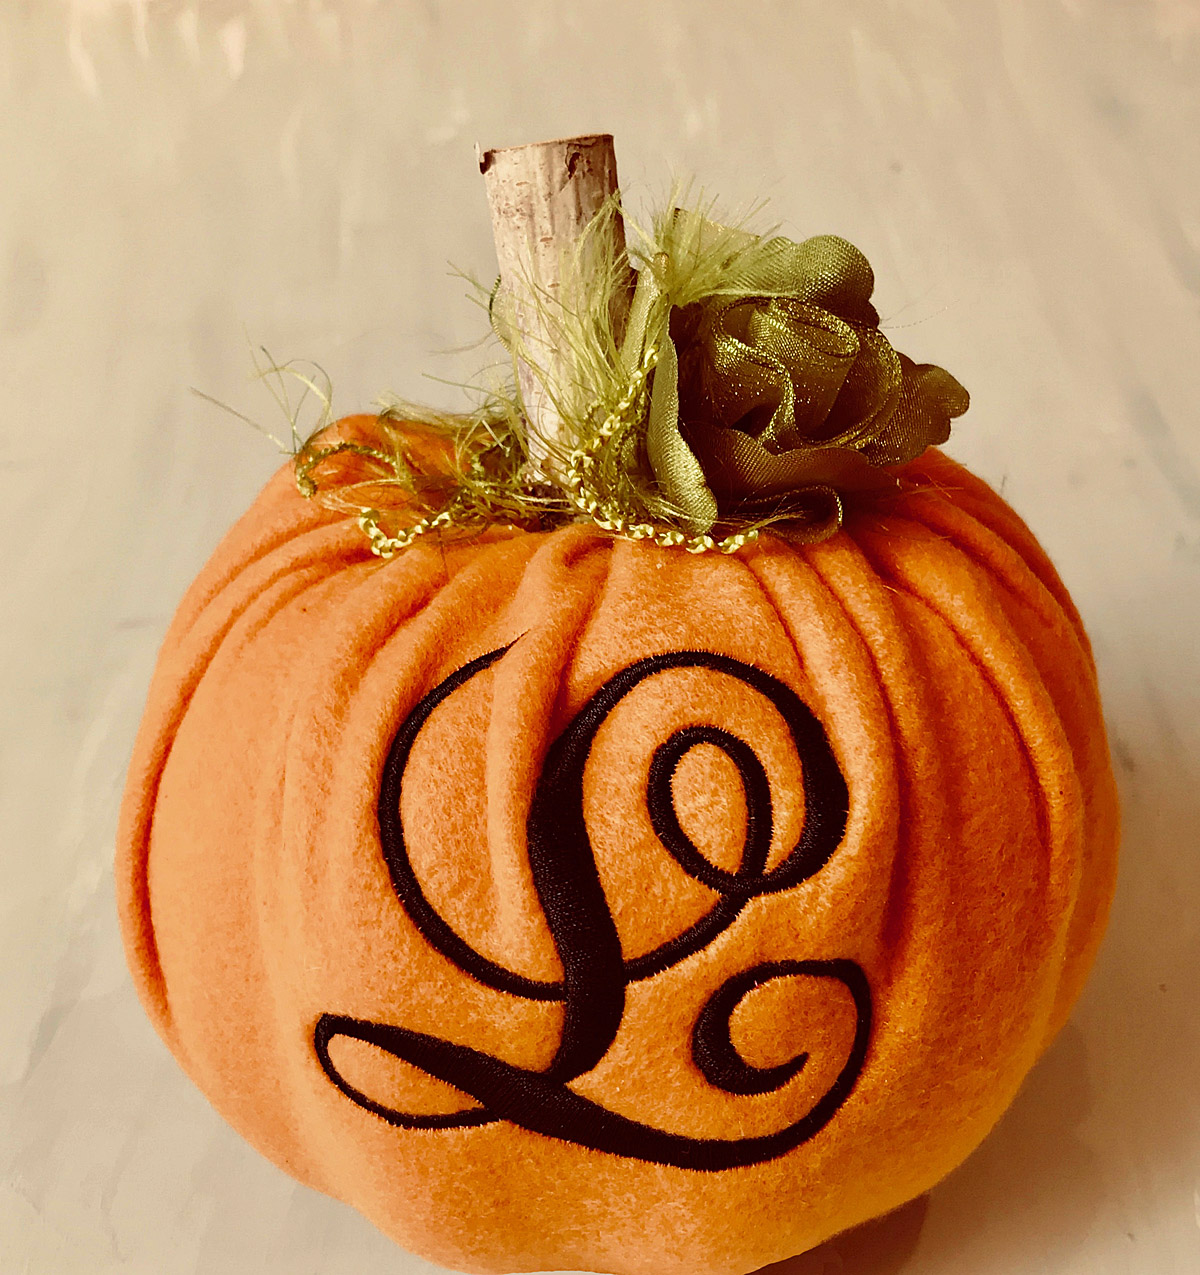
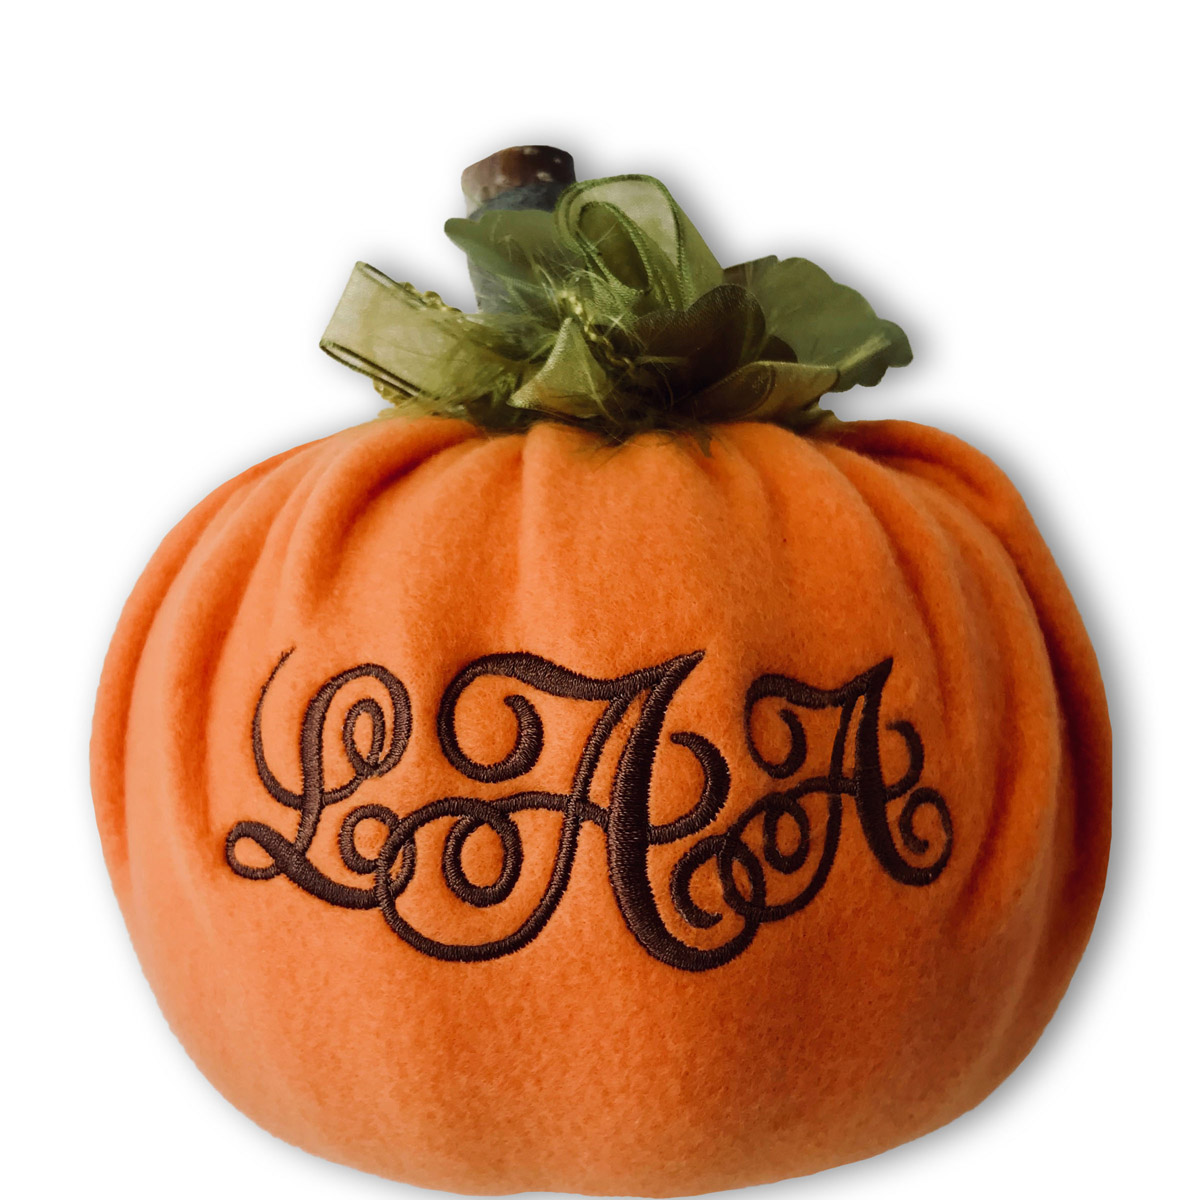
I experimented with fabrics, stuffing Poly-fil inside, which was fun and easy, but never really gave me the firm pumpkin shape I was hoping for. Then I stumbled across styrofoam pumpkins at my local Dollar store. BINGO! They were perfect (albeit painted a hideous neon orange!). When I covered them with fabric, they looked like a million bucks. When I monogrammed the fabric on my BERNINA 880, then wrapped it around the pumpkins, they were priceless! I added birch stems from a local floral supplier and green trim that’s been hiding in my stash for years, to get exactly the look I was after – a fun and stylish monogrammed pumpkin.
If you don’t have a Dollar store, you can find faux carvable pumpkins at any craft store. The faux pumpkins are shaped similarly to a real pumpkin, giving your project a nice look when the fabric wraps around and settles a bit in the grooves.
I hope you love this project and I know you won’t be able to make just one.
Materials to Make a Monogrammed Pumpkin
- Styrofoam or other faux carvable pumpkin
- Fabric of choice (try fleece, stretch velvet, minky, or cuddle)
- Mesh cutaway stabilizer
- Water soluble topping
- Small stick or twig for the stem
- Trim of choice for the leaf
- Utility or craft knife
- Hot glue or other strong glue
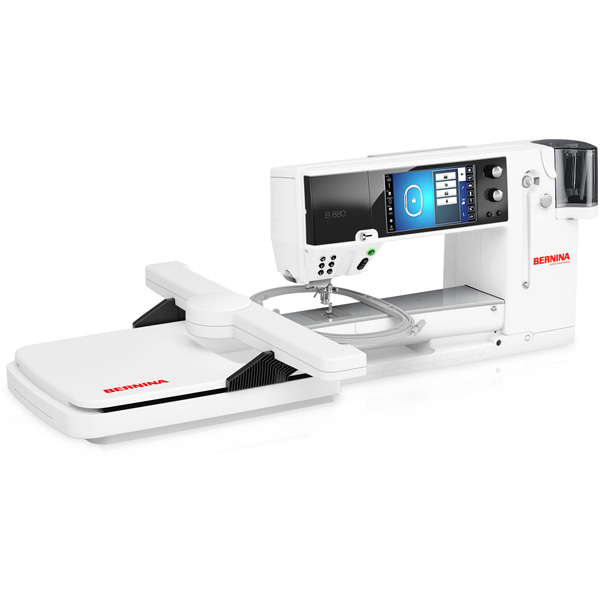
- Embroidery machine (I use a BERNINA 880)
Let’s Get Started!
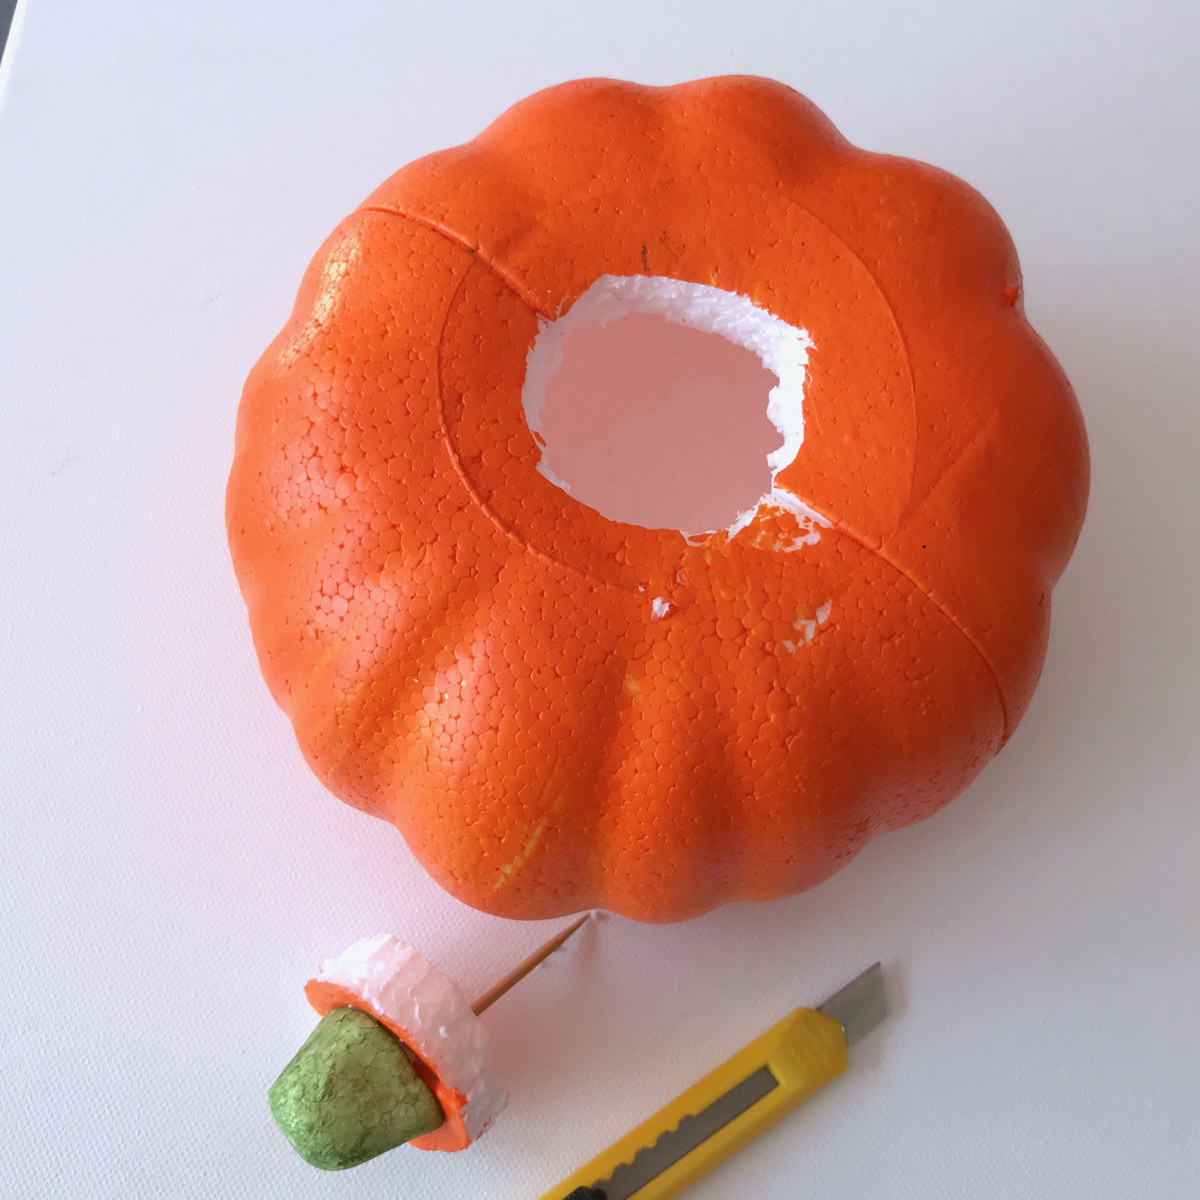
Using a craft or utility knife, cut a hole in top of the pumpkin around the stem, then remove the stem, and set it aside. On my small pumpkin, the hole was approximately 1.5″ wide. Keep in mind that you will be stuffing the hole with the fabric and a stick or twig, and you want it to be a tight fit, so start off with a small hole – you can always make it larger later if you need to.
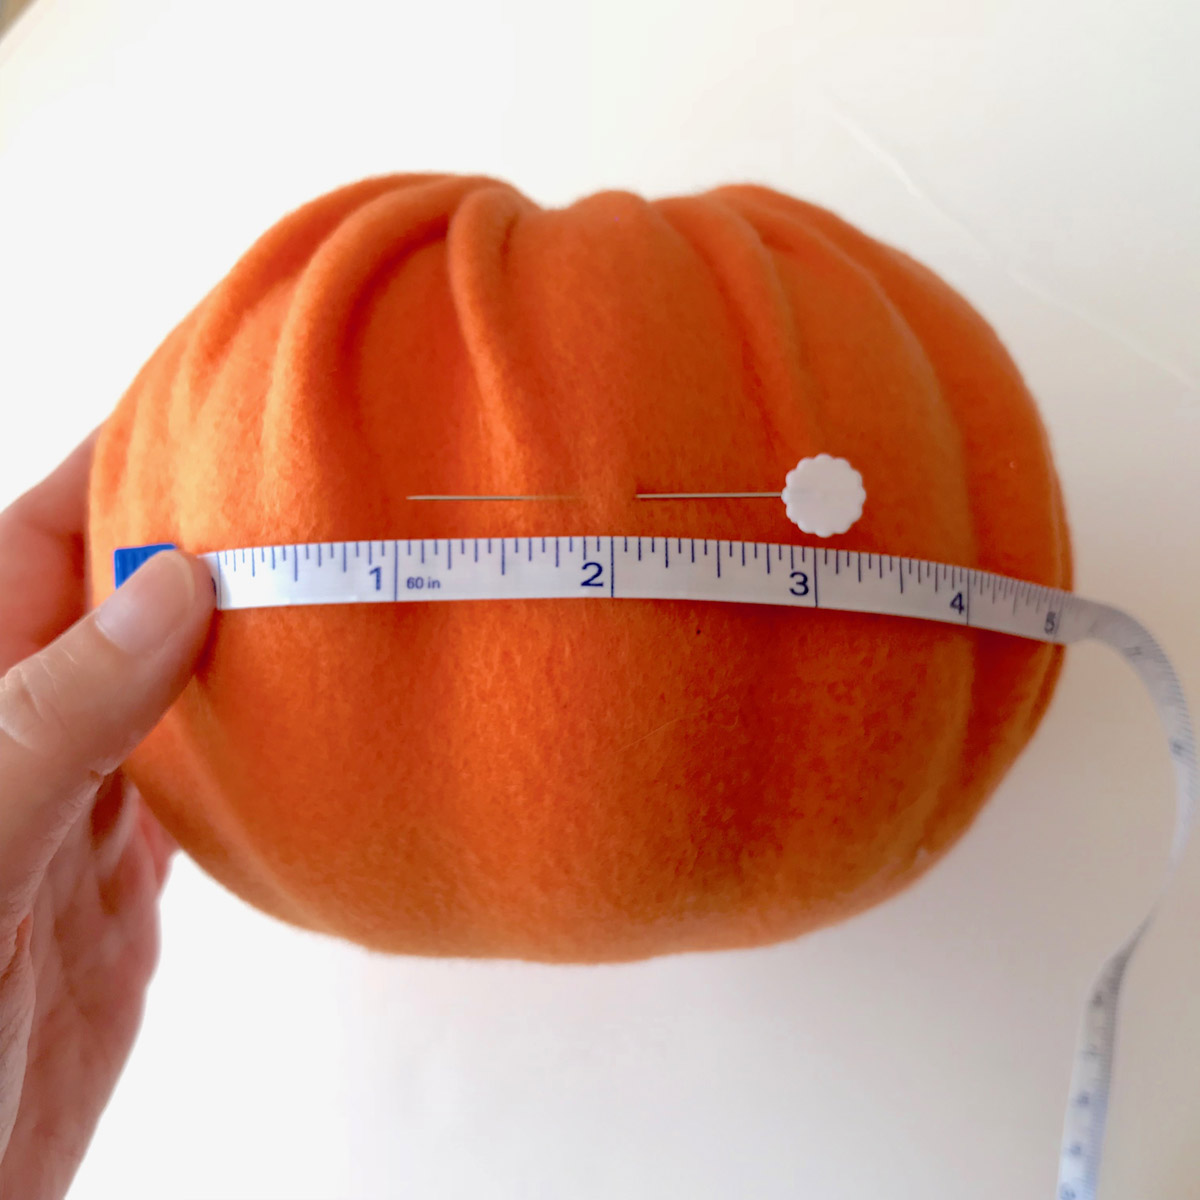
Use a measuring tape to find the vertical circumference of the pumpkin.

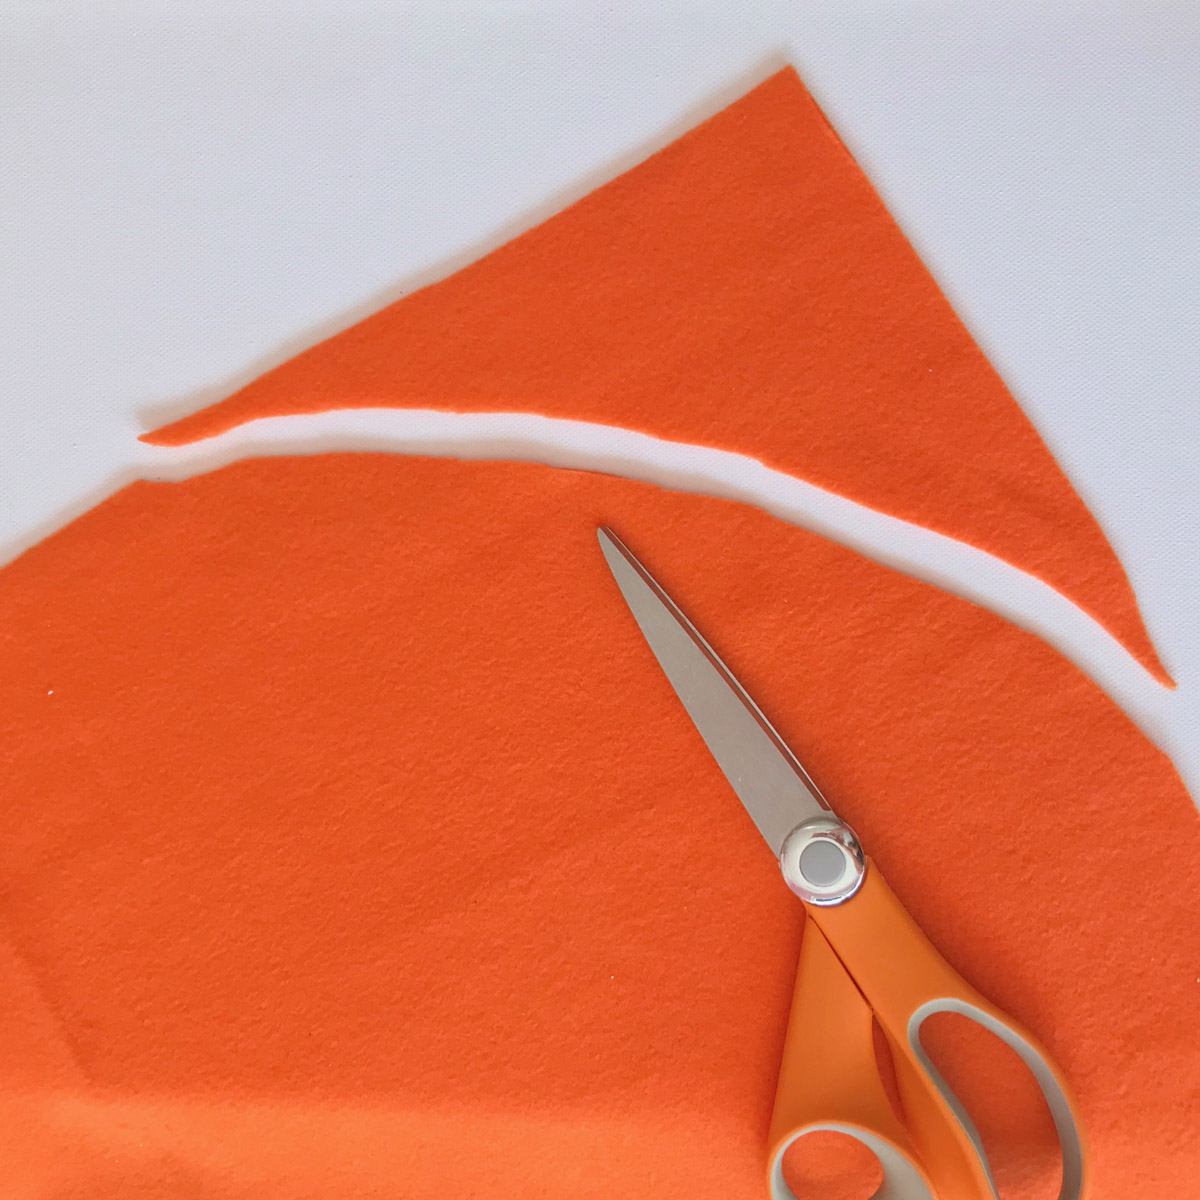
Determine how big to cut your fabric by adding 2″ to the pumpkin’s circumference. My pumpkin measures 17″, so I’ll add 17″ + 2″, which equals 19″. Using this measurement, cut your fabric in a square. My square measures 19″ x 19″. Roughly round each corner with your scissors. (The fabric doesn’t have to be perfect since the edges will be hidden inside the top of the pumpkin.)
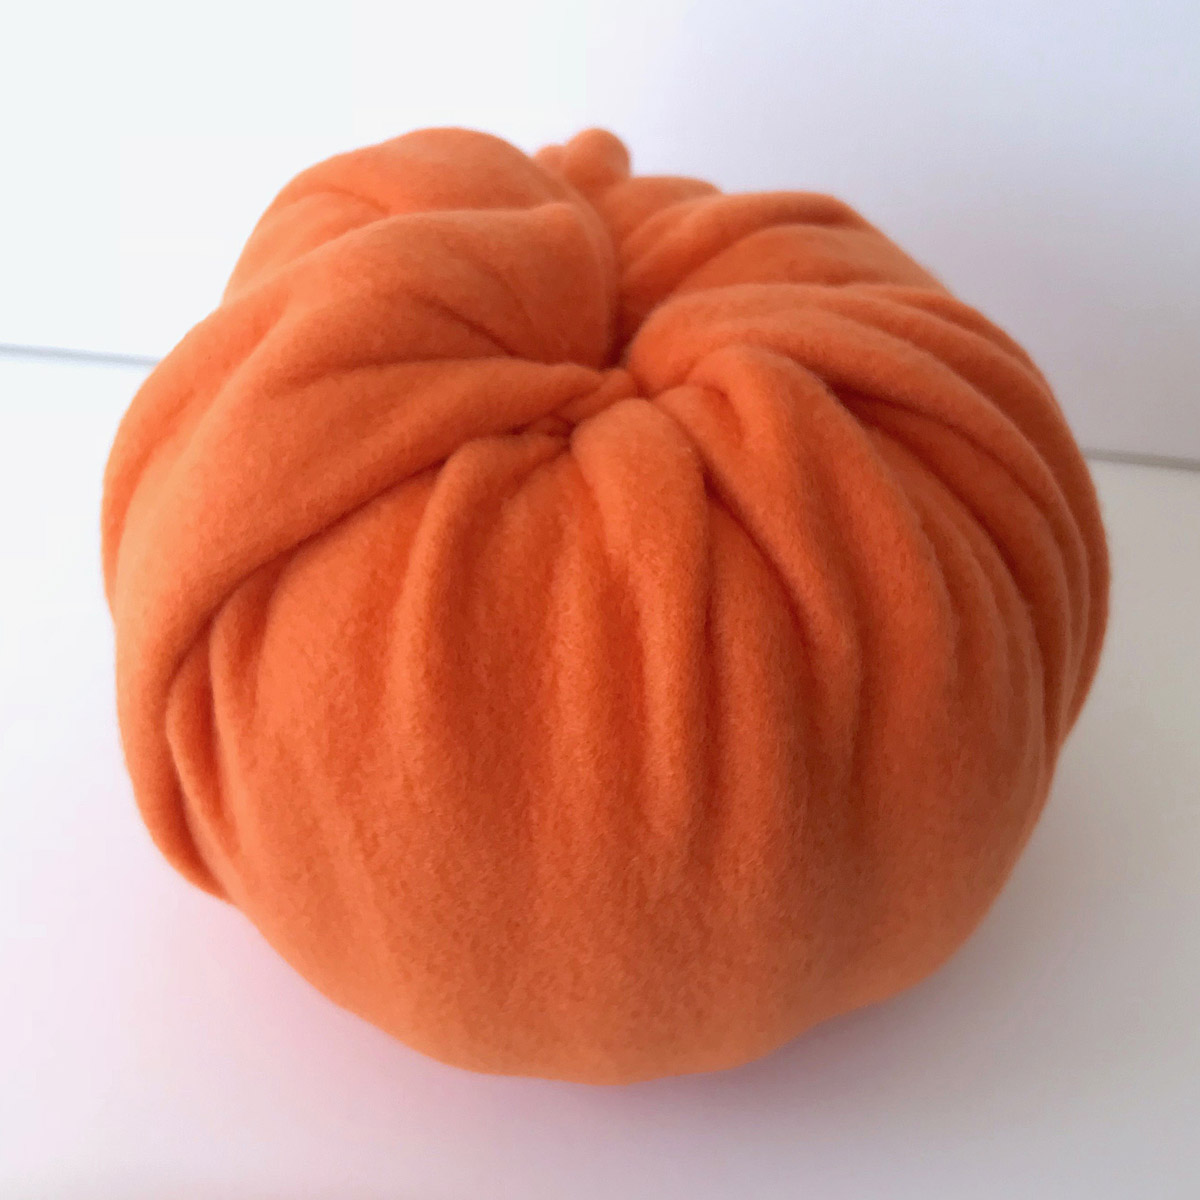
To determine where you would like your monogram to fall on the pumpkin, lay your fabric out on a flat surface and place the pumpkin in the center. Bring the edges of the fabric up to the top of the pumpkin and tuck the edges in the hole. It should be a nice, cozy fit. If not, you can use pins to hold the fabric in place for now.
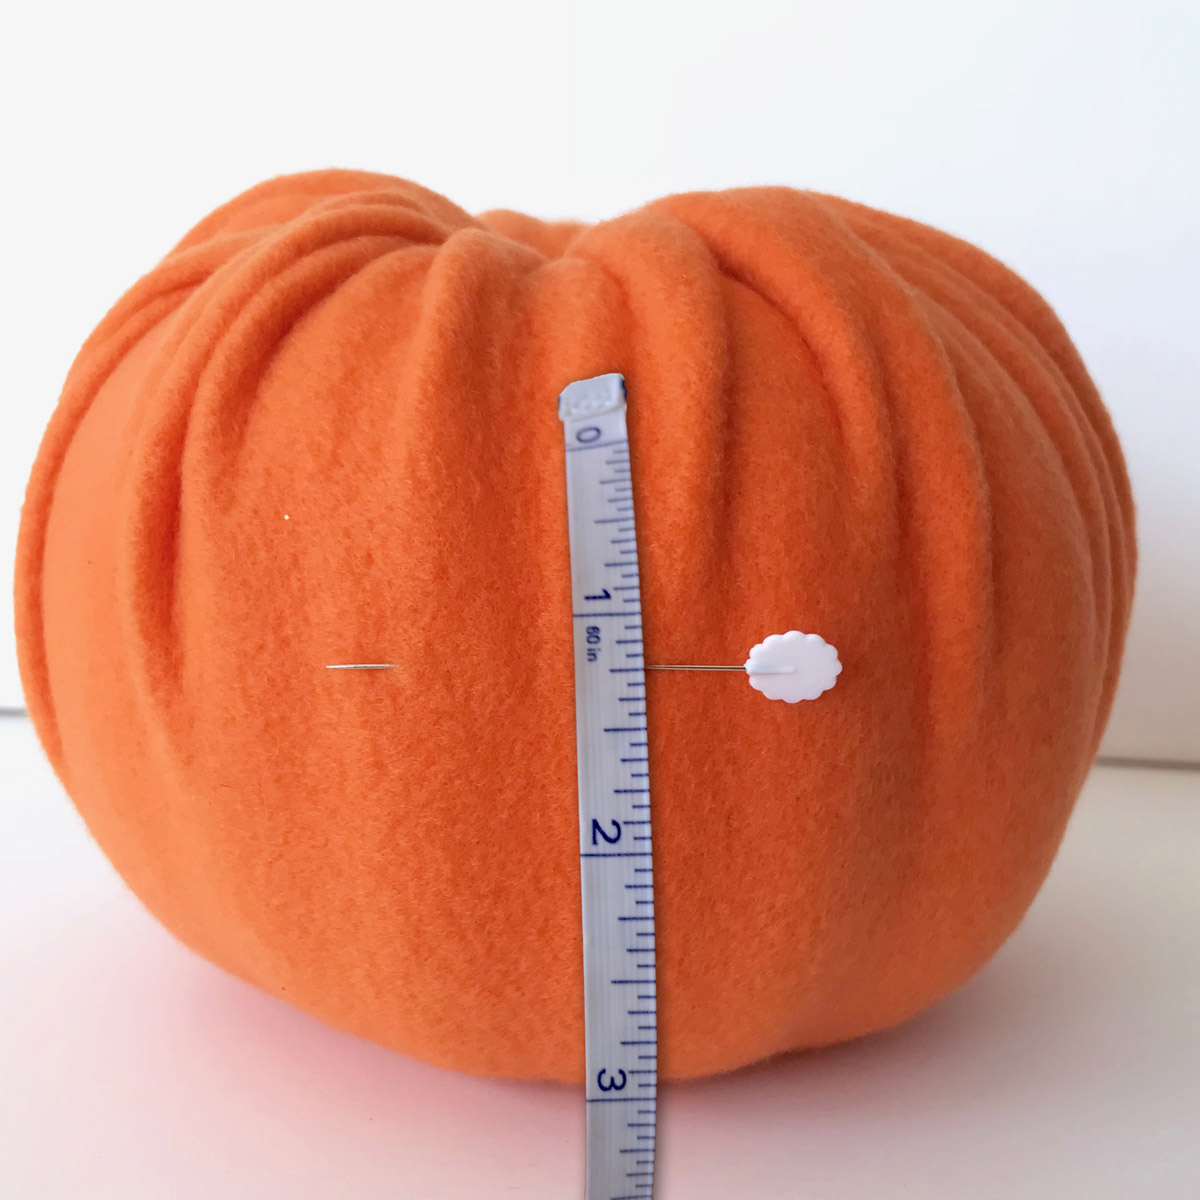
Measure the pumpkin height to find the horizontally center. Place a pin to mark the center – this will be the point where the center of your monogram will stitch.
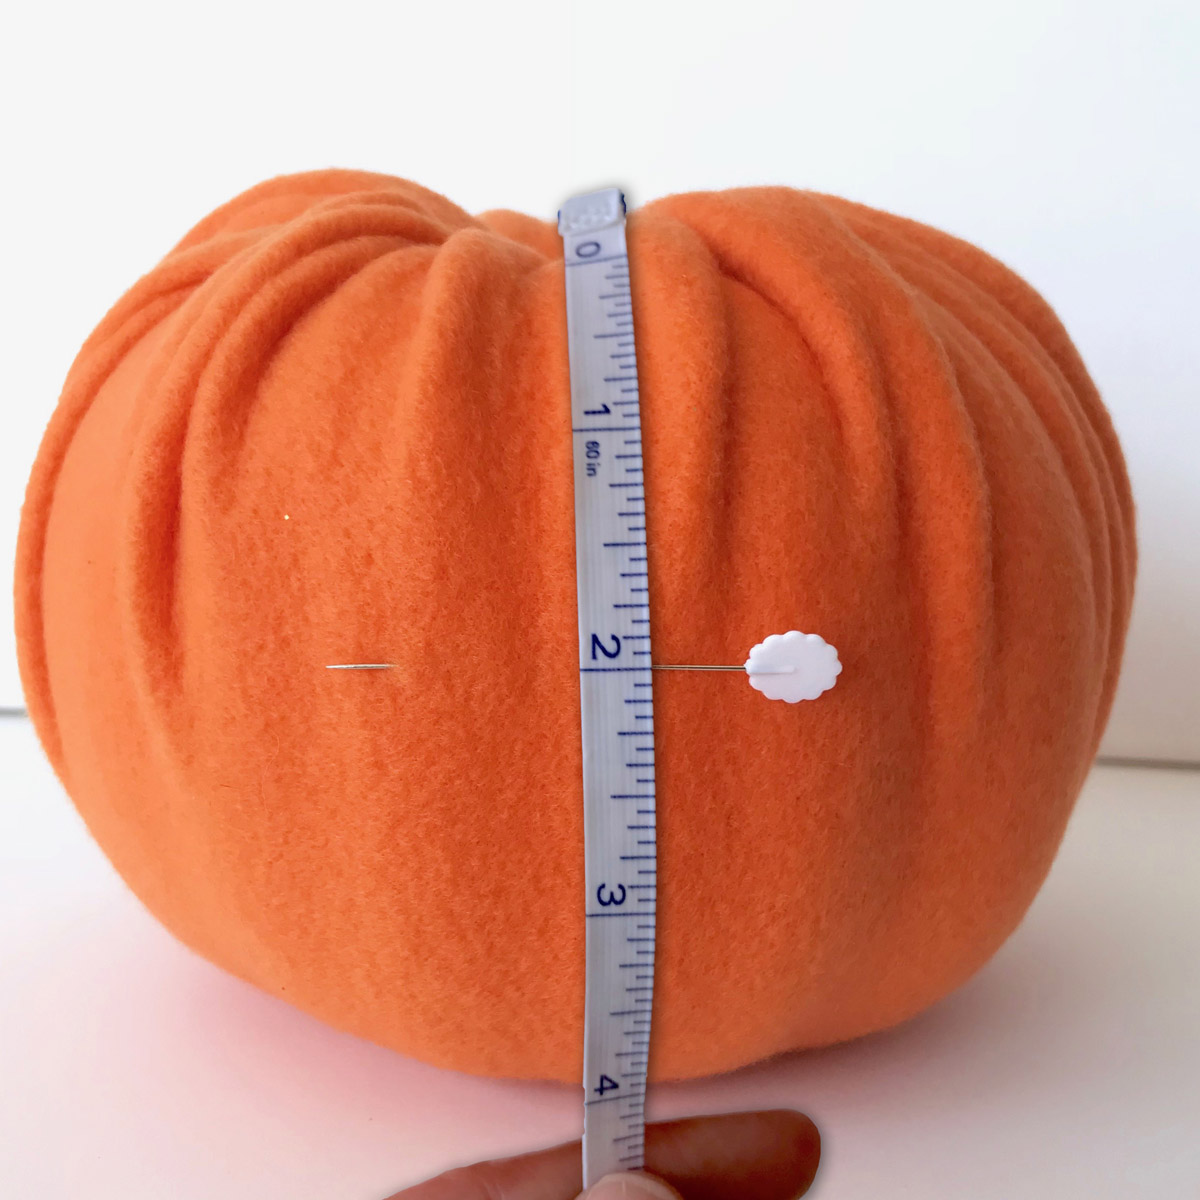
Measure the front area of the pumpkin to determine the best size for your monogram. I want my monogram no more than 2.5″ high, and no more than 5″ wide.
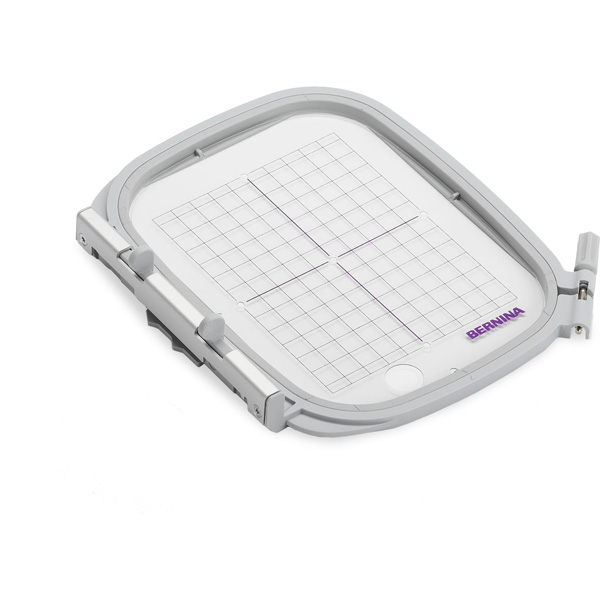
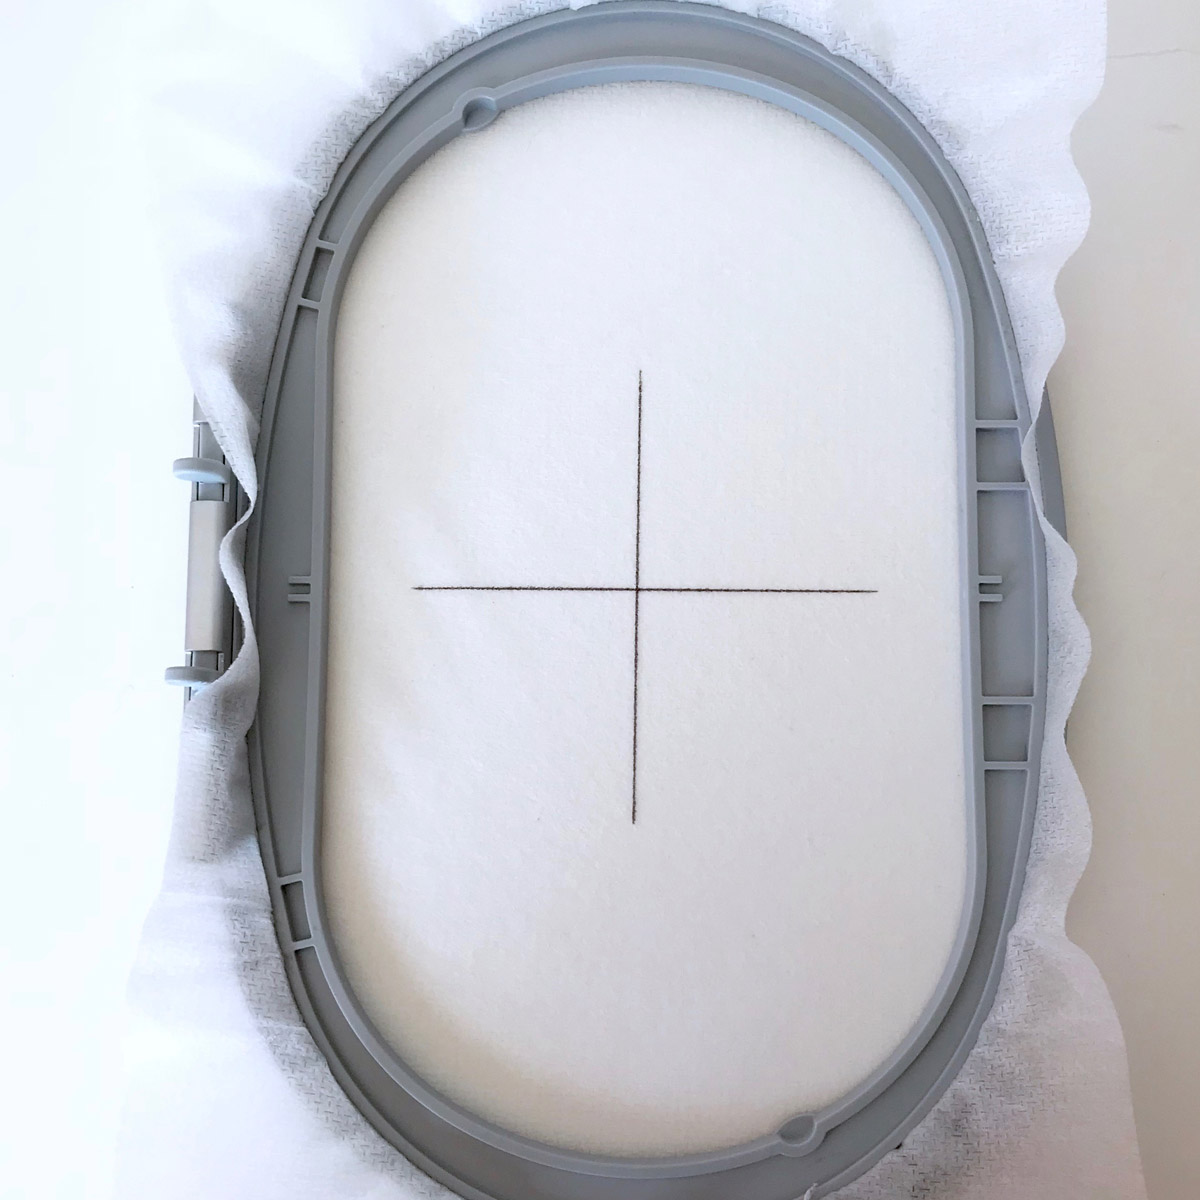
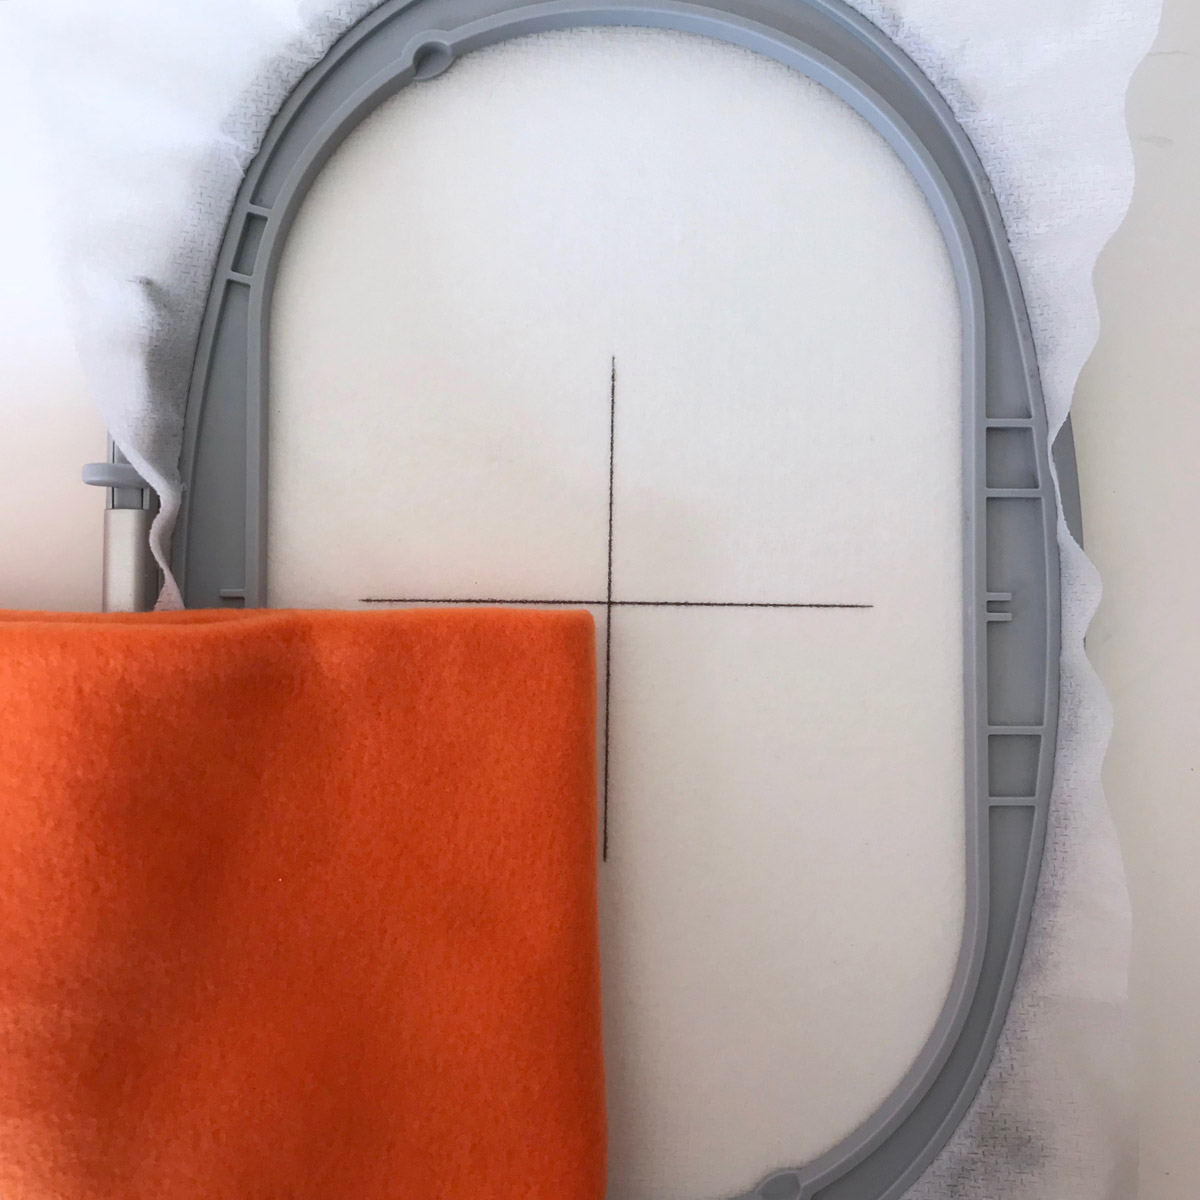
Hoop a piece of mesh cutaway stabilizer and mark the horizontal and vertical centers of the hoop onto the stabilizer.
Unwrap the fabric from the pumpkin, leaving in place the horizontal pin that you used to mark the monogram placement. Fold the fabric down, right sides together, horizontally over the pin. Open the fabric slightly to remove the pin, then refold. This fold will indicate the horizontal center where your monogram will be stitched.
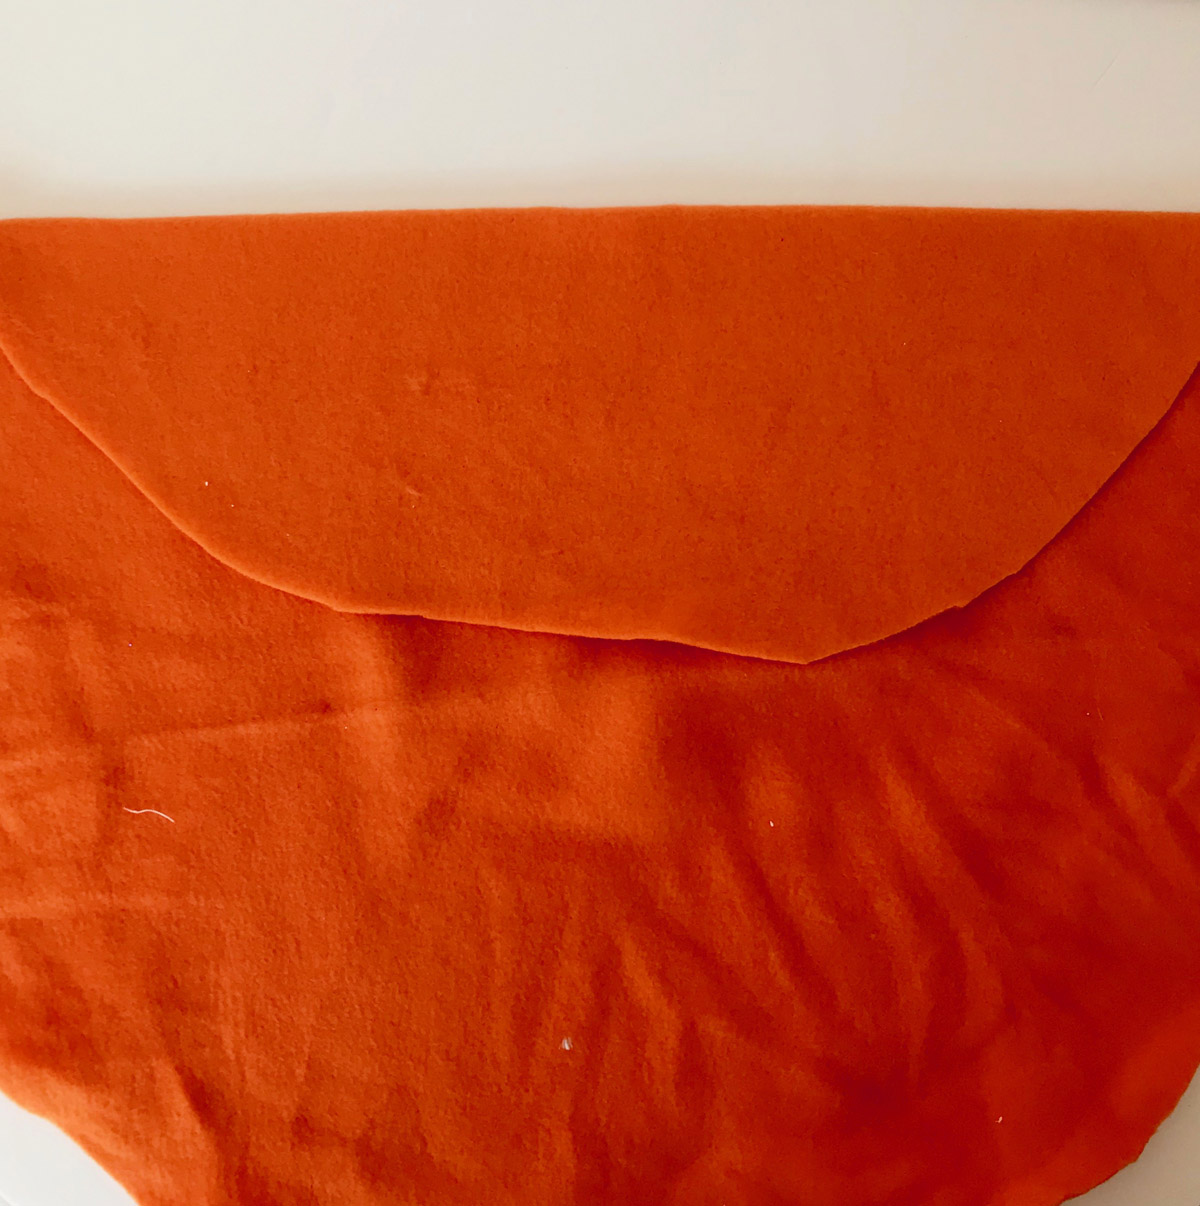
Fold the fabric in half, right sides together. The top right corner is the exact center for your monogram.
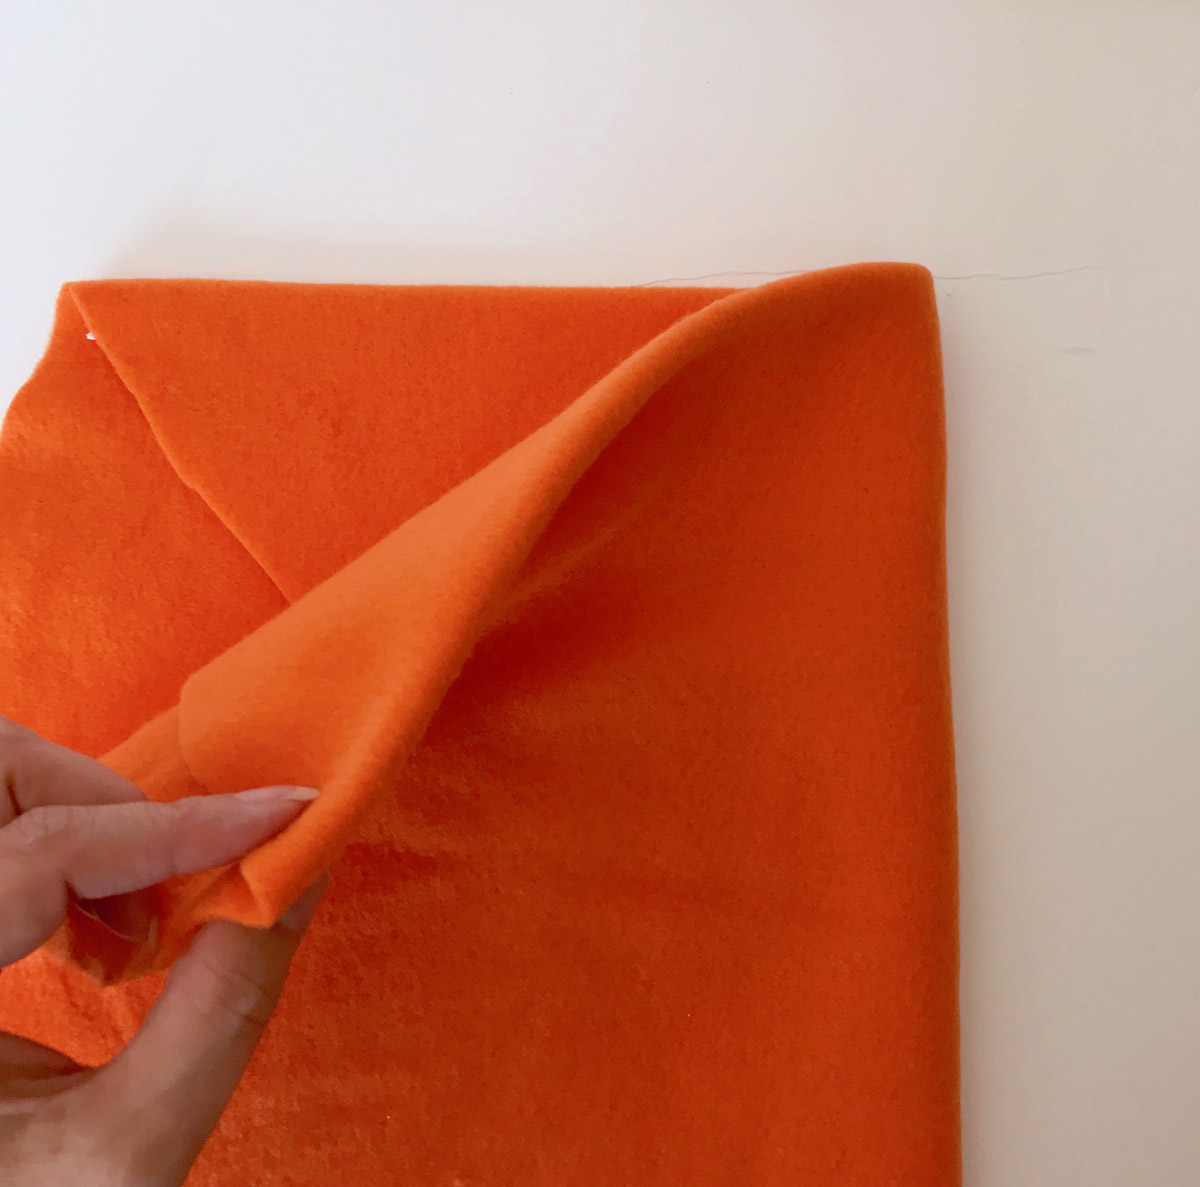
Place the folded fabric over the bottom left corner of your hoop. Align the folds with the marks on your stabilizer.
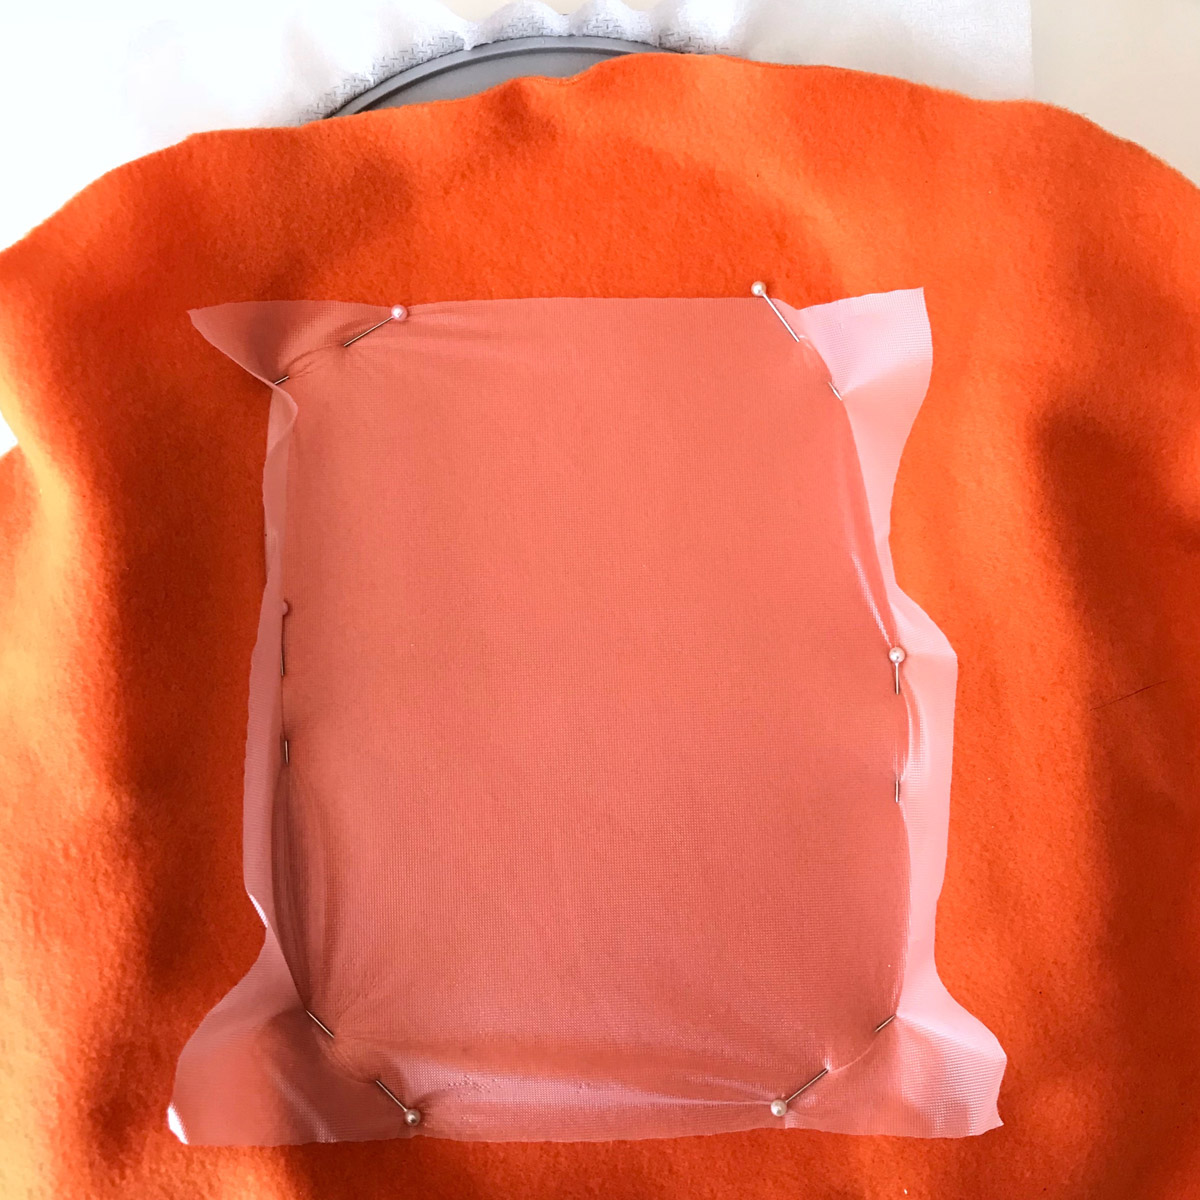
Carefully unfold the fabric to cover the hoop. Place a piece of water soluble topping over the fabric, and pin the fabric and topping to the stabilizer, keeping the pins near edges of the hoop.
Load your monogram design to your embroidery machine, and place the hoop on your machine.
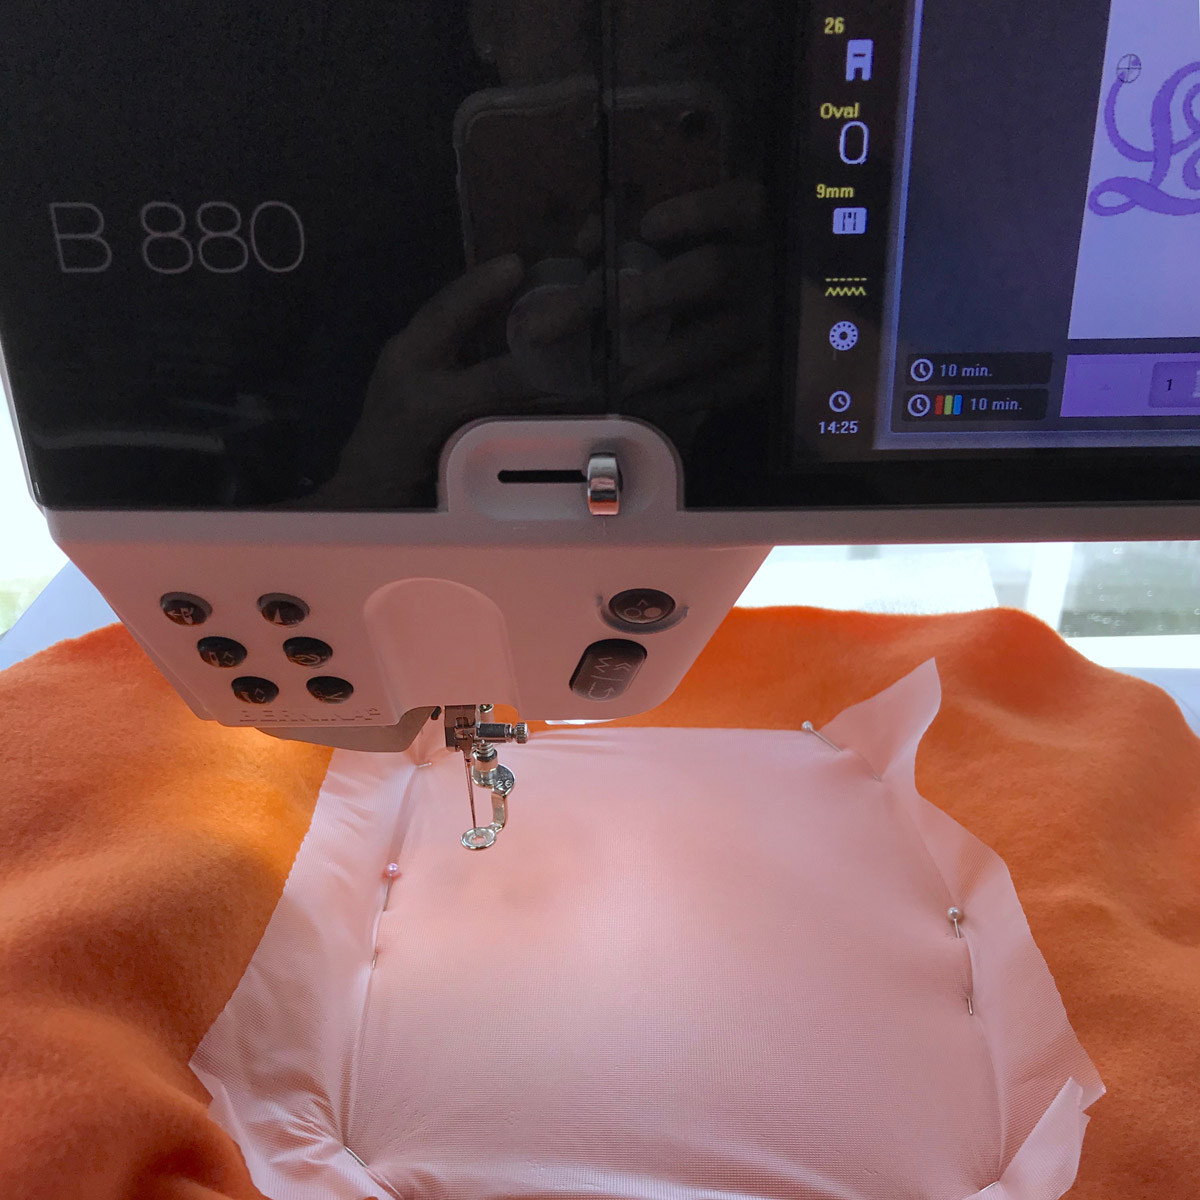
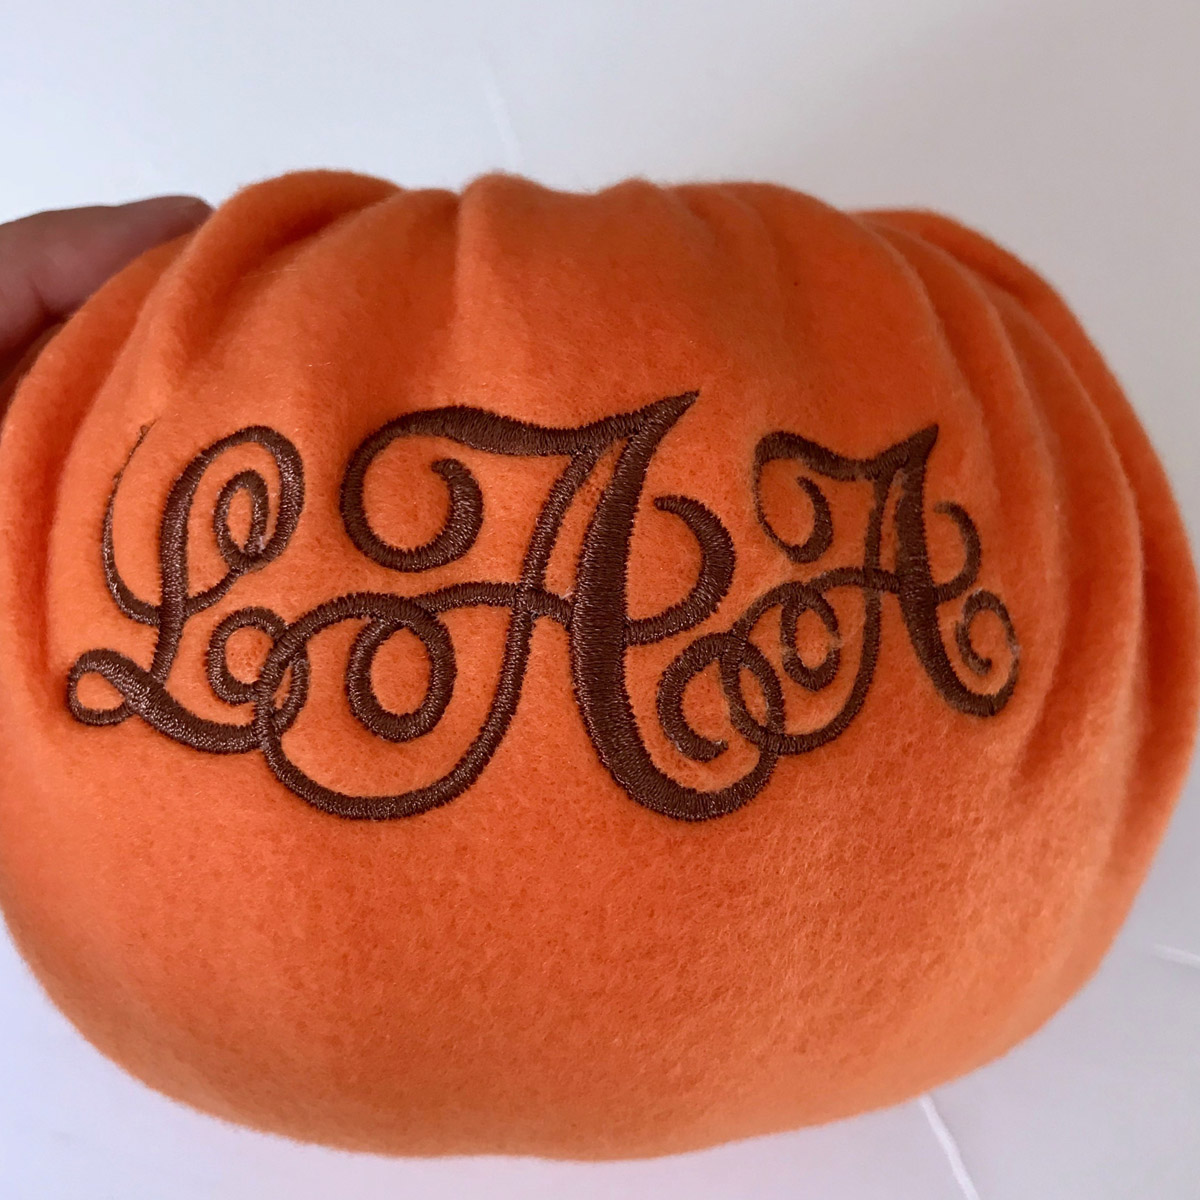
Stitch the monogram.
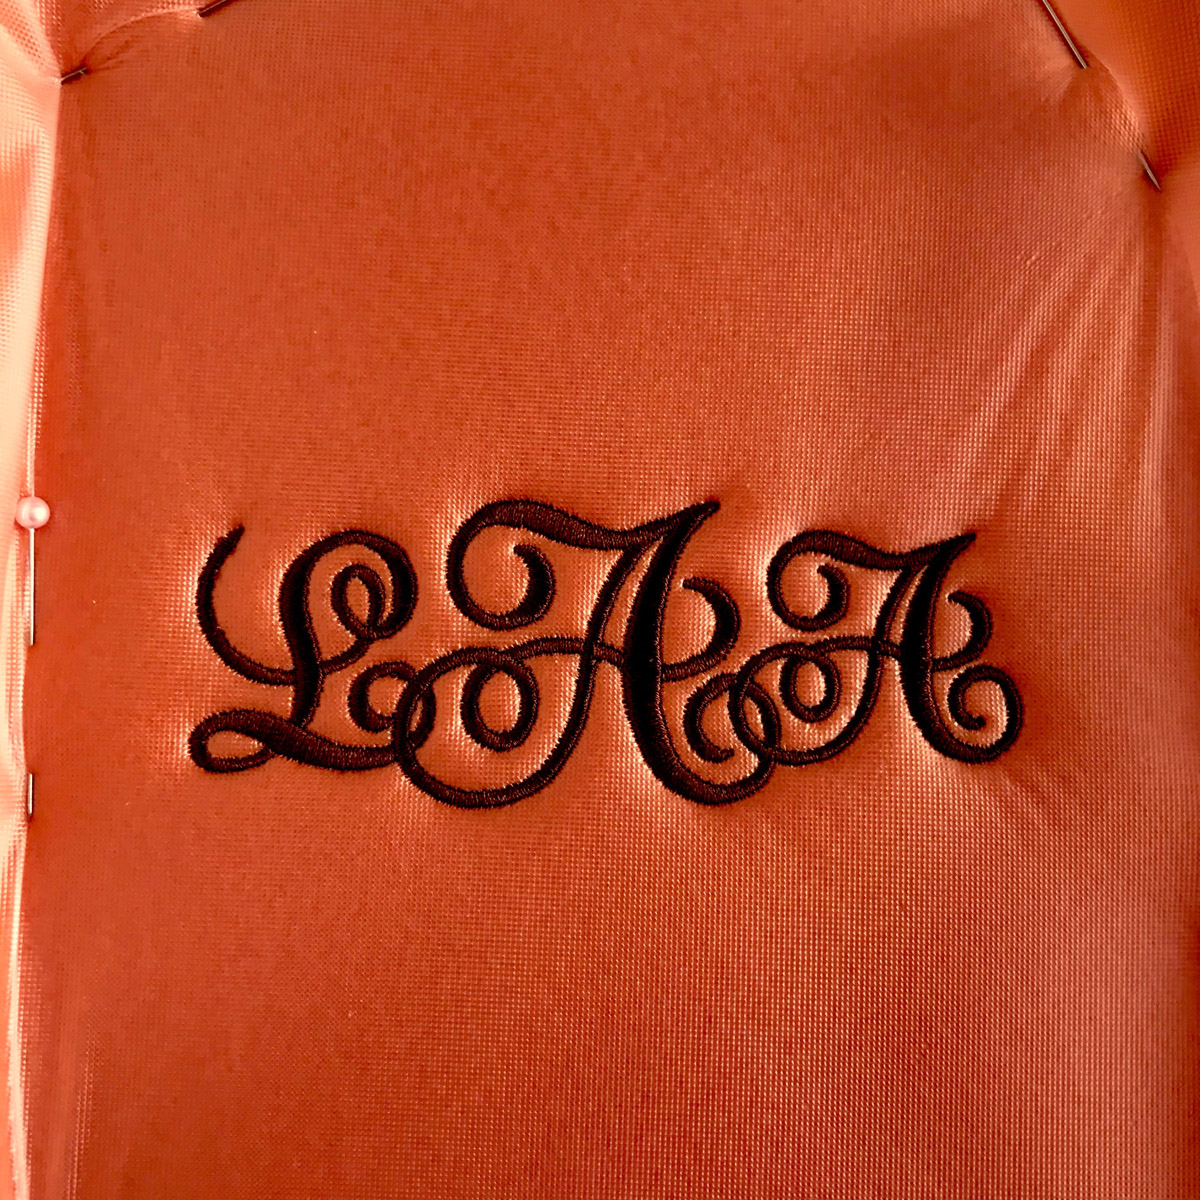
Remove the fabric from the hoop and cutaway the excess stabilizer on the back of the hoop. Remove any water soluble topping.
Place the fabric, right side down, on a flat surface and center the pumpkin on the fabric. Starting with the monogrammed side of the fabric, bring the fabric up to the top of the pumpkin, adjusting the gathers as you go.
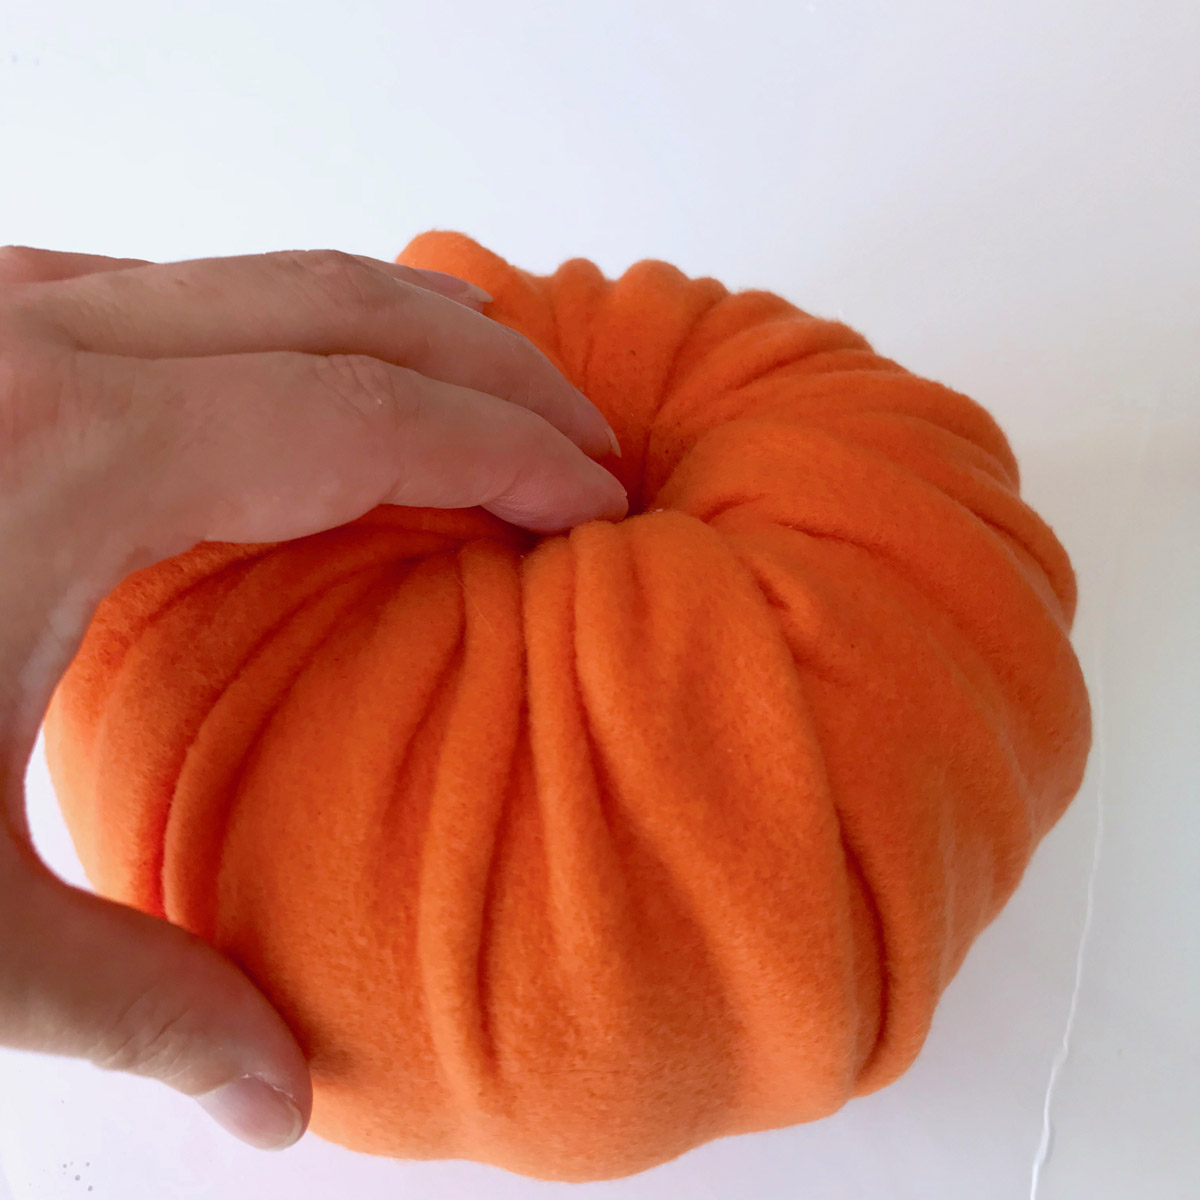
Once the fabric is tucked in, adjust the fabric around the monogram until you’re happy with it.
Poke a stick or twig into the hole in the top, and embellish with trim for the leaf, gluing both in place to complete your pumpkin!