Sew a Paper Pieced Teal Pumpkin Banner
Hello everyone this is Kerry Goulder from Kid Giddy, and I’m here to share a new fun project just in time for Halloween! Five years ago my body hit the proverbial wall and after months of pain and allergy attacks, I knew it was time to heed my doctors advice and try a Gluten Free diet. To say it changed my life is an understatement. I felt better, my heart was no longer feeling suffocated and my migraines went away. I know I am not alone in this, but it was still a very difficult adjustment to my day to day life. Going to restaurants and other “food” events were beyond stressful and holidays were a challenge. Even some of my favorite candies were now off limits.
While my girls were still young and having or attending parties, I noticed other kids and adults with their own food allergies and sensitivities. Strangely enough, it’s so easy to feel left out even when it comes to food or candy. As I became more aware of these situations, I began making some simple changes to make everyone feel included. While discussing my next project to make for the #weallsew community, I immediately knew I wanted to share this special Teal Pumpkin Banner that I created in the Electric Quilt EQ8 program.
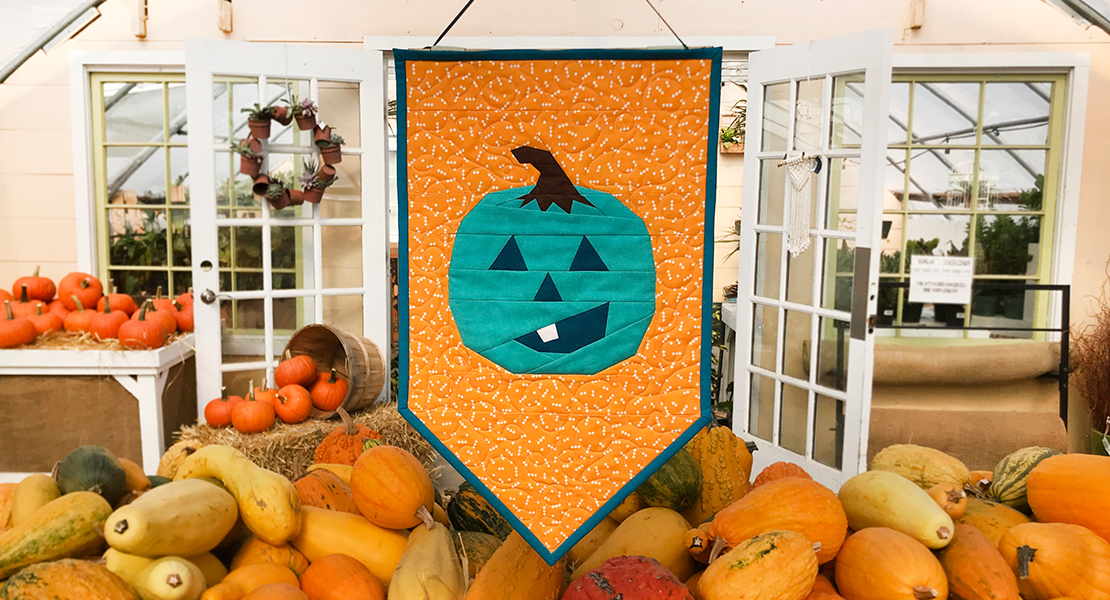
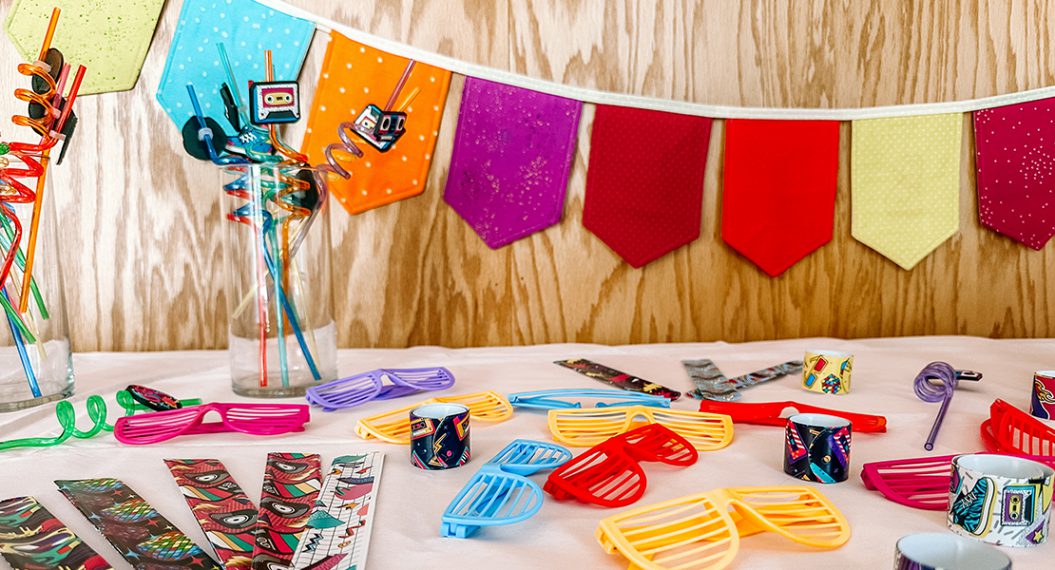
The Teal Pumpkin Project is all about making Halloween safe for everyone. There are now faux Teal Pumpkins you can get at various stores, but you can also make this quick banner in just one afternoon. When finished, hang it out on your door to show your neighbors that you are offering safe, non-food trick or treat options for those with food allergies or sensitivities.
Materials to create a Teal Pumpkin Banner
- Download and print the Teal Pumpkin Door Hanger pattern here
- Background 1 print = 1 Fat Quarter
- Teal (Pumpkin) 1 print = 1 Fat Quarter
- Brown 1 print = 2 5″ charm squares
- Dark Teal (Eyes/Ears/Crossgrain Binding) 1 print = 1 Fat Quarter
- Backing = 1/2 yard (18″ x 24″)
- Batting 2 pieces – 18″ x 24″ and 11″ x 11″
- 14″ piece of thin ribbon
- 50 Wt Thread to match
- 24″ quilting ruler, mat and rotary cutter
- Mini iron
- Washable glue for basting, (starch as desired)
- Straight pins or clips
- Sharp angled tweezers
- Sewing machine
- Thread snips
Cutting Instructions
- Cutting instructions are noted in the pattern file to assist you with making your banner.
- While some sewists precut fabrics for each patch in a foundation paper piecing pattern, I do not as I prefer to use scraps when possible. Start with setting aside fabric for the largest pieces first.
Presser Feet and Accessories
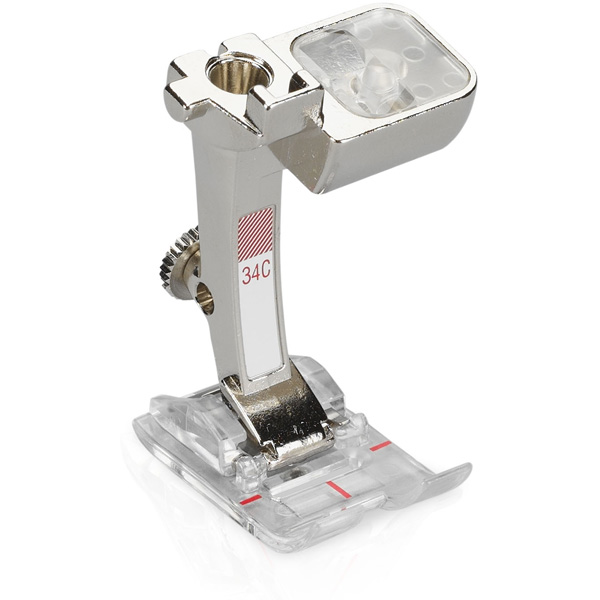
- Reverse pattern foot with clear sole #34C (this is the foot that I use most often as it allows me to see my patch lines and fabric at all times)
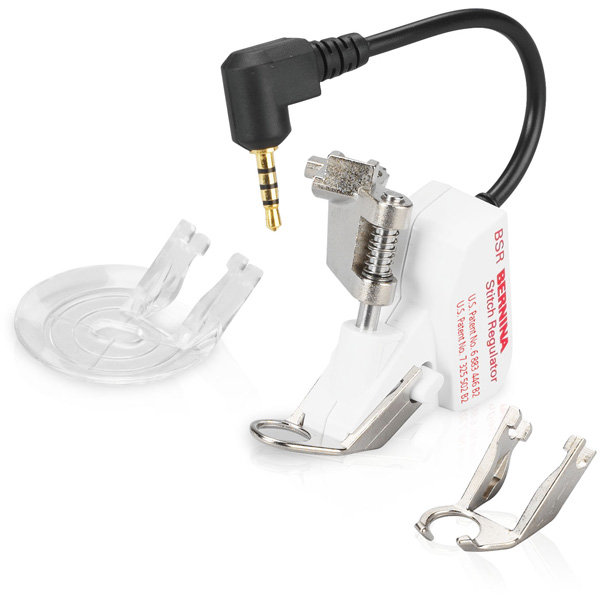
- BERNINA Stitch Regulator #42 (for quilting your banner)
- Three-sole walking foot #50 (for attaching binding)
Let’s get started
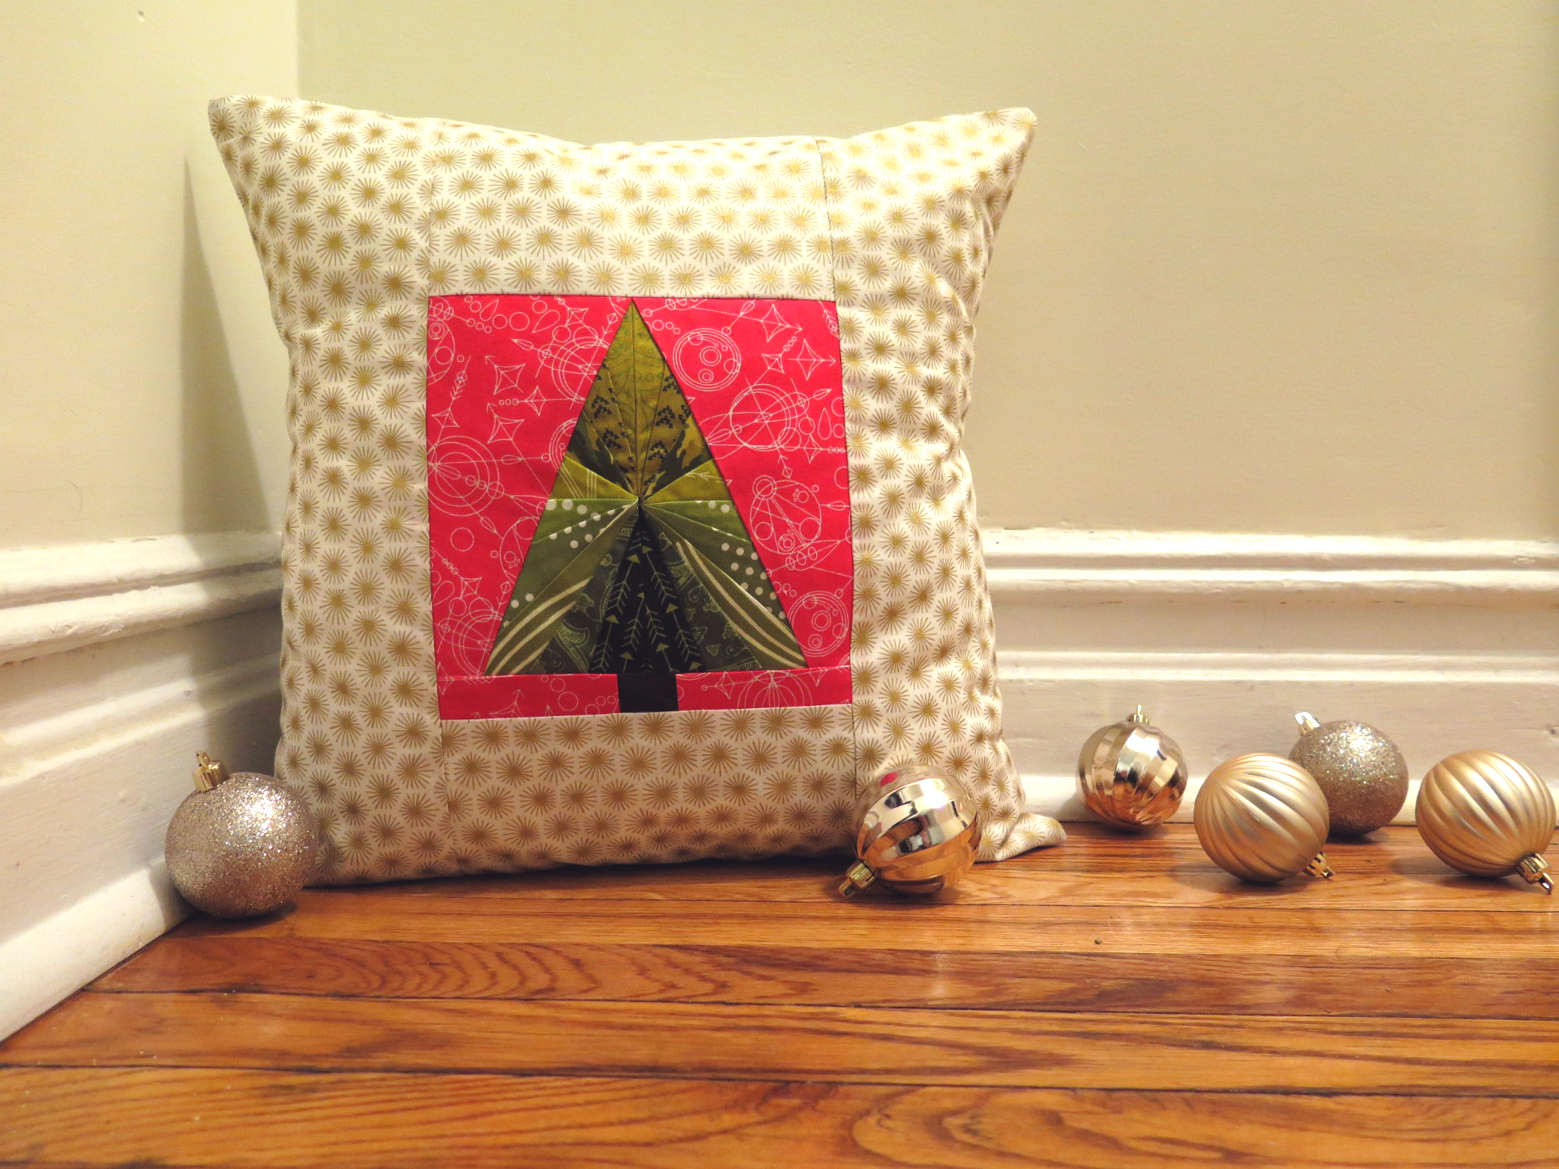
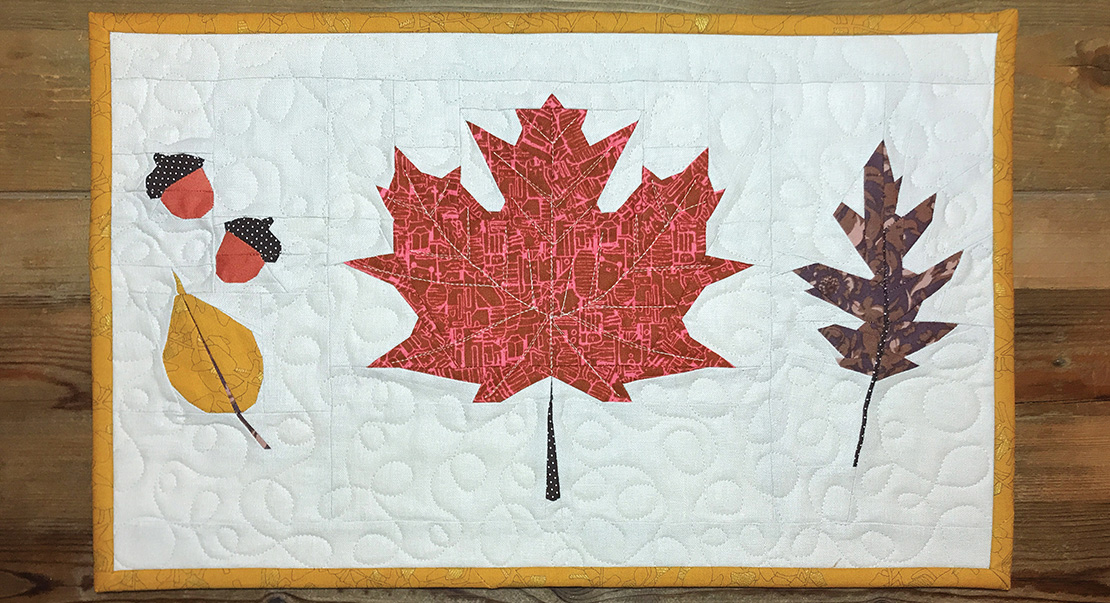
Print out the Teal Pumpkin Banner PDF and read through all of my instructions. If you are new to paper piecing or a bit more advanced, you can find my additional tips and tricks for paper piecing by checking out my Fall Folliage Placemat tutorial. You can also check out my Bird House Mini Quilt Tutorial for more paper piecing info. If you are new to paper piecing, start with sections E and F as those two are the easiest sections in this pattern.
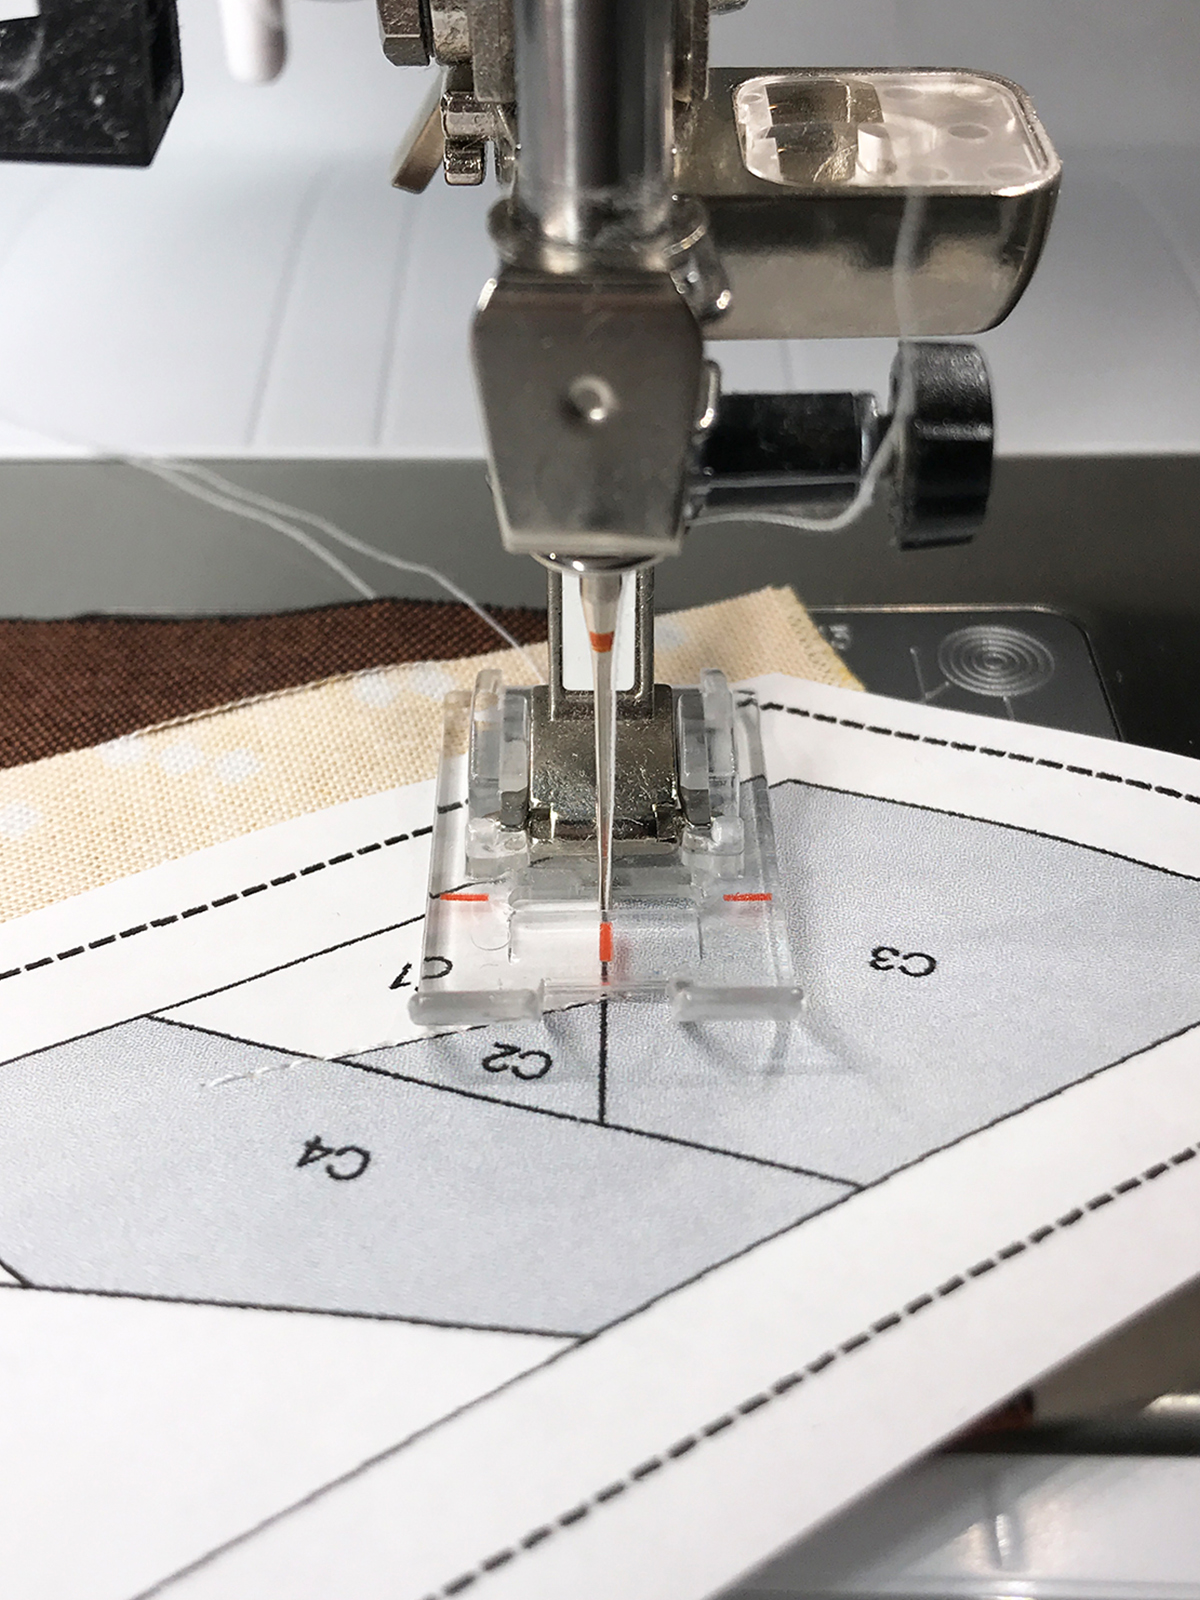
Set your machine stitch length to 1.80. Most machines will automatically have a stitch length set to 2.40 or 2.50. Sewing with a shorter stitch length allows you to carefully rip out the paper without ripping out the stitches. If you paper piece a lot, set this stitch as a favorite.
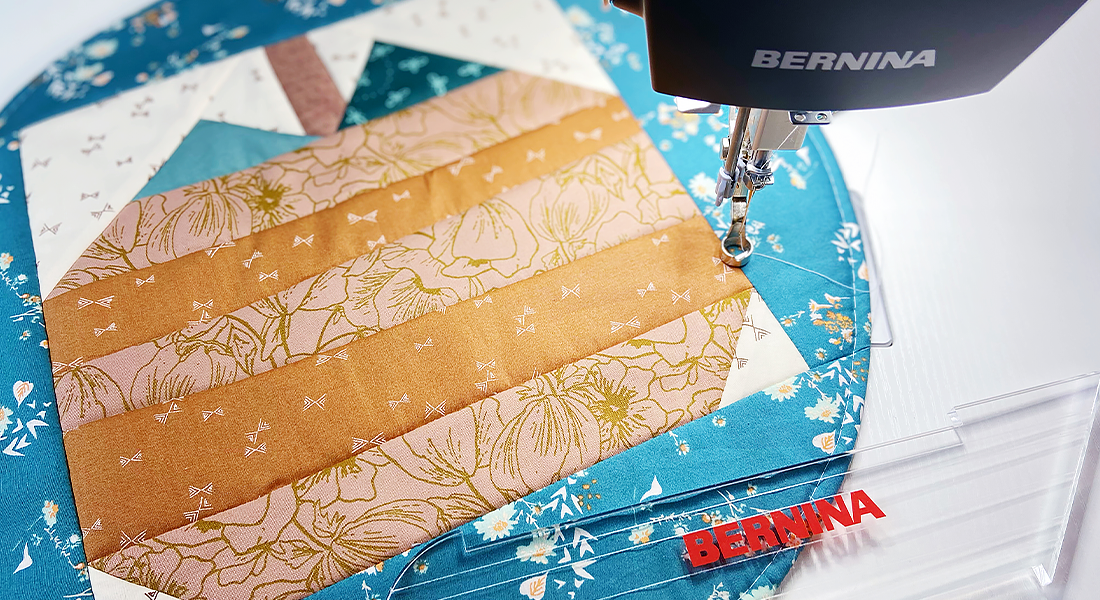
Use the Reverse pattern foot with clear sole #34C for foundation paper piecing (as shown above). Precision is key when paper piecing, to get points to line up properly. It’s important to sew directly on the line, so I prefer using this foot as it helps me to see everything clearly.
Paper Piecing Alignment
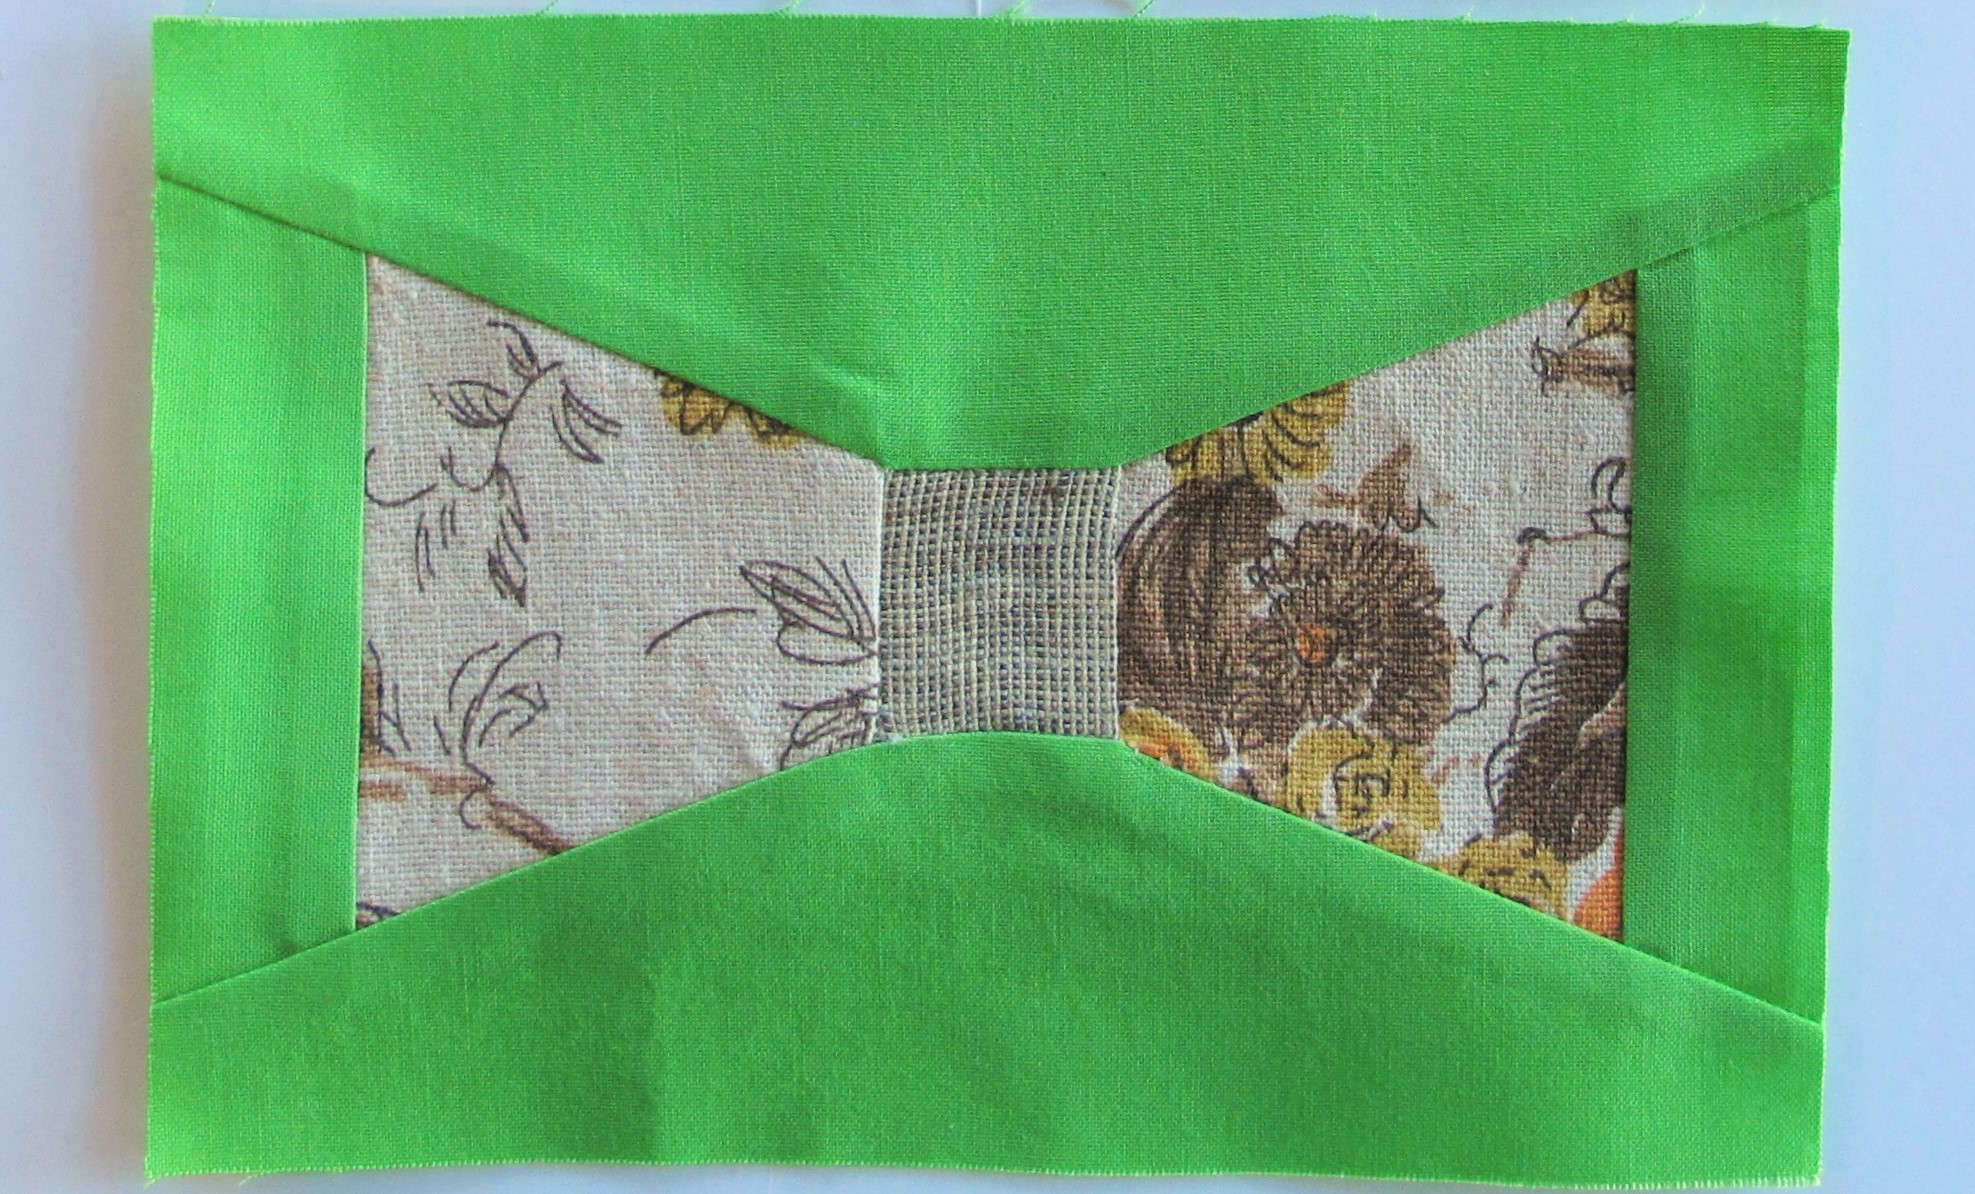
I wanted to share a trick for lining up sections that are angled. The stem in the center, section C, with section B on the right side and D on the right. 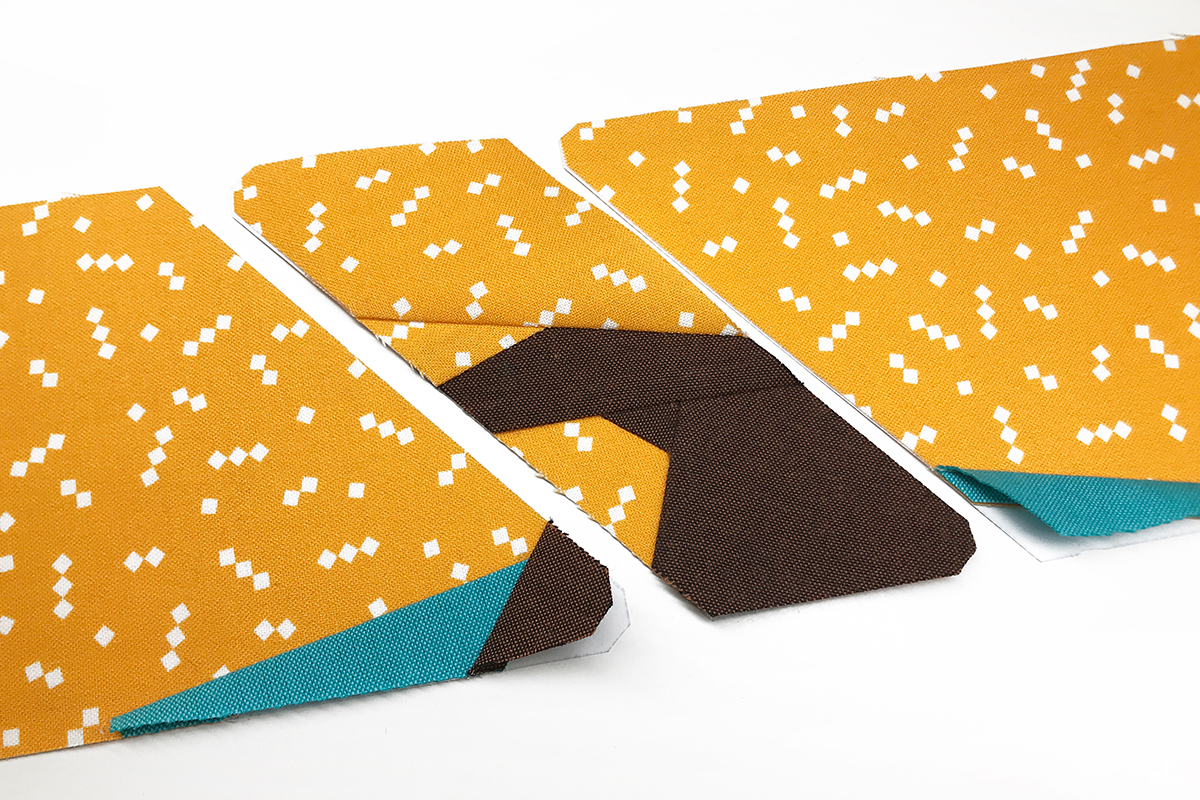 Paper piecing patterns that are created in Electric Quilt, have corners are printed with dog ear cuts (as seen above). This means you won’t have to cut odd little corners and points off all when it’s all sewn together. All of the guess work is done for you on trimming.

Place section B face down and make sure the top seam point of B is aligned with the top seam point of C underneath. (This photo was taken at an angle.)

Press open the seam allowance once sewn. Flip section D over to sew it to C. Line up the brown stem fabric in section D to line up the brown stem fabric in section C. This is where you can fold back the seam and see if the two fabrics line up. See the stem alignment in the photo below.
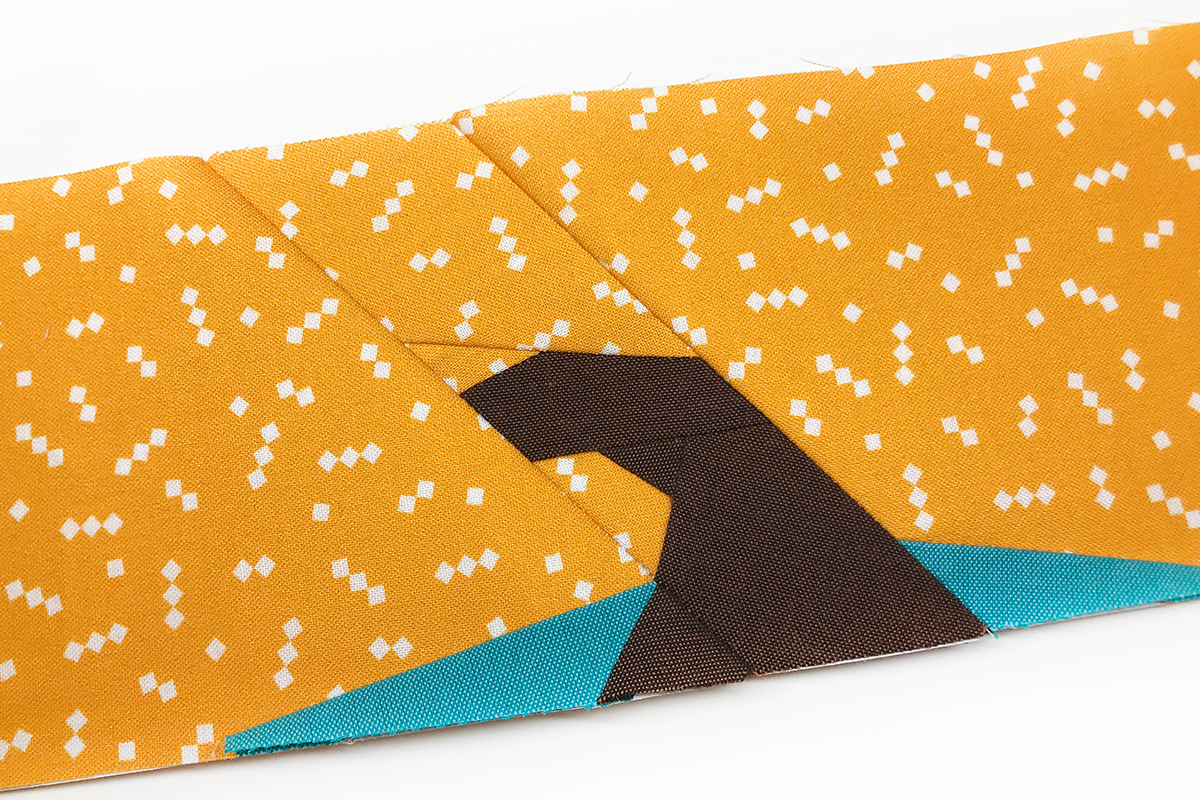
Learning these aligning techniques will help when sewing larger sections together.
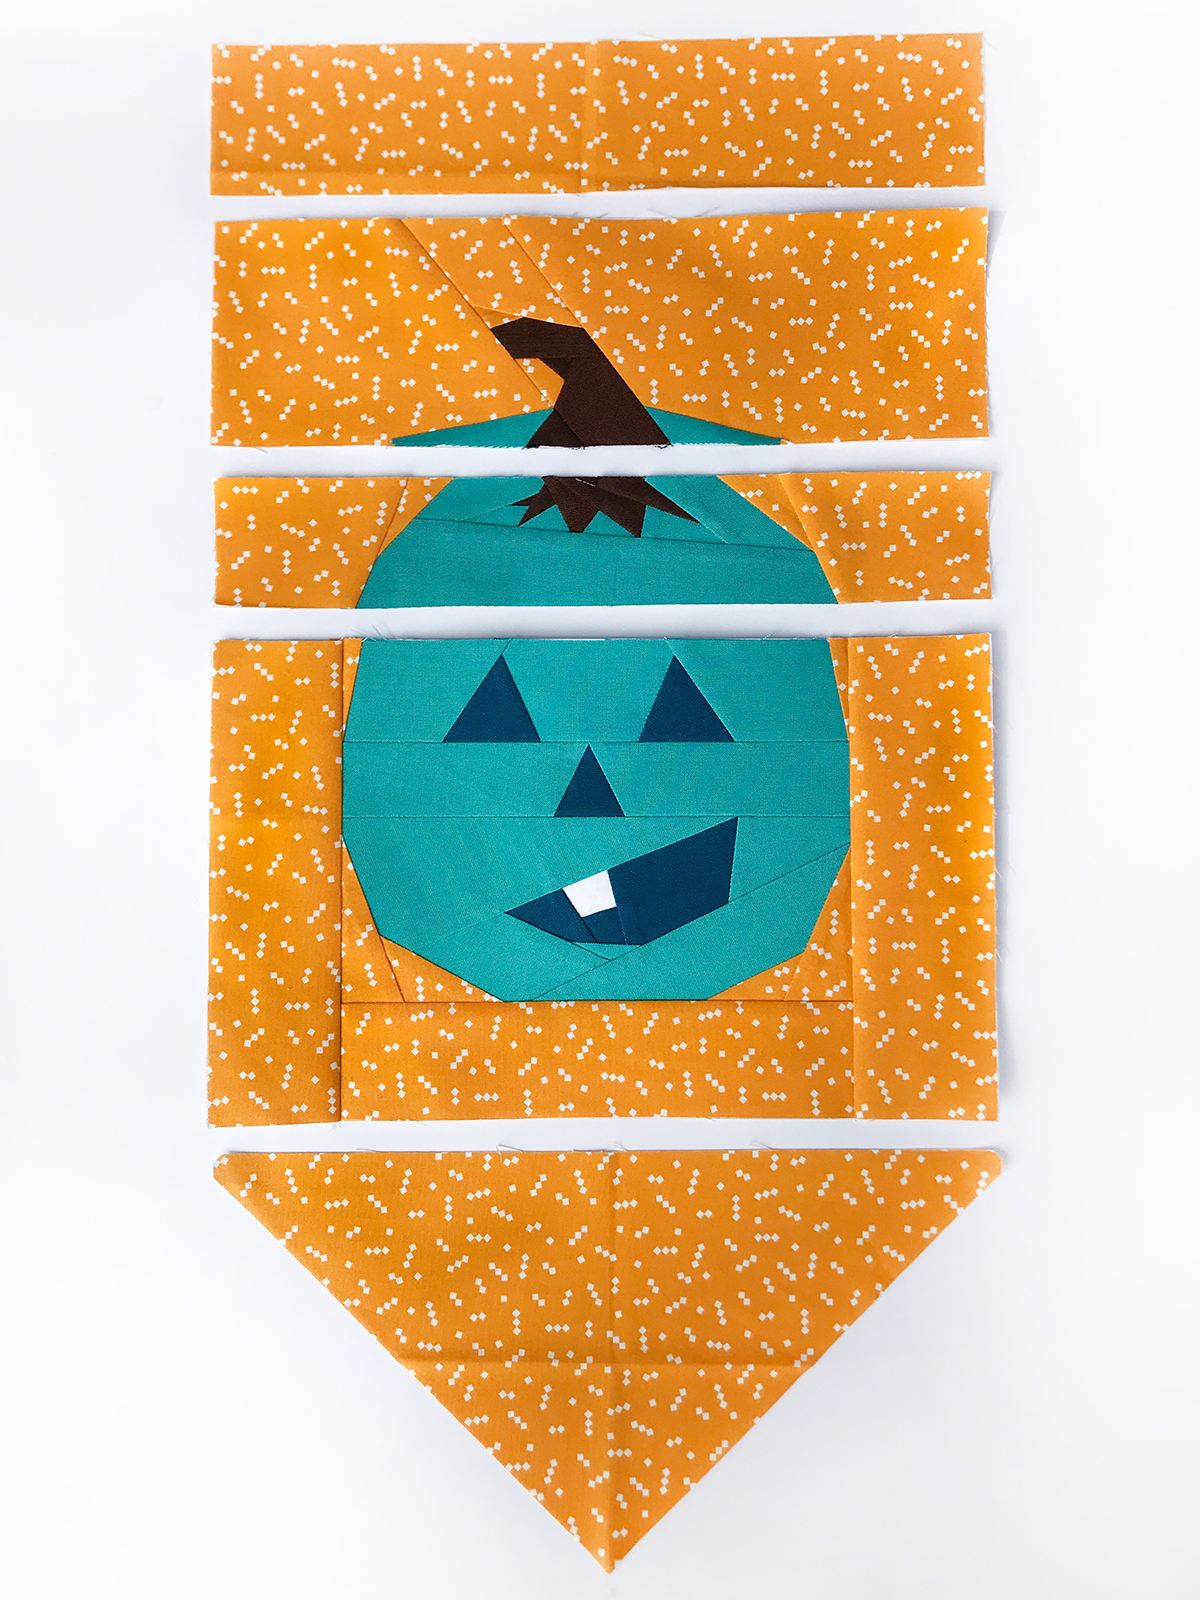
Lay out all of your banner sections and sew them together from top to bottom.

Press all of the connecting seams and carefully remove the paper from the back side. Use sharp angled tweezers to get any tiny pieces out of the seam allowances. Press once more to finish the top before quilting.
Quilting the Banner
Place and glue baste the quilt top onto a large piece of batting (18″ x 24″). Press to set the quilt top to the batting to prevent shifting.

Cut out an extra piece of batting to match the shape of the pumpkin. (TIP: Be care when trimming the batting on the top, so you don’t cut your banner.)
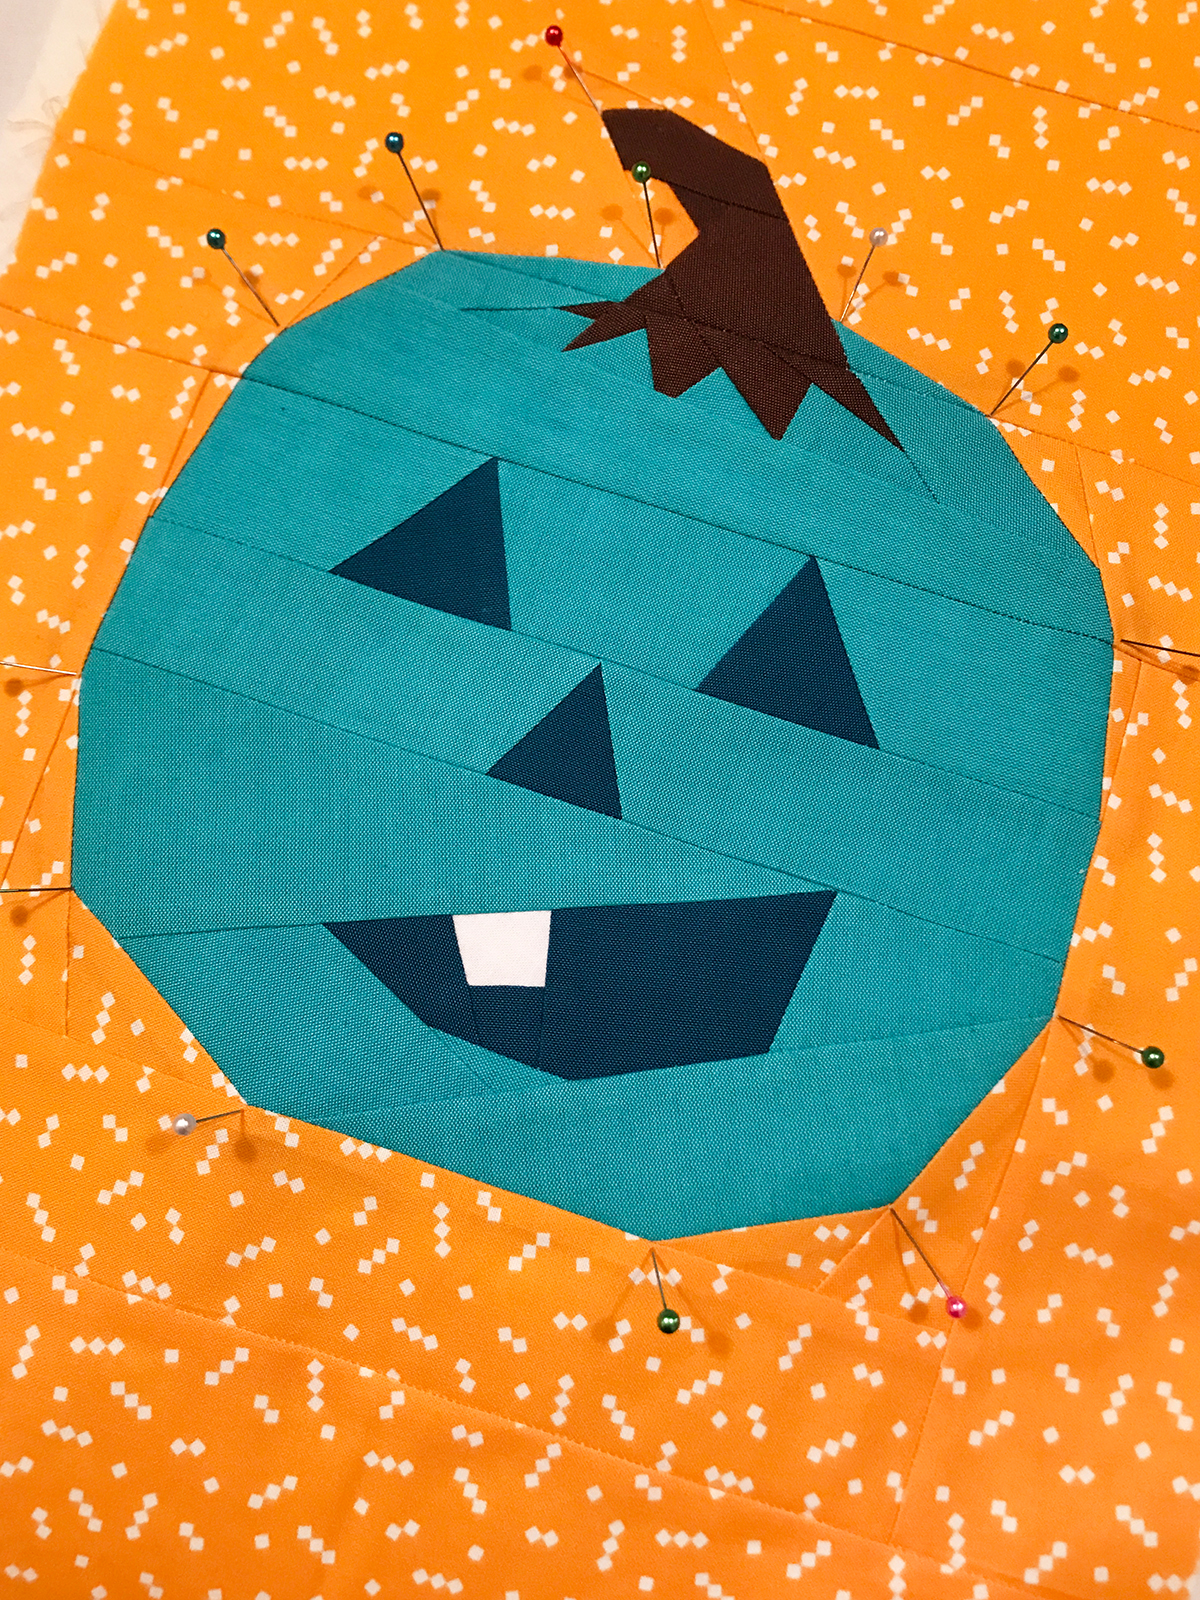
Place pins around the pumpkin to align the cut out batting piece on the back.
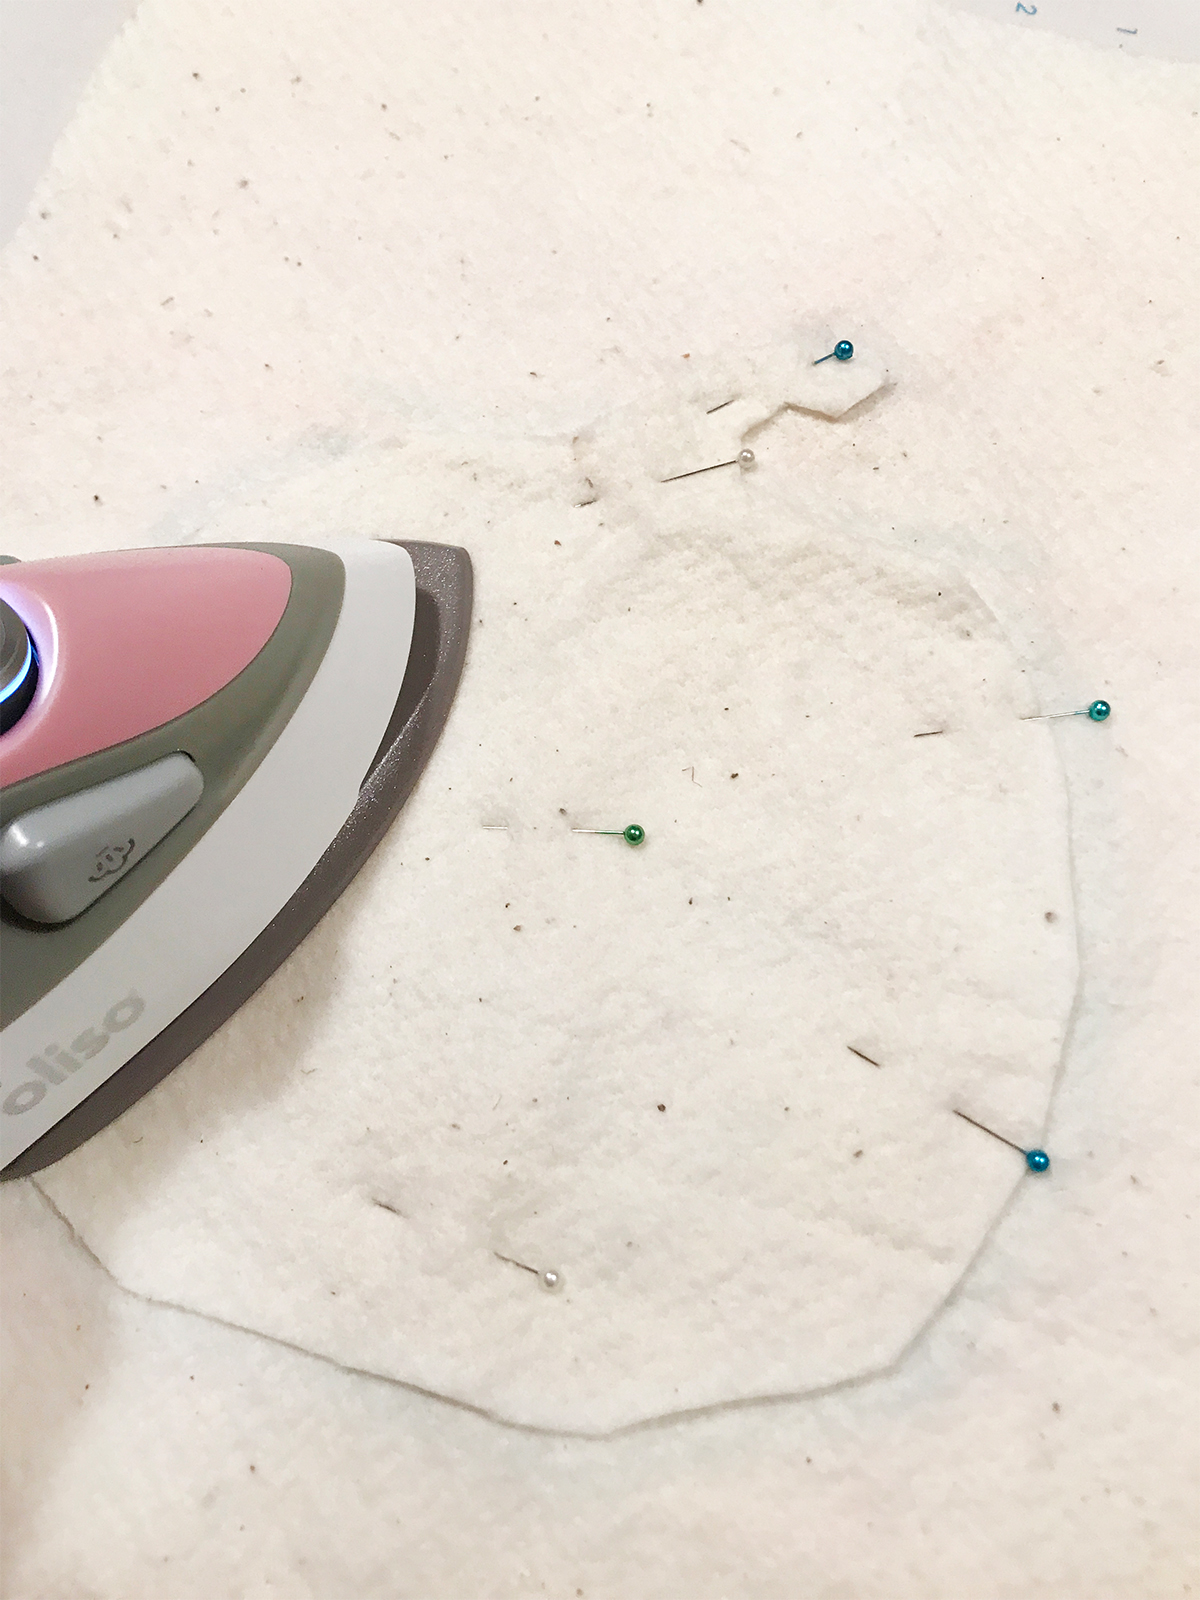
Carefully flip the banner over to put the cut pumpkin piece down inside all of the pins. Remove the pins around the edge and place a few to one side. Glue baste and press one half of the pumpkin. Remove the pins to glue baste and press the other half.
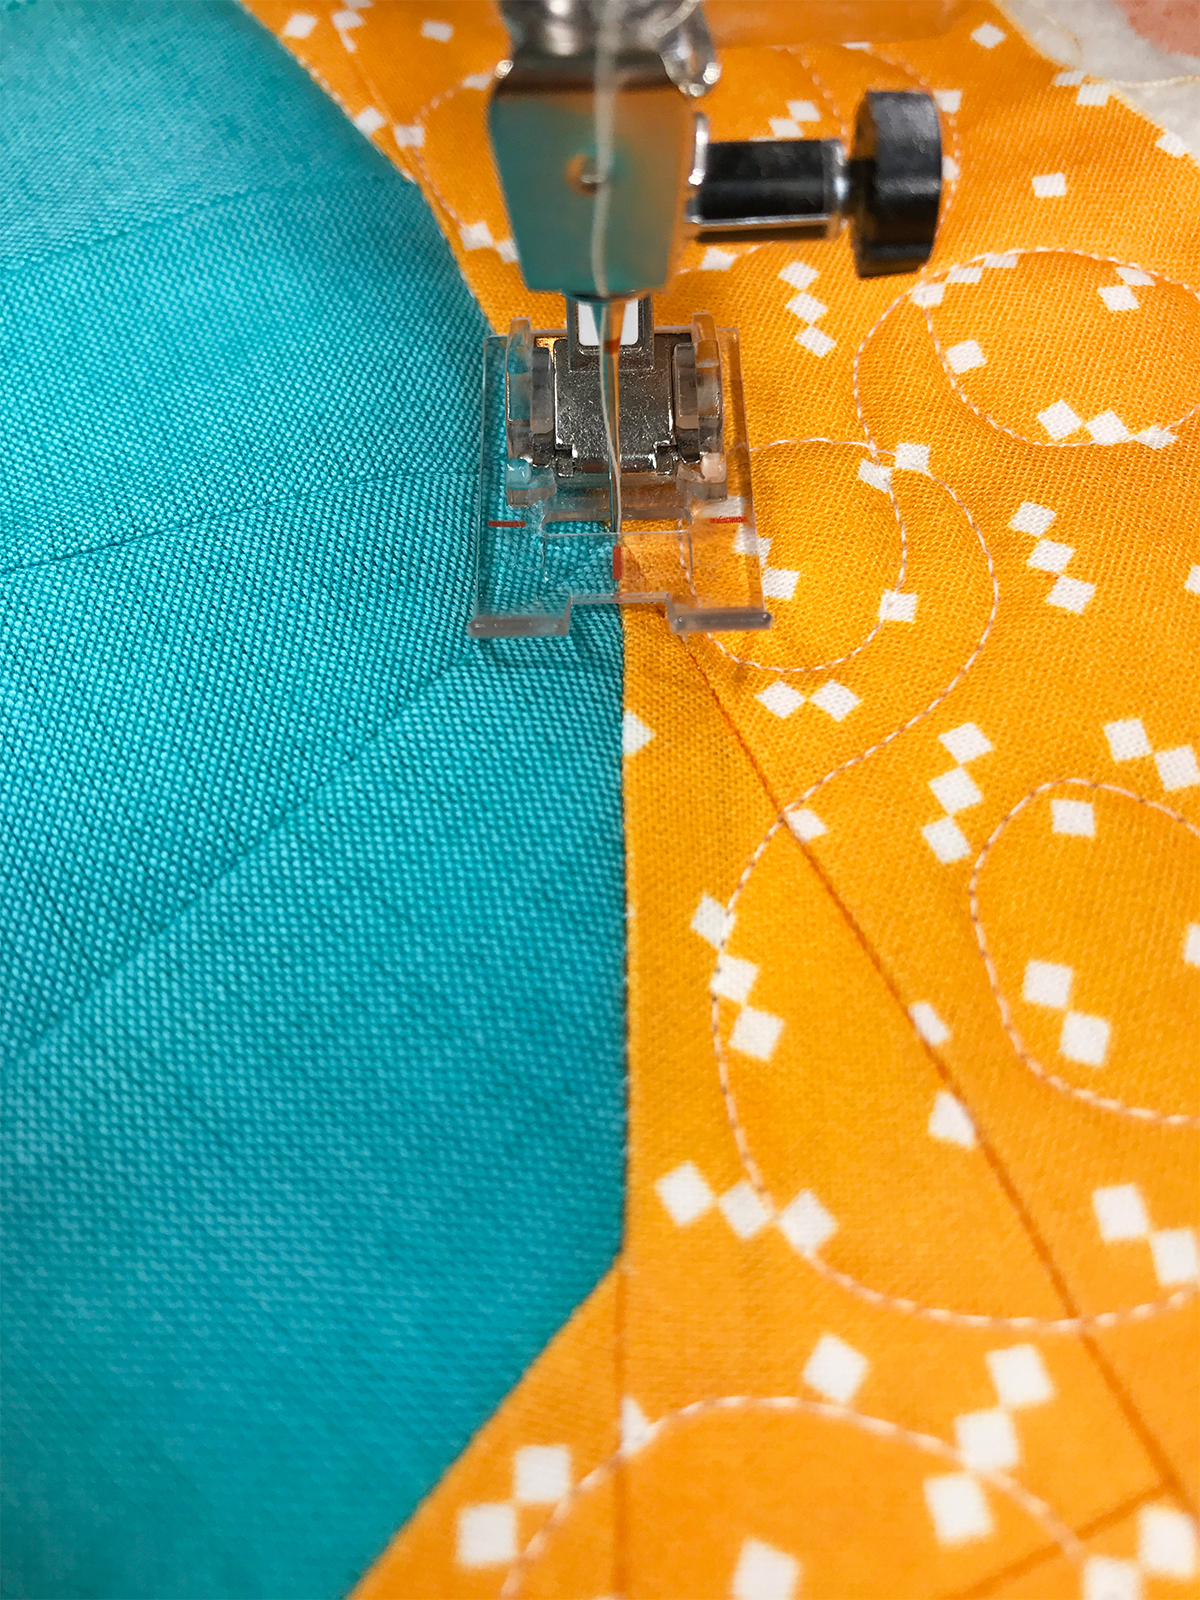
Place a piece of backing fabric (18″ x 24″) and glue or spray baste the layers and set with a mini iron in order to prevent shifting while quilting. Use the BERNINA Stitch Regulator #42 in order to quilt the background with a basic loopy design. Decide if you want to quilt the pumpkin or not. The added batting will help the pumpkin look a little more stuffed. Stitch in the ditch around the pumpkin if you do not want to quilt the inside of the pumpkin.

Place two or three loops (ribbons or sewing labels), along the top edge for hanging. Sew the binding on to the front and temporarily glue baste it to the back. Hand stitch the back side of the binding. Place a rod through the loops and tie a thin ribbon to both ends to finish.
Thank you!
Thank you so much for joining me here. I hope you have enjoyed this project and will share it with your friends and family so they can make one to. Please feel free to ask me any questions below and tag me (@kidgiddy) on IG with #kidgiddy and #kidgiddytealpumpkin with your finished Teal Pumpkin Banner.
If you want to learn more about designing and sewing foundation paper piecing patterns, download a copy of my Learn to Design and Sew Foundation Paper Piecing ebook and join me on social media IG @kidgiddy, FB @kidgiddy and on my website kidgiddy.com. – Kerry
Used Products


What you might also like


2 comments on “Sew a Paper Pieced Teal Pumpkin Banner”
-
-
I LOVE “No tear” Paper piecing. I had a great time making this banner. Thank you for sharing. Please allow me to share my design using your pattern of which I did give credit so others can see your site. https://joysjotsshots.blogspot.com/2020/10/fun-friday-pieced-pumpkin-finished.html
Leave a Reply
You must be logged in to post a comment.

Great project! My son had food allergies and I worked hard to make it all feel pretty normal to him – mostly it did but it was always a lot of extra work. Thanks for bringing it to light in this way!