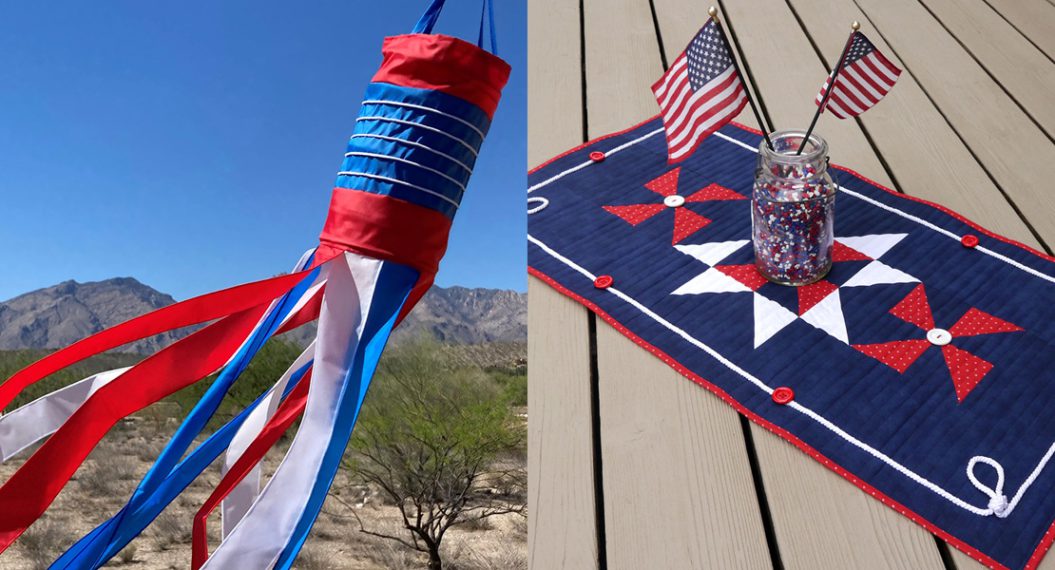
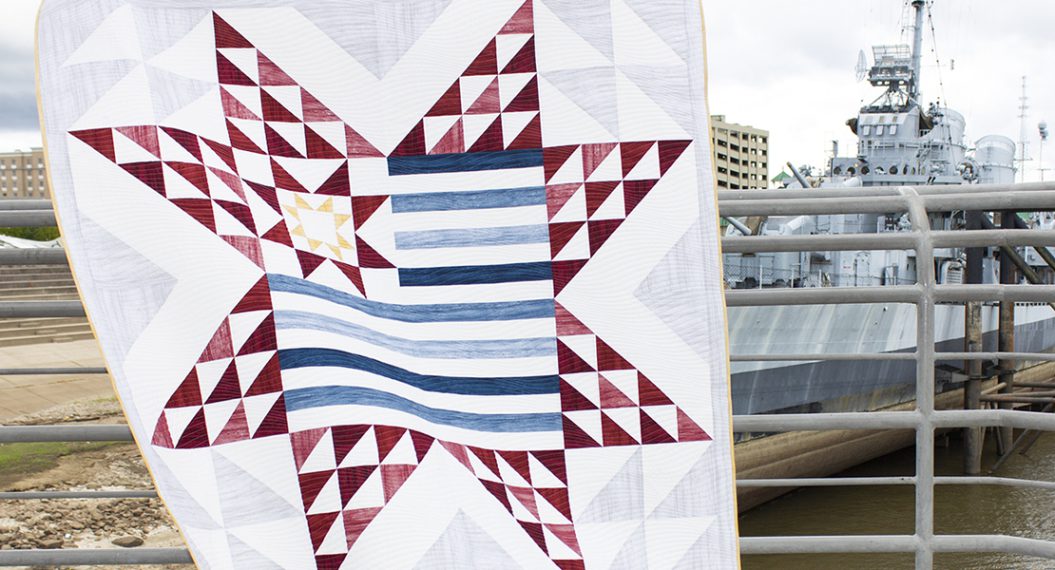
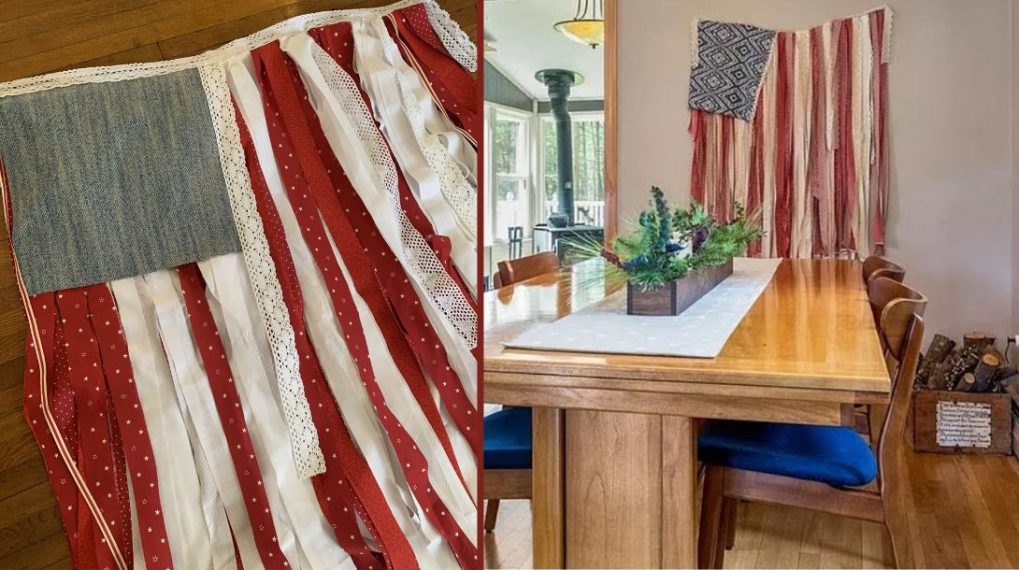
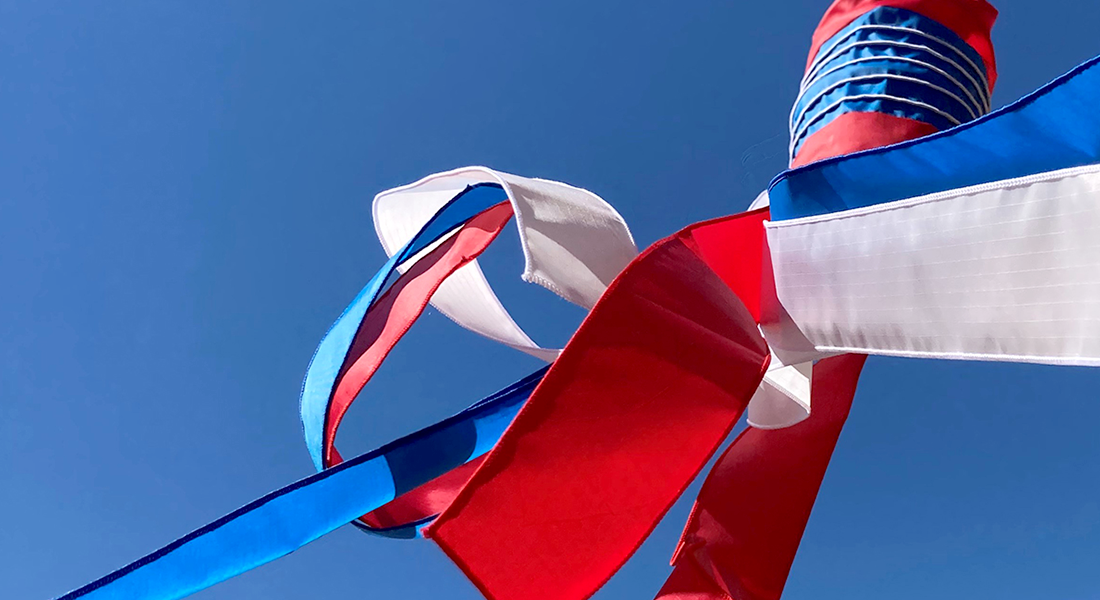
Red, White and Blue Star Banner
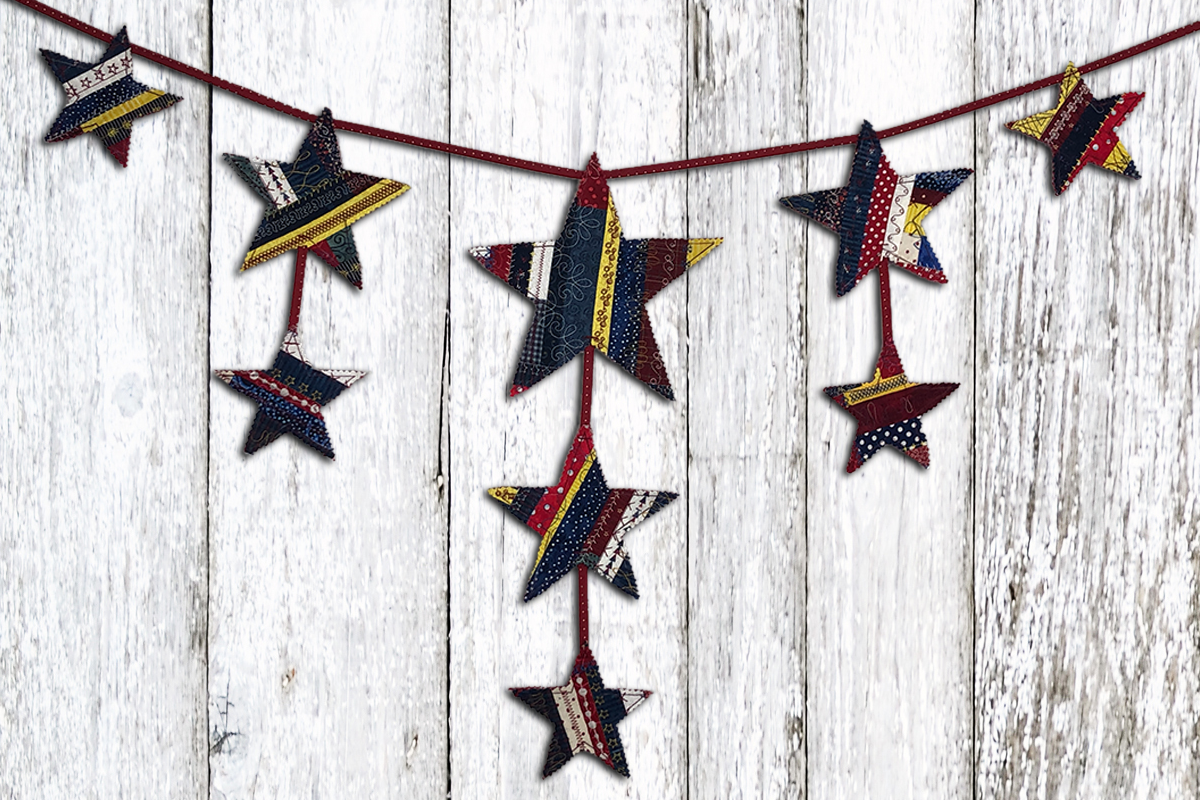
Hi, It’s Angie from Lunch Box Quilts. Have you ever just wanted to spend a few hours playing with all the beautiful BERNINA machine decorative stitches? Then this is the project for you. I found some new favorite decorative stitches. I worked with the Binder Attachment #88 foot and was able to use up many of my fabric scraps left over from my applique embroidery designs. I went patriotic with red, white, blue, and yellow fabrics, but any color combinations will work. Red, green, and gold fabrics would be wonderful for Christmas.
Materials to Create a Red, White and Blue Star Banner
- Fabric scraps all sizes and colors
- Fat Quarter of fabric for bias trim
- Piecing thread (I used Aurifil 50 weight cotton)
- Marking pen or pencil
- Cutting mat, ruler, rotary cutter
- Thread scissors
- Pinking Shears
- Assortment threads for decorative stitches (I used Aurifil 28 weight cotton)
- Fusible Stabilizer
- Piece or pieces of Craft Felt
- Temporary spray adhesive
- Starch or Best Press
- Light weight cardboard
- Glue Stick
- Download and print the Star Pattern
- Sewing machine (I used a BERNINA 790 Plus)
- Open embroidery foot #20D
- Patchwork foot #97D
- Binder Attachment #88 32mm
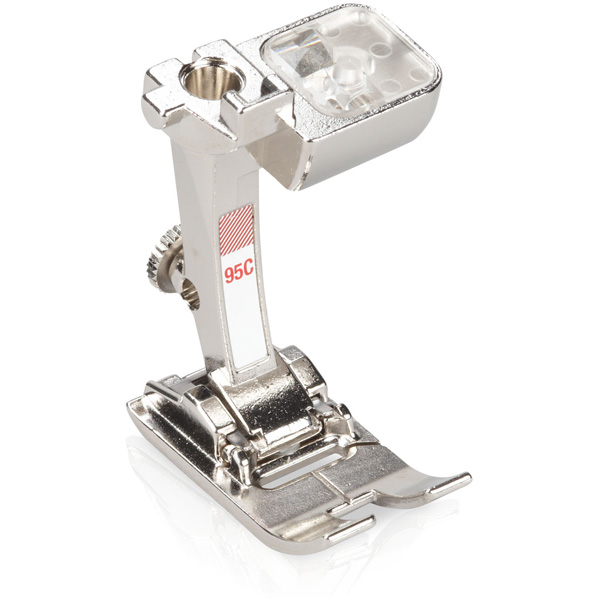
- Binder Foot #95C

Stitching Scraps together
All seams are ¼”
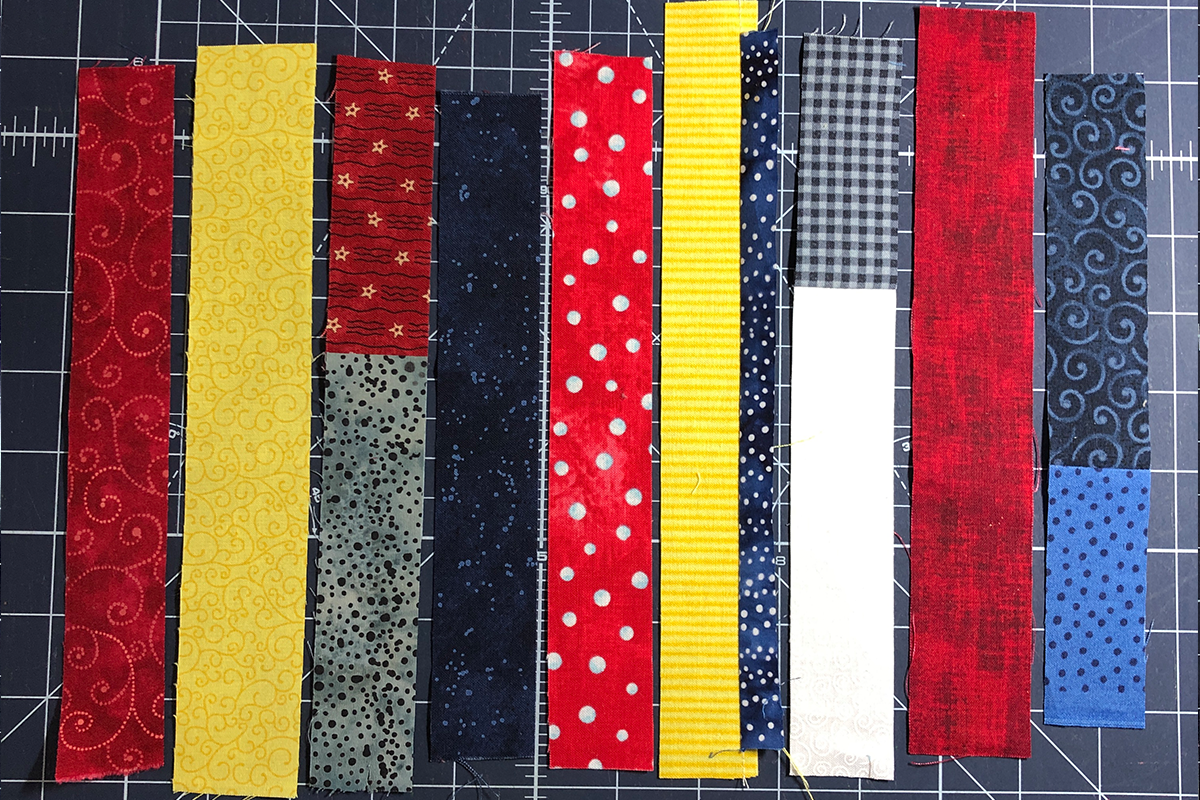
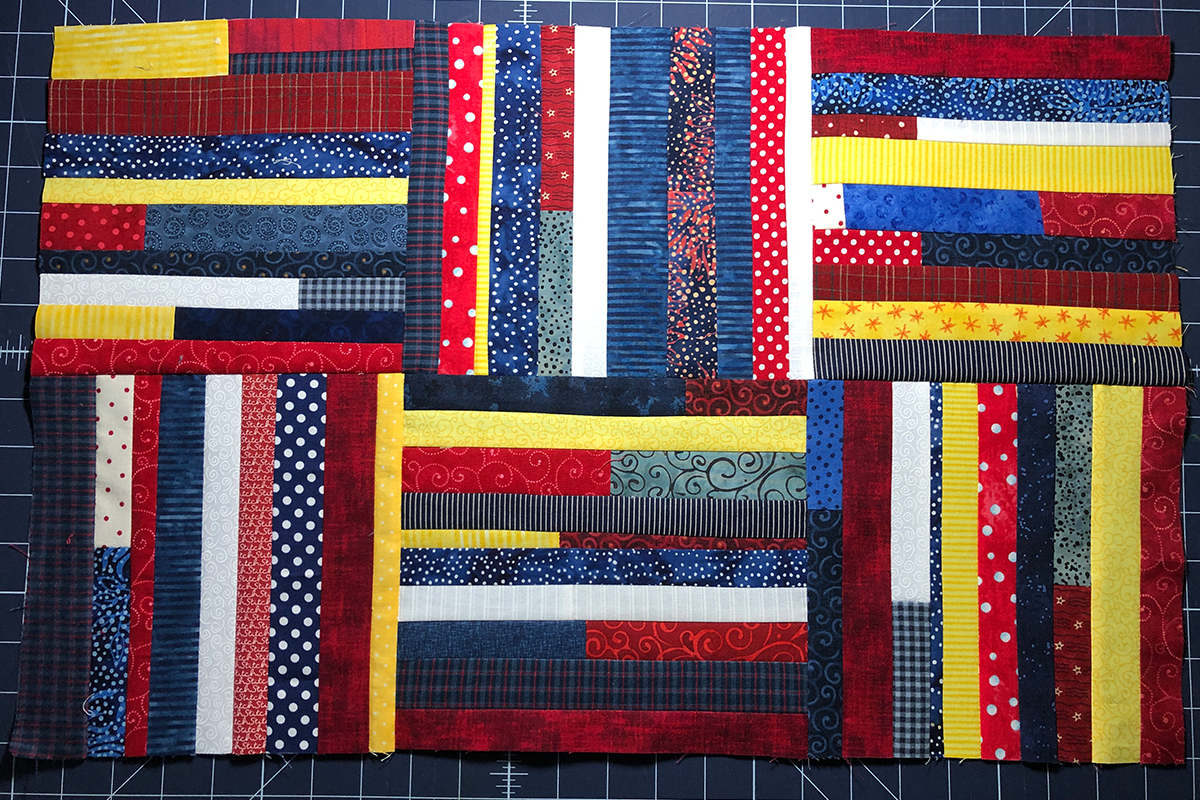
Start by sorting your fabric scraps by the colors you want to use. I roughly straightened the scraps out. Scraps can be any length and width you prefer and does not need to be cut perfect.
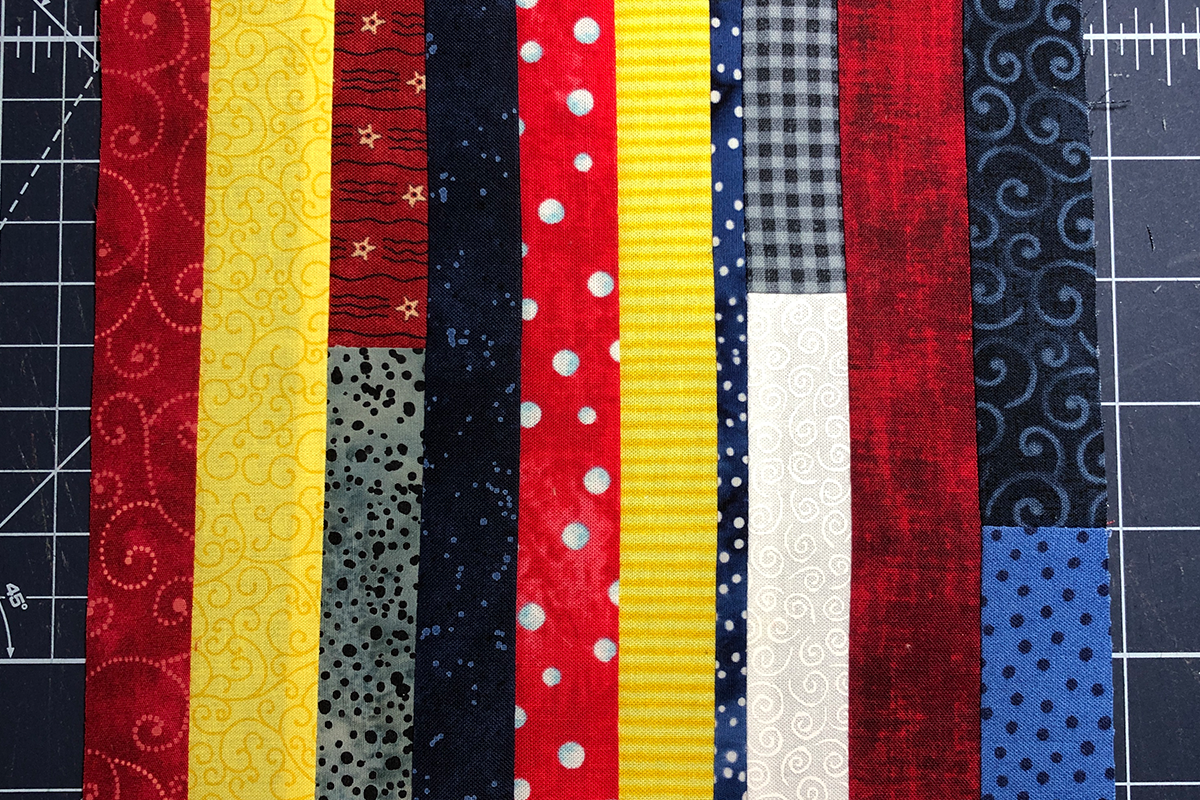
Install a Patchwork ¼” foot on your machine, I used foot #97D. Stitch the fabric strips together.

Once you have the strips stitched together press seam allowances to one side. Trim the fabric strips. I squared the scrap blocks 8” square, but any size will work.
I made (6) 8” scrap blocks.
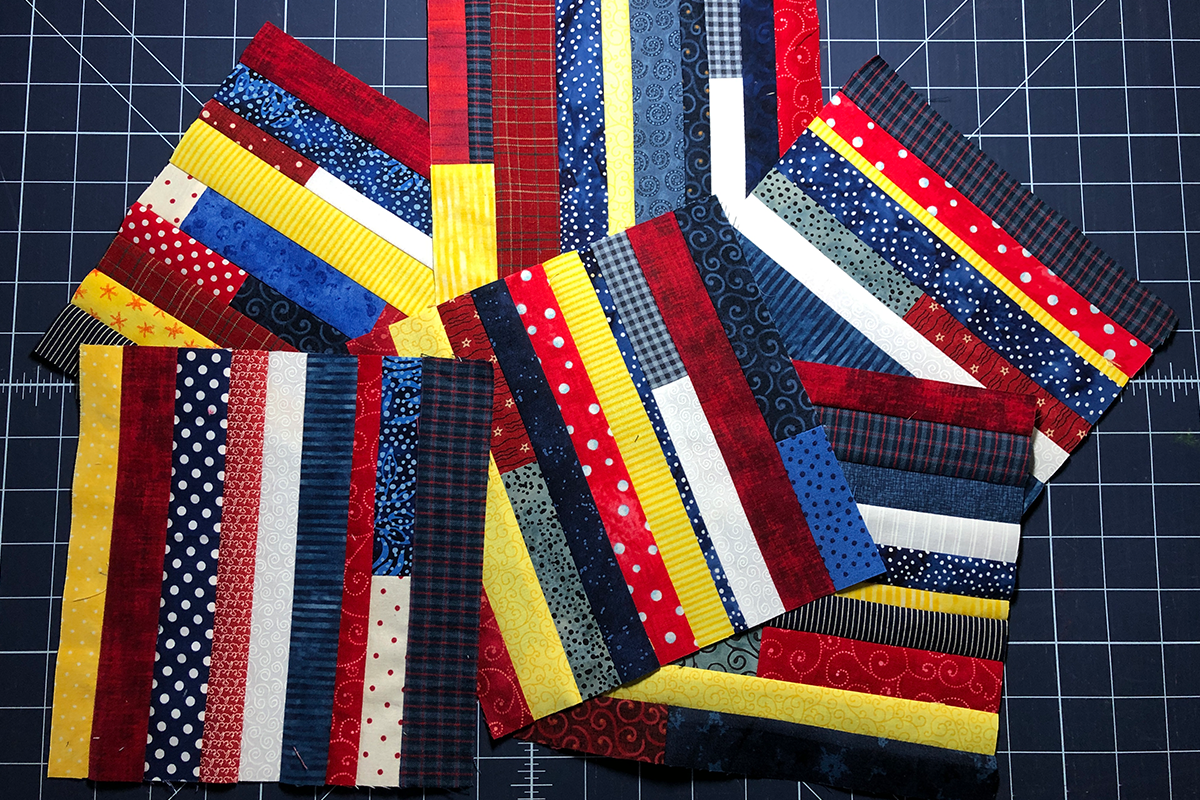
Still using the 97D foot. Randomly assemble the blocks together, pressing seams to one side
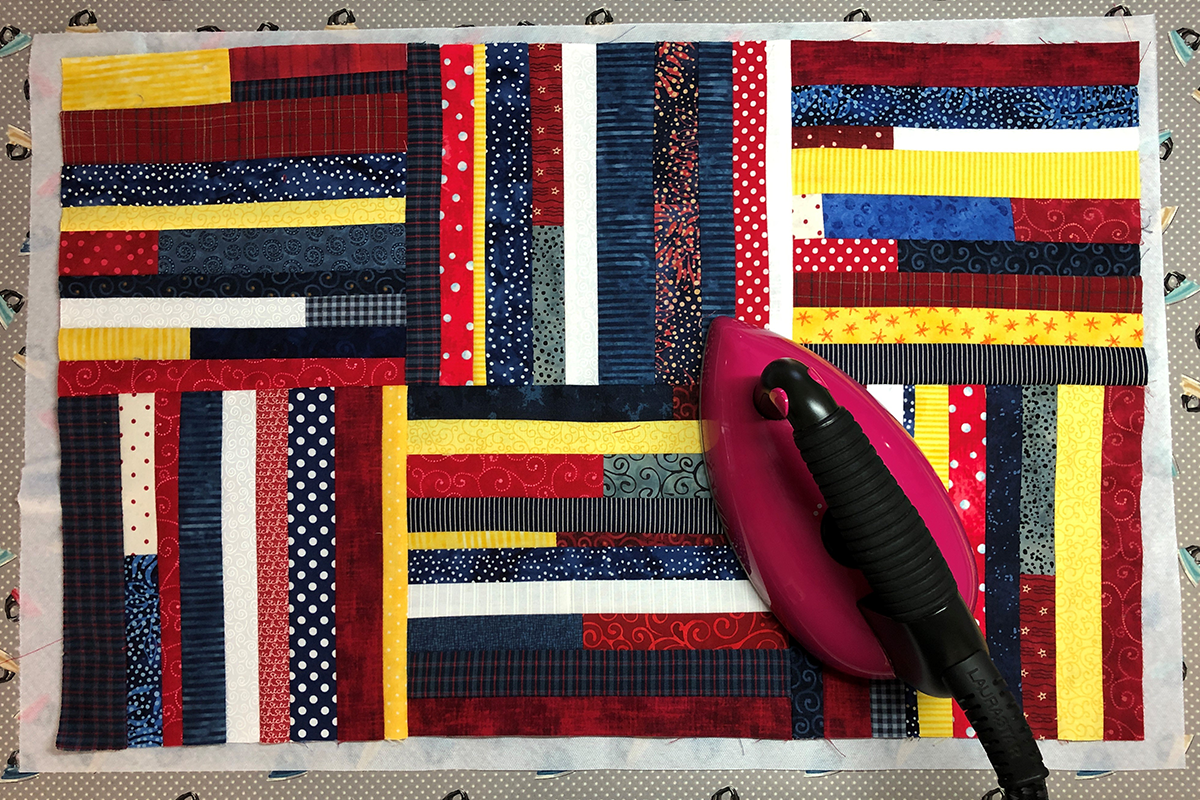
Next press the assembled blocks onto a piece of Fusible Stabilizer the same size of the assembled blocks. Follow the stabilizer manufacturer’s instructions for fusing the fabric to the back of the assembled scrappy blocks. This will give the scrappy blocks stability when stitching all the beautiful decorative stitches that come next.
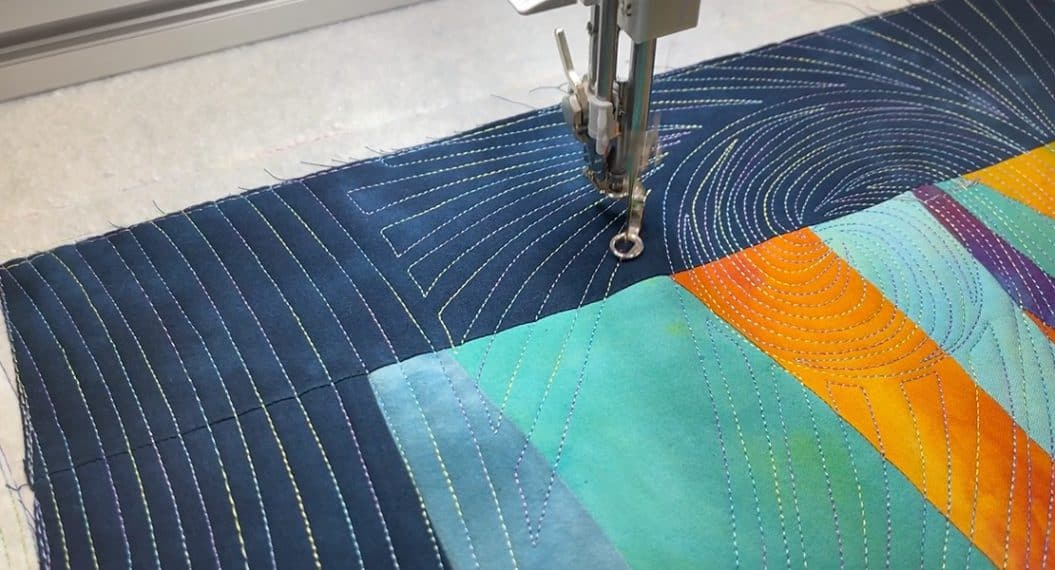
Decorative Stitches
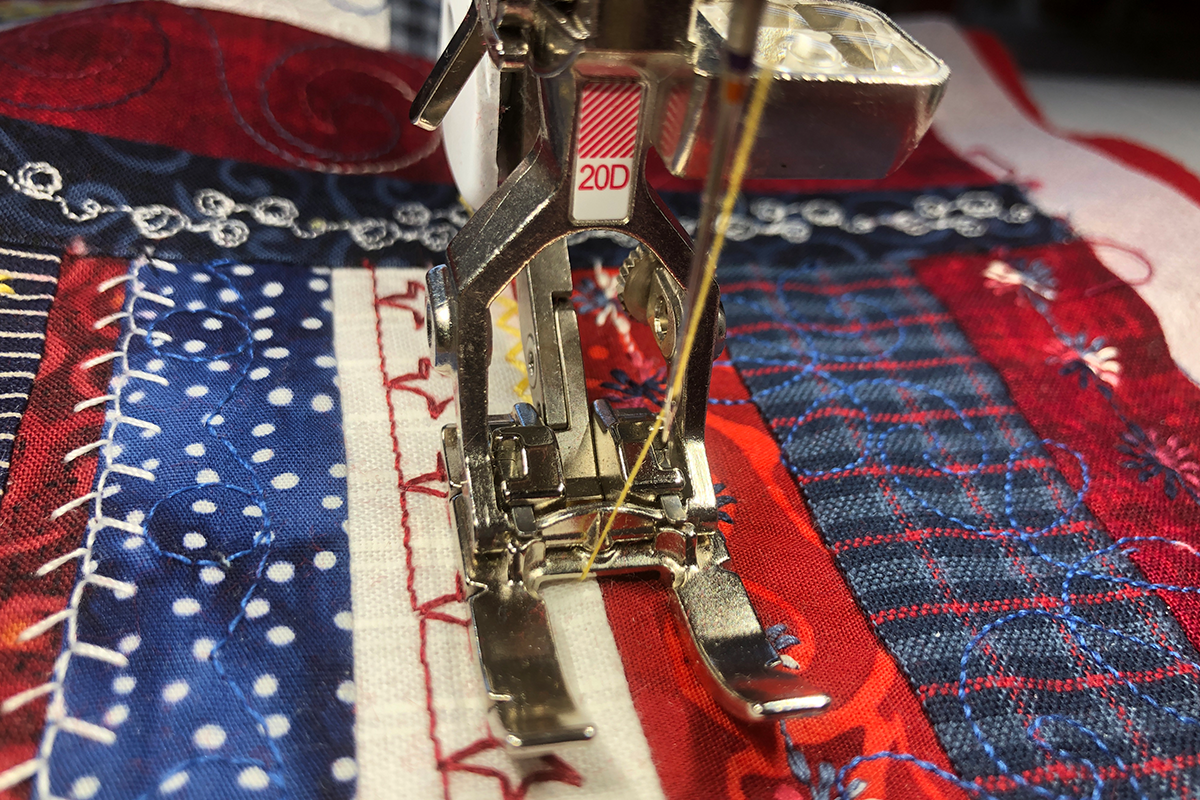
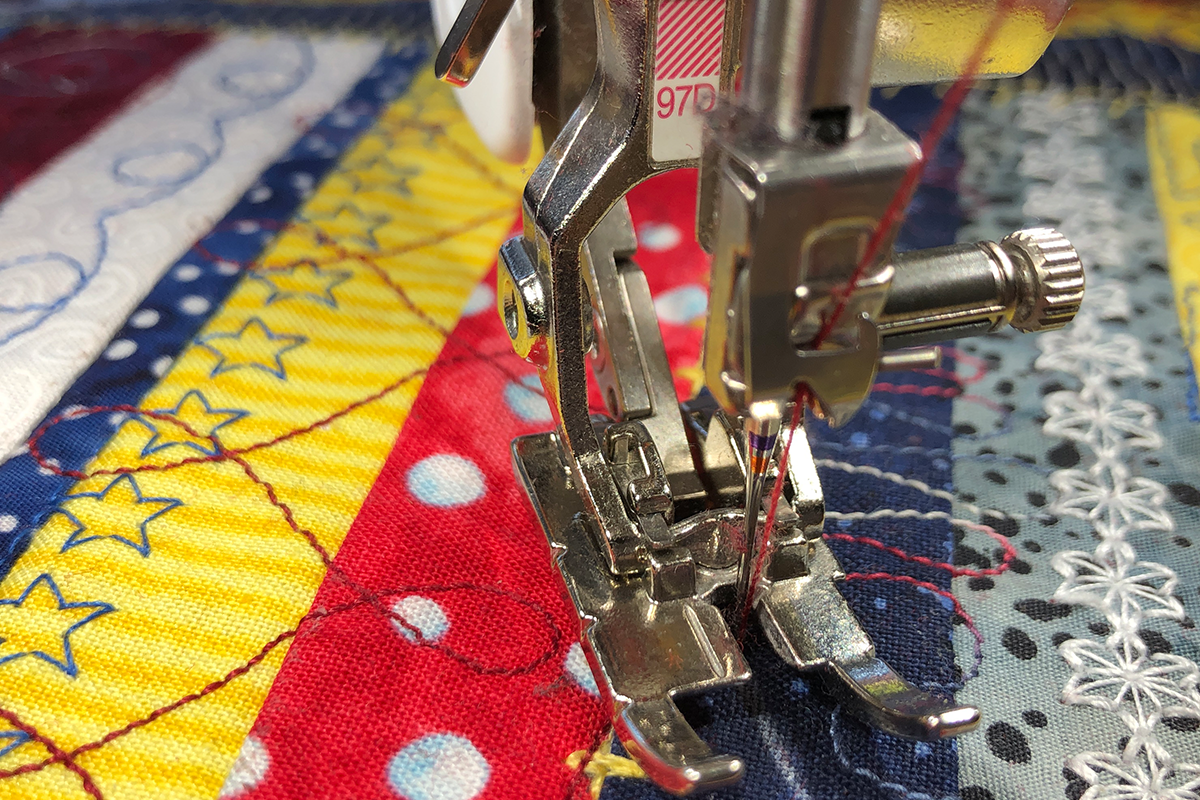
Install an open embroidery foot on your machine, I used foot #20D. If it is not already attached to the machine, make sure the needle plate has been changed to the 9mm stitch plate used for decorative stitches. I used Aurifil 28 weight cotton thread in various colors for the decorative stitches. Select the stitch you like and start stitching. Sometimes I stitched on the fabric strip and sometimes I stitched on a seam between the strips. Have fun, there are no rules.
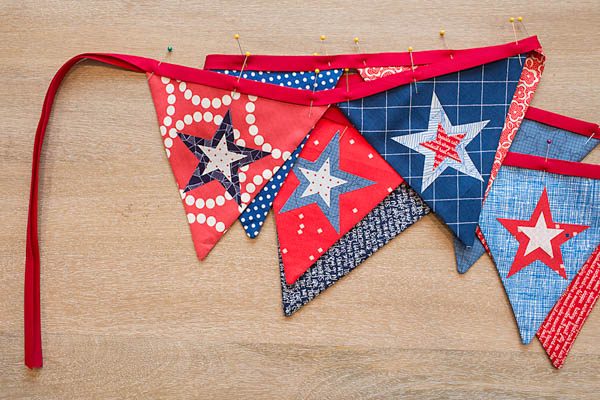
Creating the stars
From the .pdf provided print three copies. Glue stick each sheet onto a piece of light weight cardboard. Cut out stars.
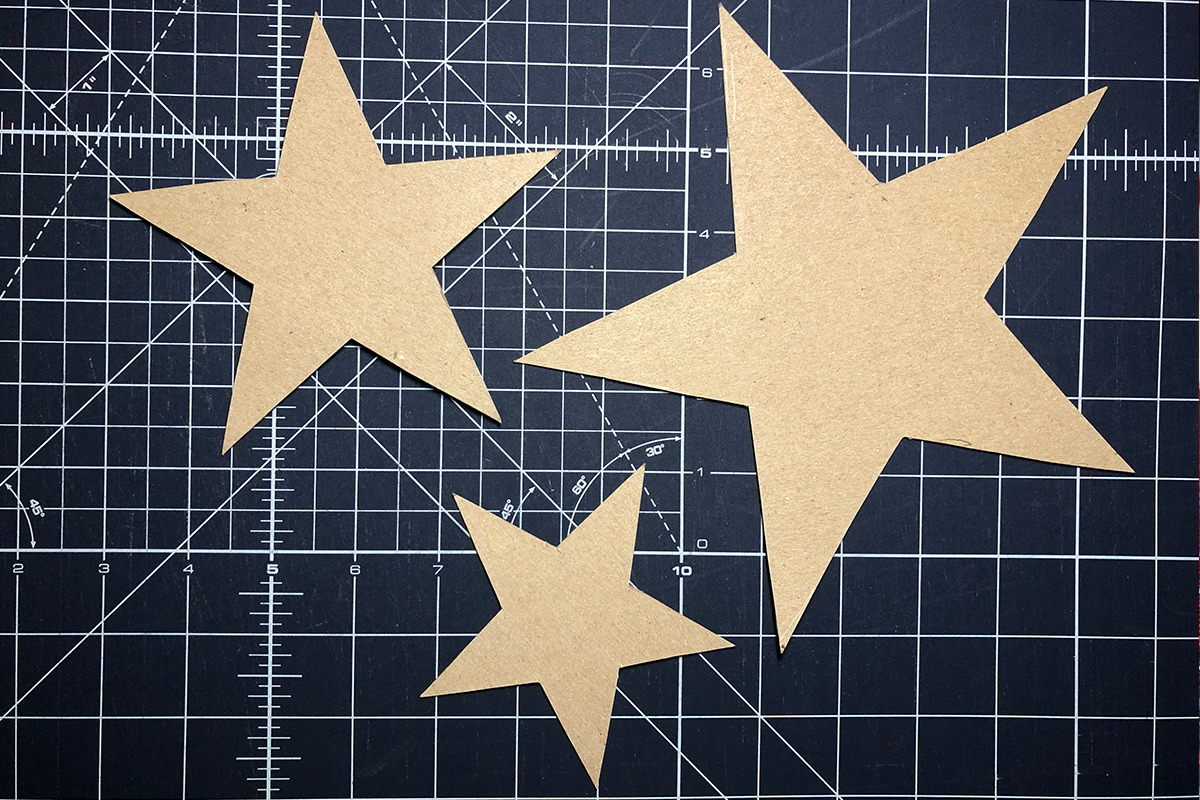
Using a marking pen or pencil trace star shapes onto the decorative stitched fabric. Make sure you leave enough space between stars for trimming later.

Once you have all your stars traced, layer a piece if craft felt to the back of the decorative stitched fabric. Use basting spray to keep the craft felt from shifting. Install the 97D foot. Select the straight stitch on the machine. Stitch a straight stitch on star markings created from tracing around the cardboard stars.
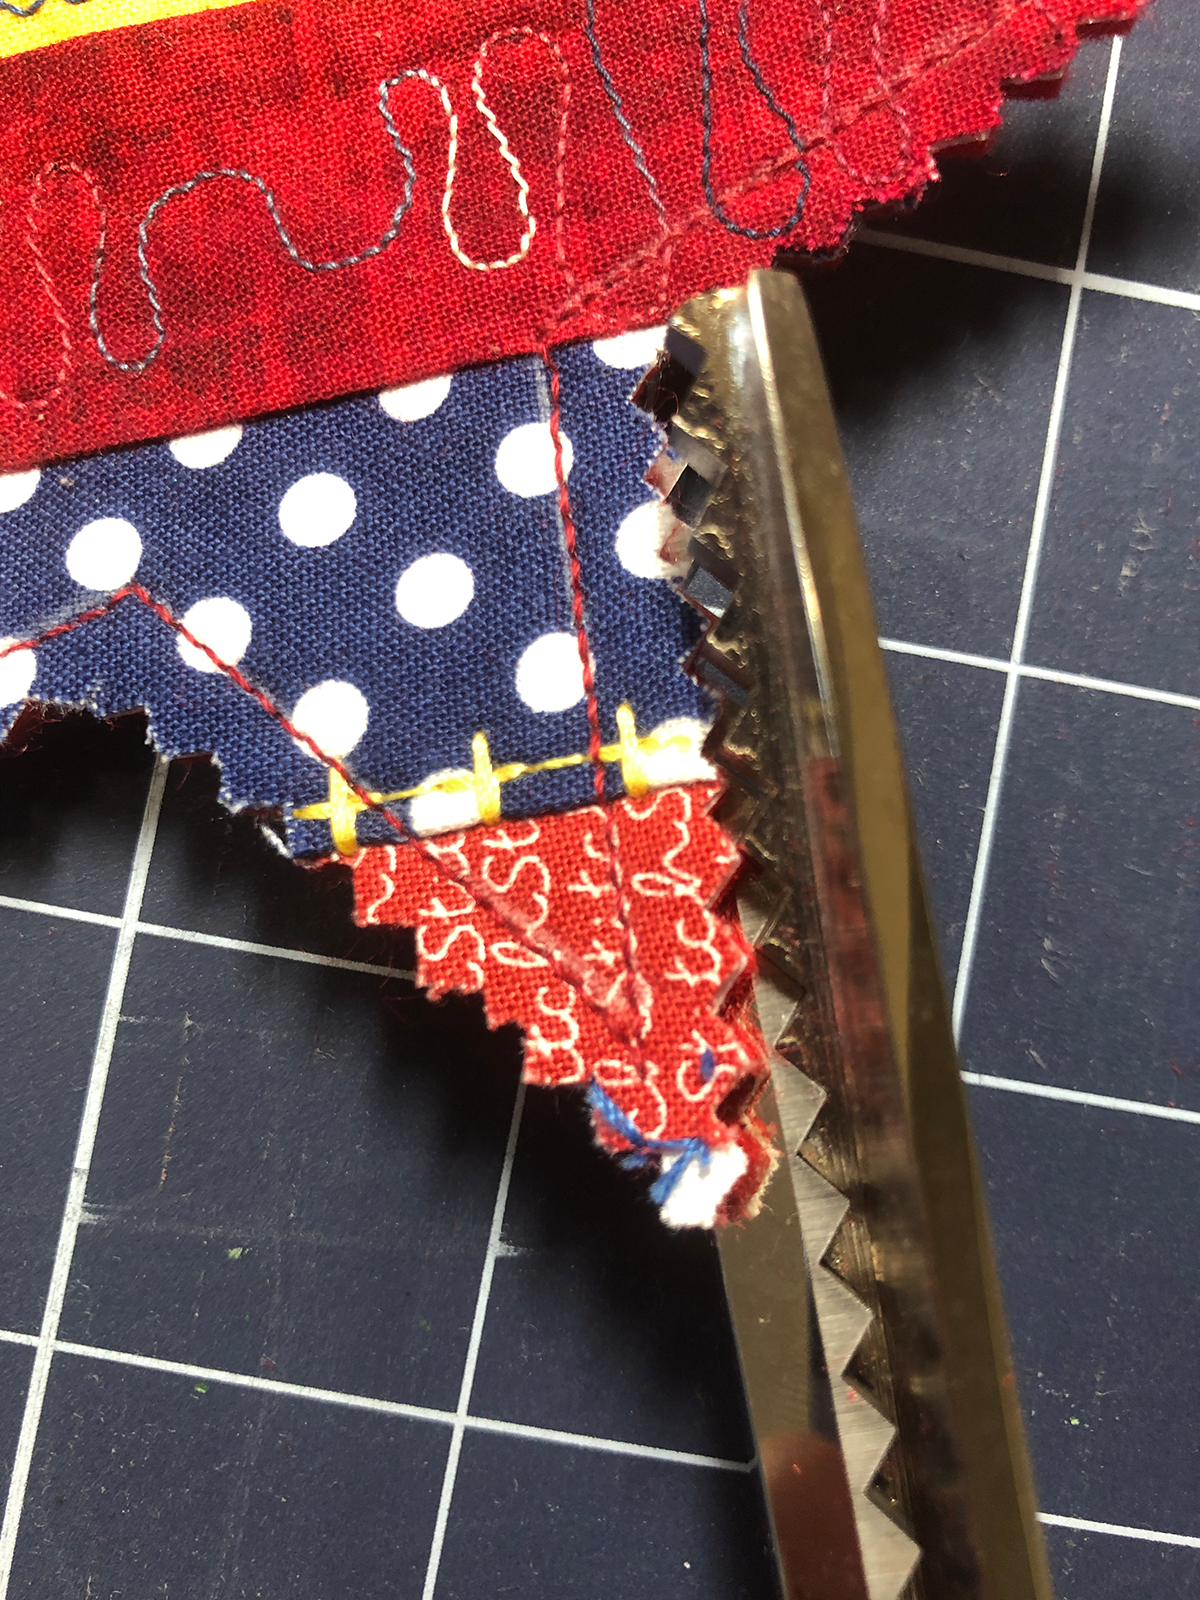
After stitching, cut stars out with Pinking Shears 3/8” away from the straight stitched lines
Binder Attachment
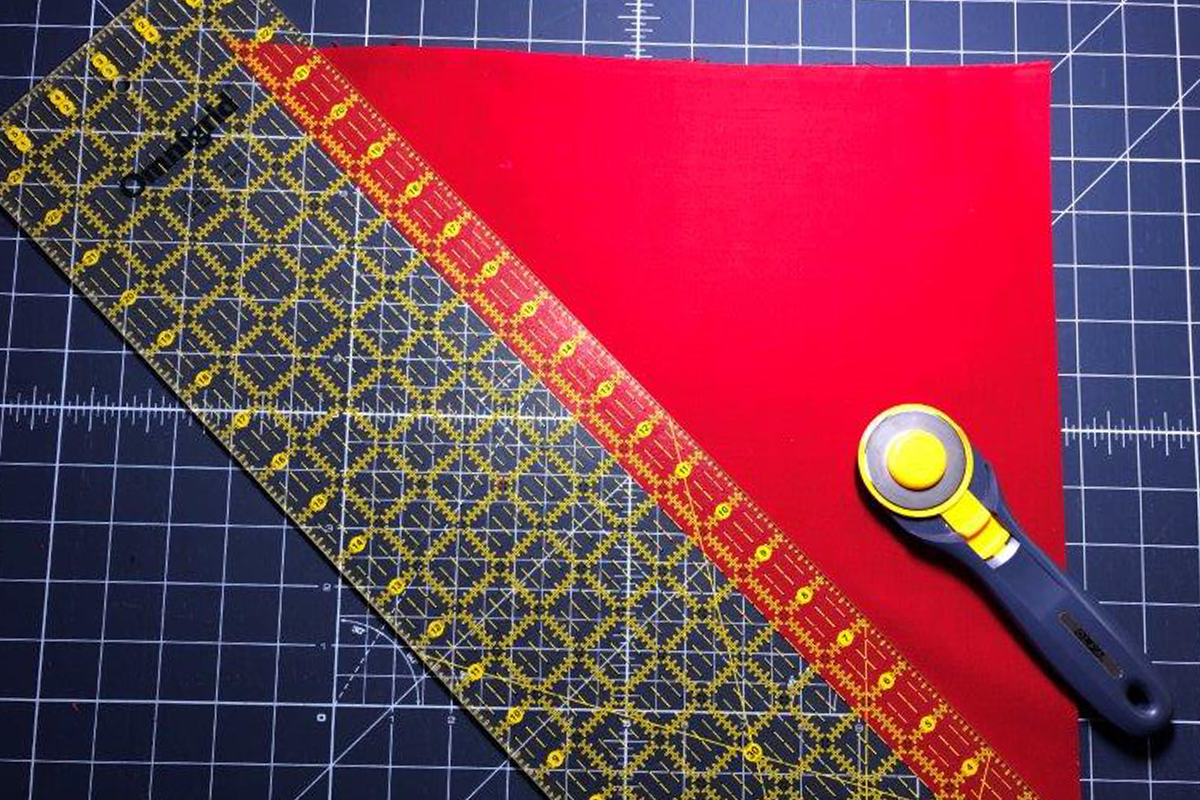
Before cutting the Fat Quarter press with starch or Best Press. This will add body to the bias strip as it feeds through the Binder Attachment. From the Fat Quarter fabric cut 1¼” strips of fabric on the bias. Cut enough strips to assemble 72” bias strip.
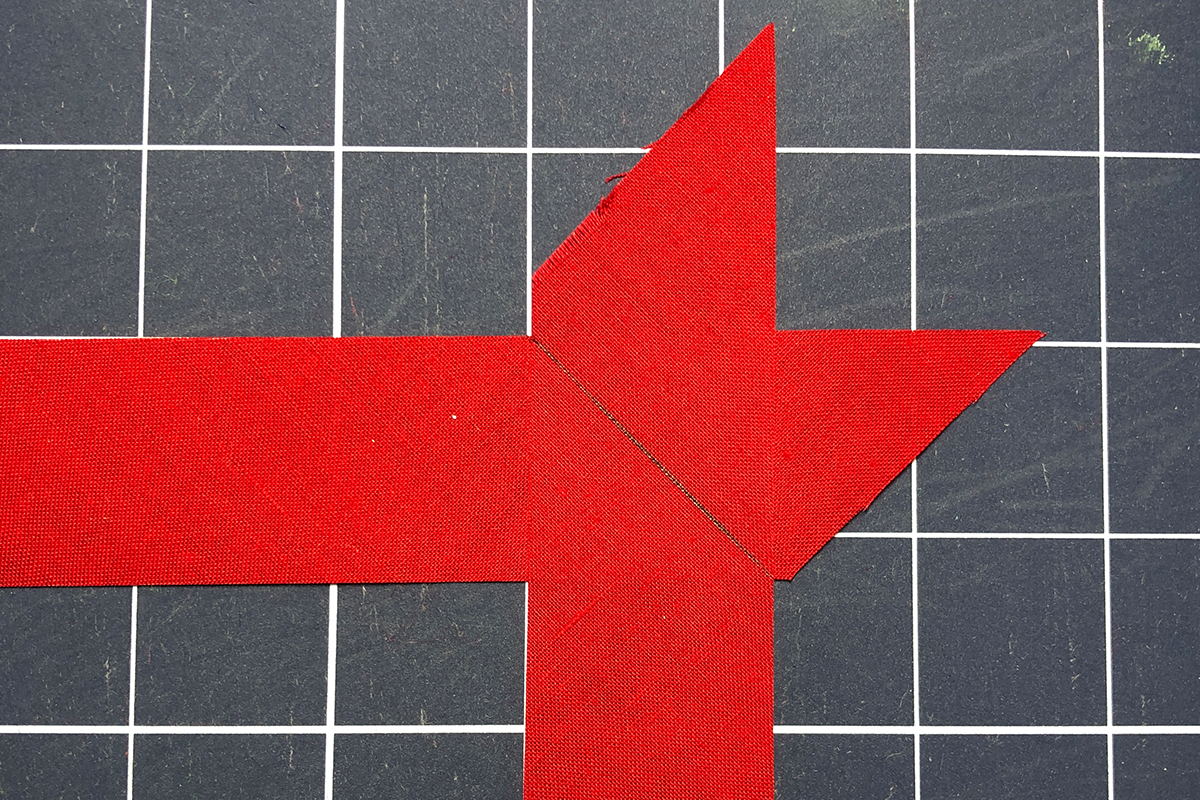
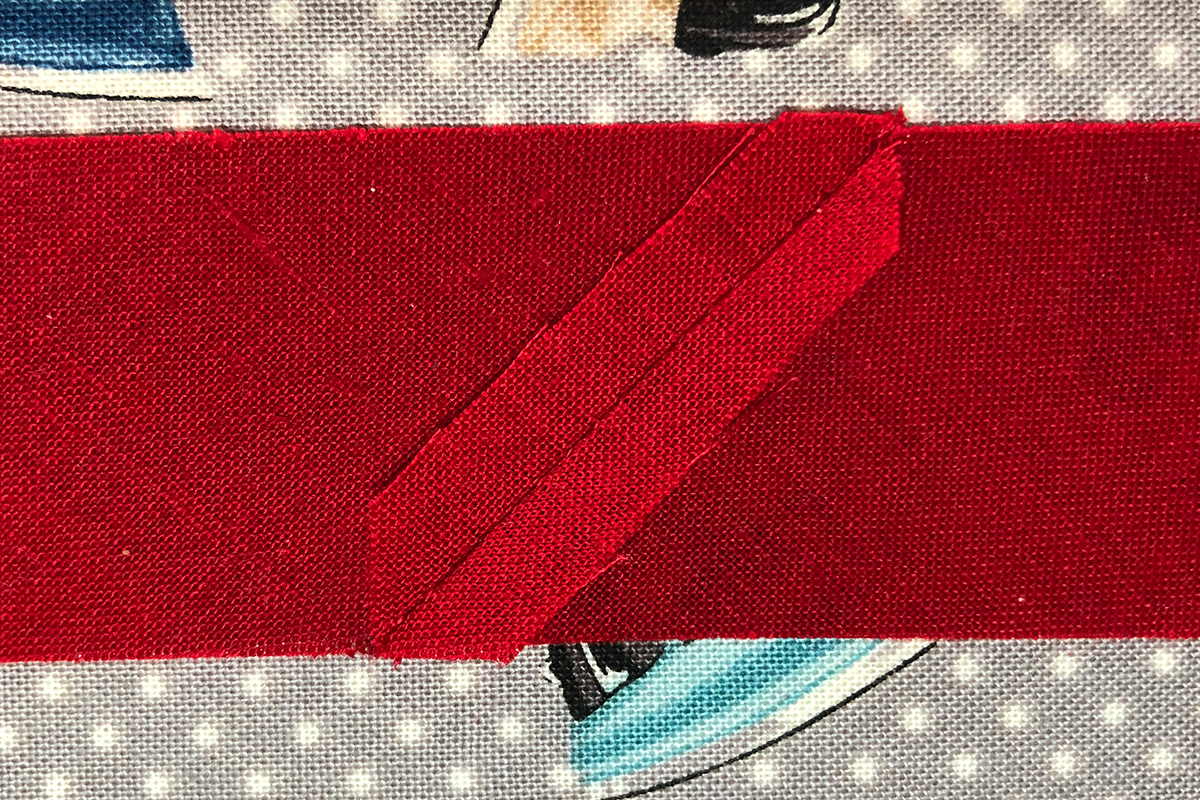
Sew the bias strips end to end, stitching on the line, trim and press seams open.
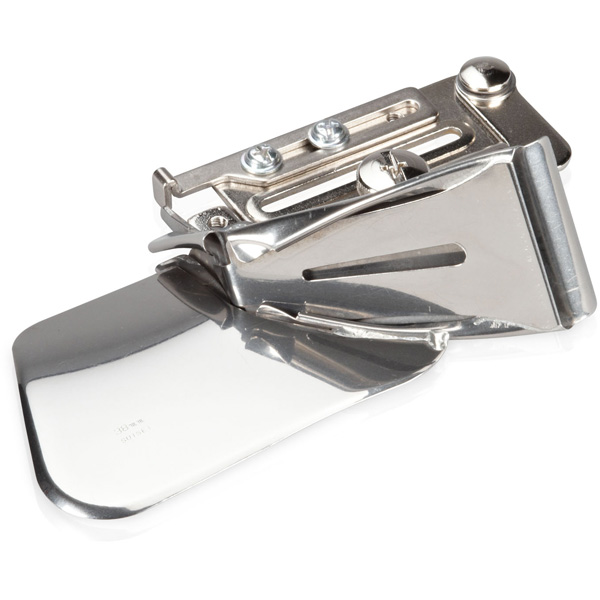
Attach the Binder Attachment #88 and the binding foot #95C onto the machine. BERNINA has a wonderful YouTube video that will guide through the installation of the binder attachment. https://www.youtube.com/watch?v=WR1YWB35EAQ
Guide the bias strip through the binder attachment.

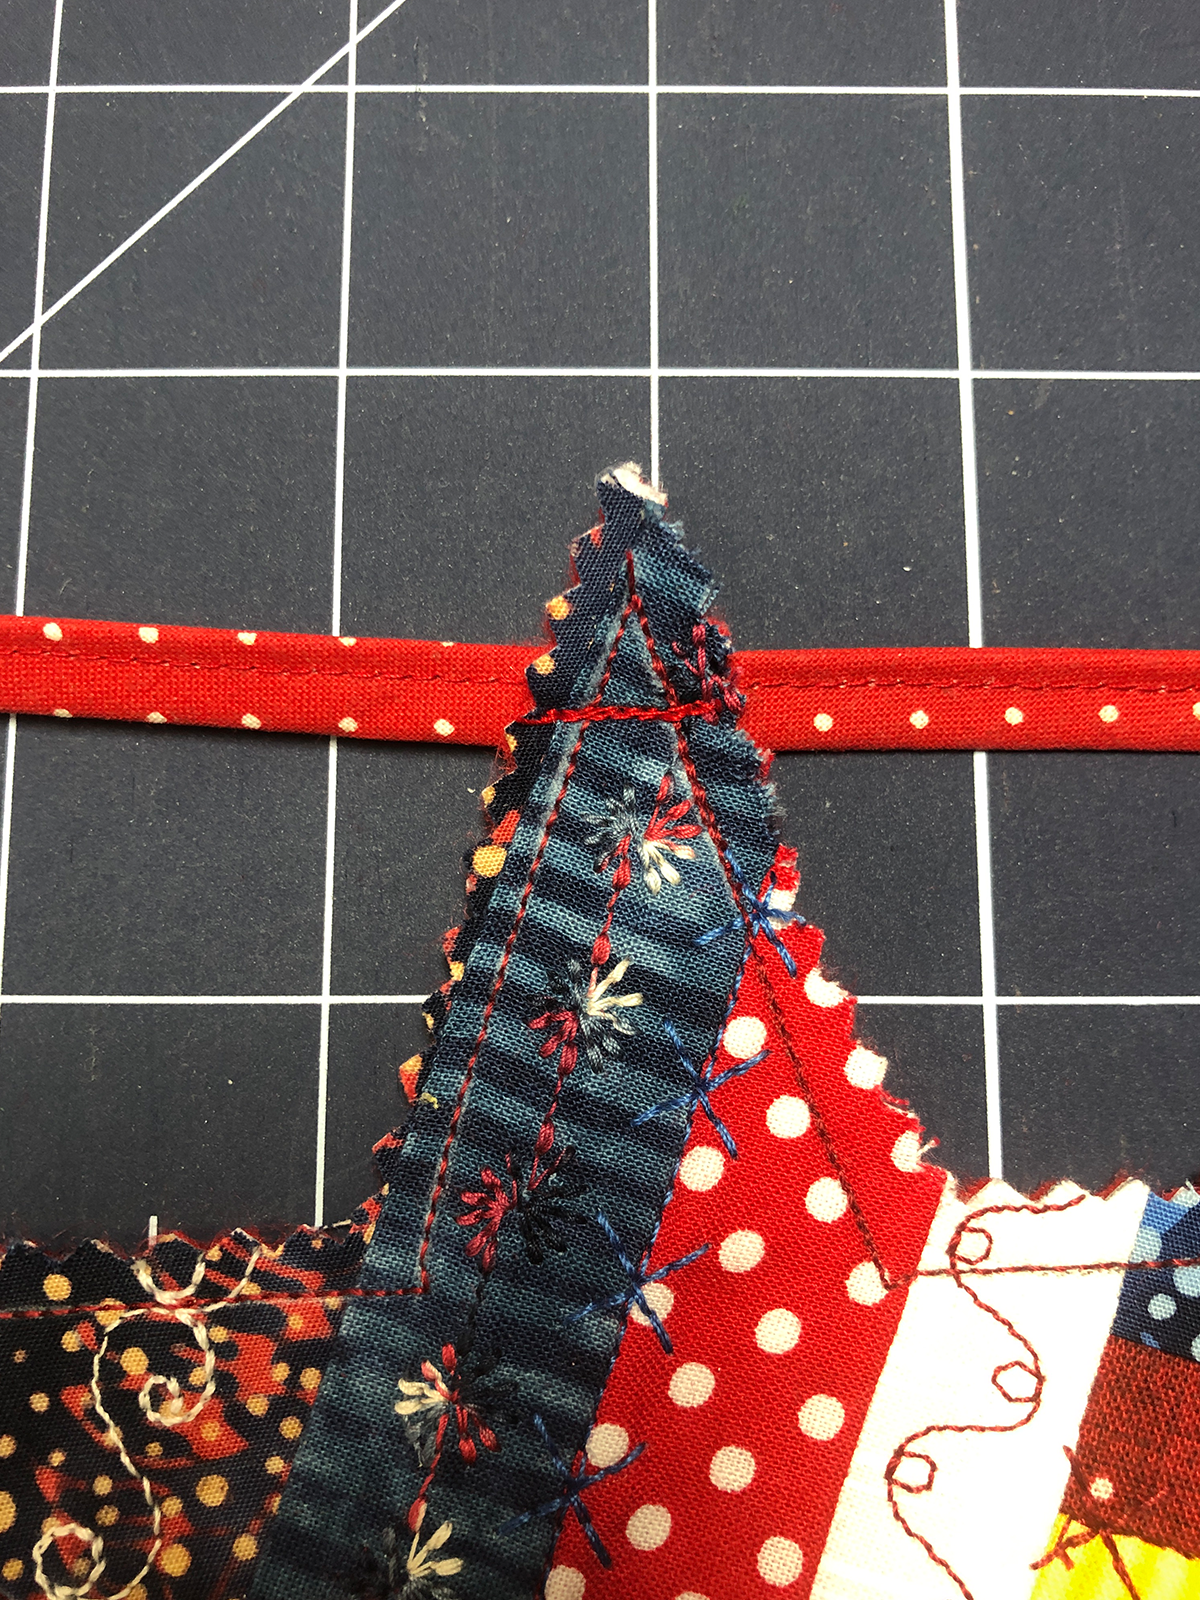
Attach the largest star in the middle of the stitched bias fabric. Straight stitch back and forth attaching star to the bias fabric.
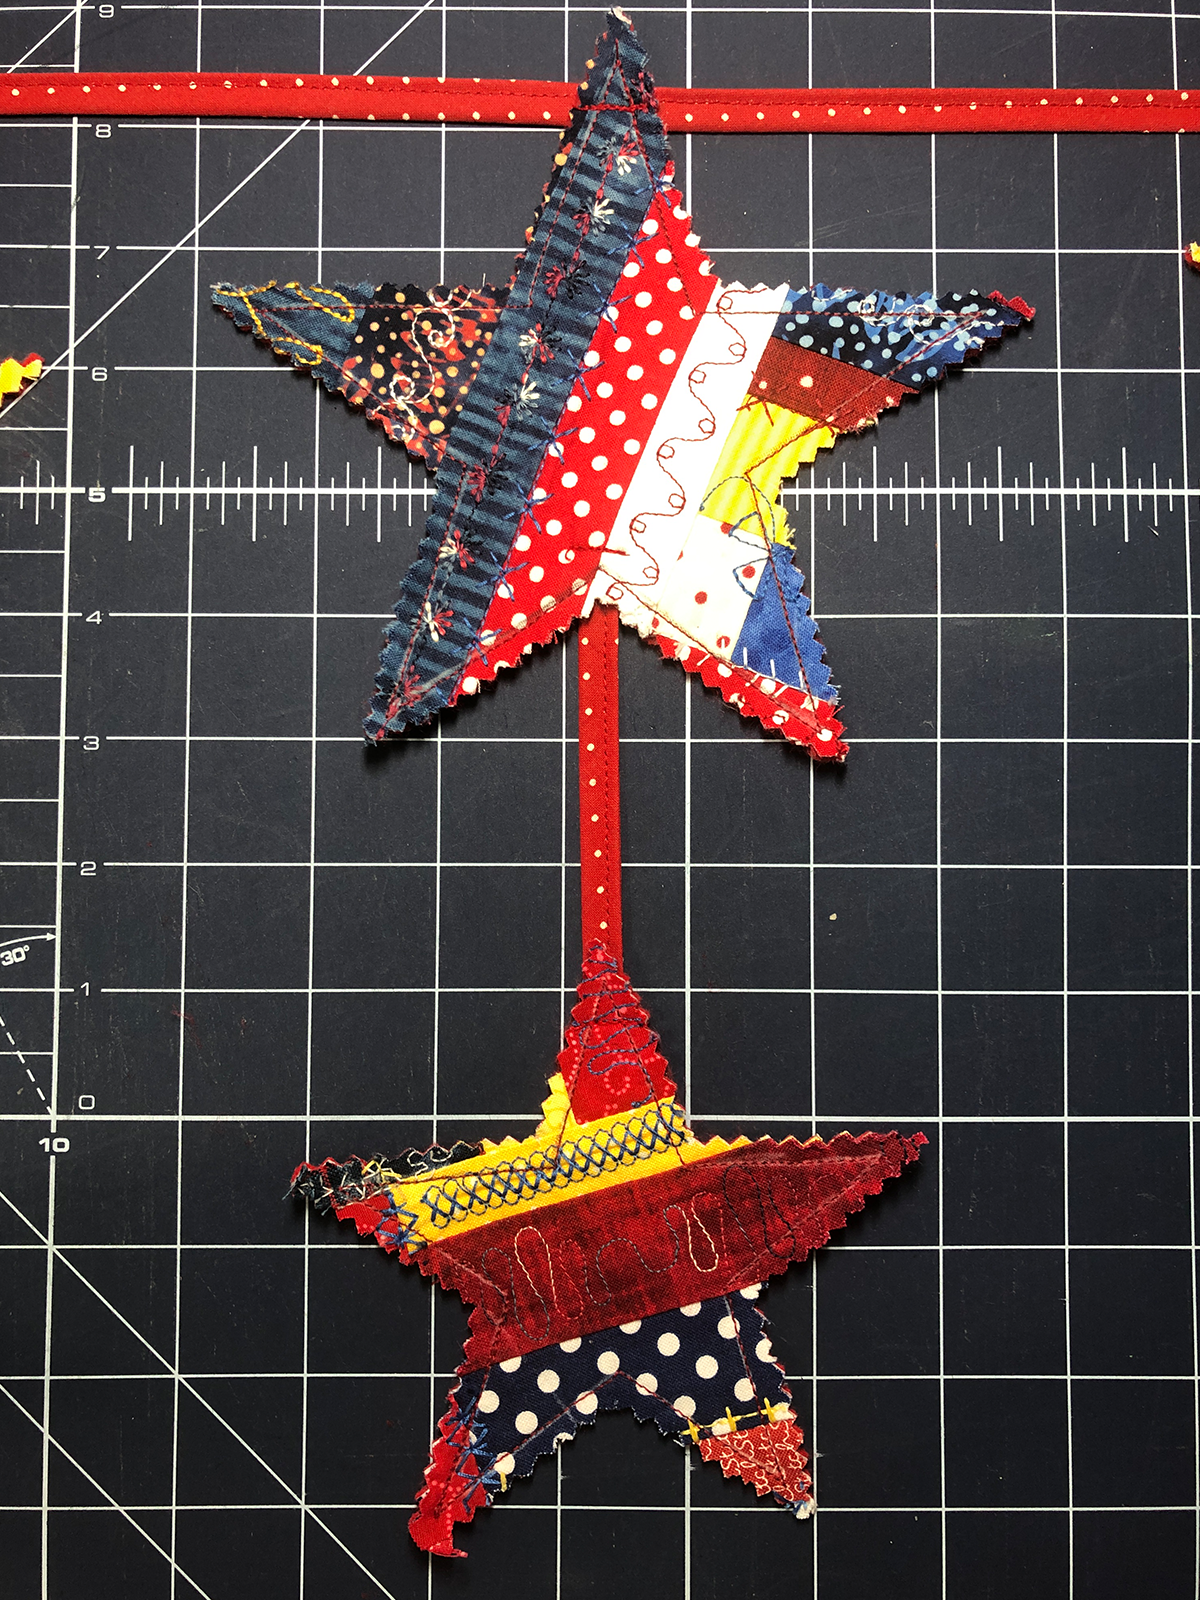
Arrange multiple stars as desired. Using smaller lengths of bias fabric, attach stars to stars.
Happy Stitching!
Angie
Used Products


What you might also like


2 comments on “Red, White and Blue Star Banner”
-
-
Where is the .pdf file for the star cut-outs?
-
Leave a Reply
You must be logged in to post a comment.

What a great idea and tutorial. Total #CreativeGoodness. And it also looks like a fun project to teach kids sewing techniques too! I love it.