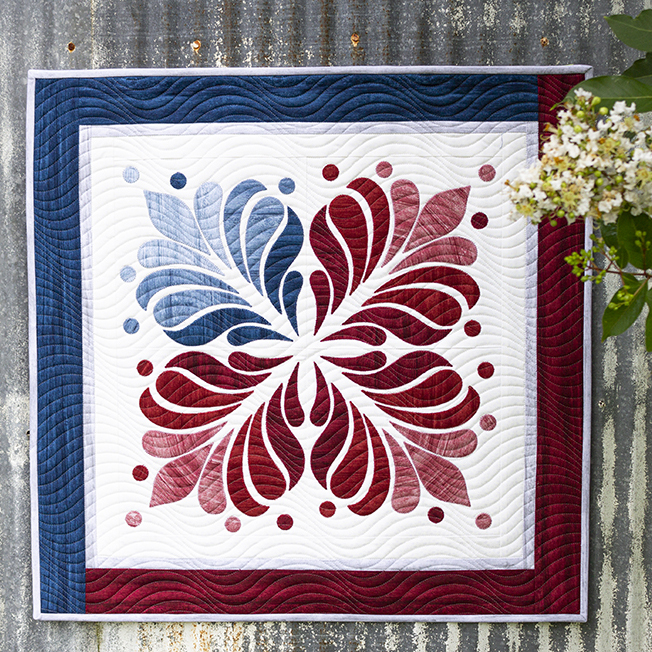
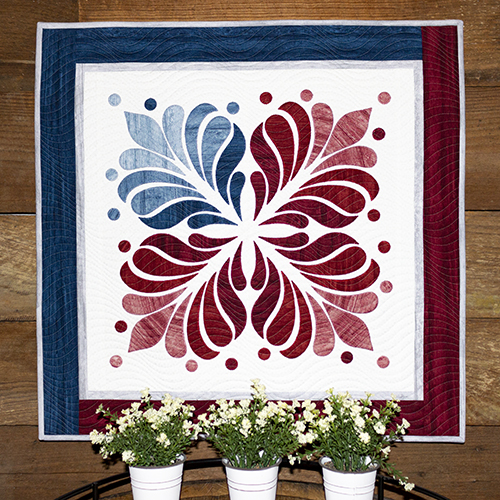
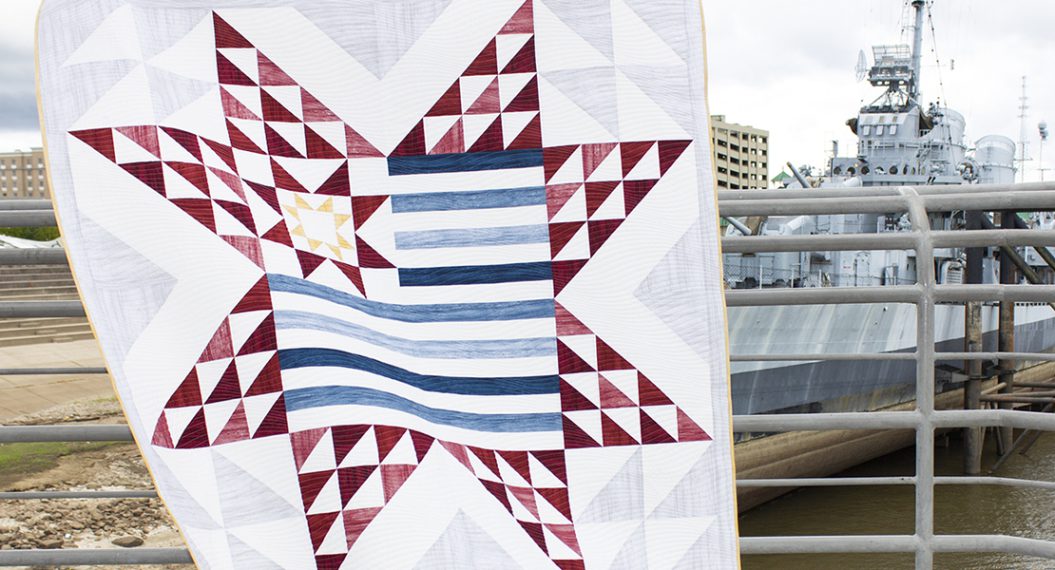
Red White and Blue Mini Quilt
Summer brings watermelon slices, homemade ice cream, lazy days, picnics, fireworks, July 4th… what could be more fun? Hello, I’m Cherry Guidry of Cherry Blossoms and to celebrate the holiday, I’m sharing a sweet and oh so quick to stitch red, white and blue project! This small quilt finishes at 23″ x 23″, perfect as a wall hanging or a great door decoration. I stitched the sample with the beautiful Washed Wood fabrics by Contempo Studio of Benartex. but it would also look great in a floral, a pastel or bright solids palette, etc.
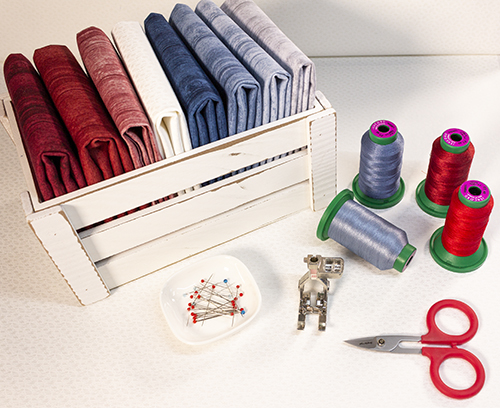
Materials to make Red, White & Blue
- Fabric 1: white 3/8 yd – backgrounds and borders
- Fabric 2: dark blue 1/4 yd – appliques and borders
- Fabric 3: medium blue 10″ x 10″ – appliques
- Fabric 4: light blue 10″ x 10″ – appliques
- Fabric 5: dark red 1/8 yd – appliques
- Fabric 6 medium red 1/4 yd – appliques and borders
- Fabric 7: light red 1/8 yd – appliques
- Fabric 8: light grey 1/3 yd – borders and binding
- Piecing and applique quilting threads to match fabrics
- Cutting mat, ruler, rotary cutter
- Fabric scissors
- Fine tip permanent pen
- Light box (optional)
- Paper-backed fusible web
- Batting: 28″ square
- Backing fabric 30″ square
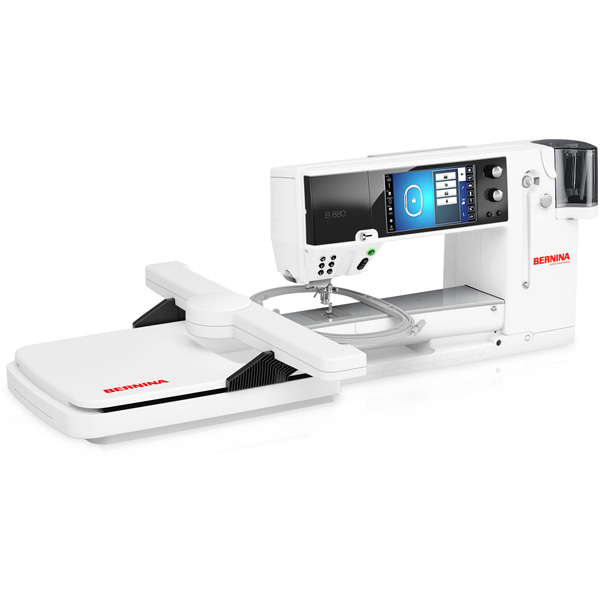
- Sewing machine (I used a BERNINA 880 Plus)
- Open embroidery foot #20D
- Reverse-pattern foot #1D
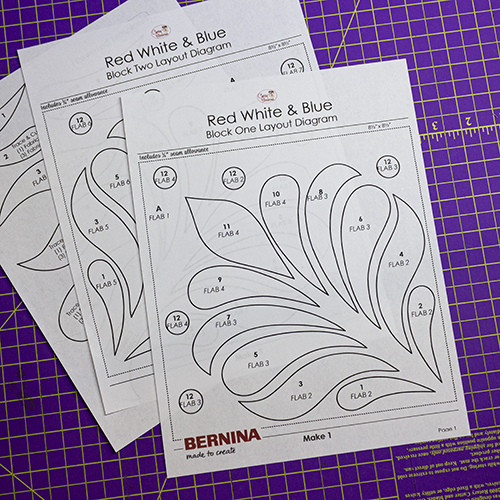
- Download and print the Red, White & Blue layouts and templates PDF here; check your printer’s settings to make sure you are printing to “actual size”.
Let’s get started!
All seams are 1/4″ unless otherwise noted.
Step 1: Cut the Fabric
Fabric 1: white
(1) 9″ x WOF strip sub-cut into (4) 9″ x 9″ A background squares
(2) 1 1/2″ x WOF strips sub-cut into (2) 1 1/2″ x 16 1/2″ B borders and (2) 1 1/2″ x 18 1/2″ C borders
Fabric 2: dark blue
(1) 2 1/2″ x WOF strip sub-cut into (1) 2 1/2″ x 23 1/2″ H border and (1) 2 1/2″ x 19 1/2″ E border
Fabric 6 medium red
(1) 2 1/2″ x WOF strip sub-cut into (1) 2 1/2″ x 23 1/2″ I border and (1) 2 1/2″ x 19 1/2″ G border
Fabric 8: light grey
(2) 1″ x WOF strips sub-cut into (2) 1″ x 18 1/2″ D borders and (2) 1″ x 19 1/2″ E borders
(3) 2 1/4″ x WOF strips – binding
Step 2 – The Appliqués
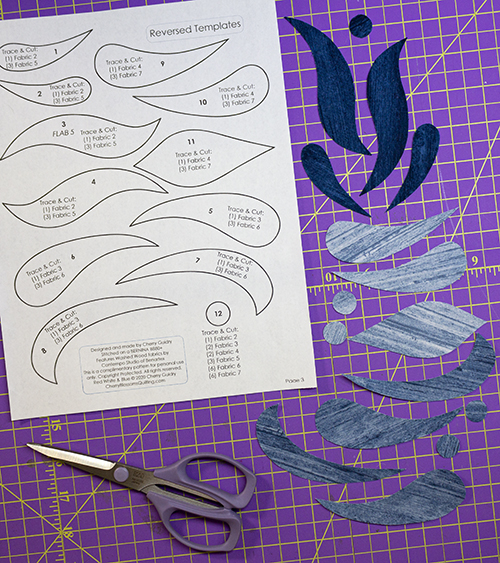
Use the Red White and Blue reversed templates to trace the appliqué shapes onto the paper side of the fusible; I like to use a fine tip marker and allow approximately ½” between the traced shapes. Label each traced shape with its number and fabric number.

Group the shapes by fabric color, cutting apart by about a ¼” away from the traced lines.
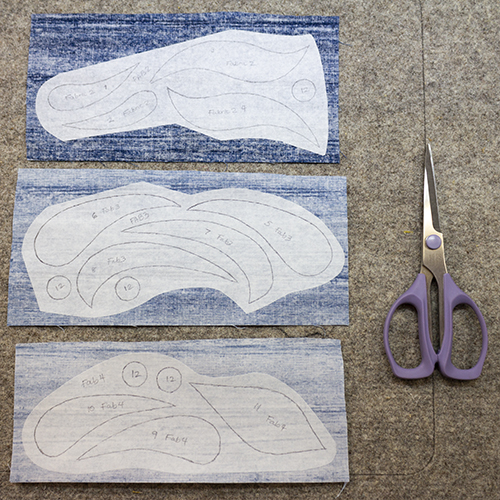
Fuse the shapes, fusible side down, onto the wrong side of its corresponding fabric and following the manufacturer’s instructions.

Cut the shapes on the traced lines.
Fold a fabric 1 9″ x 9″ A square both vertically and horizontally, right side in, and finger press.
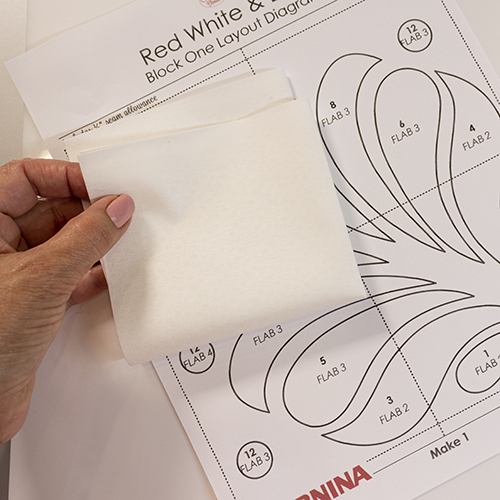
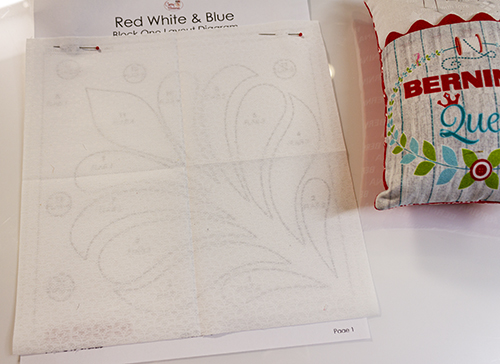
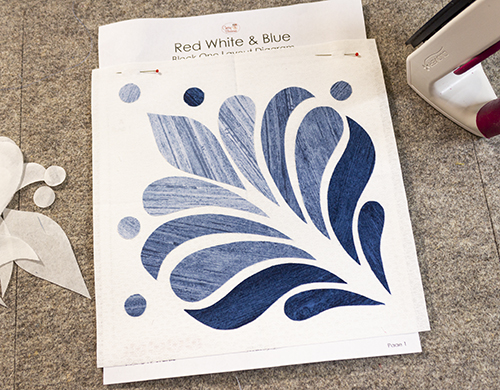
Align the folds with the center lines in the Block One layout diagram, open the fabric…

… pin the fabric onto the layout diagram.
Peel the paper liner from the fused shapes.
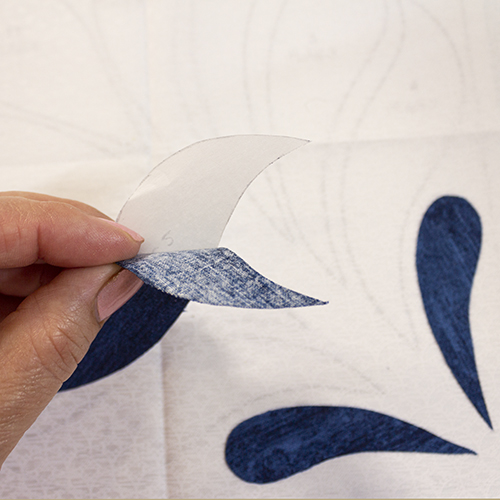
And fuse onto the background, using the layout as a placement guide.
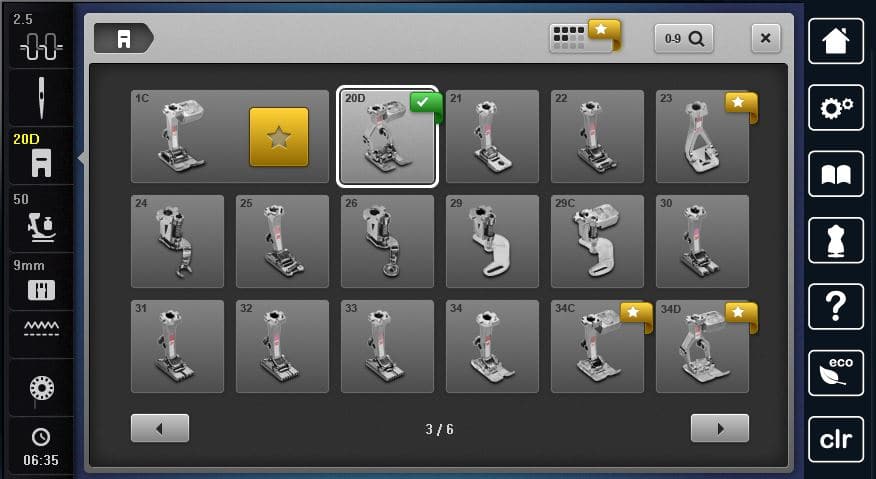
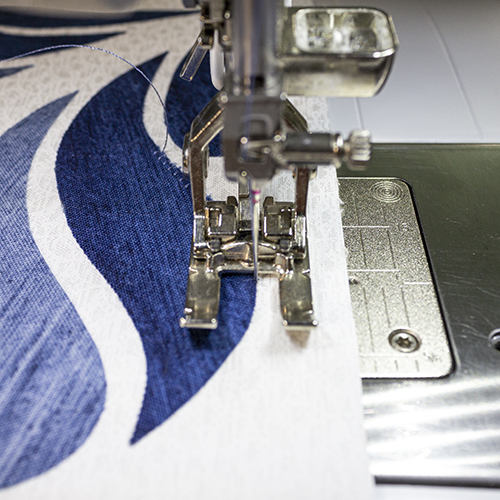
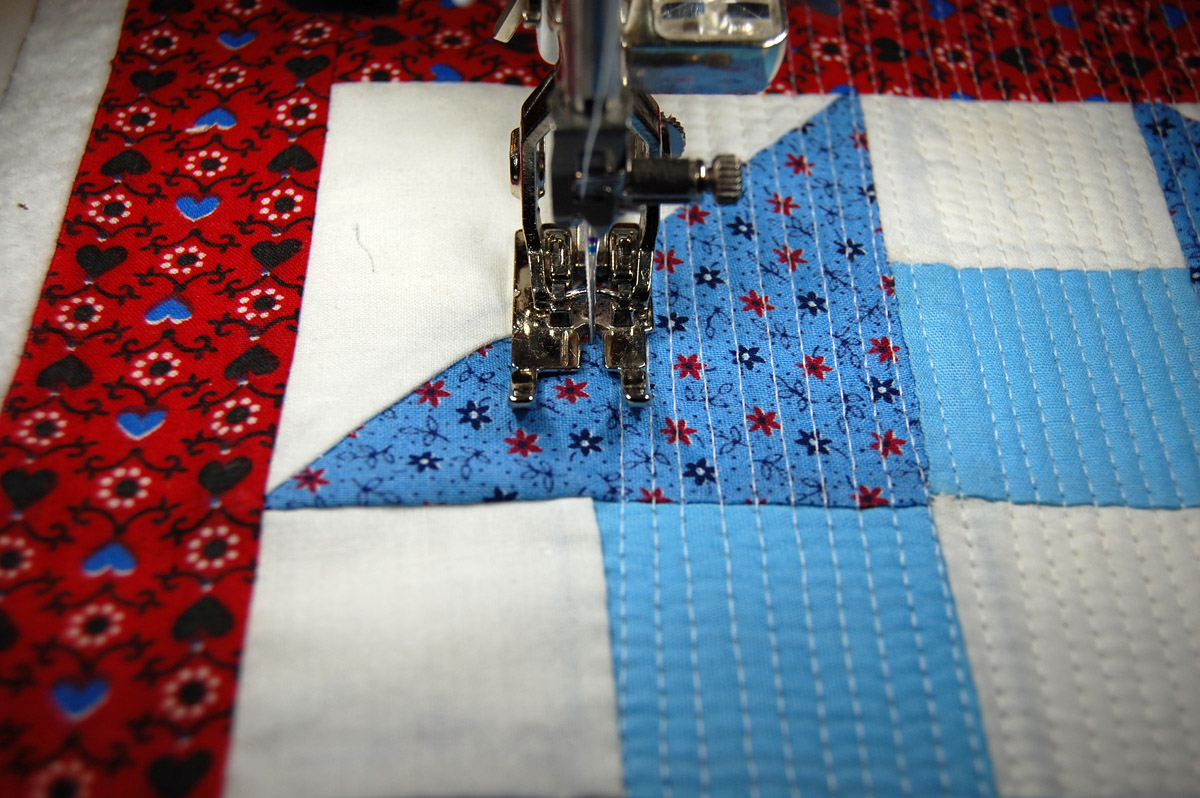
Install an open embroidery foot on your machine, I used foot #20D.
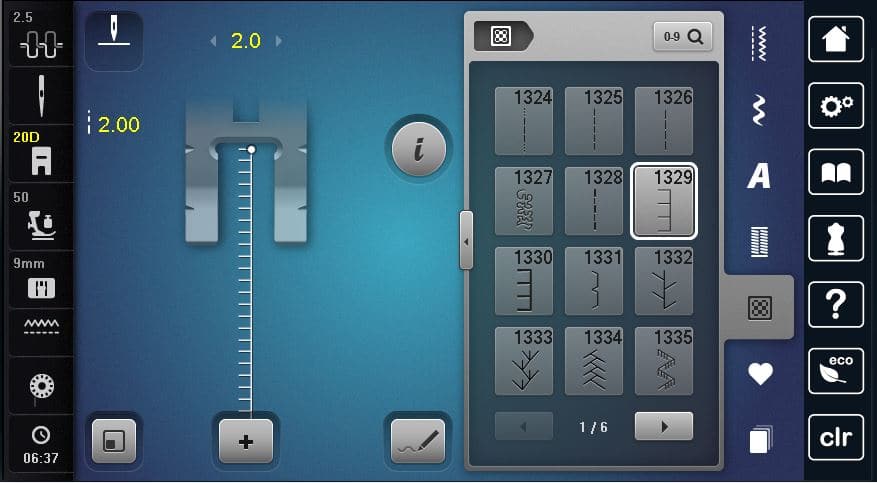
Choose a simple blanket stitch, #1329 on my B880, reduce the stitch length to a 2.00 and the stitch width to a 2.0.
Thread your sewing machine with a matching thread…
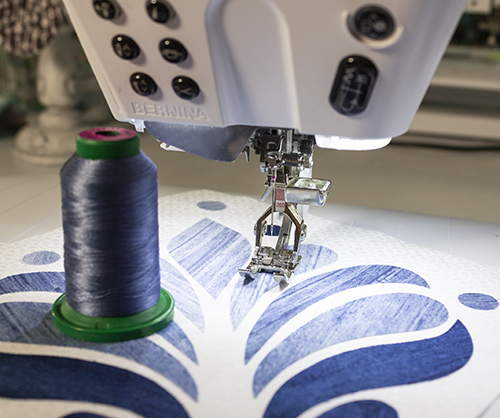
… and stitch around the applique shapes with the blanket stitch.
Make one blue Block One…
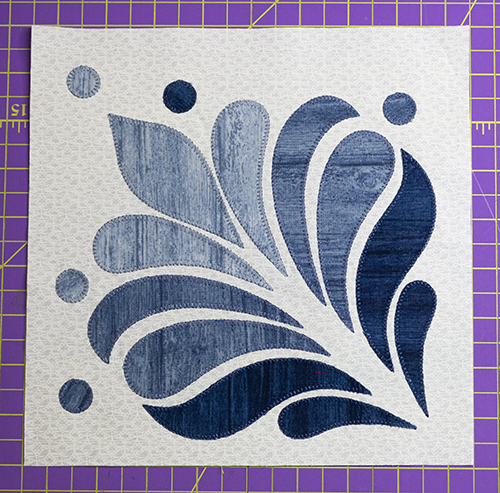
… and three red using the Block Two layout.

Trim the appliqued blocks to measure 8 1/2″ x 8 1/2″.
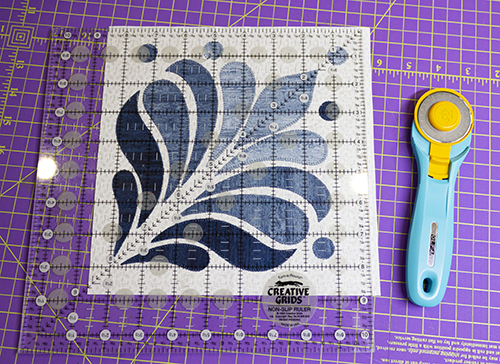 8 1/2″ x 8 1/2″
Step 3: Assemble the Quilt
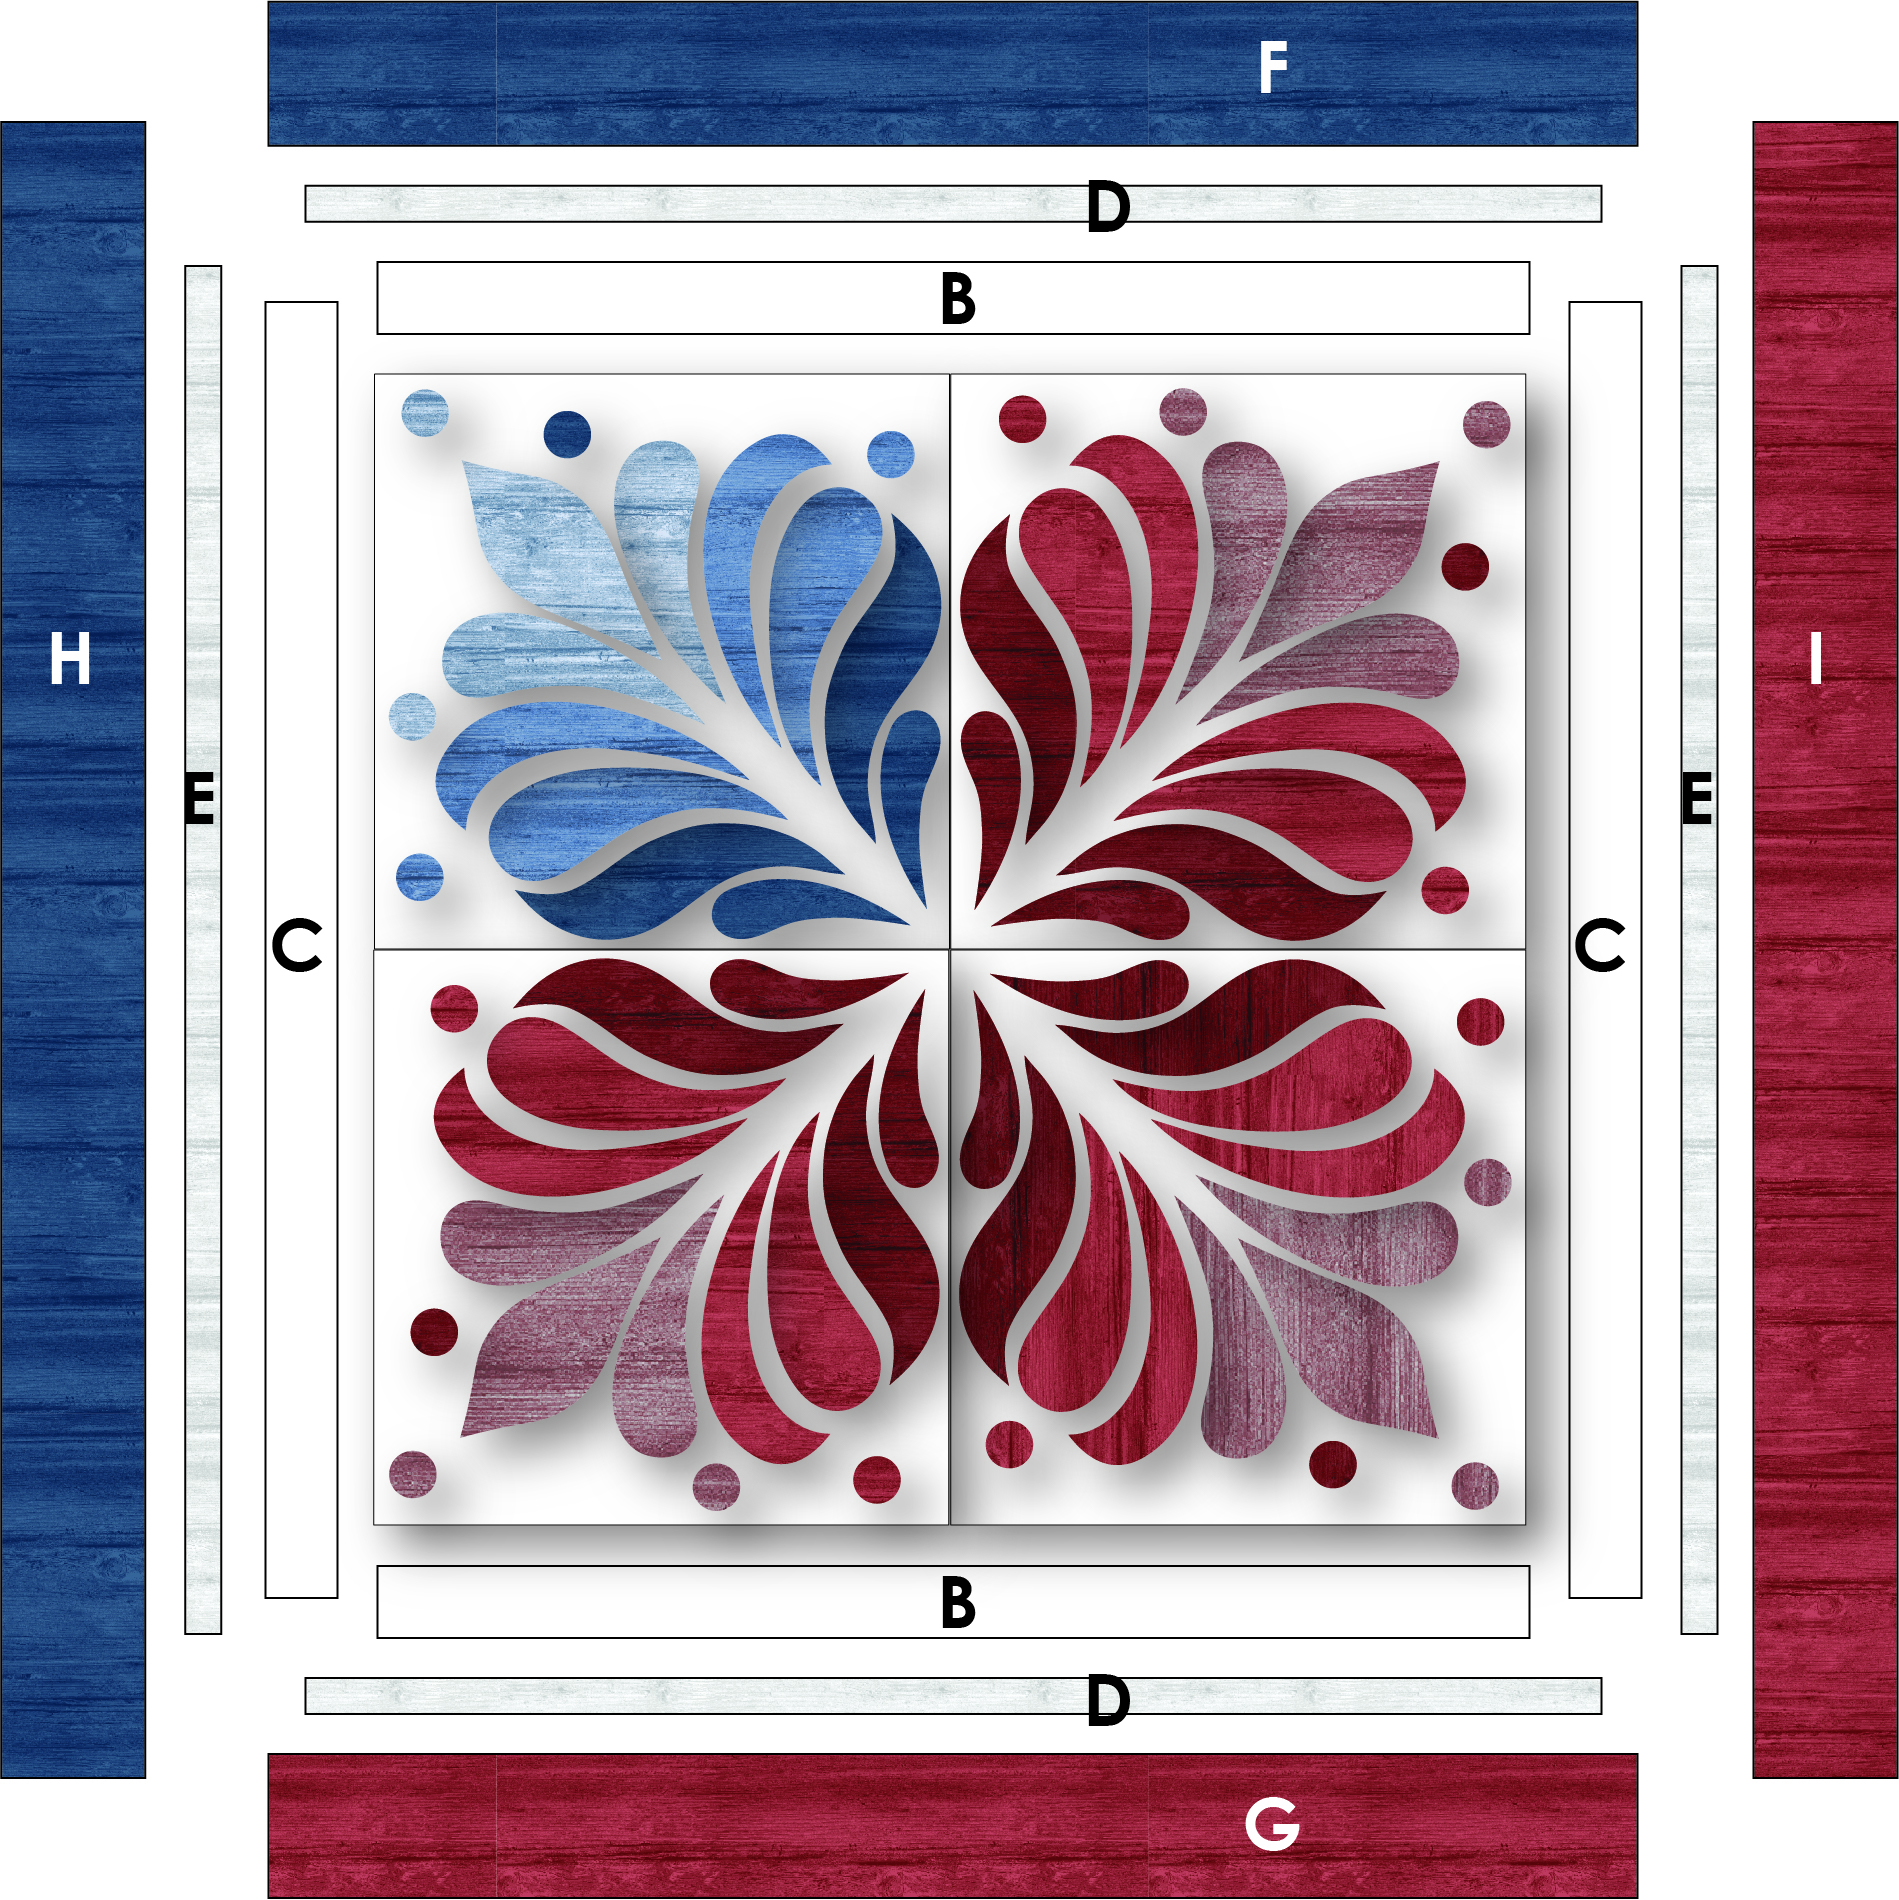
Follow the diagram below to sew the blocks into two rows, then sew the rows together to make the quilt center.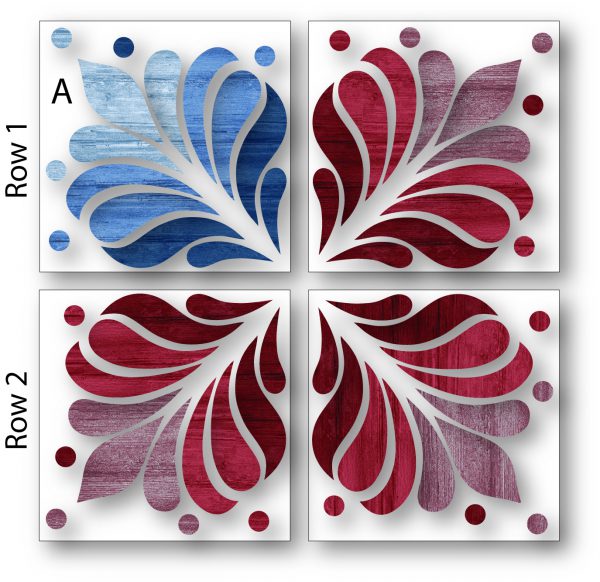
Sew the fabric 1 B borders to the top and bottom, and the C borders to the left and right edges of the quilt center; press seams to fabric 1.
Sew the fabric 8 D borders to the top and bottom, and the E borders to the left and right; press to fabric 8.
Sew the fabric 2 F border to the top and the fabric 6 G border to the bottom; press to F/G.
Sew the fabric 2 H border to the left and the fabric 6 I border to the right edge; press to H/I.
Step 4: Finishing
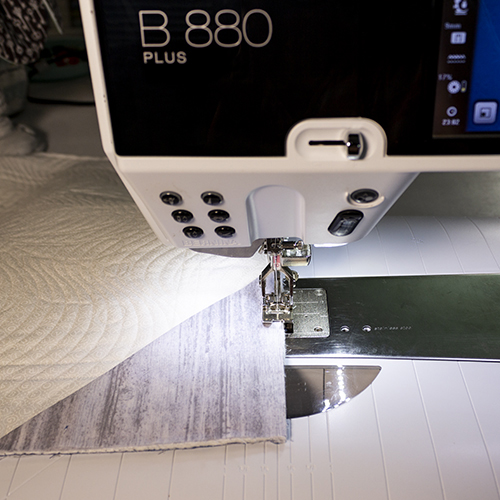
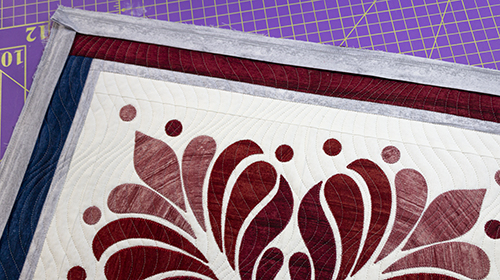
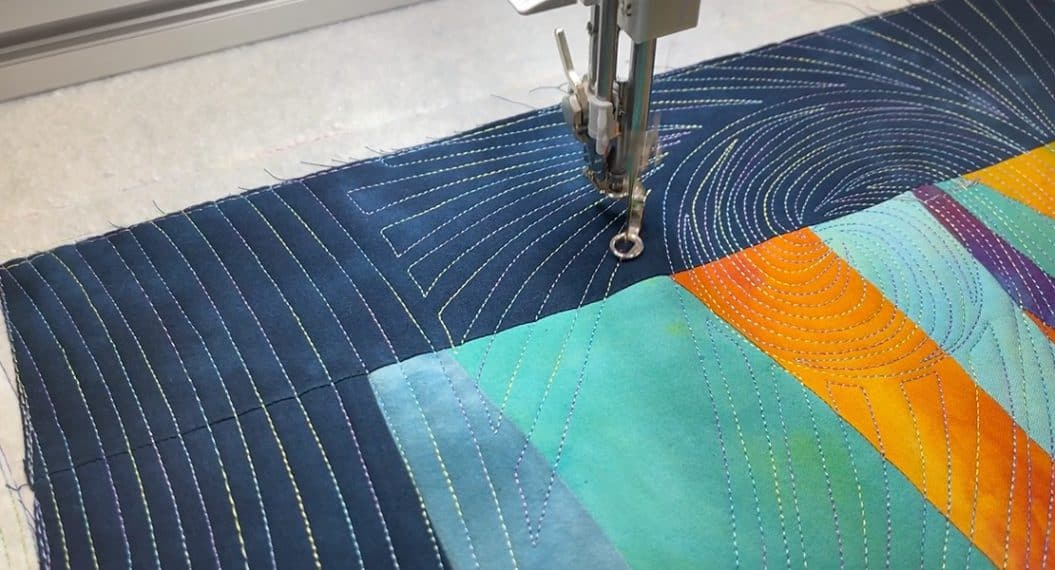
Make a quilt sandwich with the backing, batting and quilt top, and quilt as desired. I quilted the “flag” with an all-over gentle curve to add a little movement, with the lines’ width between a 1/4″ and a 1/2″ apart, and a 100wt soft grey poly thread. I also stitched in the ditch of the borders and the applique shapes.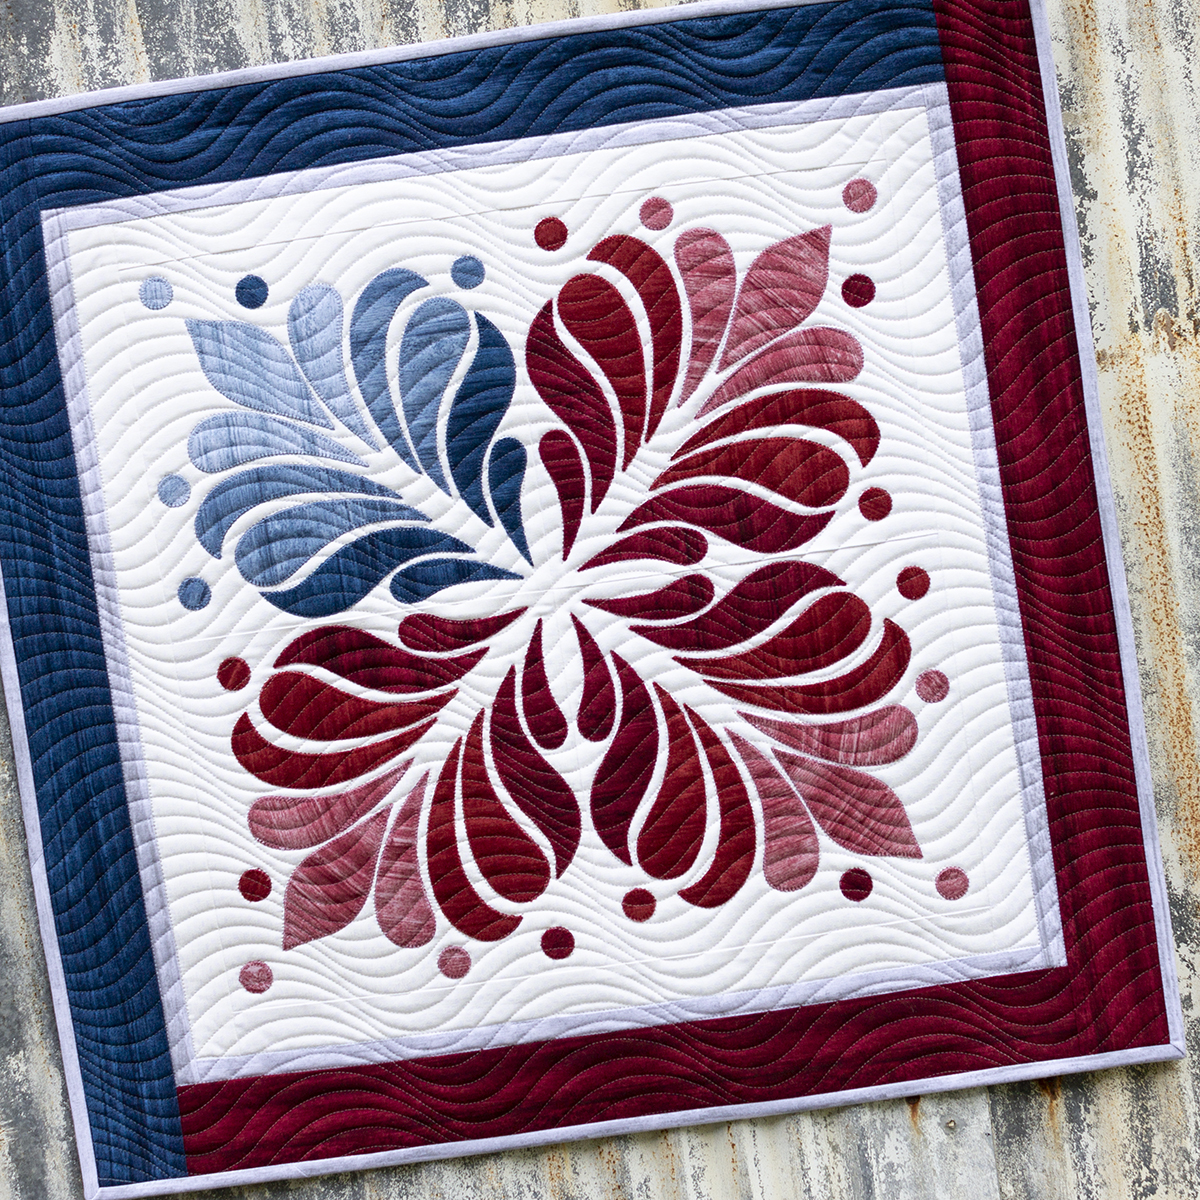
Trim the excess batting and backing fabric and bind with the (3) fabric 8 binding strips.
Optional triangles hanger
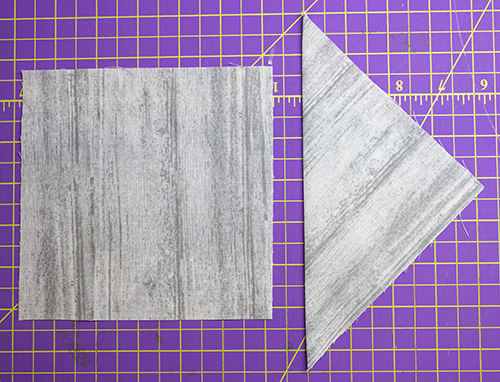
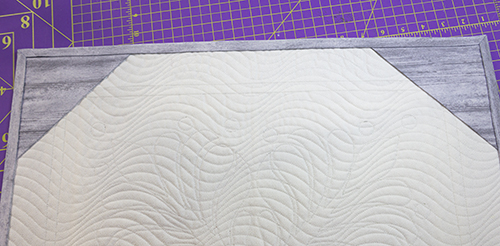
Cut (2) 6″ squares from the backing fabric (sample uses the grey binding fabric). Fold the squares diagonally, wrong sides together.
Before binding your trimmed quilt, baste the triangles onto the top left and right corners of the back of the quilt, aligning the raw edges; pin in place.
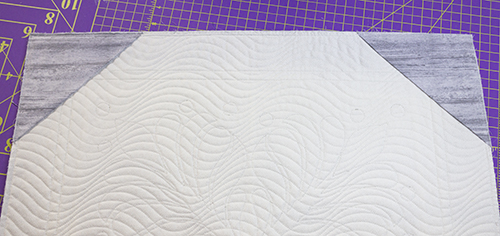
Baste with an 1/8″ seam allowance; I used foot 1D with my B880 and the Dual Feed (or use walking foot #50).
Sew the binding onto the front of the quilt…
… turn to the back and stitch down.
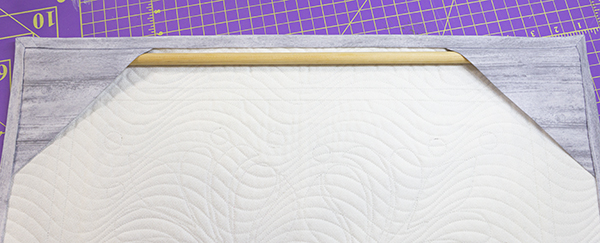
Cut a dowel to fit and slide into the triangle pockets…
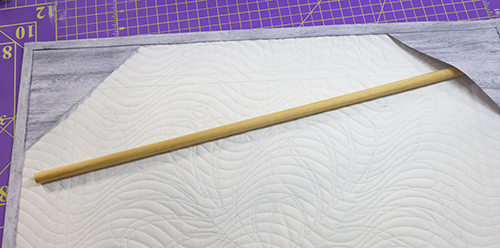
… and voila, you have a hanger!
I hope you’ll make this little quilt and share pictures in the WeAllSew community!
Cherry


What you might also like


15 comments on “Red White and Blue Mini Quilt”
-
-
Thank you, I can’t wait to see it!!
-
-
Thank you! This is beautiful!
-
Thanks Cecilia!
-
-
What a lovely design! Can’t wait to make this.
-
Beautiful! Would it be possible to describe your system of the quilting? Did you have a pattern for it, did you mark the lines, or is it freehand…it sure is dramatic
-
Beautiful! Thank you!
-
How can i download the instructions and pattern It really very pretty would make a great table topper.
Thank you
-
How do I download the instructions ????
-
In your print setting you can save the blog post as a pdf. We hope this helps. Happy creating!
-
-
I made this wall hanging the last time you featured it, about a year ago I guess. I used ombre fabrics instead of a fabric line and was very pleased with the outcome. I showed the unquilted top to a friend and she said “you have to sell that to me”. She wanted it to be a little larger so I added more borders and quilted it. She loves loves loves red and has it hanging in her kitchen dining area. I was going to add a picture of it but don’t see that option on this comment section. As our local college colors are black and yellow I’m thinking about making another one with yellow ombre design on black background. Thanks for the delightful design.
-
Want to make this lovely wall hanging and wondering if the instructions are also available in printer friendly PDF format? Thanks
-
In your print setting you can save the blog post as a pdf. We hope this helps. Happy creating!
-
-
This is one of my favorite squares. I love the red, white and blue colors you used. Thanks for sharing
-
This was in your recent email (July, 2026) and I love the pattern. However, the link for the templates no longer works. How can I get the templates?
Leave a Reply
You must be logged in to post a comment.

This is absolutely gorgeous. I love all things patriotic and plan on making this. Hopefully I’ll have it done by Labor Day and all patriotic holidays after that! *wink*