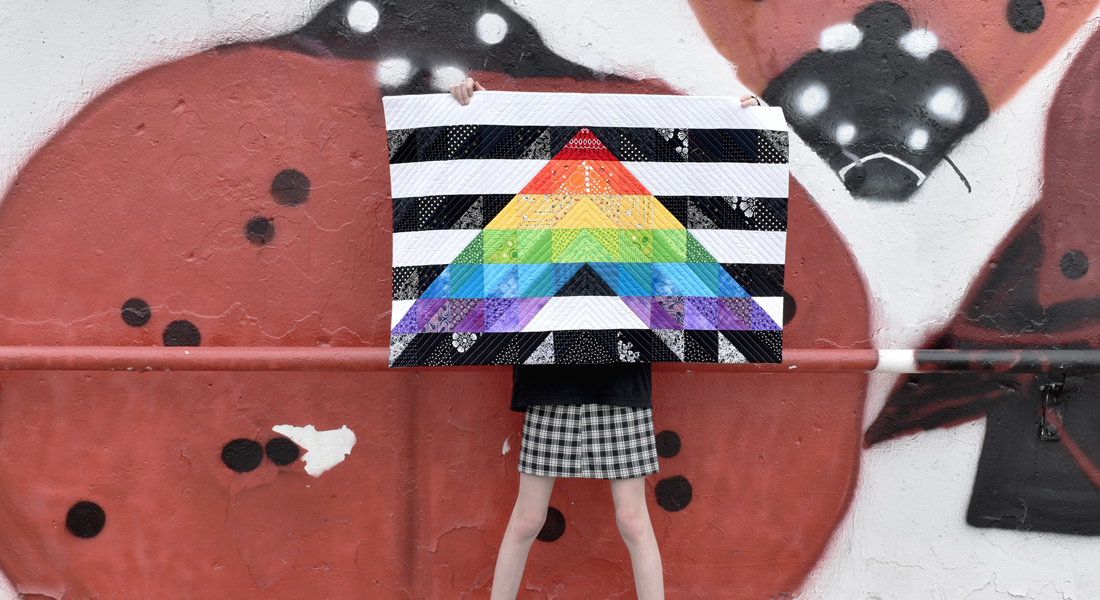
Straight Ally Pride Quilt Tutorial, Part 1
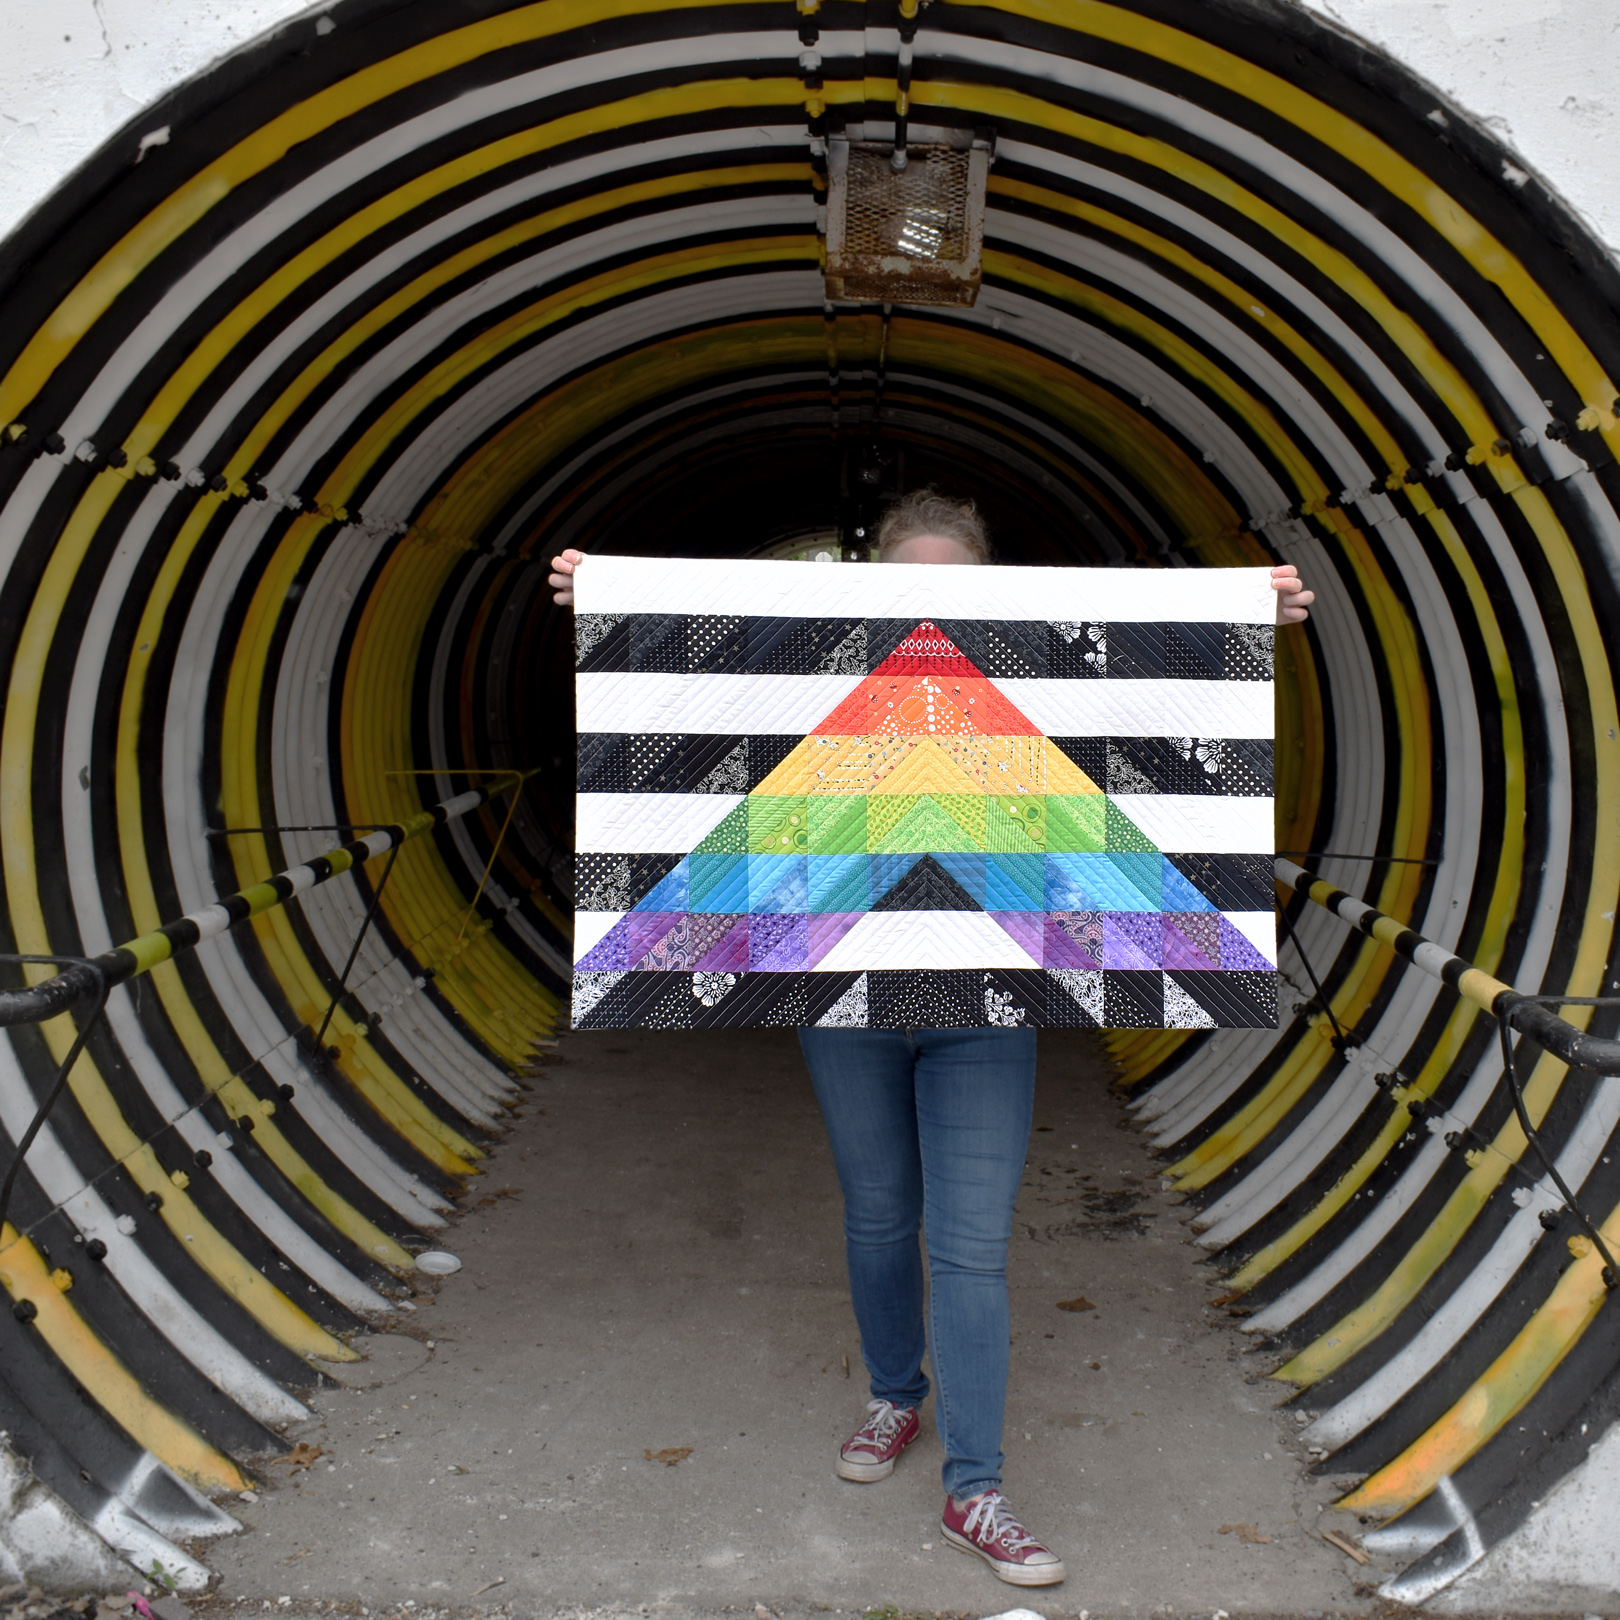
I recently learned about this amazing variation of the Pride flag, the Straight Ally Pride Flag, which first appeared in the 2000s. This flag combines the rainbow of the LGBTQ+ flag with black and white heterosexual colors. Being a good ally means a lot more than just flying a flag, and in support of my friends and family in the LGBTQ+ community I’m learning how to be a good supporter. I made a patchwork mini-quilt version of the flag to hang in my home as a reminder to be a good ally!
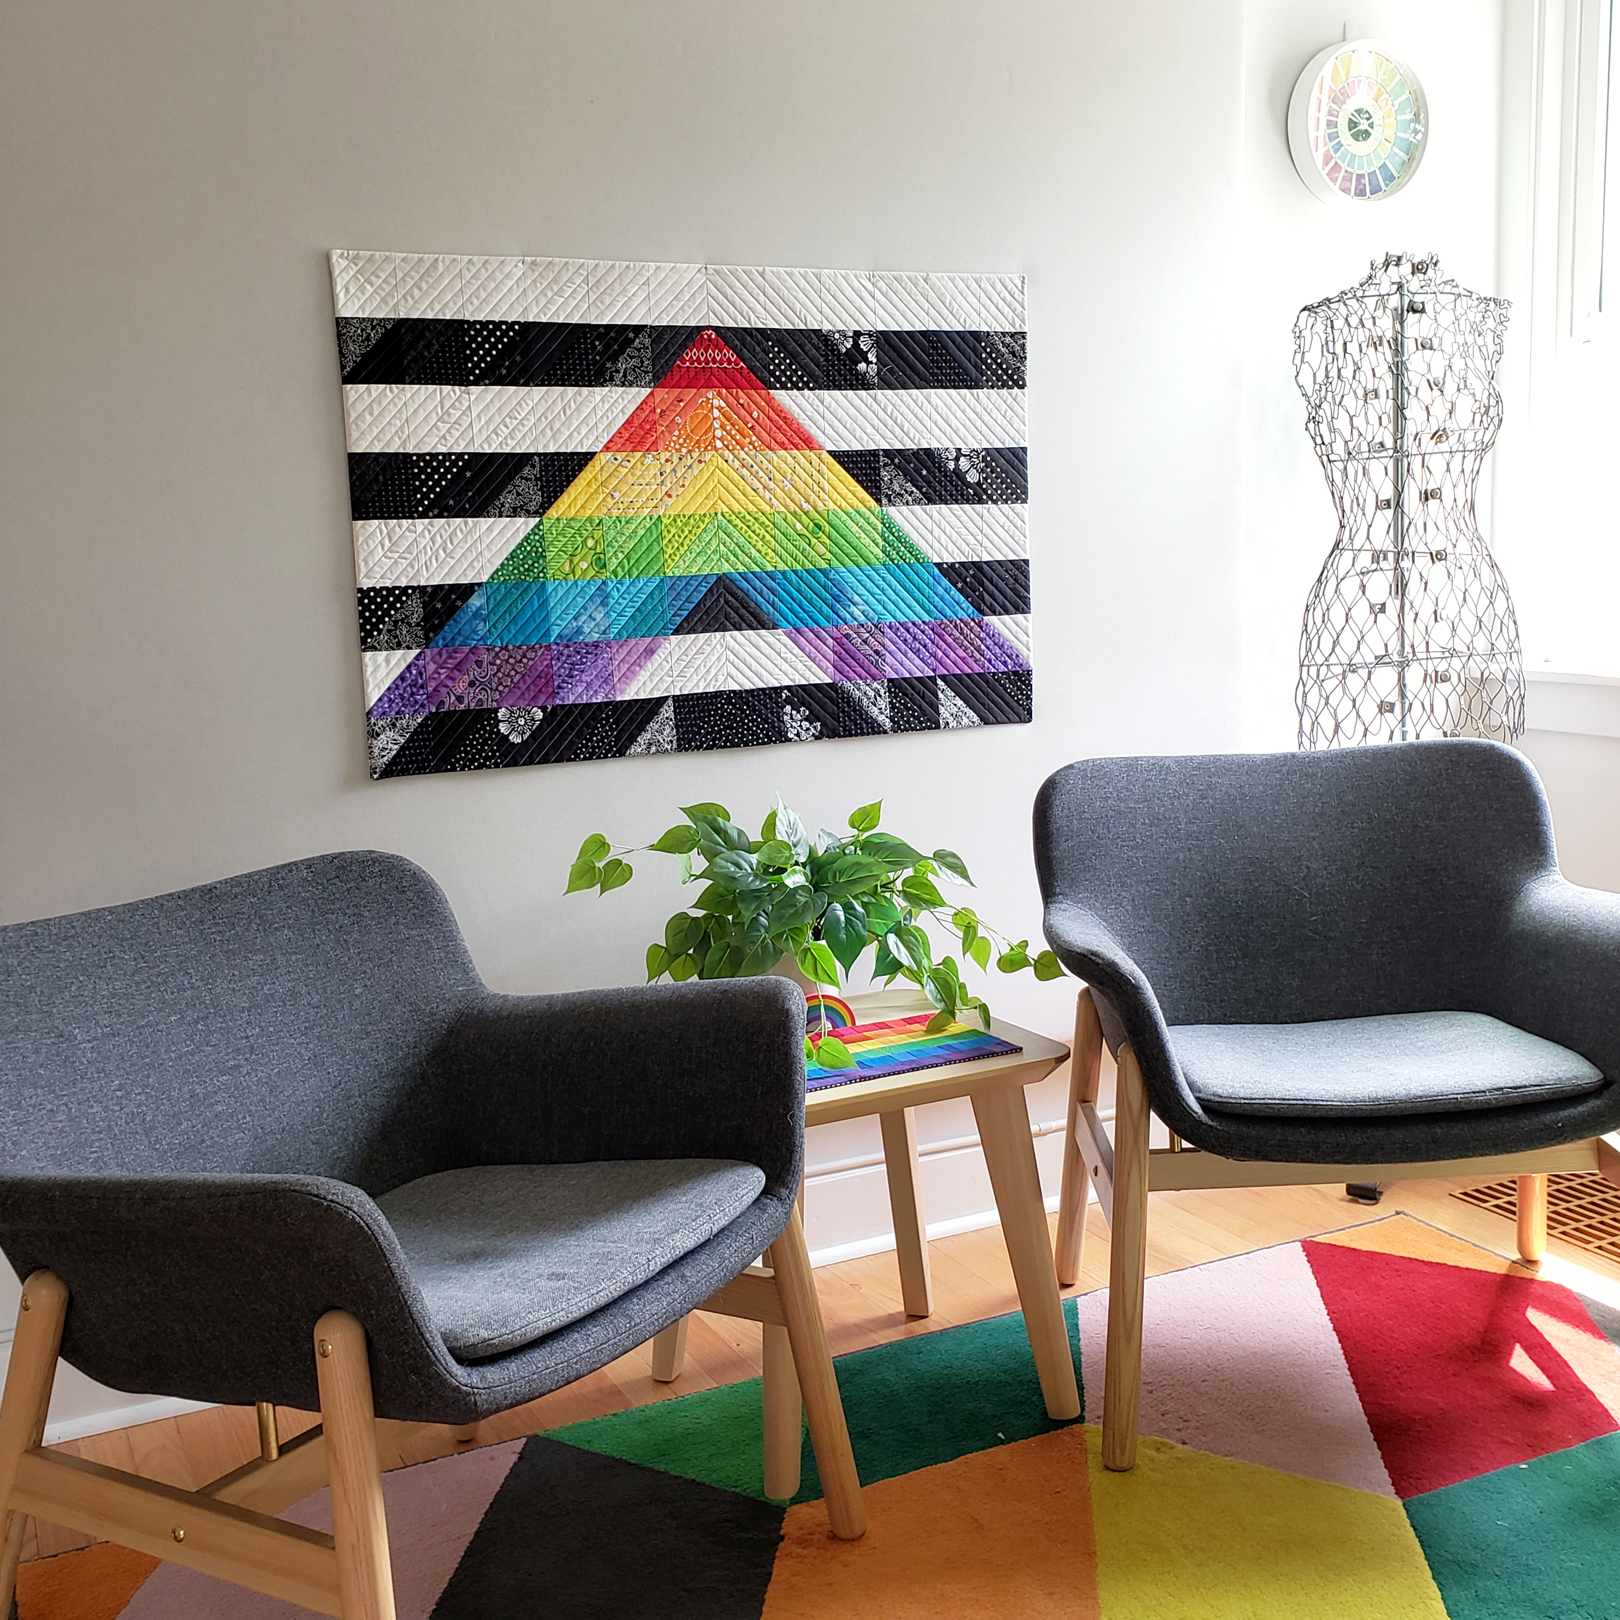
I’ll lead you through all the steps to make this mini quilt in two parts. In this post, learn how to cut and piece the quilt top. Watch for Part 2 to learn how to baste, quilt, and finish the edges with a facing. The quilt finishes at about 36″ wide by 24″ tall, and is created using half-square triangles that finish at 3″ x 3″ square. I created this mini quilt entirely from scraps of fabric and quilt binding, but I’ll also list fabric amounts needed if you plan to purchase materials to complete the project.
Materials to Make a Straight Ally Pride Quilt
- A variety of scraps in white, black, red, orange, yellow, green, blue, and violet OR two fat quarters each of white and black, one fat quarter each red, orange, yellow, green, blue, and violet
- 100% cotton quilt batting size 44″ x 30″
- Backing fabric size 44″ x 30″
- Binding fabric strips, about 1/3 yard
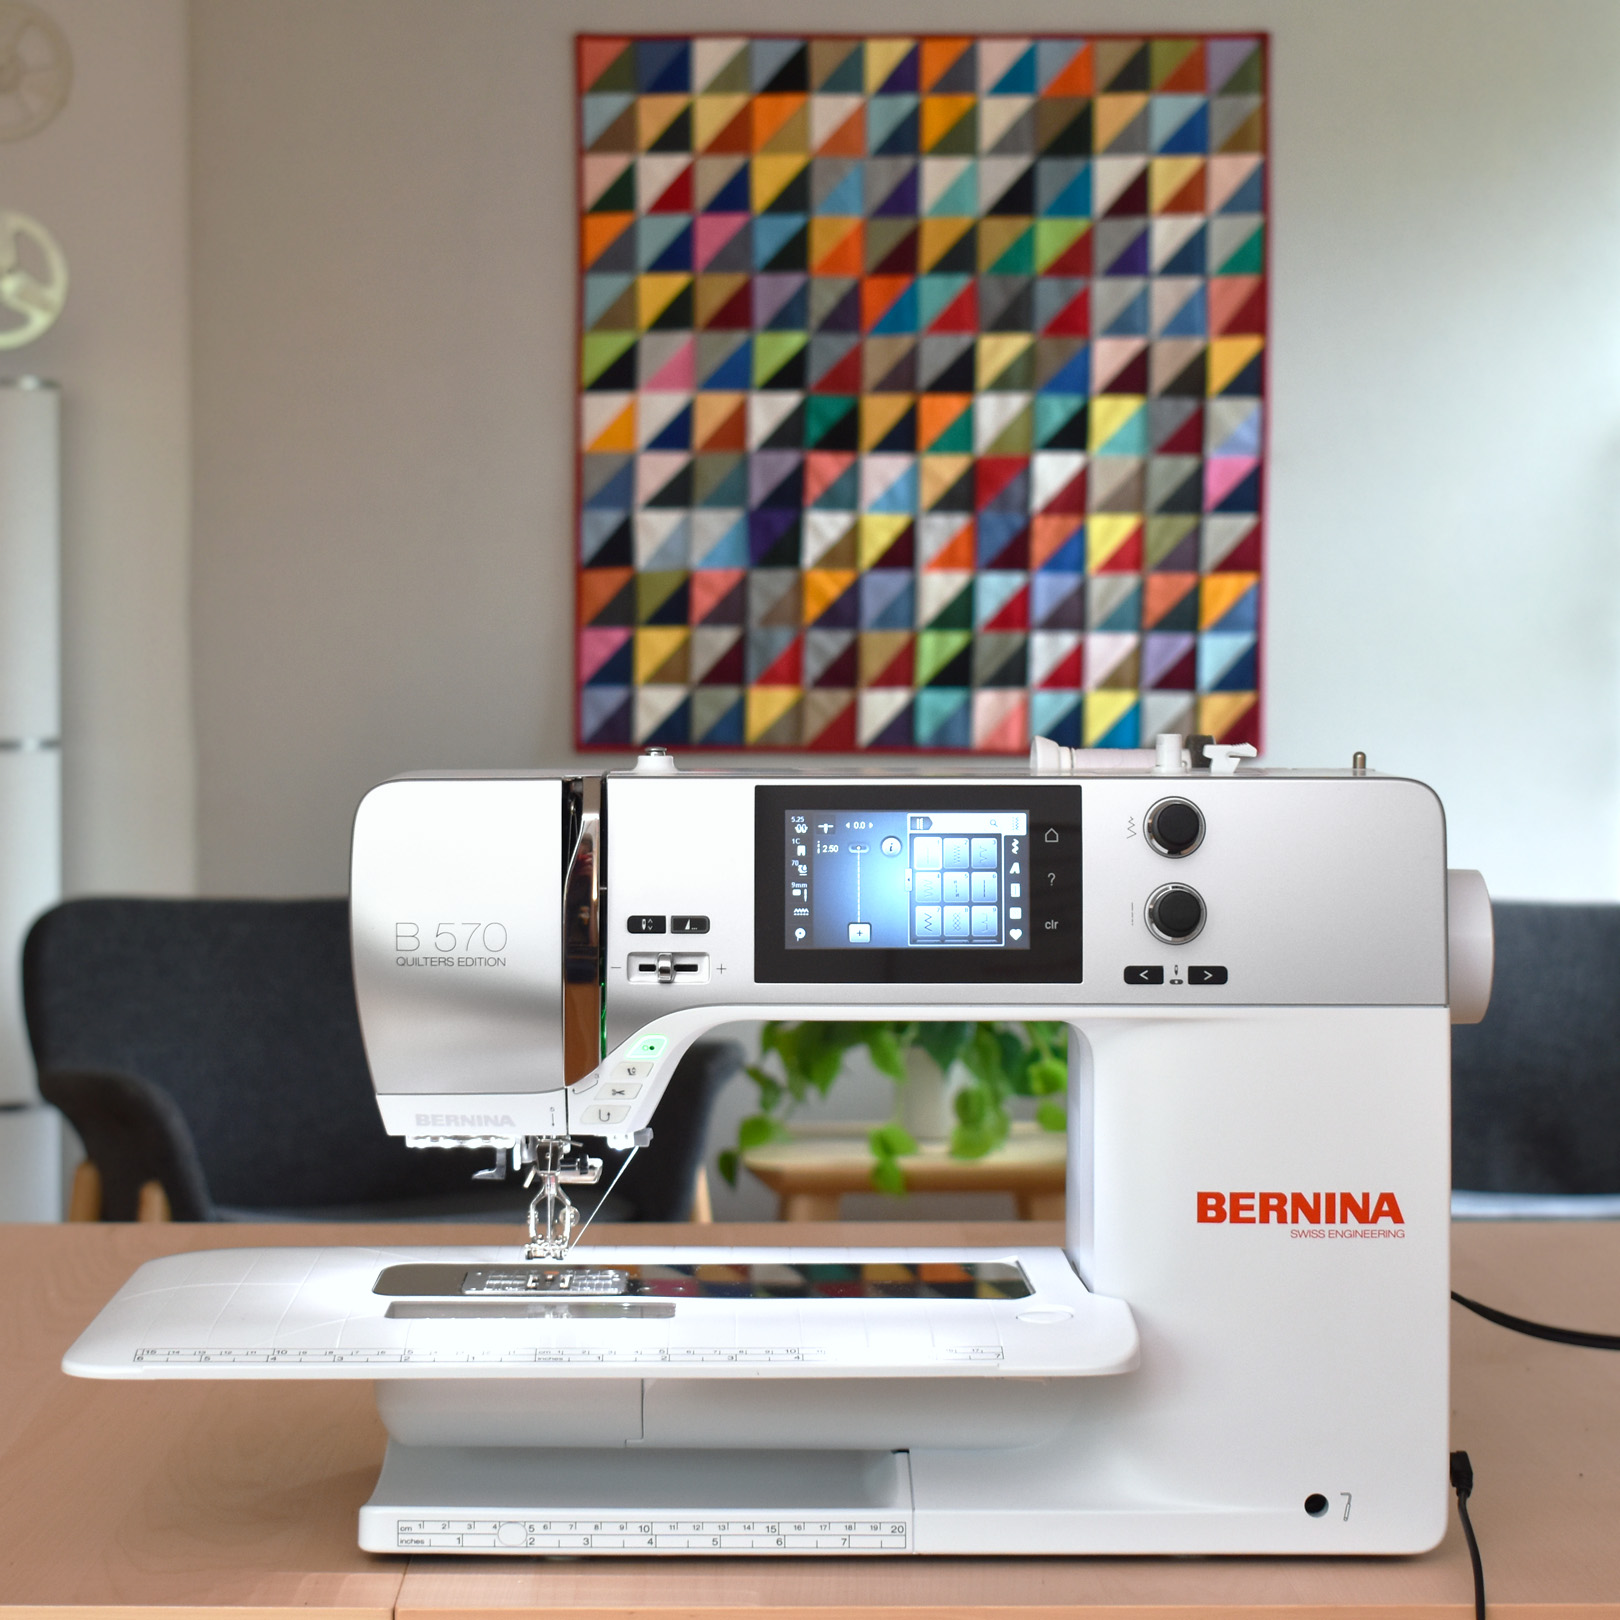
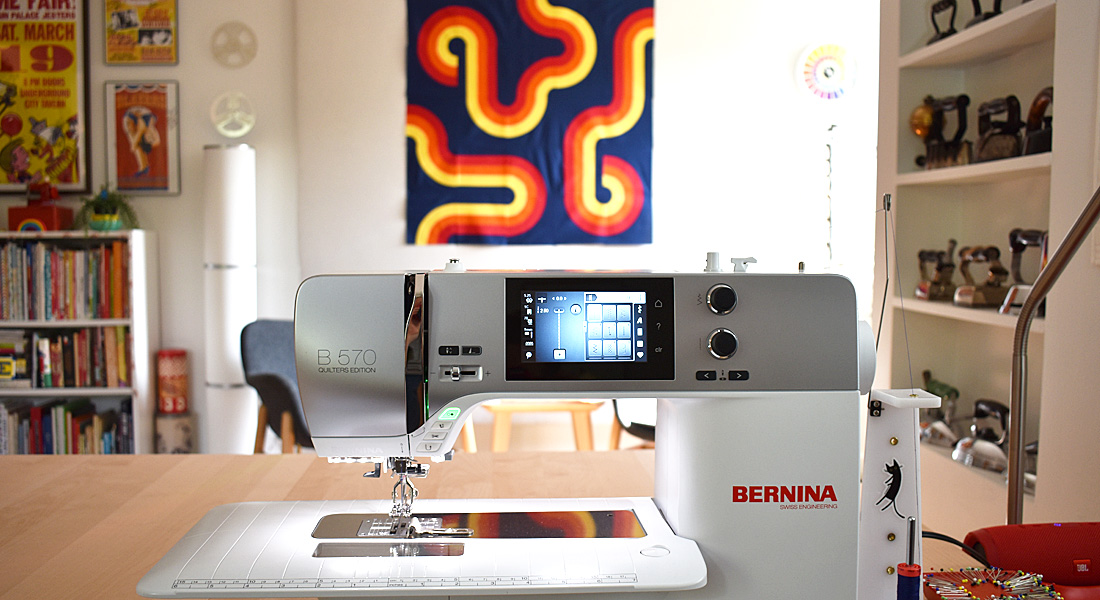
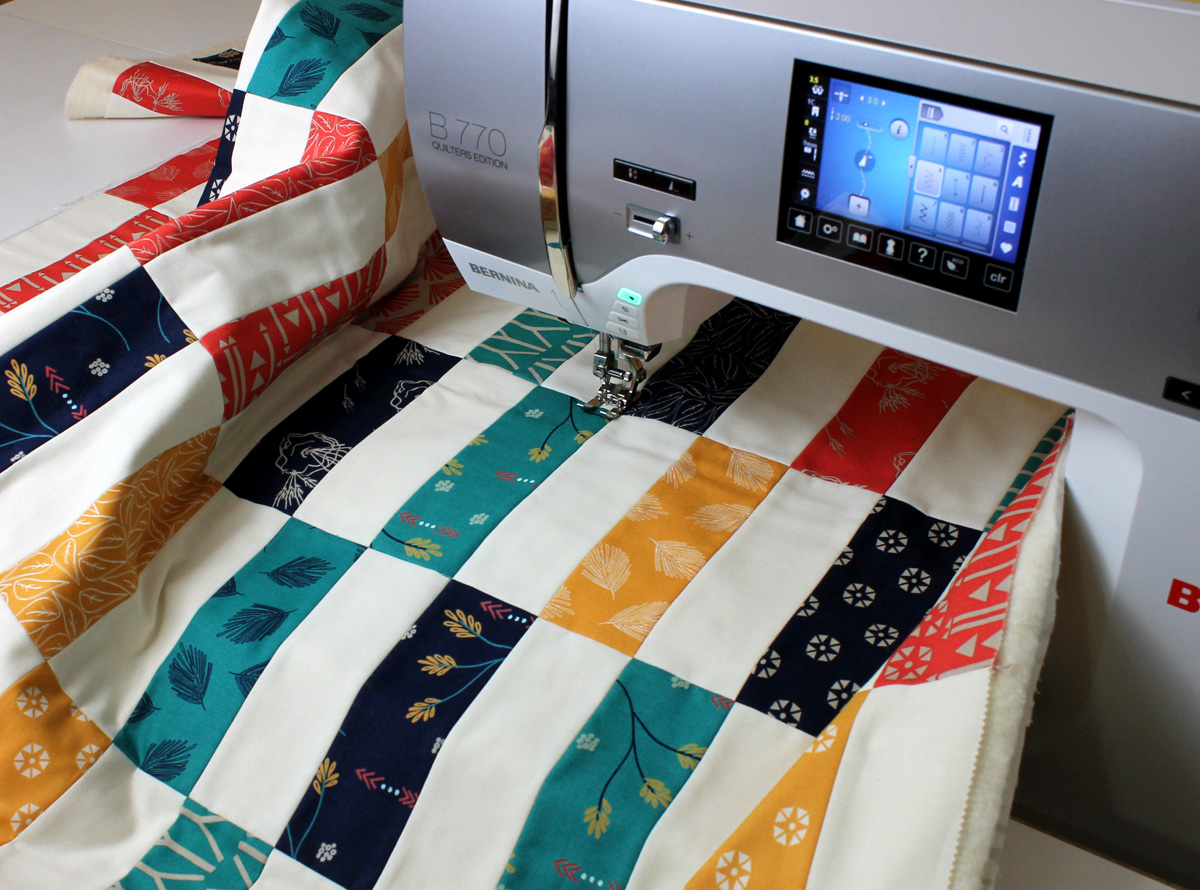
- Sewing machine (I use a BERNINA 570 QE)
- Straight stitch or patchwork foot (I use BERNINA Patchwork foot #97D)
- Straight stitch needle plate
- Walking foot #50 with edgestitching sole and quilting sole
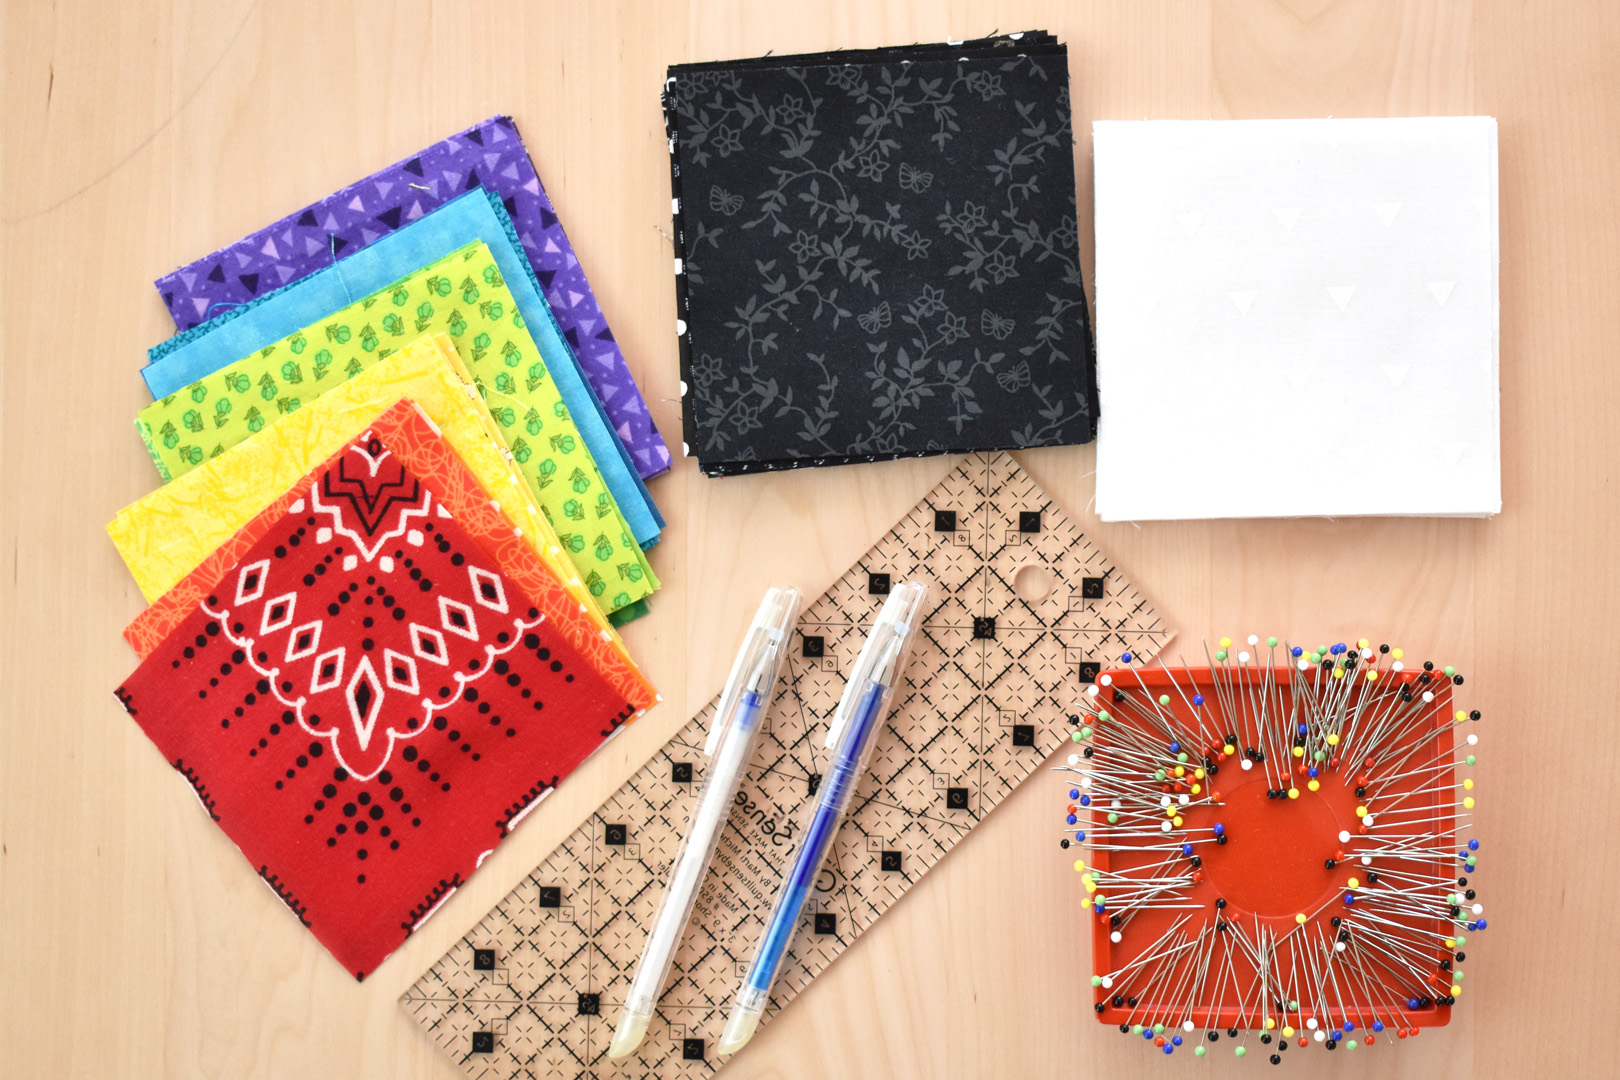
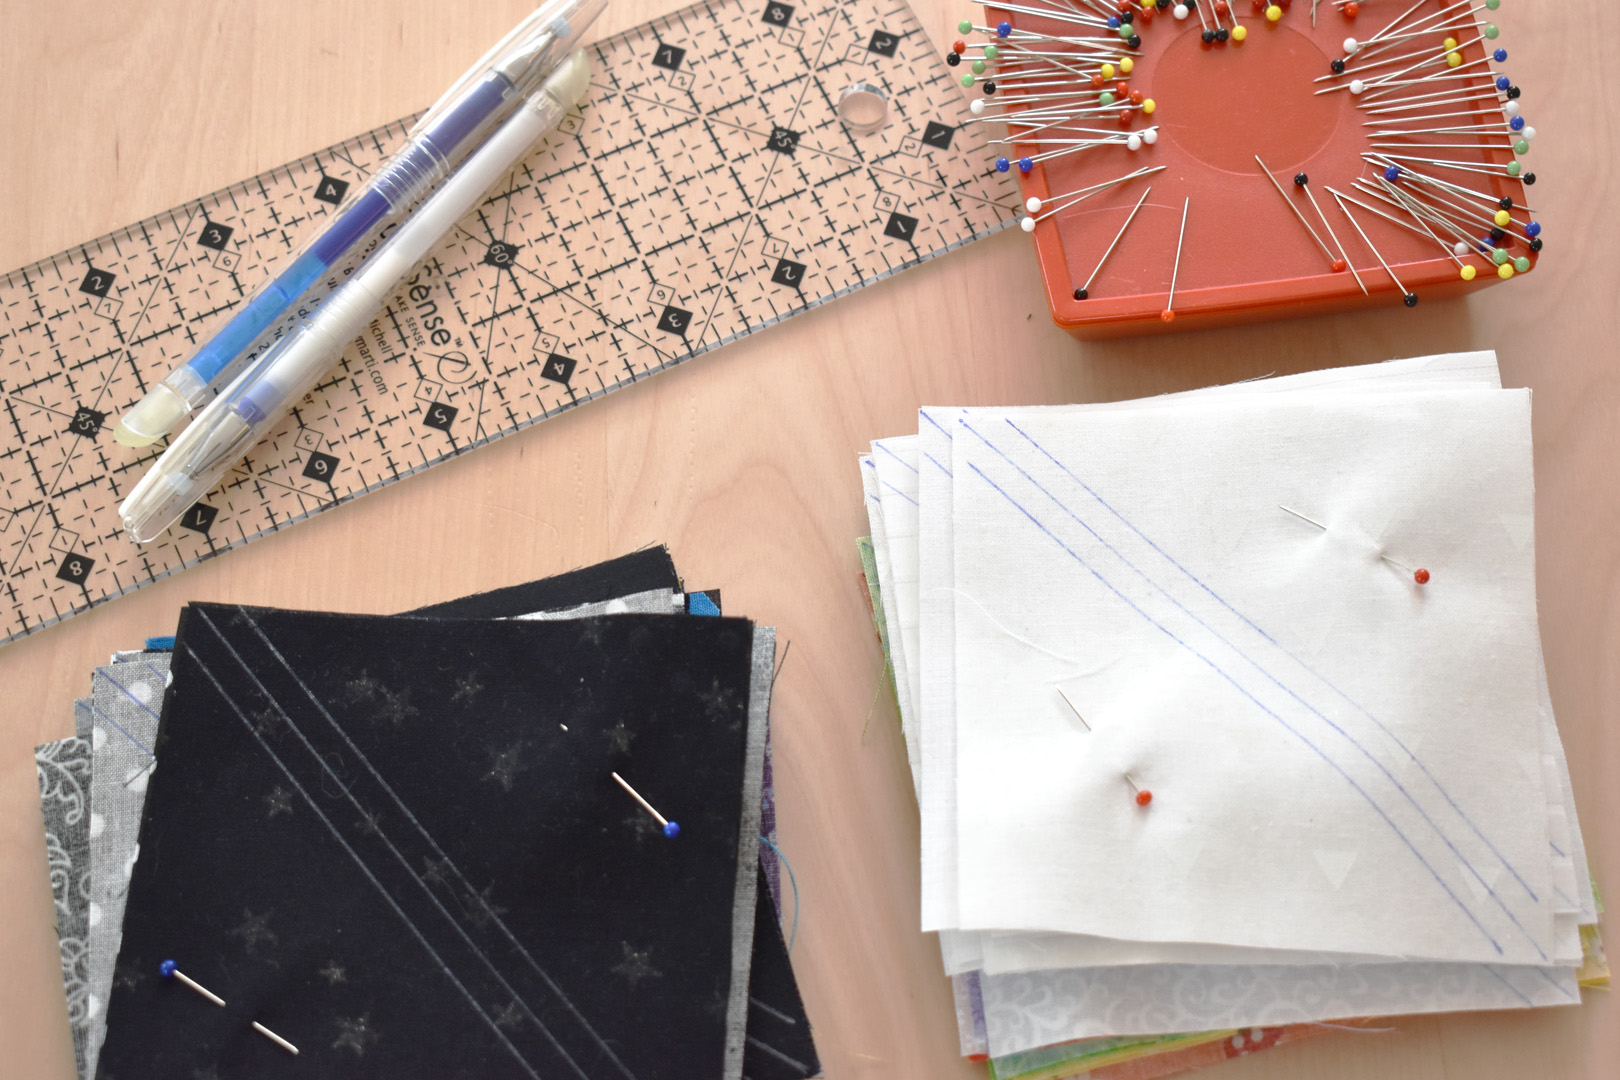
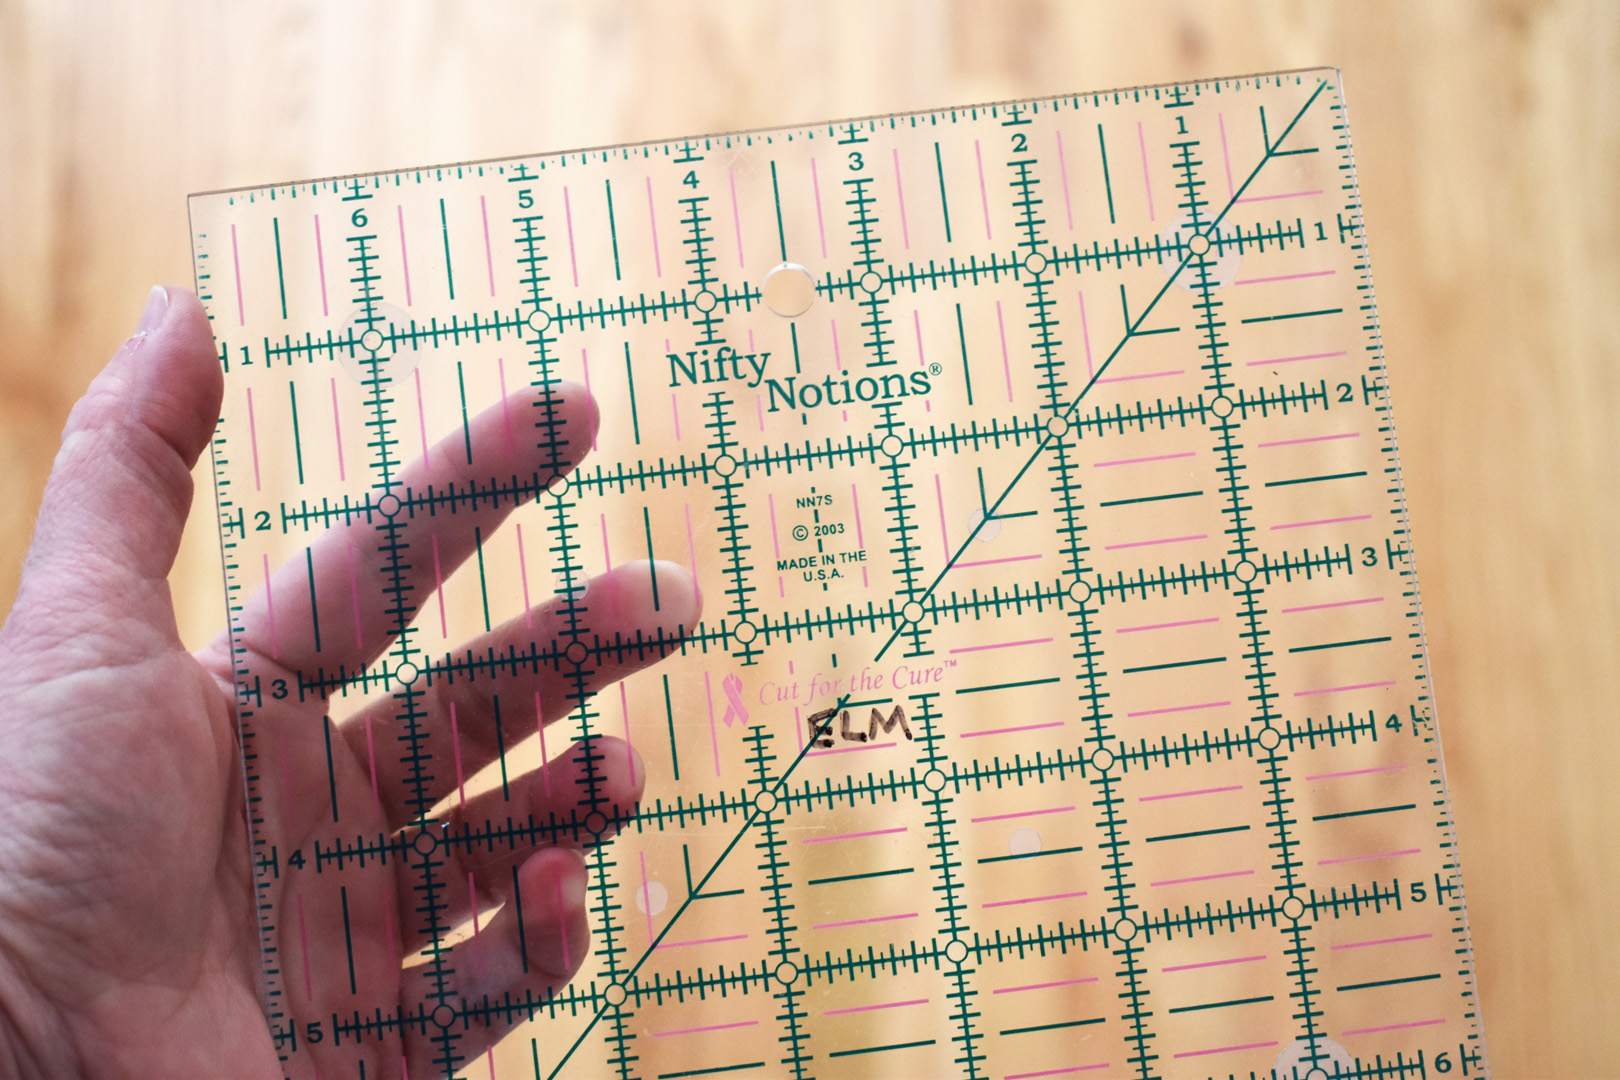
- Cutting mat, rotary cutter, 6″ x 24″ quilting ruler, 7″ x 7″ quilting ruler, 3″ x 9″ quilting ruler
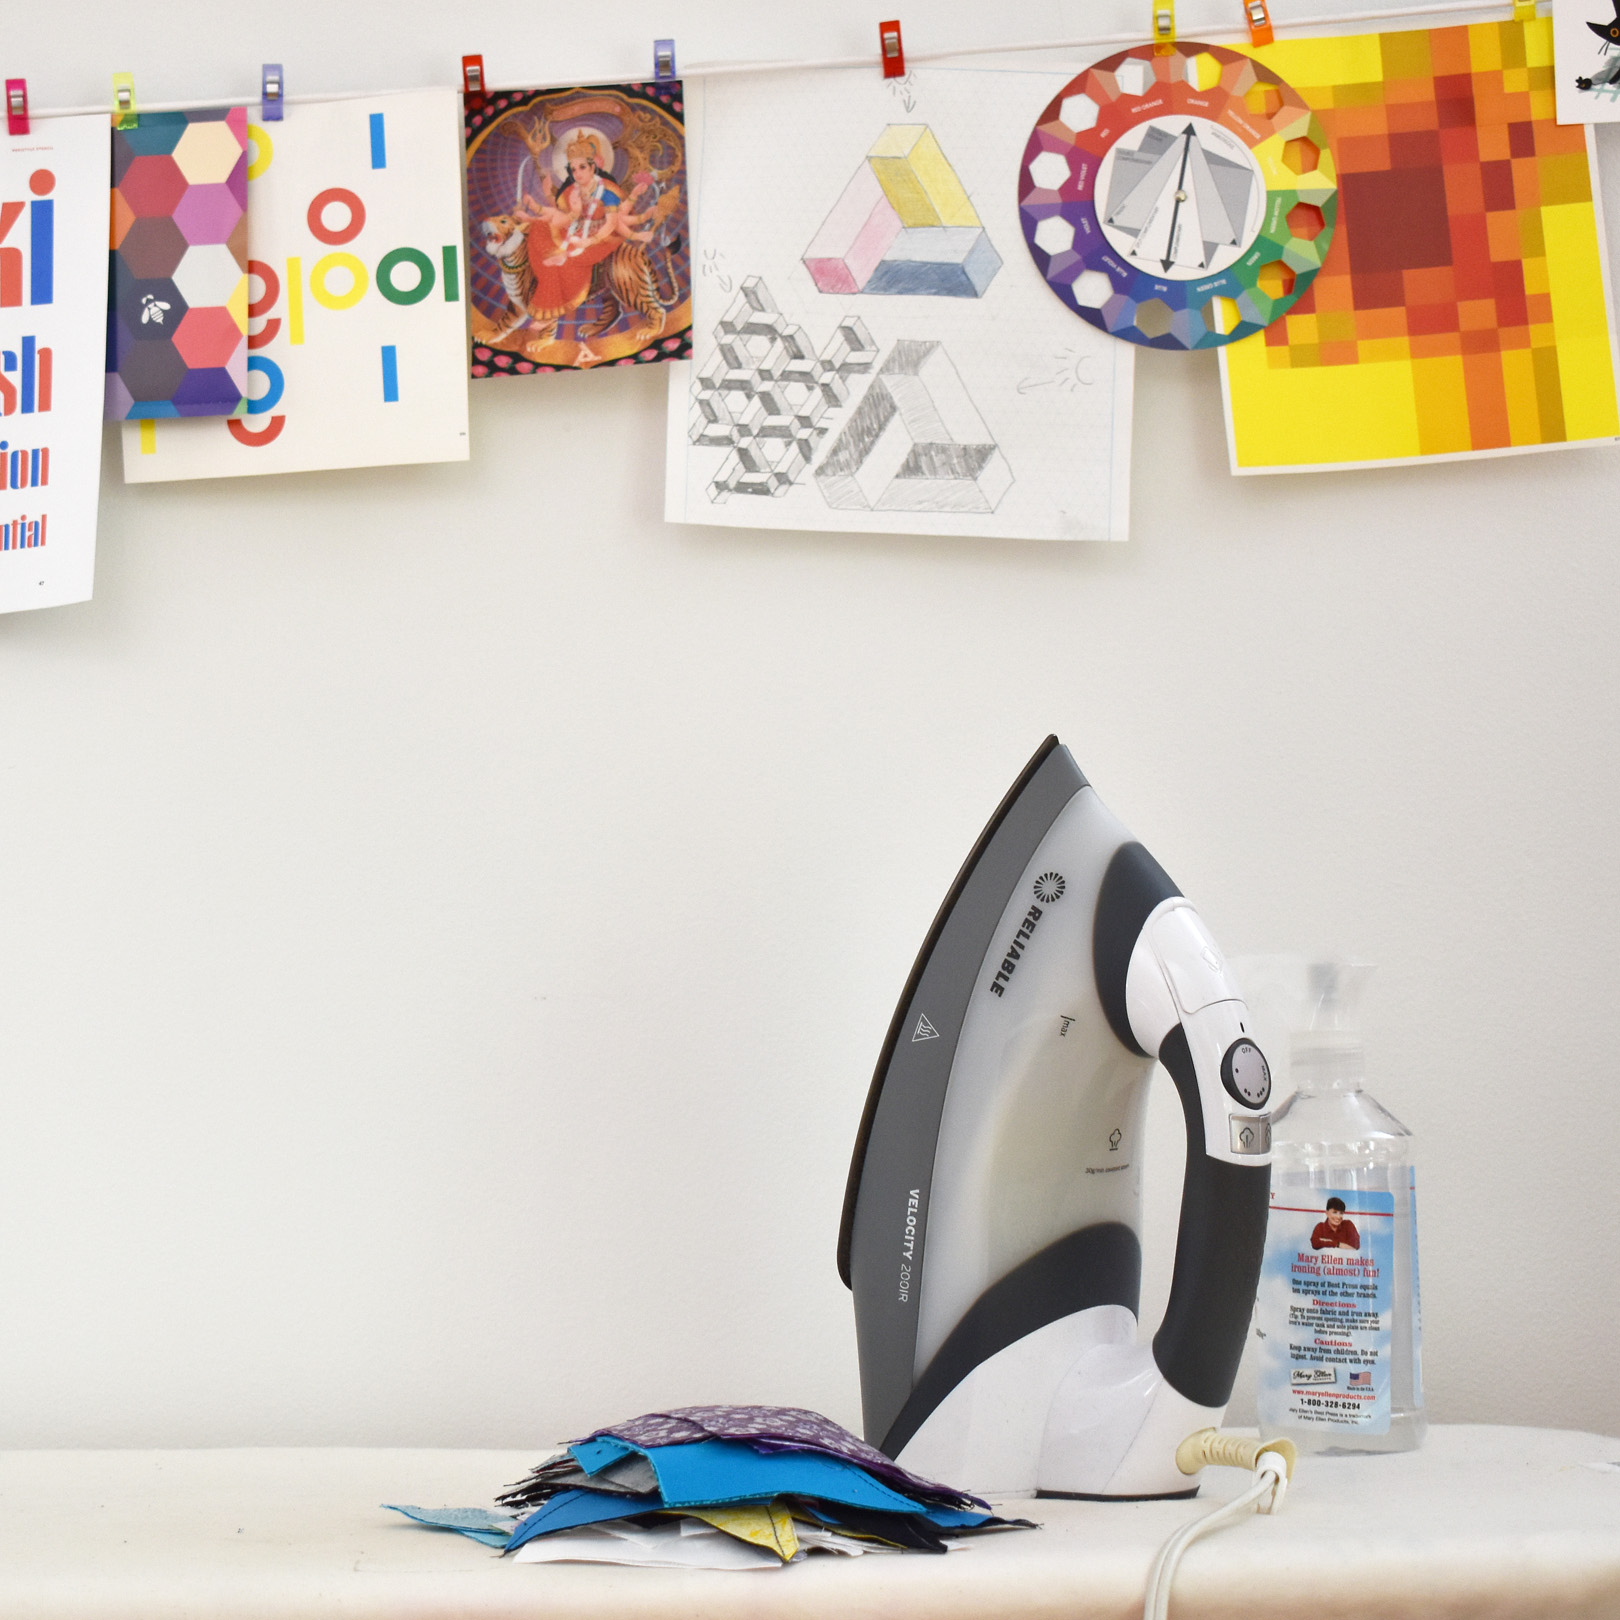
- Iron, spray starch, pressing board
- Thread snips, fabric scissors
- Pins and hand sewing needle
- White and black all-purpose sewing thread
- Fabric marking pen/pencil
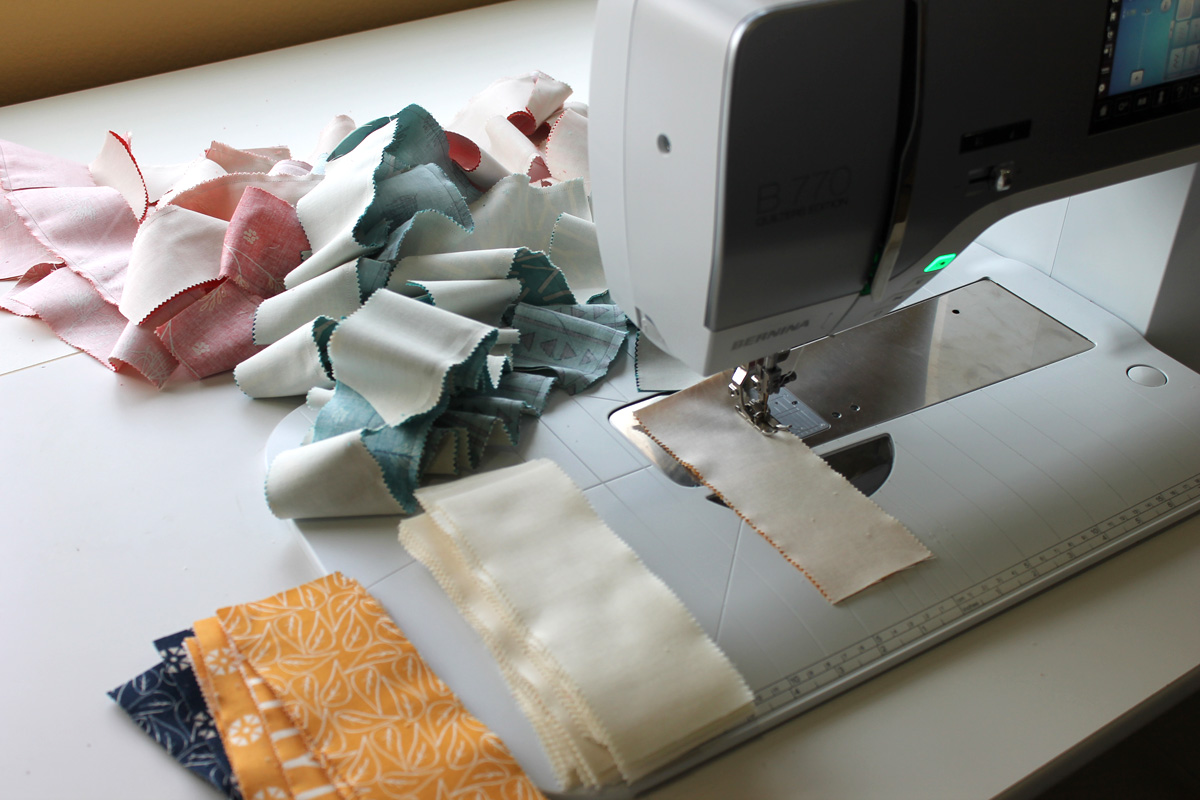
Prepare the Fabrics
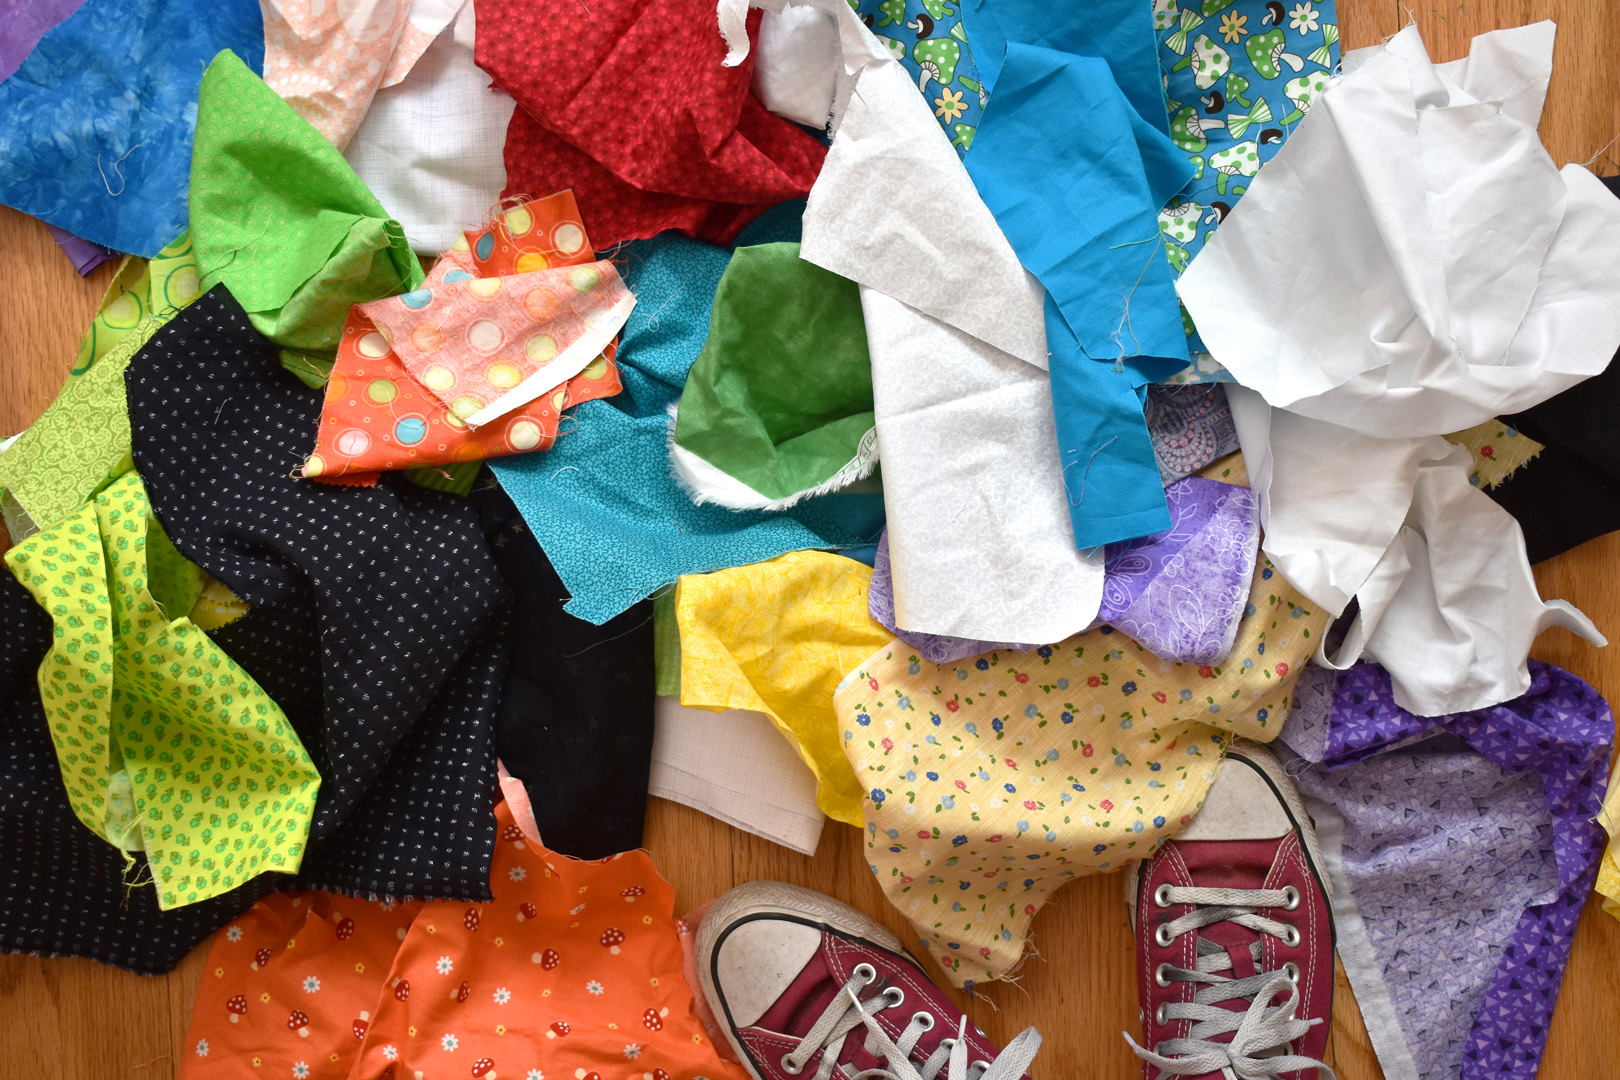
If you’re making this quilt with scraps from your stash, take a deep dive for all the colors needed. Find as many bright prints in red, orange, yellow, green, blue, and violet as you can, and look for plenty of black and white along the way. I’ve also included yardage in the materials list above if you’d like to purchase fabrics to create this quilt.
When working with scraps that have been smooshed into a bin for a while (let’s face it, maybe a few years or more), I like to use spray starch and a steam iron. The starch helps to relax the wrinkles, makes the scraps nice and flat for cutting, and can help stabilize the fabric while sewing on the bias direction in the next steps.
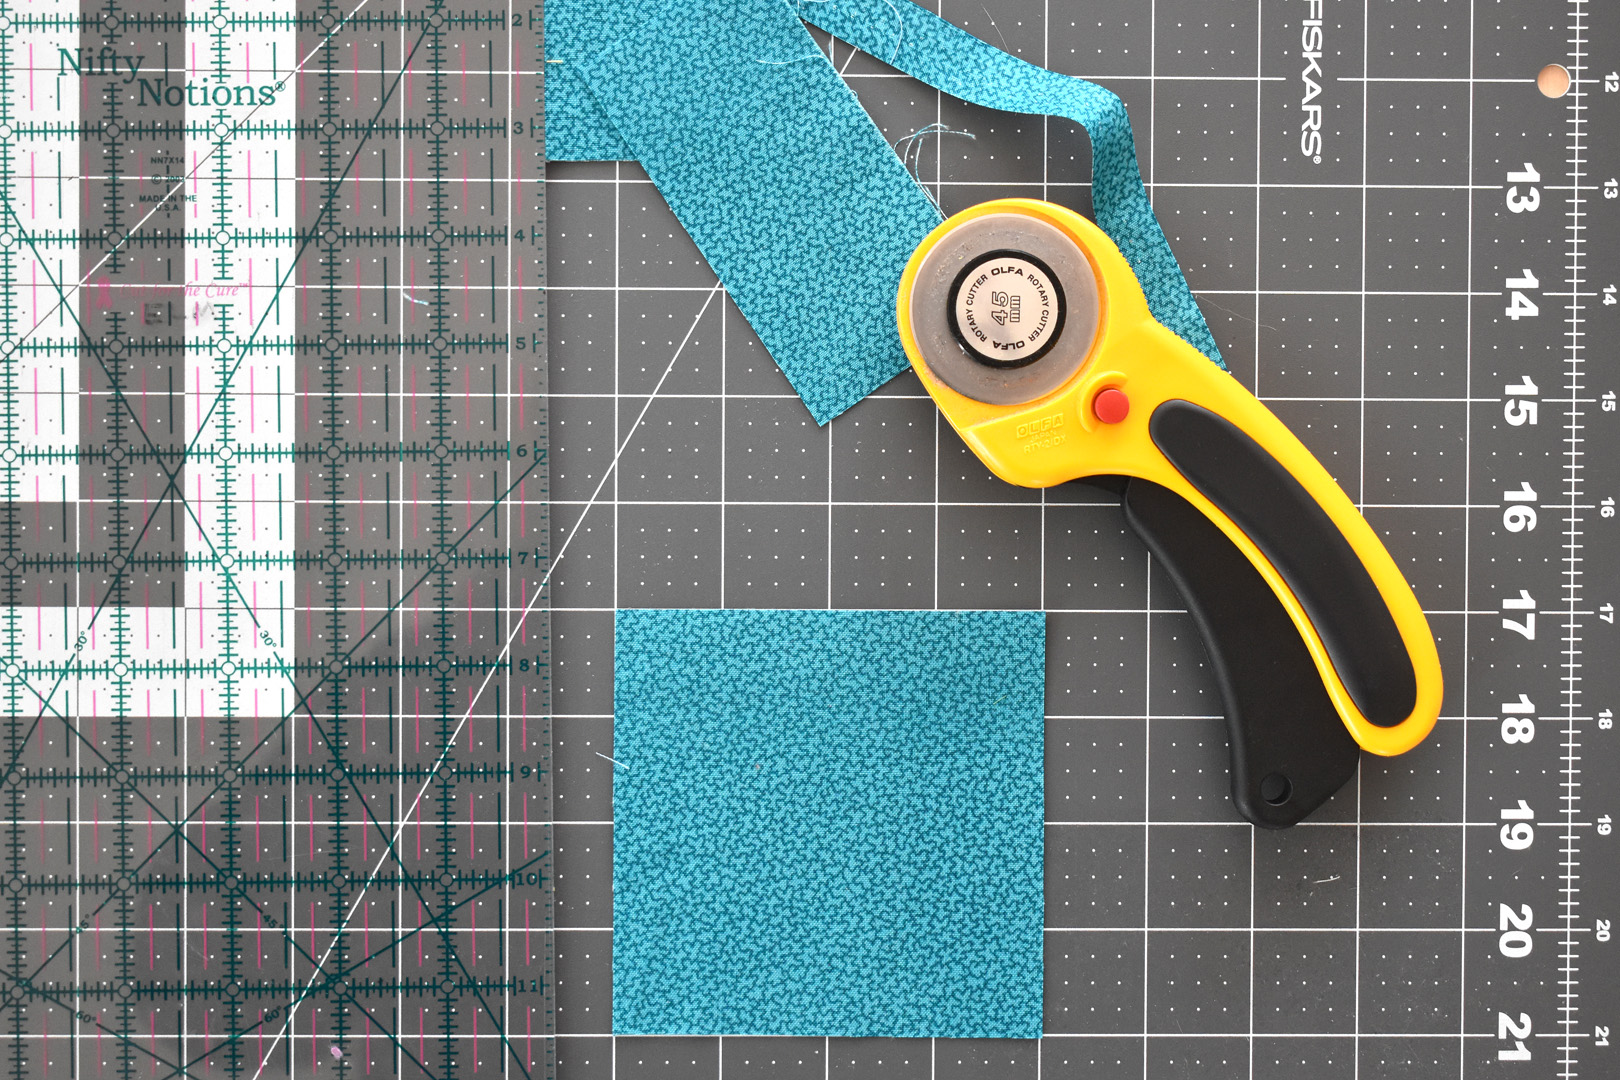
Cut the scraps into 4″ x 4″ squares, following the list below to cut the exact number of squares for each color. If you’re new to quilting, check out this informative article on accurate cutting from Lee Heinrich here at WeAllSew. The accuracy of cutting the squares will eventually affect sewing and piecing the HST’s.
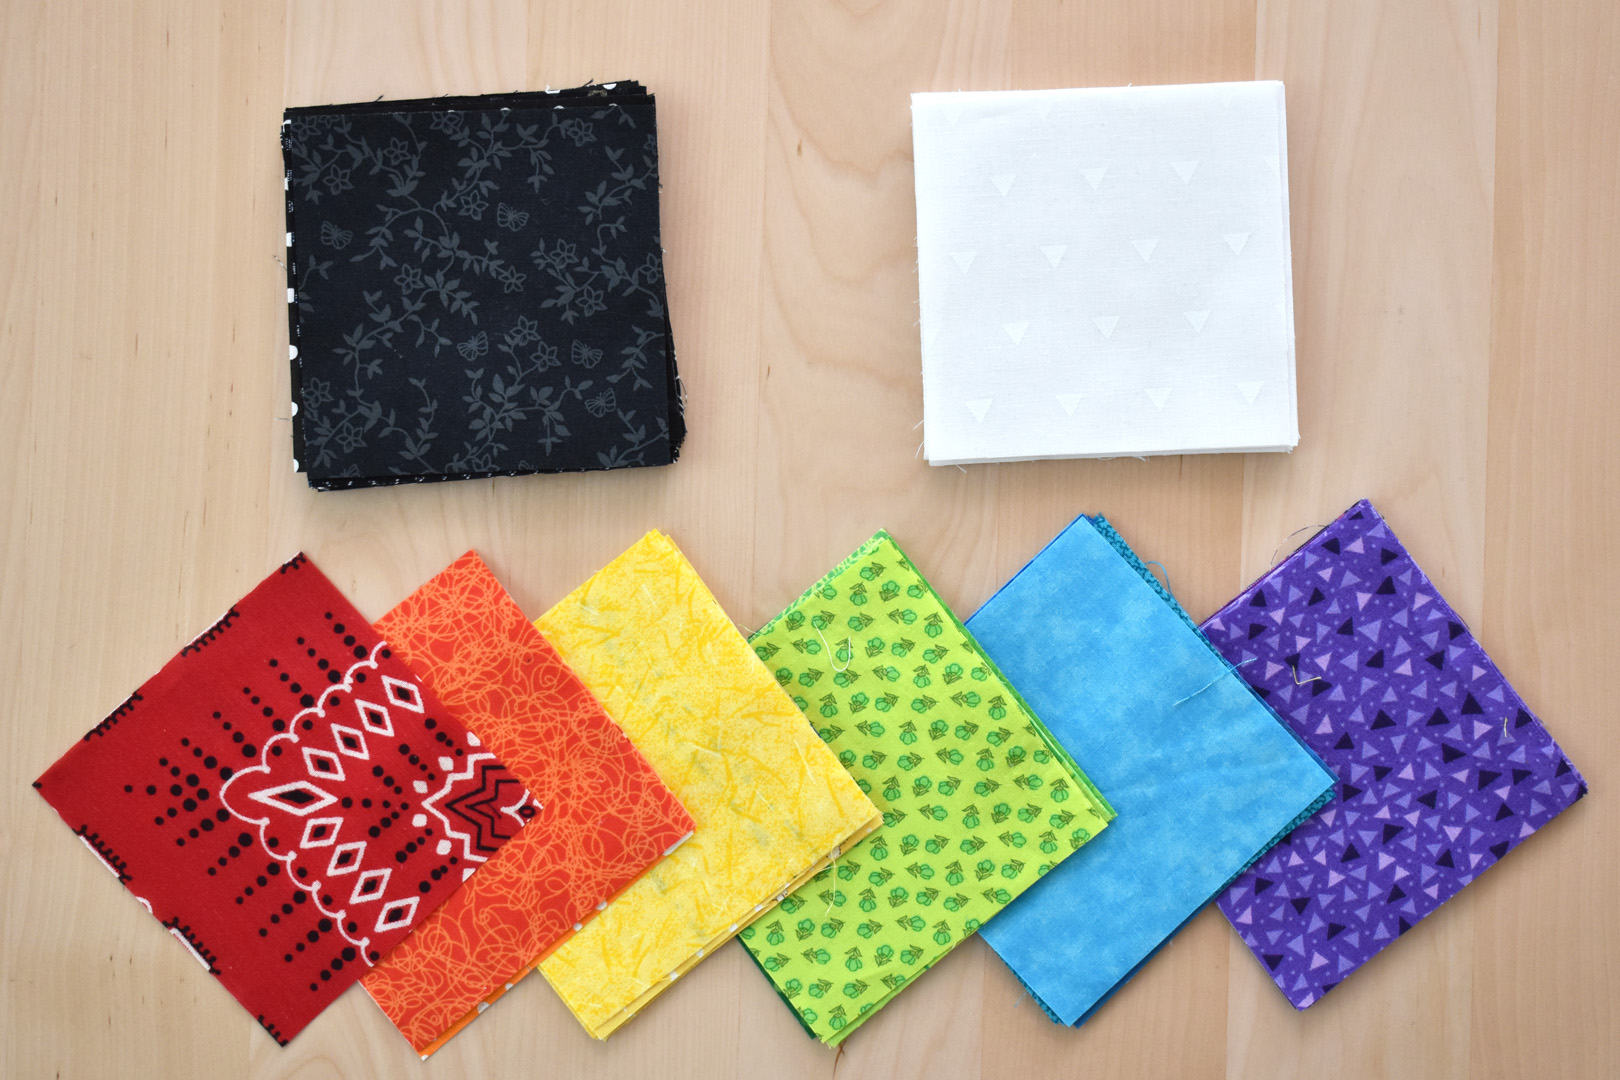
- White fabric: cut 30 – 4″ x 4″ squares
- Black fabric: cut 34 – 4″ x 4″ squares
- Red fabric: cut 1 – 4″ x 4″ square
- Orange fabric: cut 3 – 4″ x 4″ squares
- Yellow fabric: cut 5 – 4″ x 4″ squares
- Green fabric: cut 7 – 4″ x 4″ squares
- Blue fabric: cut 8 – 4″ x 4″ squares
- Violet fabric: cut 8 – 4″ x 4″ squares
Sewing the HST Sets
I use this method to create the HST sets with a slight twist. You’ll need a small quilting ruler, fabric-safe pens or pencils that will disappear (test on a scrap piece to be absolutely sure), pins, your stacks of cut squares, and the list of HST sets below.
First, create the HST sets by pairing the colored squares together as listed below (each set contains two squares listed by color). For instance, the first set on the list is white/white = 13 sets. This means that you need 13 sets of two white squares paired together. Make sure when pairing like colors that you mix up the two fabric squares so that they are different!
- White/white sets = 13 total
- Black/black sets = 15 total
- Black/red set = 1 total
- White/orange set = 1 total
- Orange/orange = 1 total
- Black/yellow = 1 total
- Yellow/yellow = 2 total
- White/green = 1 total
- Green/green = 3 total
- Black/blue = 2 total
- Blue/blue = 3 total
- White/violet = 2 total
- Violet/violet = 3 total

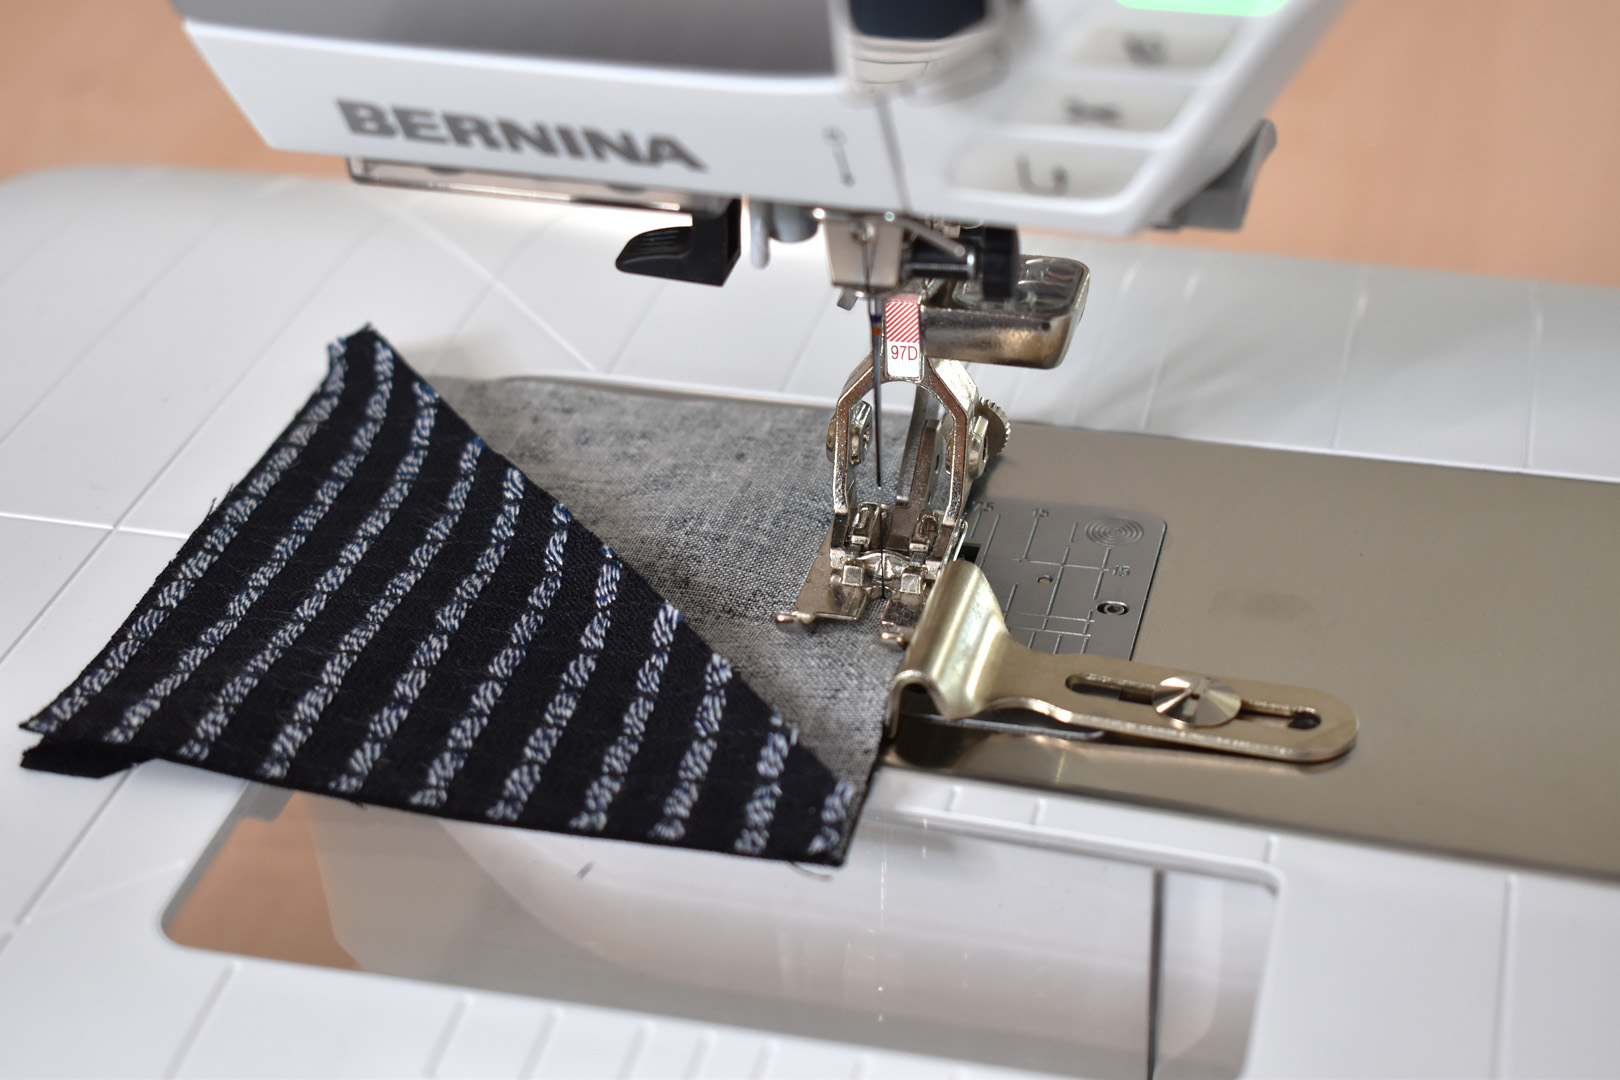
For each set of two squares from the list above, draw a straight line on the lighter square across opposite corners. If you are using a quarter-inch patchwork foot (BERNINA has an entire collection to choose from) you can align the foot on each side of this line to create the two scant quarter-inch seams. Just add a pin on each side of the line to hold the two squares in place as you sew.
I’m adding an additional step to follow a drawn line in order to compensate for a vision issue that makes it difficult for me to align the edge of my Patchwork foot #97D to this center line.
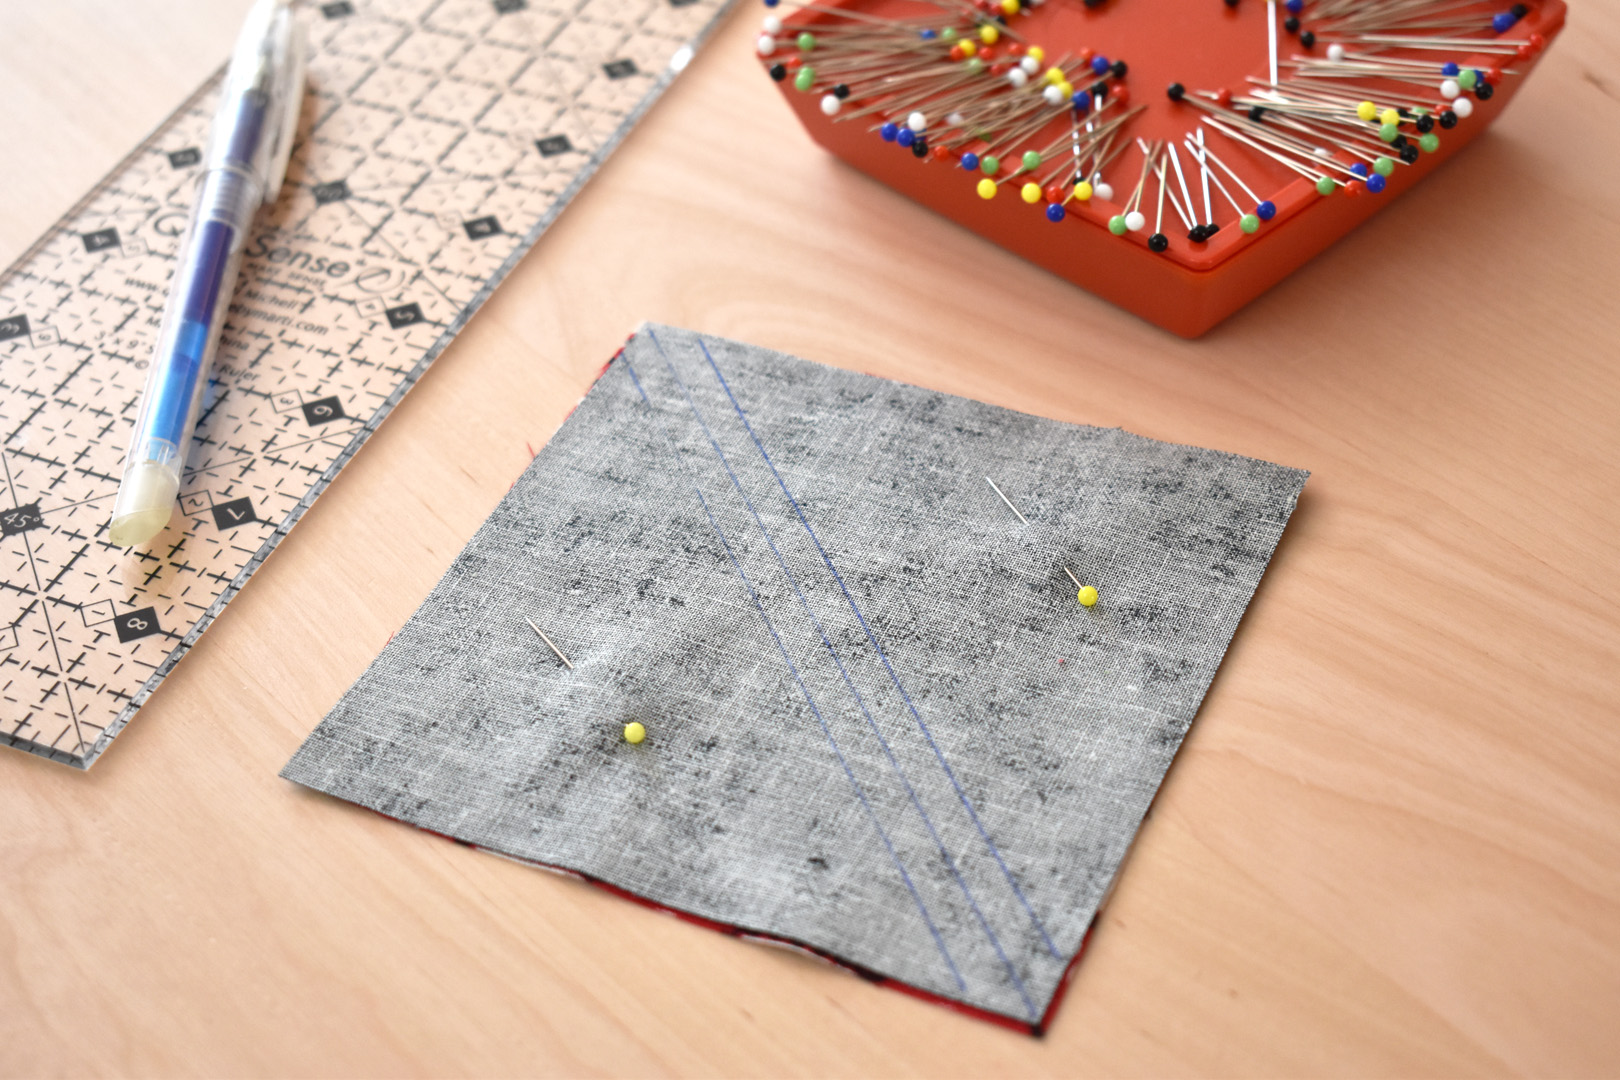
I use the ruler to measure a scant quarter-inch from the center line and mark this with my fabric marking pen. I also add two pins on either side of the lines to hold the squares in place as I sew. I make sure the pins are set wide so I don’t have to remove them while sewing.
After marking and pinning all the HST sets, divide them into two piles; one pile for white squares and light colors, and one pile for black squares and dark colors. Now let’s get ready to string piece these HST sets.
Set up your sewing machine with a straight stitch needle plate, a new sharp or microtex needle in a 75/11 or 80/12 size, and a straight stitch or patchwork foot.

I am using Patchwork foot #97D that works in conjunction with Dual Feed. Start with the white thread, winding a fresh bobbin and threading up the machine.

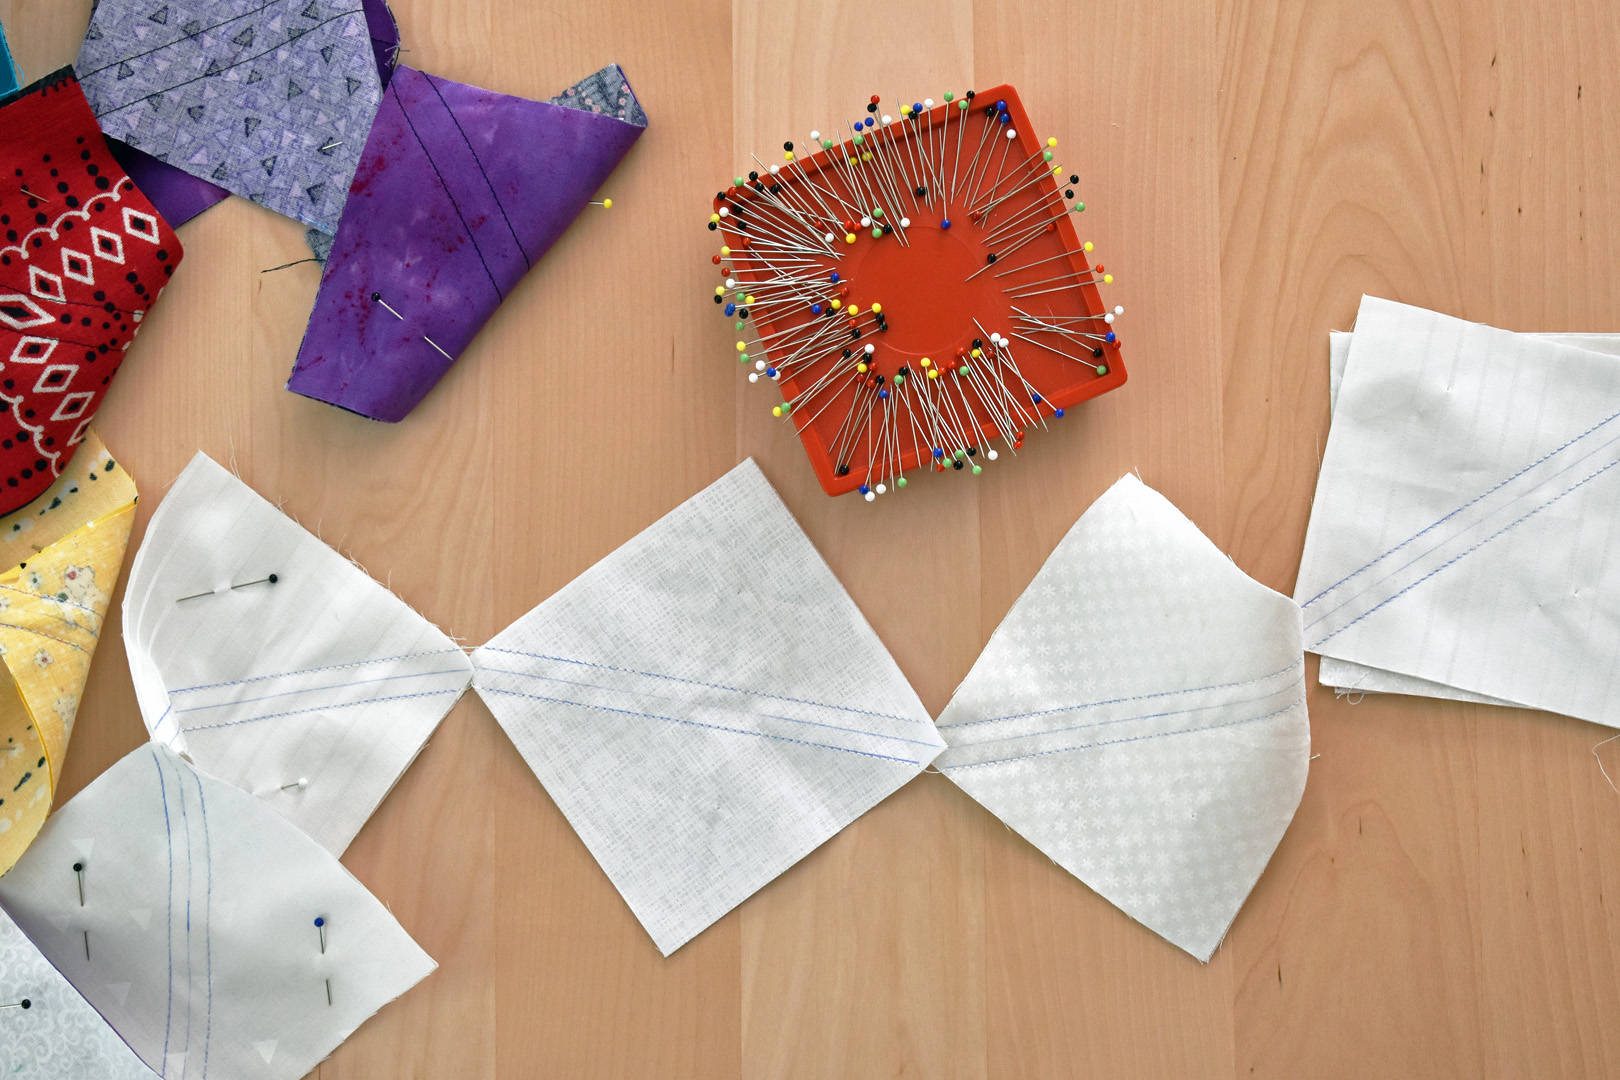
I’m going to show you how to chain piece all of these sets together. This method saves time when sewing together lots of patchwork pieces at the same time. You will need the set of white and light colored HST sets and one scrap of fabric to be the “leader”.
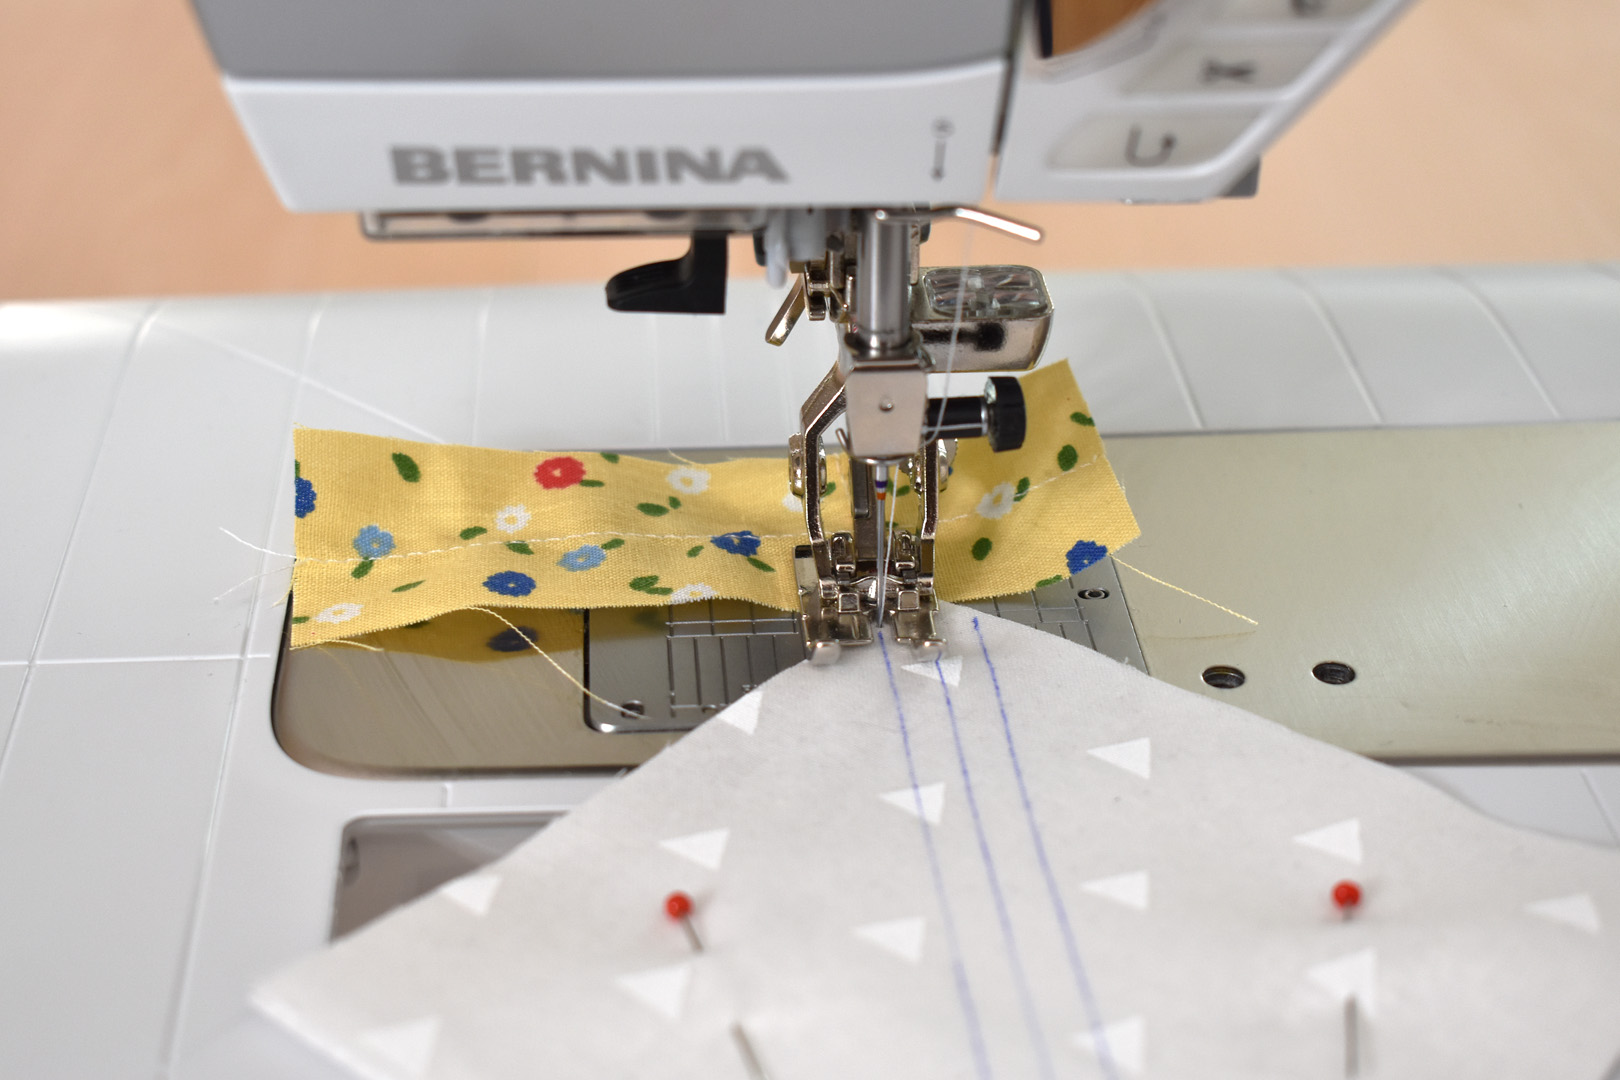
The leader scrap helps you by beginning to sew and avoid any thread issues on the first piece of patchwork. Begin by taking a few stitches on the leader, then align the first piece of patchwork up with the needle. Make sure you will follow the same stitching line (either right or left of the center line) for all pieces that follow.
Continue by adding the next HST set under the needle until finished sewing all the sets in your pile. Next, start at the beginning again and sew down the other side of the centerline.
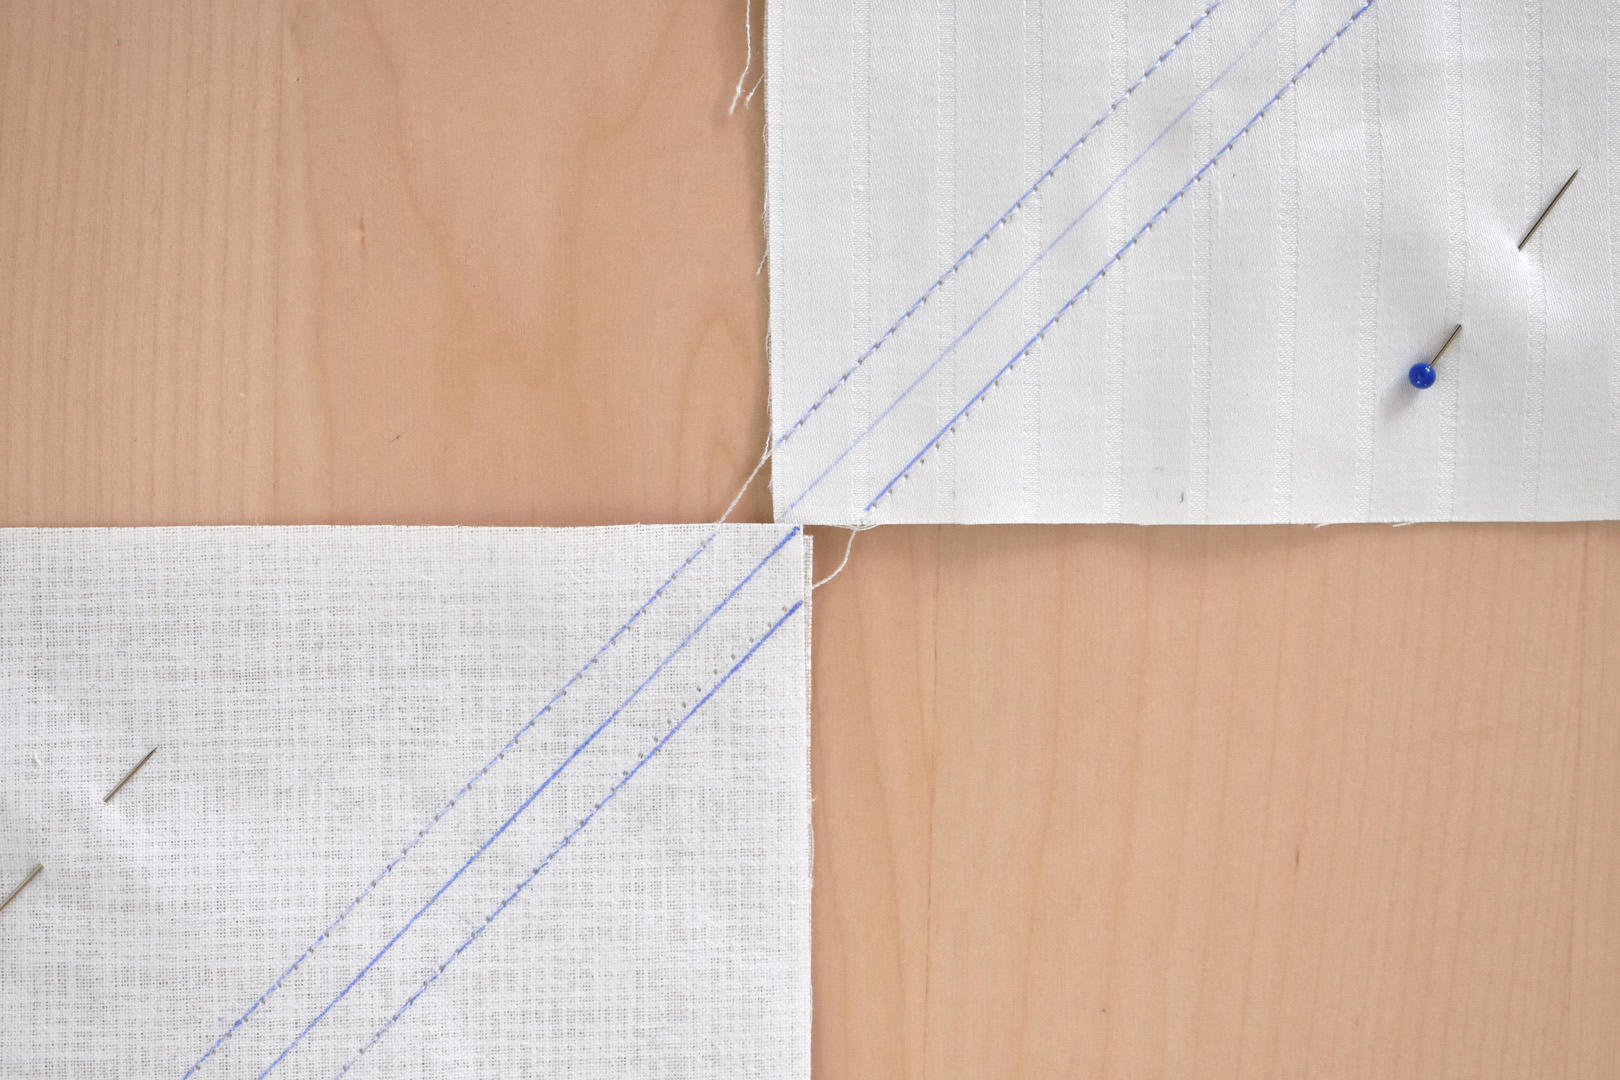
When finished string piecing both seams in the lighter color HST set, you’ll have a long string of patchwork held together by these little thread chains in between.
Switch thread colors to the black thread and follow these same steps to string piece the dark HST sets. When all sets have been stitched, move on to the next steps.
Remove the pins and clip the thread chains holding the string of HST sets together.
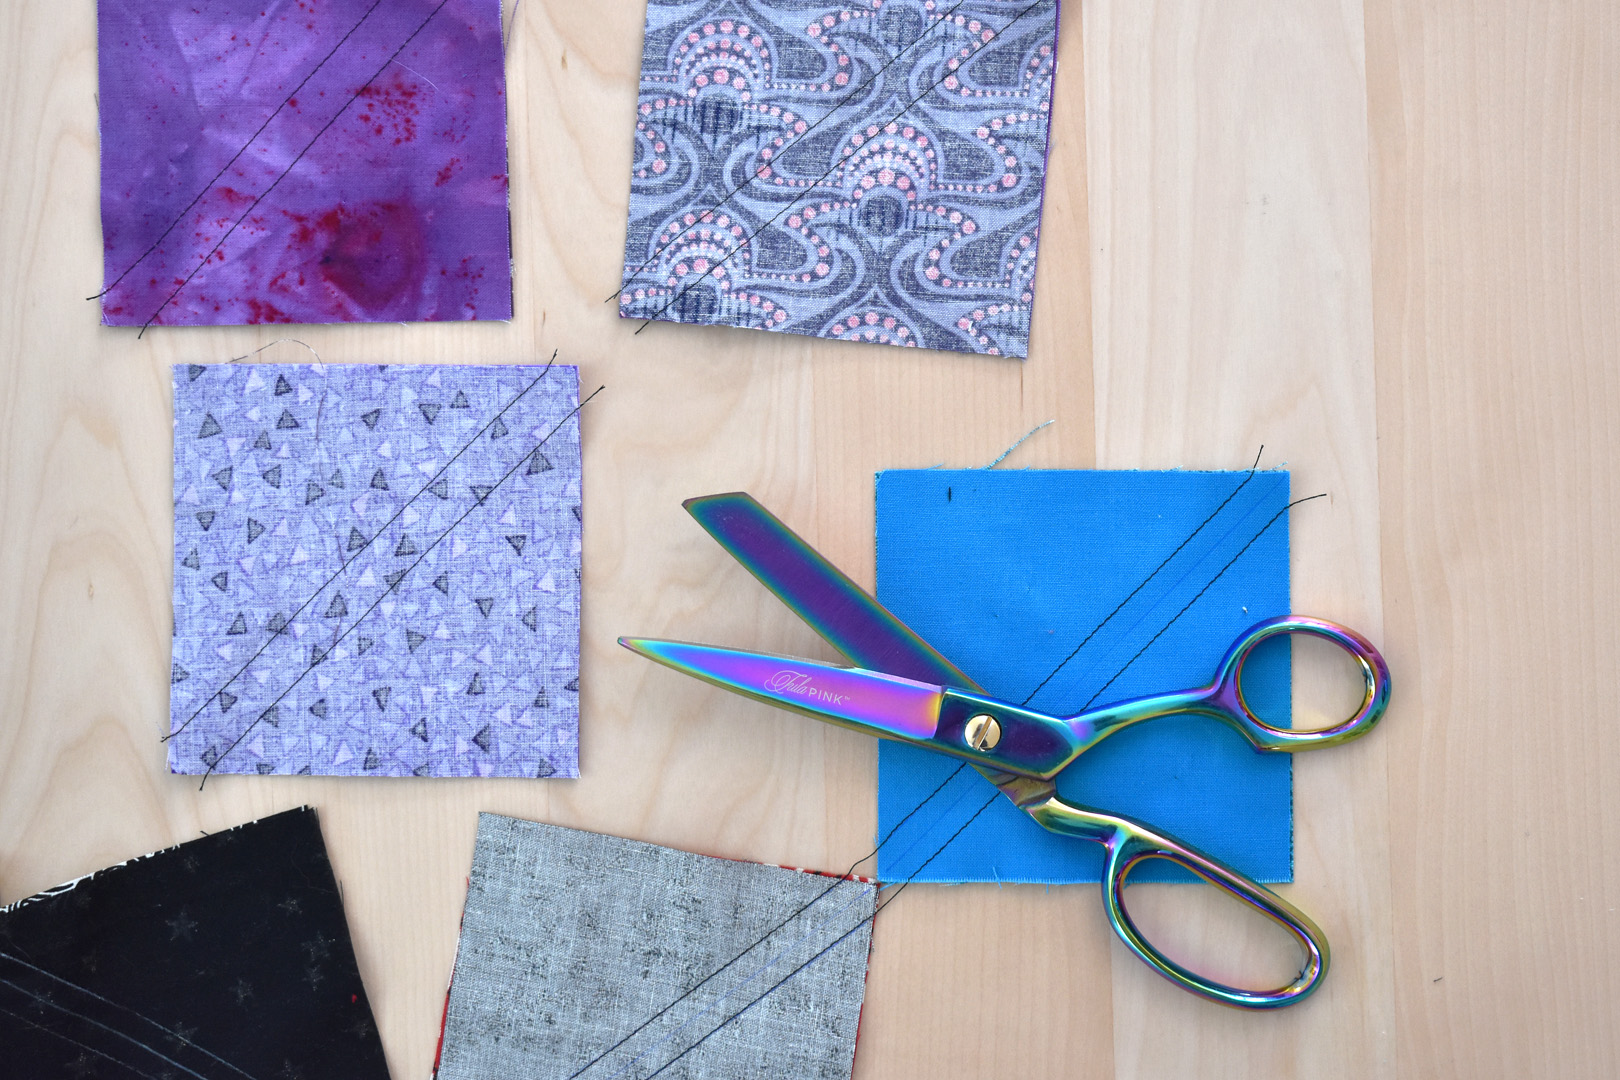
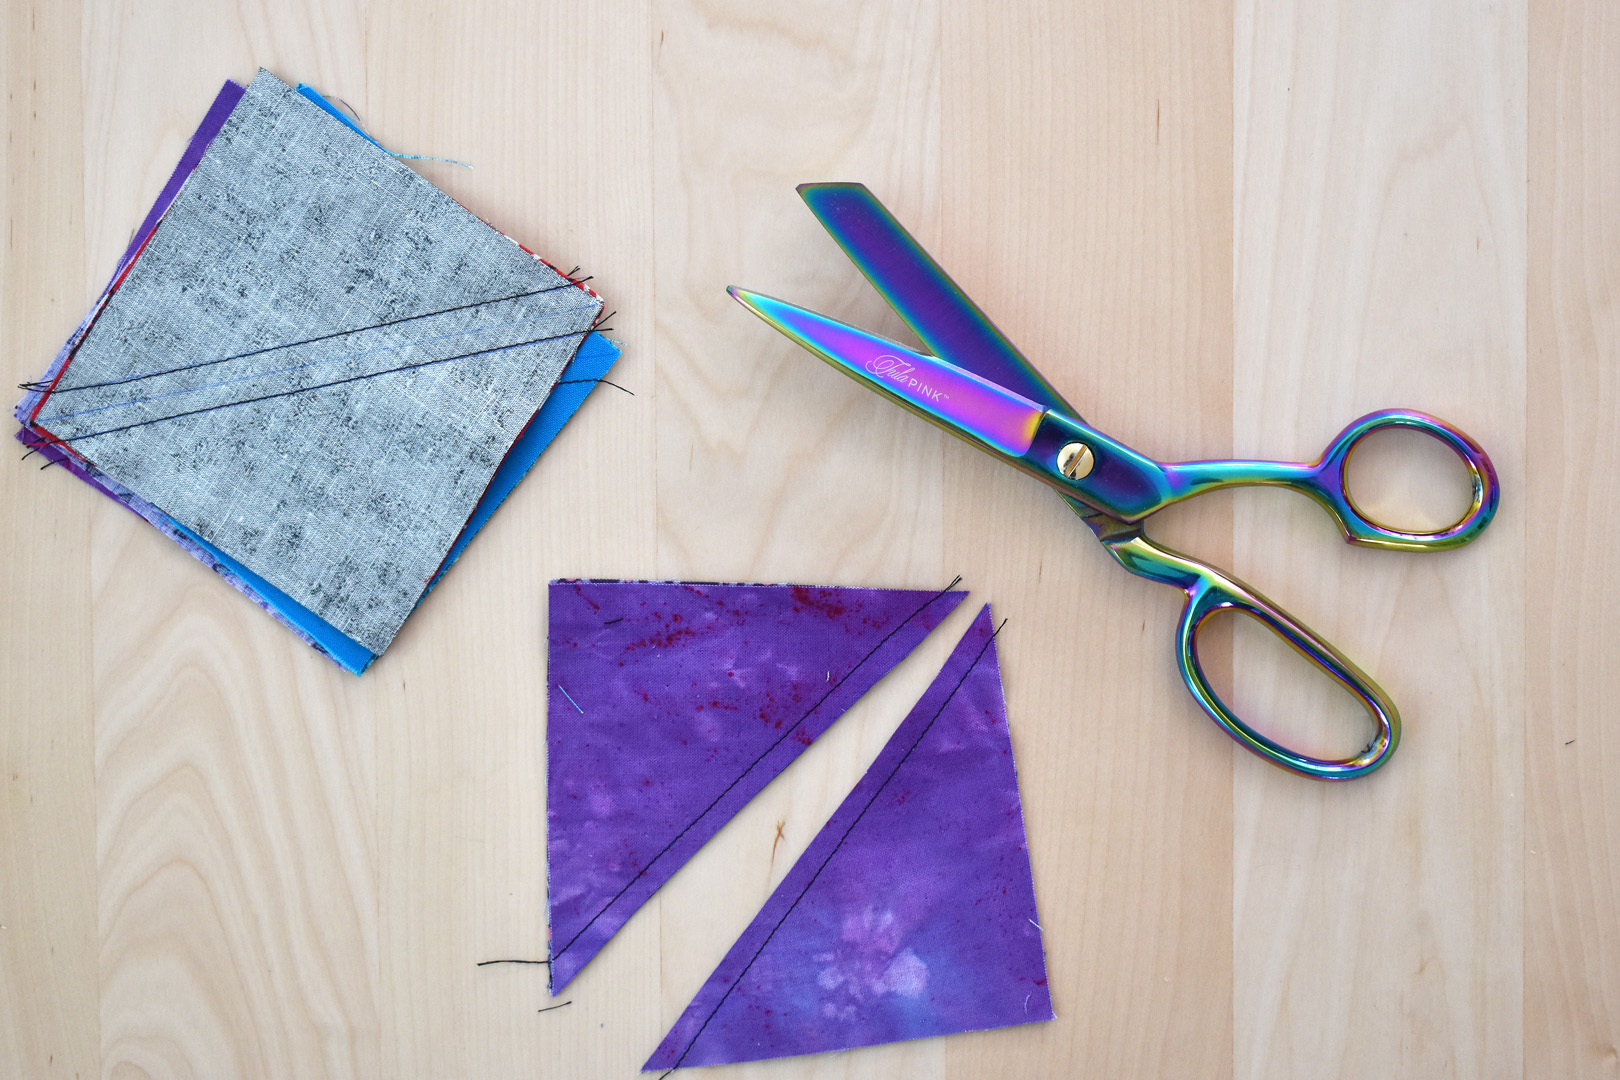
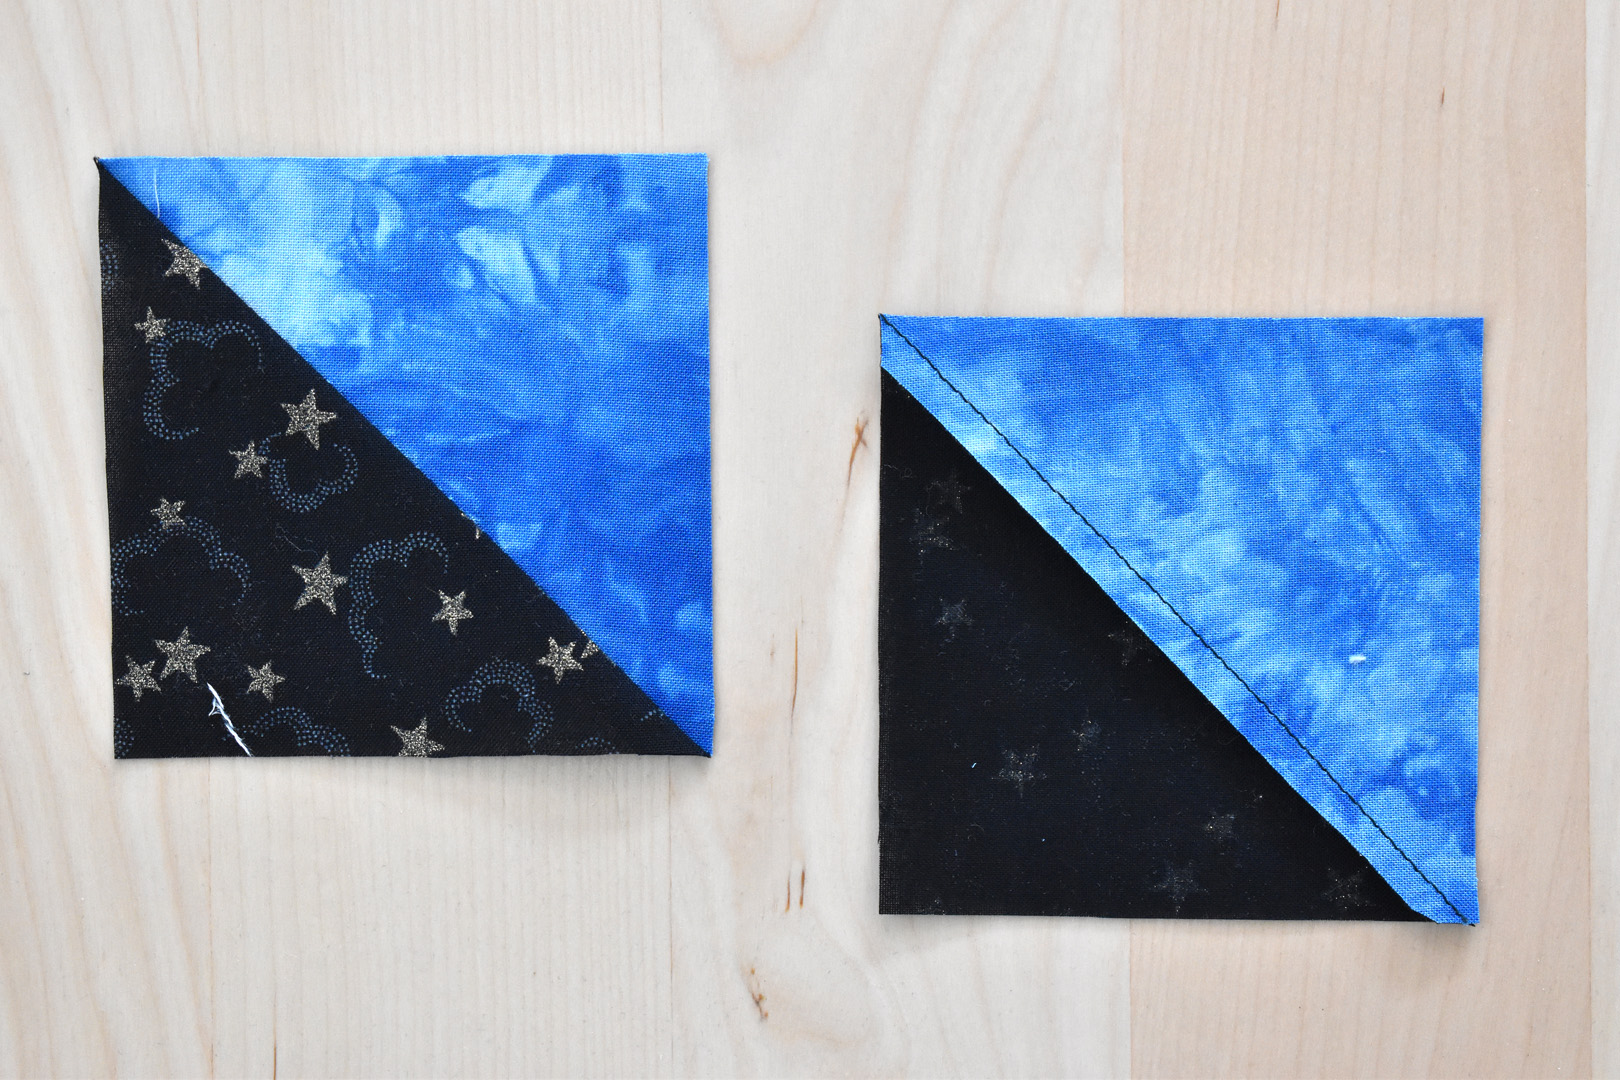
Cut each HST set apart along the centerline with either fabric scissors or a rotary cutter/cutting mat and straight edge.
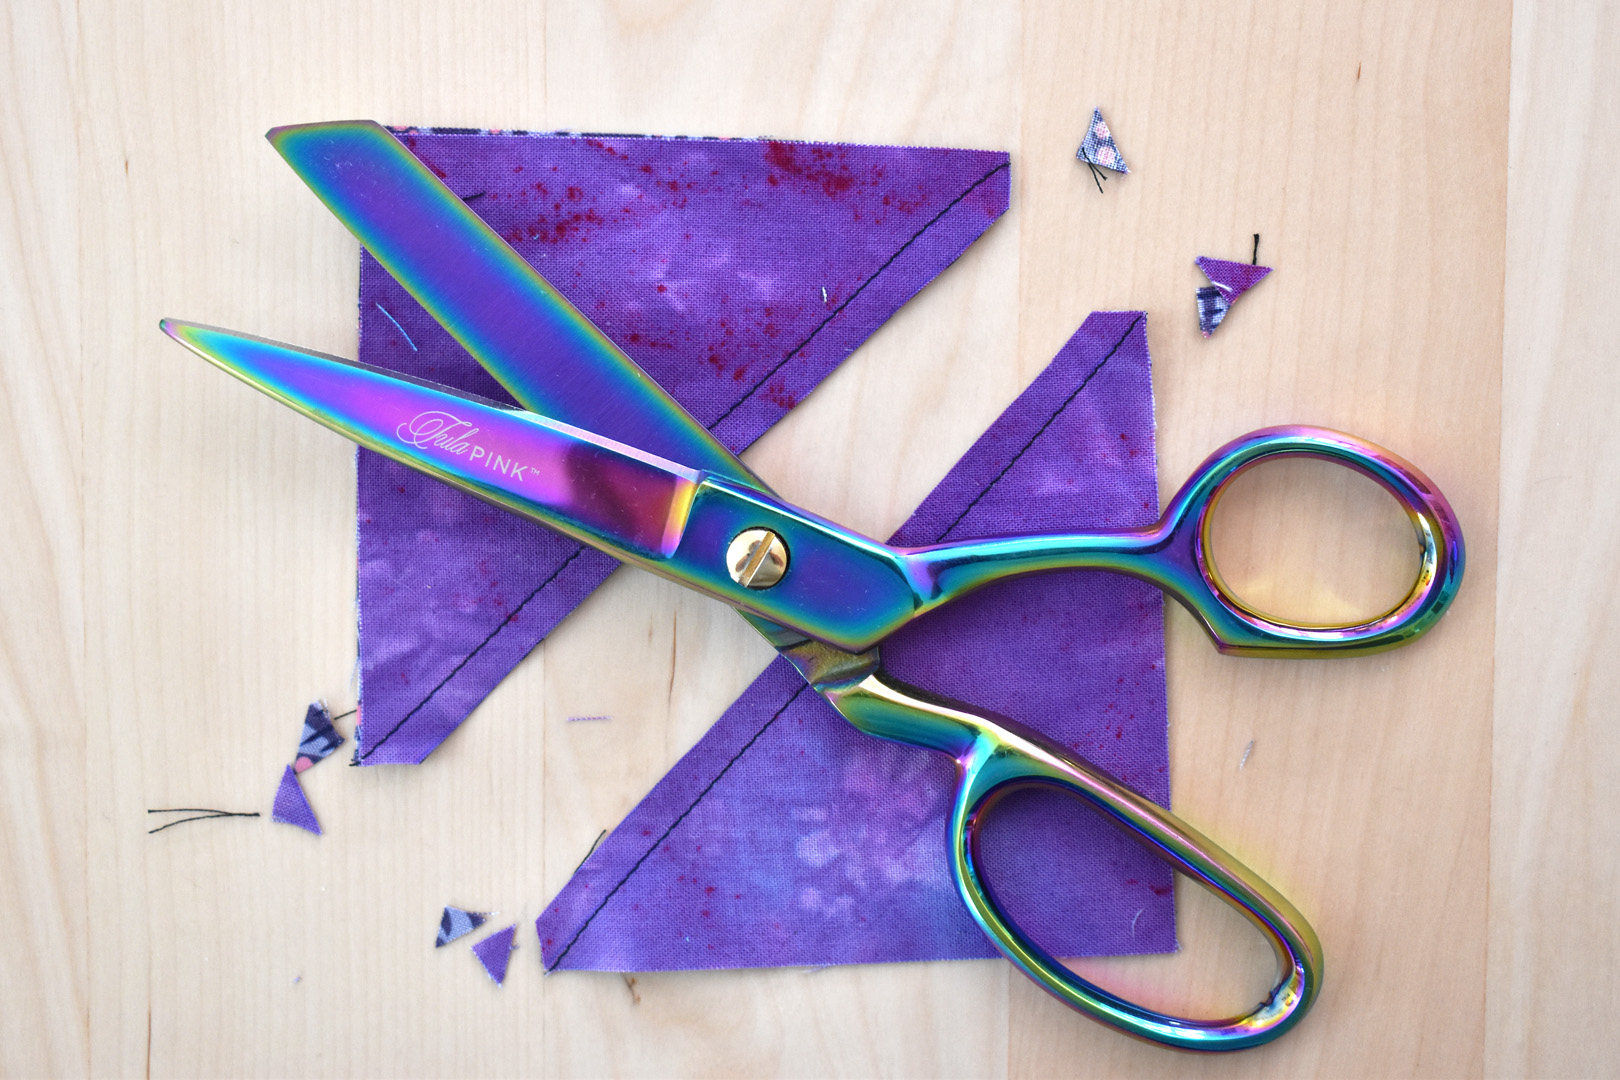
Optional: you can either trim your HST’s after pressing to remove the dog-ear points and check that they are square, or you can skip this step and simply cut the points off the seam allowance in each HST. I tend to clip these points now, then do a quick check after pressing as most of my HST’s are spot-on.
I’ll show you how to check/trim your HST’s after pressing.
Press all the HST’s open with a hot iron. First, press the seam flat, then open the HST and press the seam allowance towards the darkest triangle.
Here’s how to check/trim your HST’s. I use a square 7″ x 7″ quilting ruler with a clear 45° line.

Line up the HST on the corner of the ruler, making sure the 45° mark is aligned with the center seam. The back edge of the HST should line up with the 3 1/2″ mark and should be square.
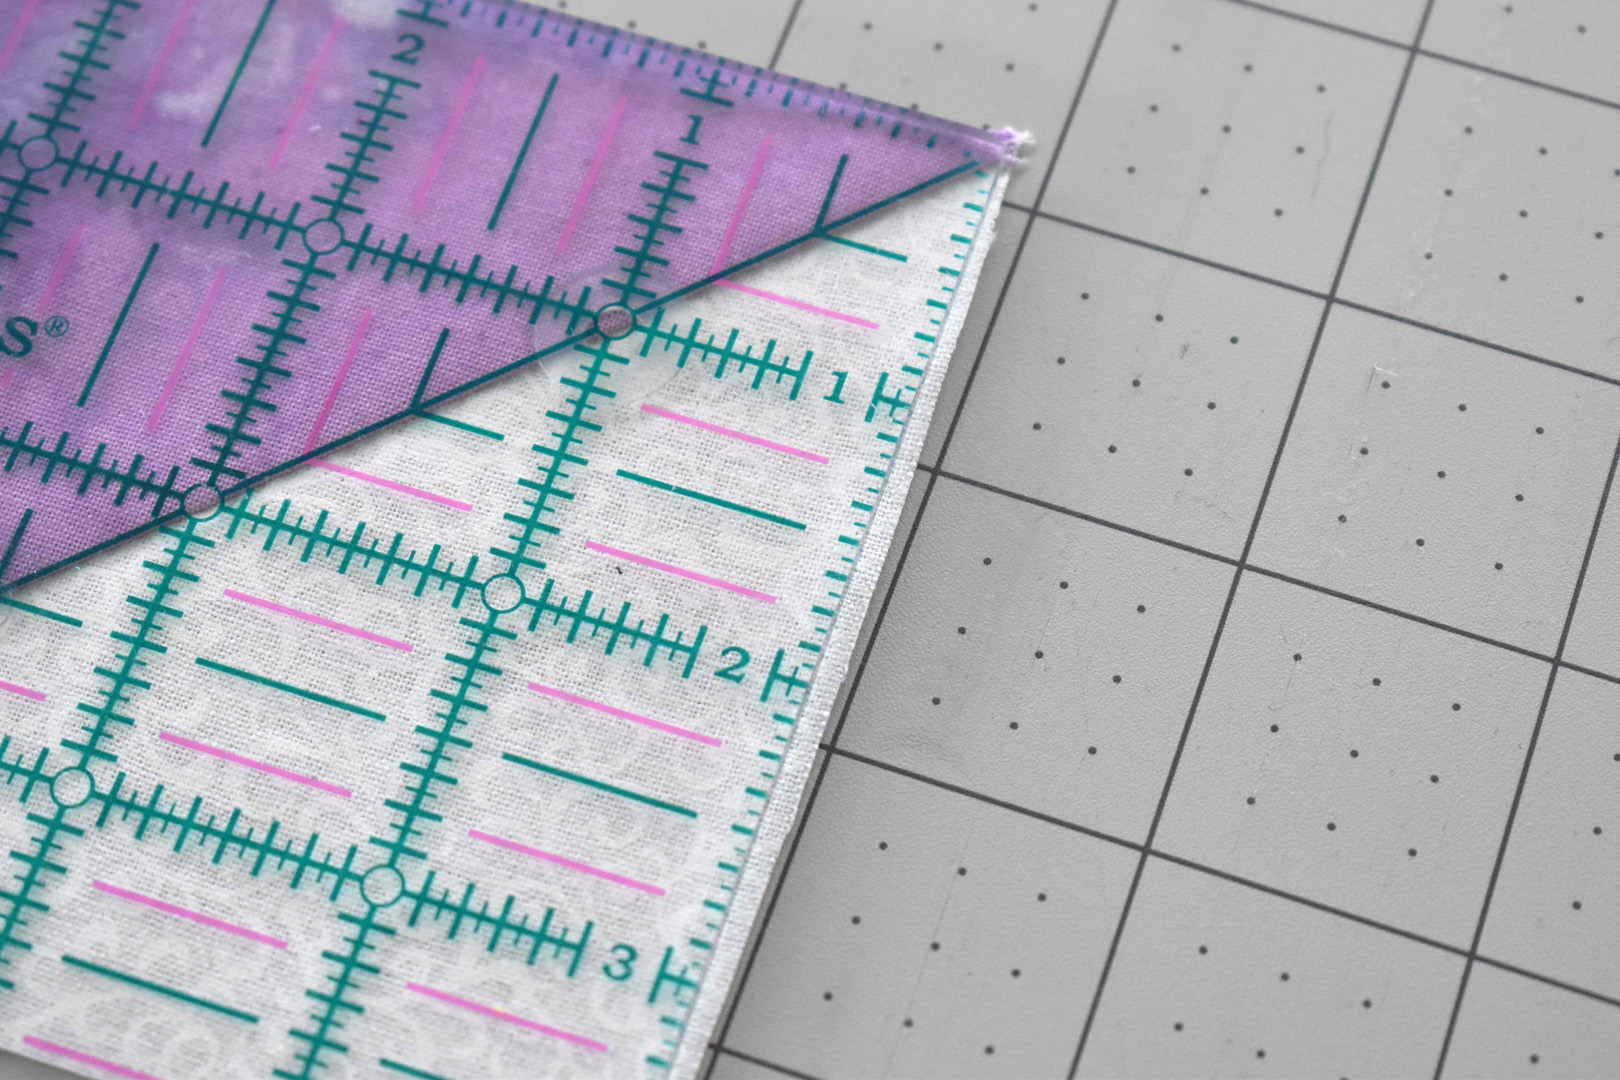
Check the other two sides of the HST with the edges of the ruler. If there is a lot of overhang, trim it down. Just make sure that you are trimming all HST’s to the same size, so for instance if you end up cutting a few wonky squares down to 3 1/4″ from 3 1/2″, then trim ALL of your HST’s to 3 1/4″ to assure accuracy when sewing all the squares together.
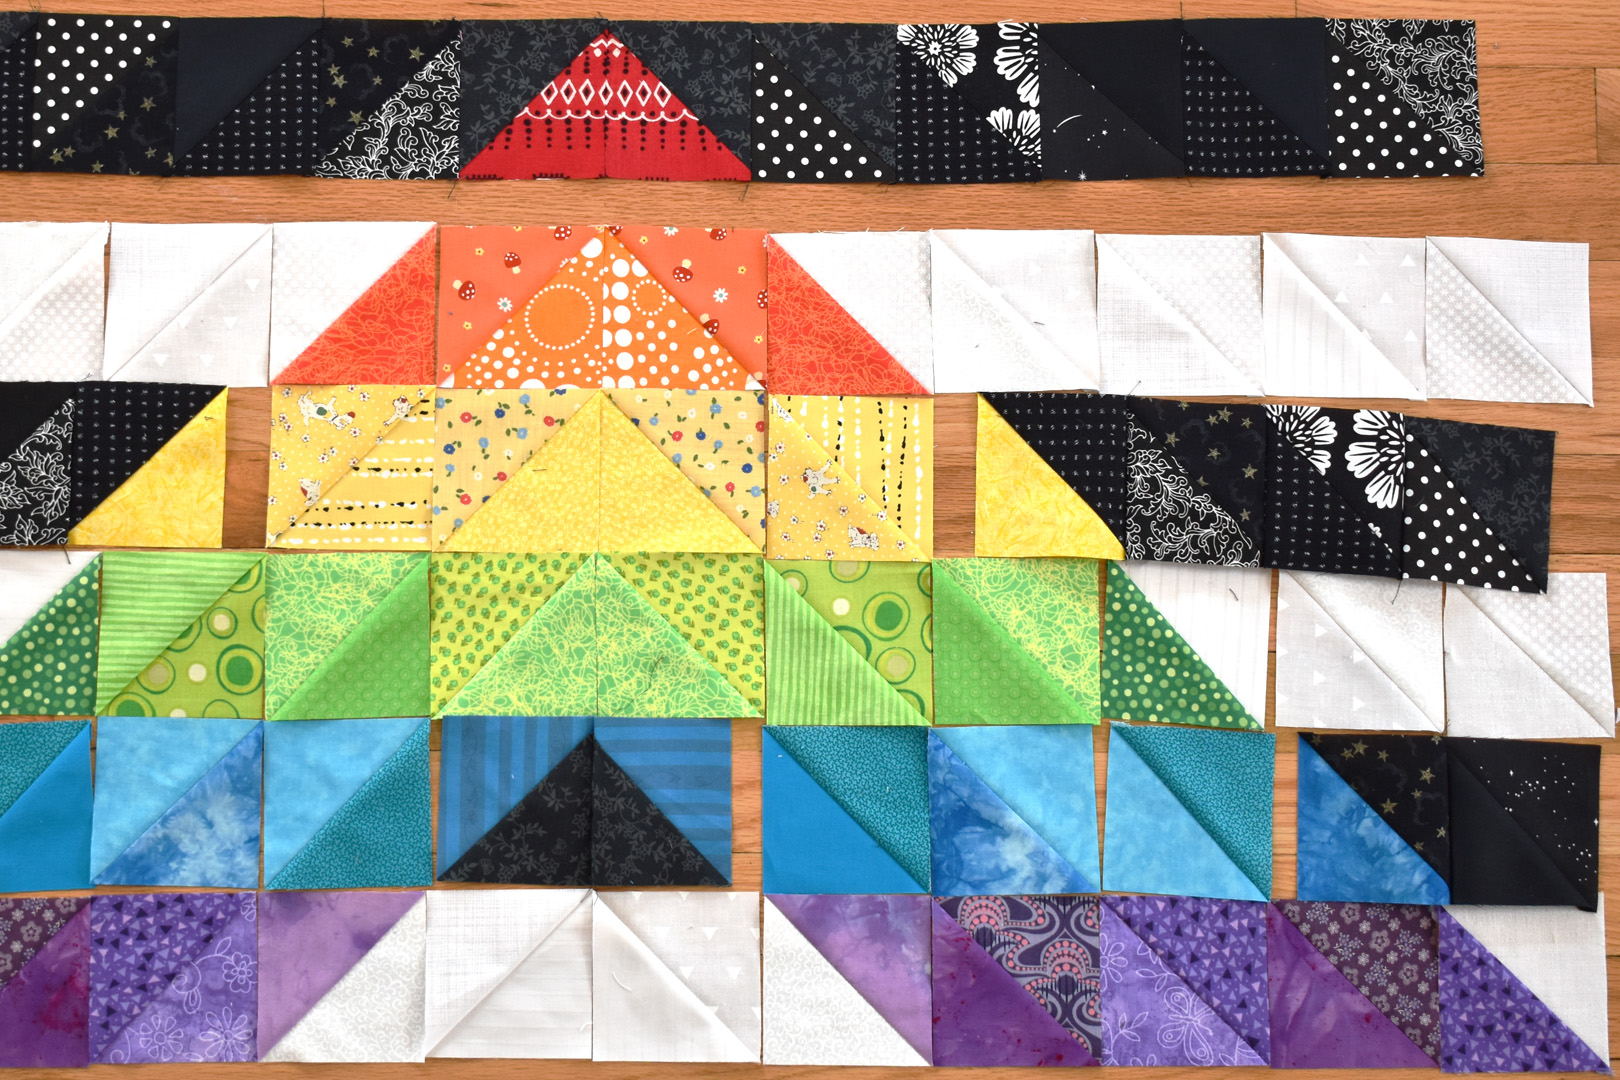
Laying out the patchwork HST squares.
Now it’s time to design the quilt! Please read through all layout instructions, as the photo below shows only rows 2-7. I added to row 1 of all white and row 8 of all black last. Here is a list of HST’s needed to design each row:
- Row 1: White (not shown below)
- Row 2: black/red
- Row 3: white/orange
- Row 4: black/yellow
- Row 5: white/green
- Row 6: black/blue
- Row 7: white/violet
- Row 8: black (not shown)
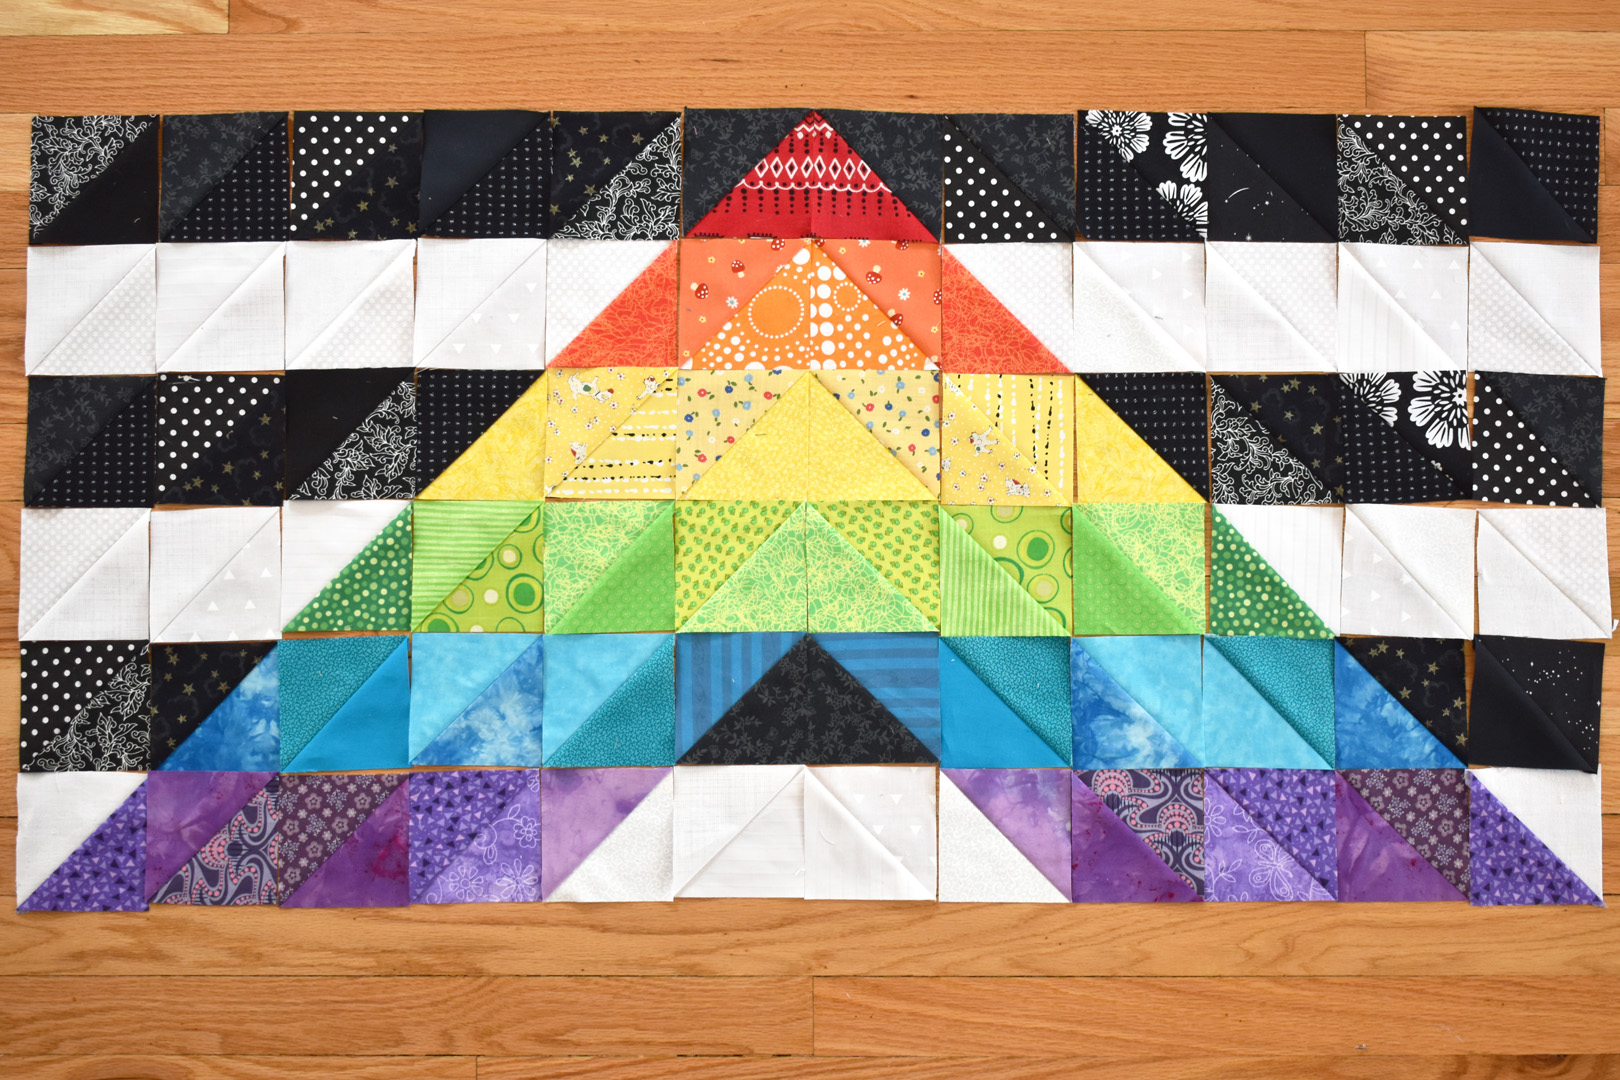
I concentrated on the middle rows first because I wanted to make sure that I did not have any black or white HST sets in this section that might be next to each other and exactly alike. I saved all other white and black HST’s to add the other rows as a last step.
HST’s have a definite direction because of the diagonal seam. I made sure that all the seams follow along in the direction of the center “A” shape.
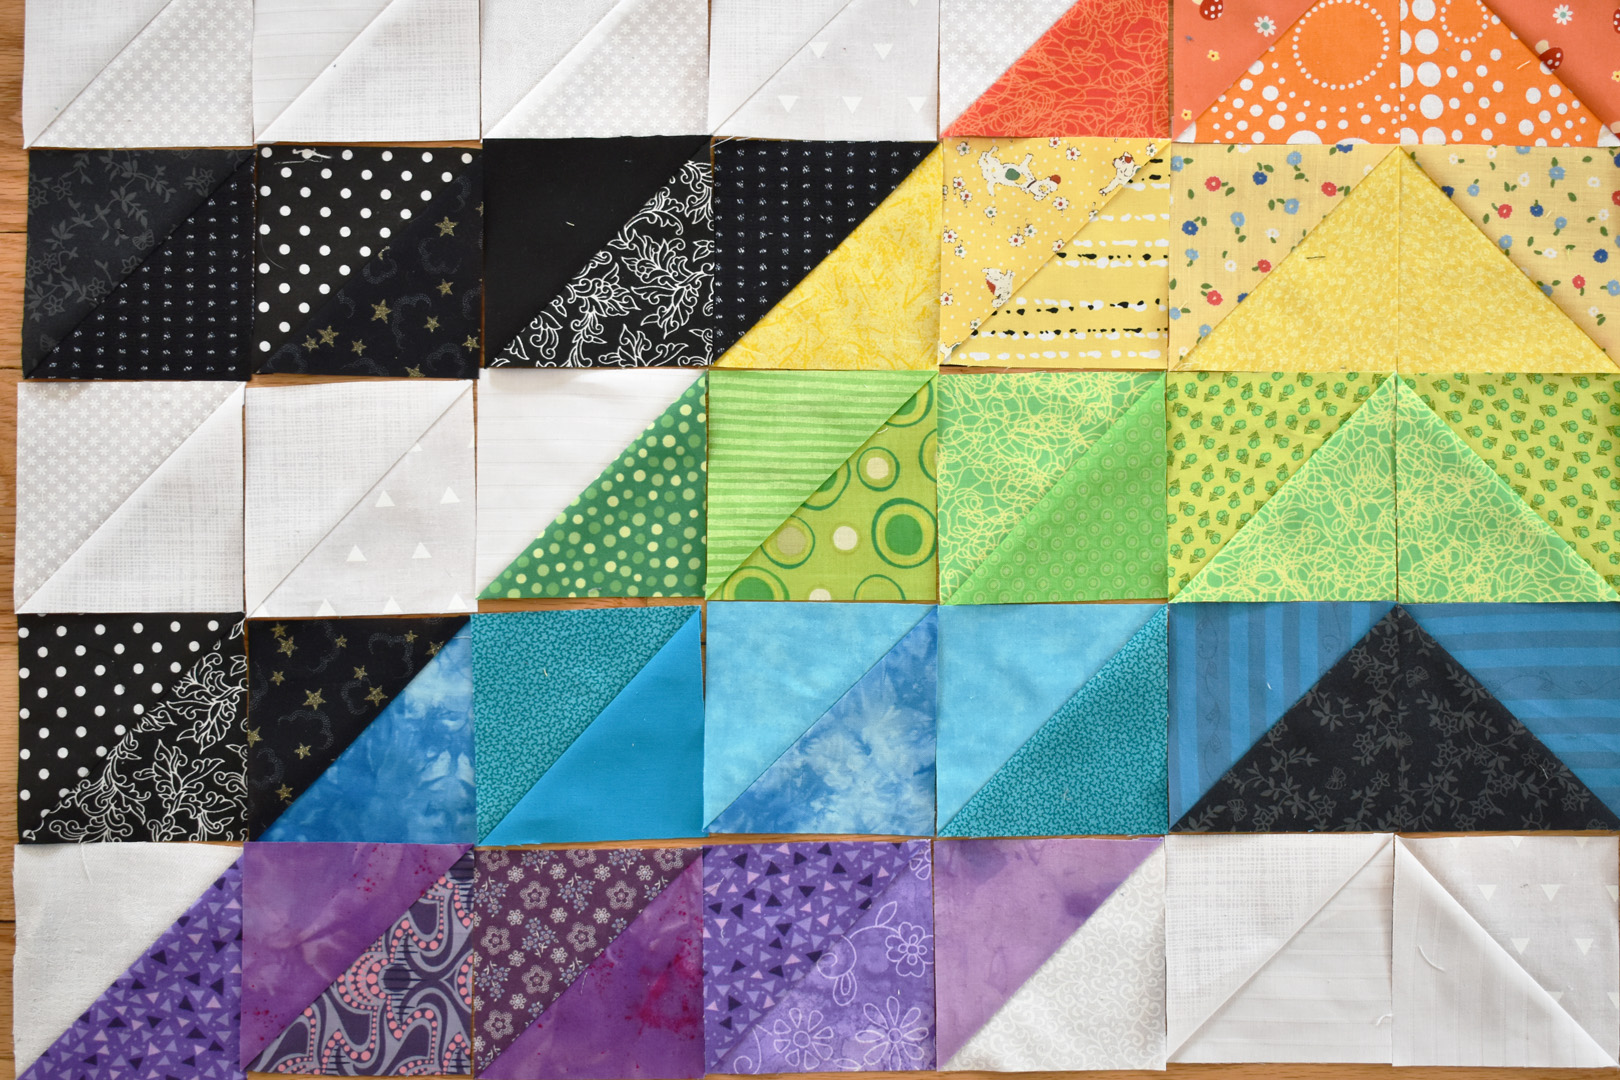
All the HST seams lead up towards the center on the left side.

And all the HST seams lead up towards the center on the right side. Once you are happy with your layout, add the top and bottom rows.
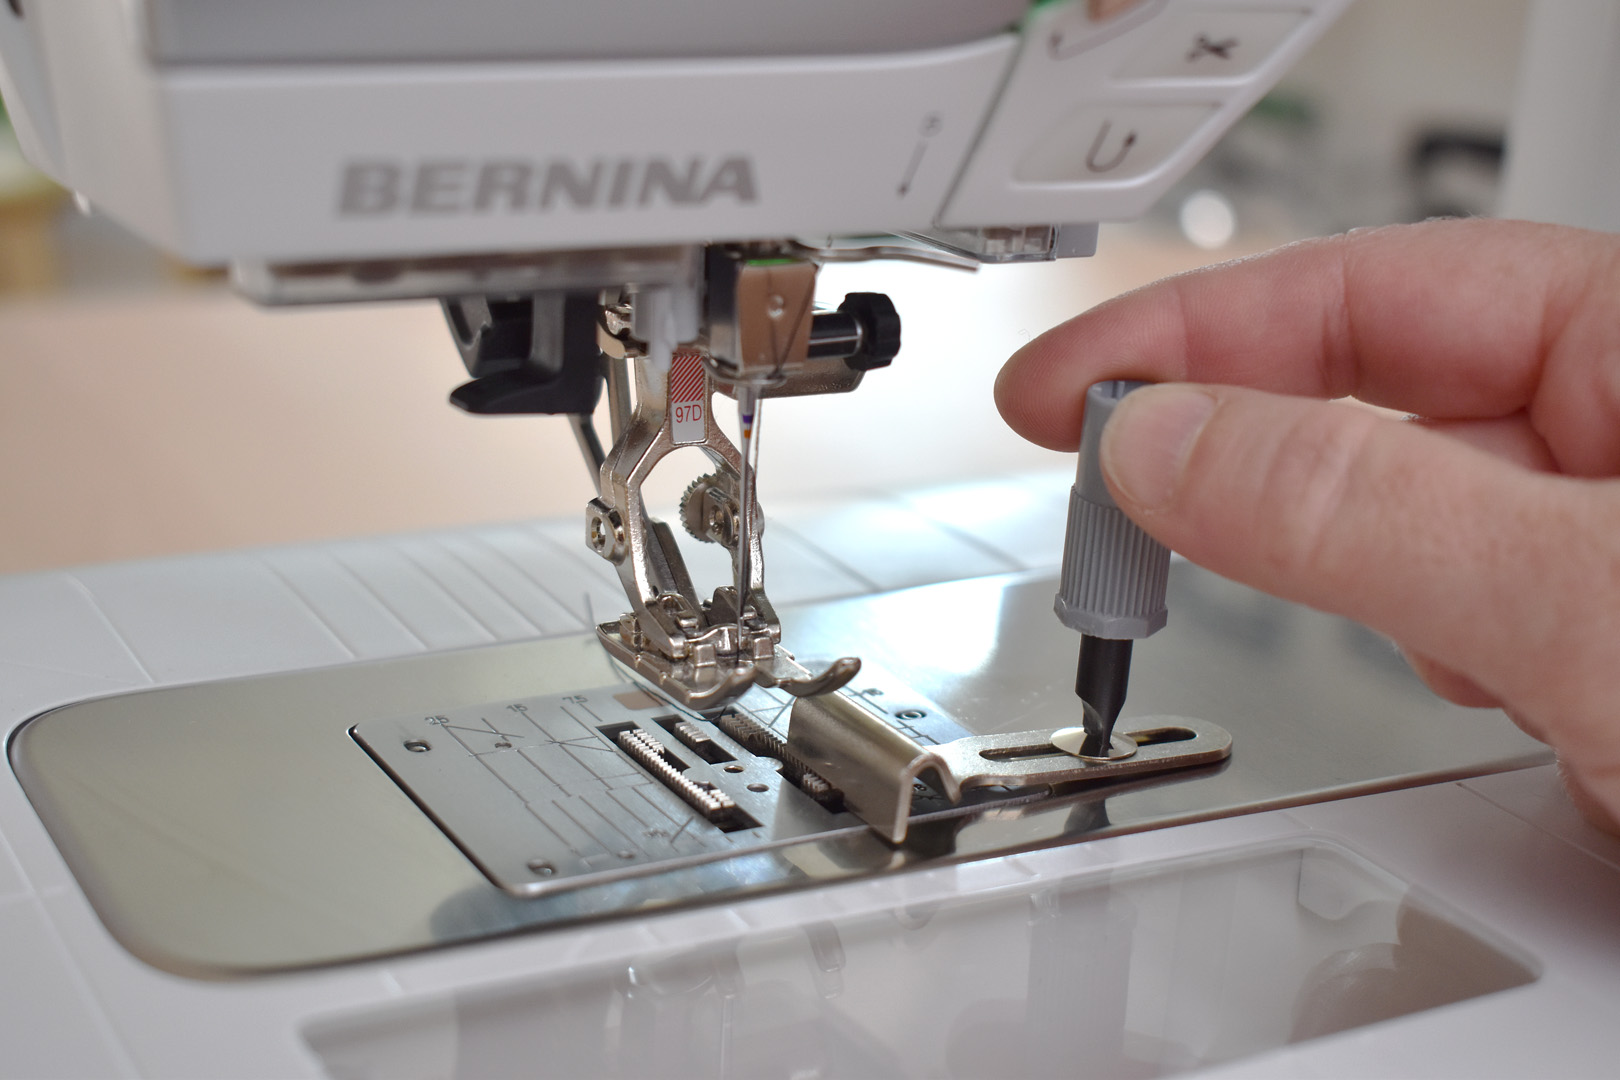
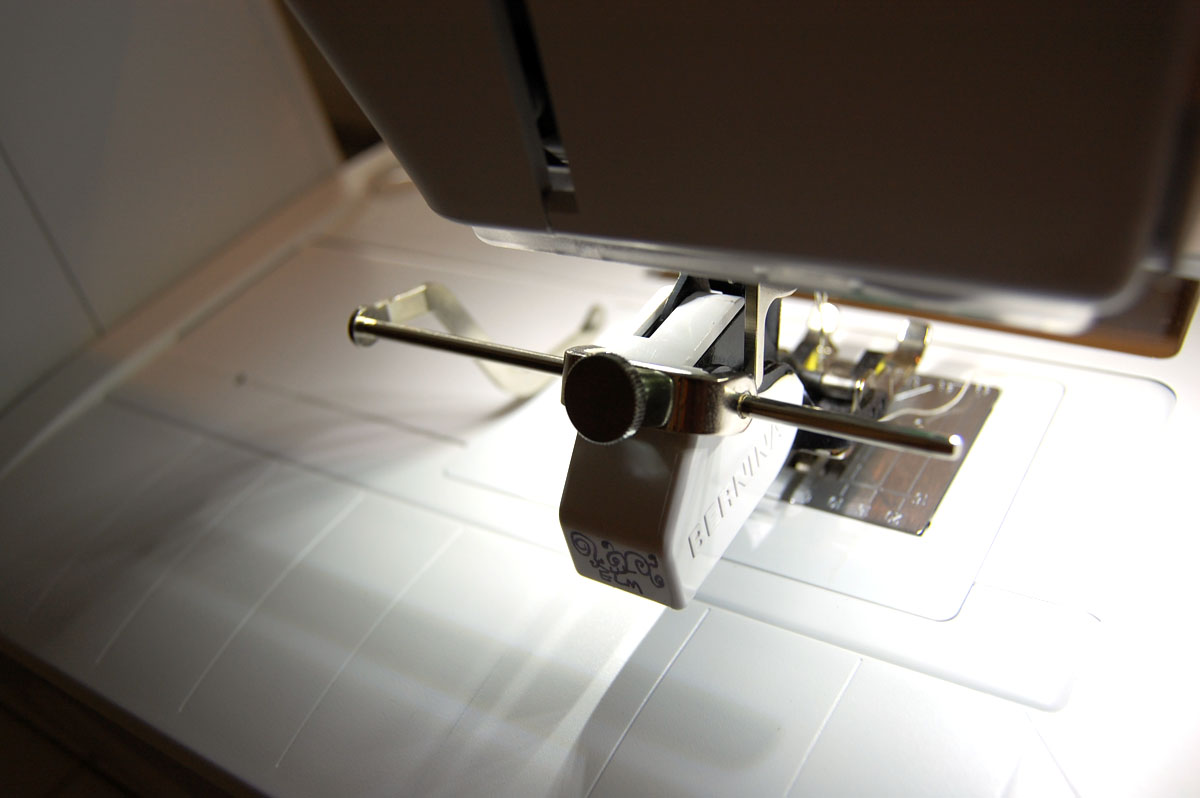
I attach the seam guide to use with my #97D foot to help me sew perfect seams through this process. The seam guide attaches to the bed of the machine with one screw and aligns with the right side of the foot.
The black thread should still be loaded on the machine from the last steps of sewing the dark HST sets together.
Sew the dark-colored HST squares together first in the design, aligning the seam edge with the seam guide. I stitched the entire row 2 (black and red) with the black thread, then stitched any squares together that included black or the darkest fabrics, and then stitched row 8 (all black).
Next, load the sewing machine with white thread to finish sewing all the rows together.
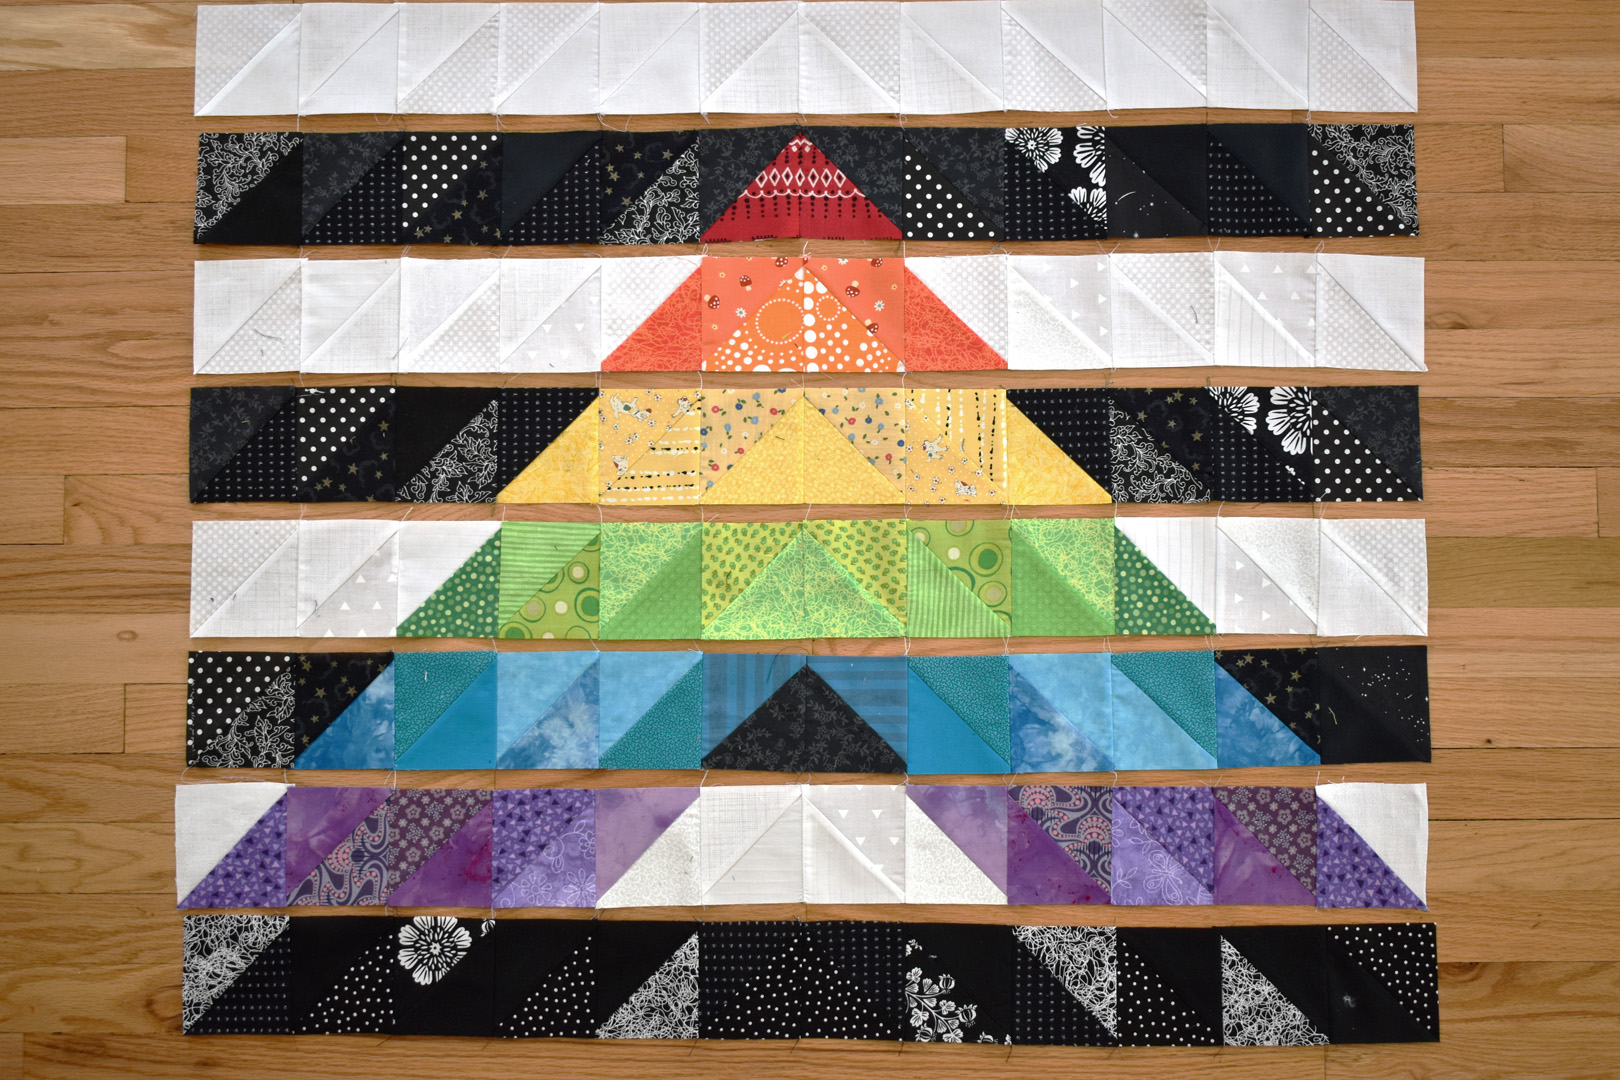
When all rows are stitched together, make sure to press the seams in opposite directions. For example, I pressed all vertical seams to the right in row 1, then to the left in row 2, and so on.

Start sewing the rows together by matching and pinning seams. I like to pin and sew two rows together at a time (row 1 + 2, 3 + 4, 5 + 6, and 7 + 8), then sew those sections together.
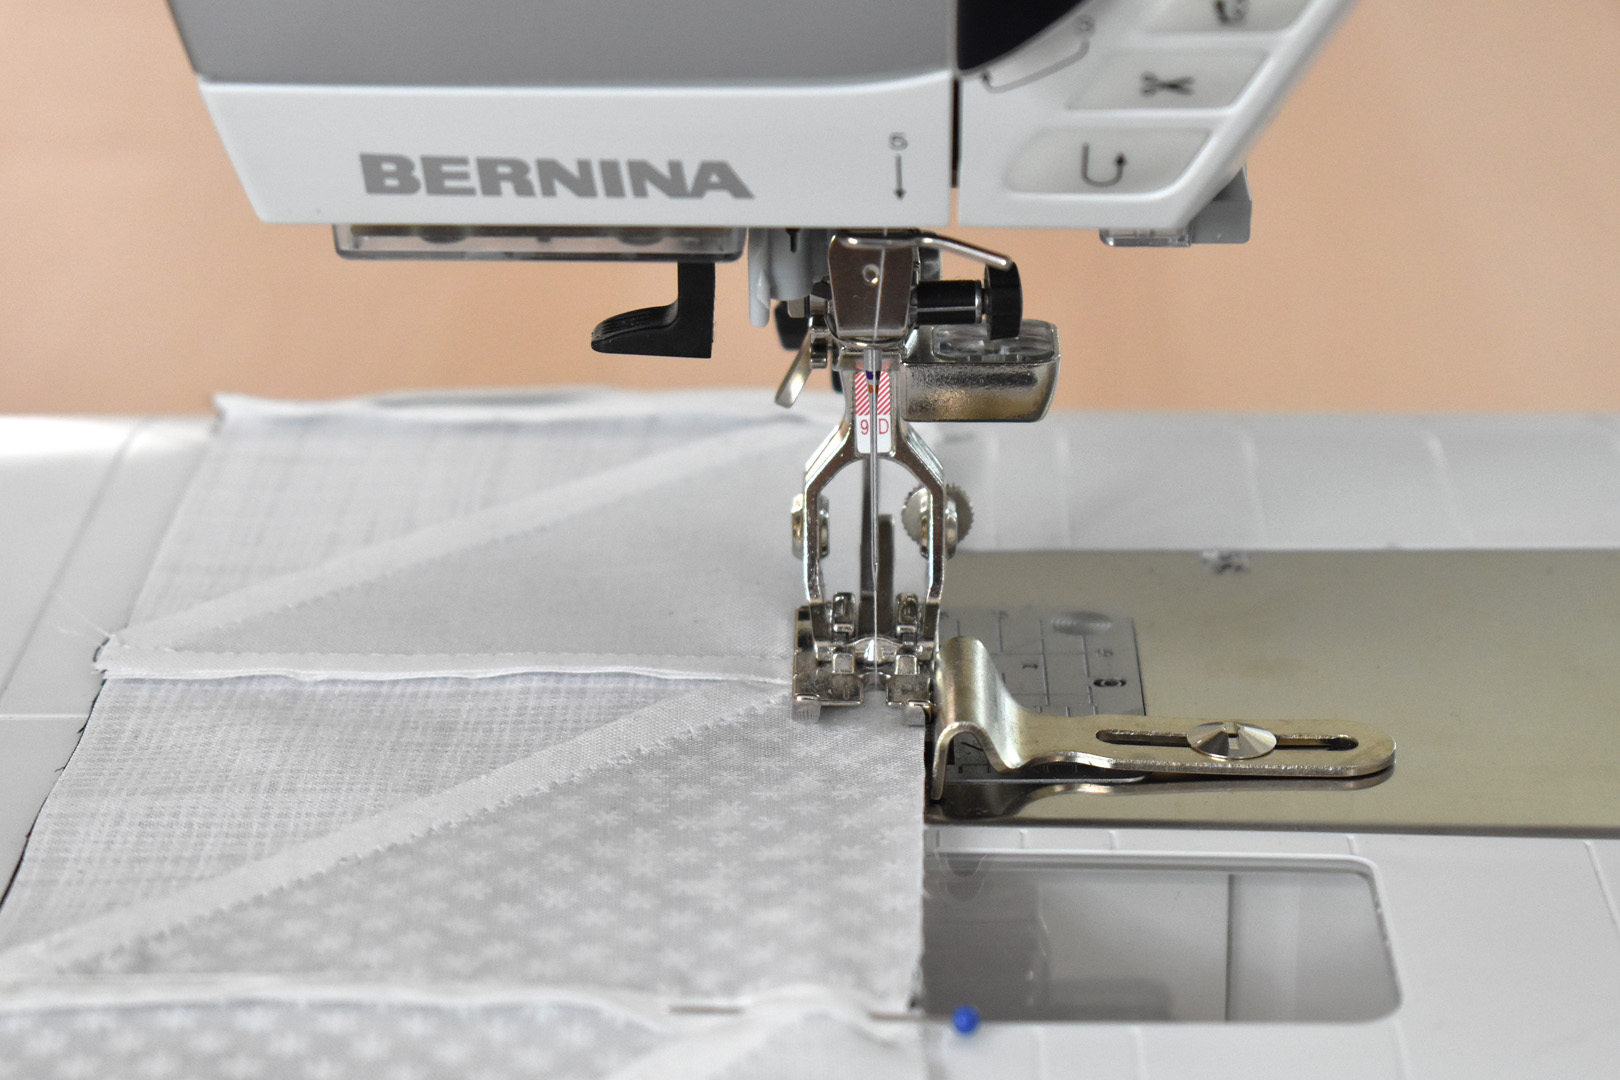
The white thread should still be loaded on the machine from the last step, complete sewing the top using this thread color. Use the seam guide when sewing the rows together by aligning the edge of the seam with the edge of the guide while you sew.
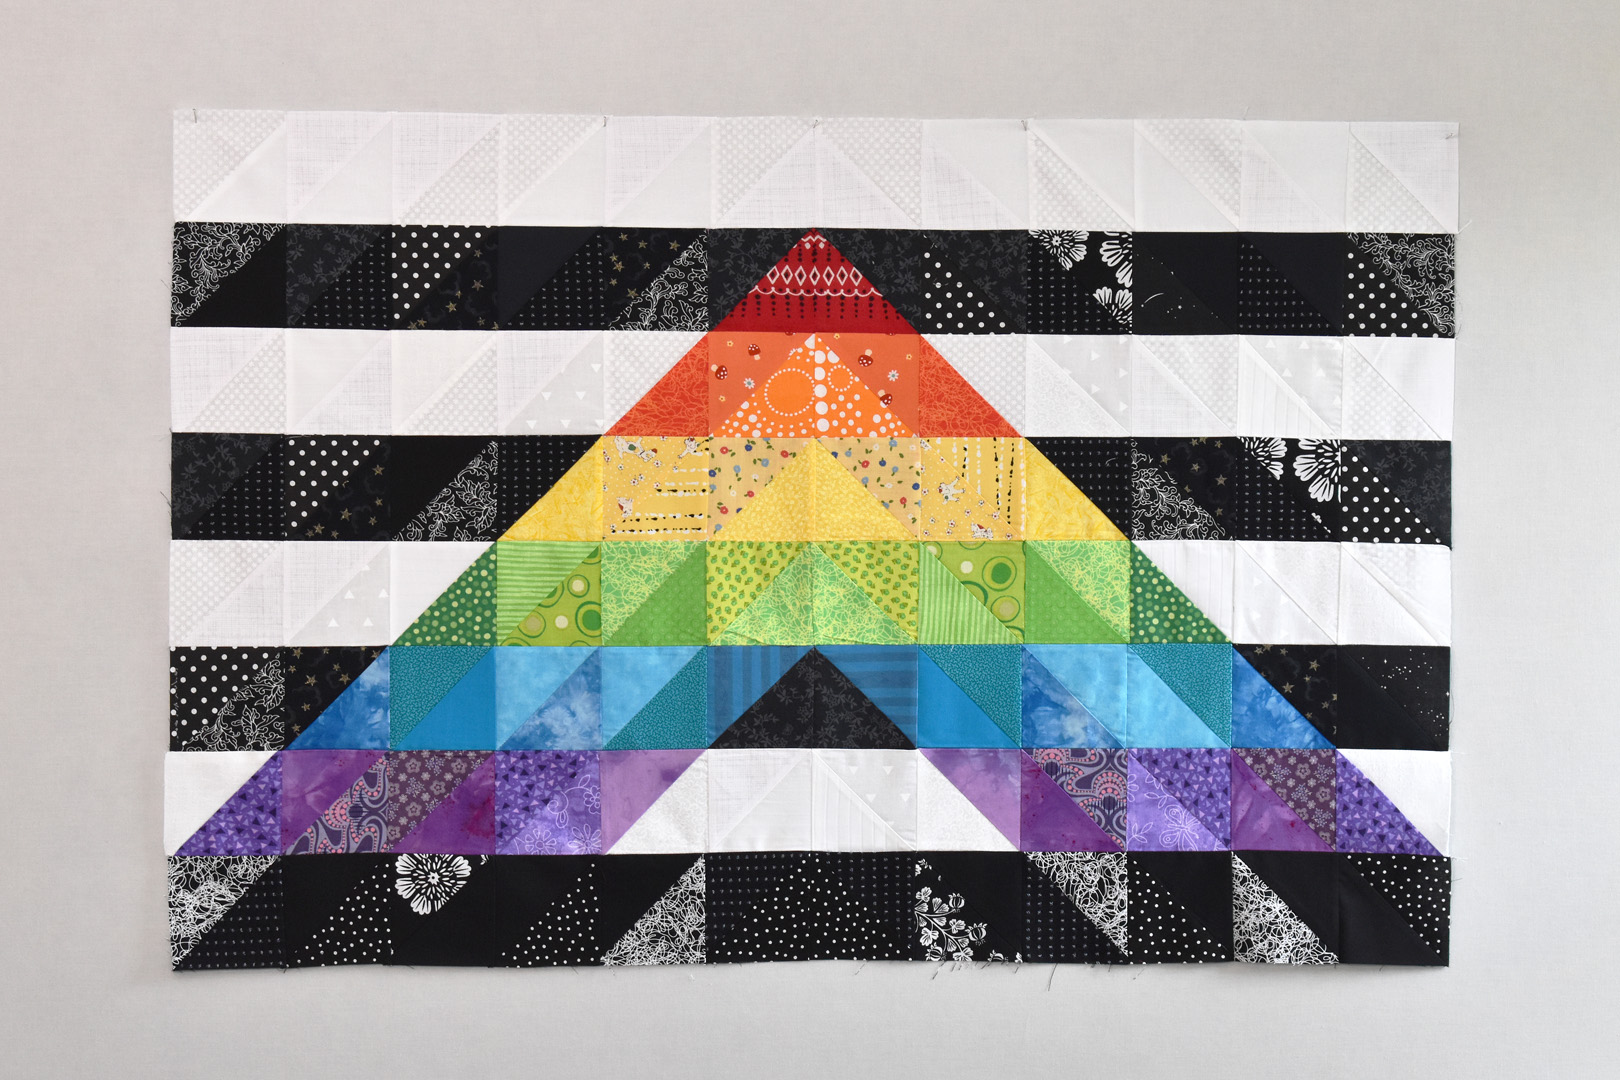
After sewing all the rows together, give the quilt top a good pressing.

The quilt top is complete! Join me in Part 2 to complete the Straight Ally Pride Quilt!
Used Products


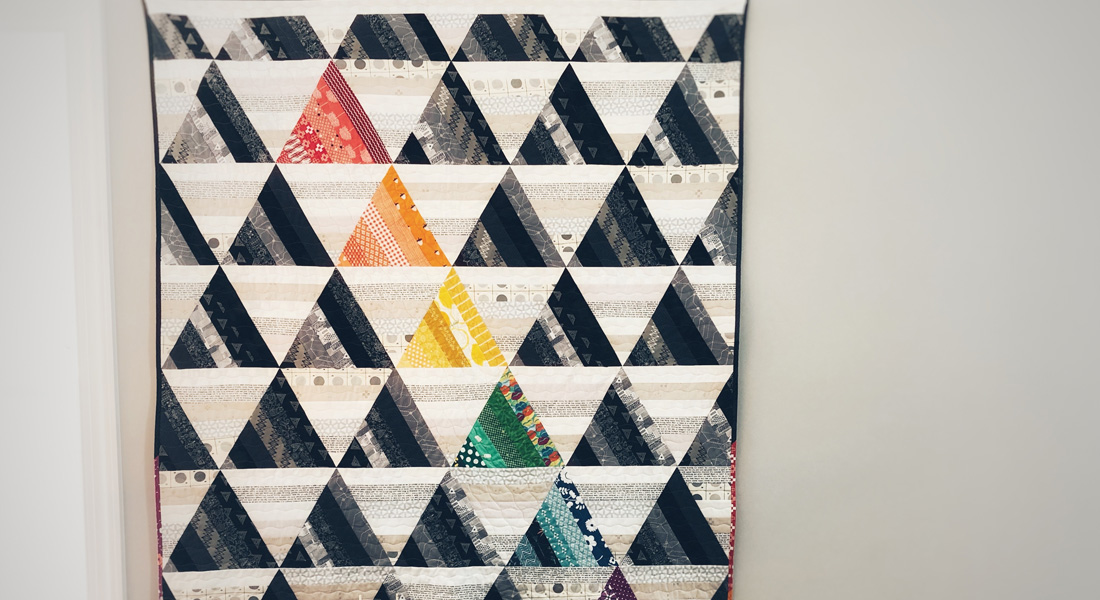
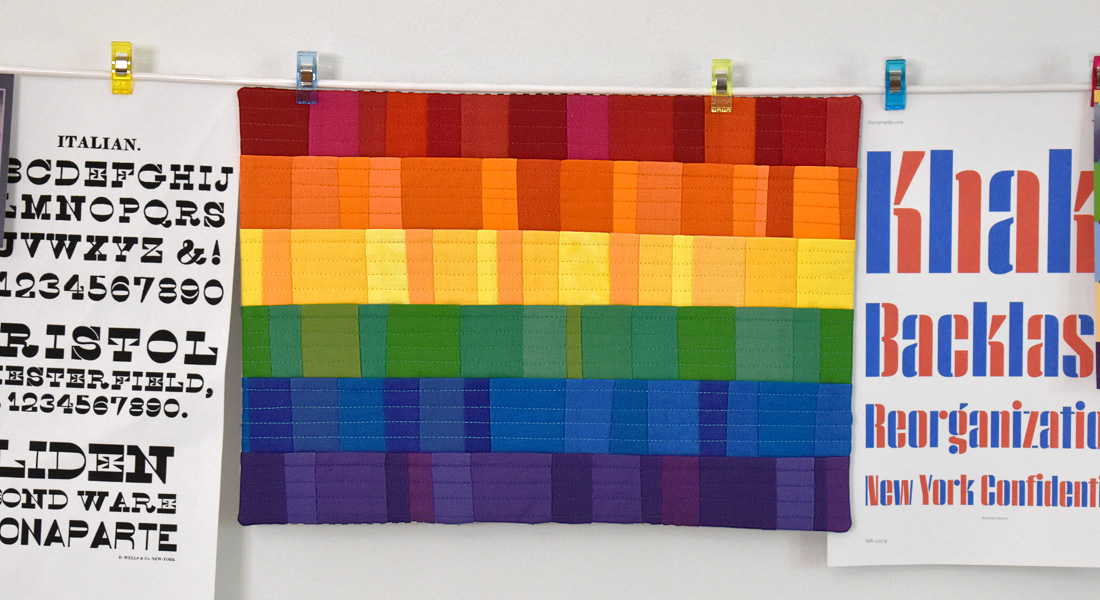
What you might also like


4 comments on “Straight Ally Pride Quilt Tutorial, Part 1”
-
-
Thanks so much sdherrick! I hope you enjoy making this quilt.
-
-
Nice quilt. Thanks to Bernina for the Pride support.
-
Thanks @spatters, glad you like the quilt! ❤???????
-
Leave a Reply
You must be logged in to post a comment.

Beautiful art quilt. It is going on my project list. Thank you for sharing!