Rulerwork: BERNINA Straight Edge Ruler
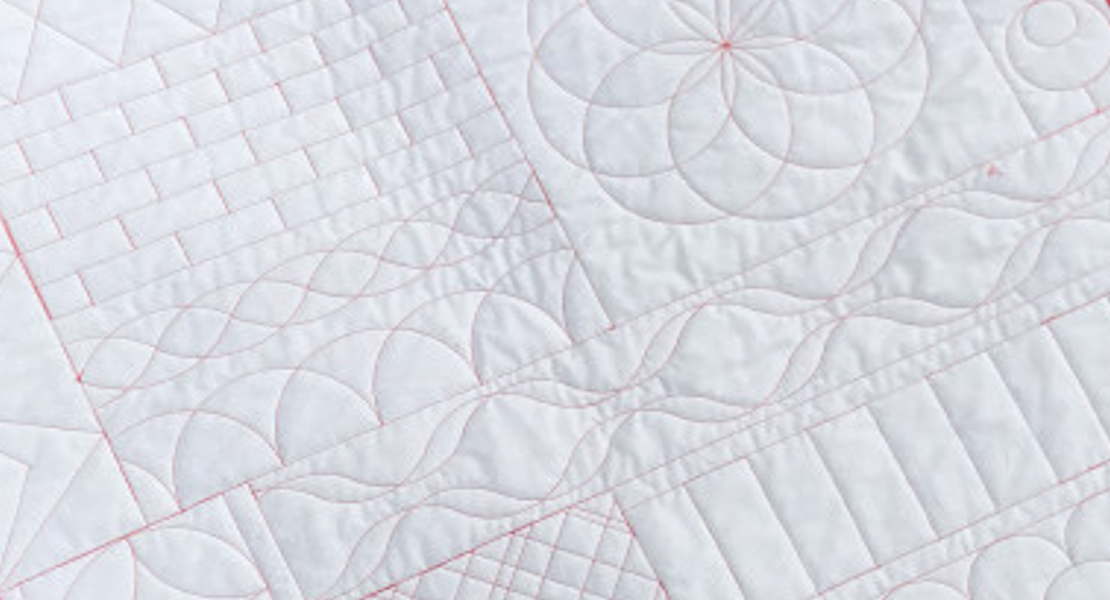
The BERNINA Straight Edge Ruler is just the right tool to help with stitching-in-the-ditch and straight line quilting. When you’re not sure how to “quilt” something, a few well-spaced rows of quilting can do the trick.
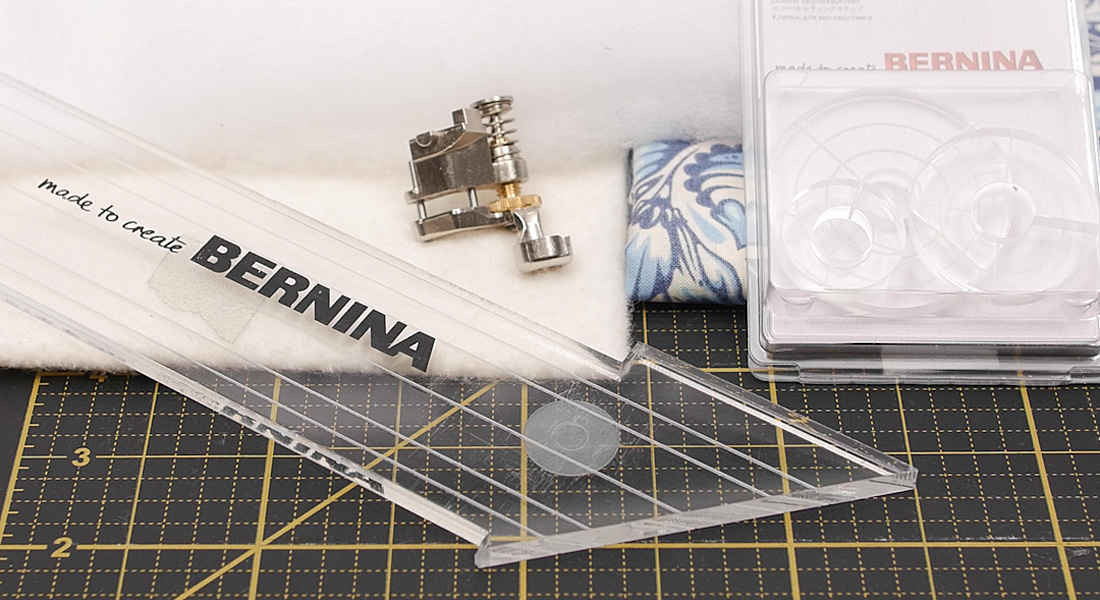
When doing rulerwork of any kind you will need a ruler foot and rulers.
Here’s what you need today:
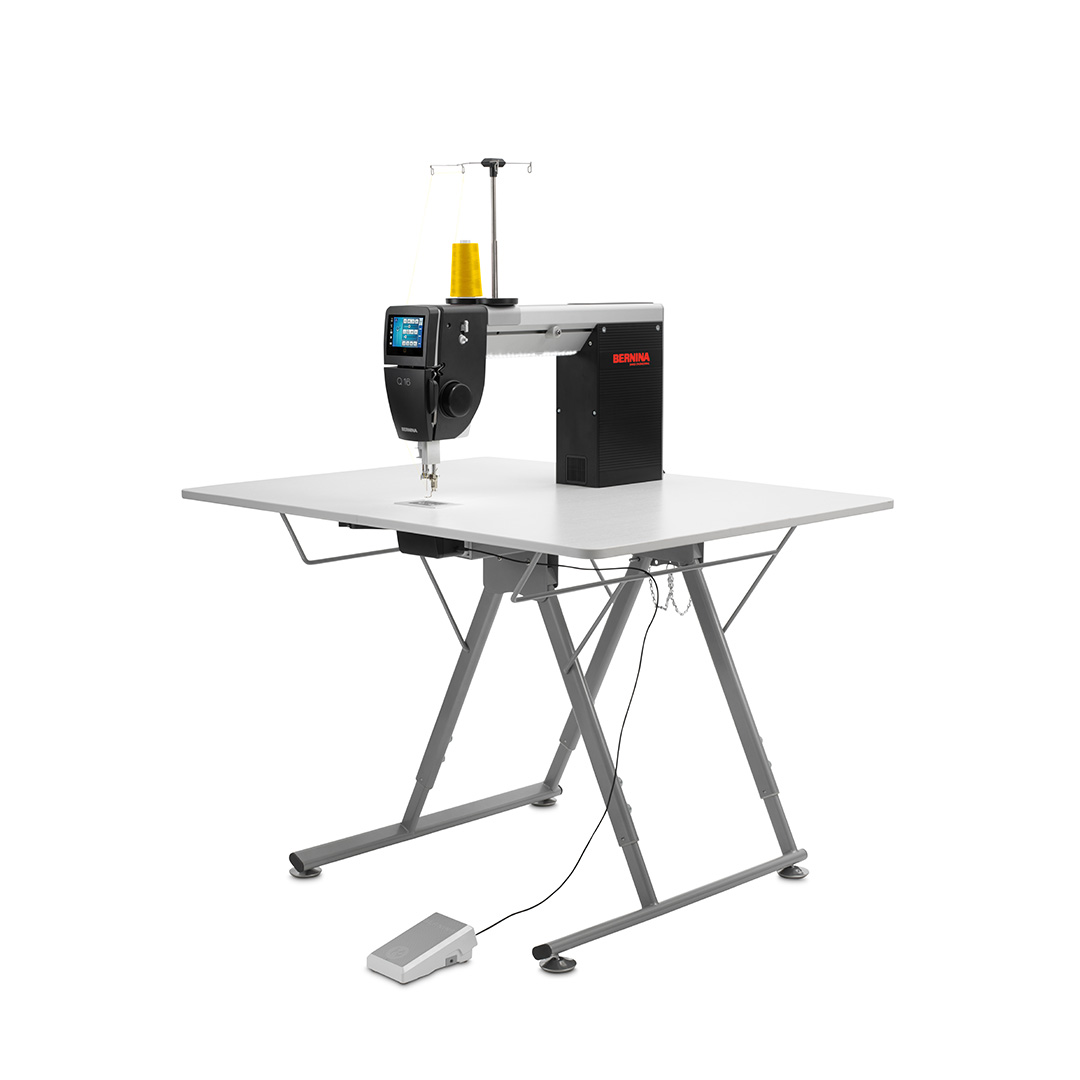
- BERNINA Table Model Q 16, Q 16 Plus, or Q 20
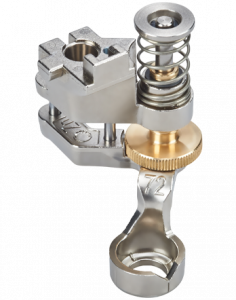
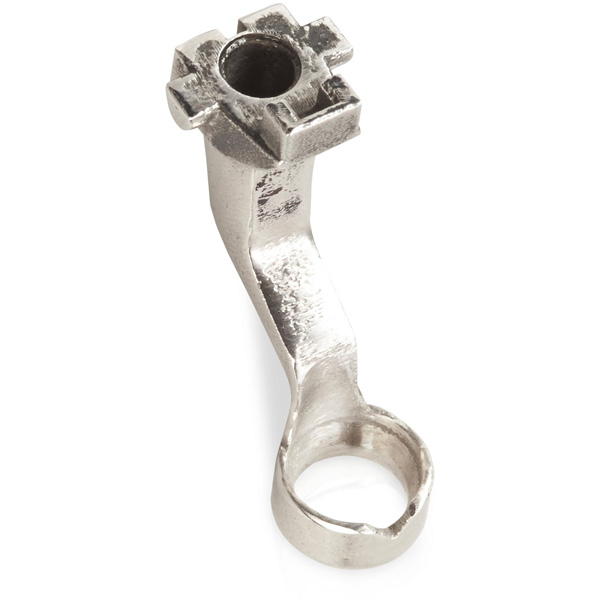
- Ruler Foot – Chose from Ruler Foot #96, Adjustable Ruler Foot #72 or Adjustable Ruler Foot with Slit #72S. The #96 foot can only be used on the BERNINA Q Series longarms. The #72 and #72S feet can be used on both the BERNINA longarms and domestic sewing machines.
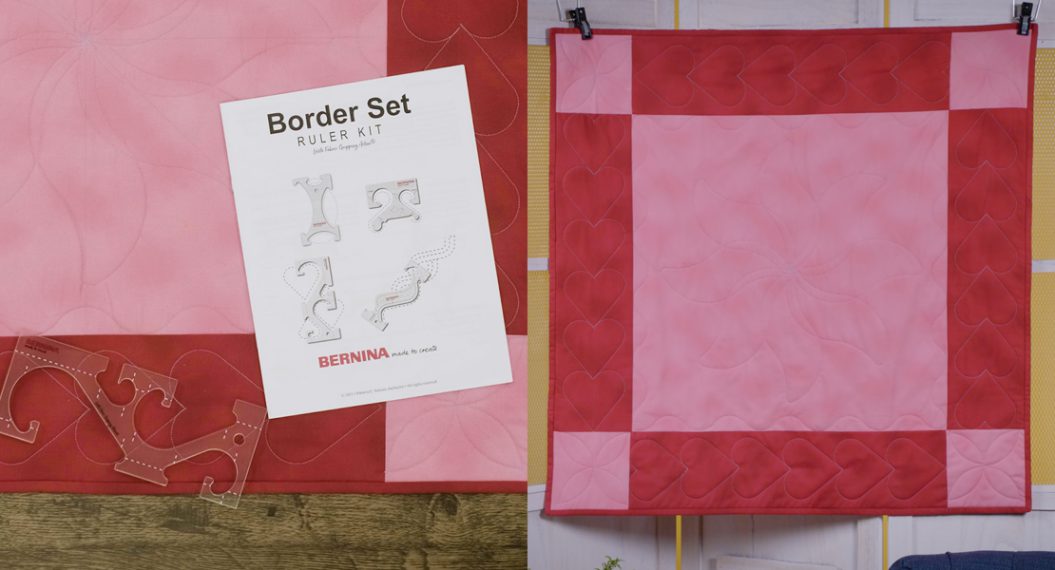
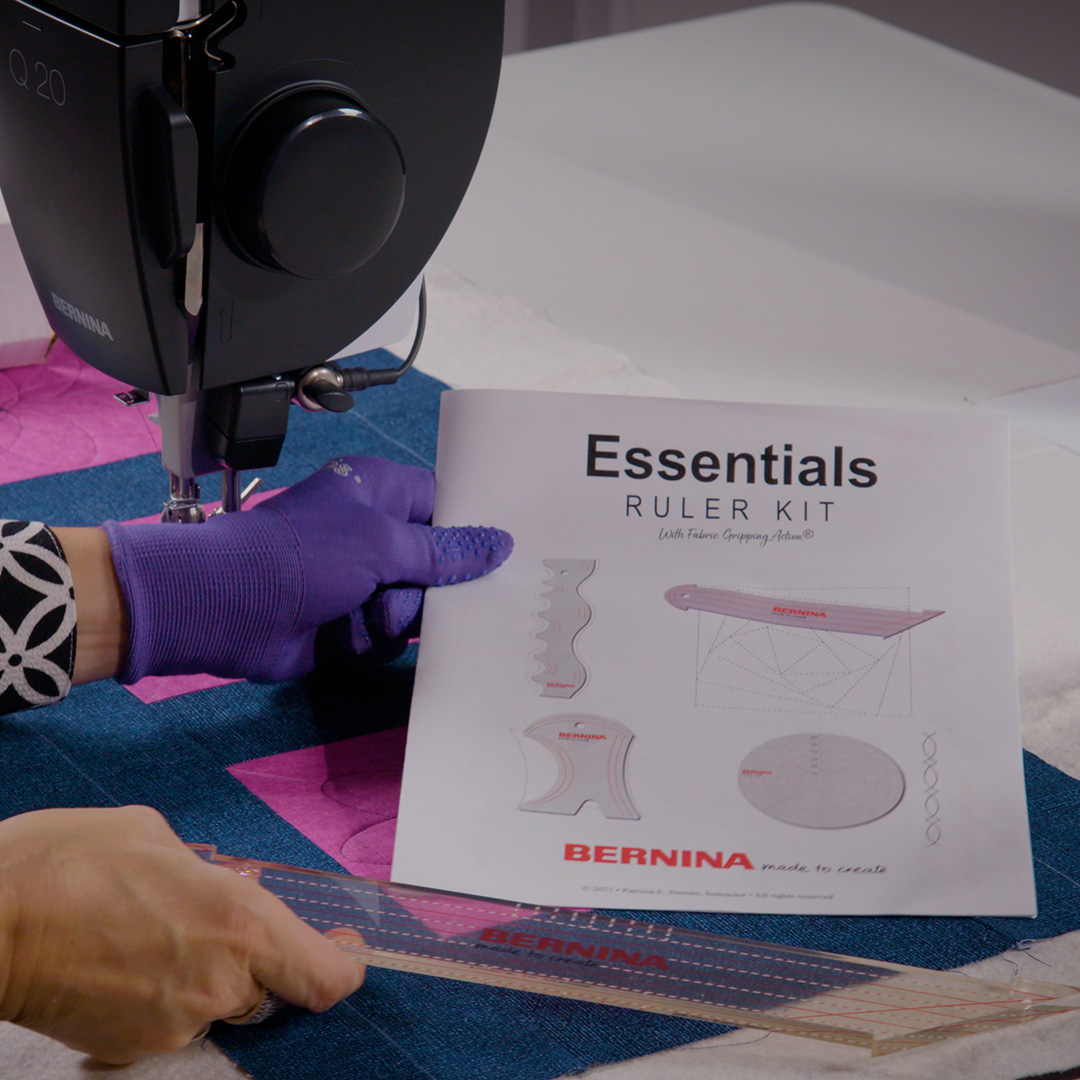
- BERNINA Straight Edge Ruler included in the BERNINA Essentials Ruler Kit
- Backing, batting and pieced top (see below for my measurements)
- New 90/14 Quilting Needle and thread of choice (40 or 50 wt)
- Quilting gloves – recommended
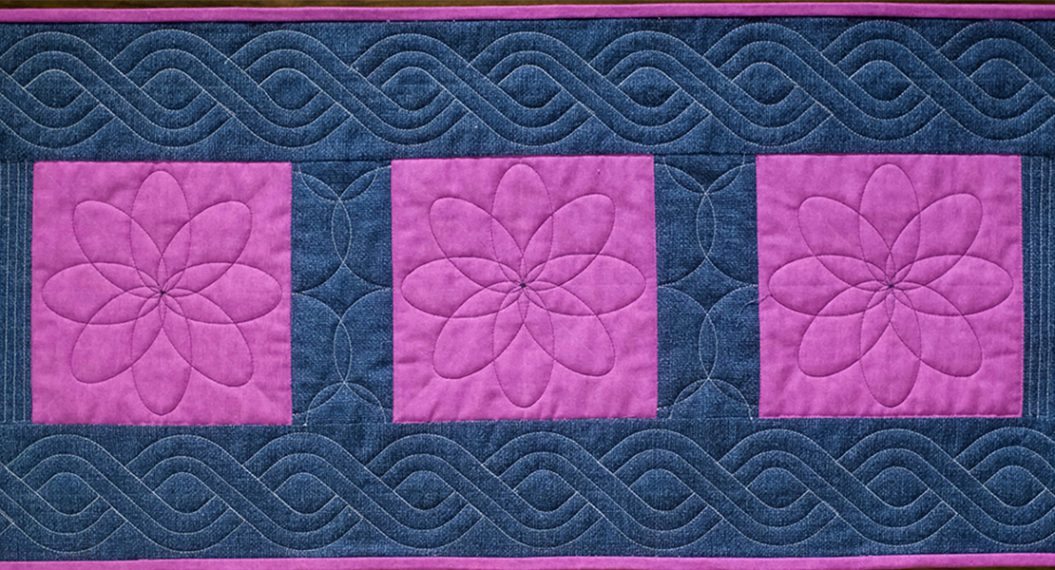
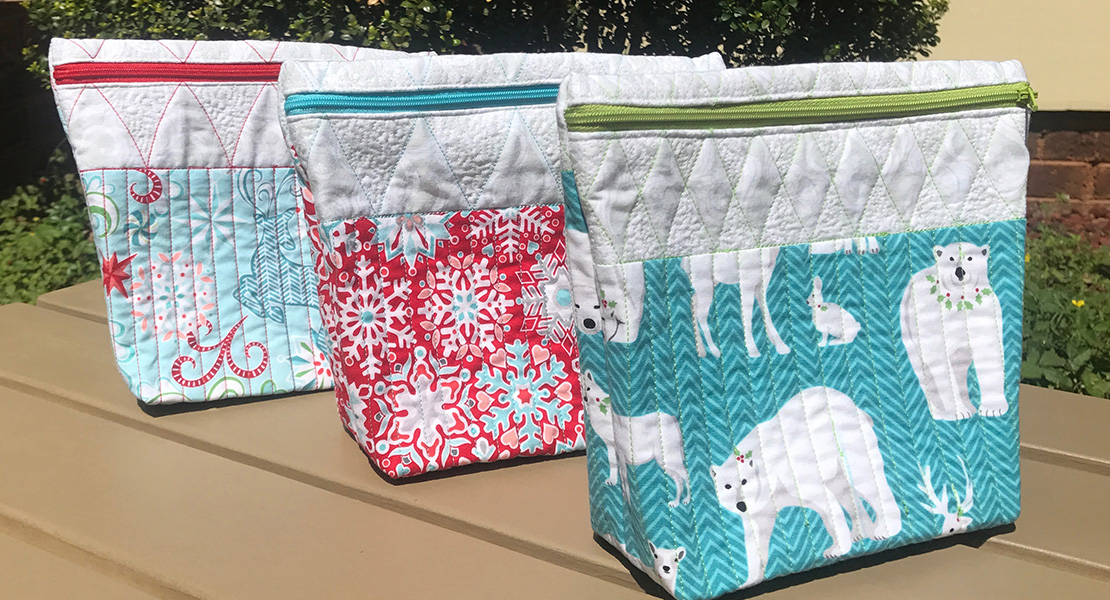
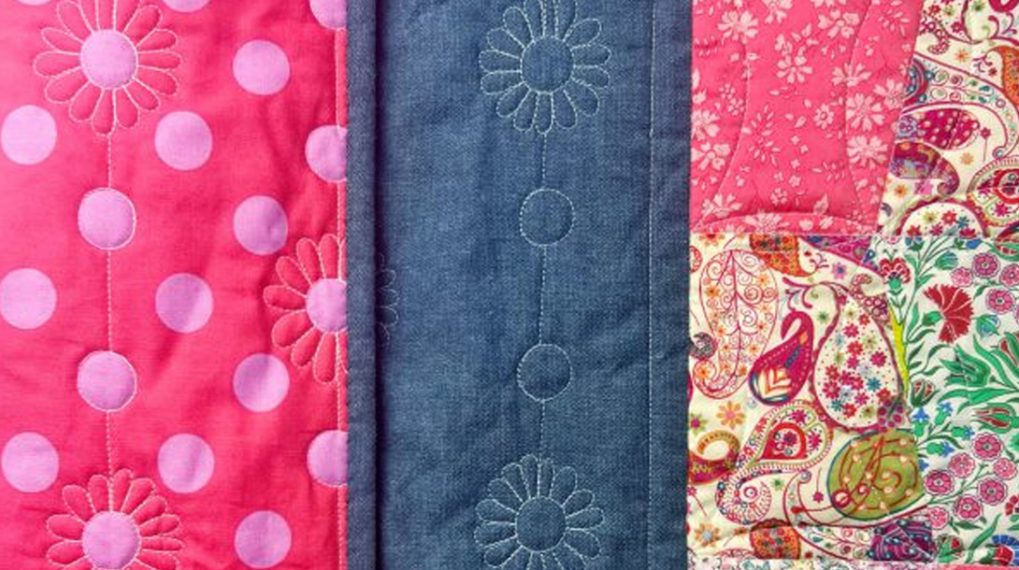
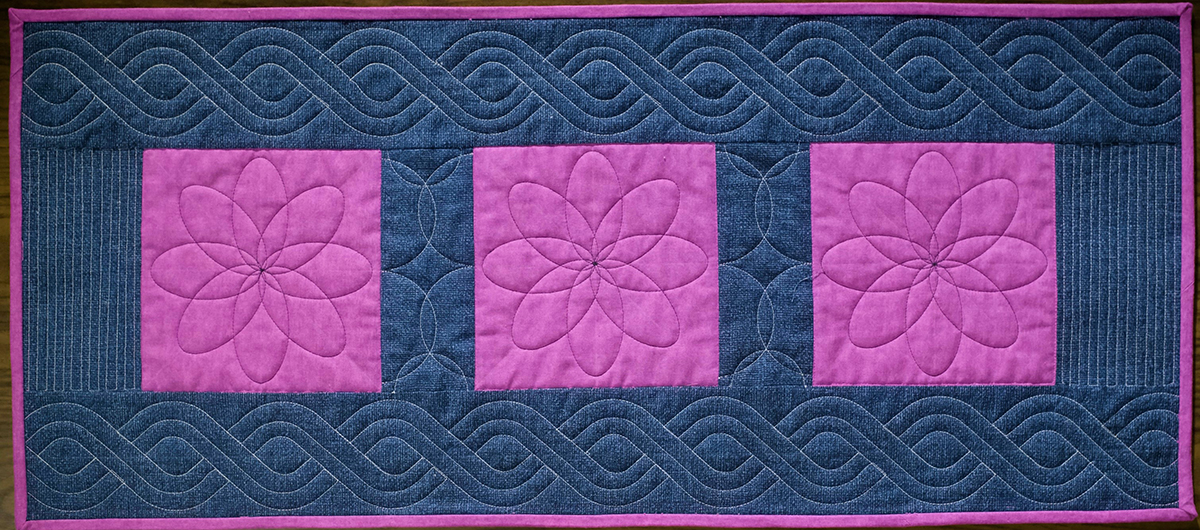
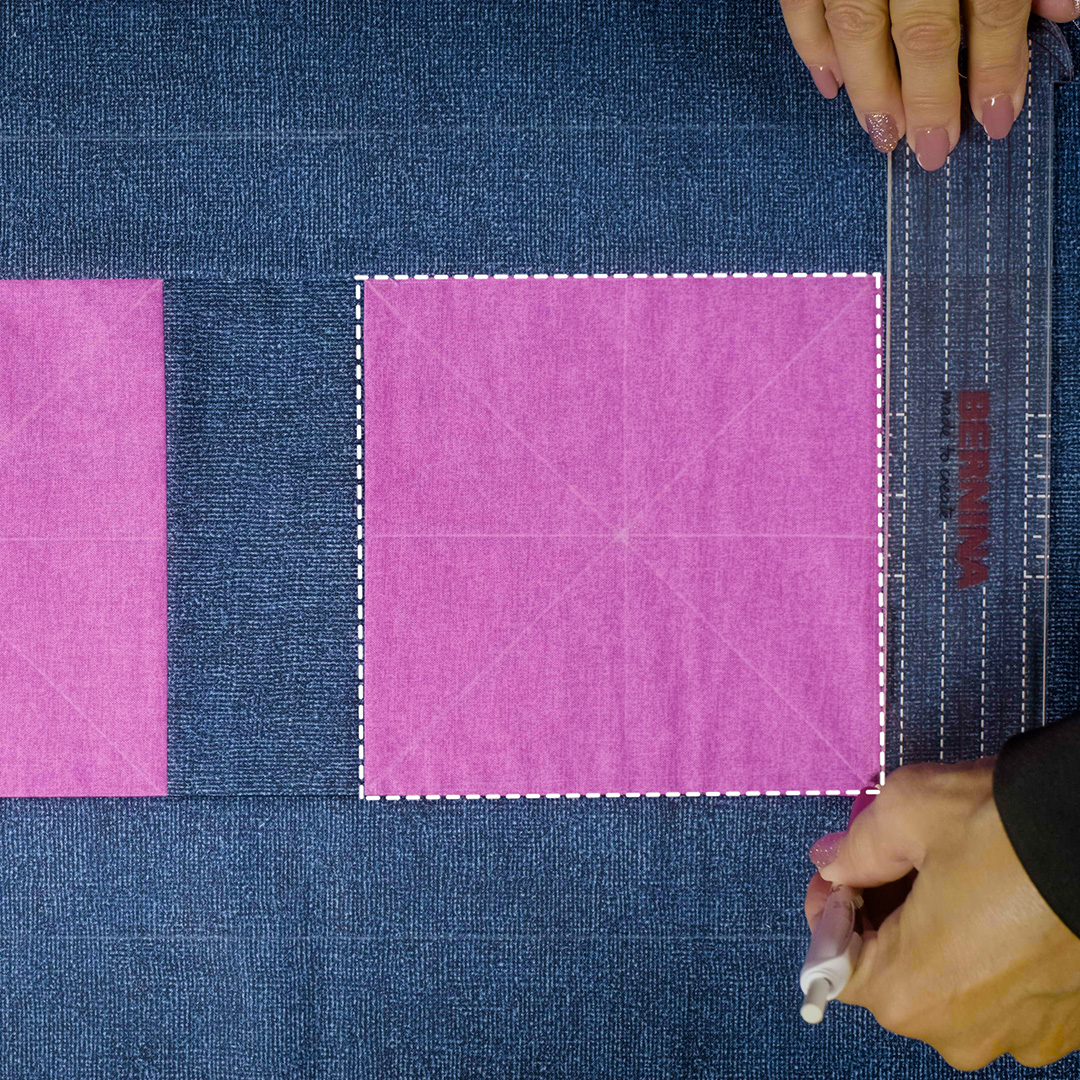
Creating the table runner in this example is super simple. Here are the measurements. I chose fabrics and thread to highlight the quilting but you could use any fabrics you like.
- 3 – 7″ squares (pink)
- 2 – 7″ x 3″ inner sashing
- 2 – 7″ x 4″ outer border – short side
- 2 – 31-1/2″ x 4″ – outer border – long side
For smaller projects, I simply spray baste my layers together to prevent shifting and puckering while I quilt.
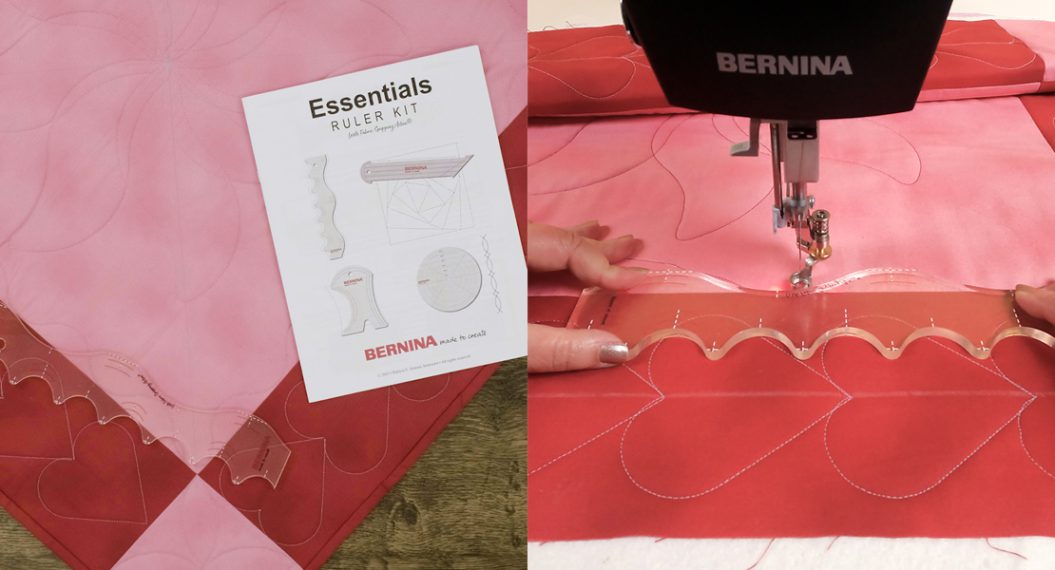
The ruler we’ll be using today is the Straight Edge Ruler included in the BERNINA Essentials Ruler Kit. All of the BERNINA Ruler Kits include written instructions and ideas on how to use them.
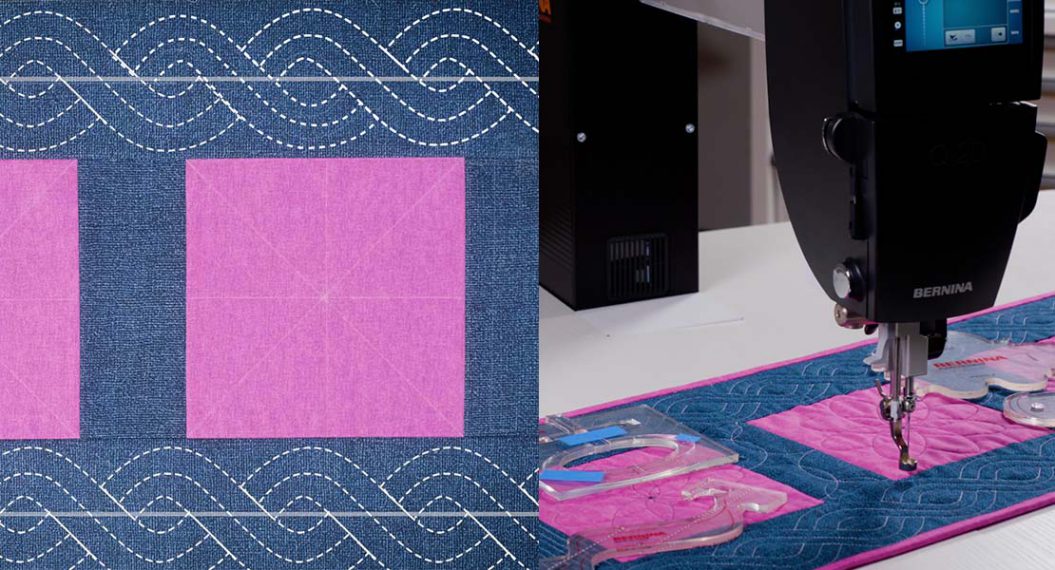
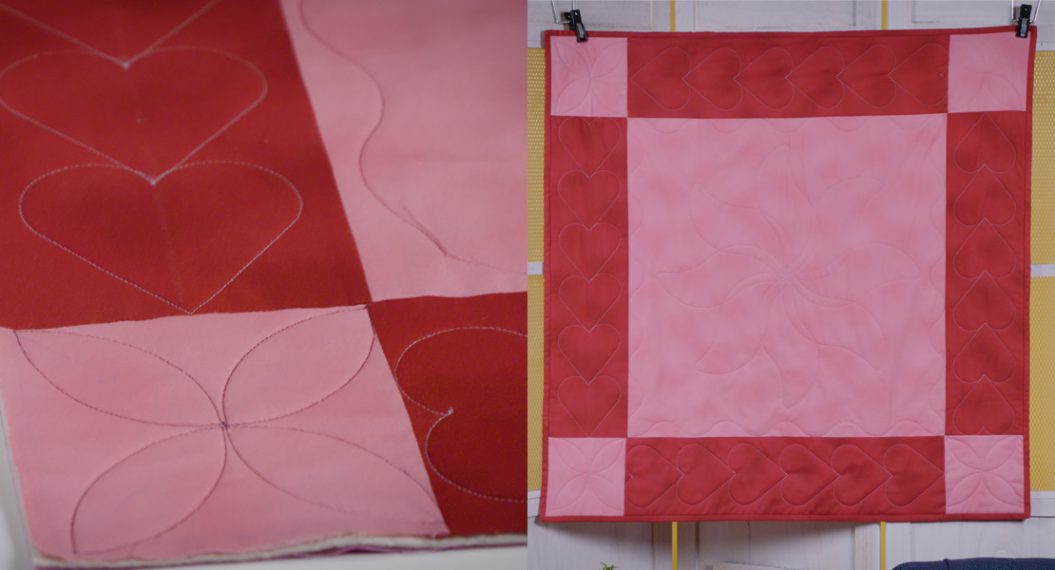
Let’s take a look at stitching-in-the-ditch around the pink squares. I chose a matching pink thread so my stitching would not show.
Here is my stitch path.
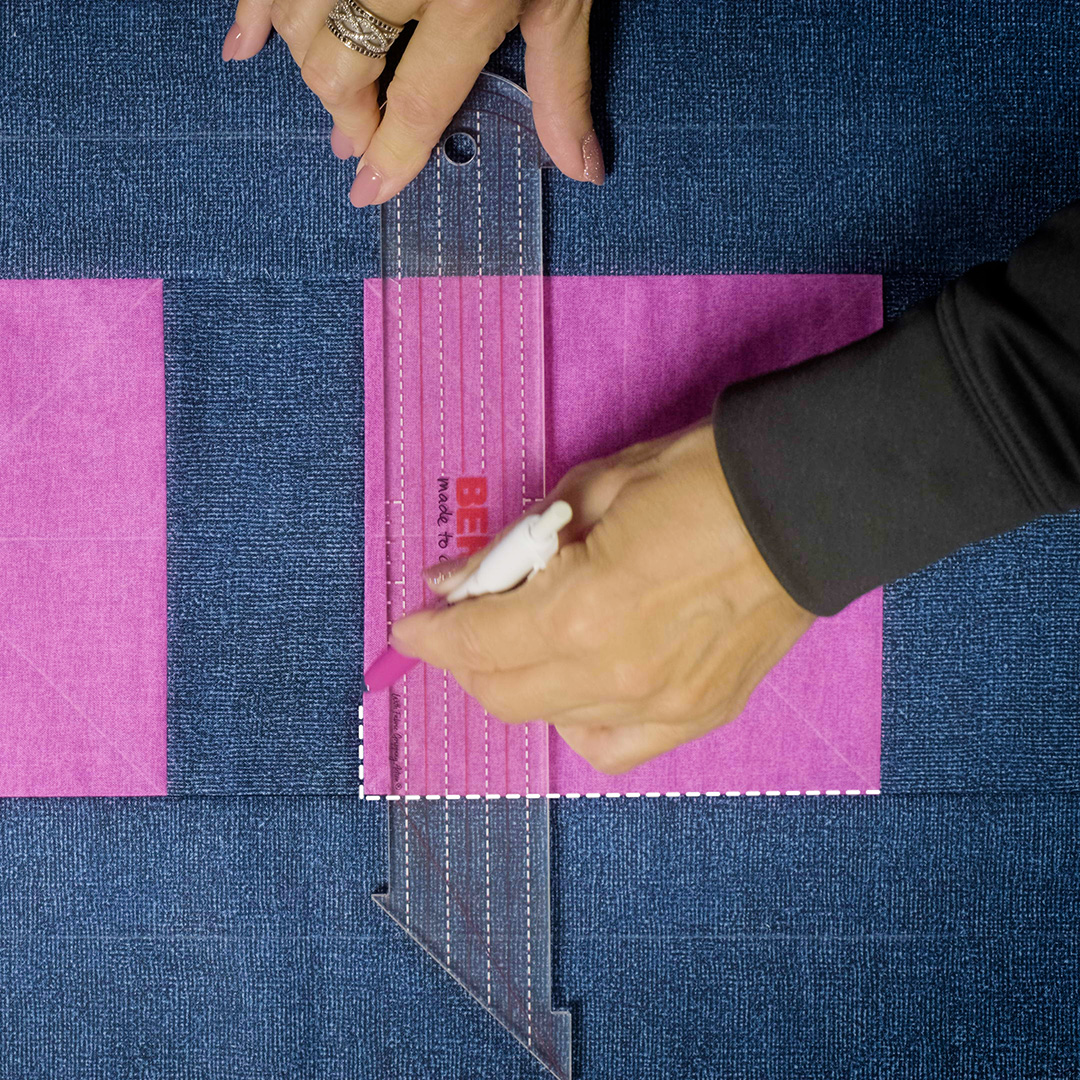

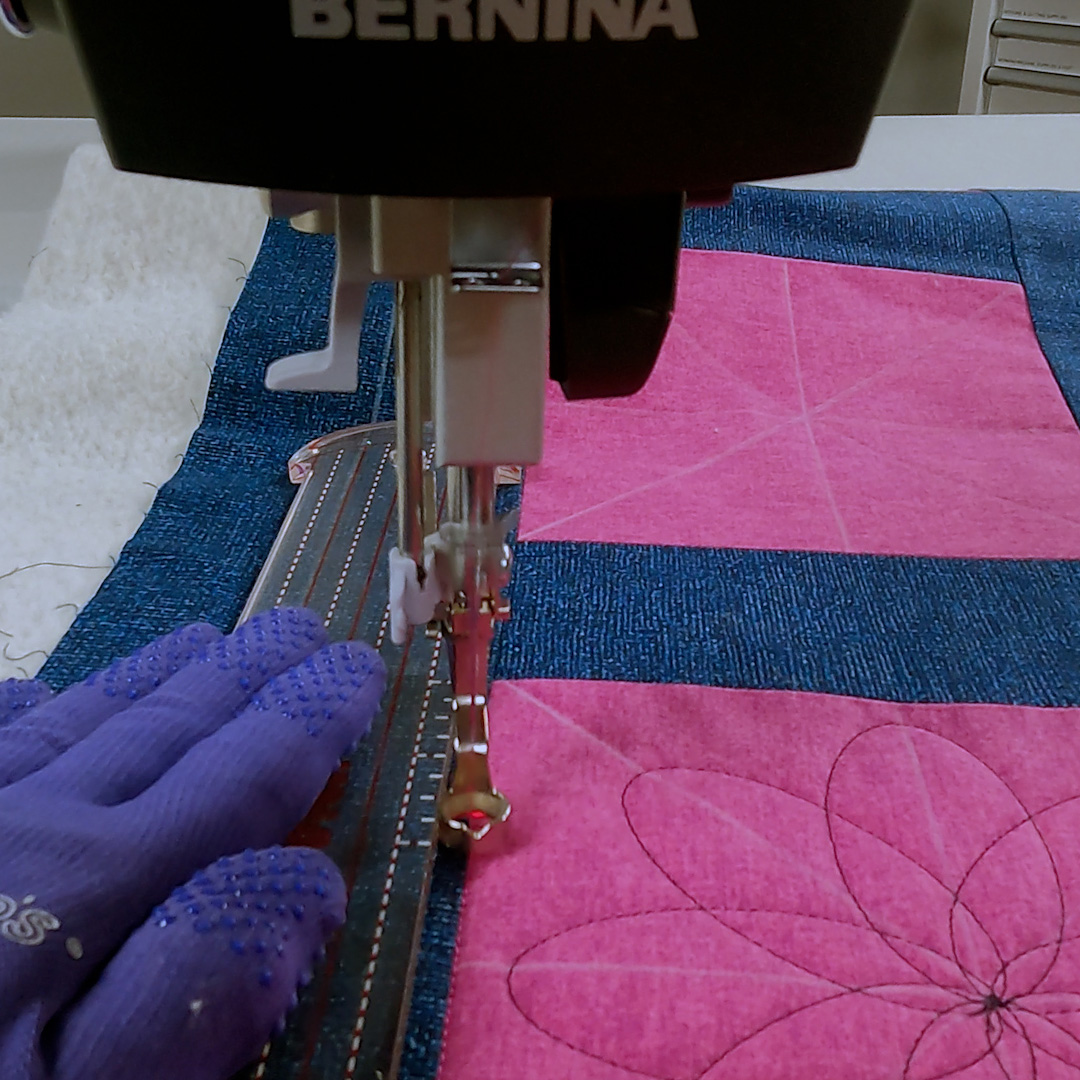
To begin, we’ll pick a corner in one of the pink blocks to start stitching. Bring your bobbin thread to the top and take several securing stitches.
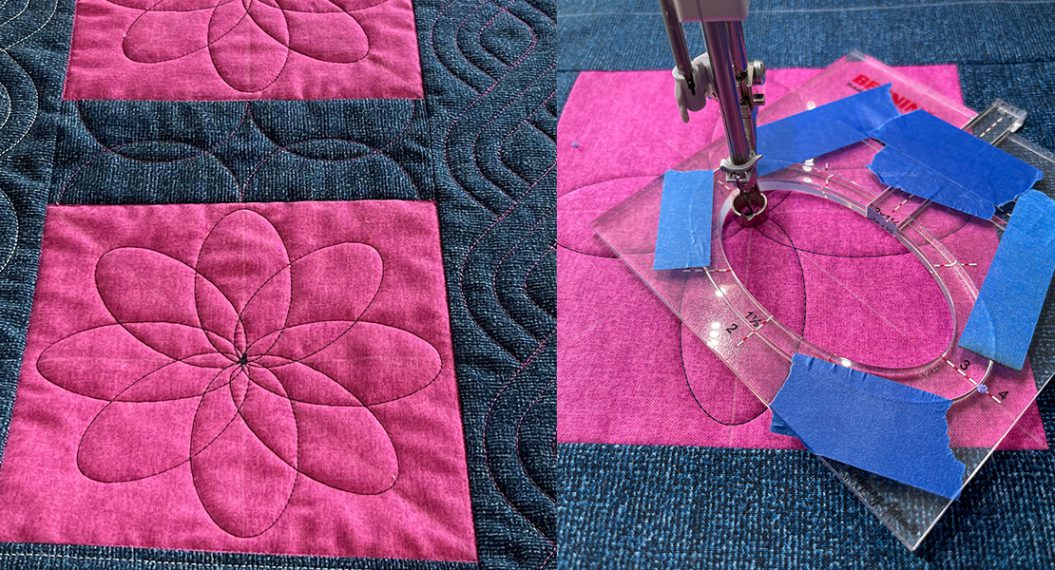
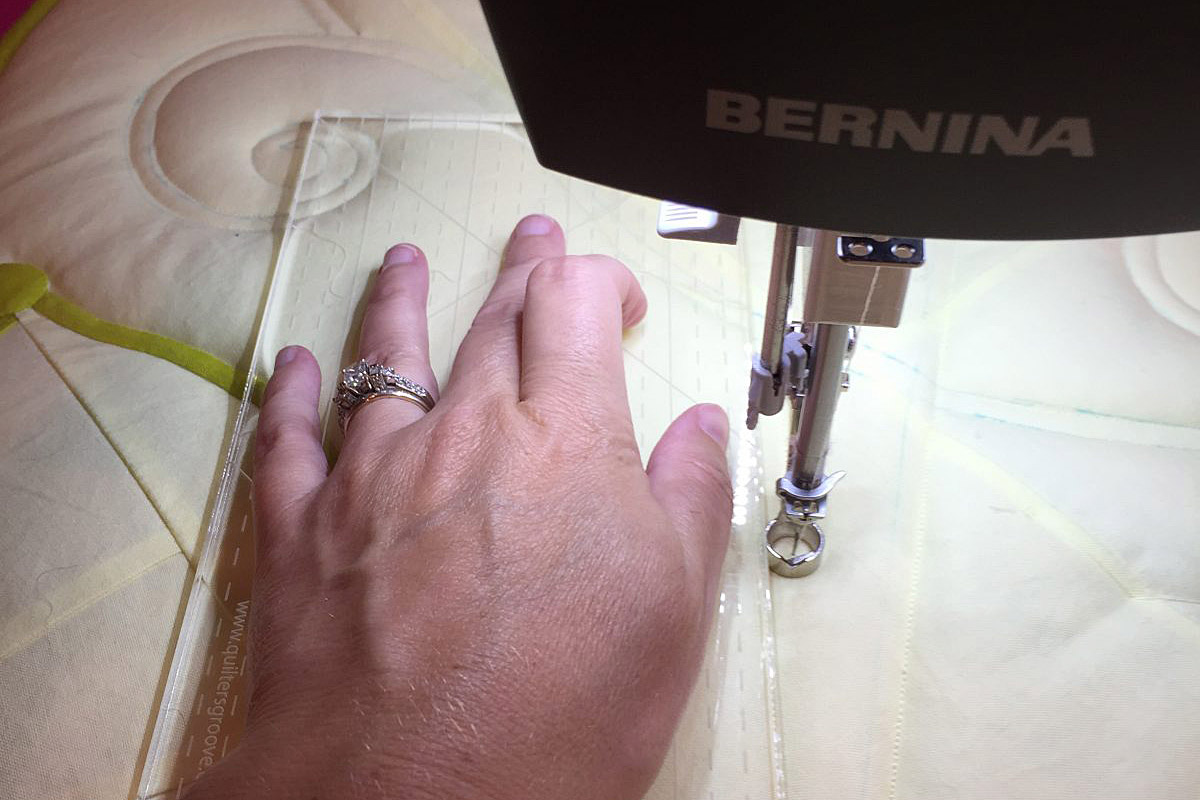
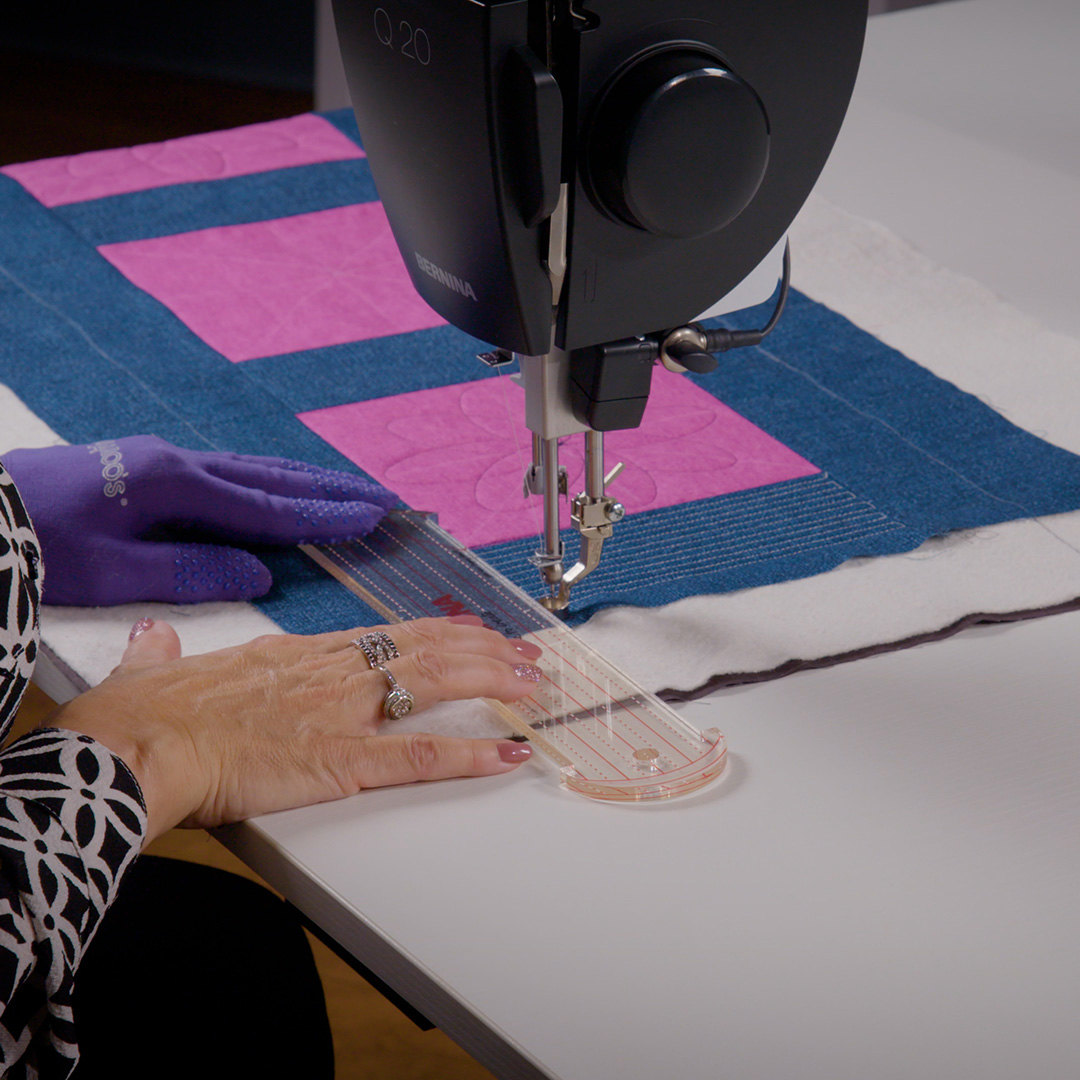
Make sure to lower your presser foot before snugging the ruler up against the foot. The ruler can be placed on the side of the ruler that is most comfortable for you. The BERNINA Straight Edge Ruler has notches at both ends to help align with a seam or “ditch” to help keep your stitching straight and accurate.
Use the least amount of pressure necessary to move the quilt and ruler while maintaining contact with the foot. You don’t want to “drift” off the foot by using too little pressure, but if you use too much pressure it will be difficult to move the ruler and quilt and you will quickly get sore arms. Stay as relaxed as you can. It gets easier with practice.
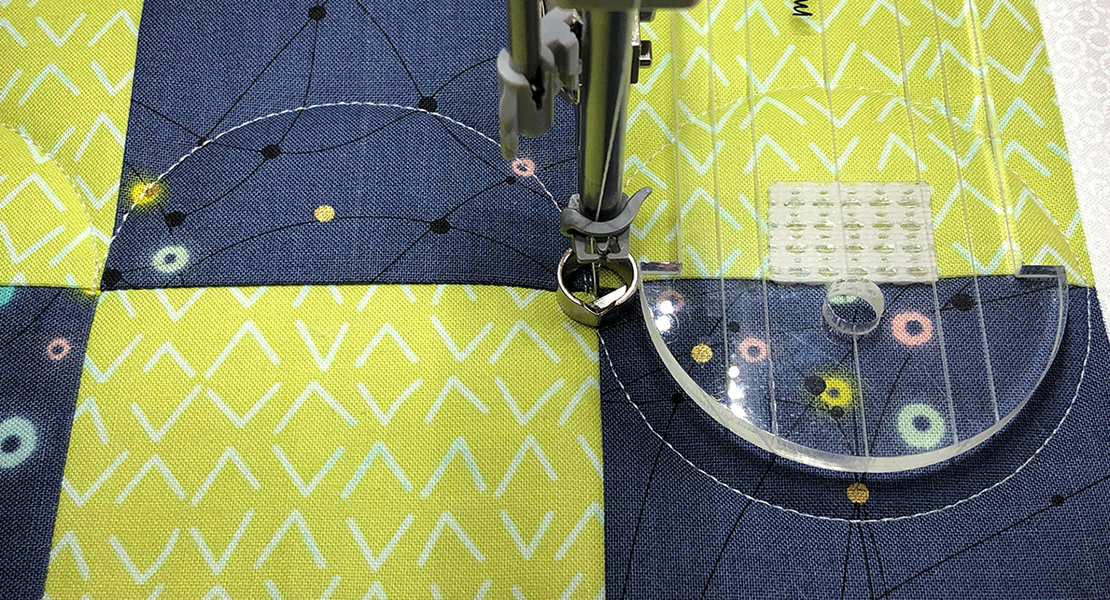
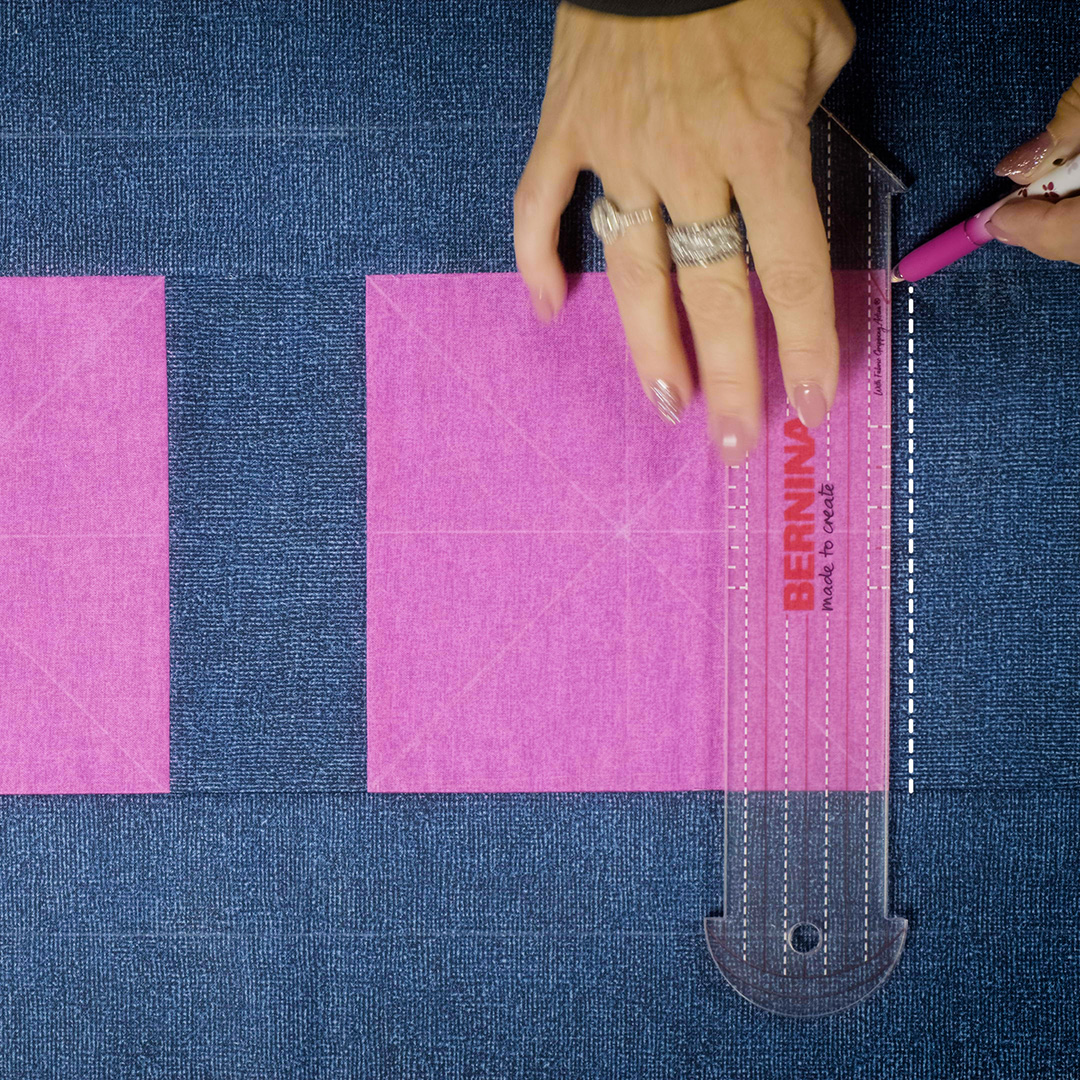
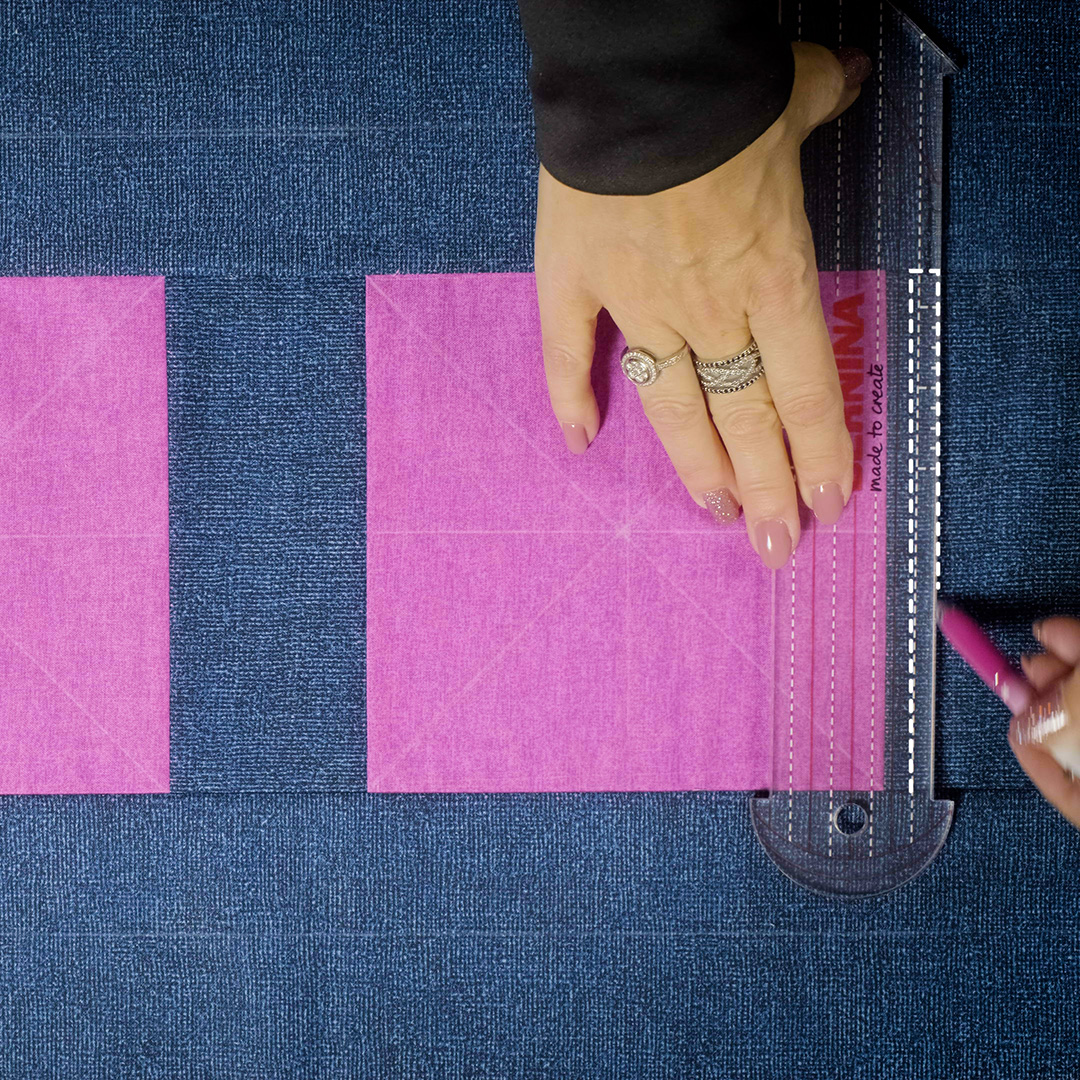
Remember when using quilting rulers that you are stitching 1/4″ inch away from the edge of the ruler. BERNINA ruler feet are 1/2″ wide and because the needle is in the center of the foot, this means you’ll always be stitching 1/4″ away from the edge of the ruler I know this sounds confusing, but it’ll make sense when you begin stitching.
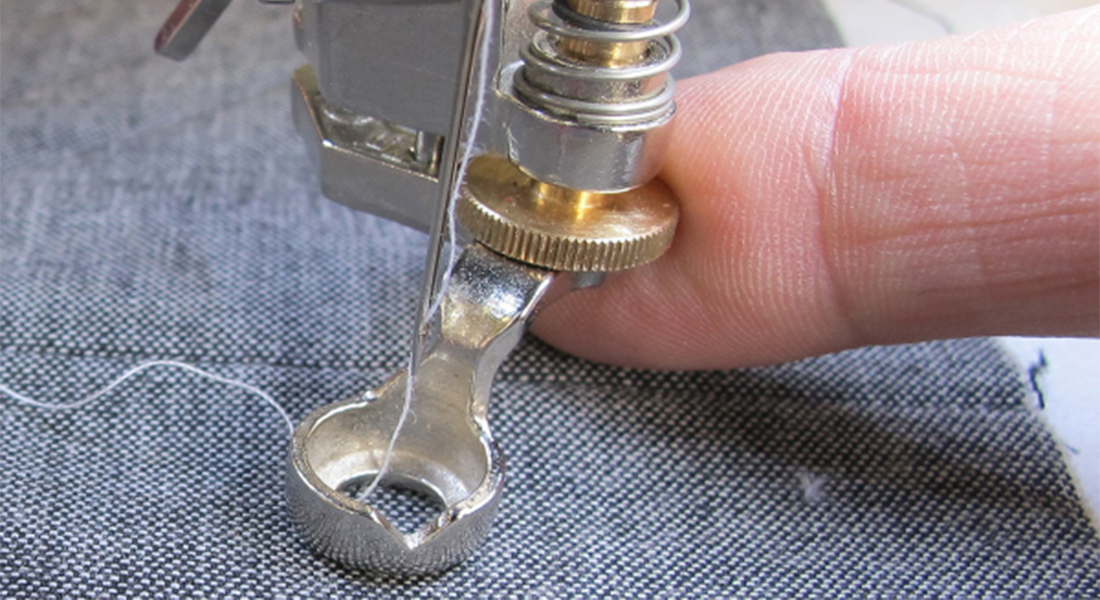
Here’s where I’m starting. I’m pointing at one of the notches in the front of the foot. There is one at each end of the ruler to help you maintain your spacing.
In the photo below, you can clearly see what I mean when I say you are stitching 1/4″ away from the edge of the foot. Using the notches on my ruler keeps me on track.
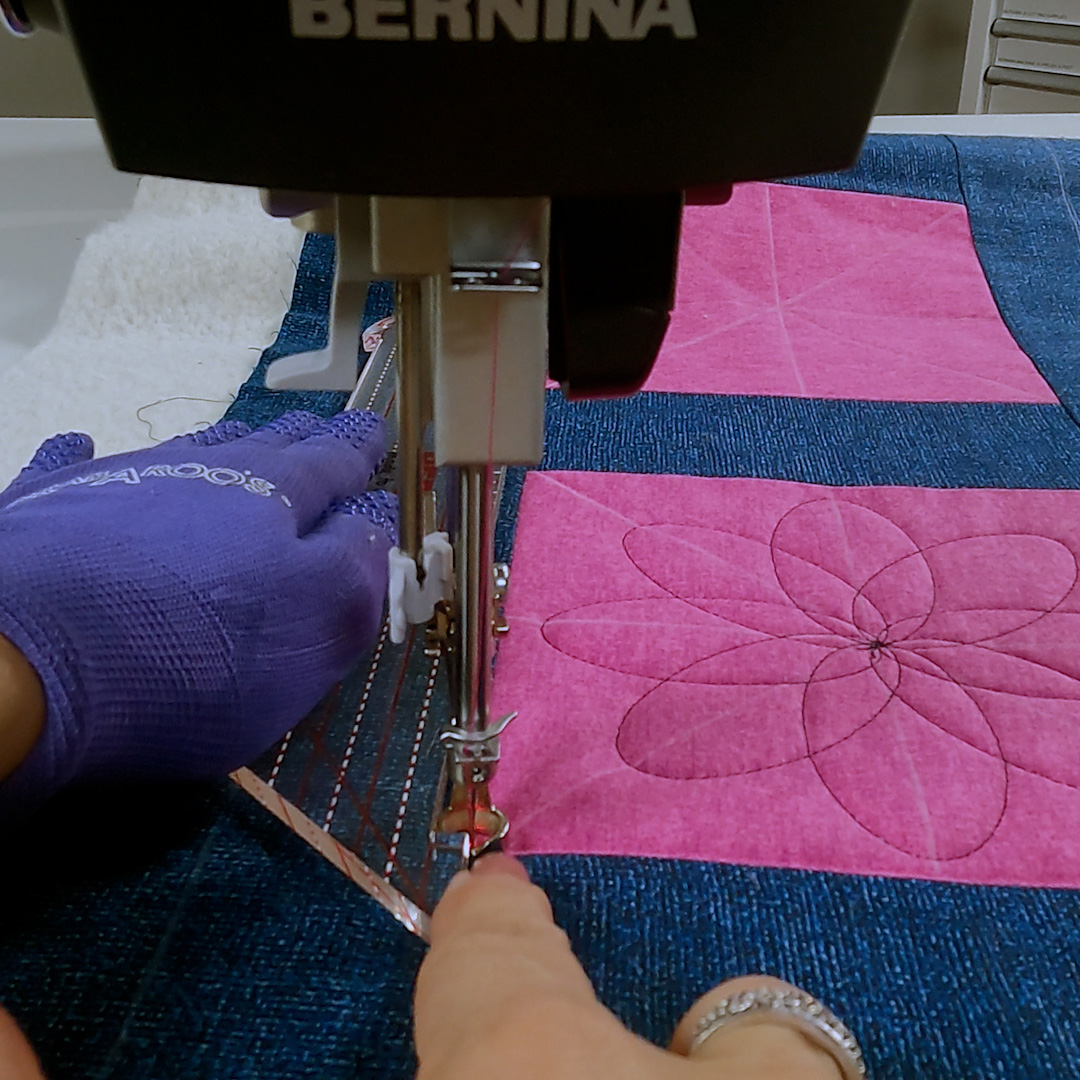
I use stitching in the ditch to keep my squares from distorting before I add additional quilting. Think of it like your first layer of quilting. Once you’ve stitched all of your squares, you can add additional quilting inside the block.
In my sample, I also quilted the outer borders with the straight edge ruler. I simply placed the edge of the ruler on the edge of the pink square. These photos show how I stitched back and forth, using the previously stitched line as my guide for the next line. My stitch lines are 1/4″ apart and so I used the edge of my foot as my guide at the end of each row before beginning to stitch again.
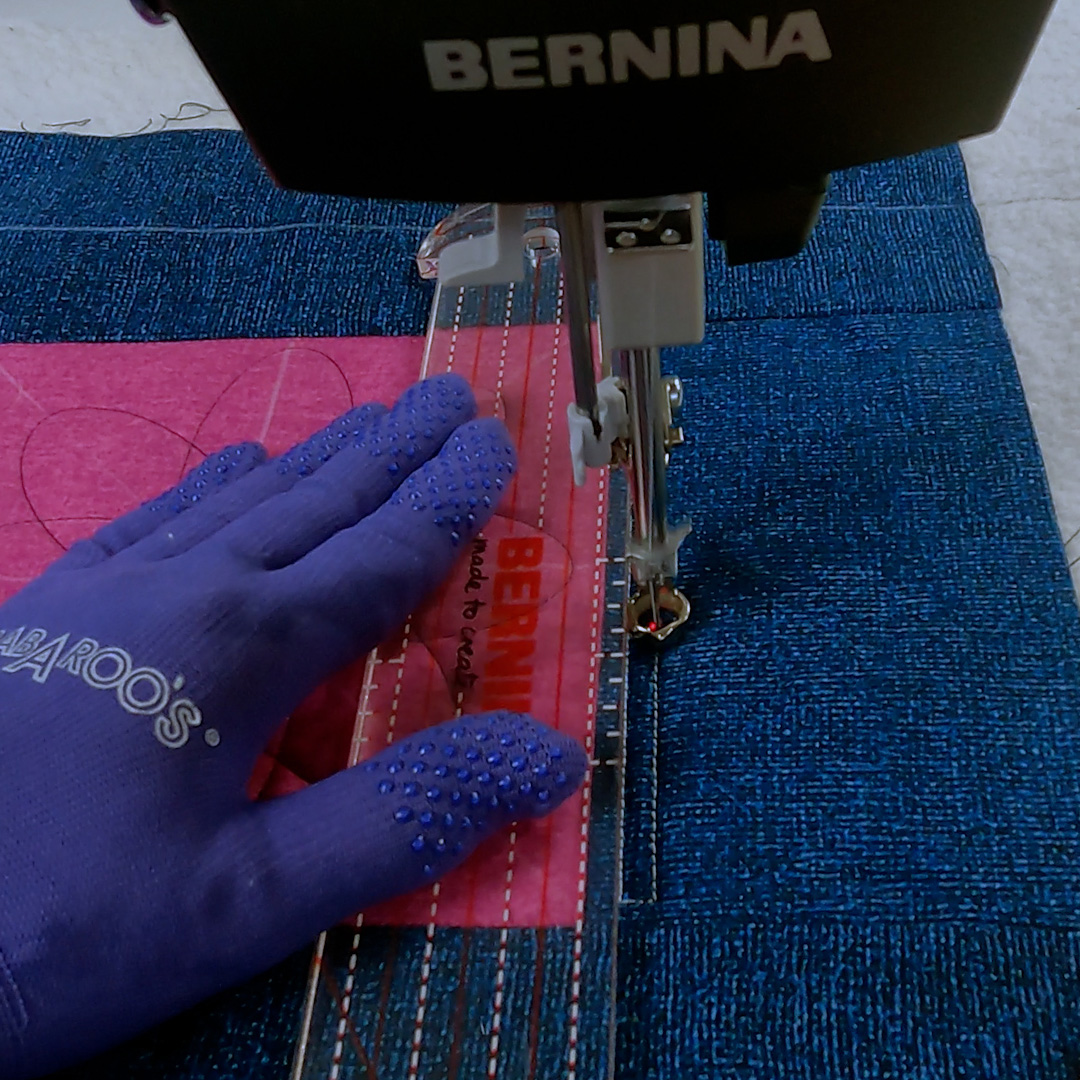

Straight line quilting done very close together is called matchstick quilting and gives a very dramatic result. It’s totally up to you what spacing to use. Experiment to see what you like.
Start slowly and you’ll quickly realize how important the BERNINA Straigh Edge Ruler is in your arsenal of rulers.
One final mention….all BERNINA rulers are 1/4″ thick. There are low shank rulers available for machines that require a low shank ruler foot. It should be noted that BERNINA ruler feet require the thicker “high shank” style of rulers. AND, rotary cutting rulers are NOT USABLE for any type of ruler work as they are too thin and will slide under the foot.
Happy quilting.