Edge-to-edge Quilting with the BERNINA Q 20
Grüezi mitenand! Hello BERNINA Q . . . Quilters?!
Here is Carolina Asmussen and of course, my “new, old friend”, the BERNINA Q 20 Sit-down model.
Edge-to-edge quilting, a well-known technique for longarm machines on a frame, of using a single design to cover the entire quilt top. It is a fast and beautiful way to have your work quilted.
In the case of the longarm machine on a frame, you can work with E2E quilting using pantographs and templates or also with computer guidance quilting.
But if I have my BERNINA Q 20 as a Sit-down Model, why am I even writing about this?
Excellent question! Because you can also use different methods to achieve the same E2E quilting result. You could use templates, and repeat the same motive multiple times all over the top quilt… I know, just the thought makes me tired…
I don’t know if you remember my YouTube Series “Let’s Quilt that Fabric”. In each episode, I show how to use the fabric motif to create new quilting designs. And this is exactly what we are going to do here today.
We will use the backing fabric motif to create an Edge-to-edge quilting design with the BERNINA Q 20 Sit-down Model.
How to Do Edge-to-edge Quilting on the Q 20 Sit-Down Model

Materials Needed
For this project, you will need a top quilt, batting and backing fabric. I suggest some unfinished project that is hanging around in your sewing space, we all have plenty of them. Take some time to choose your backing fabric, because it will be taking the “main stage”.
For my project, I selected a small piece (33 1/4″ x 44 1/4″) of 5″ squares of Liberty of London Tana Lawn fabric. I used a tumbler shape to cut the squares and pieced together in 10 x 10 final piece. You can download the Tumbler Template below. Don’t forget to print 100% scale.

Before starting to quilt, I needed to make my unfinished project bigger, I wanted something close to a lap size quilt. So I added some borders around the tumbler pieced with chambray in denim color:
- 3 yards of chambray in denim (use the chambray left over for binding the quilt)
- (100) 5″ squares with assorted fabric
- Twin size batting, 81″×96″
- 4 yards of backing fabric (I chose the “polka dot” Tula Pink’s All Stars Pom Pons & Stripes Collection)
- basting spray or your favorite basting method
- Tumbler Paper Template
How to Piece the Top Quilt
Cut the chambray, starting with the 2 longer pieces (top and bottom) followed by the shorter pieces for the sides:
- Top piece: 18″ x 55″
- Bottom piece: 6″ x 55″
- Left side: 18″ x 44 1/4
- Right side: 5″ x 44 1/4″
Trim both sides of the tumbler piece and follow the diagram below to attach the borders. First the side pieces (check the red arrows), then the top and bottom pieces (the green arrows).
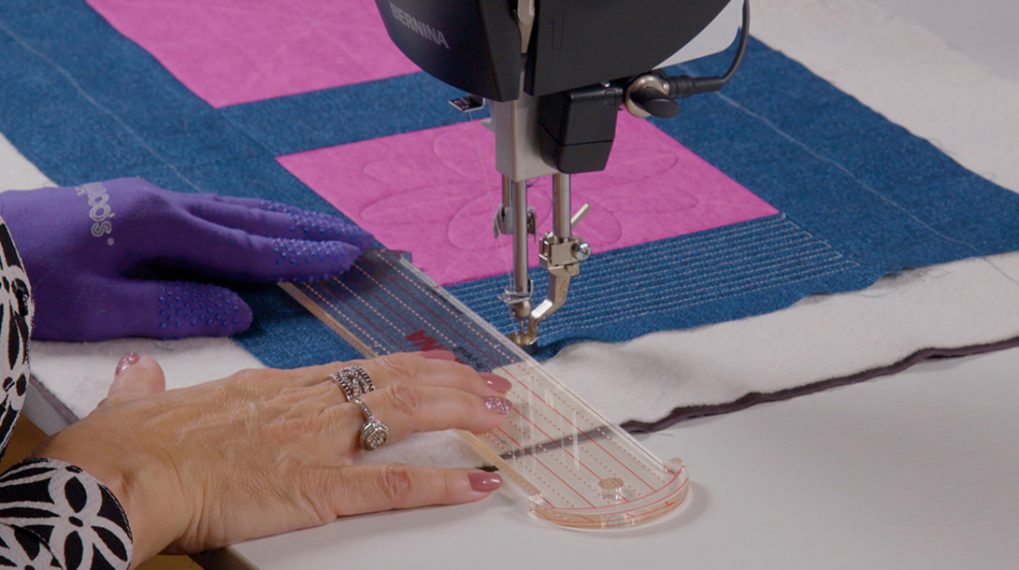
How to Quilt the Tumbler Piece (Optional)
Before the E2E quilting, I decided to highlight the tumbler piece with some ruler work.
Prepare your quilt sandwich, top quilt, batting and fabric. I used basting spray to baste the three layers together.
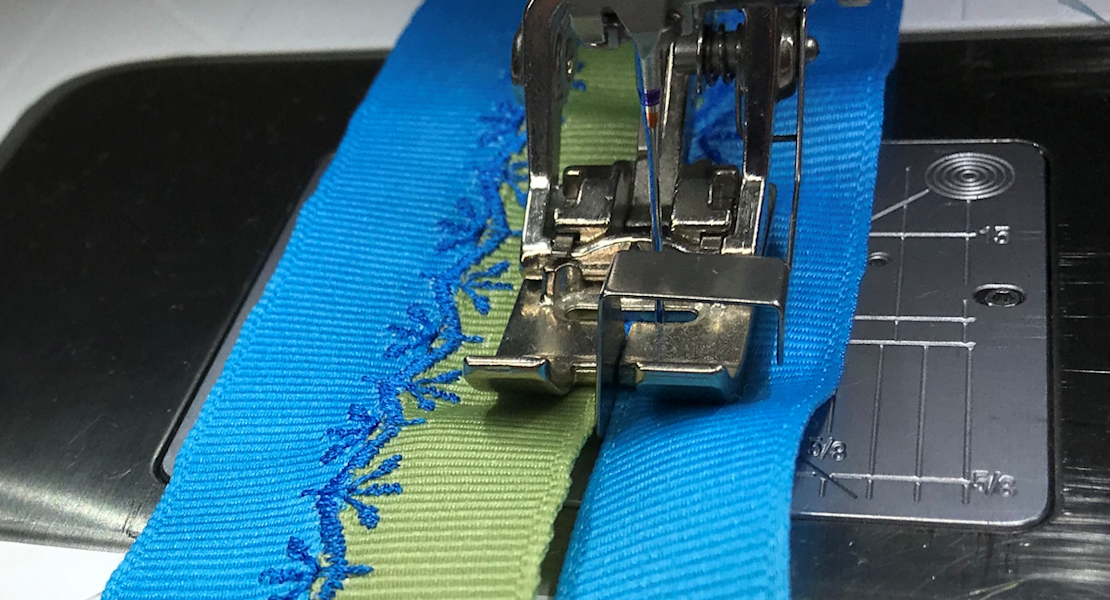
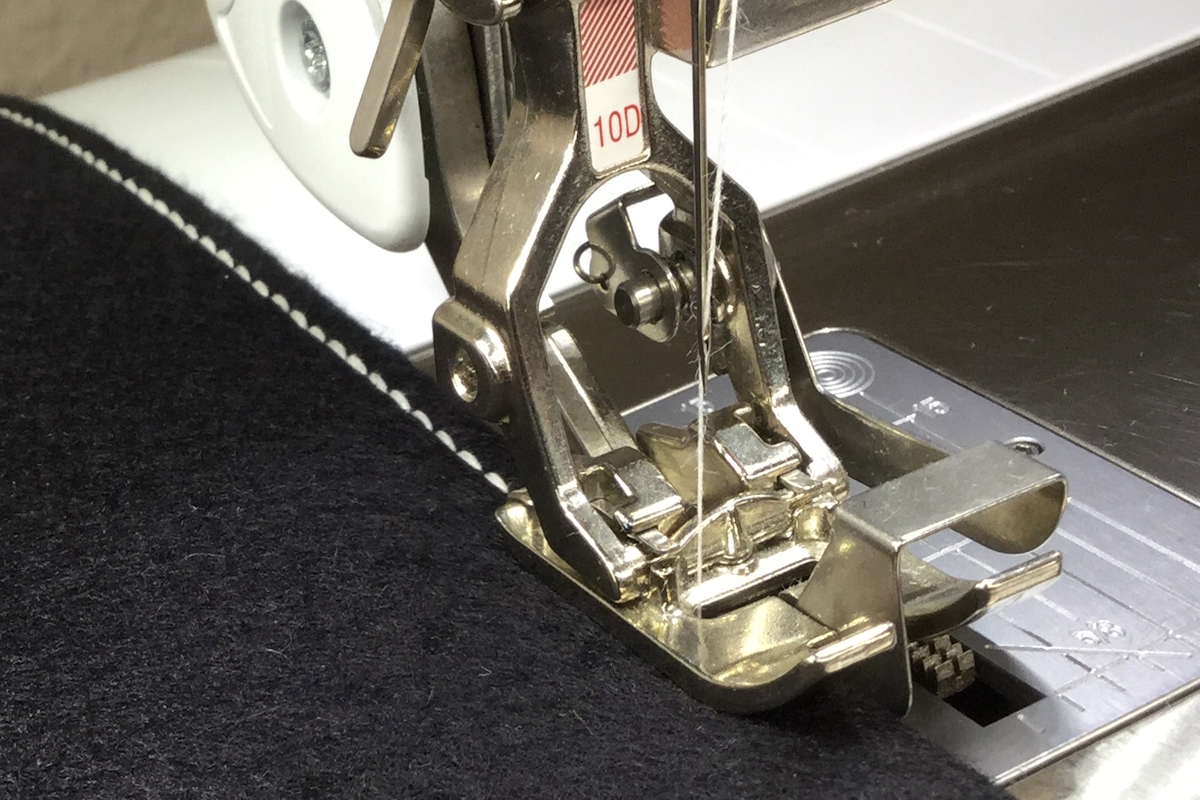
Using the BSR3 with 1 stitch per inch (1SPI), baste 1/8″ away from the edges. This will avoid any “folding edges” on the back of the quilt as you work.
But this is totally up to you because the E2E design would work perfectly for the entire top quilt!
How to Plan Your Quilting
The first decision here is about the type of Edge to Edge quilting. If you want something really symmetrical you need to choose a fabric that has some kind of grid design motif, that repeats at the same distance, size and position. Exactly how I selected the polka dots fabric for this project. Below you can check alternative quilting designs that I could also use with the same fabric:
If you are following my posts here, you probably noticed that I like to use my iPad and Procreate app to visualize my quilting plan. So check the video below:
Let’s Quilt That Fabric!
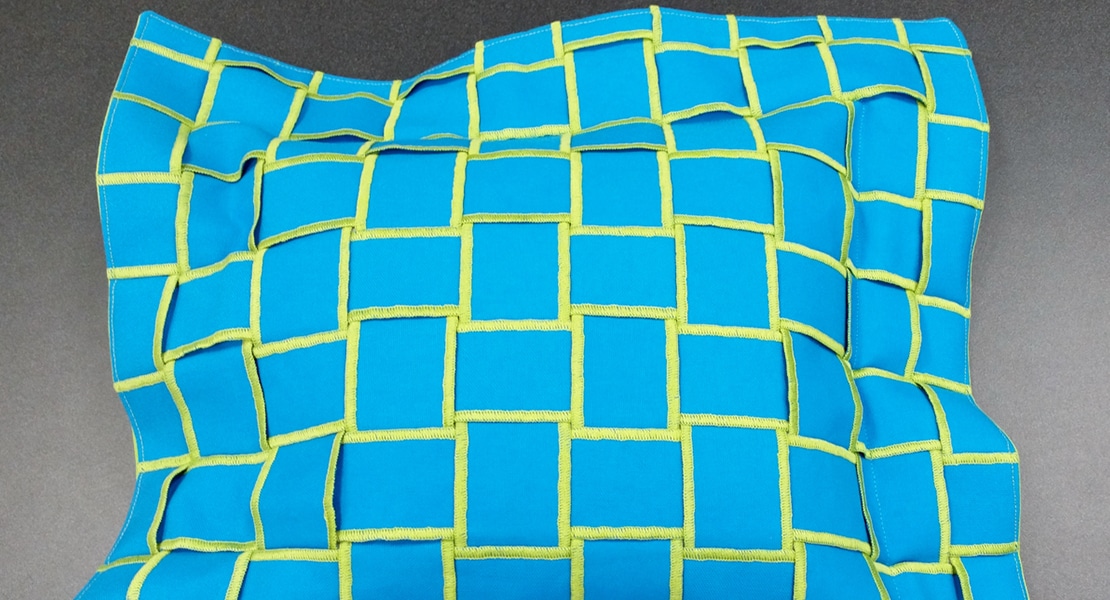
The most important thing to remember is that you are going to quilt with the backing fabric facing you. Yes, you will quilt your work from the back to the front. It means you will ignore the top quilt design and only focus on the back fabric motif, that will be facing you during the entire process.
The previously basting stitches around the quilt will mark exactly the position of your top quilt on the back side of your fabric. If you did special quilting on the tumbler piece, you will also have the stitched quilting designs on the backside as a guide where you should stop with the E2E quilting and travel stitch until the next section.
Now you can watch “Let’s Quilt that Fabric!” Episode 3 and learn how to quilt the polka dots and daisies designs that we will use to E2E this project.
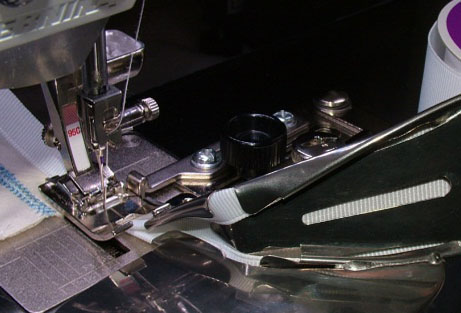
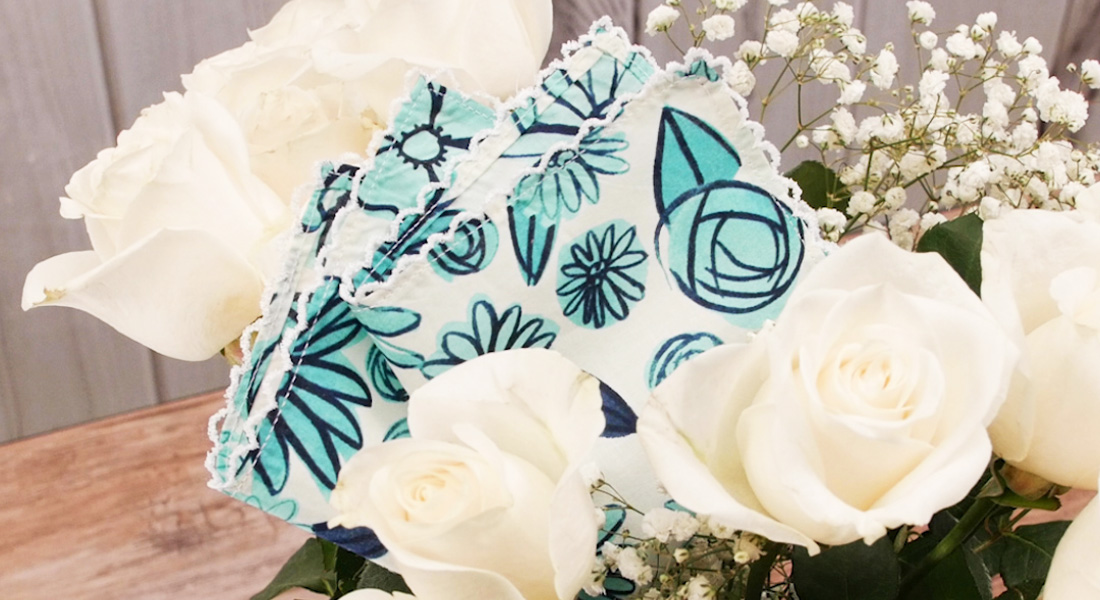
Last preparation before the final photos! I love to use my LAURASTAR Lift Xtra (1980 edition, like ME!), especially for projects with such different types of fabric, like the chambray contrasting with the super delicate Liberty Tana Lawn and the fluffy cotton batting and cotton fabric. Steam is power and Dry Microfine Steam (DMS) is a super power! I would only use an iron on a finished quilt with a steam generator.
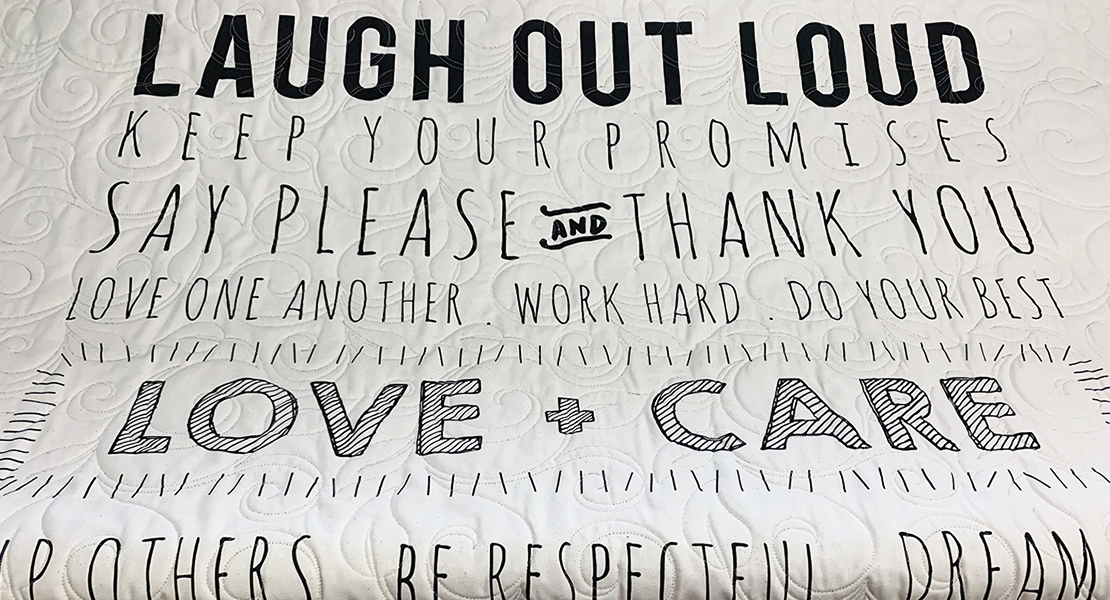
And voilá our quilting is all done! As you can see the back side will fit exactly with the backing fabric motif and the front side will look like an Edge to Edge quilting!

I hope that you try this very interesting way to quilt with the BERNINA Q20 Sit-down Model.

Uf Widerluege! (See you soon)
Used Products


What you might also like


4 comments on “Edge-to-edge Quilting with the BERNINA Q 20”
-
-
Thanks Mary! The BSR3 is really magical for basting! The three different stitch per inch options are a real advantage and time saver. It has only one option for the Procreate App (Sketch, Paint, Create), the other options are expansion packages with “Tools for Procreate” and “Brushes for Procreate” that you maybe would be interested in the future.
-
-
What settings are you using on your Bernina Q20 for this projects? Thanks
-
Hi there! For this project I was using the BSR1 with 10 stitches per inch.
-
Leave a Reply
You must be logged in to post a comment.

Looks interesting! I like the idea of using the basting stitch to also work to differentiate sections so that as you are quilting, you can stay in the right areas. I’m also wondering about the procreate app. I tried to look it up on the App Store and there seems to be more than one. Can you tell me more?