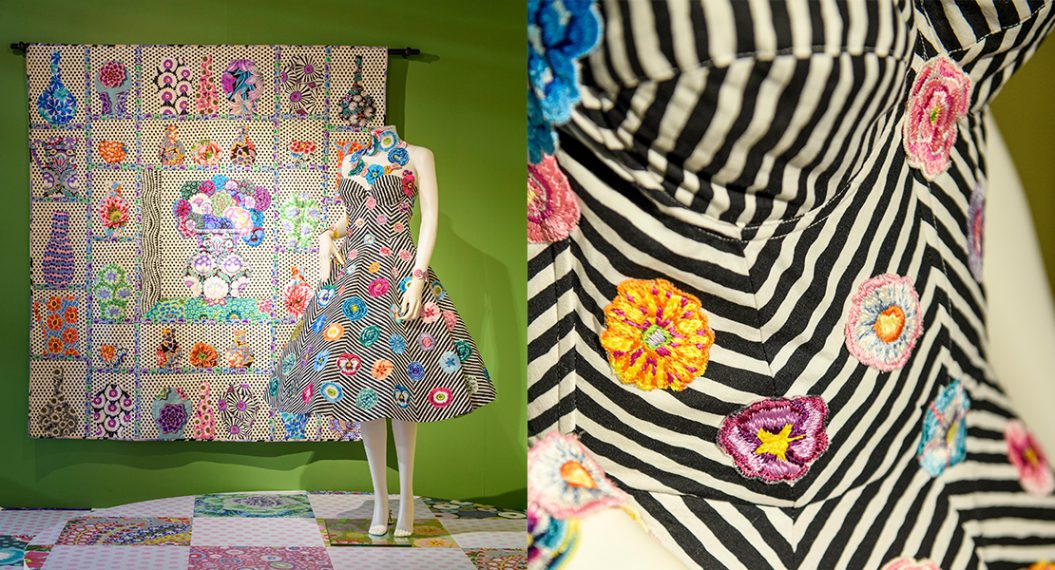
Kaffe Fassett Hat Box Quilt Series: Kaffe Stitches and Machine Appliqué
This week get ready for machine applique and decorative stitches! We’re going to have tons of fun with thread color and new Kaffe stitches!


Sewing Machine Set-Up
Supplies to Make the Kaffe Hat Box Quilt
- 2 yards OESD Ultra Clean & Tear Stabilizer
- Optional: OESD Fusible Woven
- Mettler Silk Wrapped Finish 50 wt Cotton Thread
- Mettler Poly Sheen Thread – purple and orange
- 36” square batting
- Plastic template, such as Dritz Template Plastic
- Temporary Marker
- Quilting Ruler with 45 degree mark
- Rotary Cutter
- Scissors
Note: Seam allowances are 1/4” unless otherwise noted.
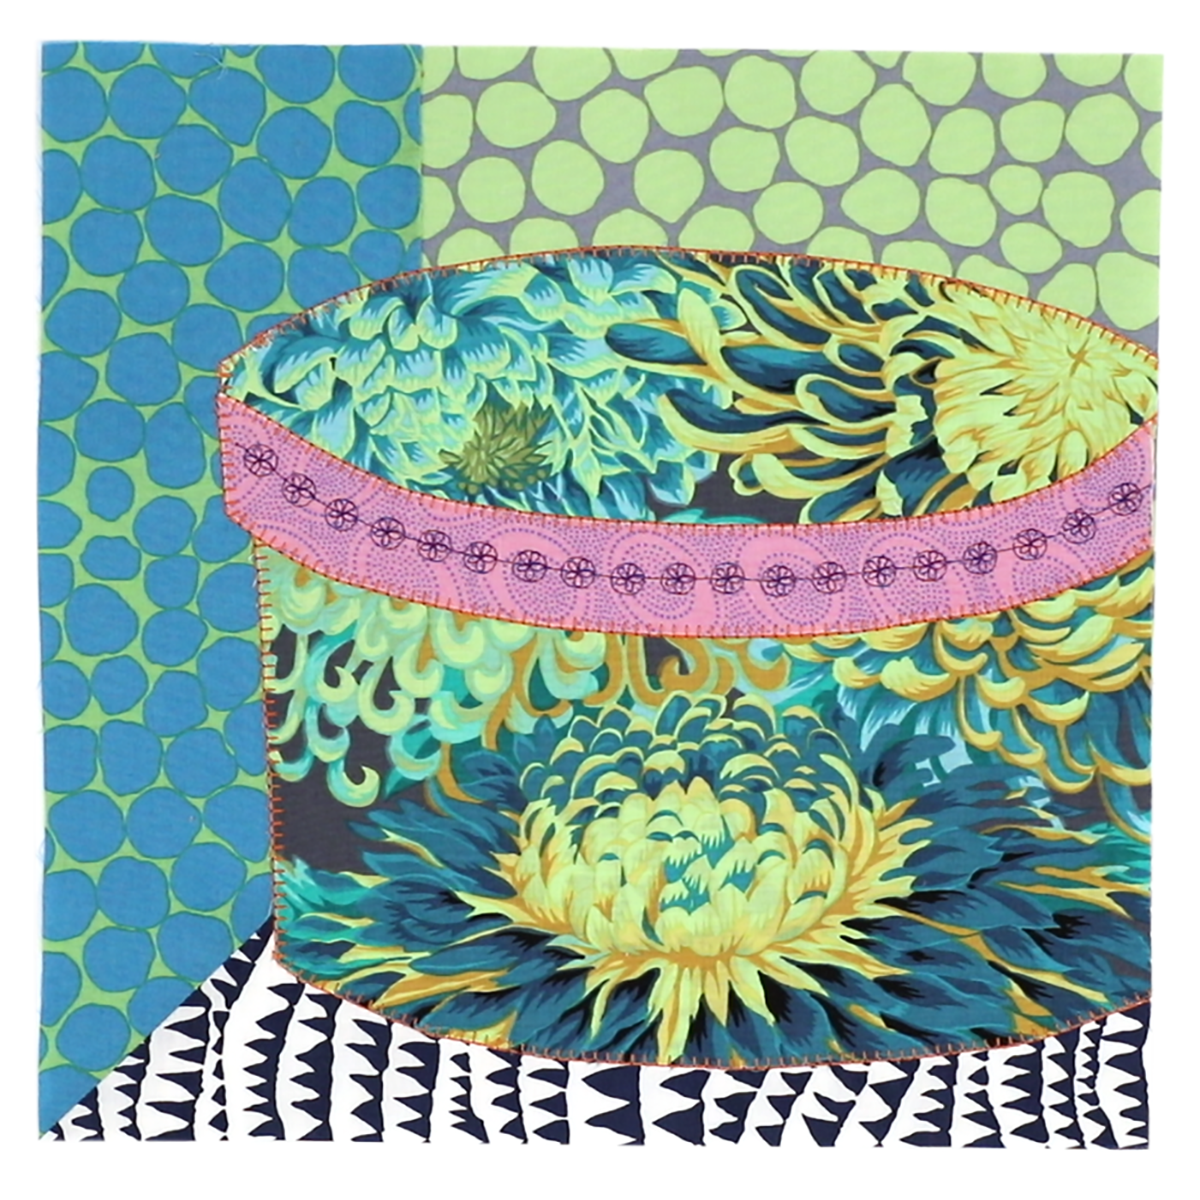
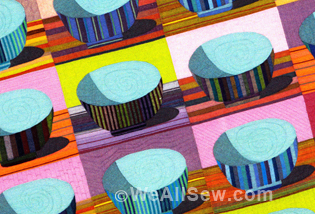
1. Position Hat Box Pieces
Place stabilizer behind pieced background block. Place Hat Box bottom 1” from lower edge of background block. Make sure raw edges on the right side are aligned. Pin in place through background block and stabilizer. Do the same for the other 3 Hat Box bottoms pieces.
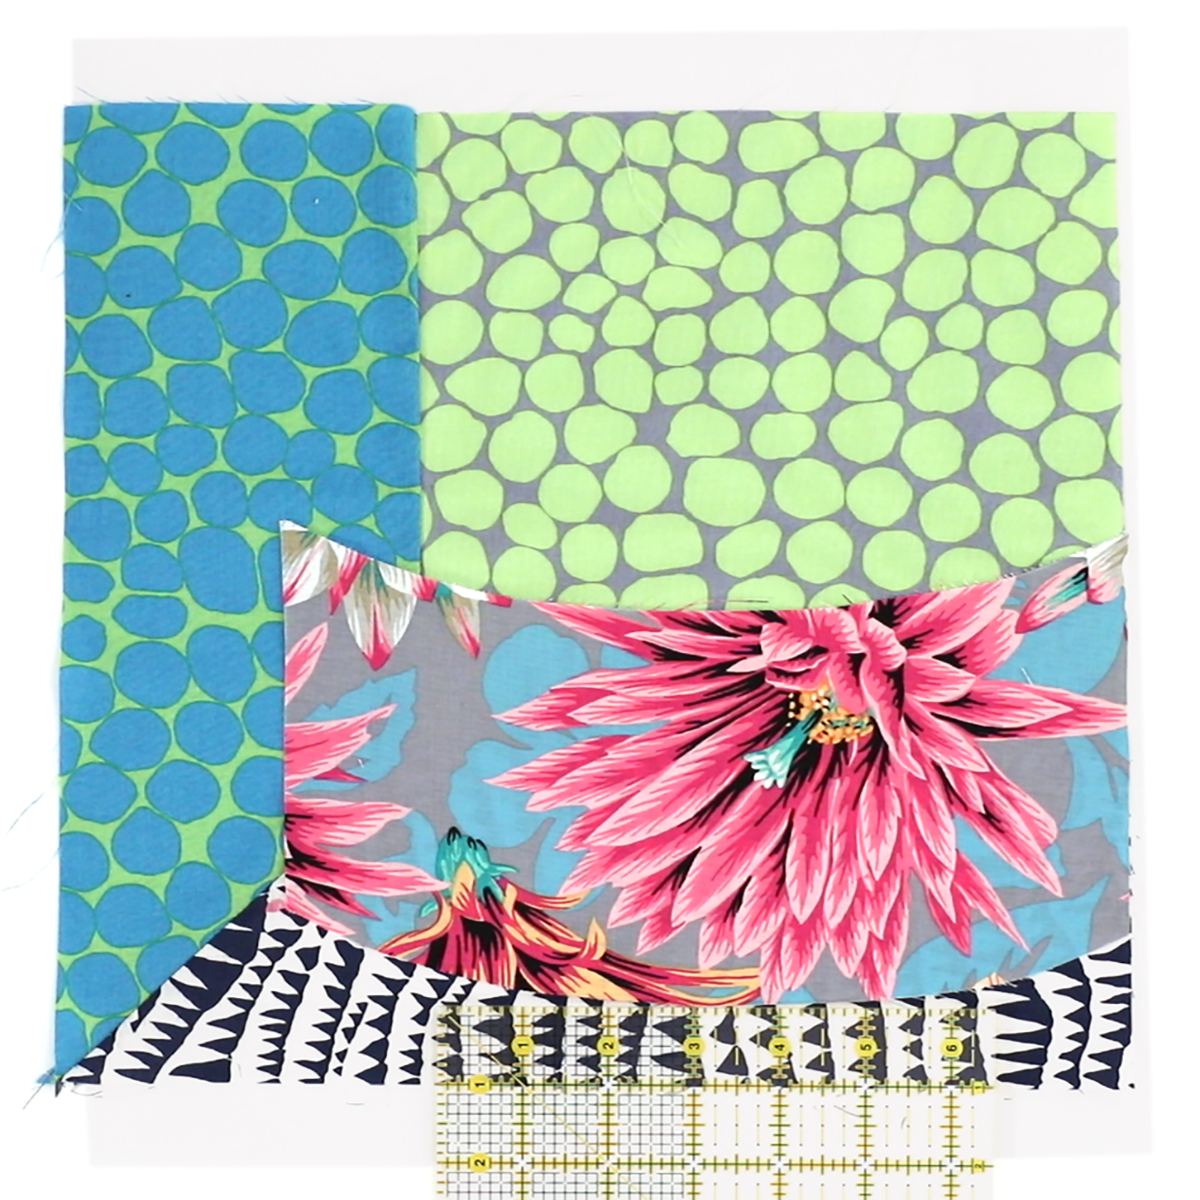
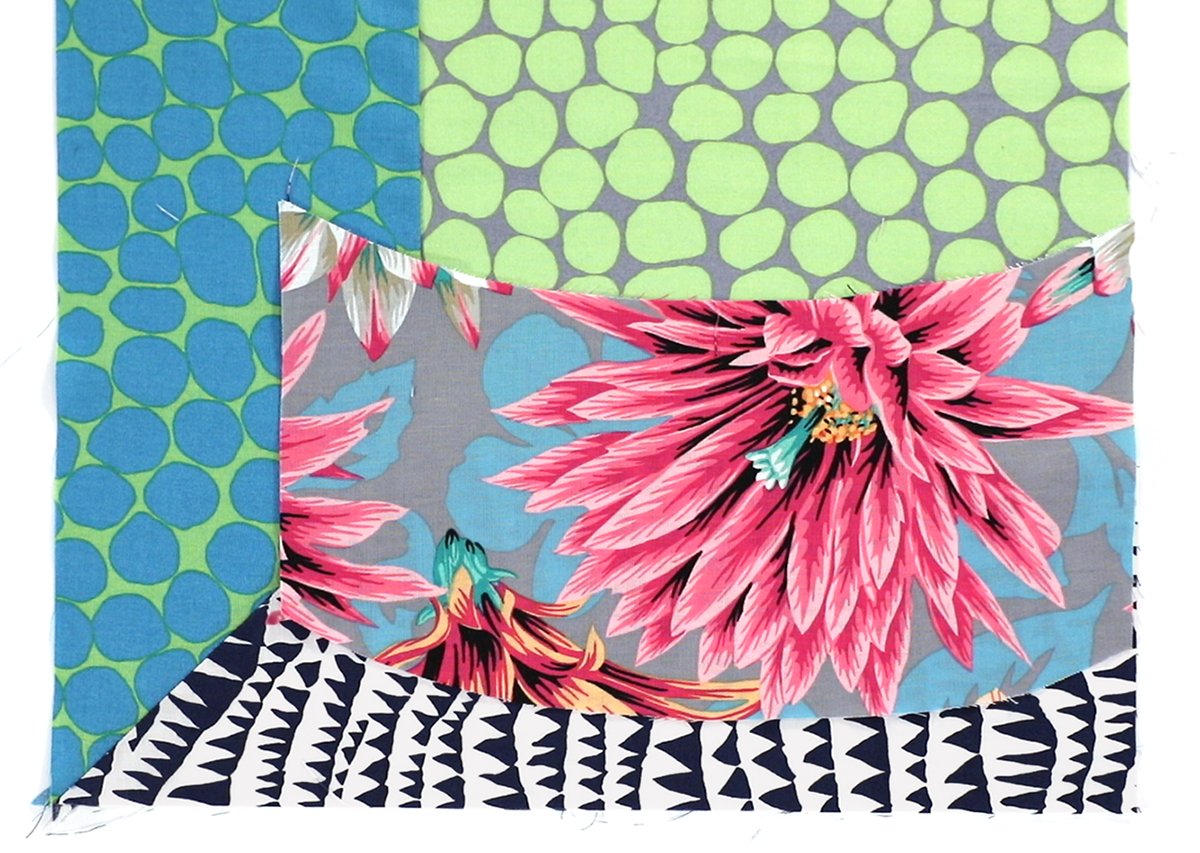
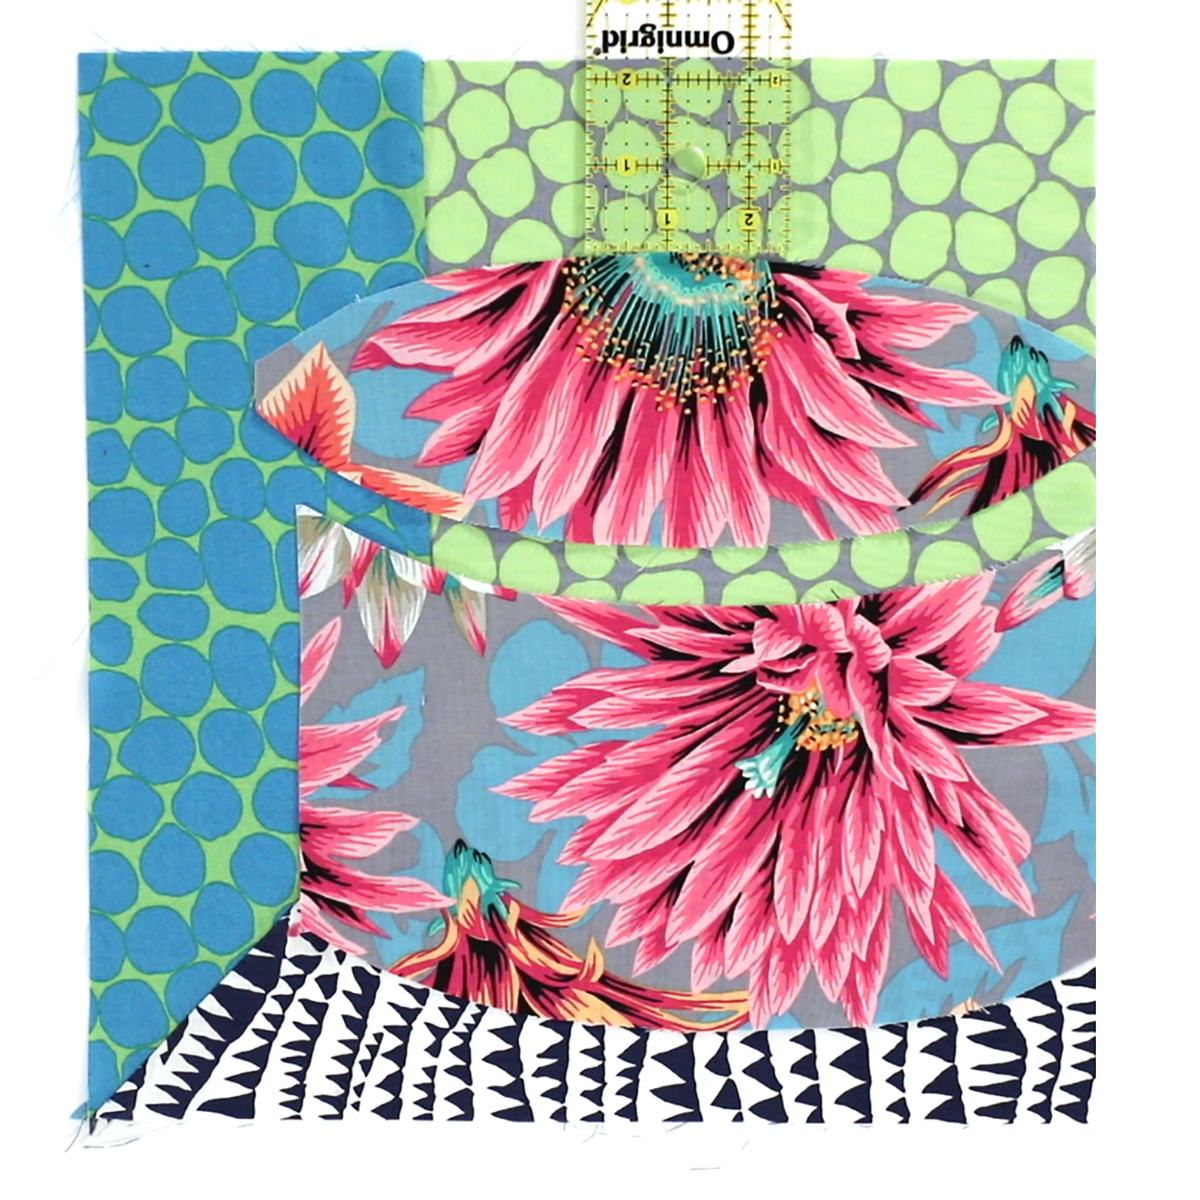
Find the 4 Hat Box tops and the template. These pieces are not symmetrical. Determine which way is right side up for each fabric. Place each Hat Box top 2 1/4” from the upper edge of its coordinating background block. Make sure raw edges on right side are aligned. Pin in place through background block and stabilizer.
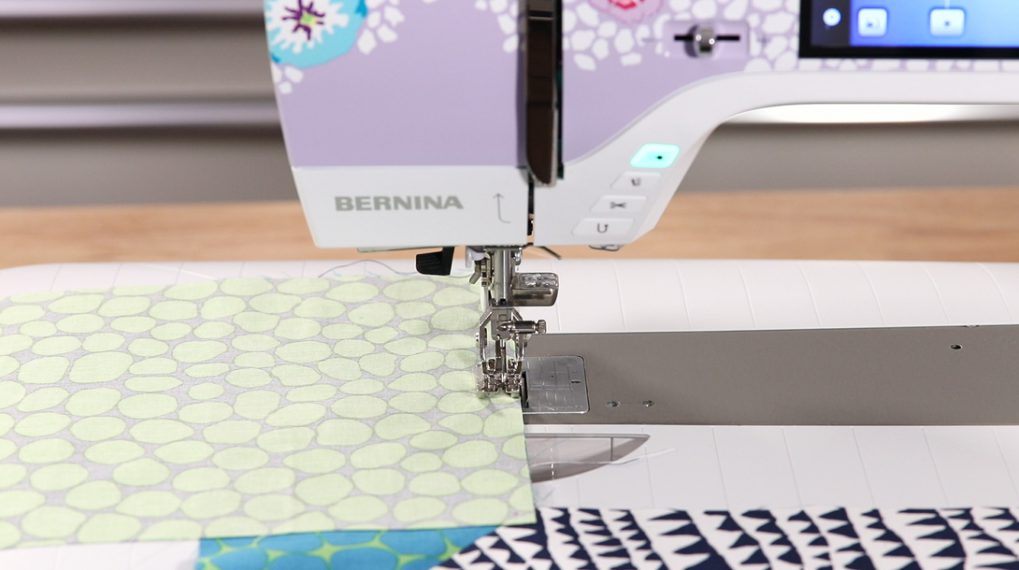
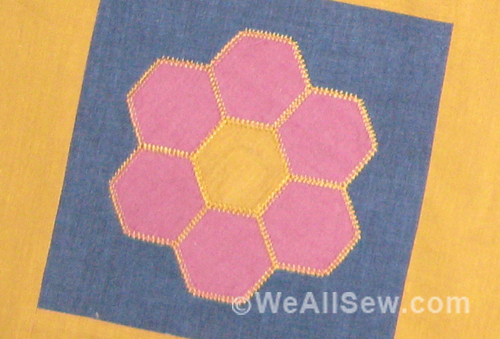
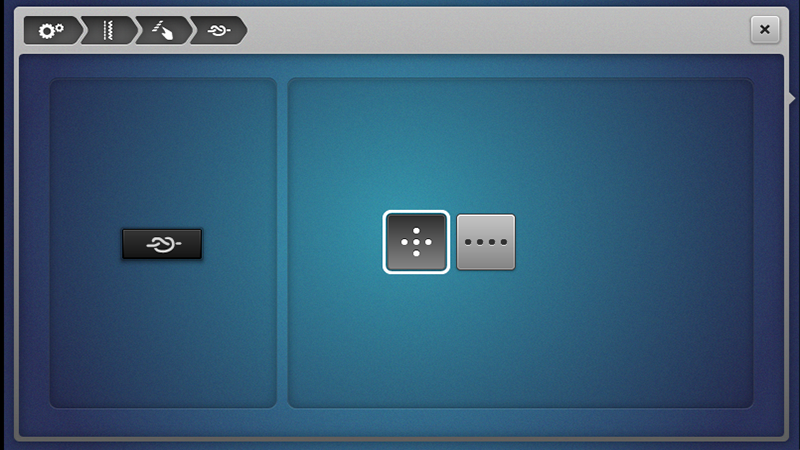
2. Open Embroidery Foot #20C and Blanket Stitch
Attach Open Embroidery Foot #20C. Thread machine with orange thread. Select Blanket Stitch #1310. Move Needle Position to 5.
![]()
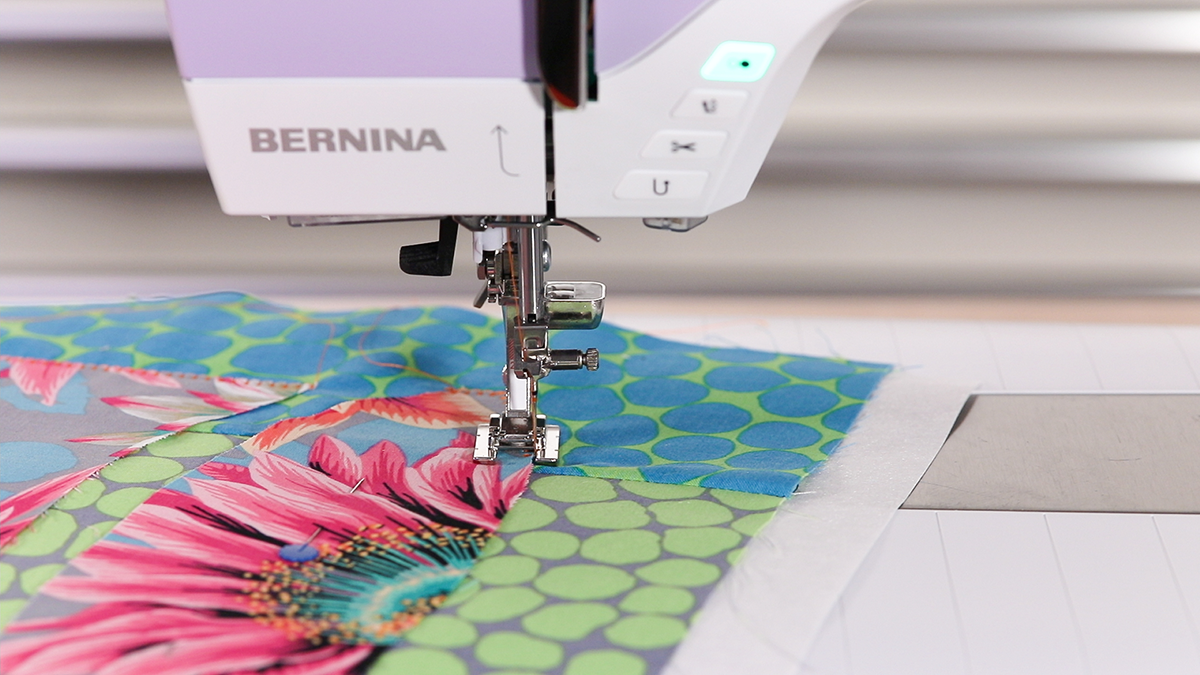
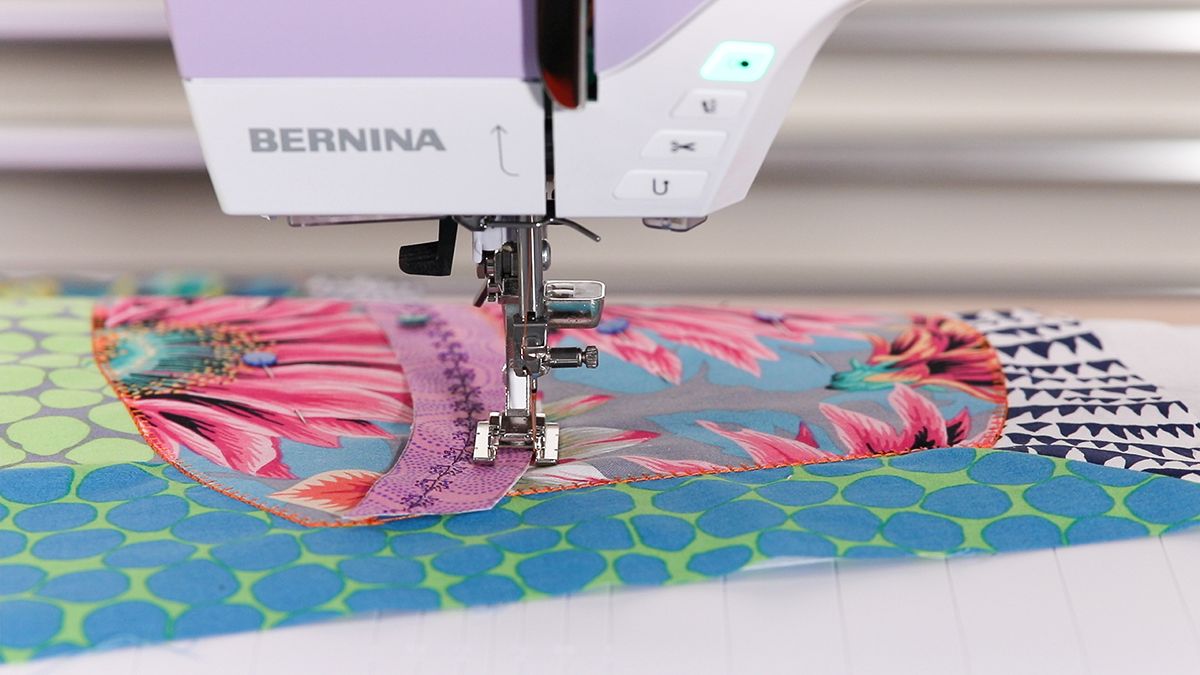
Place the Hat Box bottom under the foot at the bottom right corner. The inside right toe should be next to the raw edge of the applique fabric.
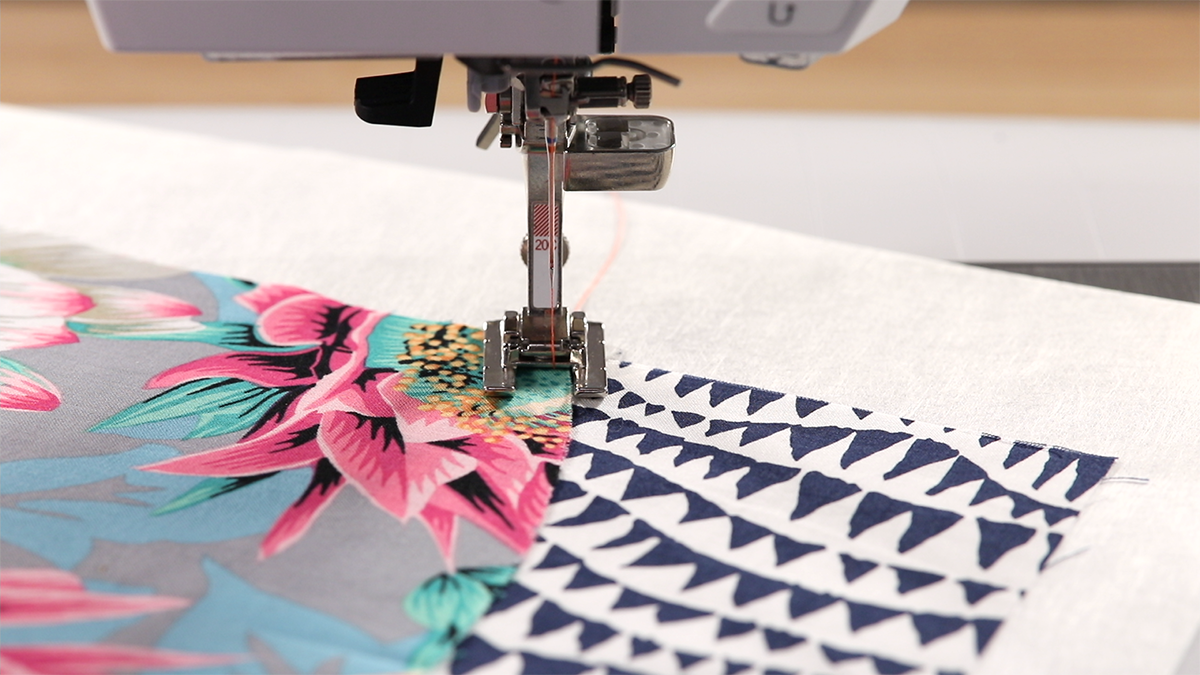
The spine of the blanket stitch should land in the background fabric and the vertebrae in the appliqué fabric. The trickiest part is the corners, so slow down and pay attention to the stitch pattern. This blanket stitch has 5 needle points for the spine and 4 for the vertebrae. Turn fabric after completing a spine.
![]()
Stitch along the bottom and up the side until you reach the top edge of appliqué fabric. Secure stitch.

Next, stitch up the side of the Hat Box top and along the top until you reach the right side of block. No need to secure stitch as this will end up in the seam allowance.
3. Kaffe Decorative Stitches
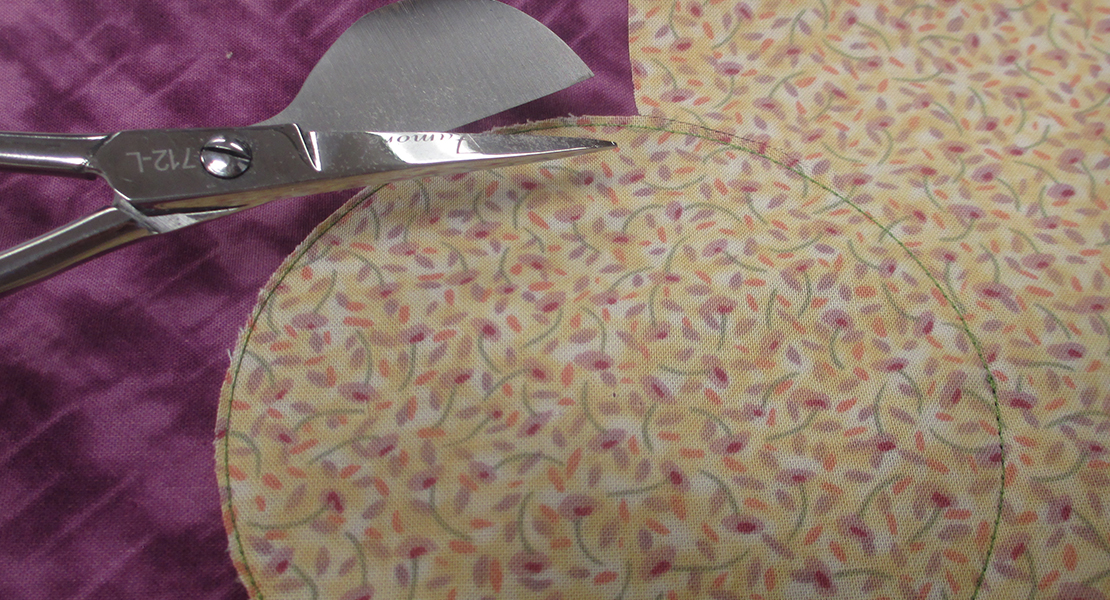
Find your Hat Box Trim fabric and template. Place OESD Tear Away Stabilizer behind the fabric. Place the template in the center of one of the traced trim outlines.
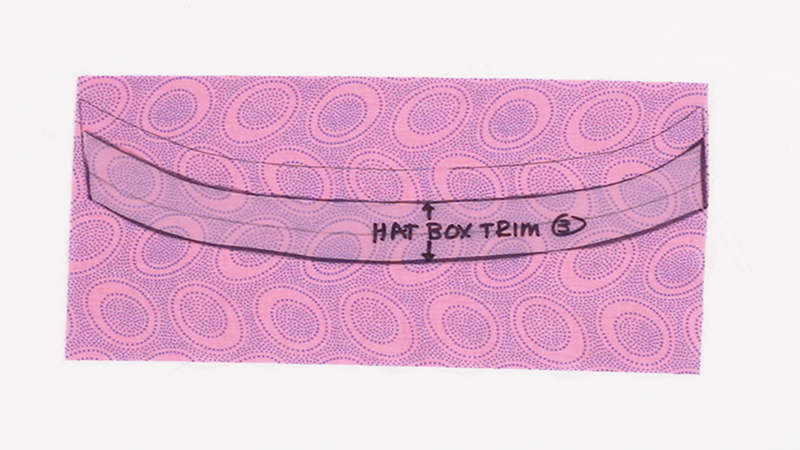
With a temporary marker, draw a line. This will be your sewing guideline.
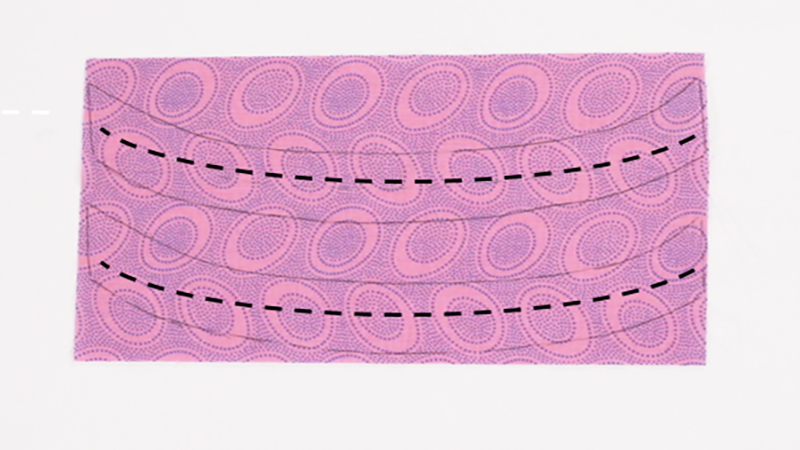
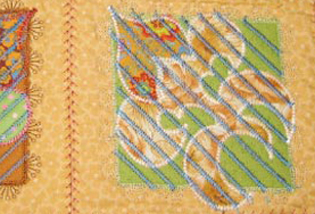
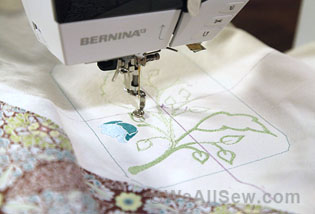
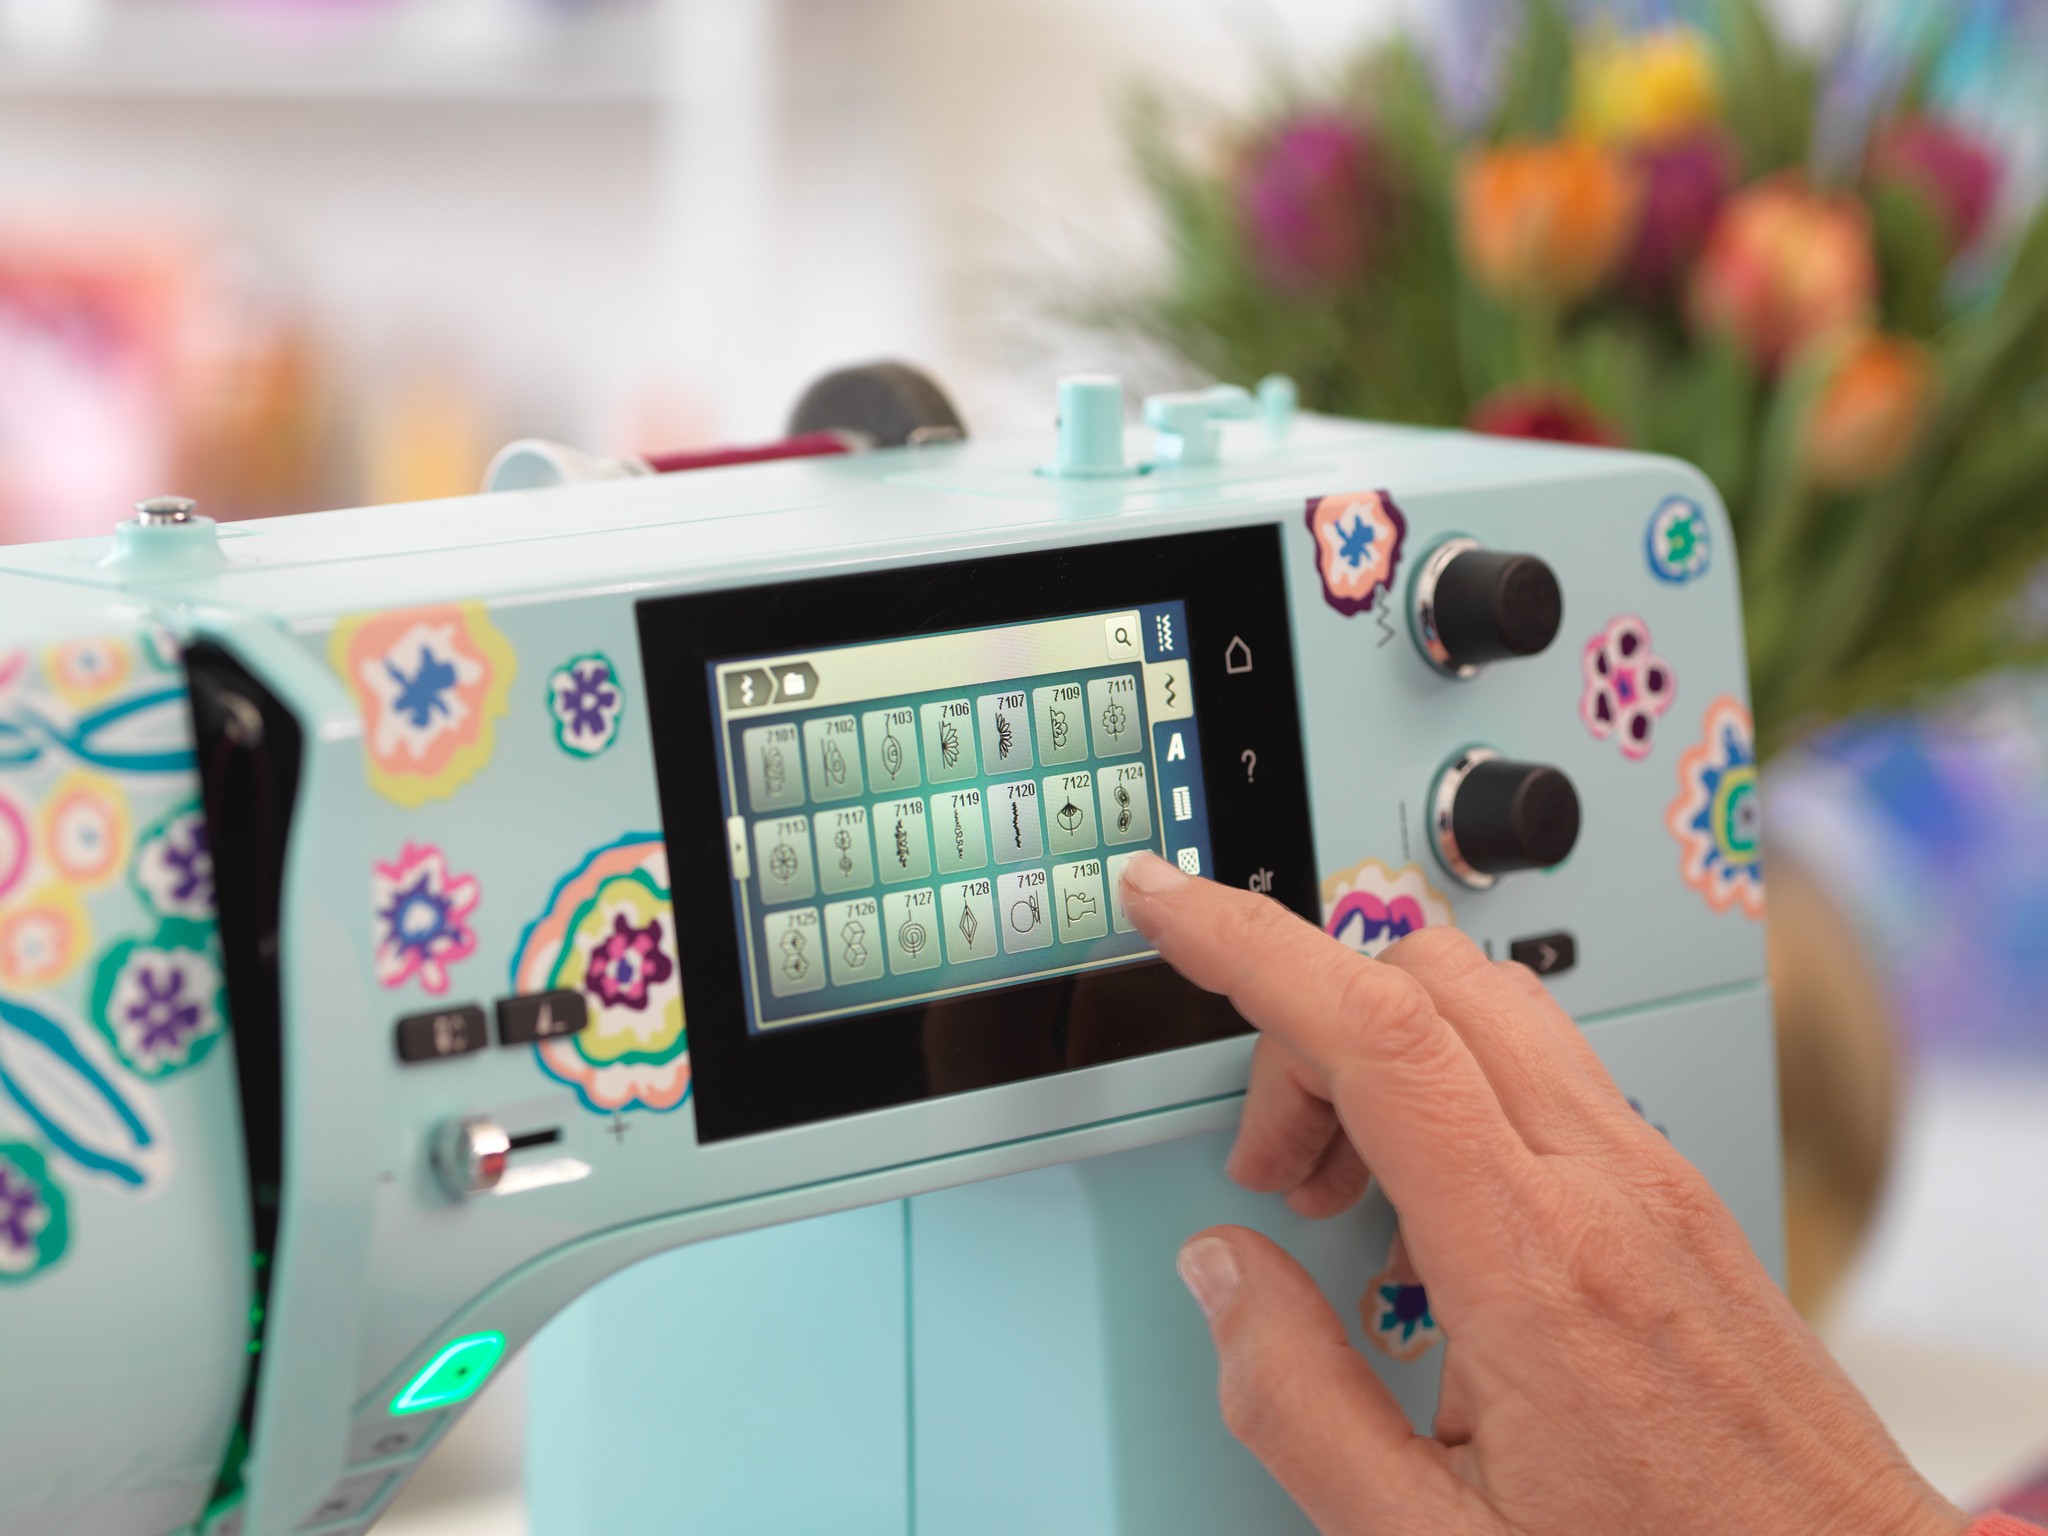
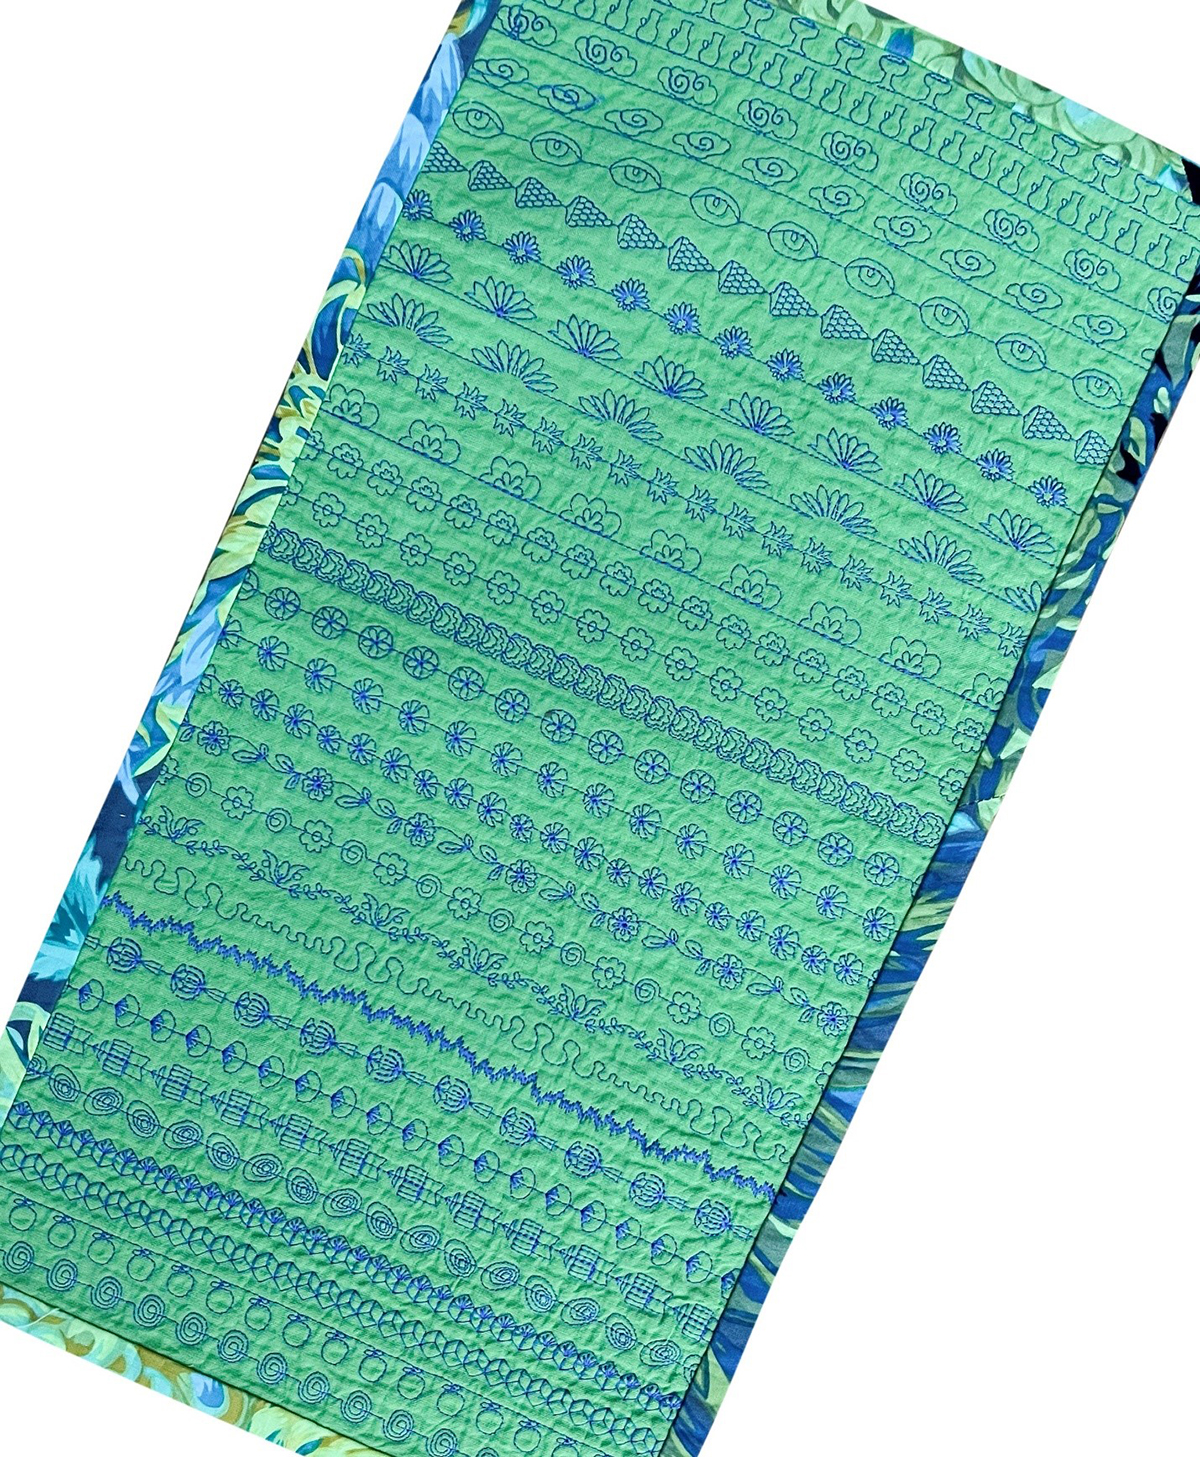
Thread machine with purple thread and select 4 of your favorite decorative stitches! Using the drawn line as your center stitching line, sew one decorative stitch on each of the 4 trim outlines. I am using Kaffe decorative stitches #7108, 7113, 7124 and 7126. Beautiful!
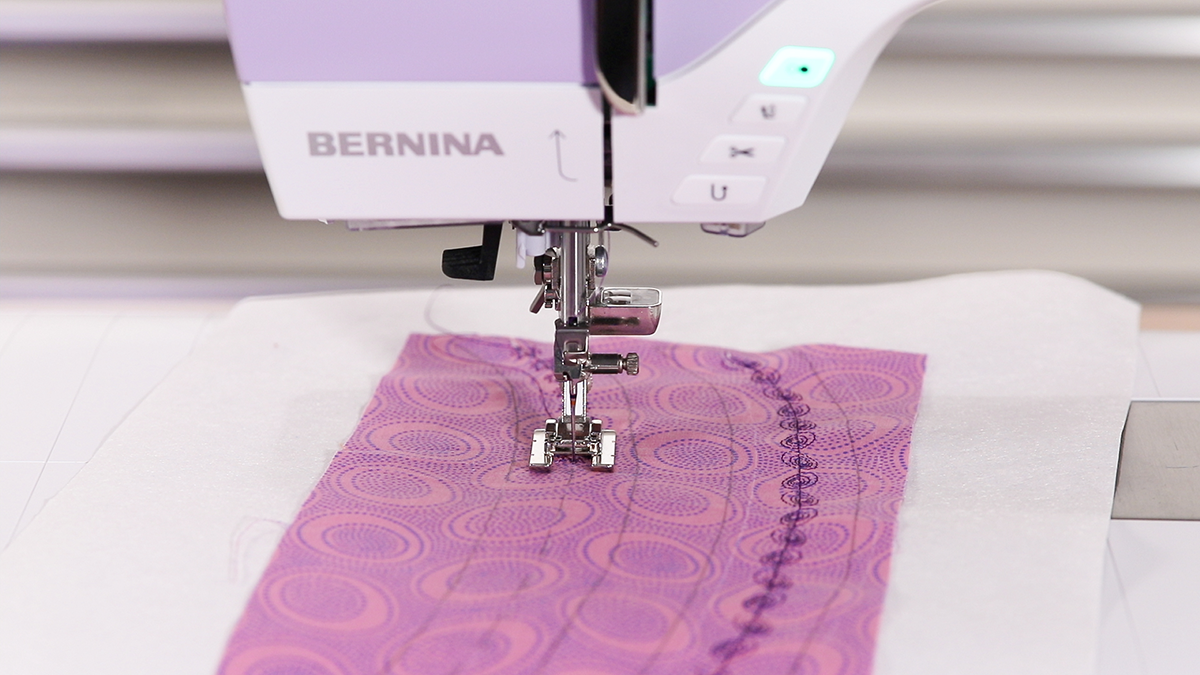
To secure the start and end of stitch, press the Secure Button on the machine. The Secure Button can be programmed in Settings to secure with 4 tiny stitches in a row or as a cross.
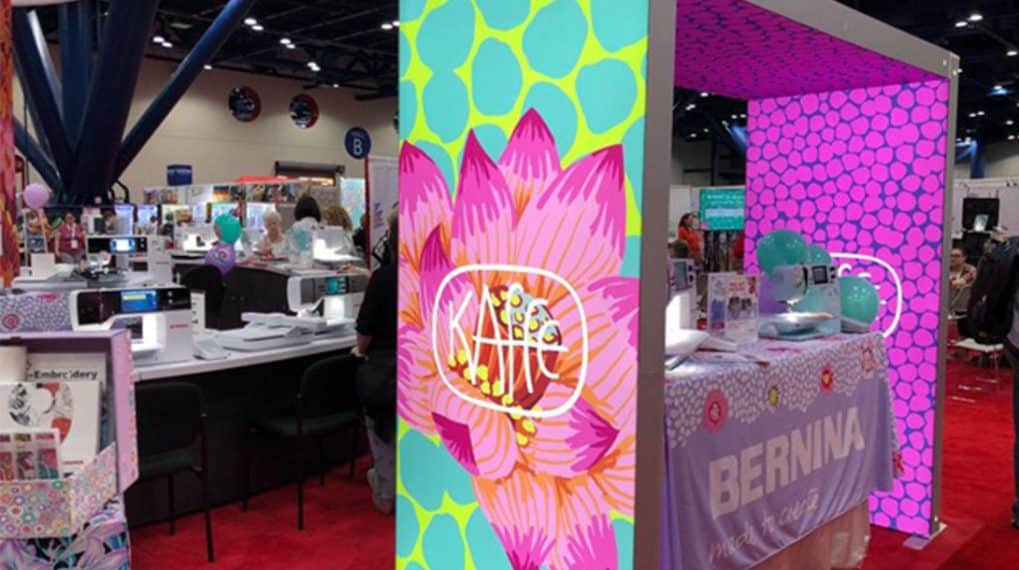
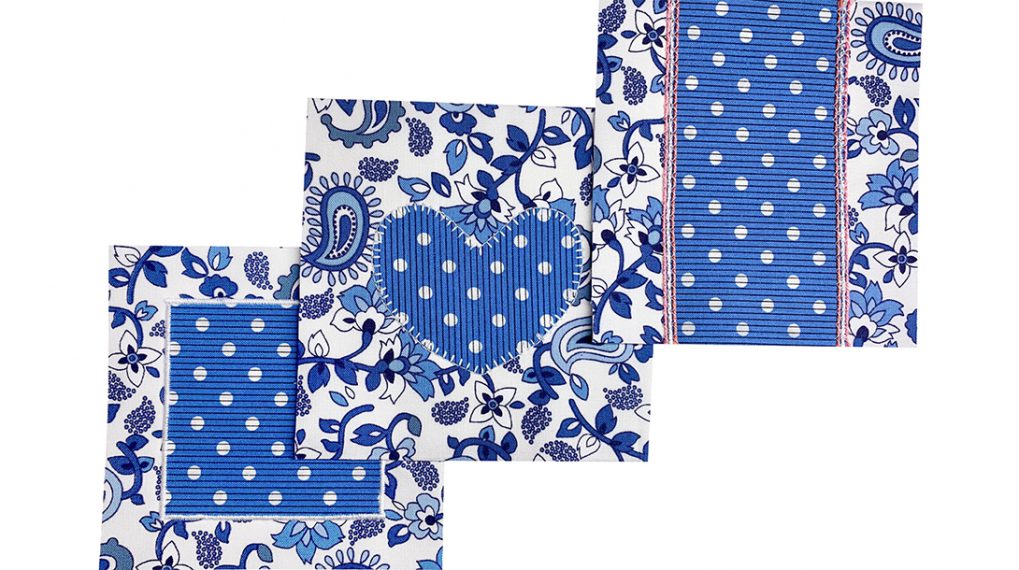
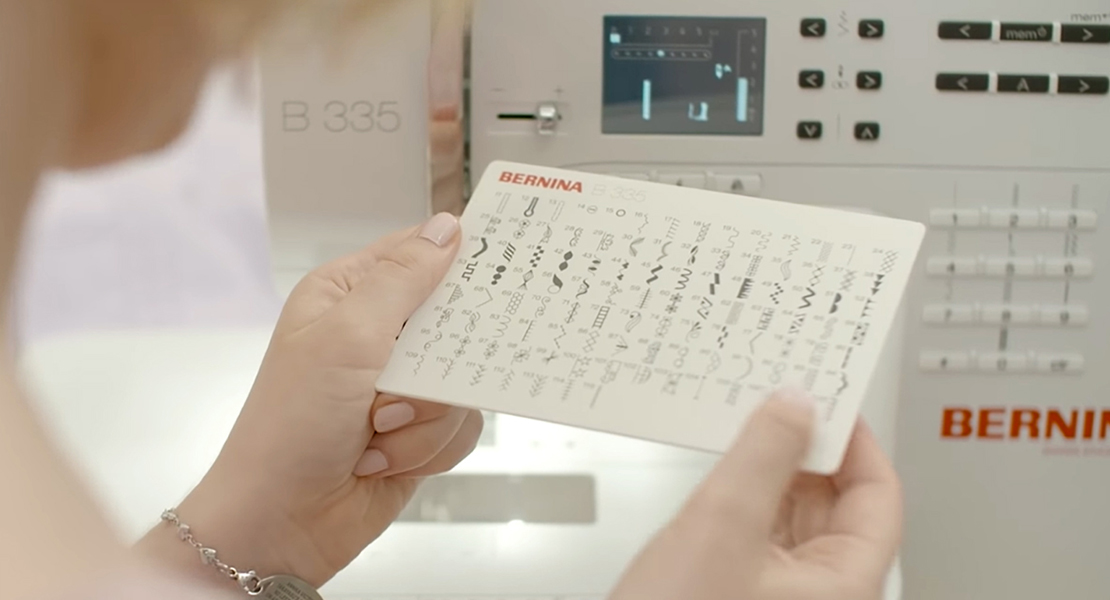
Here is a sample of some beautiful Kaffe decorative stitches that are built into the Kaffe Special Edition machines. Love them!
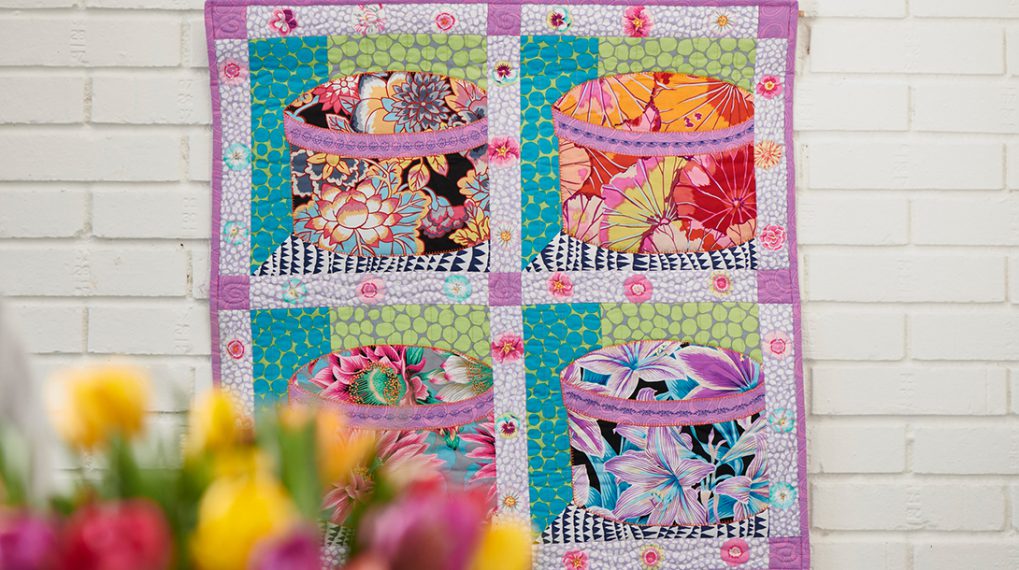
Cut out the Hat Box trim pieces. Place one on each block on top of the Hat Box top and bottom covering the gap. Pin in place. You know the drill! Start stitching at the bottom, up the side and along the top. Again, slow down at the corners and pay attention to the stitch pattern. By the time your 4th block is complete, you’ll be a blanket stitch expert!
Congrats on finishing your Kaffe Hat Box blocks! Adding decorative stitches into sewing and quilt projects brings another color element and a whole lot of fun! Next week is our final week (so sad), but it’s packed with piecing the quilt top, quilting options and binding techniques.
Kaffe Fassett Hat Box Quilt Series
- Part 1: Templates and Fabric Prep
- Part 2: Quilt Block Background and Y Seams
- Part 3: Kaffe Stitches and Machine Appliqué
- Part 4: Piecing the Quilt Top, Quilting & Binding
Join in the quilt along fun by sharing your Kaffe Fassett Hat Box Quilt on social media tagging @berninausa and using #kaffehatboxquilt. We’d love to see your Hat Boxes!