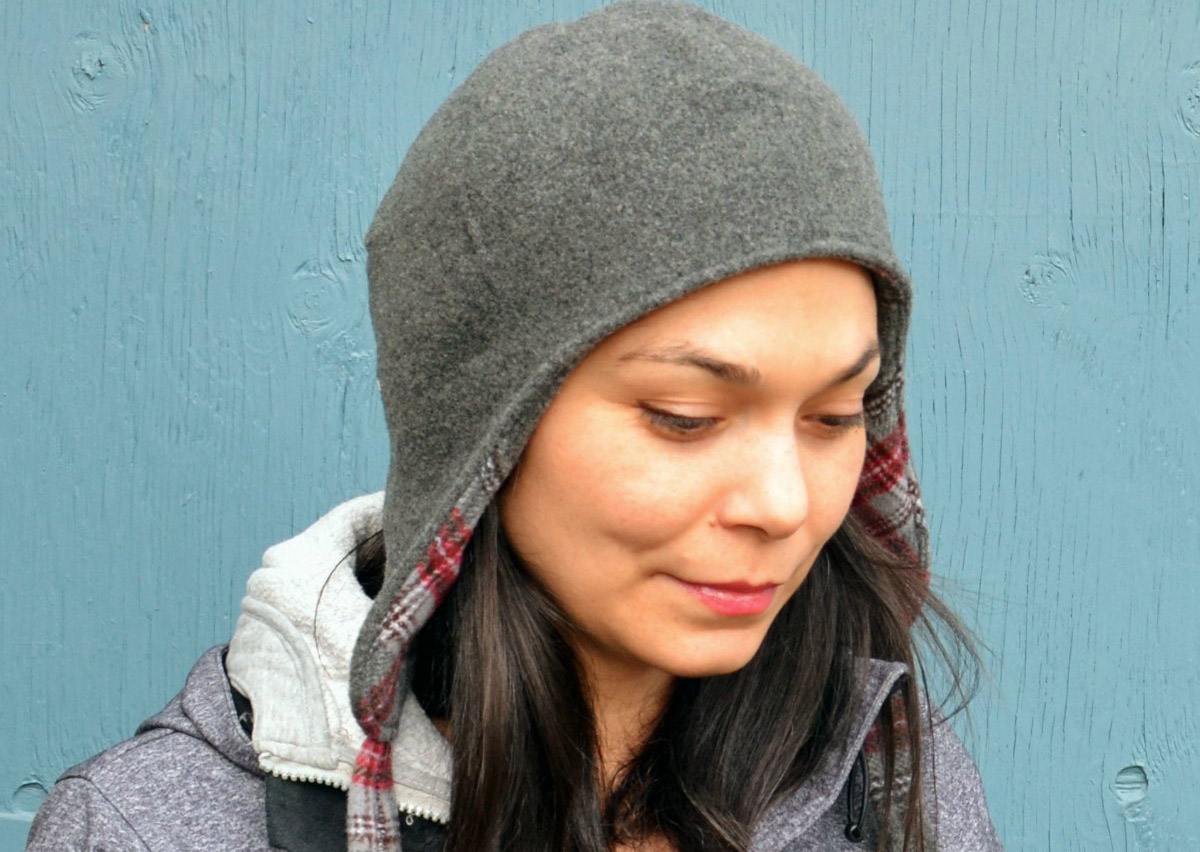
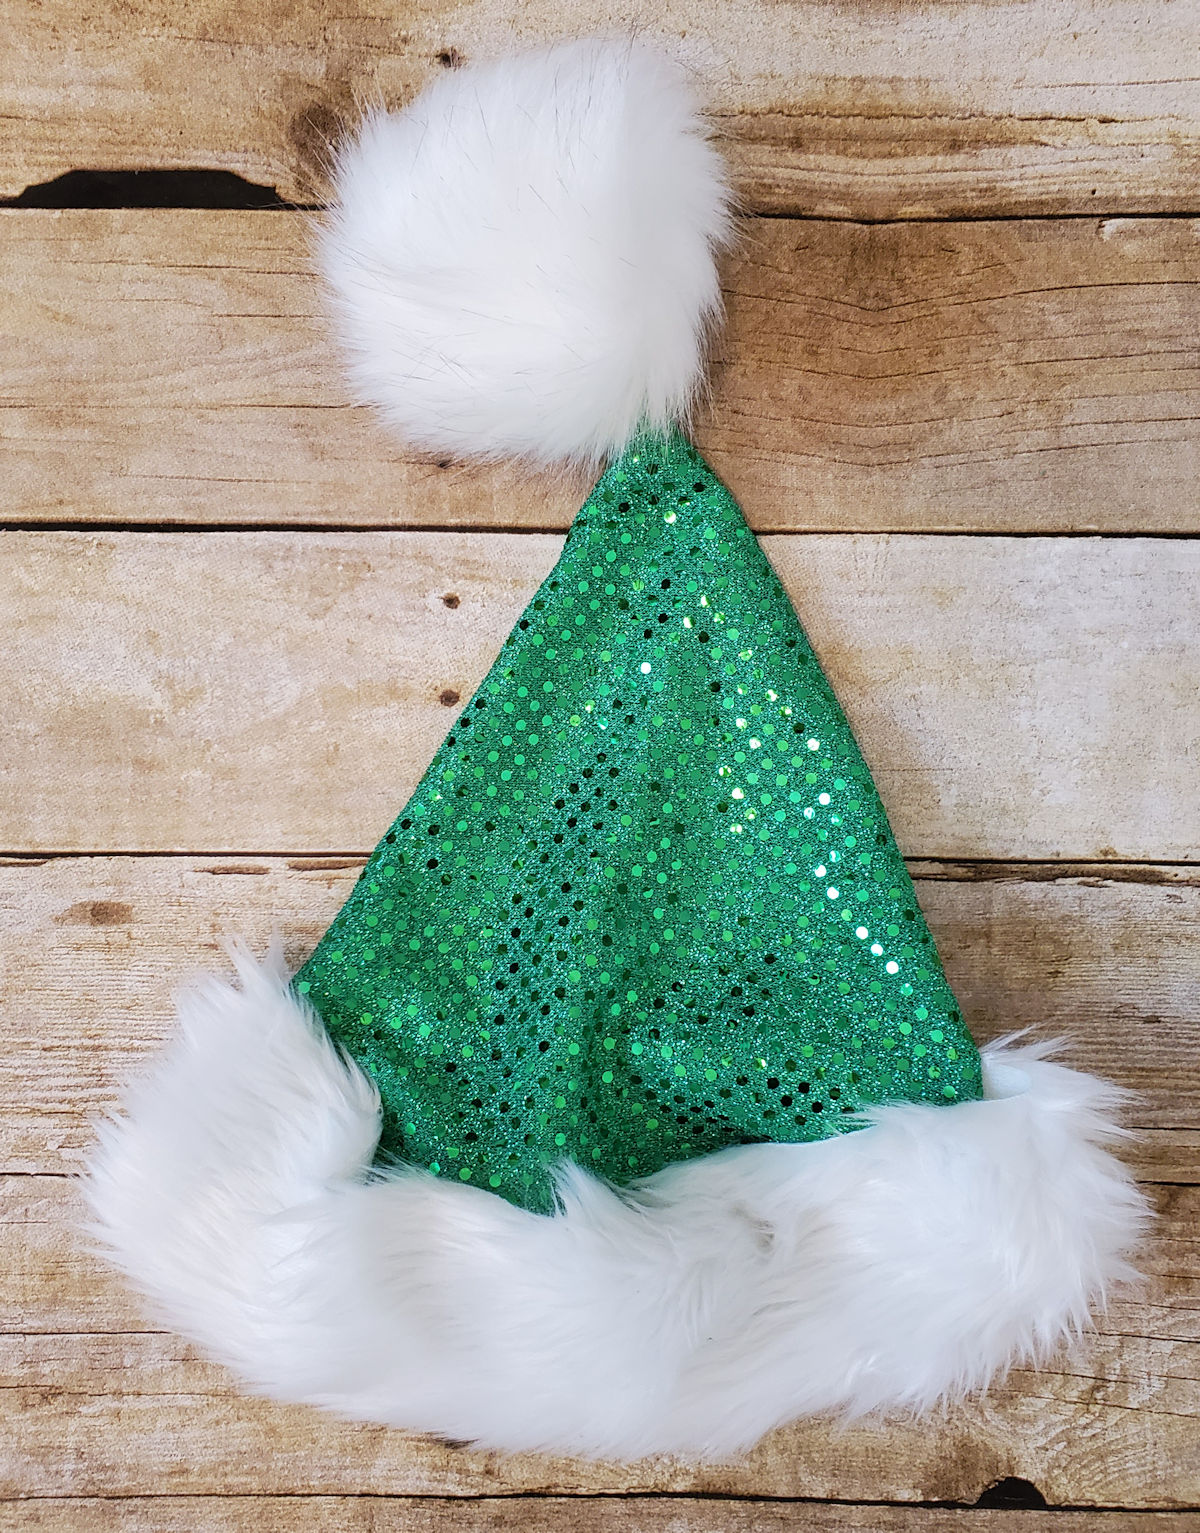
Santa Hat
If you’re looking for a fun accessory to wear this holiday, then this project is for you! This sparkly Santa style hat fits most adults and is so easy to sew, even a beginner can make it.
Materials to Create a Santa Hat
- Tracing cloth or tissue paper
- Ruler
- 1/2 yard of sequin dot fabric
- 3/4 – 1 yard of 4″ wide fur trim (smaller trims will work as well so long as they are at least 1 1/2″ wide)
- 1 purchased pom pom
- Hand sewing needle
- Matching Thread
- 1/4″ foot, #37 (optional)
- Interfacing (optional)

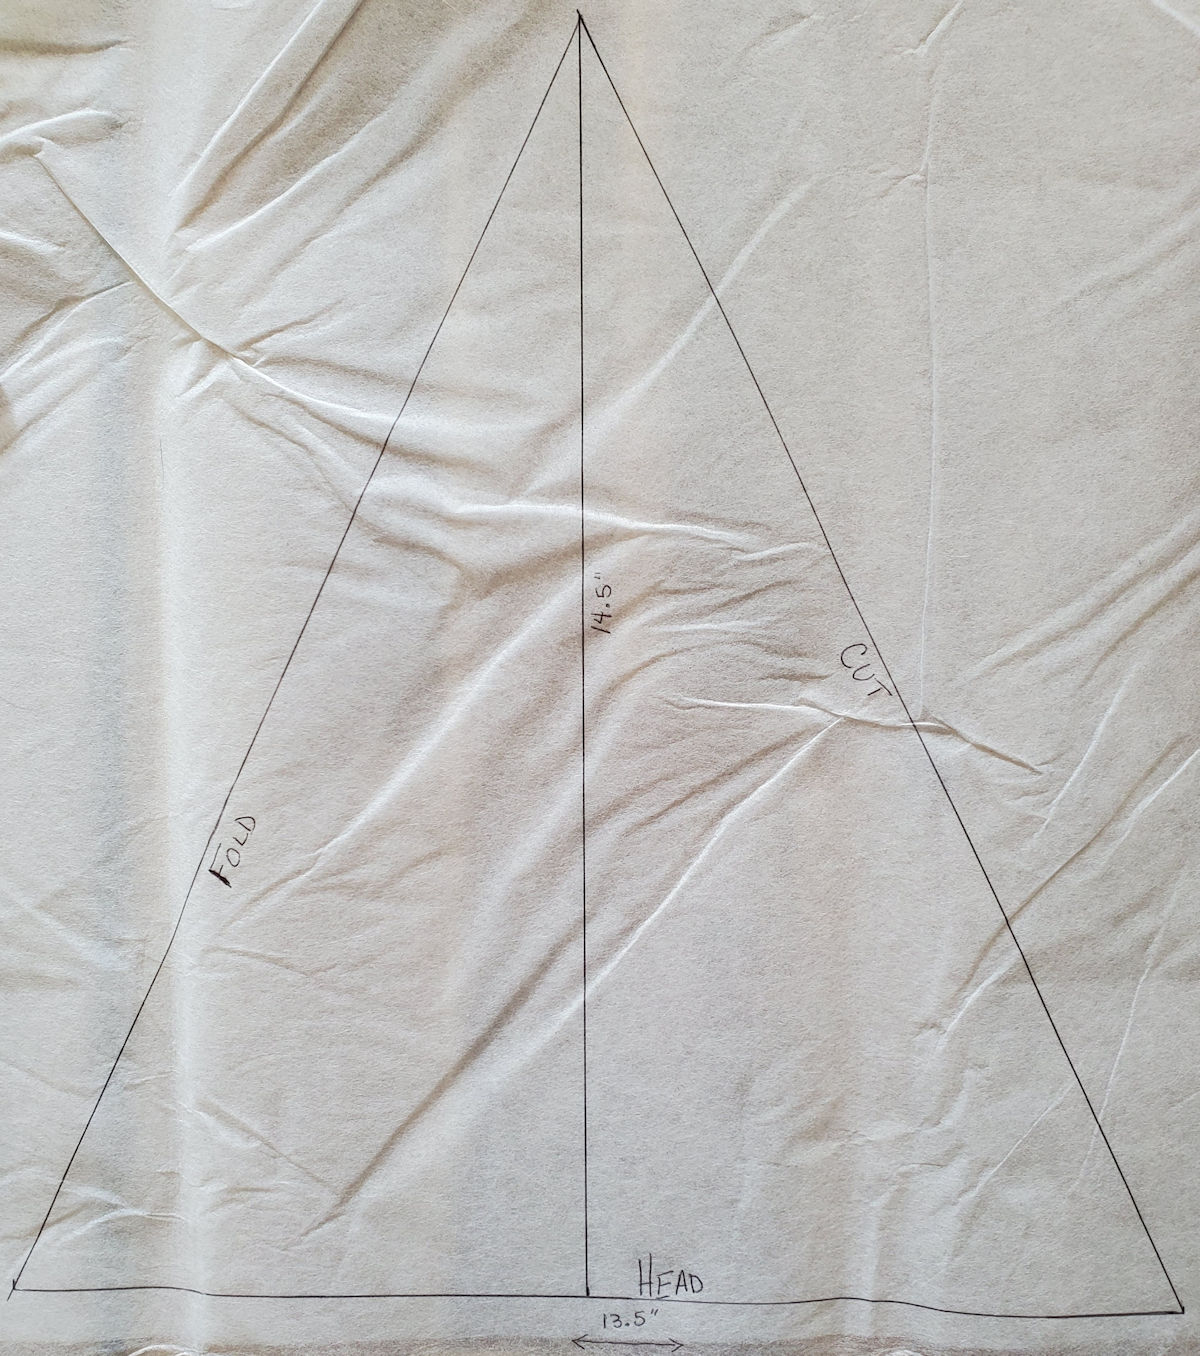
Making the Santa Hat Pattern
You’ll want to make a quick pattern for the body of the Santa hat. To do this, measure across your tracing cloth\tissue paper 13 1/2″ and mark the center (6 3/4″). From this center mark, draw a line upward, 14 1/2″. Connect the ends of the bottom line to the top, creating a triangle (these lines should measure 16″). To keep track of what parts are sewn, folded, etc. be sure to mark the bottom edge as “Head”, one side as “Fold” and the other side as “Cut”. Your pattern should look like this:
Making the Santa Hat
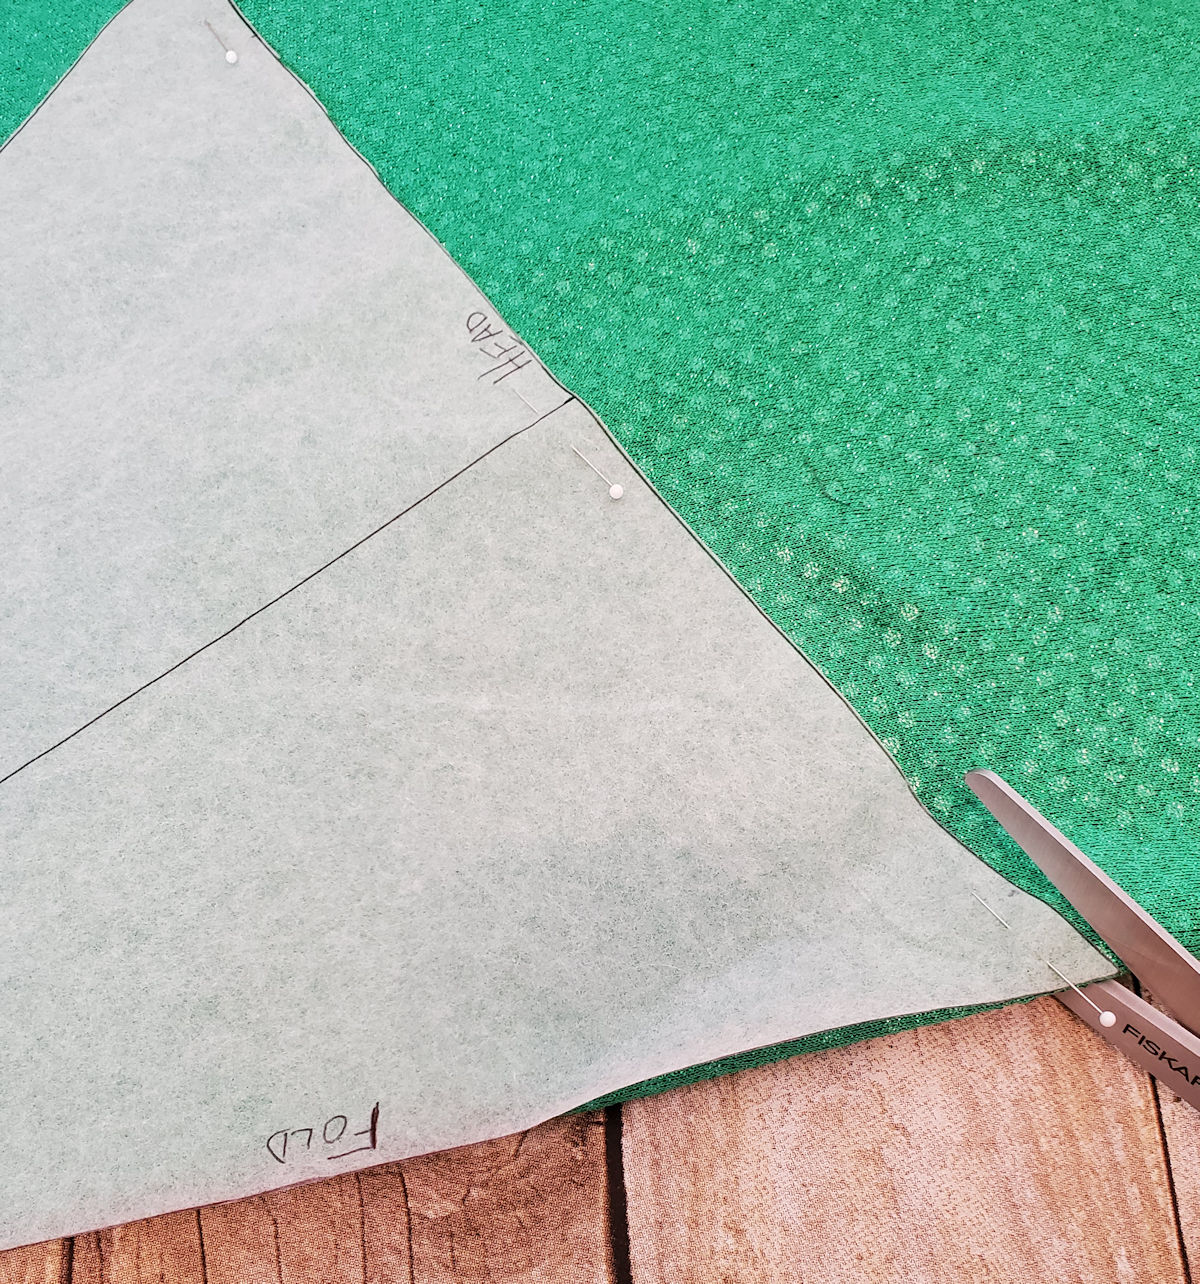
Fold your fabric in half, place the pattern on the fold (as marked) and cut.
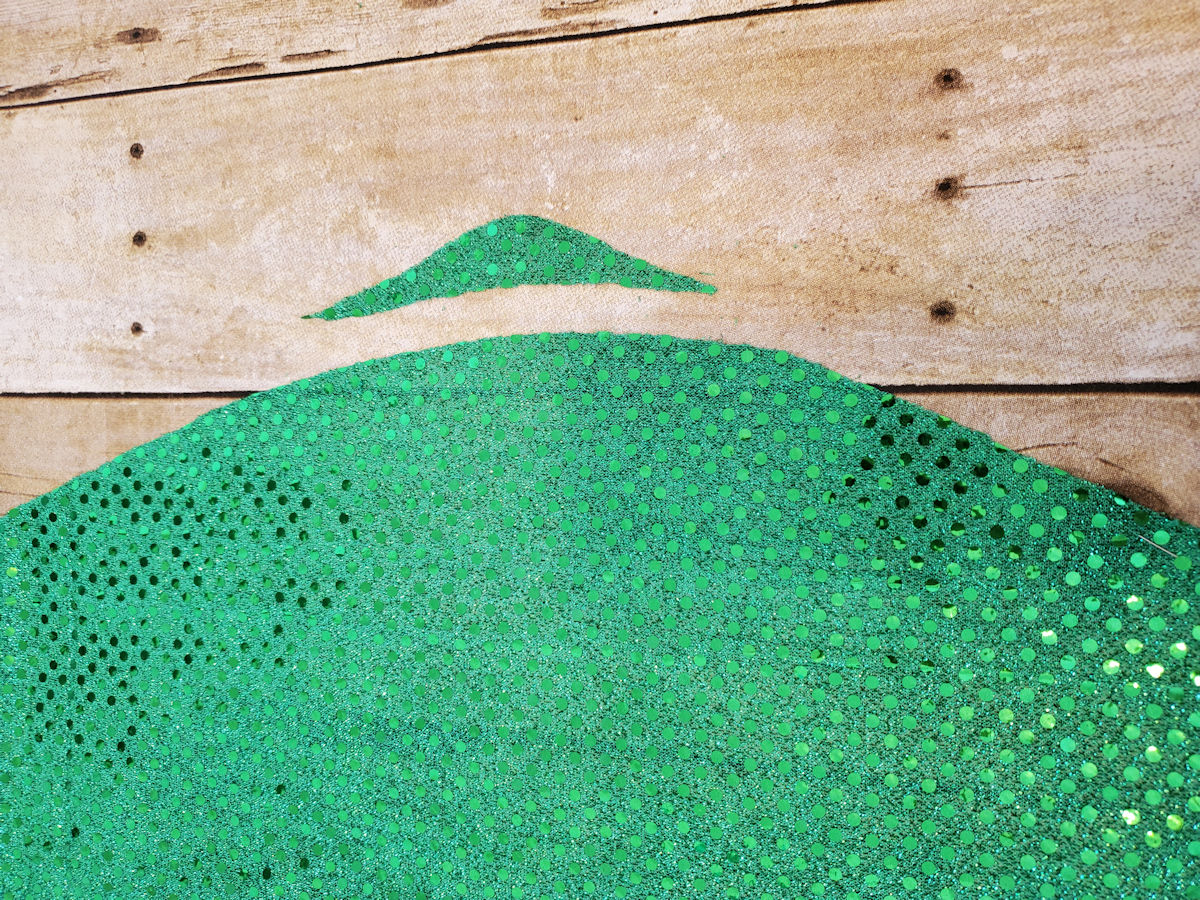
Open up your cut fabric. You’ll find that the head has a slight “point”. To make this look more pleasing and to make the trim easier to attach, you’ll want to round this area out and remove the excess. Because we are using a thin material, you will find that this Santa hat is “floppy”. If you would like a hat with more structure, add some interfacing to the wrong side of the material, now.
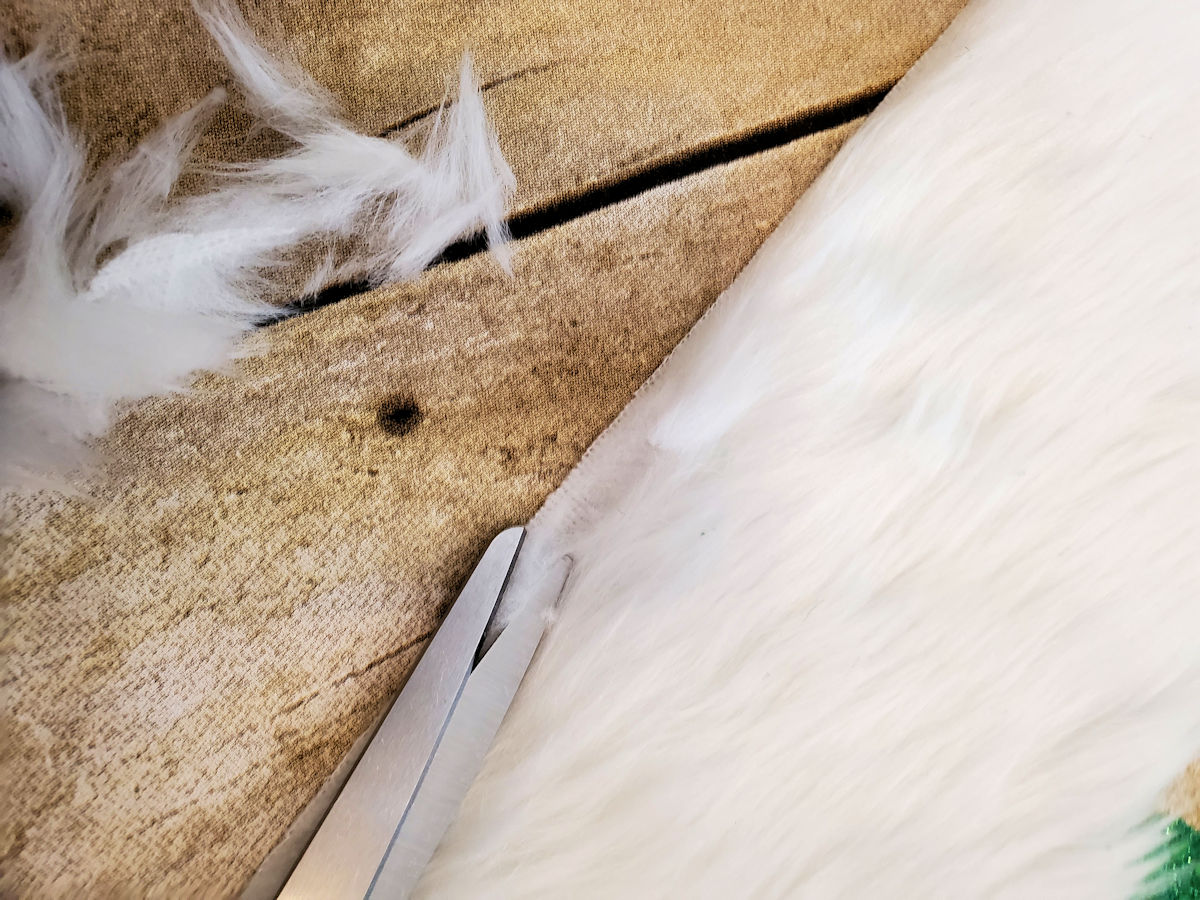
*Optional step: If your fur is very long, you may want to trim the fur away within the seam allowance (1/2″) and brush the remaining fur away from the trimmed edge. This keep the fur from becoming trapped in the seam allowance and makes it easier to sew as well.
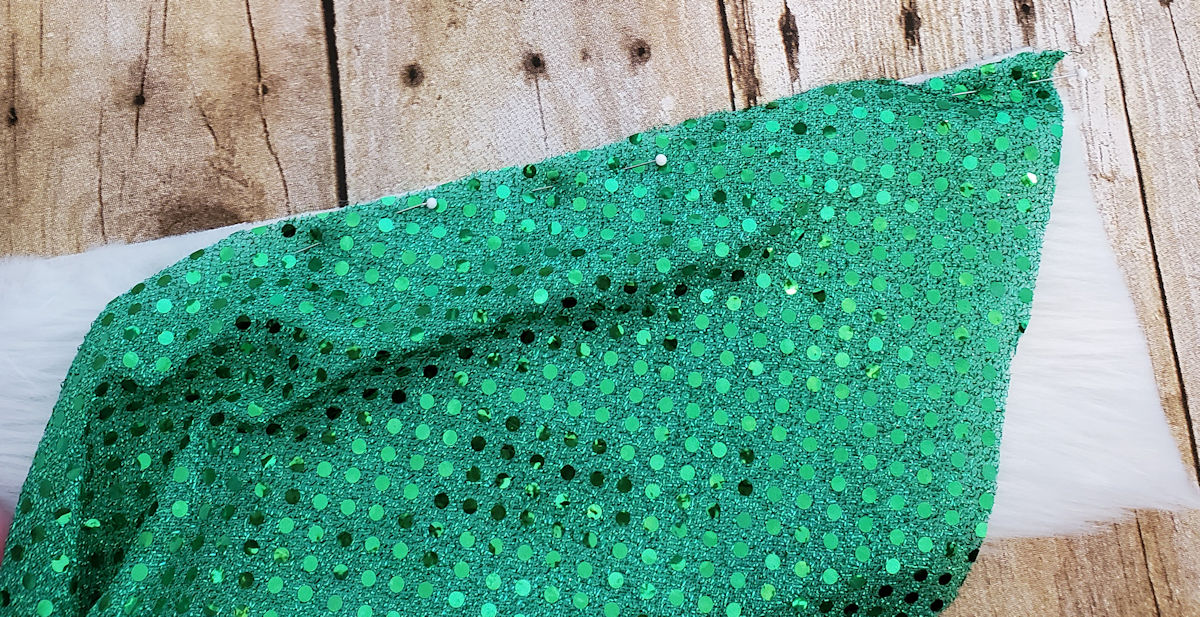
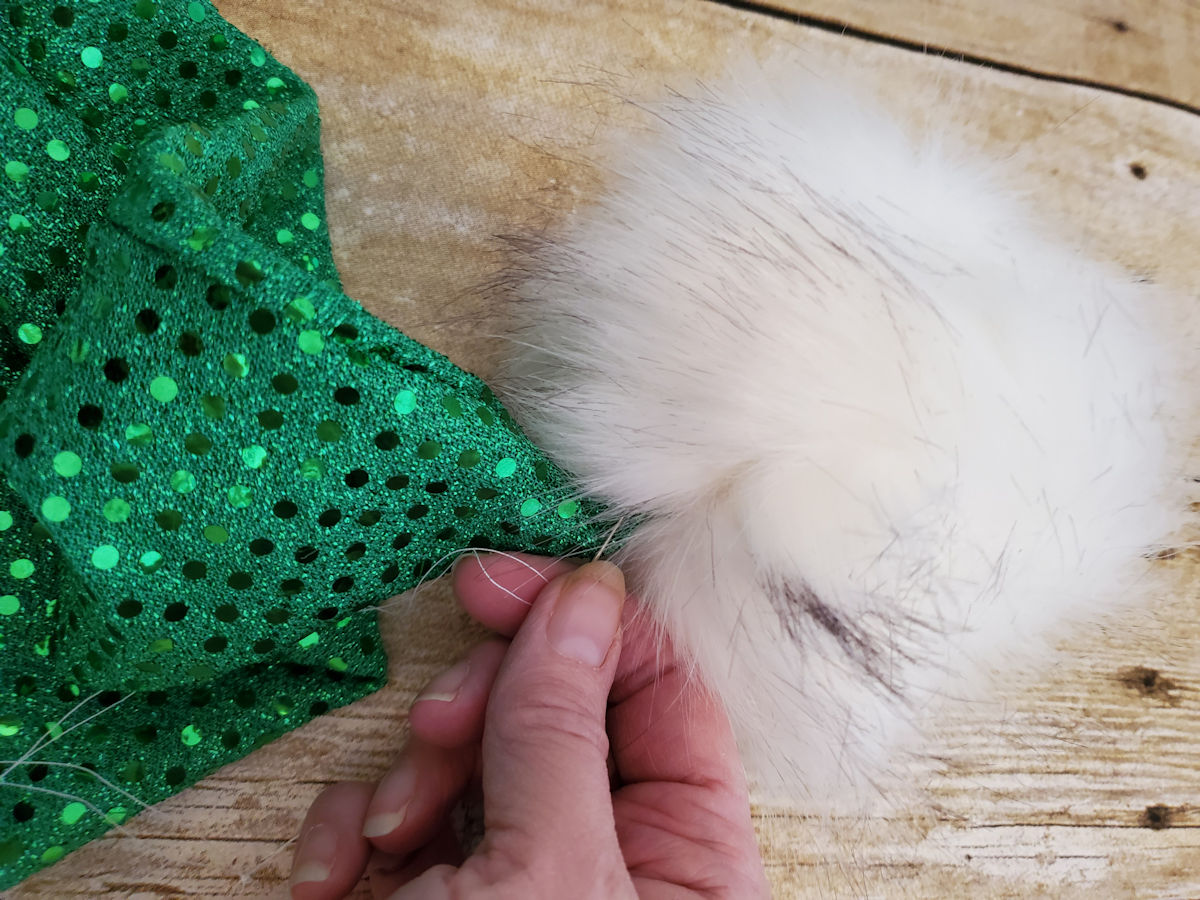
Place the right side of the trim to the wrong side of the hat along the “Head” line. If have trimmed your fur, be sure that the trimmed edge is being sewn down to the hat. Sew using a 1/2″ seam allowance.
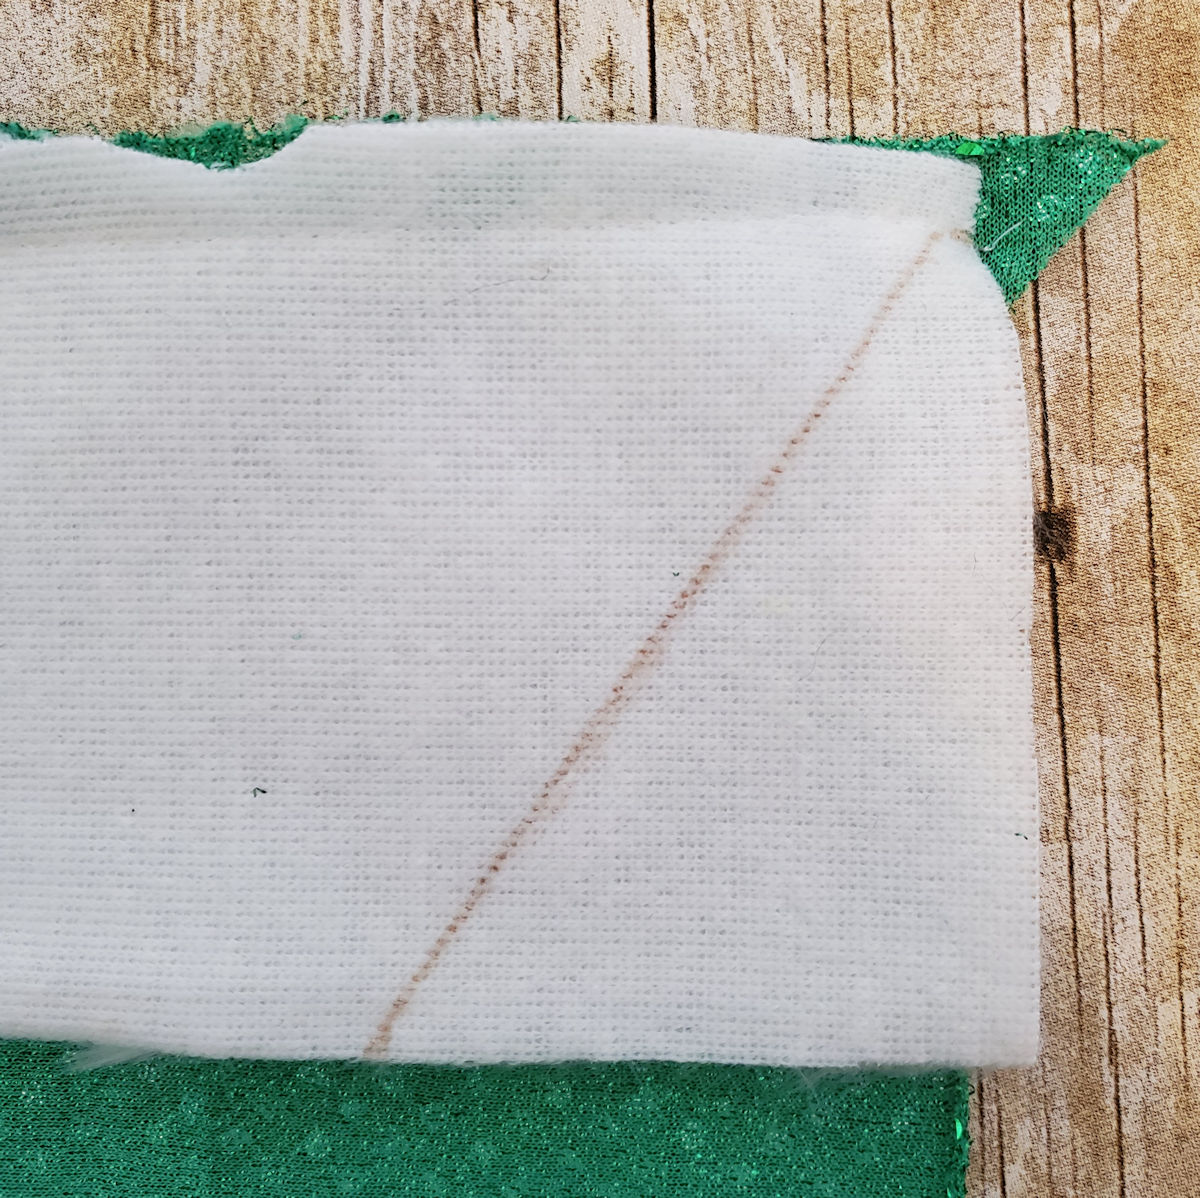
Now you’ll want to sew the trim to itself so that it creates a loop. Because the hat is a triangle, you’ll want to sew your fur together in a similar shape. To do this mark the bottom edge of the trim 3″. Then draw a line from the seam allowance to the marking to make a diagonal line. Open out the hat and place the two fur trim pieces, right sides together (the sparkly side of the hat will be showing while the trim is wrong side facing you) and sew along the diagonal line you just drew. After sewing, remove the excess material, 1/4″ from the seam.
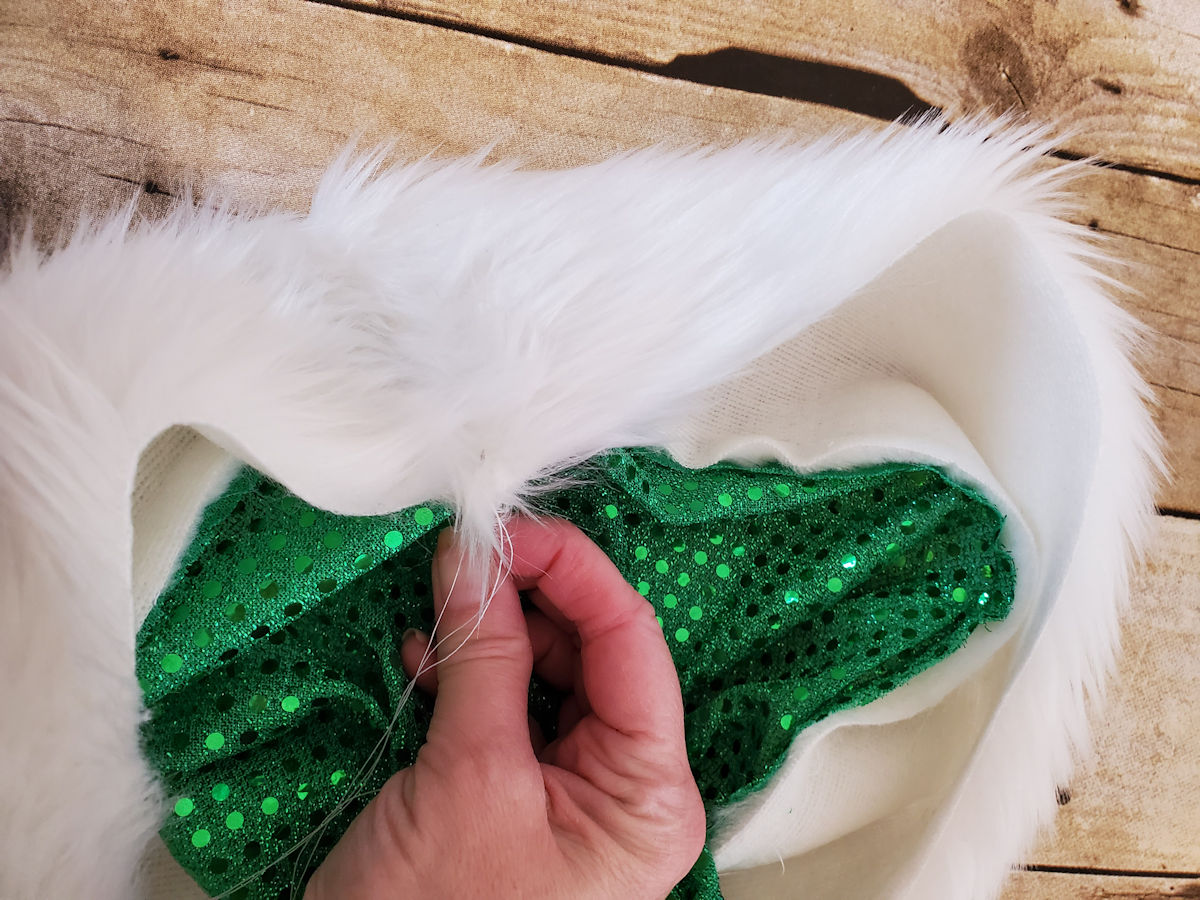
Turn the hat “inside out” so that the right sides of the hat are together (the trim should now have the fuzzy side facing you). Match the raw edges of the hat and sew from the fur to the point, using a 1/4″ seam allowance.

Turn the hat right side out and fold up the brim so that the fur is on the outside, creating a cuff. You will find that the back edge has a slight point and may want to tuck that area inside the hat a little more if you are concerned about having a more rounded look. Using a hand sewing needle and matching thread, tack the trim to the hat in 4 (or more) places.
Using a hand sewing needle and matching thread, attach the pompom to the point of the hat.
And you’re done! Now put on that hat and shine!