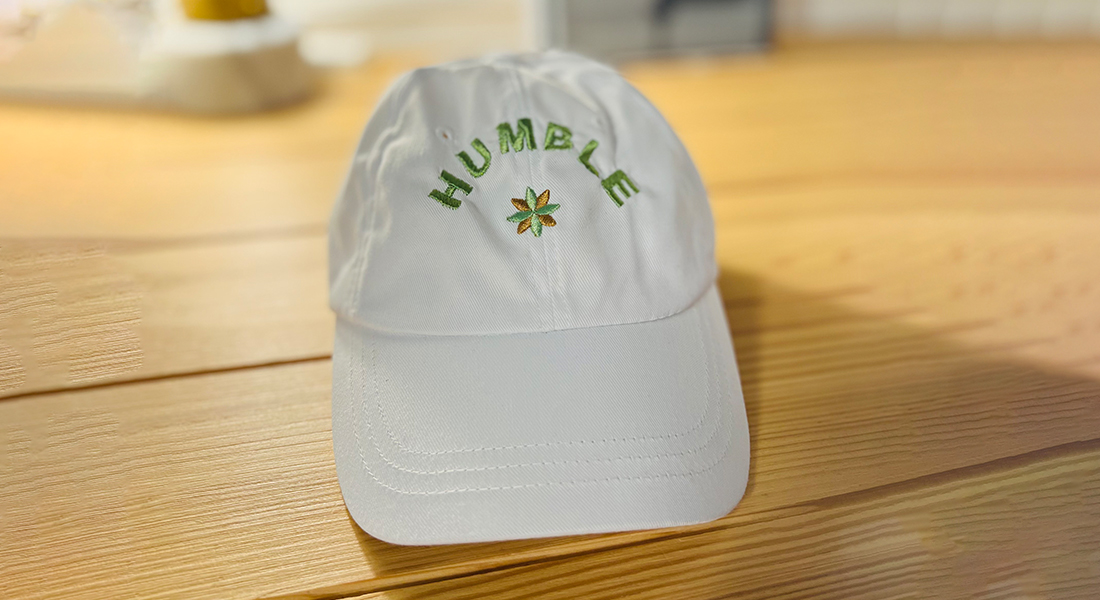
Embroidered Hat
One of my favorite ways to use machine embroidery is to embellish or personalize ready to wear items. Baseball caps with small embroidery detail have been becoming more and more popular and trendy over the last couple of years and I decided that rather than buying one that anyone can have, I’d create my own!
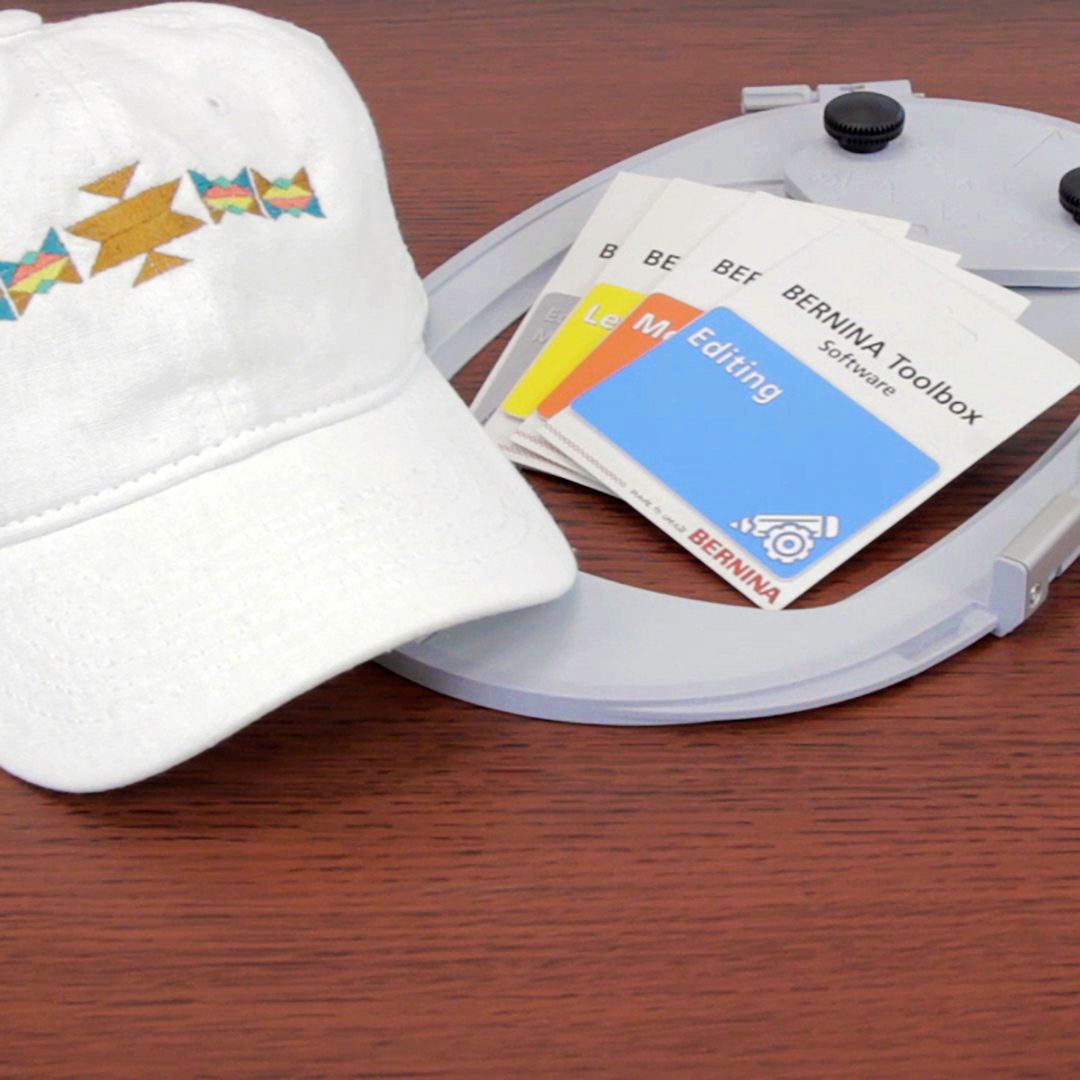
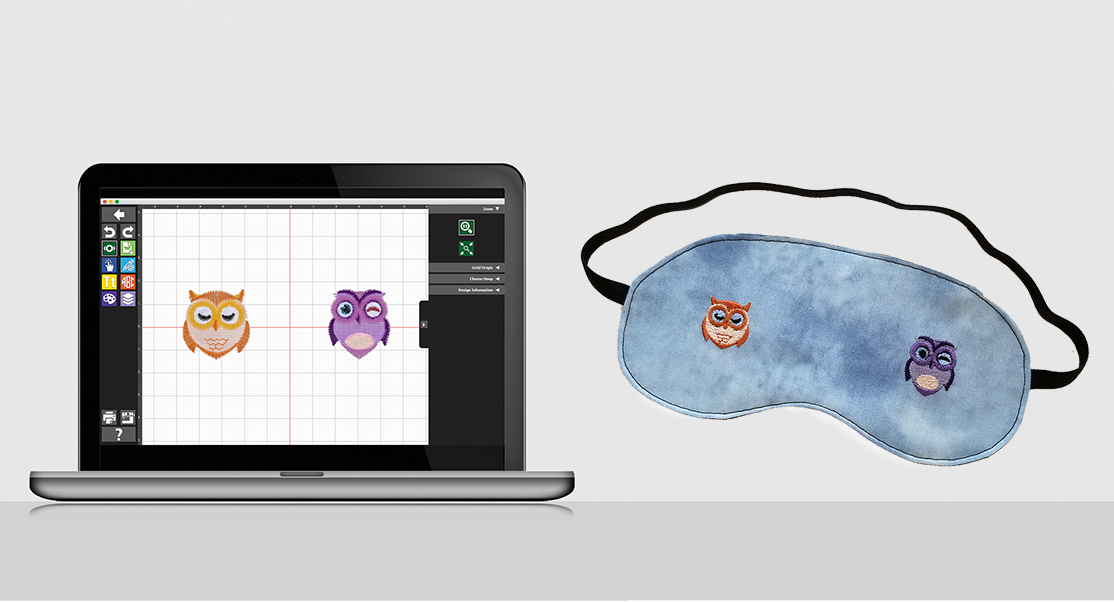
Using Toolbox’s Editing module, it’s incredible easy to combine, edit, and alter embroidery designs to create something new. I combined these small motifs from Tula Pink’s Imaginary Menagerie collection for OESD to create this bright, fun, geometric design. Let’s learn how!
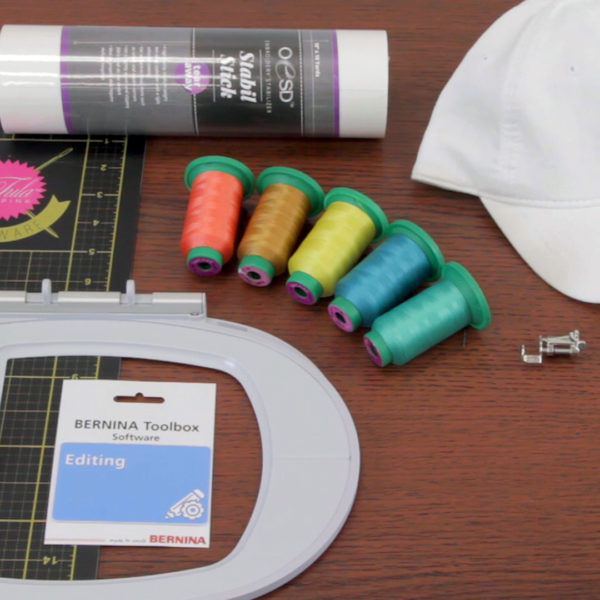
Materials to Make an Embroidered Hat

- A blank baseball cap
- OESD Stabil Stick TearAway
- Sticky backed tear away stabilizer
- Isacord embroidery thread
- Tula Pink Imaginary Menagerie embroidery designs
- Drop-shaped embroidery foot #26
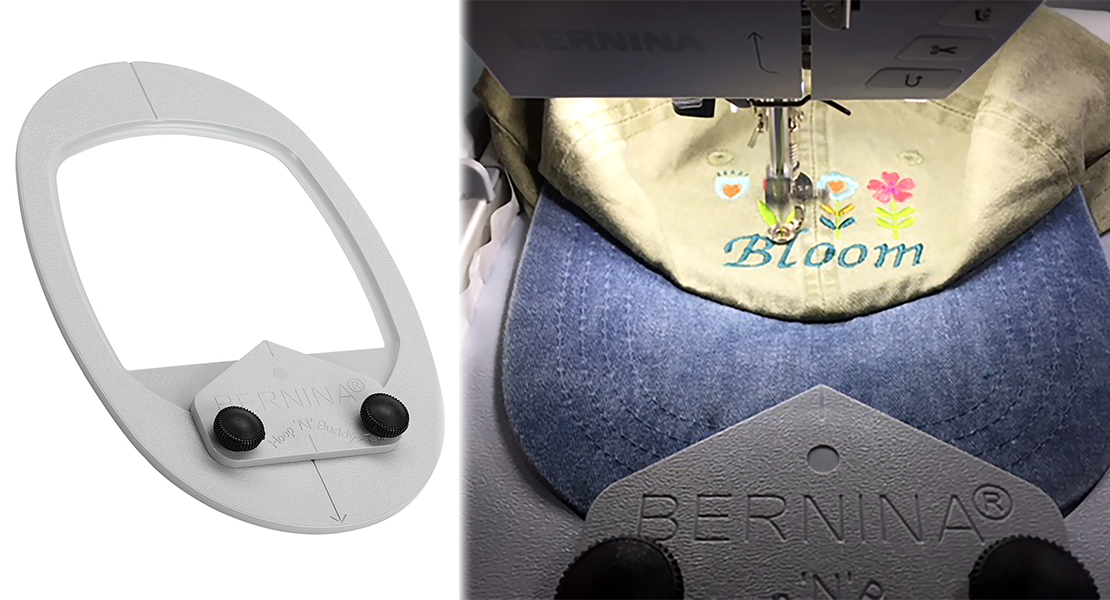
- Large oval embroidery hoop
- Hoop ‘N’ Buddyz embroidery hoop insert
- Toolbox embroidery software
- Editing module or full bundle
- B 590 E
How to Embroider a Hat
Step 1. Setup your design
For this hat, we will be combining several small embroidery motifs to create one larger design. Begin by opening Toolbox software and creating a new file.

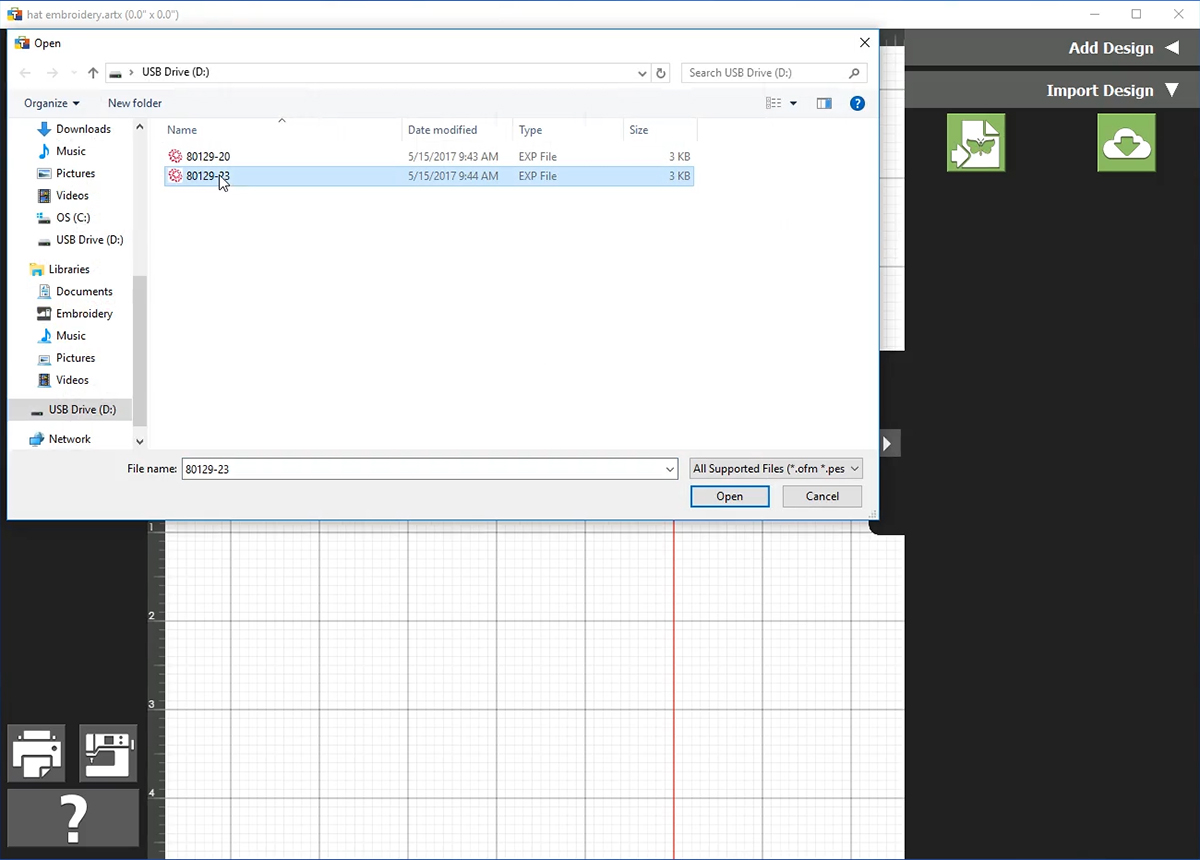
Select the icon to Add Design. Then Import Design.
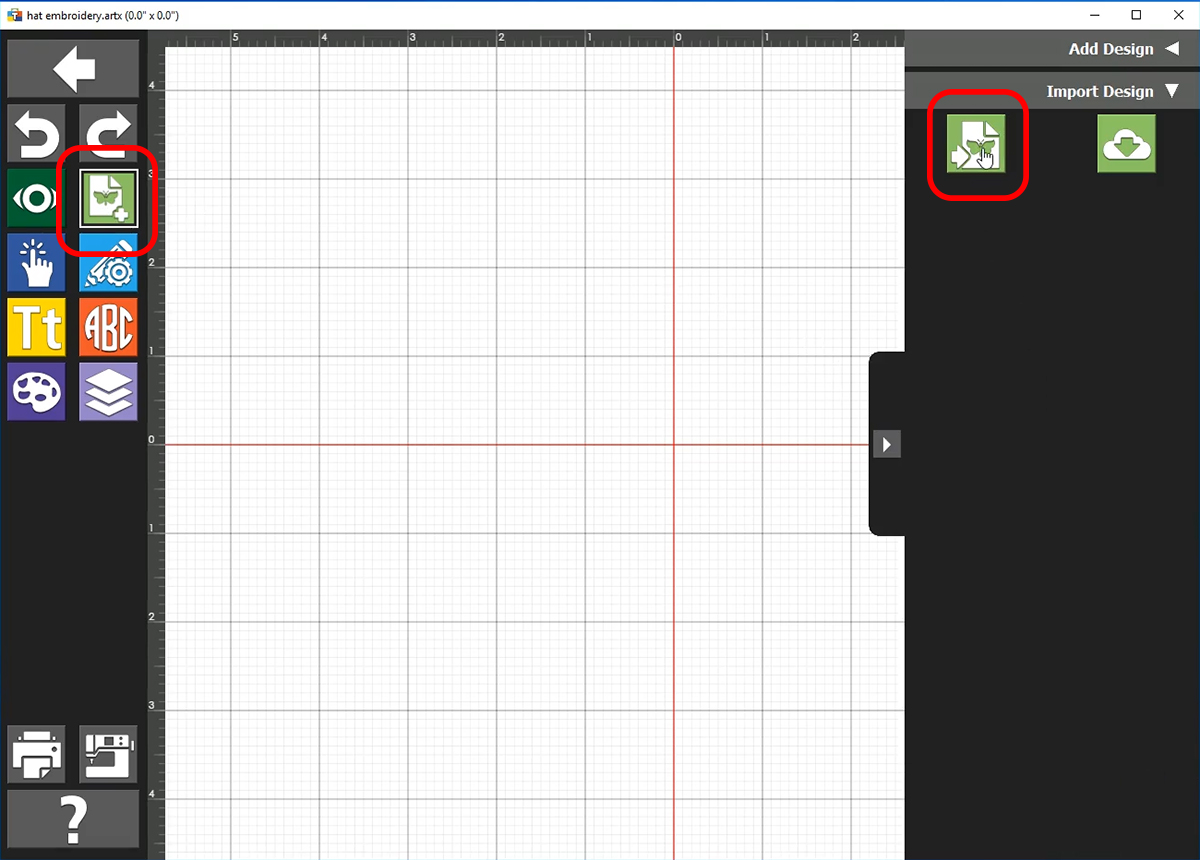
This will open a dialog box for you to locate the desired embroidery file on your computer. To make this search easier, I will temporarily store a design on my desktop or on a USB drive.
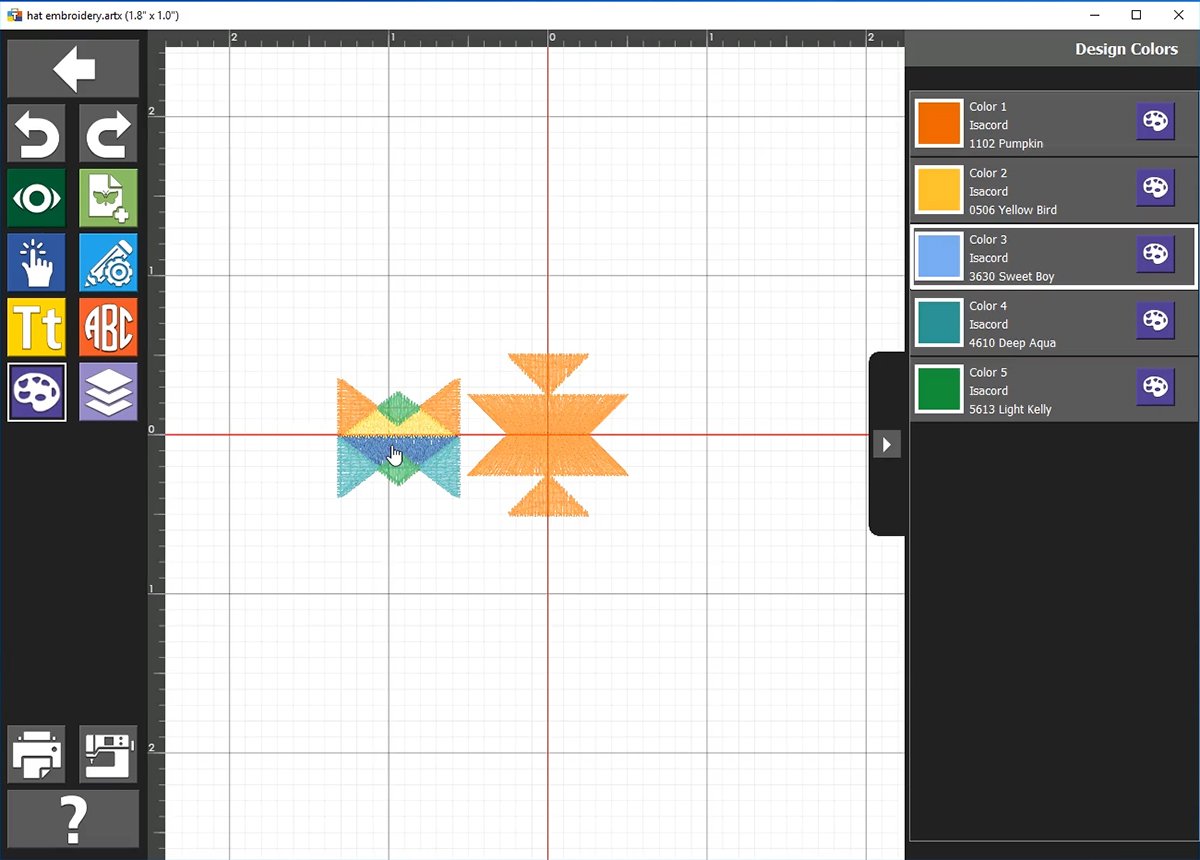
Repeat this step to import all designs you want to be combined. At this point, I like to recolor the motifs I will be using so I can more accurately see how I want my design laid out and arranged.
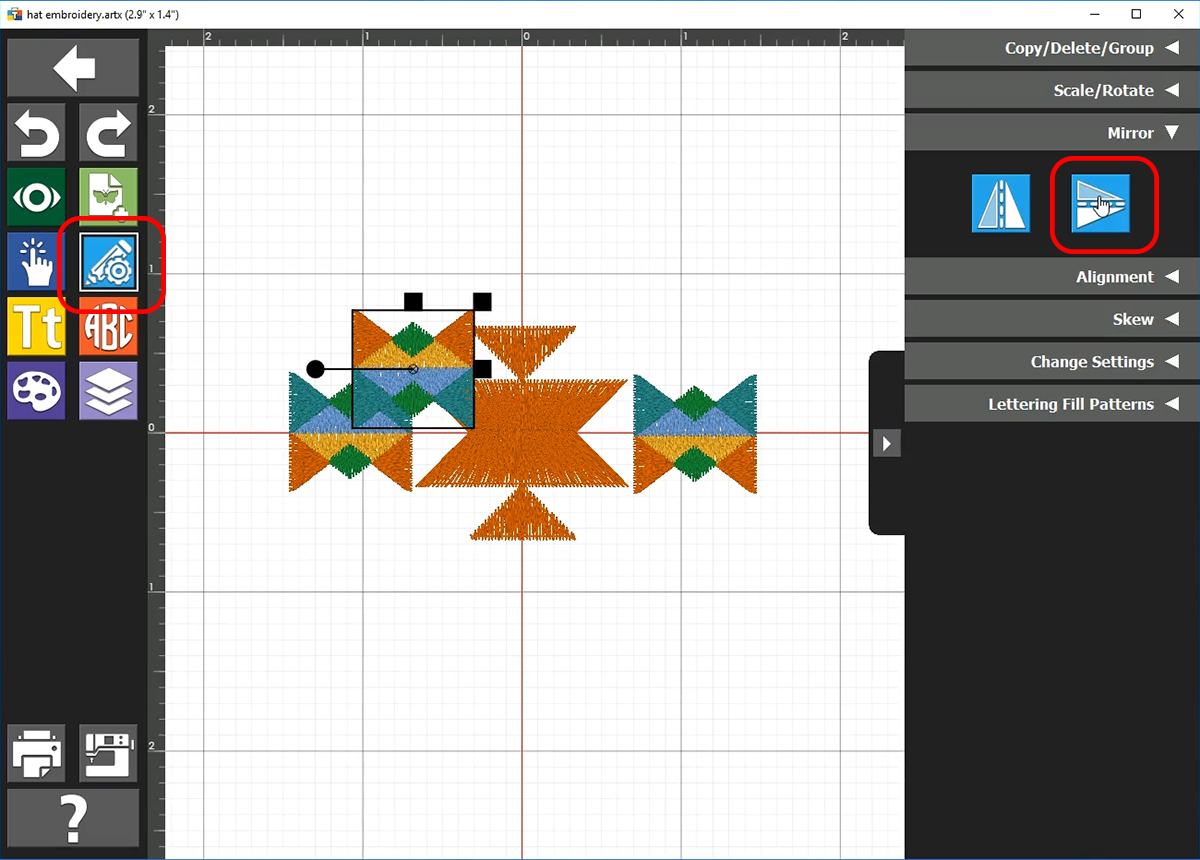
Use tools in the Selection panel to scale, rotate, mirror, and duplicate these motifs. Then drag and drop them into place, however you want them aligned. When scaling, keep in mind that you want to scale within 20% larger or smaller than the original design. Going outside this range can affect stitch density.
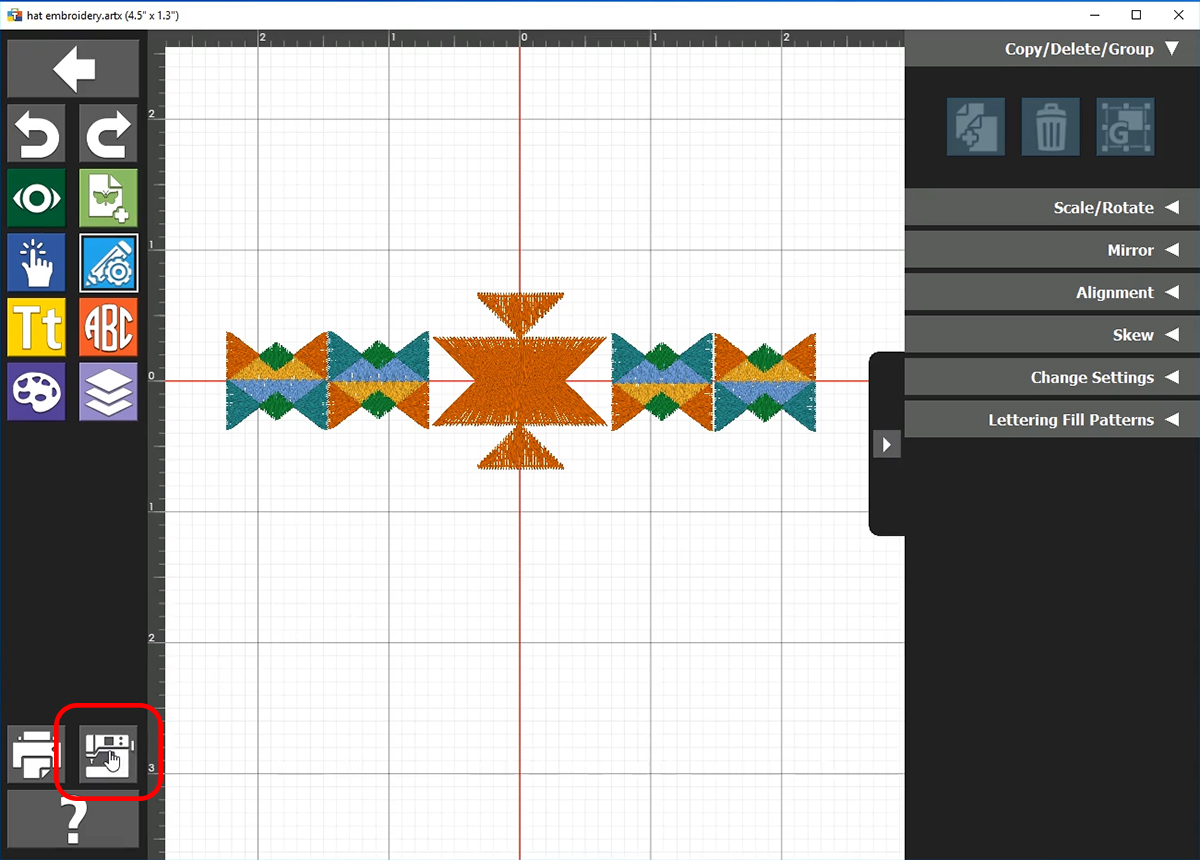
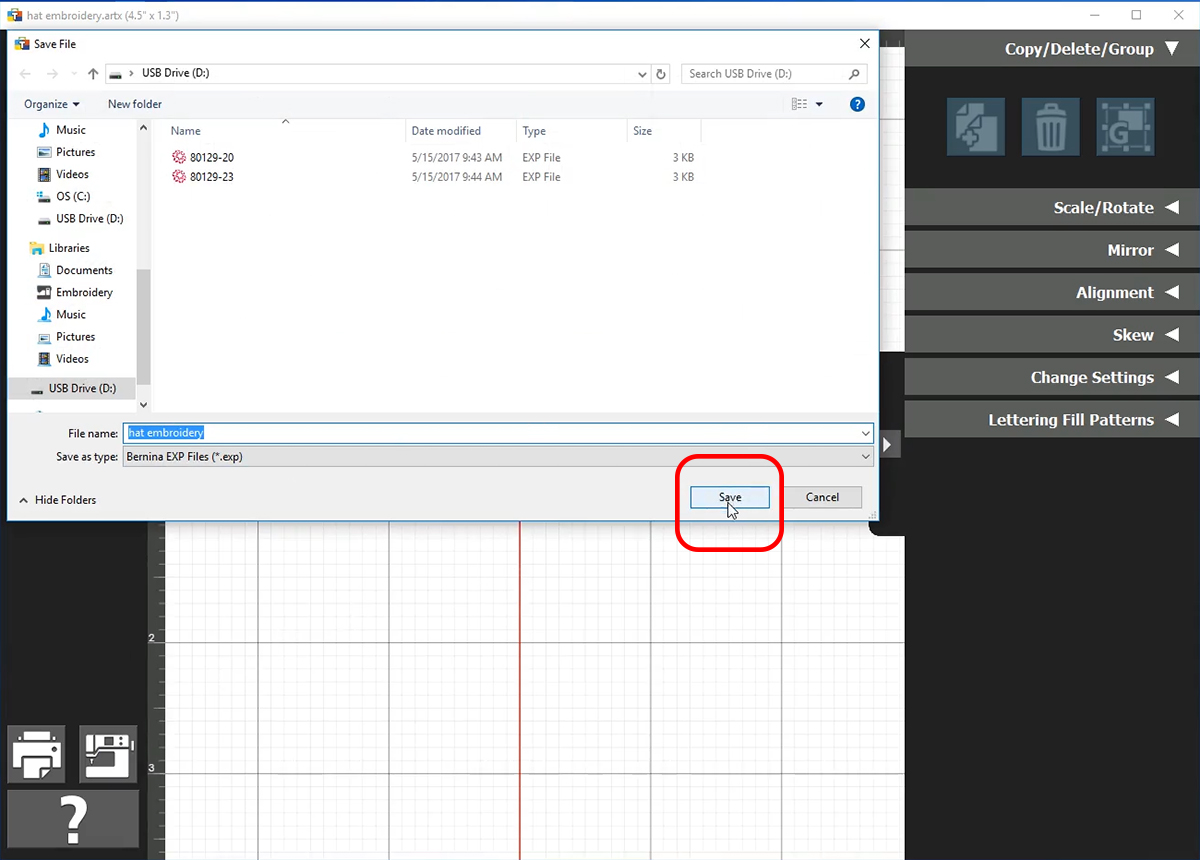
When you have all your motifs arranged how you like them, export your design to a USB stick. You have the option of selecting a variety of file formats. For our BERNINA machines, an .exp file is best.
Step 2. Prepare your hoop
With the design all setup, we can get ready for actually stitching. Hoop a piece of OESD Stabil Stick using the Hoop ‘N’ Buddyz insert and the outer ring component of the large oval hoop. The Hoop ‘N’ Buddyz insert will fit in just like the regular large oval ring.
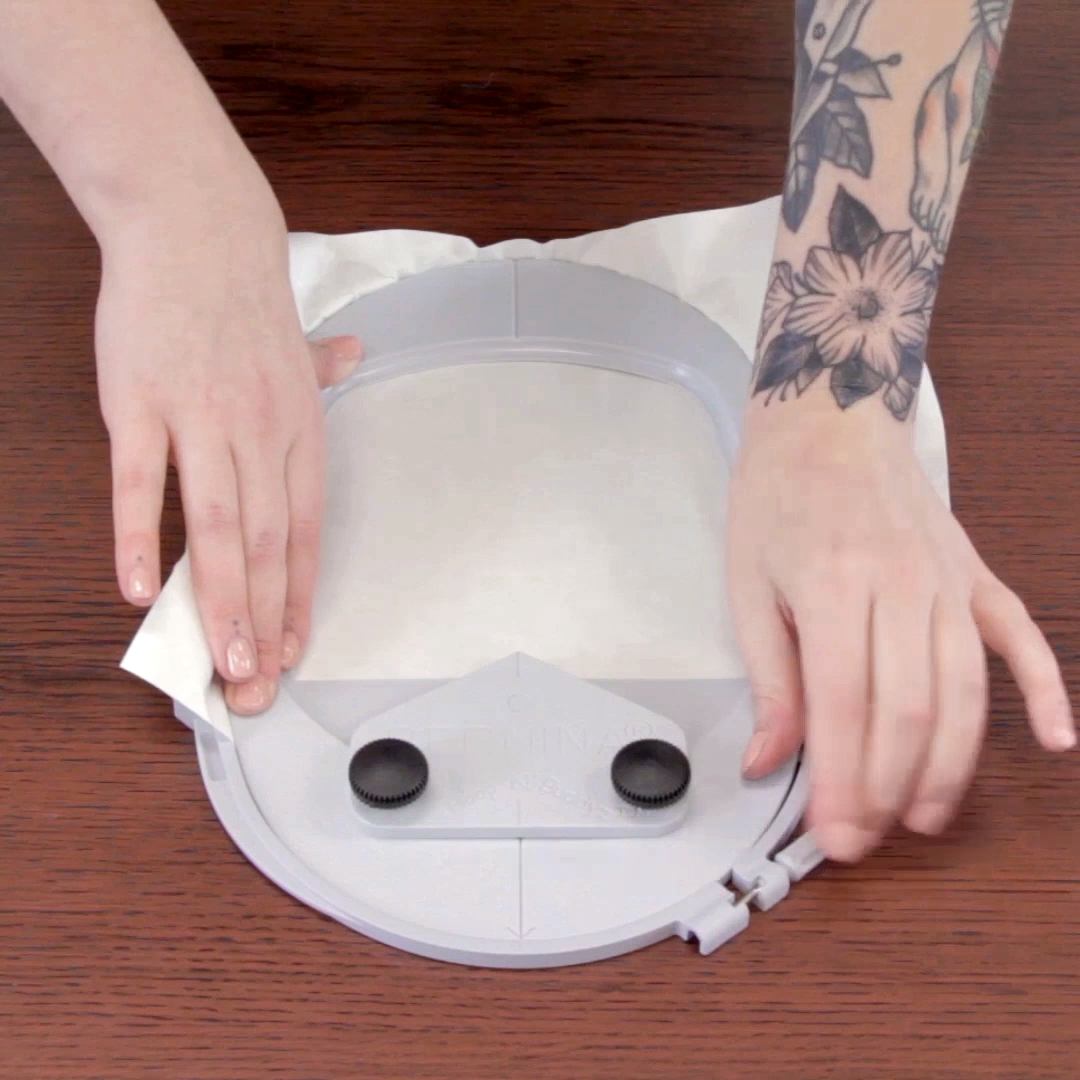
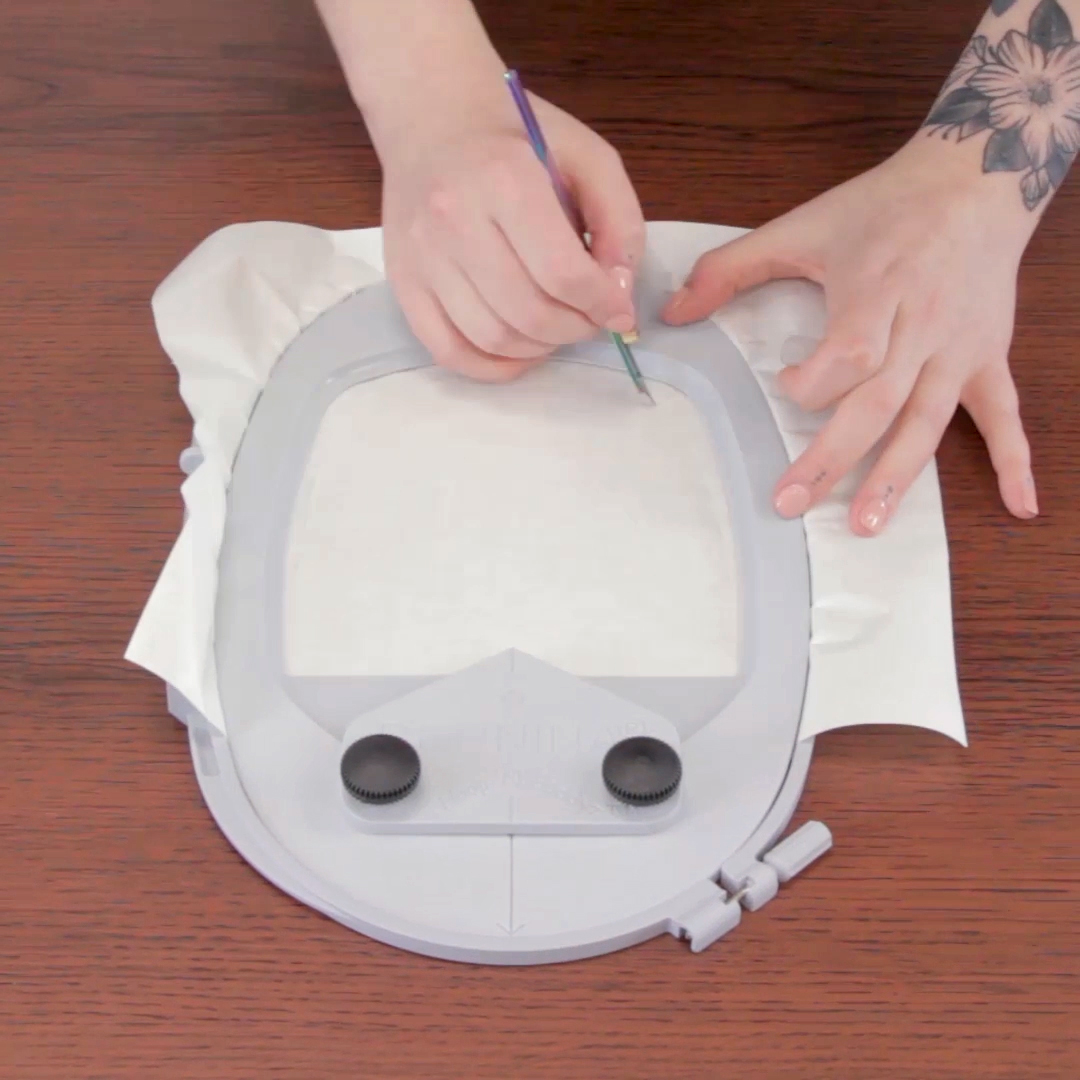
Once your stabilizer is hooped, use a sharp object (like a pin or seam ripper) to score the paper layer around the opening of the hoop. Remove the paper to expose the sticky surface of the stabilizer.
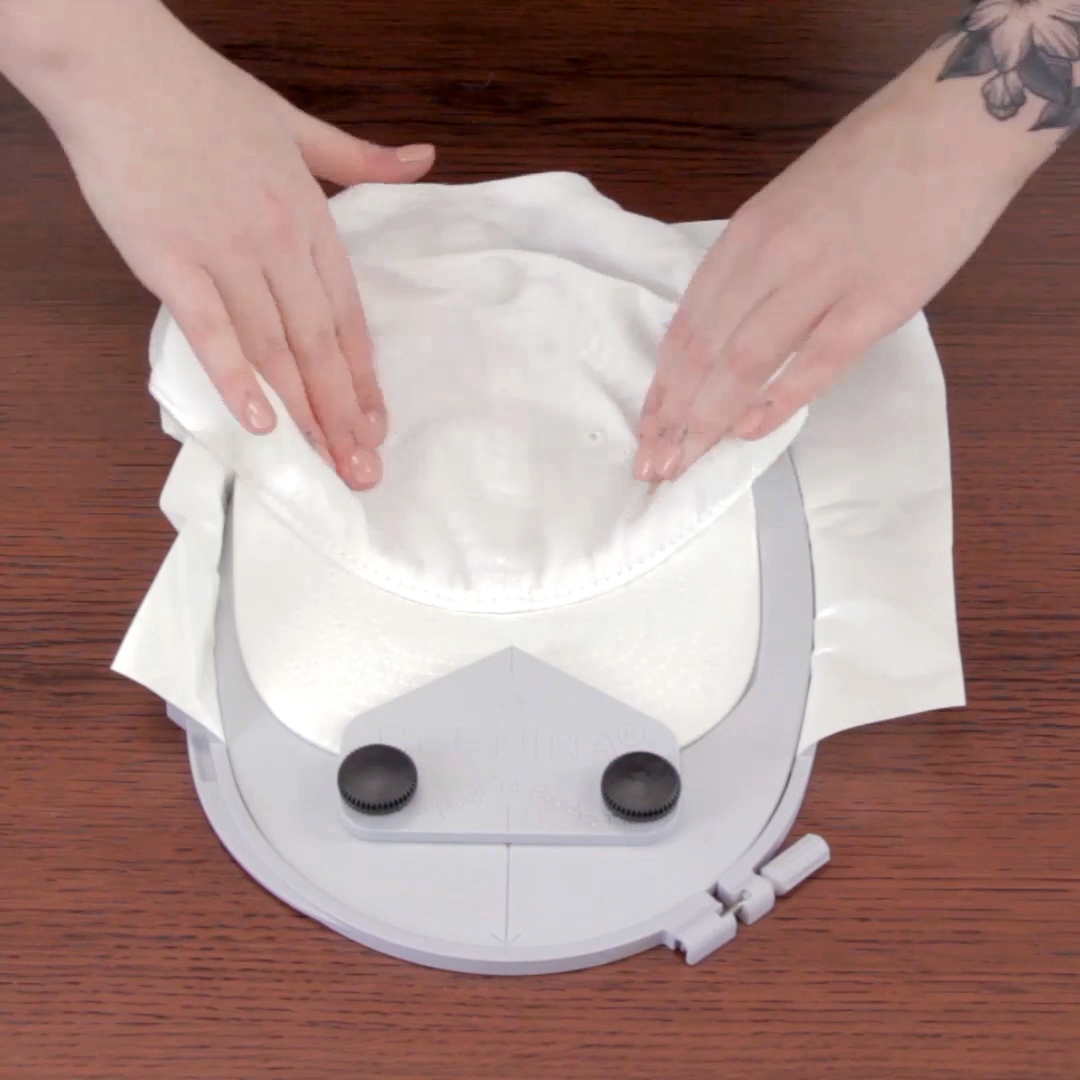
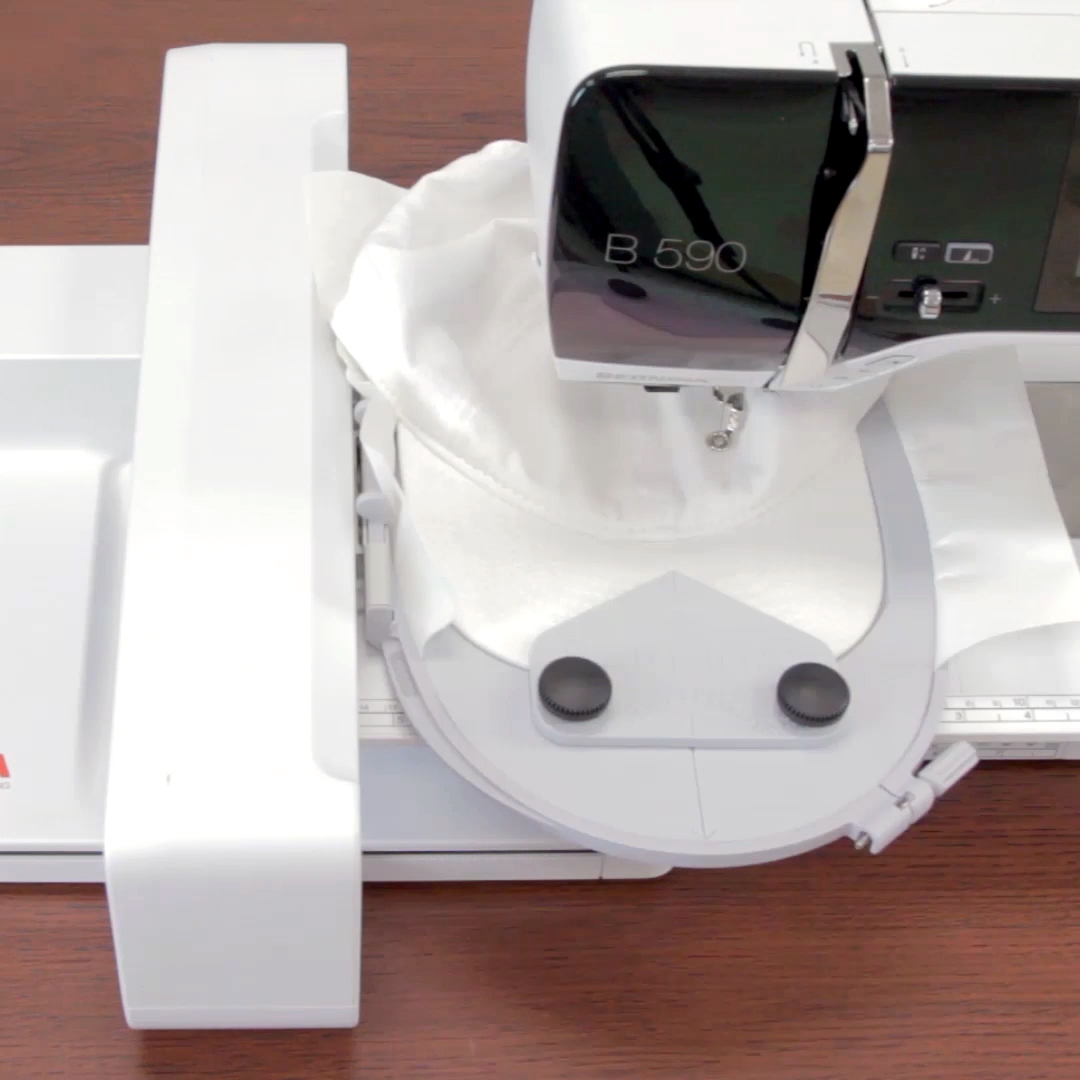
Step 3. Hoop the hat
Use the large black screw knobs on the front of the Hoop ‘N’ Buddyz insert to loosen the upper plate. Slide the brim of your baseball cap between this plate and the main part of the insert, flattening out the brim if necessary.
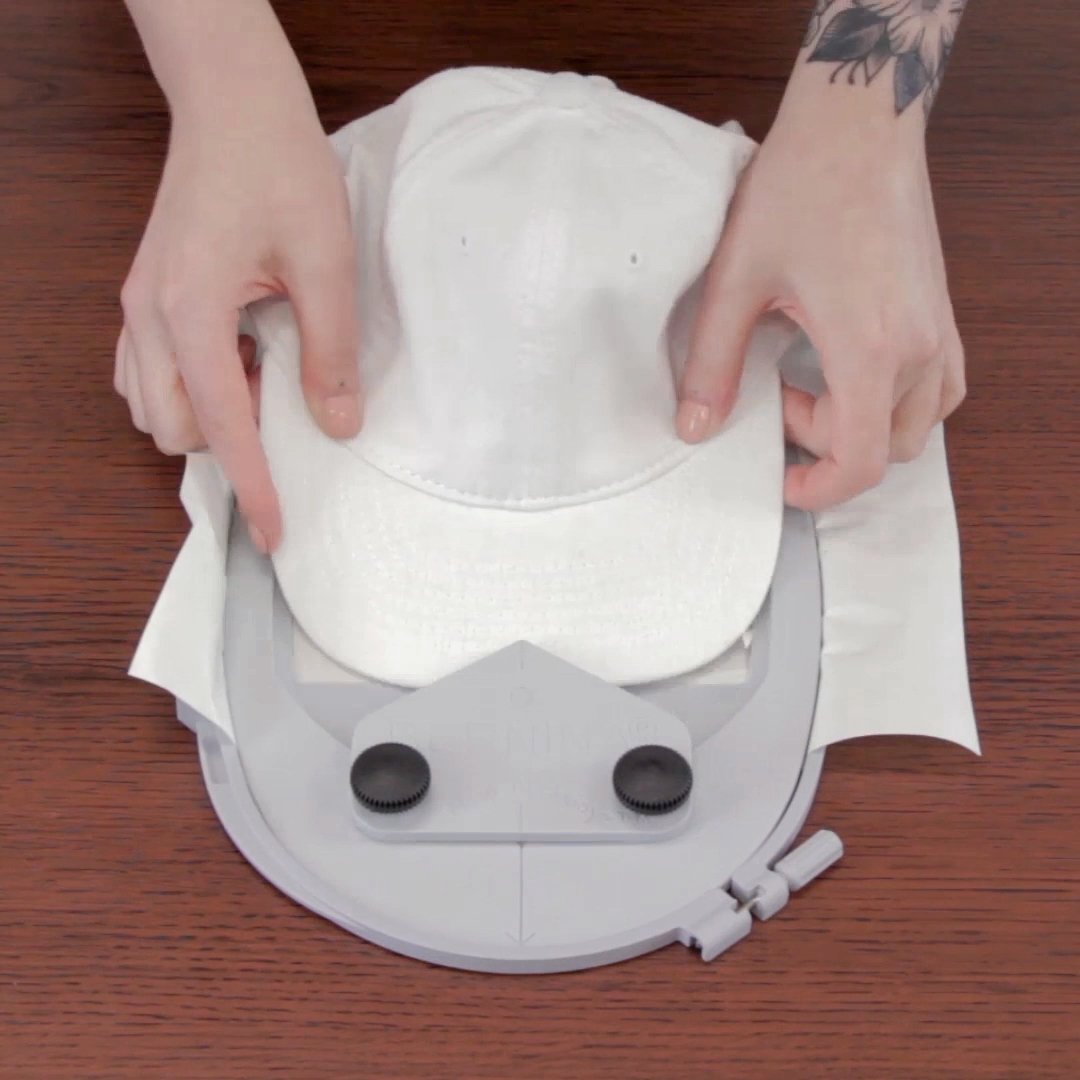
Tighten the plate to secure the brim in place with the black screw knobs. Smooth the main fabric section of the hat onto the Stabil Stick. If necessary, you may tape or clip excess fabric away from the needle.
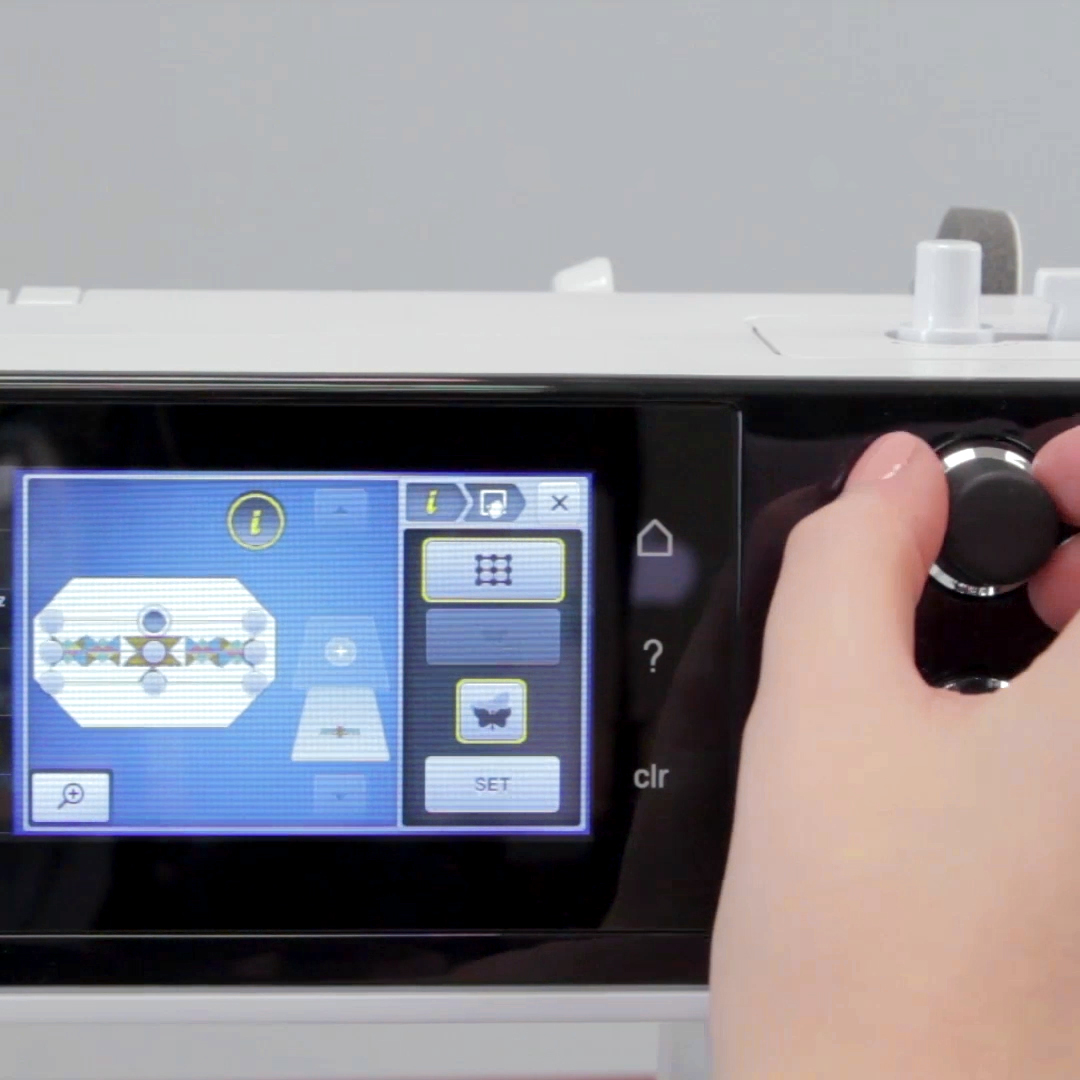
Step 4. Load and place design
At your machine, load your custom design through a USB stick. Since our sizing and thread color changes were all made in the Toolbox software, all we need to do is place the design and stitch it out.
Select Pinpoint Placement through the “i” Information menu. Attach the embroidery hoop when directed.
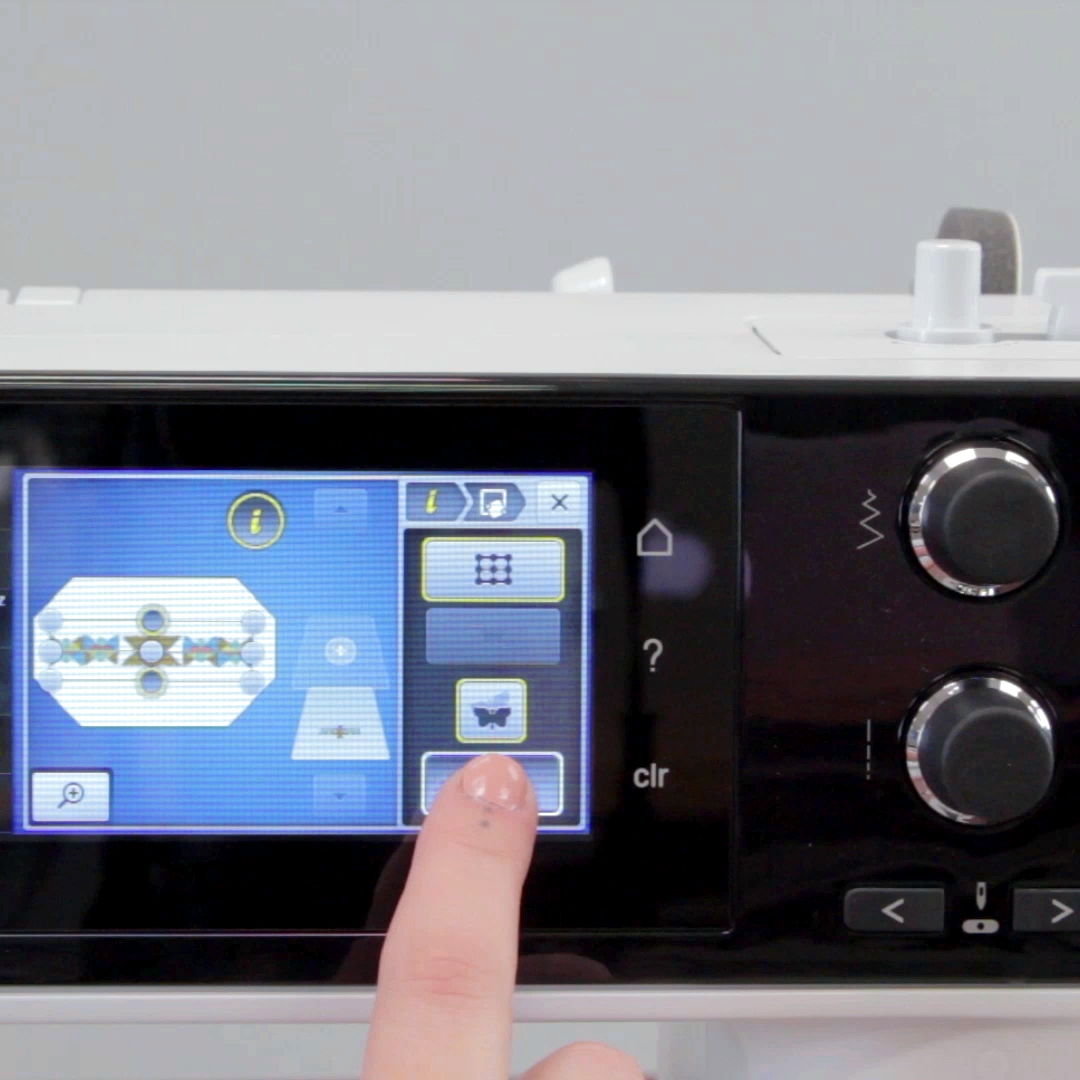
Since my hat has a center seam, I will use that as my guide for alignment. Select the top center node and use the multi-function knobs to align the center point of the design to the desired location and select Set.
Select the bottom center node and repeat the process, aligning to the center seam (or other guideline) on the hat. Once that second node is set, your design is ready to stitch out.
Step 5. Stitch out
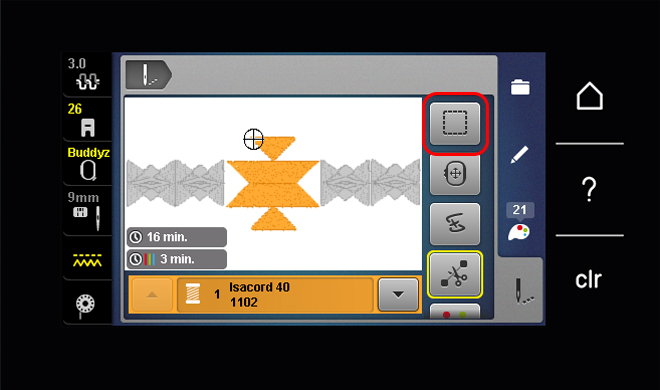
All that’s left to do is let the design run! You may choose to add a basting box to your stitch-out for added security. If your hat does not make great contact with the stabilizer and you feel as though it may shift in the stitching process, this is a helpful choice. Select the Basting icon on the stitch-out screen to activate a basting box around your design.
Once your basting is stitched (if you choose to do so), all you need to do is hold the Start/Stop button and let it stitch.
Unhoop, remove basting (if applicable), and tear away your stabilizer when finished. Your new custom accessory is good to go!