Embroidered FIMO Brooch
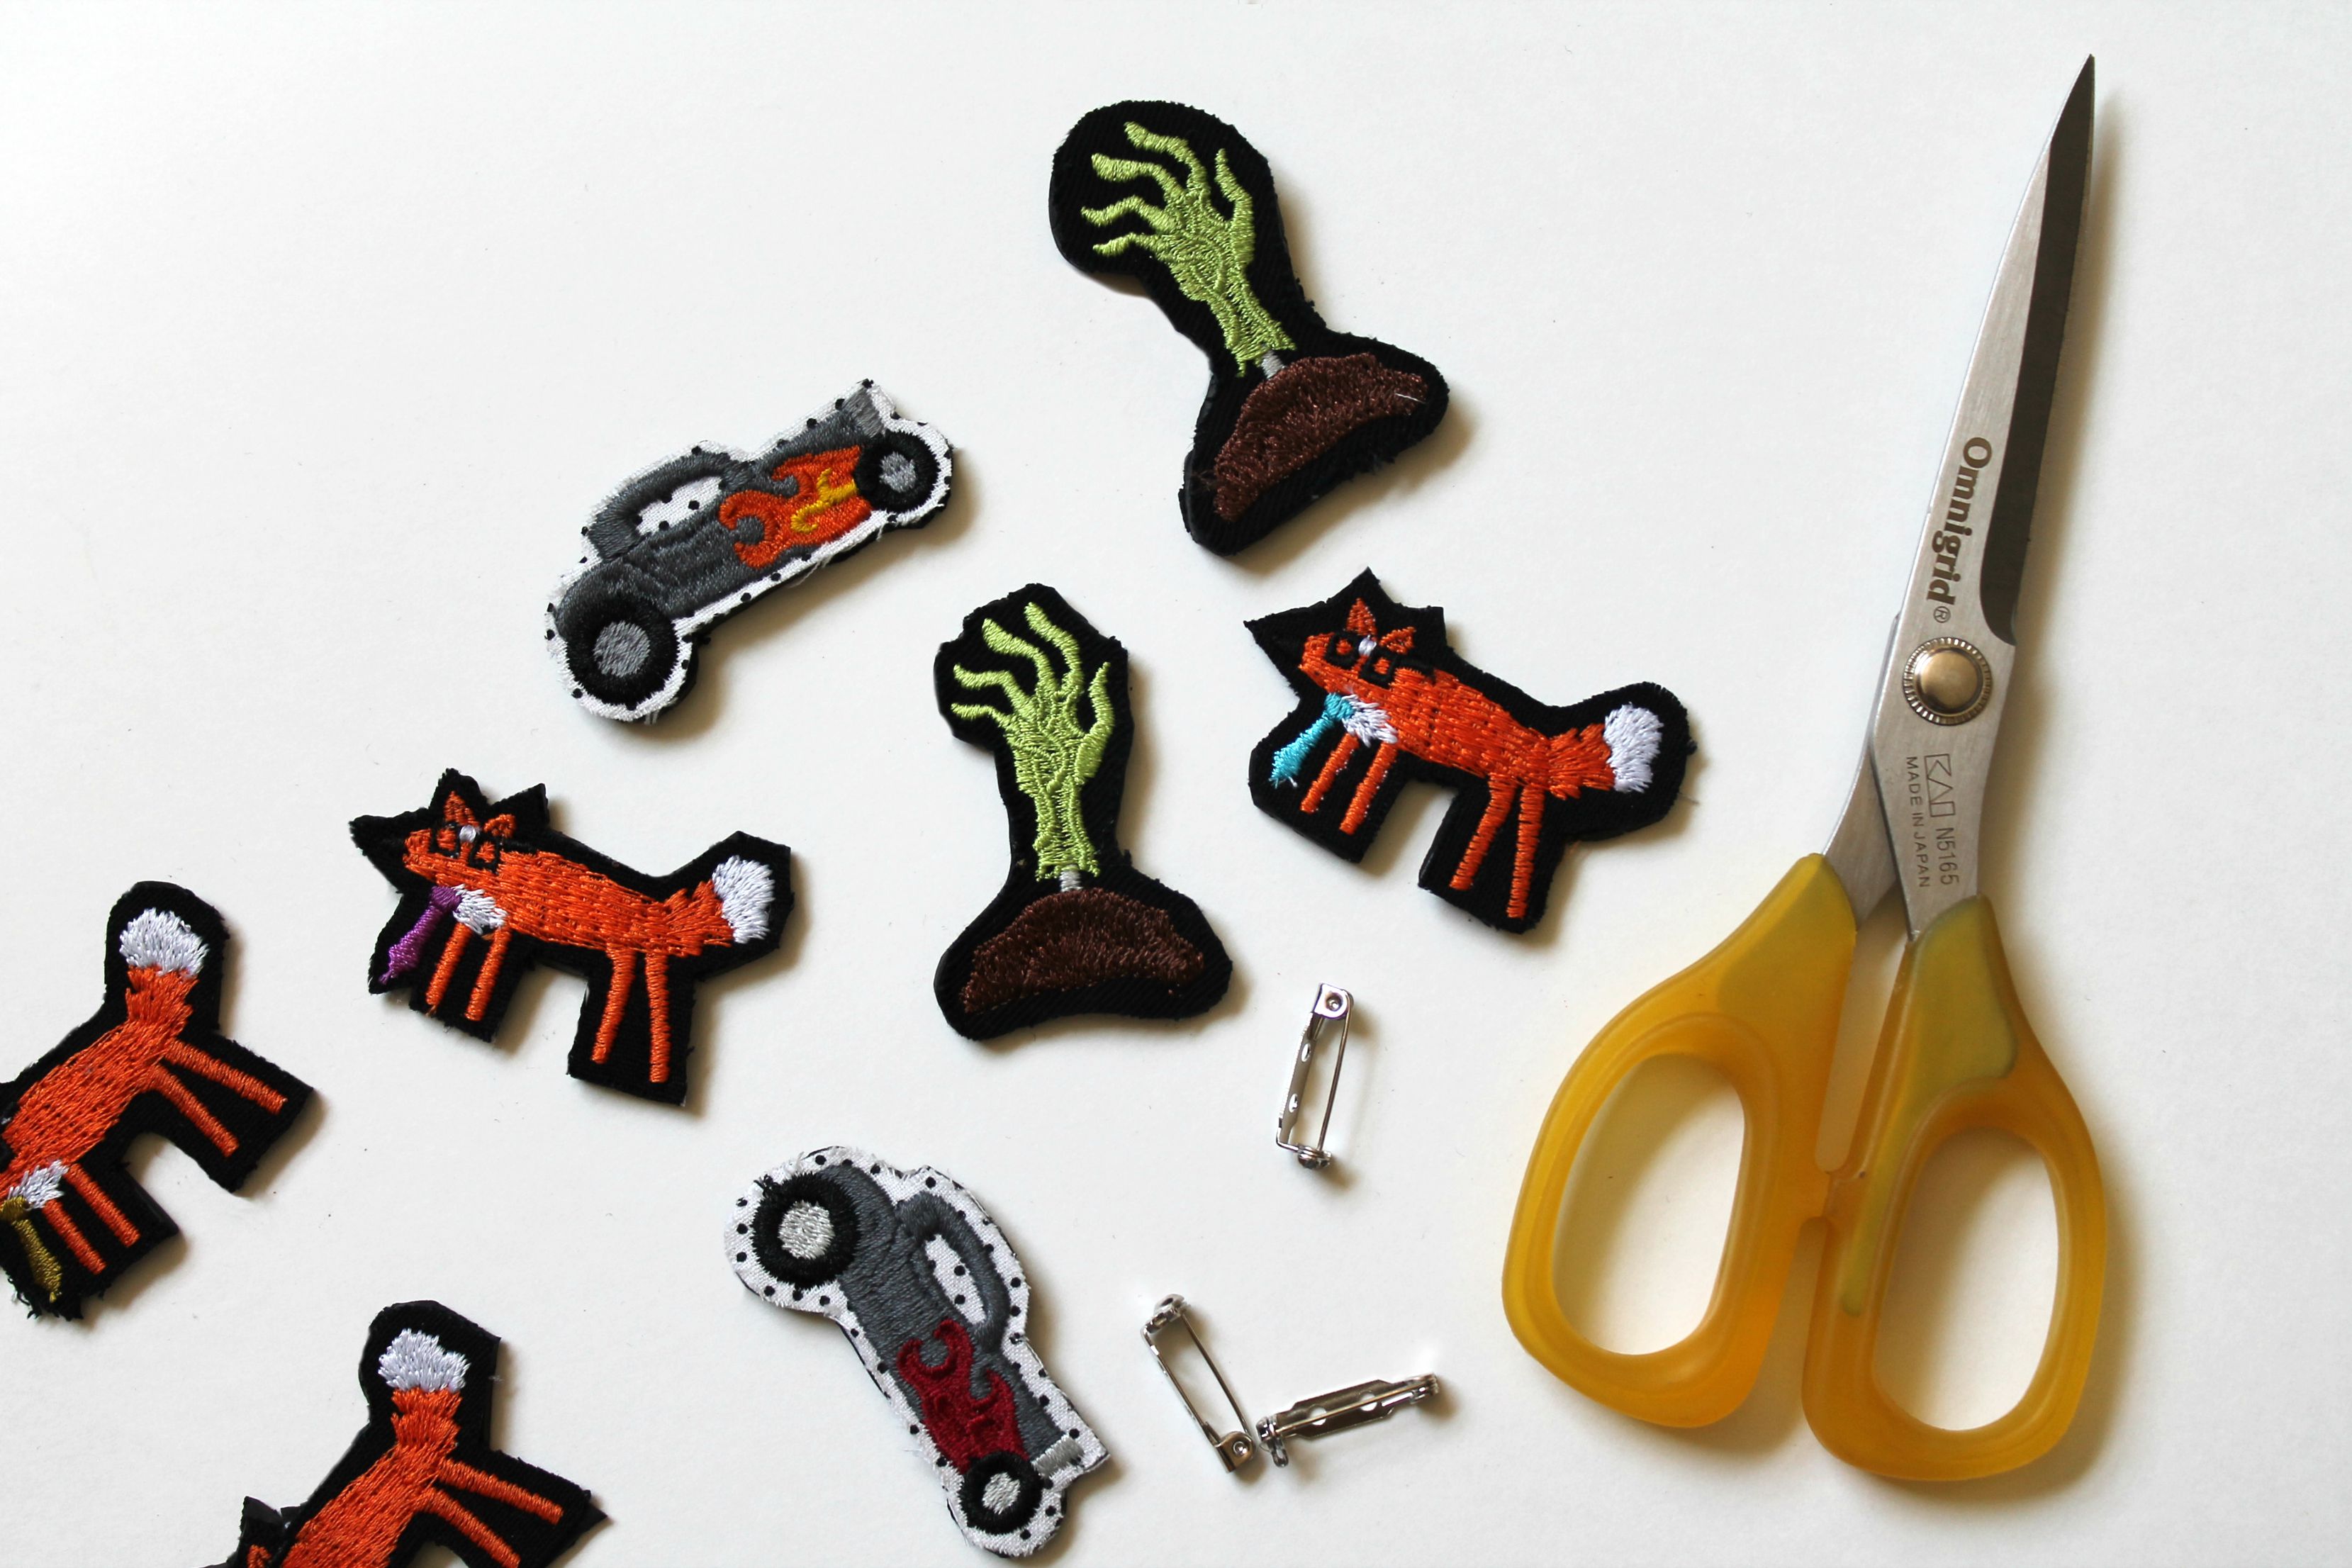
Machine embroidery is nothing new, but I hope to show you how we can transform this classic style toward new, hip, and modern forms that are whimsical yet refined crossing all generations of sewists. For today’s project we are mixing media and taking embroidery from our favorite BERNINA machines over to the oven! Whether you’re a seasoned machine embroiderer or you’re considering investing in a new module this tutorial was written in a way to inspire you to think about different ways that we can inject color into the world but also show you how quick and easy embroidery can be when you start small.
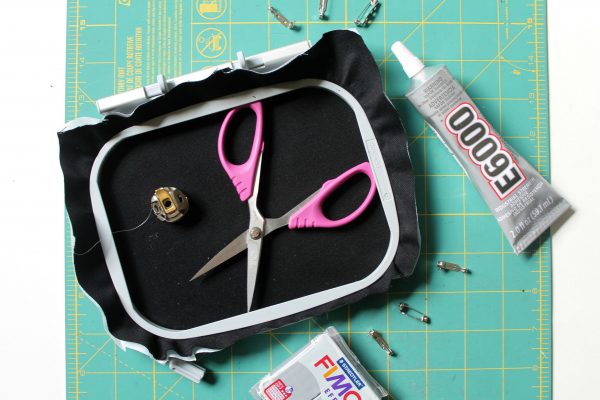
Materials to create an embroidered FIMO brooch:

- Whippersnapper Embroidery Designs
- You can download the Zombie hand embroidery designs I used in this tutorial here: Zombie Hand Mini_Embroidery Design, Whippersnapper Thread Chart
- Medium Weight Interfacing
- Canvas
- Scissors
- Embroidery Thread
- Pin Backs
- E6000 Glue
- Xacto Knife
- Baking Sheet or Tile
- Oven
- FIMO® Clay
- Sewing machine, I sew on a BERNINA 580
- Small Embroidery Hoop
Step 1
Start by cutting a piece of iron on stabilizer slightly larger than your hoop. Iron the stabilizer onto the back side of canvas fabric.
Step 2
Hoop fabric so that it’s drum tight. You can find helpful tips for Mastering the Art of Hooping here. A good rule of thumb is to use the smallest hoop available per design to achieve the highest quality stitch out possible. Stitching a small embroidery on a large hoop can cause registration difficulties and cause unwanted fabric pulling in the center of the hoop.
Step 3
I opted to make use of the additional space in my small hoop an set up four (4) of the mini zombie hands from my latest collection with OESD called Whippersnapper. I’m able add the additional designs and space them accordingly right on the BERNINA 580 User Interface screen. While this design doesn’t require to be resized, if you are using a different file of your own you may need to resize it. You can simply do this on screen or with BERNINA’s Digitizing Software, Artlink 7, or for those of you who might be using a bernette machine I highly recommend the bernette digitizing software that is now available.

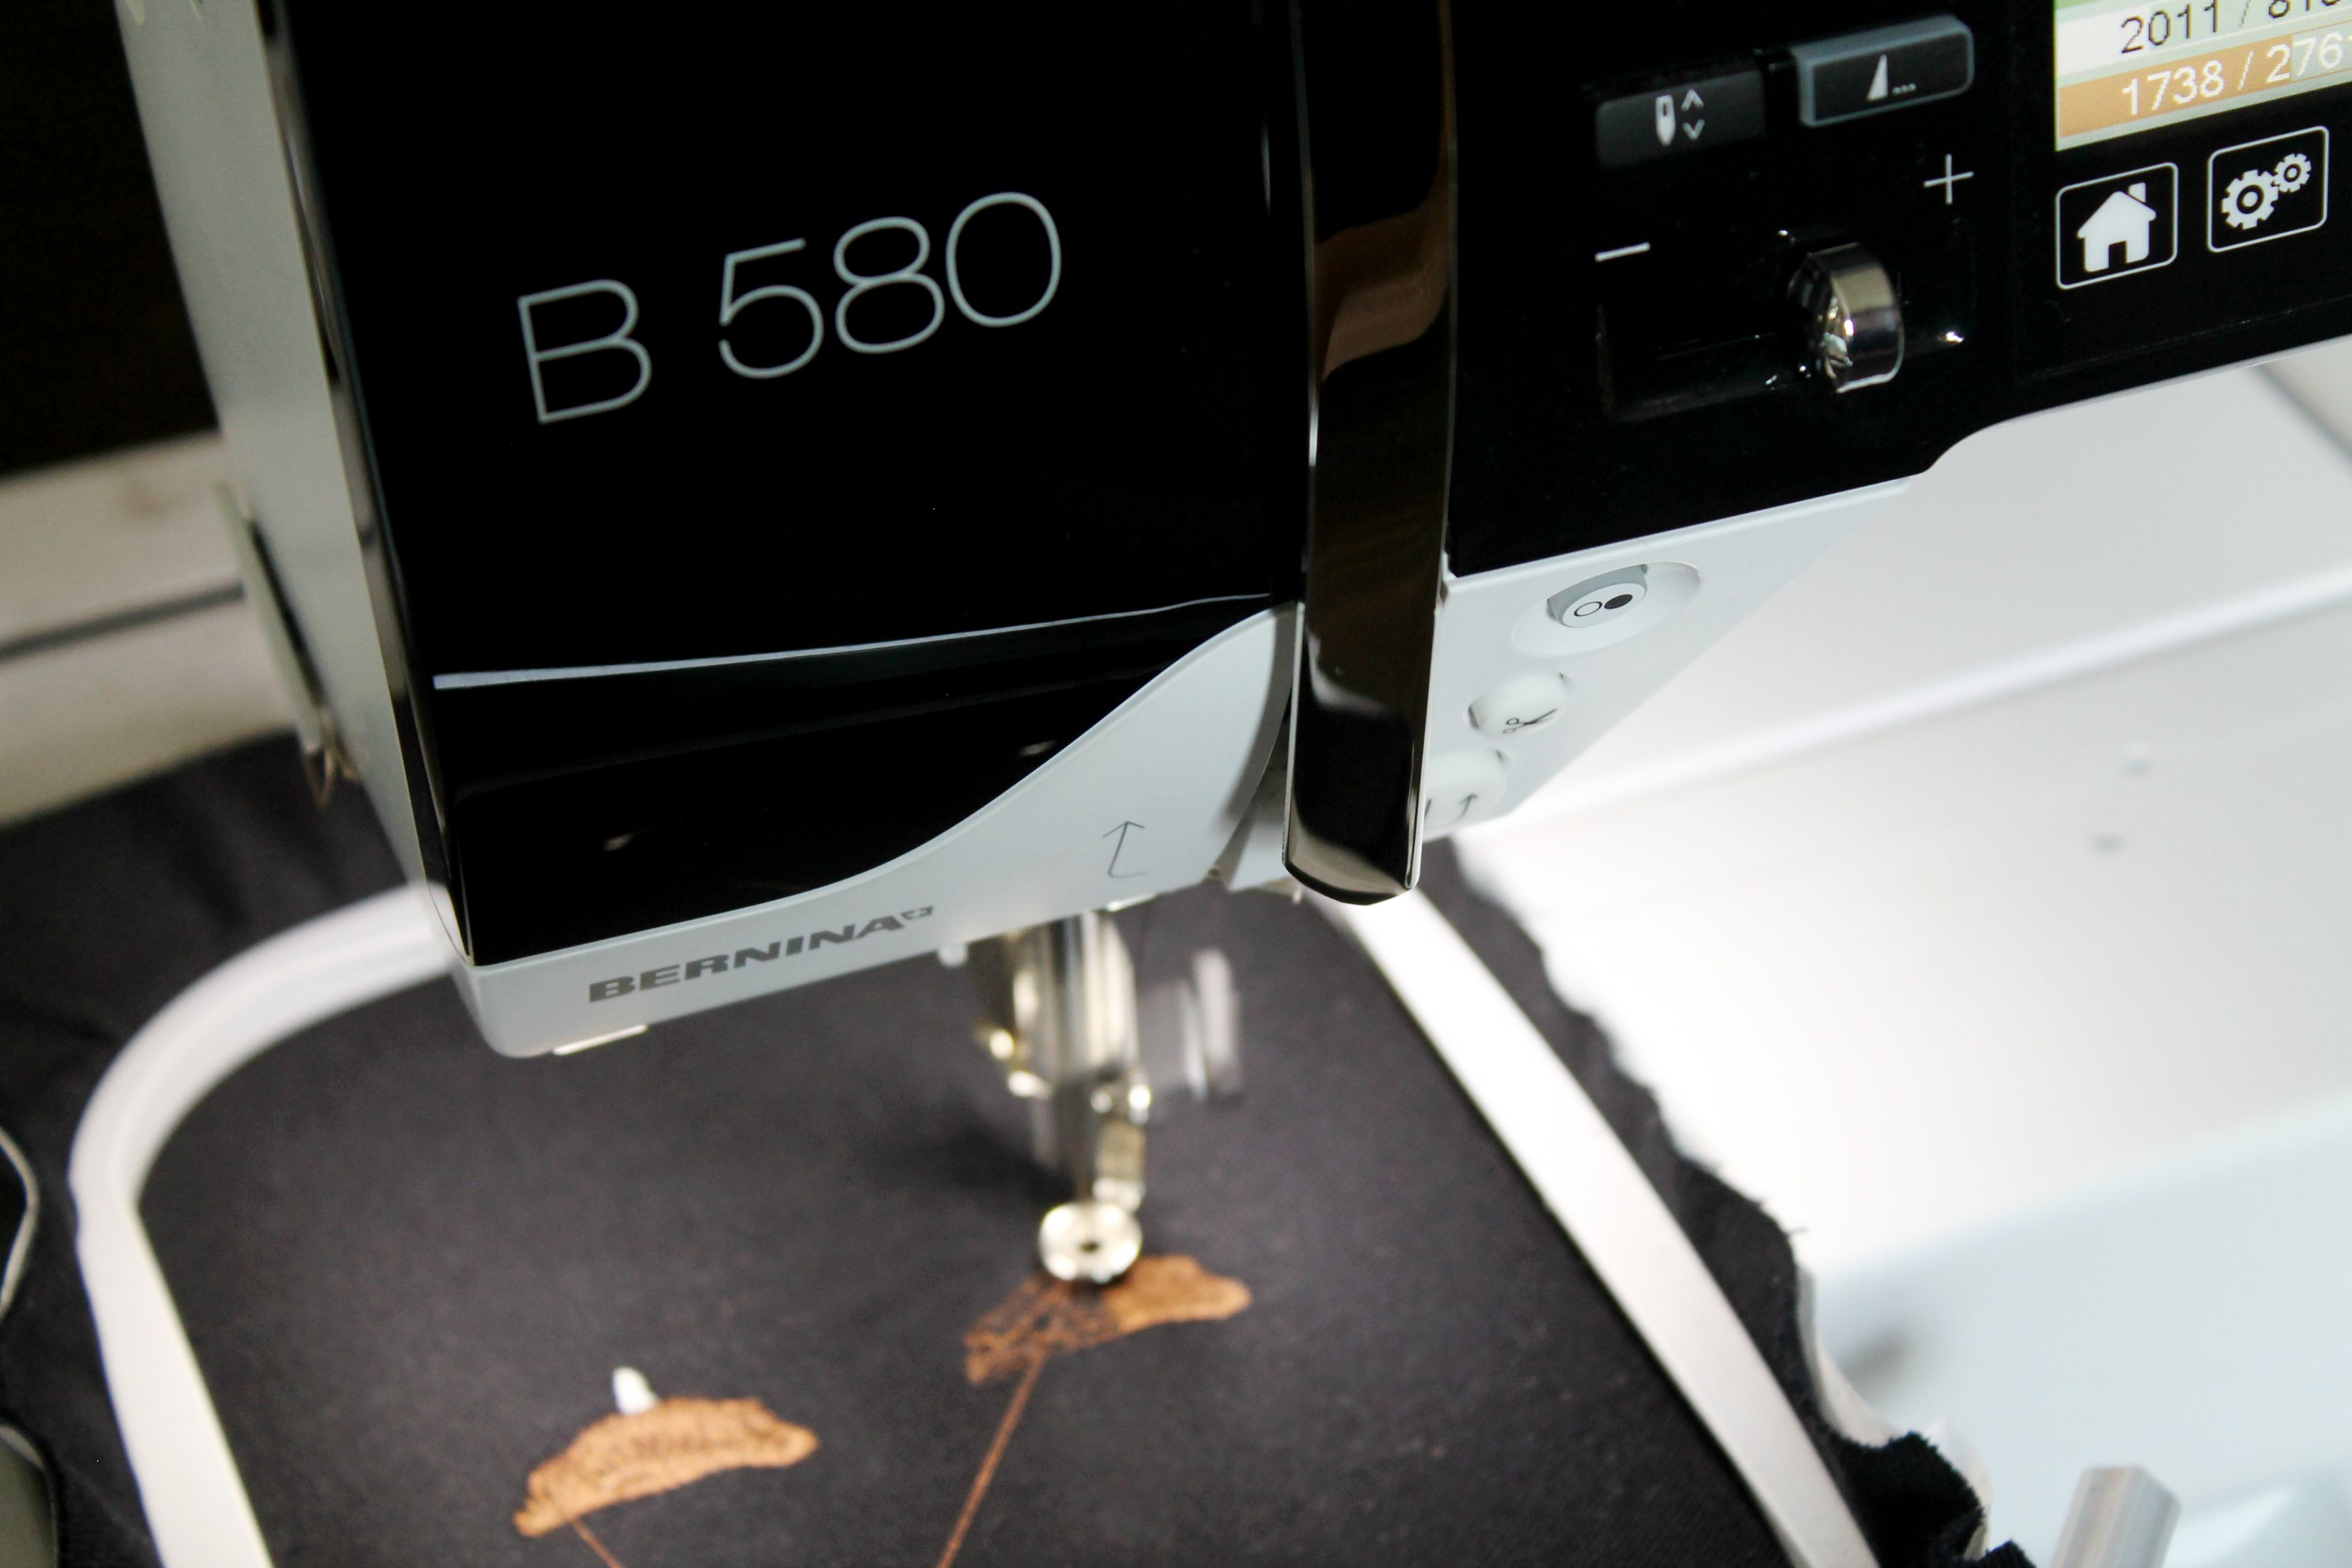
Tip! Reduce the amount of thread changes when combining designs. You can activate the Color Resequence Icon (highlighted in the photograph). When it is active, the machine will stitch as many of the same colors of the design as possible to reduce the number of manual thread changes. The machine knows not to resequence any thread colors if it is meant to be stitched over top of something else later in the design. Engaging the icon will not challenge the integrity of the design—it will just make your life easier and save you time!
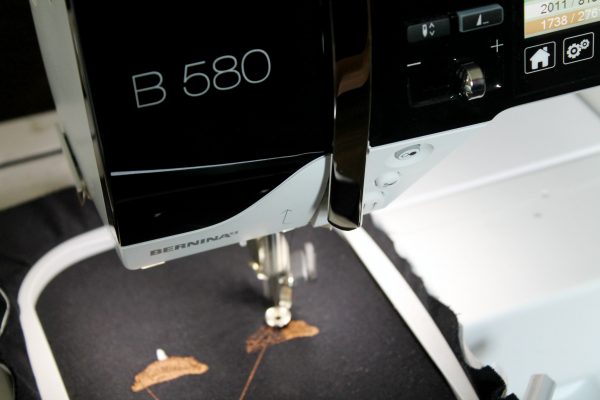
Step 4
Stitch out the designs.

Step 5
Remove your finished embroidery from the hoop. Carefully cut around the outside edge of the design. Now is also a good time to pre-heat your oven to 230 degrees Fahrenheit or 110 Celsius.
Step 6
Next prepare your FIMO® clay. If you’ve never worked with FIMO® clay, it’s polymer clay that hardens after it’s baked. As you’re about to discover it’s a fun way to mix your embroidery designs into other functional pieces of wearable art or accessories! You’ll need to soften the clay between your hands until it’s malleable enough to roll out to approximately 1/8” or 3.175mm on a hard surface. I recommend working on a ceramic tile because later you can just transfer it into the oven. However, you could easily work on a sheet of foil over top of your self healing craft mat.
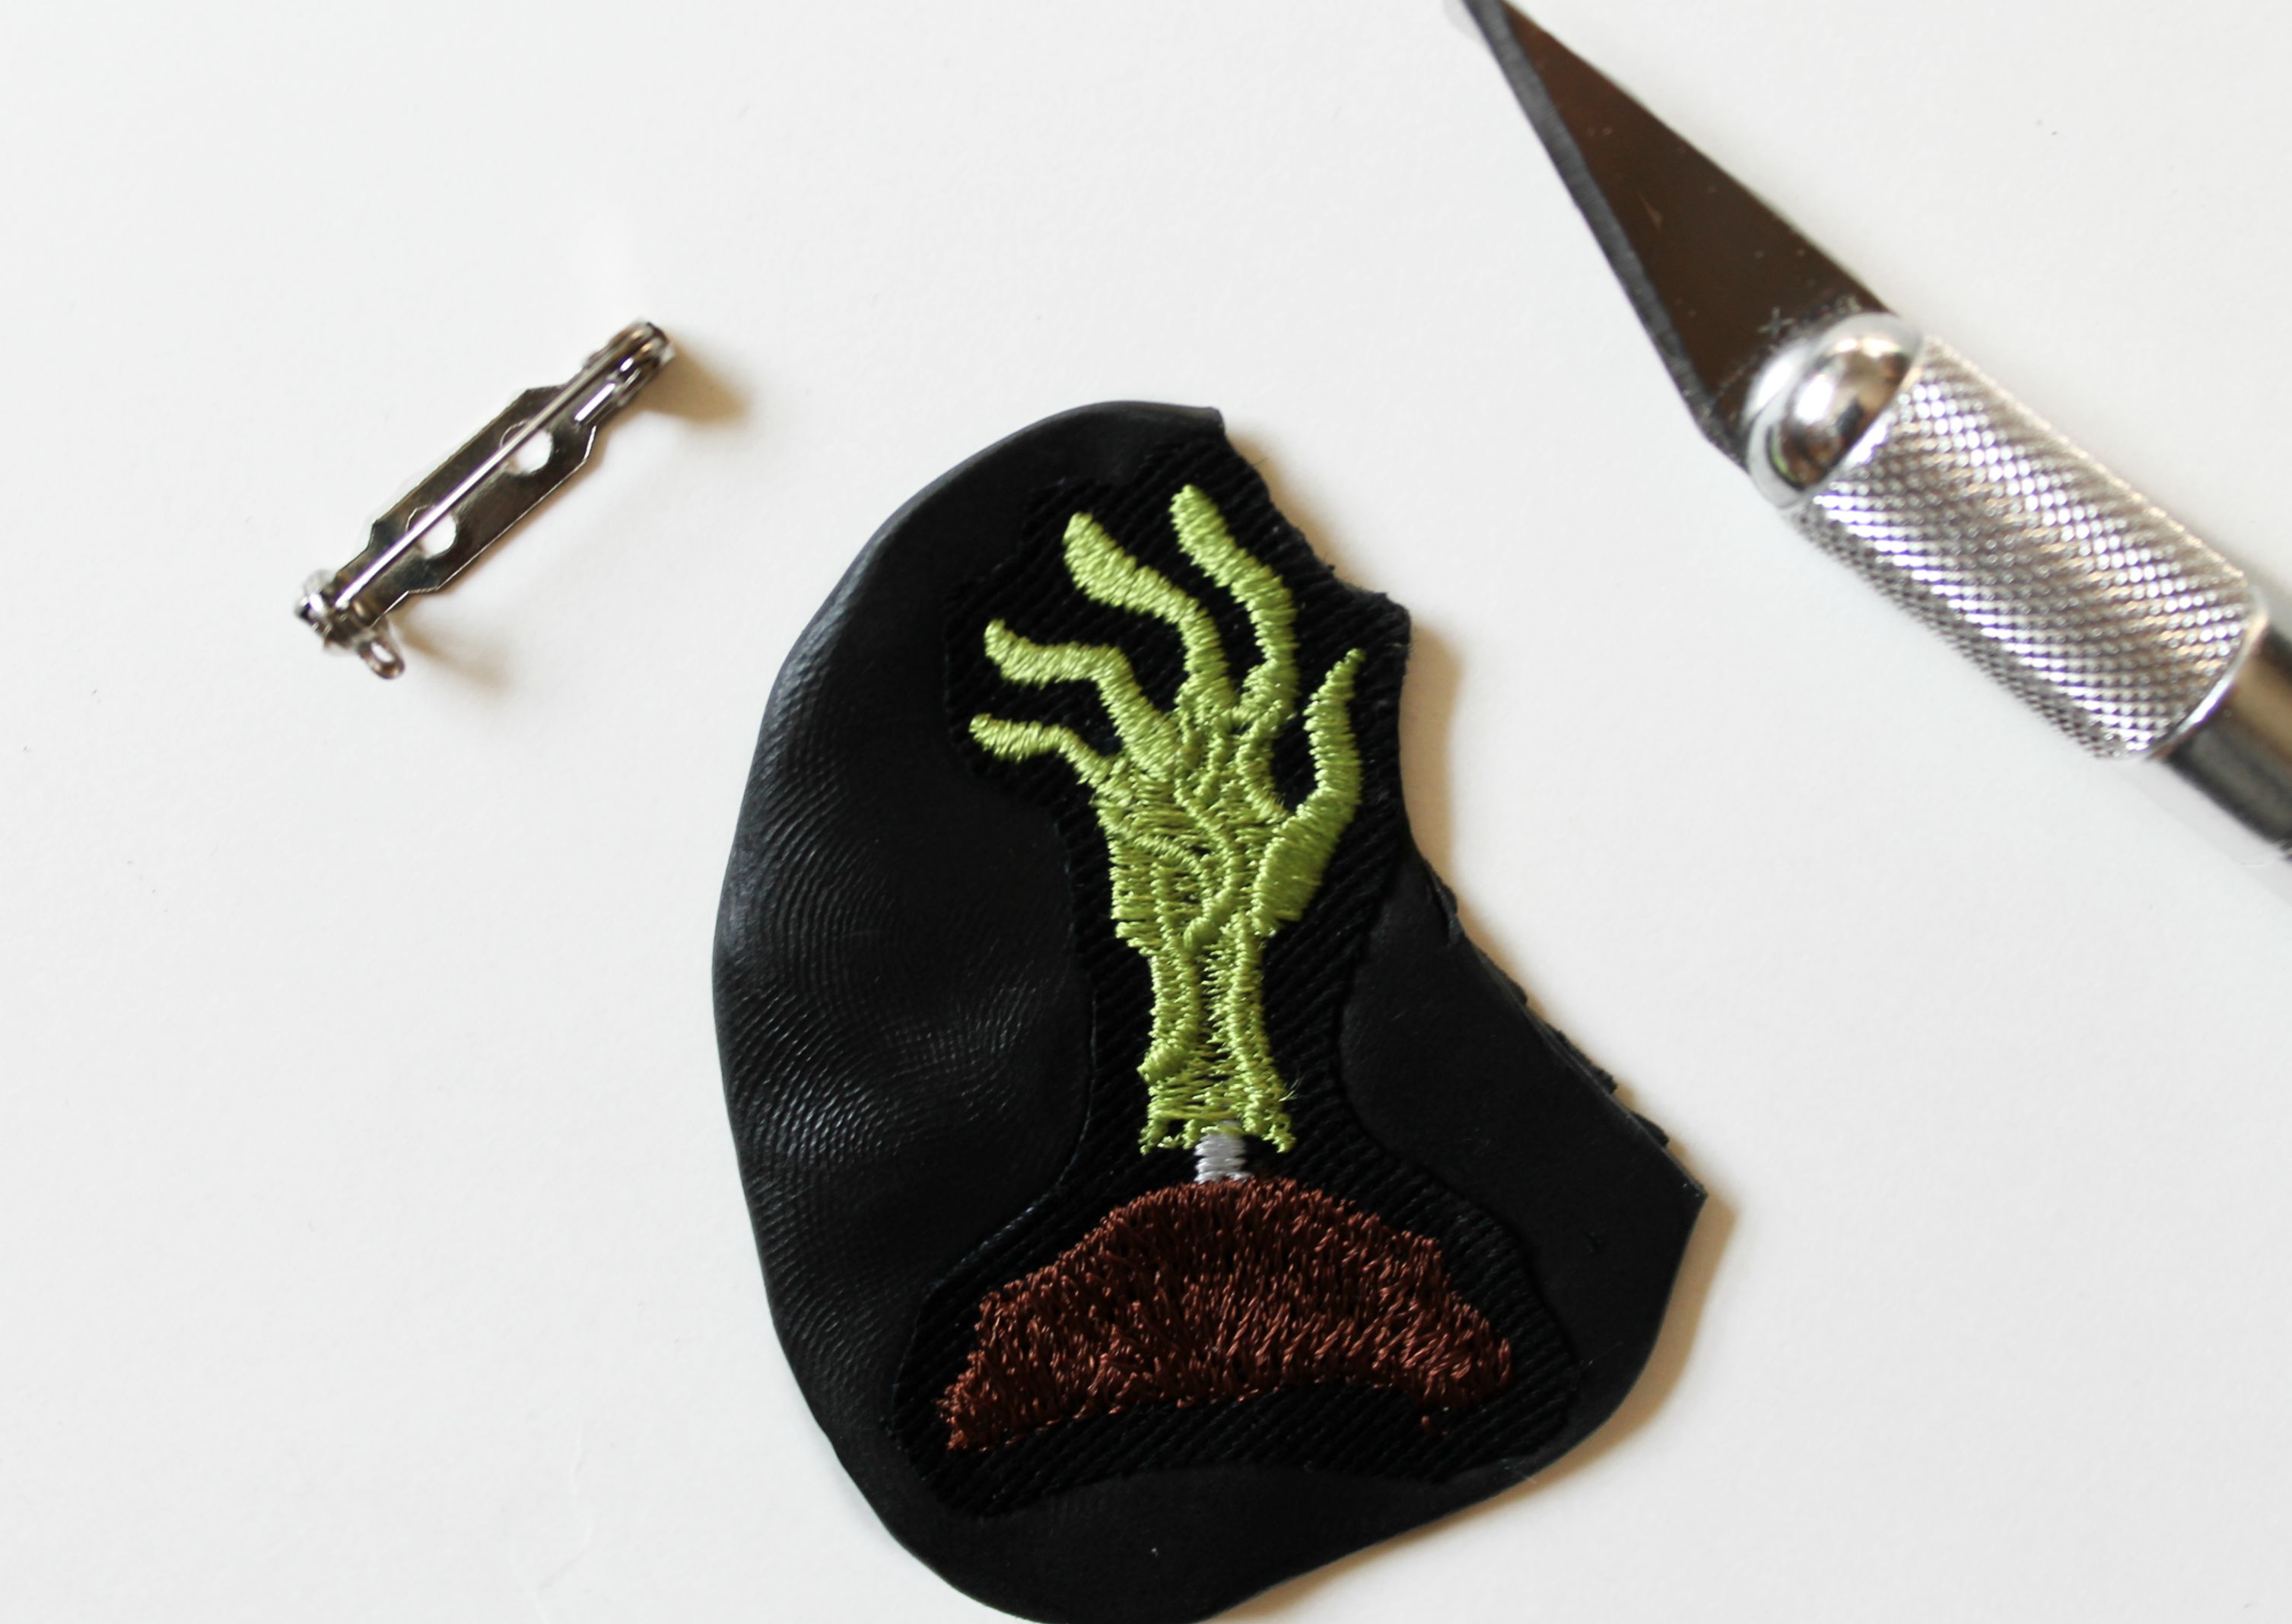
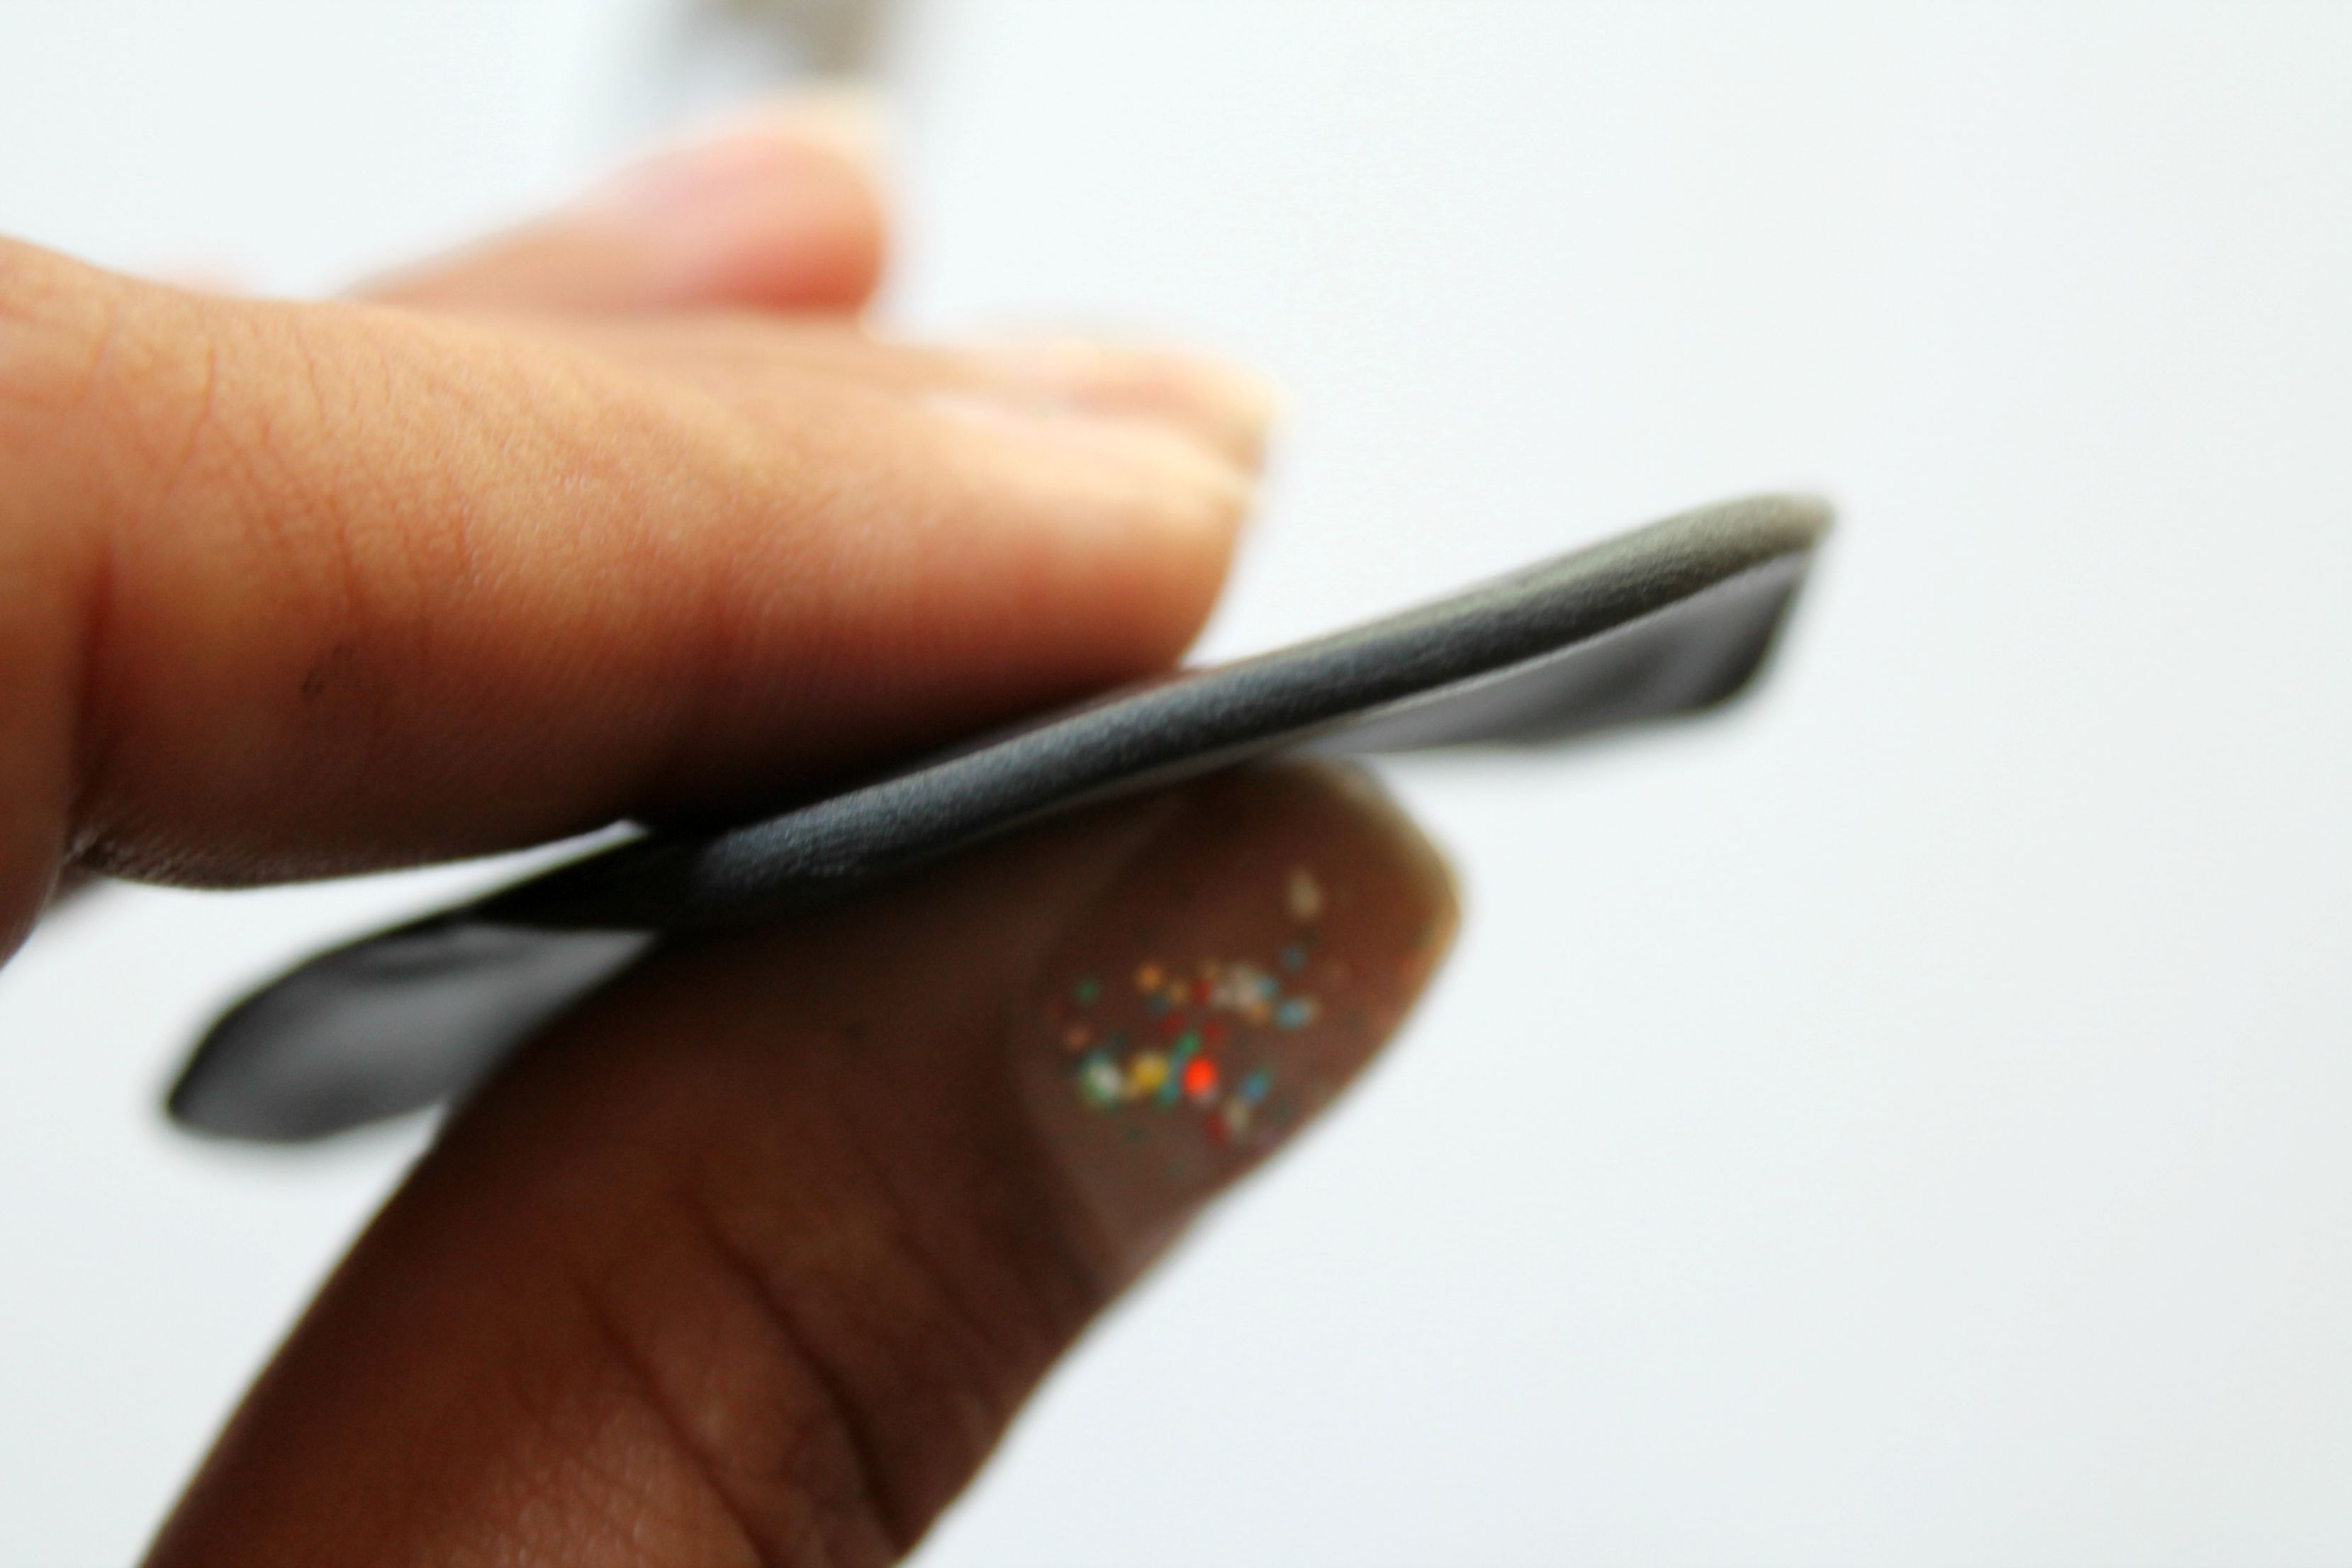
Step 7
Press embroidery into softened clay. Be sure that your design is snugly secure in the clay before proceeding. Using a sharp Xacto knife or tool, carefully cut away excess clay from around the embroidery. Once I had completely cut out the embroidery design along with the clay, I carefully smoothed out any rough spots around the edges. I make sure I was patting and not pulling or pushing the clay otherwise you could easily distort the backing.
Step 8
Next, place your embroidery/clay cut outs on tile or baking sheet. Place all of your embroidery and clay pieces into the oven for 30 minutes. (In case you’re wondering, I tested this method with OESD, Mettler, Floriani, and Coats & Clark threads without any melting, fires, or disgusting smells)
Step 9
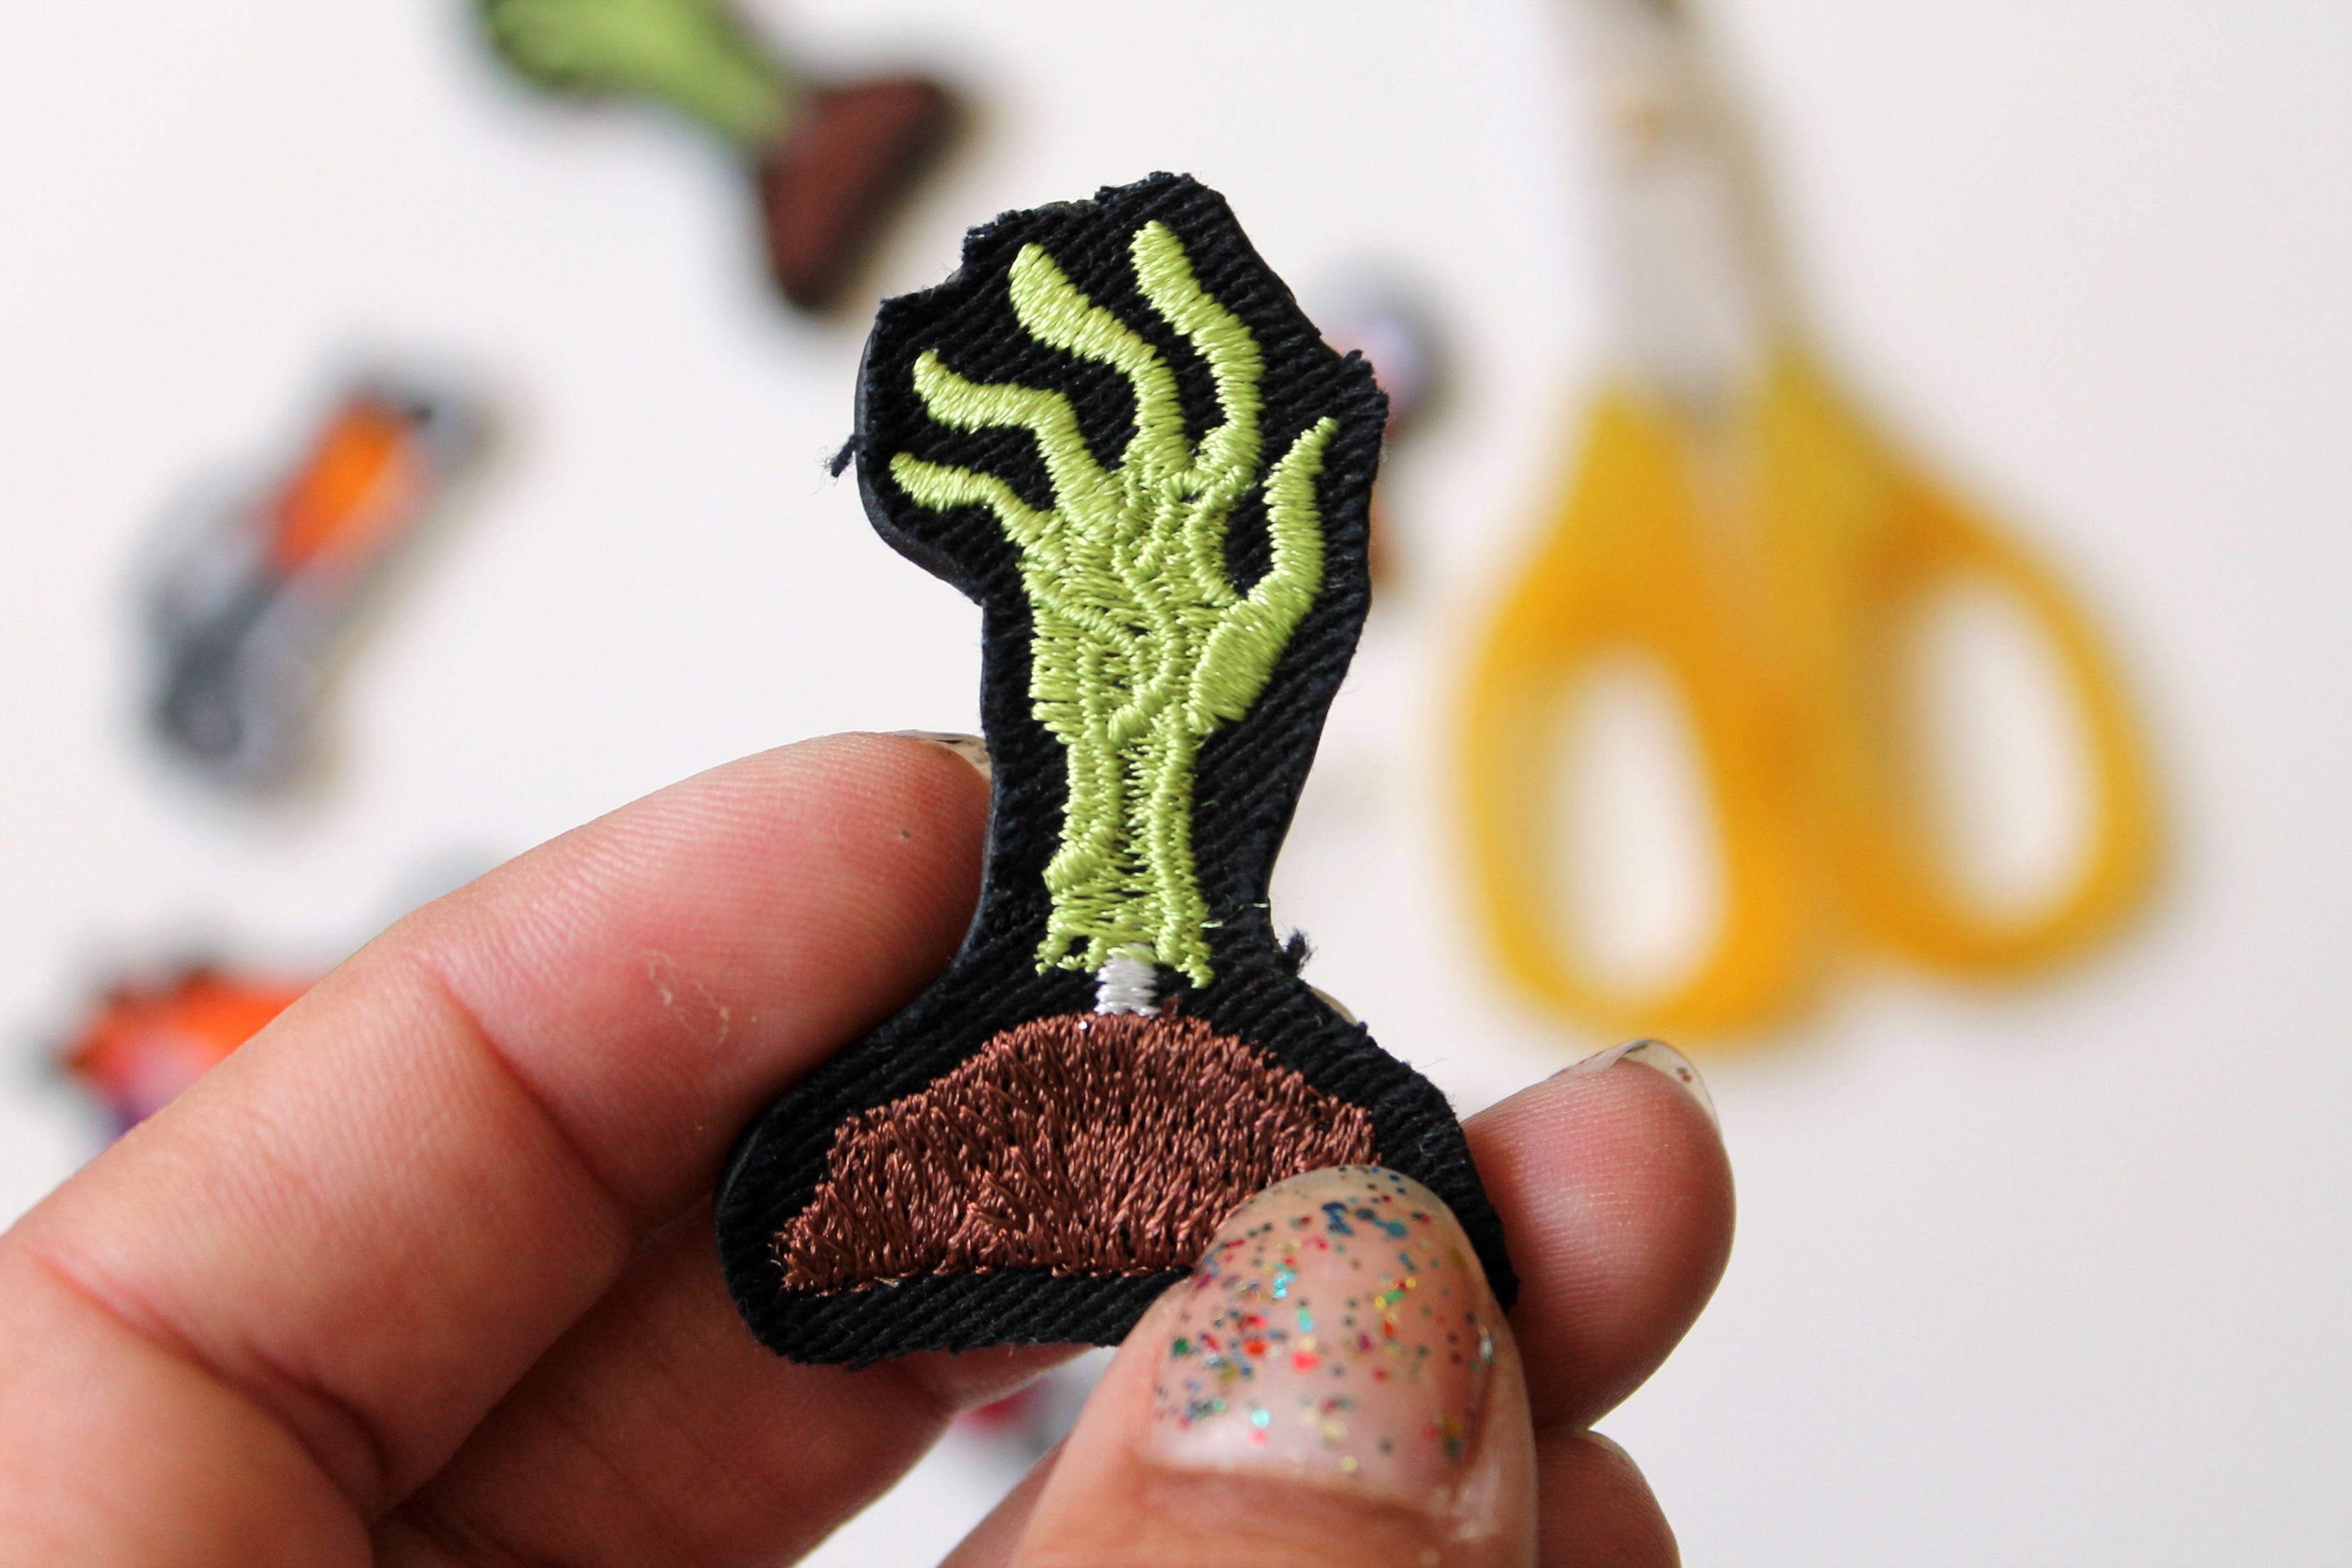
Remove from the oven and let cool 10 minutes to be sure. You might notice that the fabric is fraying or could fray. Snip any threads you can with a sharp pair of scissors. Feel free to apply fray check or seal the edges with any type of sealant ie: modpodge, glue.
Step 10
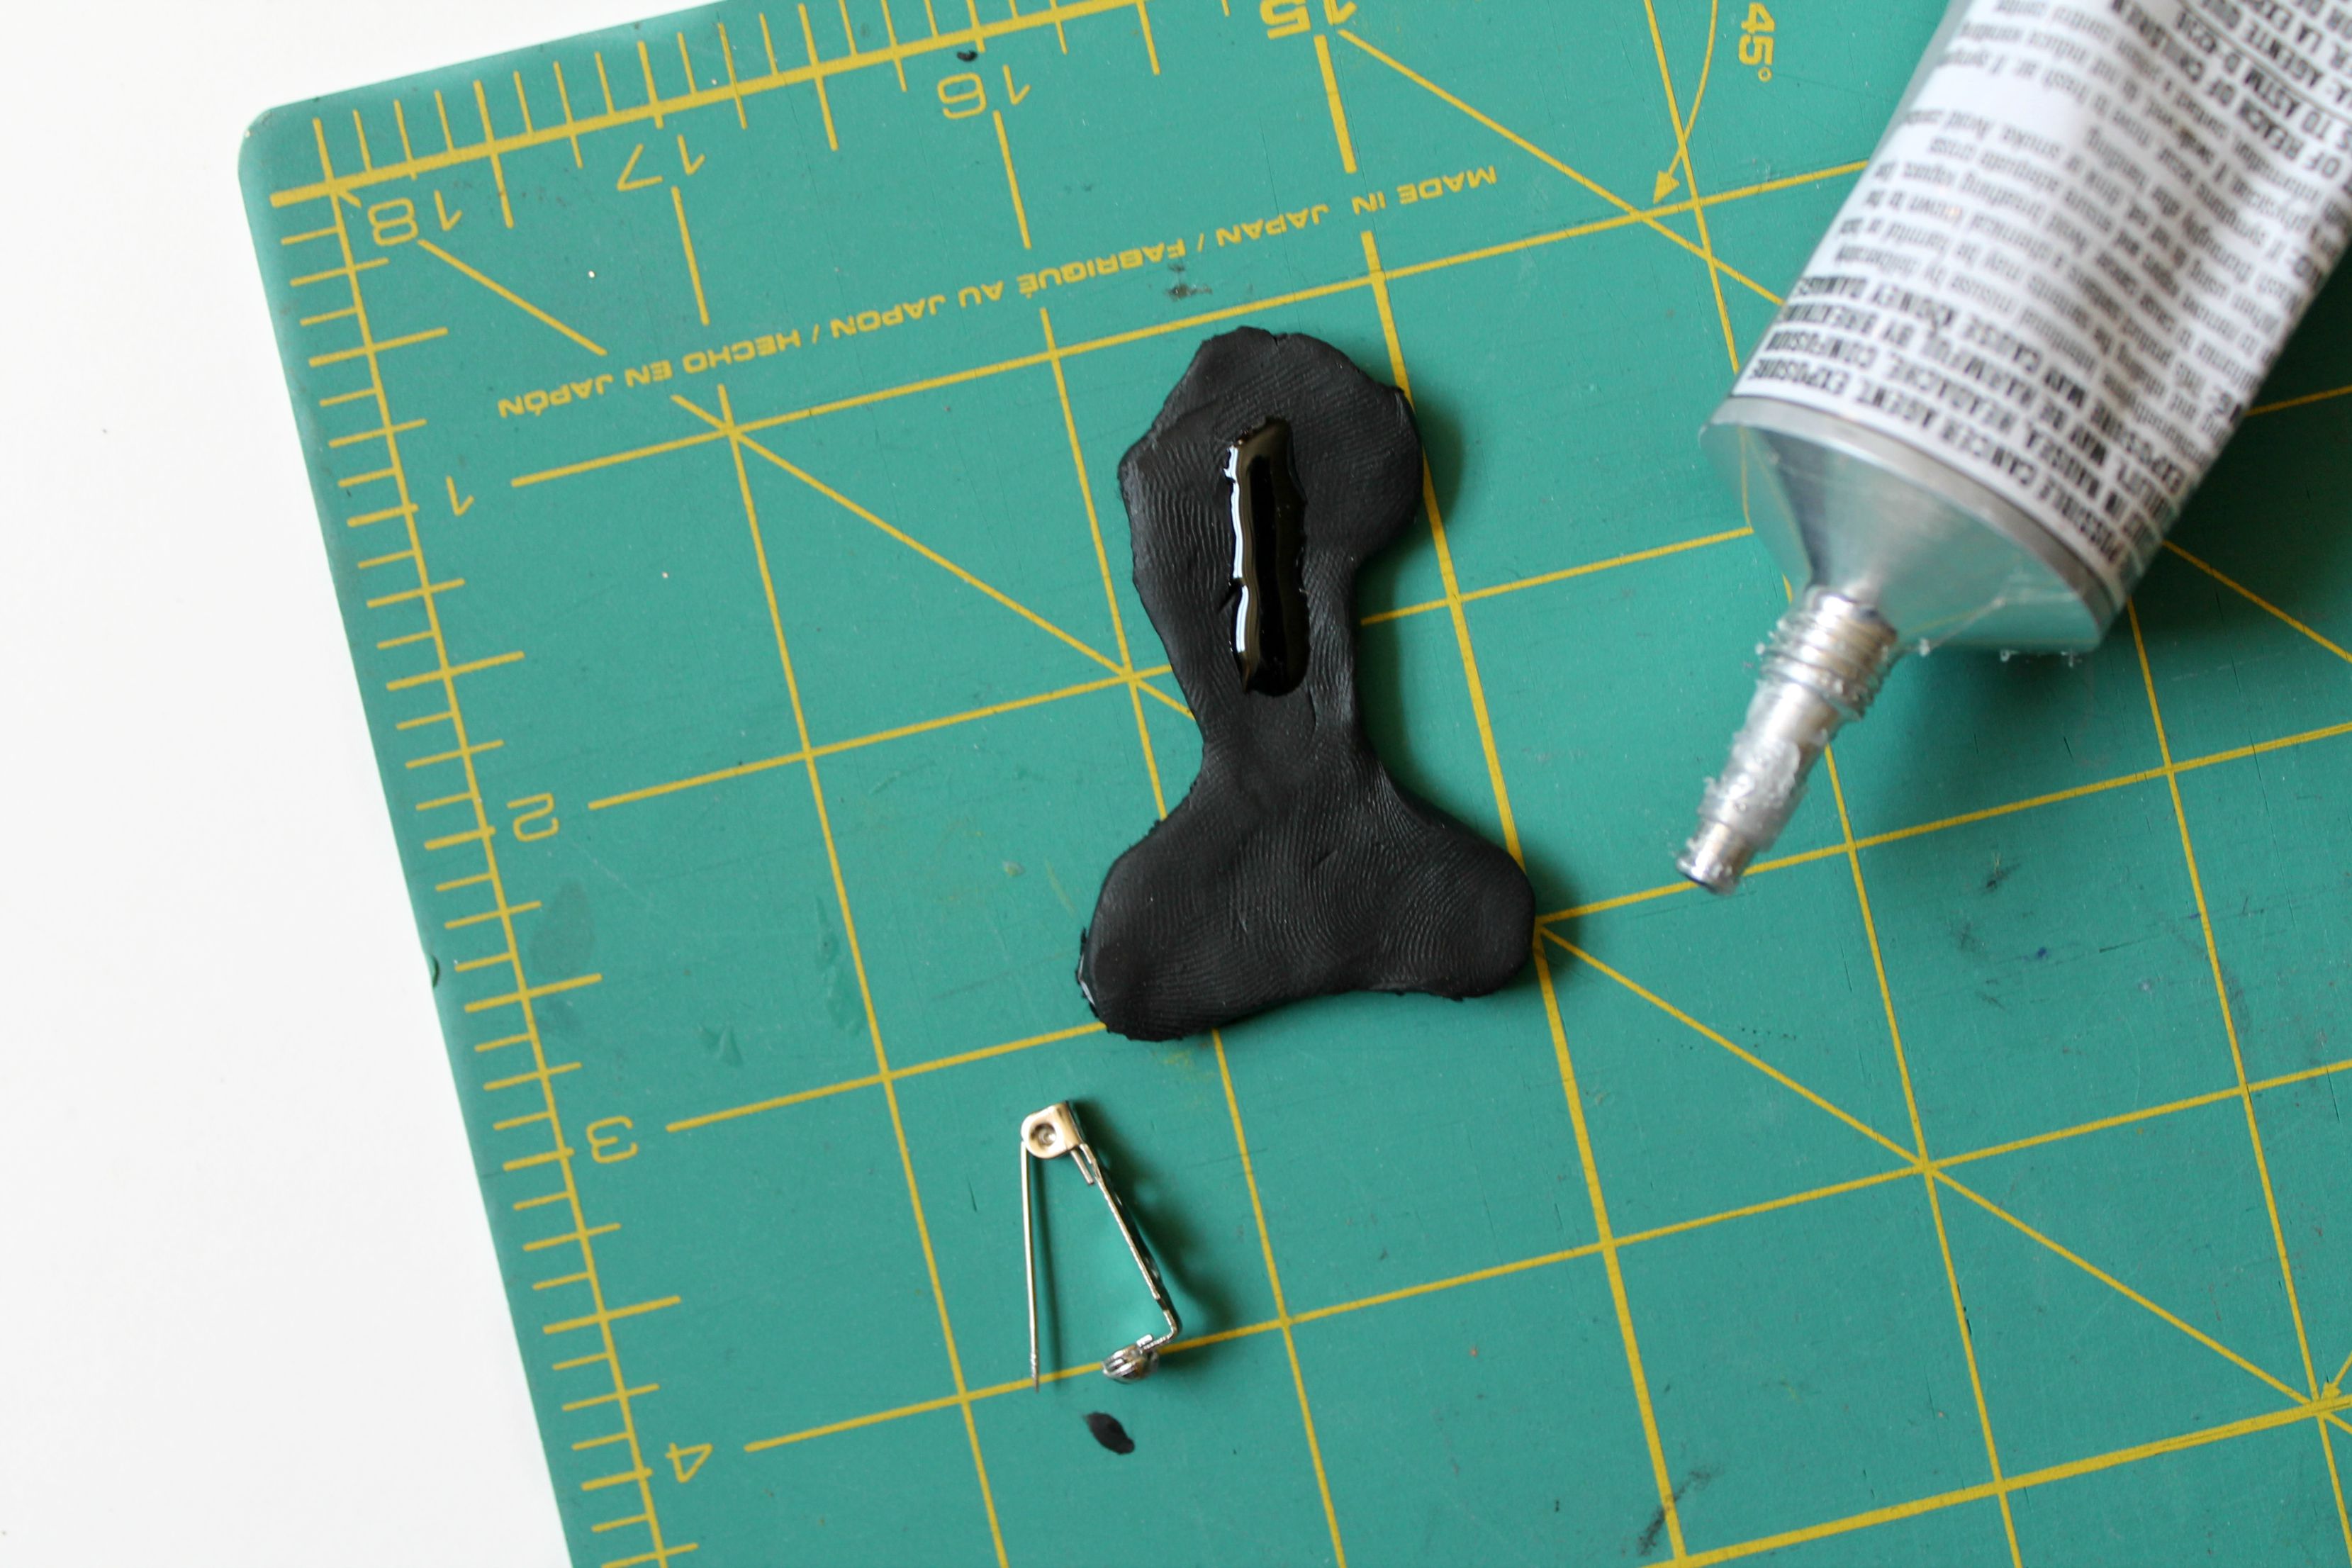
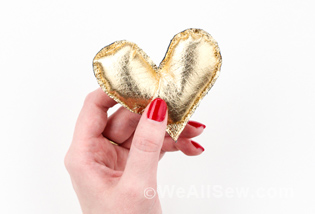
Add a small amount of E 6000 glue to the backside of your embroidery to create a scarf pin or brooch. It’s important to follow the steps correctly otherwise your glue will not cure properly. Gently push the pin back base onto the glue surface applying glue to pin before pulling it apart slowly. Lay the pin back & the embroidery to set apart for 2-5 minutes. This allows the glue to even out. After a few minutes has passed, position the pin back onto the embroidery and push the two together securing the two (2) pieces together. Allow the glue to cure for 24 hours before wearing.
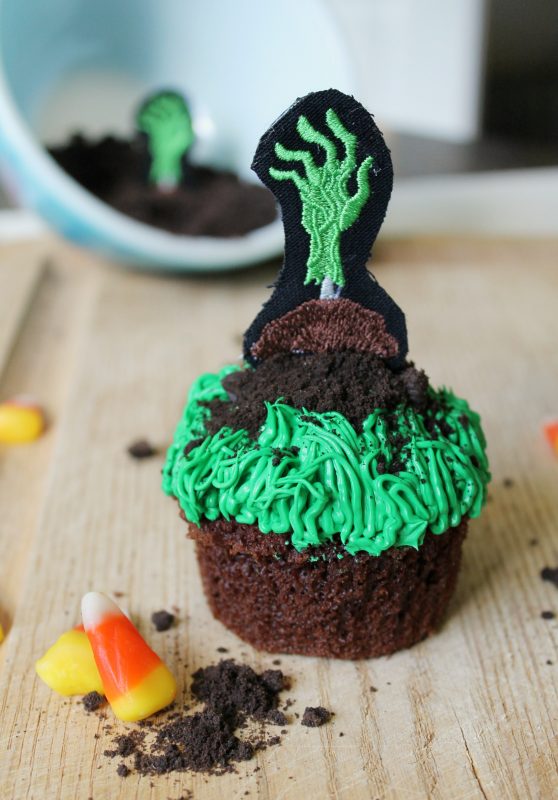
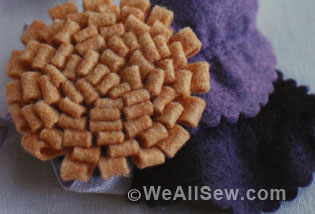
Calling all cupcake lovers! I also did a spin off the brooch design taking the same technique to create cupcake sticks. Happy decorating!
Giveaway Time!
I have a “Whippersnapper” embroidery design collection to give away to one awesome WeAllSew fan. All you have to do is post a comment below answering the following question:
Which Halloween embroidery designs do you like best?
A winner will be chosen on October 16, 2015 and announced later this month!


What you might also like


11 comments on “Embroidered FIMO Brooch”
-
-
Looking at the designs, I found the new OESD Freestanding Jack O’ Lantern. It is indeed my favorite.and I like the “Whippersnapper” Zombie Hand 2 , as well.
-
I loved the wolfman! I want to make these for my whole family!
-
It’s hard to choose between the scary wolfman or the really scary zombie hand!
-
What a GREAT idea! I love that green zombie hand. Thanks! ???
-
Love this idea! Thanks for the Zombie Hand Applique. My favorite is 80069-13 I Love MOM Appliqué. Goodtimes trick-or-Treating with Mom 🙂
-
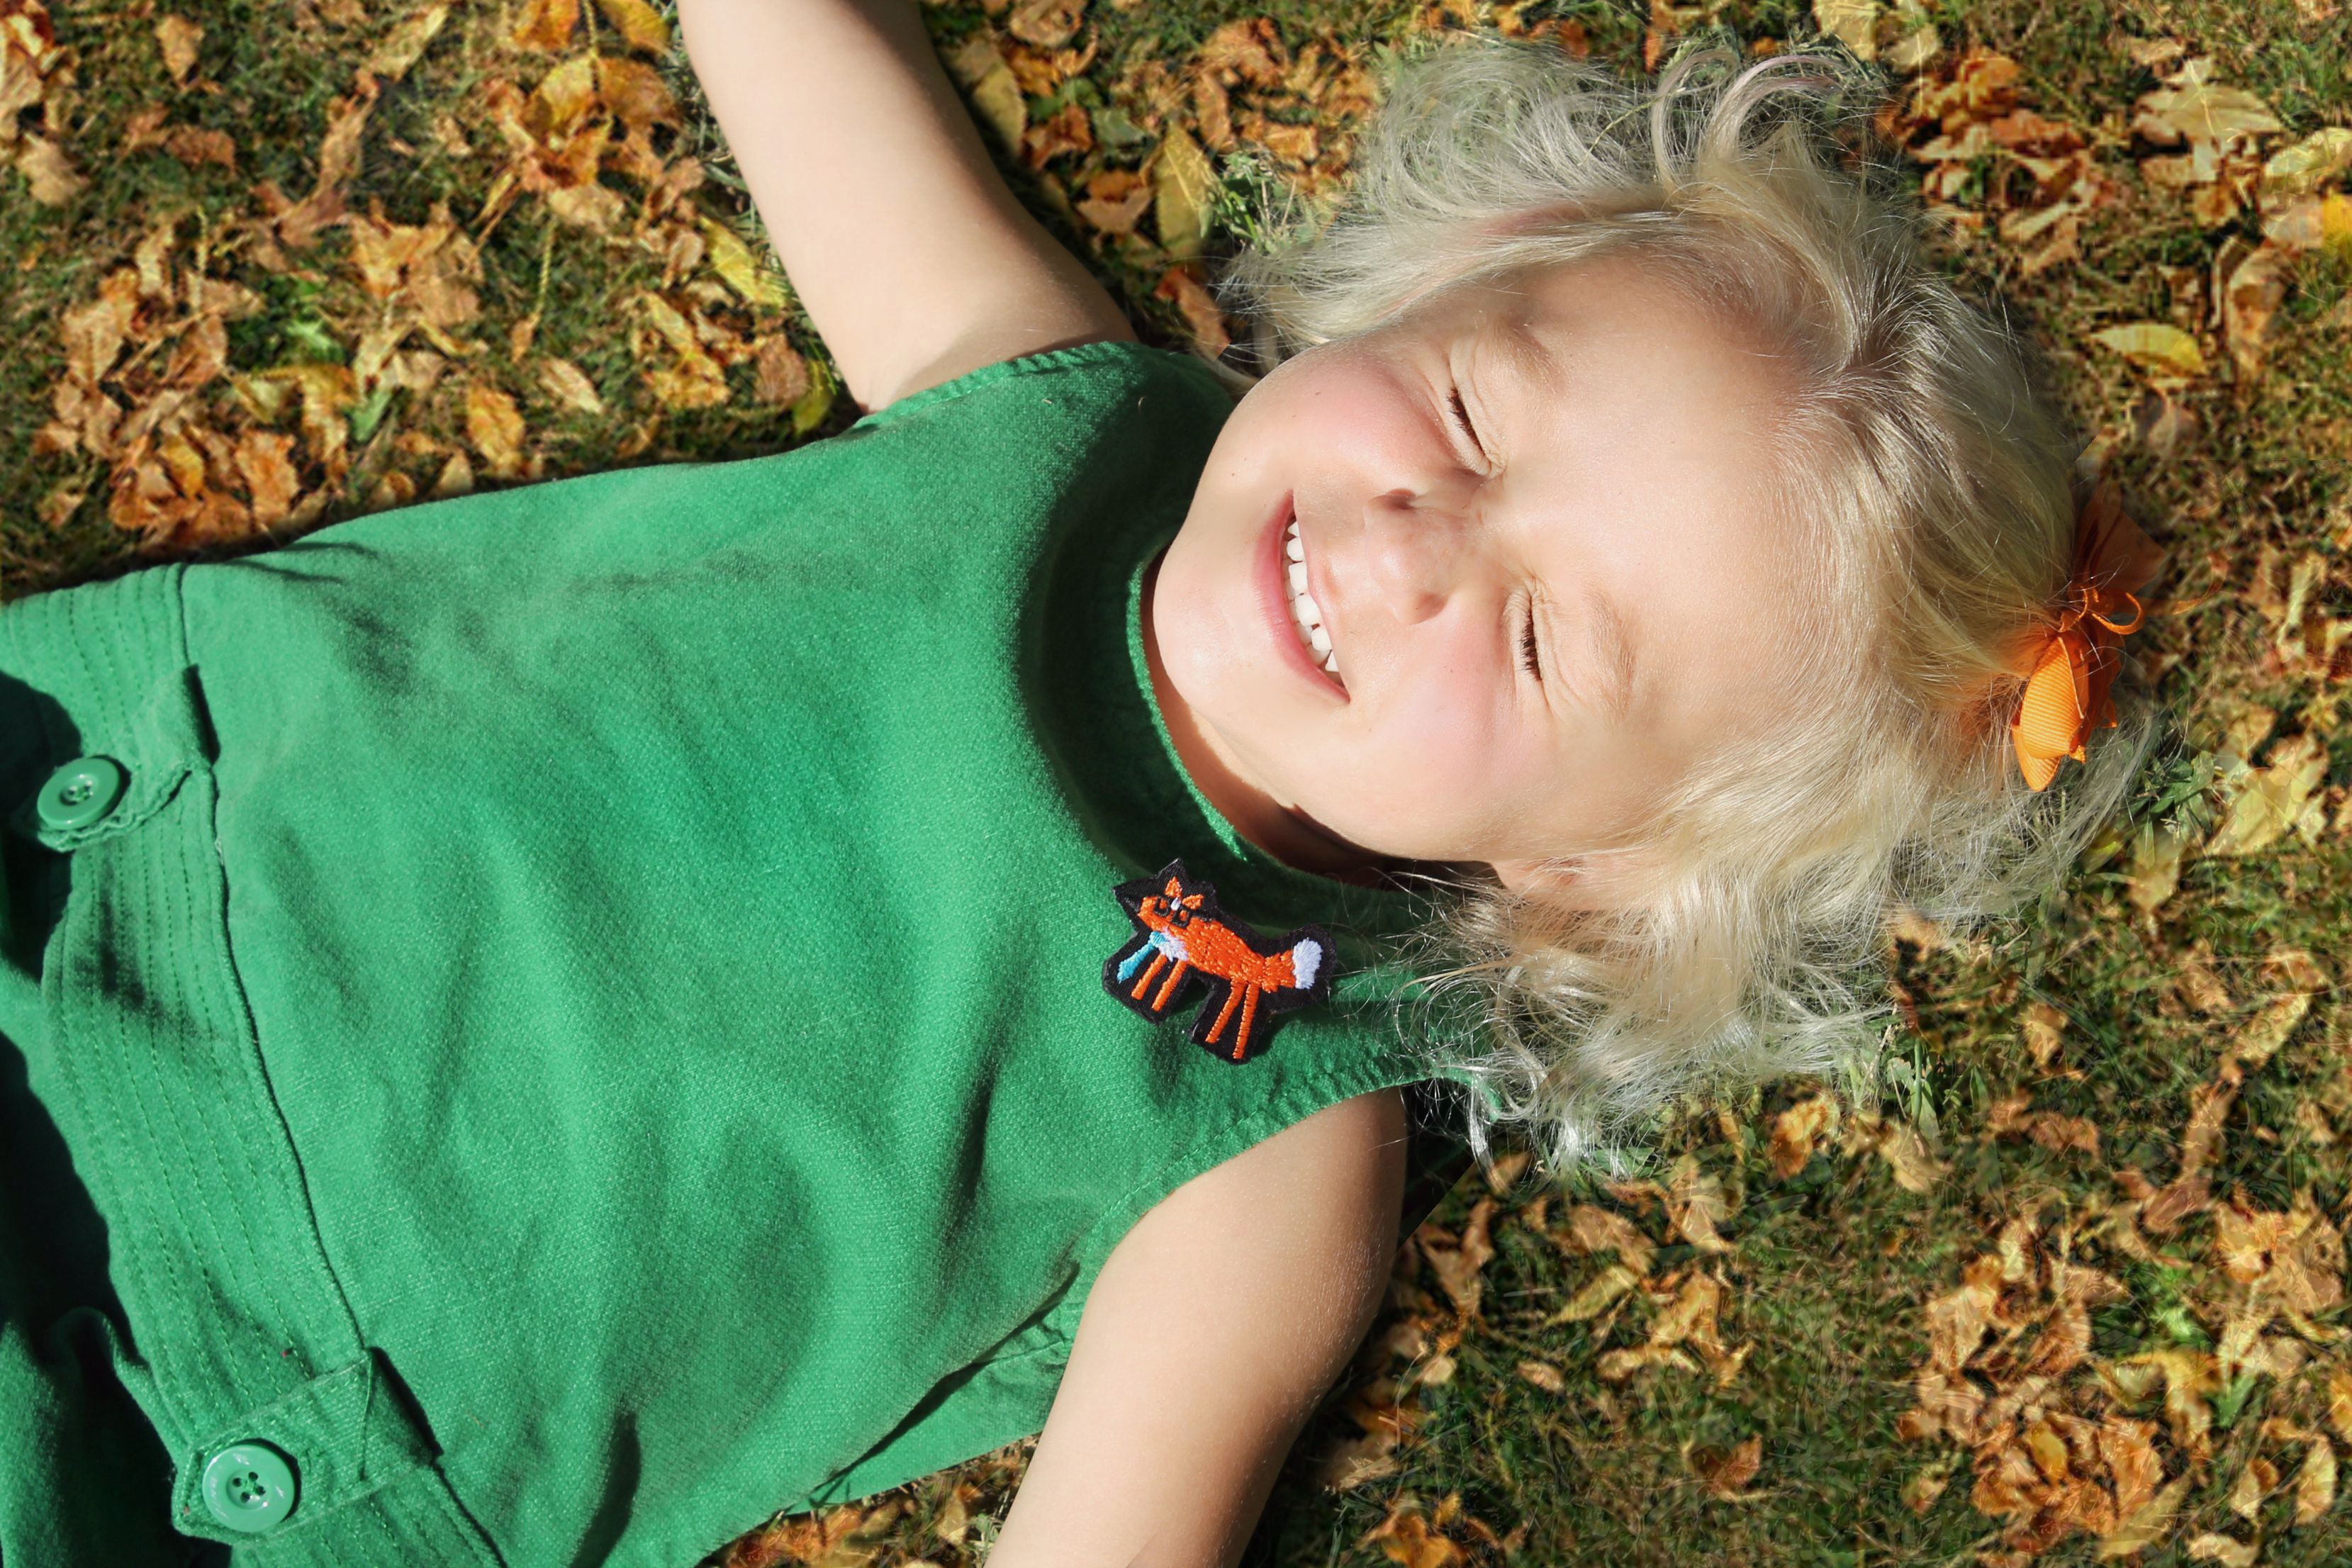
I love all of the designs, it is hard to choose just one but I guess I would pick the fox with scarf applique. My daughter-in-law chose a fox theme for their new baby and anytime I see a fox I think of my new grandson.
I think this is a great idea. I would never have thought of doing this, but I can’t wait to try it. Thank you so much. -
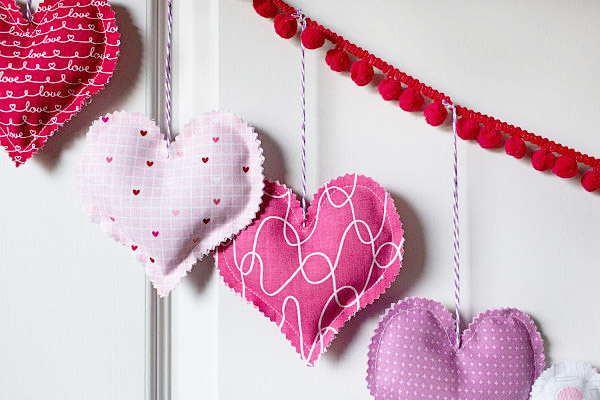
I like the heart applique design.
-
The zombie hand is pretty cool!
-
I like the fox & the spider. This is a great idea!
Leave a Reply
You must be logged in to post a comment.

I like the Zombie hand best!
I love this idea! Thanks!