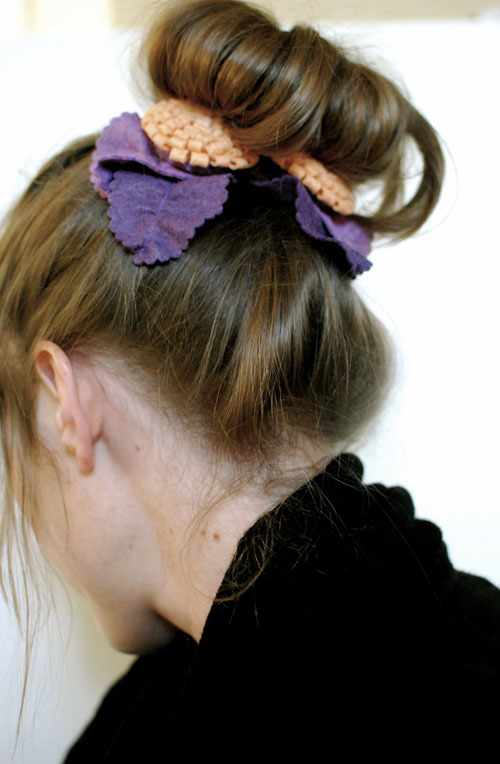
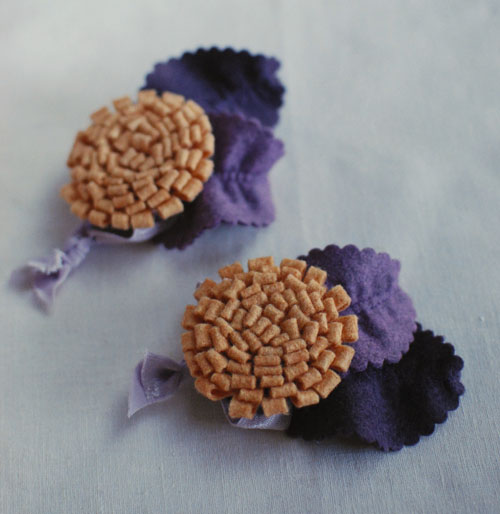
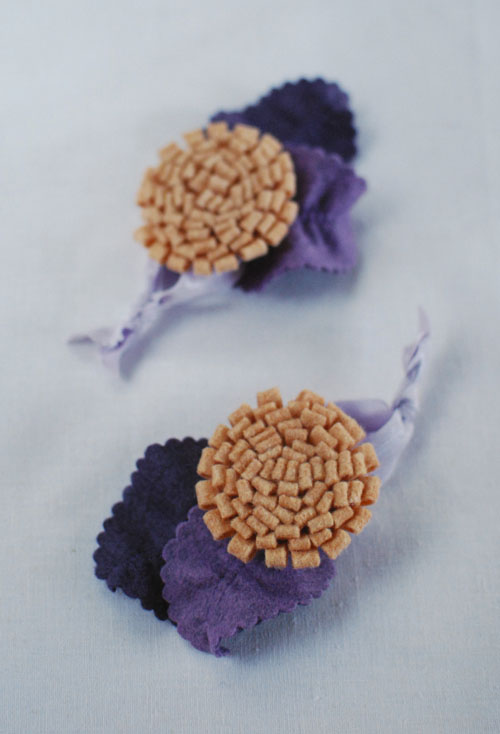
How to Make Winter Flower Hair Ties
These cute hair ties can be made in any combination of colors and textures. Made out of felt, they are easy to sew. Can’t use a hair tie? Transform one into a brooch for your lapel!

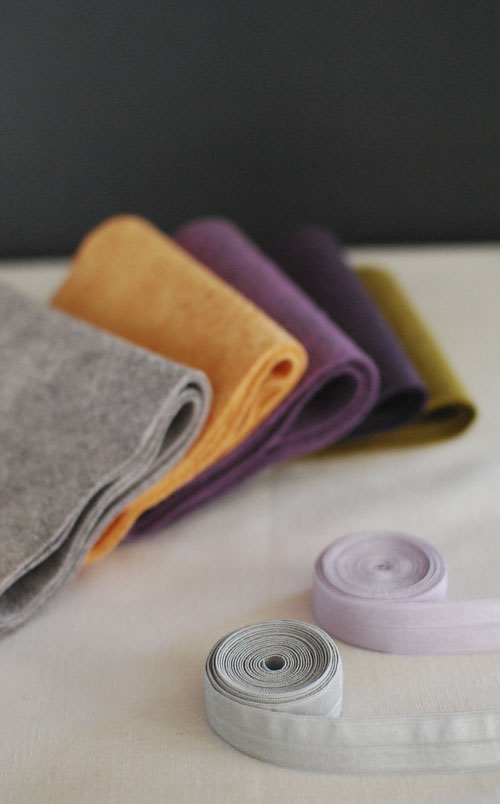
Supplies
- One-eighth yard* each of two or more colors of wool felt
- 1 yard of fold-over elastic
- Coordinating thread
- Glue gun
- Scalloping shears (or pinking shears)
- Rotary cutter, mat, and ruler
- Disappearing-ink pen (optional)
- Brooch pins (optional)
*Wool felt is sold in 36ʺ-wide bolts. One-eighth yard is 4-1/2ʺ x 36ʺ. If you cannot find bolts of wool felt, look for pieces 18ʺ long to use for the flower strips and about 4ʺ x 5ʺ for the leaves.
TIP: Leaves don’t have to be green! I chose to cut mine from two shades of purple close to the other on the color scale.
You will be making a pair of hair ties, so be sure to repeat every step for each flower.
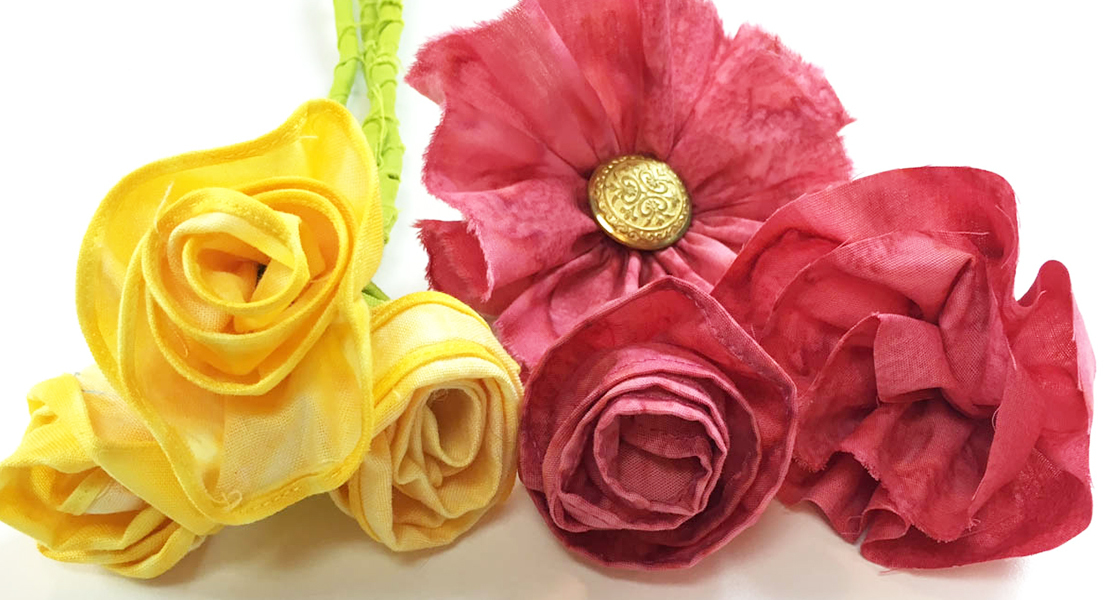
step 1) Make the flower center.
From the wool felt for the flowers, cut a 1-1/2ʺ x 36ʺ strip.
Cut the strip in half to yield two 1-1/2ʺ x 18ʺ pieces.
With your fingers, fold the strip in half lengthwise.
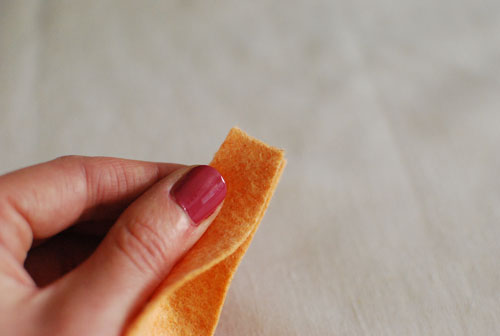
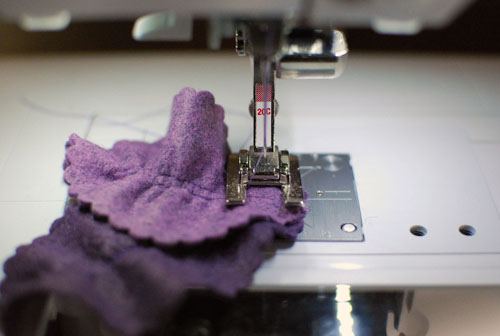
Stitch the long edges closed using a very scant 1/4ʺ-wide seam allowance.
TIP: For better visibility use an open-toe foot. I used BERNINA’s Open Embroidery Foot #20.

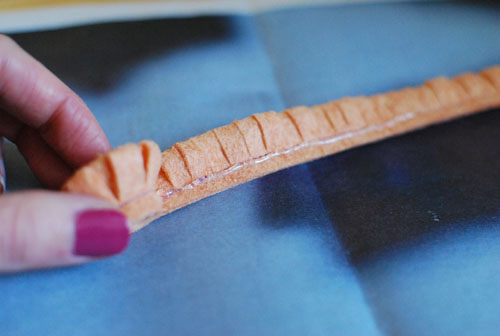
Clip the resulting tube up to the stitching along the fold at ¼ʺ increments.
TIP: For a different look, clip each “tab” in half to one-eighth inch.

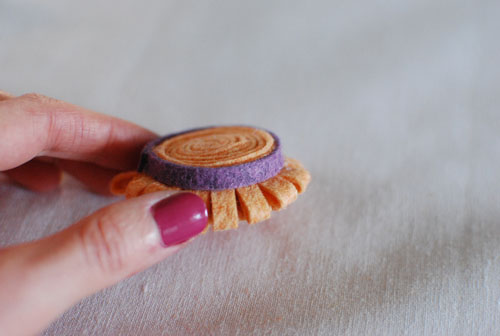
Begin rolling the strip, with the clipped edge up.
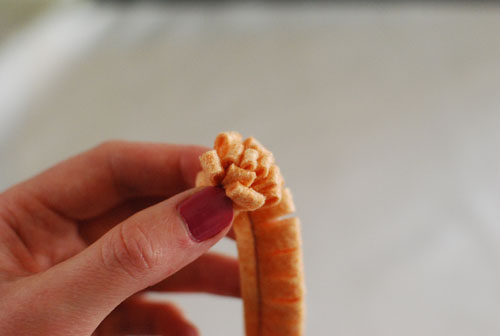
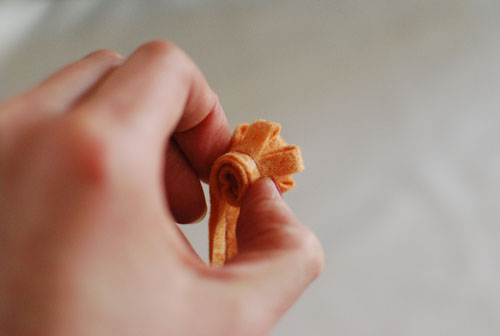
Glue the rounds together as you go, stopping when you reach the end of the strip.

Cut a 4-1/2ʺ x 1/4ʺ strip of contrasting felt.
Glue the strip in place around the base of the flower.
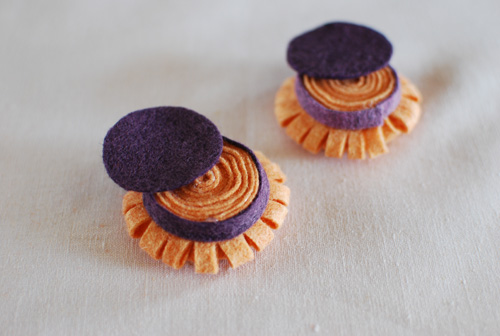
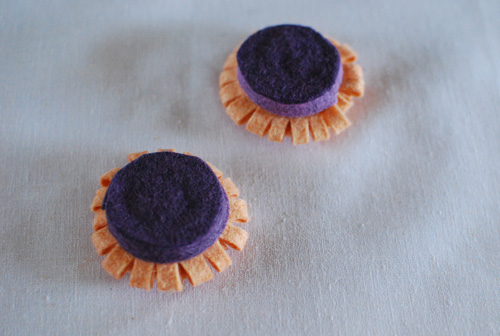
Using your flower as a guide, trace a circle on the contrasting felt, cut it out, and glue it to the bottom of the flower.
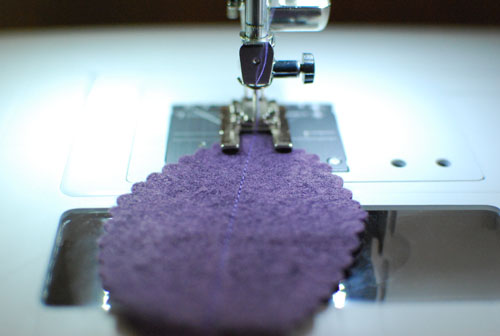
step 2) Make the leaves.
With scalloped shears, cut leaves freehand to fit the size of your flower. Make two leaves for each flower.
TIP: Mark your leaf shapes with a disappearing-ink marker before cutting them.

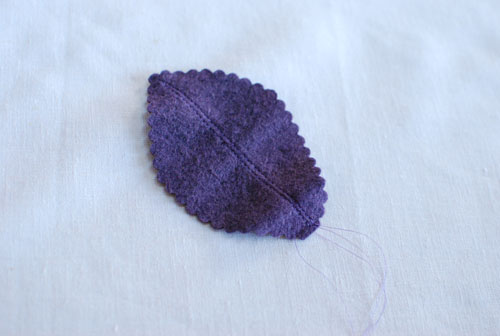
To create a crinkled texture on the leaves, sew a line along the center of the leaf, then put your machine in reverse and back-track close to the previous stitching. It is not necessary to sew exactly over the line.
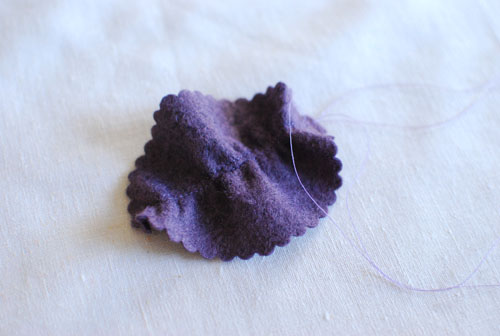
With a strong pin (or a sharp stiletto), pull the bobbin thread in a few places from under the leaf to create the ruffling.
Overlap the leaves at the base (where the stems would be).
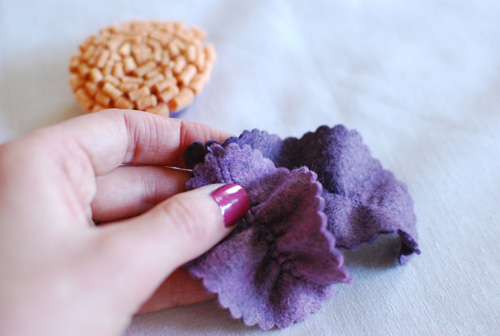
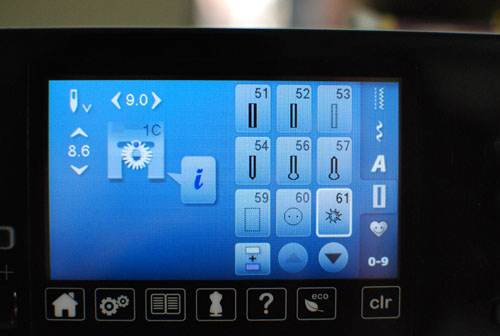
Stitch the leaves together at the base. I like to use an eyelet stitch, which makes a small circle, but a bartack or button sew-on stitch would also work.
step 3) Add the elastic and attach the leaves.
Cut two 7-1/2ʺ-long pieces of fold-over elastic.
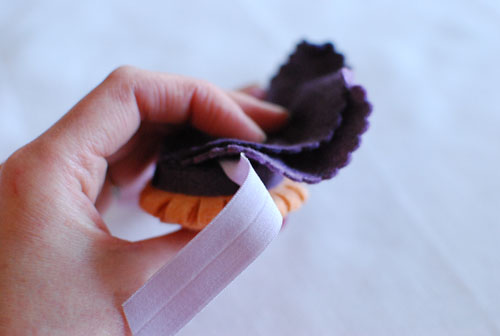
Glue the leaves in place in two places, the top of the leaves to the bottom of the flower, leaving enough space between them to slide the elastic through.
Insert the elastic through the opening.
Knot the ends of the elastic.
variation
To turn the flower into a brooch (not shown):
Omit the elastic.
Glue the leaves to the bottom of the flower.
Sew or glue a brooch pin to the back of the flower/leaf unit.