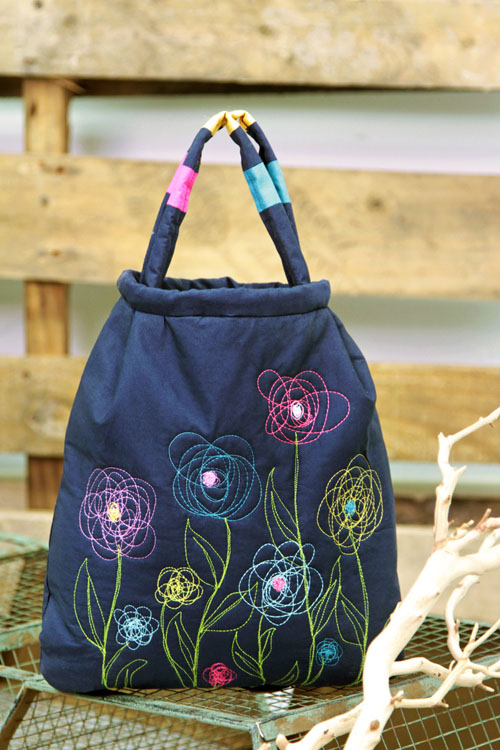
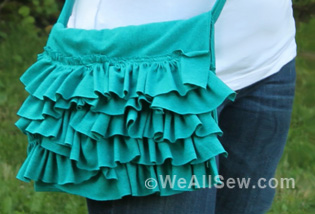
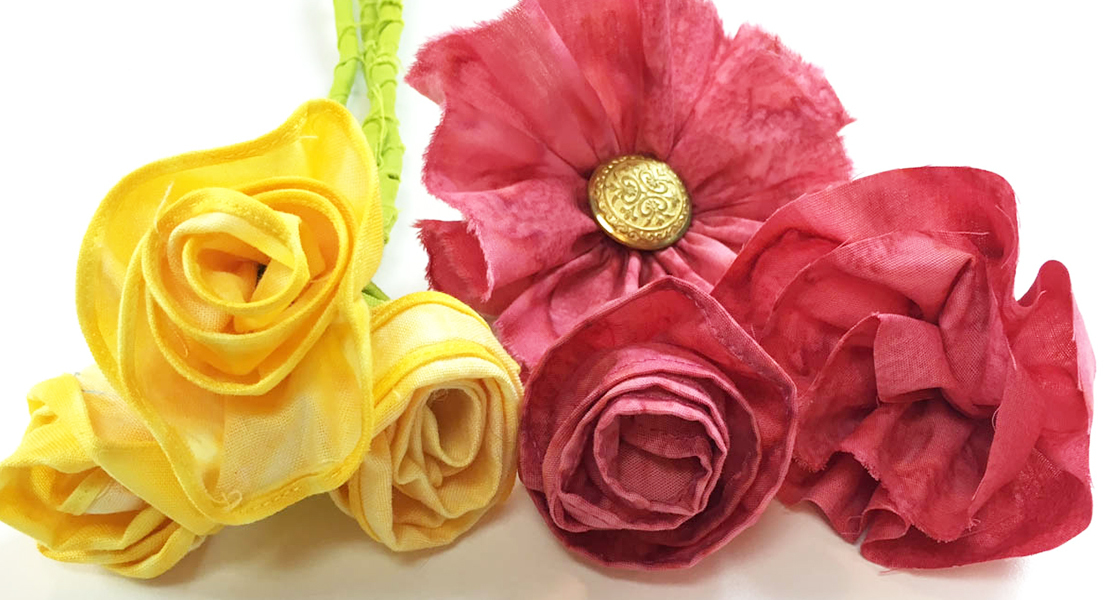
How to Make The Artsy Bag with Free-motion Flowers
Floral impressions meet practicality. Stitch up this special purse and treat yourself to a great fashion add-on, a perfect canvas for free-motion stitching or any type of embellishment. Let your artistic side out of the bag.
Useful has never been so beautiful.
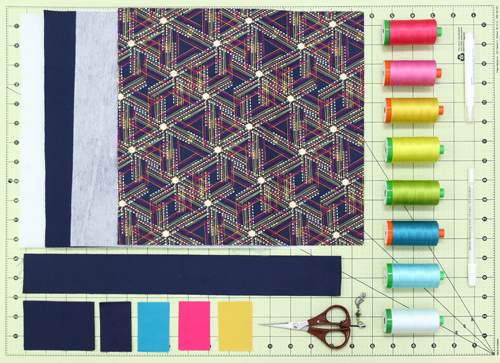
Supplies
- 1/2 yard of main fabric*
- 1/2 yard of lining fabric*
- Pink, yellow, and blue fabric scraps*
- 1/2 yard of quilt batting
- 10” square of non-woven, ultra-lightweight stabilizer
- Eight coordinating spools of thread*
- One button (blue) for closure
- Rotary cutter, mat, and gridded clear acrylic ruler
- Water-soluble marking pens for both light and dark fabrics
- Marking pen eraser
- Fabric shears
- Small plate (for marking curves)
- Freehand sewing foot (BERNINA Darning Foot #9, BERNINA Freehand Quilting Foot #29/29C, or BERNINA Stitch Regulator #42)
- All-purpose presser foot (BERNINA Reverse Pattern Foot #1/1C)
*thread and fabric details
- Main Fabric = Pure Elements #428, “Nocturnal,” from Art Gallery Fabrics.
- Lining Fabric = “Afro Fusion Dusk” from the INDIE Collection by Pat Bravo for Art Gallery Fabrics
- Scraps of Pure Elements from Art Gallery Fabrics
- Yellow = #421, “Honey”
- Pink = #439, “Raspberry Rose”
- Blue = #418, “Tile Blue”
- Aurifil 100% Cotton Thread = colors #1147, #2132, #2479, #2530, #2800, #4182, #5006, and #5015
Step 1) Cut the fabric pieces.
Cut from main fabric:
- Two 12ʺ squares
- Four 2-1/2ʺ x 3-1/2ʺ strips for handles
- One 1ʺ x 4ʺ strip for closure
- Two 2ʺ x 7-1/2ʺ strips for binding
- Eight 1-1/2ʺ x 2-1/2ʺ rectangles for handles
Cut from lining fabric:
- Two 12ʺ squares
Cut from batting:
- Two 12ʺ squares
- One 1ʺ x 12-1/2ʺ strip for handles
- One 3/4ʺ x 14” strip for binding
Cut from scraps, for handles:
- Four 1-1/2ʺ x 2-1/2ʺ pink rectangles
- Four 1-1/2ʺ x 2-1/2ʺ yellow rectangles
- Four 1-1/2ʺ x 2-1/2ʺ blue rectangles
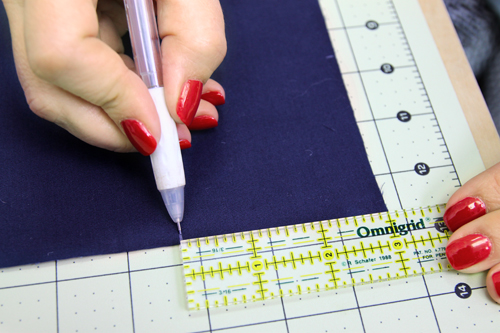
On each of the 12” squares (main fabric, lining, batting):
- Make a mark 3” up from the lower right corner.
- Make a mark 3” to the left of the right corner.
- Make a mark 3” up from the lower left corner.
- Make a mark 3” to the right of the lower left corner.
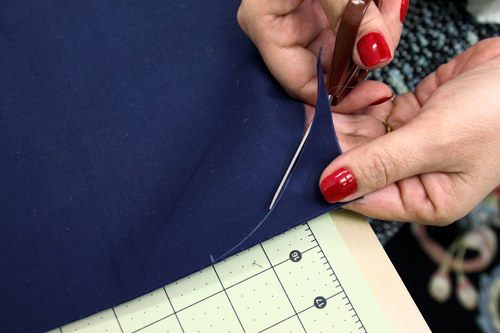
- Using a small plate to create a curve, connect the dots at each corner.
- Cut along the marked curves.

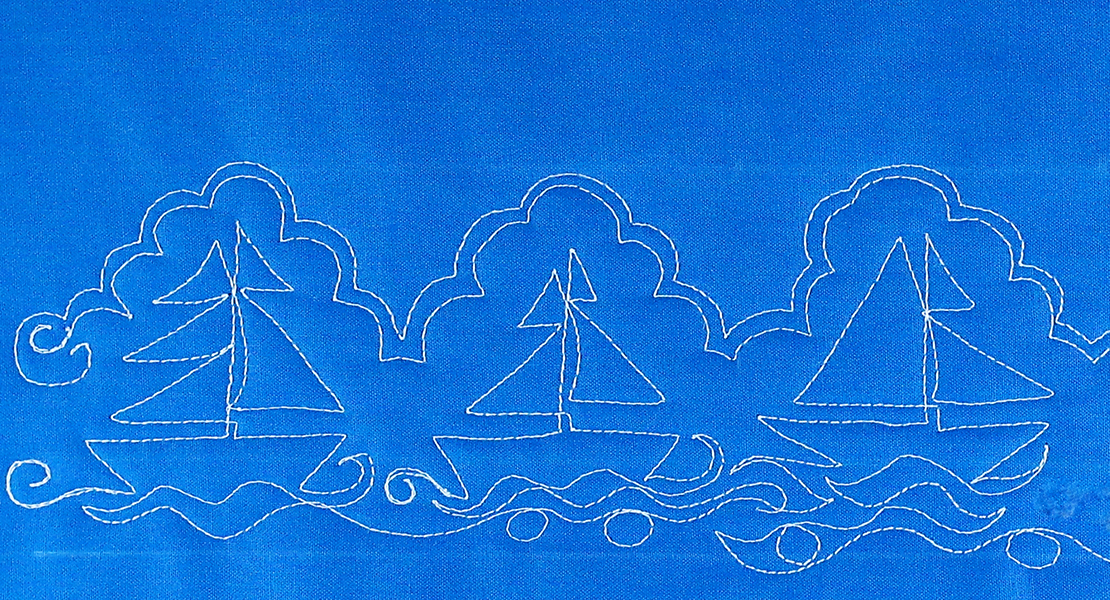
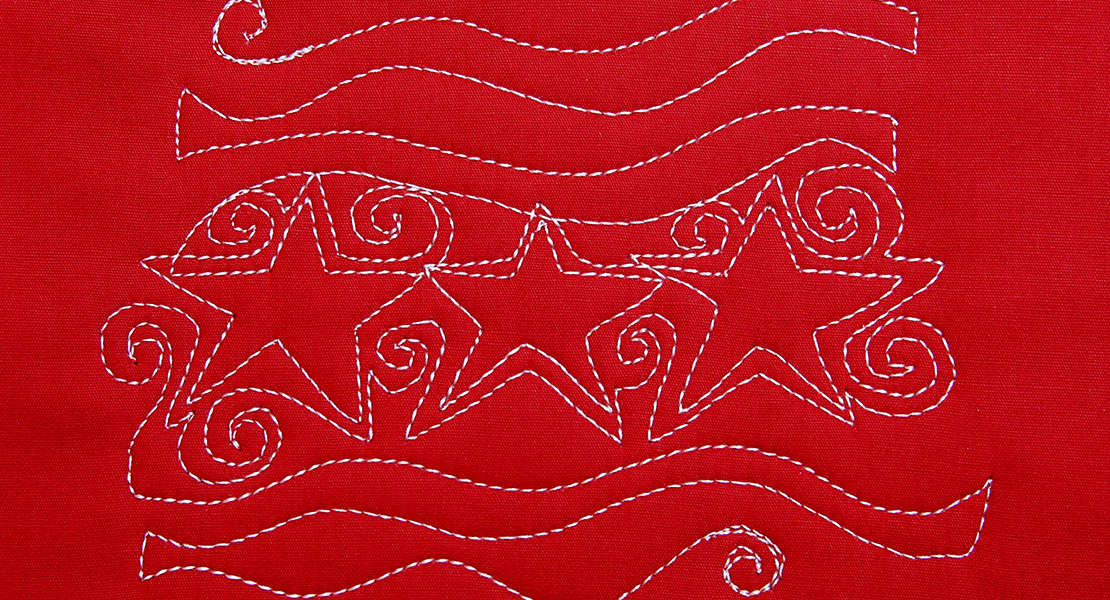
Step 2) Embroider the free-motion flowers.
Layer the fabrics:
- Position the lightweight stabilizer under the batting.
- Position the main fabric on top of the batting.

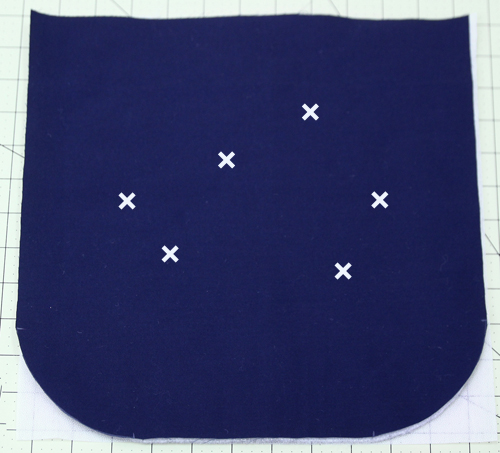
With the white water-soluble marking pen, mark the placement of the flowers on the main fabric. Make sure the dots are visible on the fabric you’ve chosen. They will be removed later.
Thread the machine with your first thread choice for drawing the flowers.
Attach a free-motion foot to your machine.
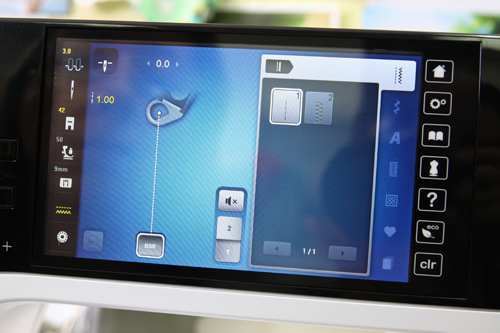
Select the straight stitch (width = 0.0, length doesn’t matter).
Lower the feed dog (see machine manual for instructions).
TIP: Use the BERNINA Stitch Regulator for free-motion stitching; the “eye” of the BSR reads the motion of the fabric and adjust the sewing speed relative to the motion of the fabric, assisting in the production of evenly-spaced stitches even if you’ve never tried free-motion stitching before.
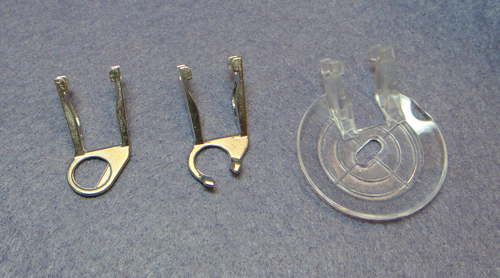
Before installing the BERNINA Stitch Regulator (BSR), select and attach one of its three soles:
- Closed Circle: for detailed free-motion stitching, such as thread-painting and stippling
- Open Circle: for added visibility when following marked lines
- Large Clear Circle: the crosshairs and concentric circles are helpful for outlining and echo-quilting; the large sole works well with thick, poufy batts
After installing the BSR, adjust the stitch length to 1.00 to control the flow of the stitches.
Now comes the fun part!
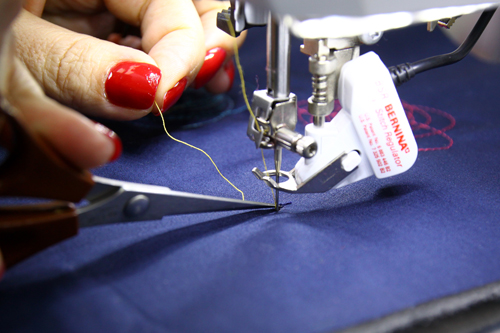
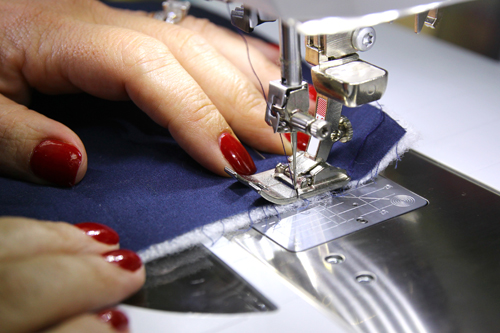
Place the “fabric sandwich” under the presser foot and lower the foot. Take one stitch, then tug on the needle thread to pull up the bobbin thread.
Sew a few stitches close together. Lift the presser foot and cut the thread tails.
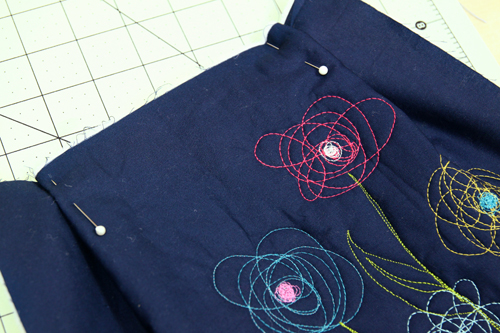
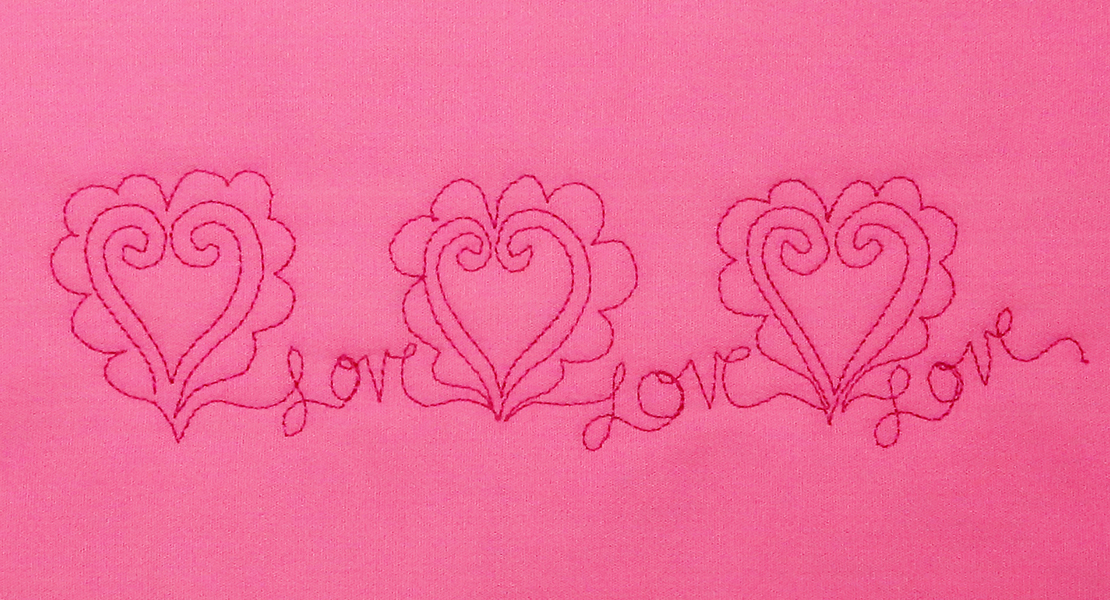
Start free-motion stitching by moving your fabric slowly in circles, going around and over your stitches to form an abstract flower. Keep in mind that for now you are stitching just the flowers, not their stems or leaves.
Add more loops or circles if necessary; the more circles you make, the more complex the flower will look.
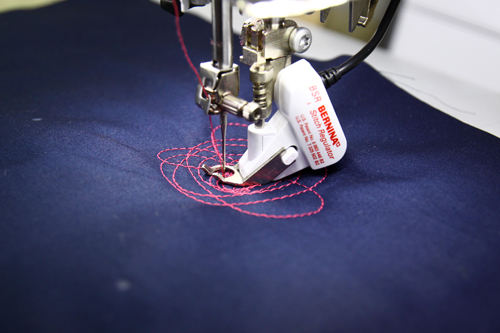
Once you have achieved the desired effect, stop, sew a few stitches in place, then cut the thread.
Tip: To personalize your flowers even more, use different colors for each flower, and then add small, tight circles of contrasting colors in the center of each flower.
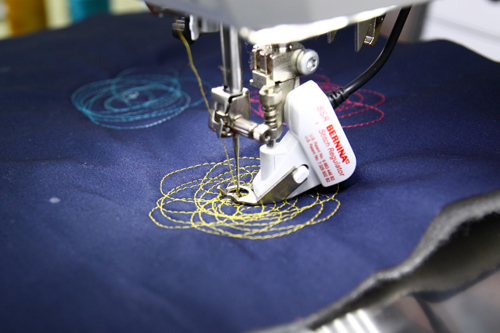
Complete the remaining flowers in the same way, remembering that you’re only working on the actual flowers and not their stems and leaves.
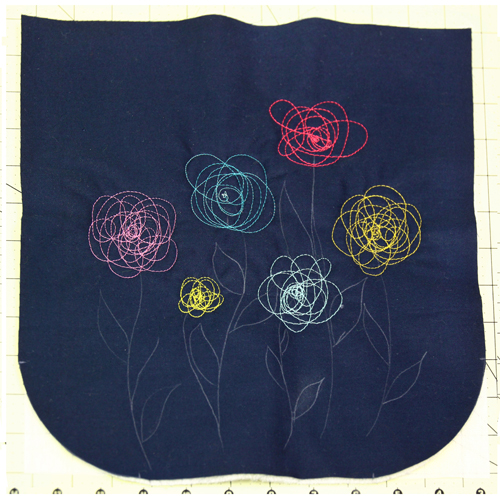
Freehand draw the stems and leaves using a water-soluble fabric marker. Draw loose shapes that will make them look very artistic.
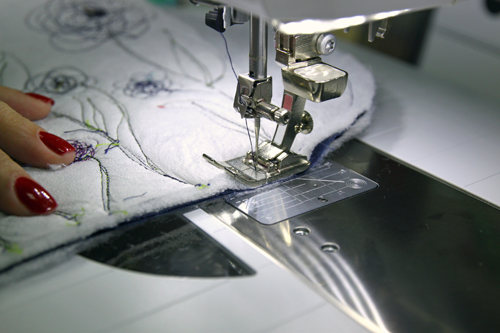
Thread the sewing machine with thread for the stem. Place the fabric sandwich under the presser foot, lower the presser foot, then bring up the bobbin thread as before.
Free-motion stitch the stems and leaves, following the guides you’ve drawn for yourself, going over each line two or three times.
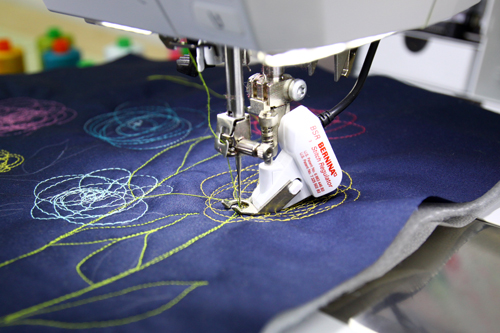
When finished, clip the thread tails.
After completing the stitching, look at the flowers and see if you are pleased with the results. Don’t be afraid to go back in and add a few details here and there, like extra little flowers that spread from other stems.
Remove the markings from the fabric with water or a marker-erasing pen.

Trim the excess stabilizer from the back of the fabric.
Step 3) Assemble the body of the bag.
Take one of the 12ʺ main fabric squares; make a mark 3ʺ from each upper corner. Repeat for the second lining piece.
Bring the marks together to form a pleat; pin. The upper edge should now measure 8ʺ across. Repeat for the second piece.
Secure the pleats with a basting stitch 1/8ʺ from the raw edge.
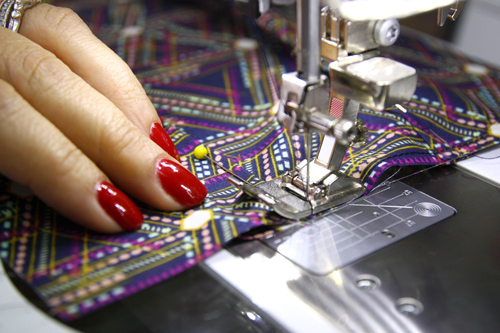
Place the two pieces right sides together. Stitch with a 1/2ʺ-wide seam allowance around both sides and the bottom edge, backstitching at the beginning and end.
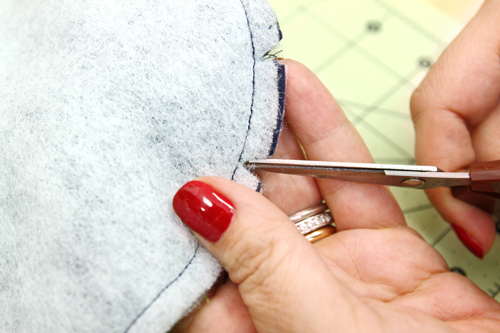
 Make four notches in the seam allowances of each rounded corner, being careful not to cut through the stitches.
Turn right side out, opening the seam allowance using your fingers. Press if needed.
Take one of the 12ʺ lining squares; make a mark 3ʺ from each upper corner. Repeat for the second piece.
Bring the marks together to form a pleat; pin. The upper edge should now measure 8ʺ across. Repeat for the second piece.
Secure the pleats with a basting stitch 1/8ʺ from the raw edge.
Place the two lining pieces right sides together. Stitch with a 1/2ʺ-wide seam allowance around both sides and the bottom edge, backstitching at the beginning and end.
Notch the seam allowances of the rounded corners.
Turn lining right side out, opening the seam allowances using your fingers. Press if needed.
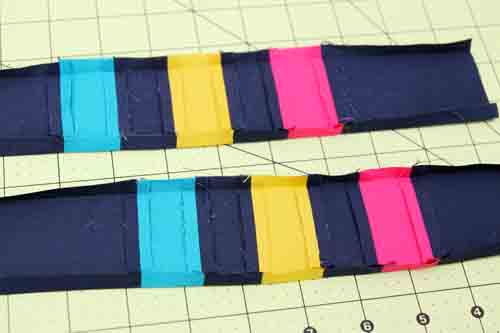
Step 4) Construct the handles.
Take the fabric pieces for the handles and lay them out as shown in the photo.
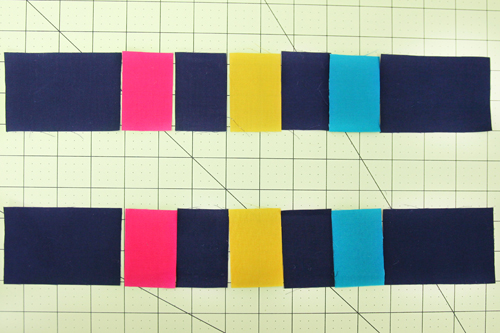
Stitch the pieces together using 1/4ʺ-wide seam allowances, to create two handle strips. Press seam allowances open.
Fold under 1/4ʺ along each long edge of each strip; press.
Place a 1ʺ x 12-1/2ʺ batting strip in the middle of each handle fabric strip.
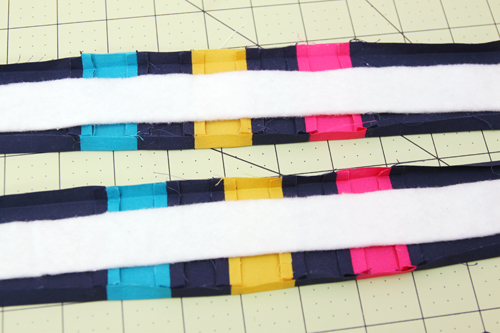 Fold each strip in half lengthwise, aligning the folded edges.
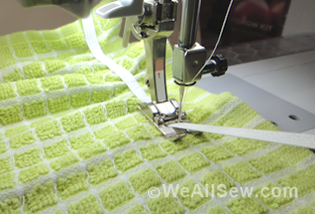
Topstitch 1/8ʺ from the edge, enclosing the batting.
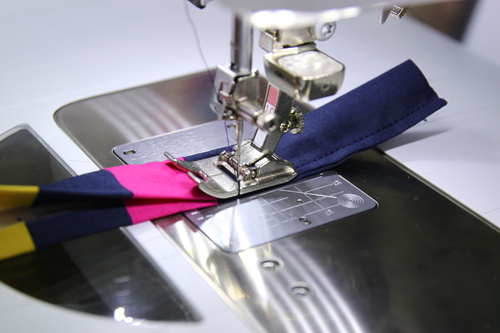
Trim away excess batting and threads.
Step 5) Assemble the bag.
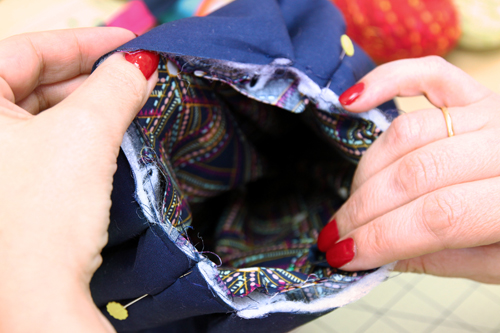
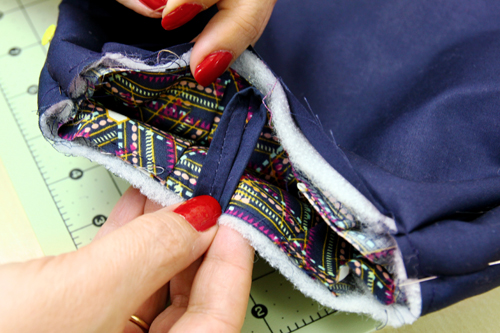
Place the lining (wrong side out) into the main bag piece (right side out), with right sides together, aligning the side seams.
With seam allowances open, pin the lining to the bag along the upper edge.
To make the loop closure, fold the 1ʺ x 4ʺ fabric strip in half lengthwise; press to crease. Unfold. Fold the raw edges in to the center and press. Refold along the original crease line. Topstitch 1/8ʺ from the long edge.
Make a mark at the center of the upper edge of one lining piece for the button loop closure placement.
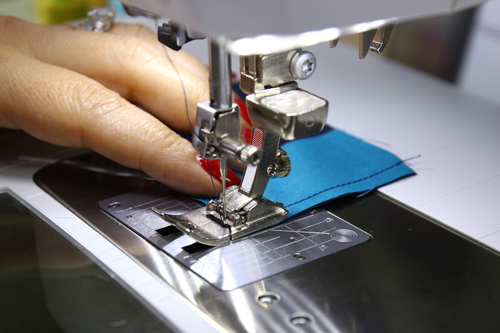
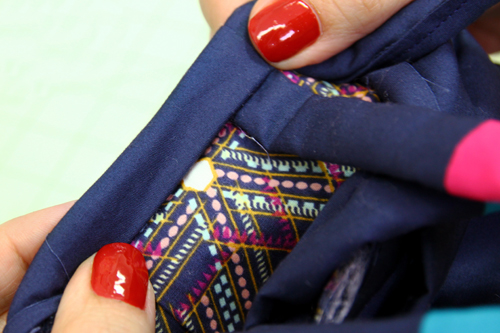
Fold the loop strip in half and pin it to the marked center of the lining, matching raw edges, as shown in the photo.
Place one of the handles inside the bag, with the center at the bottom of the bag and the handle edges at the upper edge of one lining section.
Align the outer edge of each end of the handle with the bag side seam.
Align the raw edges at the ends of the handle with the raw edges at the upper edge of the bag. Pin handle ends in place.
Repeat for the second handle, placing it on the opposite bag lining piece.
Stitch around the entire upper edge of the bag with a 1/2ʺ-wide seam allowance, removing pins as you go, securing the handles and loop closure in the stitching.
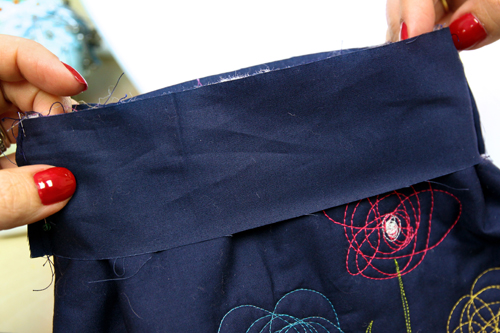
Place the two 2ʺ x 7-1/2ʺ strips of fabric right sides together. Sew the short ends together with a 1/4ʺ-wide seam allowance.
Place the band around the top of the bag, right sides together with the outside of the bag, aligning the side seams and raw edges. Pin.
Change the stitch settings of your machine to
- Straight stitch
- Stitch length = 2.50 mm
- Needle position = 2 steps left of center

Working from inside the bag, stitch the binding band to the bag, aligning the center of the foot with the previously stitched seam.
TIP: Stitching slightly to the left of the previous seam ensures that it will be completely covered when the binding is wrapped around the edge.
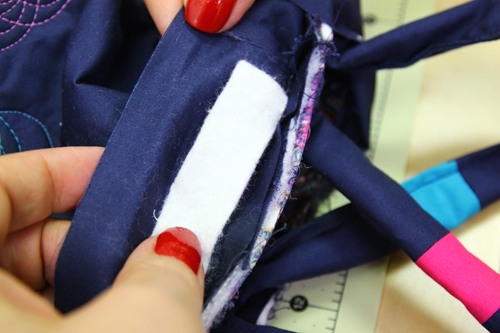
Place the 14ʺ-long batting strip around the upper edge of the bag, between the seam allowances and the binding strip.
Fold under 1/2ʺ along the outer edge of the binding strip.
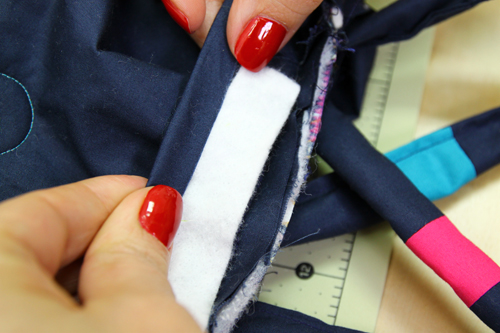
Fold the binding strip under again, encasing the batting and the seam allowances.
Sew the binding in place by hand.
Sew the button opposite the loop, slightly below the center of the upper edge of the bag.
For the original PDF version of this project click HERE: The_Artsy_Purse_by_Pat_Bravo_for_WeAllSew.pdf
Visit Pat Bravo at her Soulful Eyes blog: http://patbravodesign.blogspot.com/


What you might also like


10 comments on “How to Make The Artsy Bag with Free-motion Flowers”
-
-
Pingback: Free Quilt Pattern: The Artsy Bag
-
Is it necessary to use a hoop when doing the embroidery? I’ve watched free motion embroidery videos and they show a hoop bring used.
-
Hello Carmen, the technique used for this project is called free motion stitching or quilting, and you do not need to use a hoop. Embroidery hoops are commonly used in the technique of machine embroidery. If you’d like to learn more about the free motion stitching technique, you can search here at WeAllSew for more tips and tutorials on the technique.
-
-
When I first saw the picture I thought it was a summer denim skirt. I could see this technique working on that as well. What a nice project.
-
Aww thank you so much, I’m glad you liked it ☺
-
Leave a Reply
You must be logged in to post a comment.

“Sew” Cute! Can’t wait to make it! Thanks for posting.