How to Make Your Own Trick-or-Treat Bags
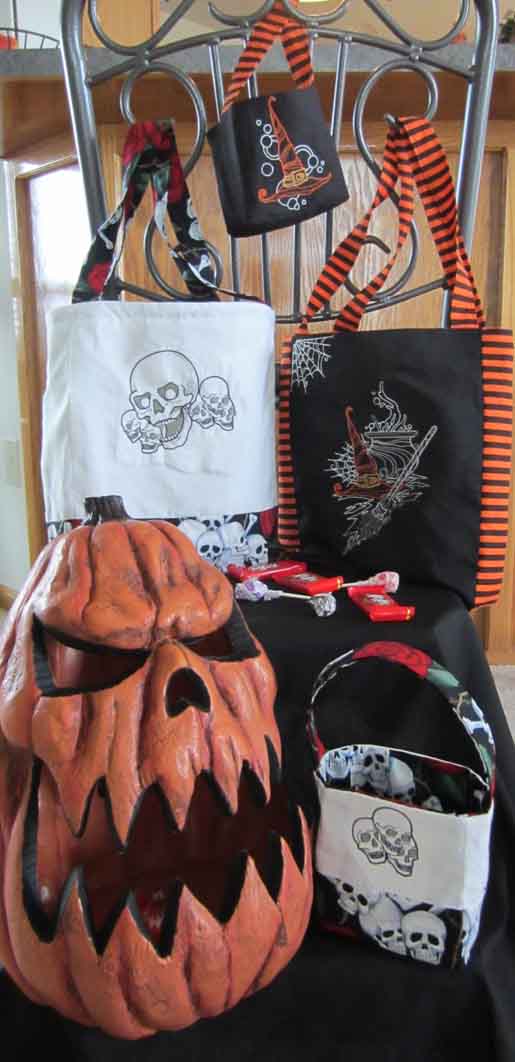
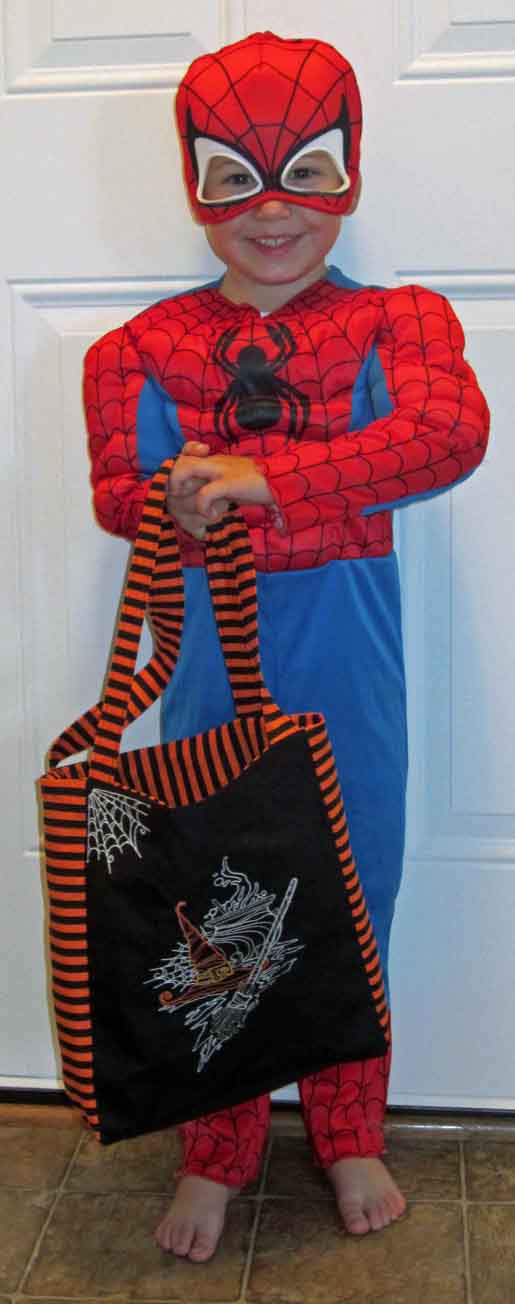
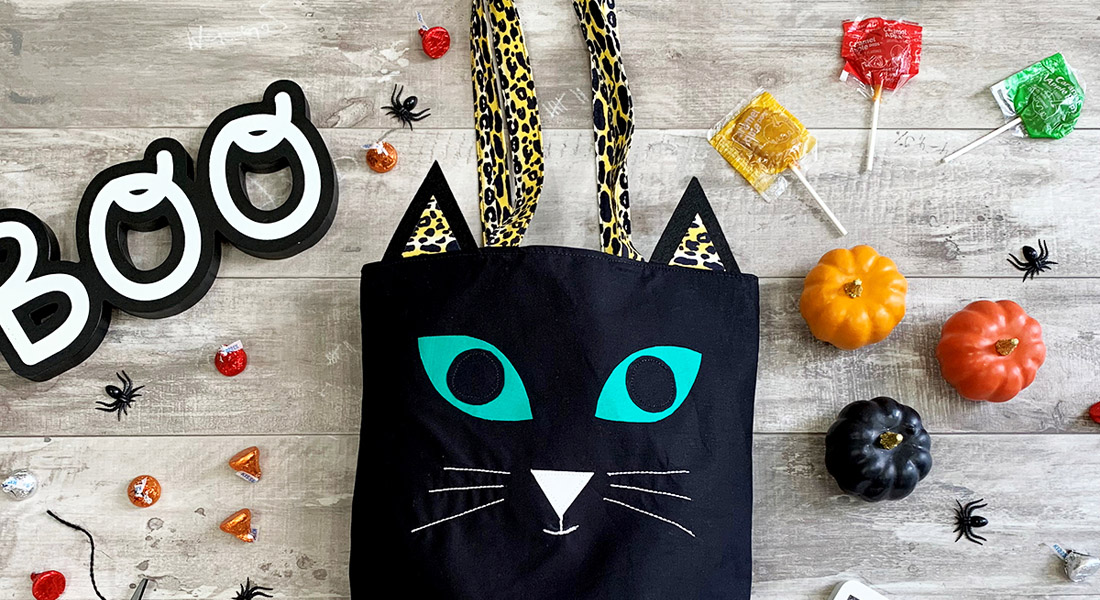
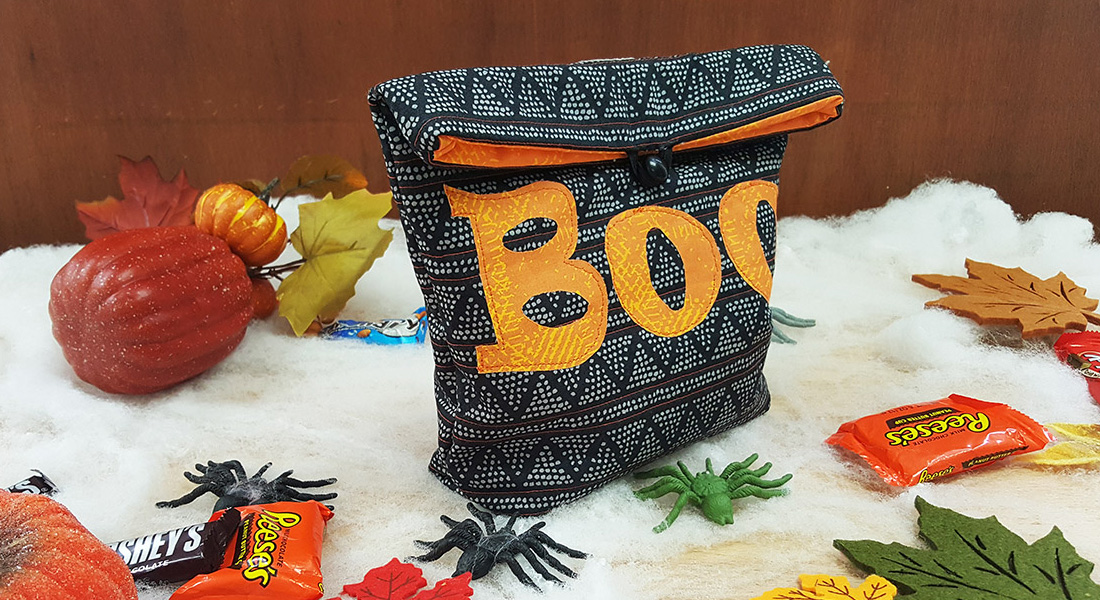
Send your little one off to celebrate Halloween in style with these easy-to-sew, fun-to-make Trick-or-Treat bags. Spook them up with seasonal embroidery and use glow-in-the-dark embroidery thread for maximum effect. Need something a bit smaller for a party favor or gift bag? Then stitch up a cute mini version!
Supplies
- 1/2 yard of fabric for the bag
- 1/2 yard of fabric for the bag lining
- 1/2 yard of fabric for contrast band and handle (optional)
- 1 yard heavyweight interfacing (optional)
- Scissors and/or rotary cutter and mat
- Ruler
- Water-soluble marker or tailor’s chalk
- Hand-sewing needle
For optional embroidery
- OESD “All Hallows’ Eve” embroidery collection #12313
- OESD HeavyWeight Cut-Away interfacing
- Isacord embroidery thread in desired colors
- Glow-in-the-dark embroidery thread
Step 1) Cut the fabric pieces.
Download and print the cutting guide. Halloween_Bag_Cutting_Chart_-_121814.pdf
Cut a front, back, two sides, and base from the bag fabric following the cutting guide.
Cut a front, back, two sides, base, and two straps from the lining fabric following the cutting guide.
Optional: Cut a front, back, two sides, base, and straps from the interfacing following the guide.
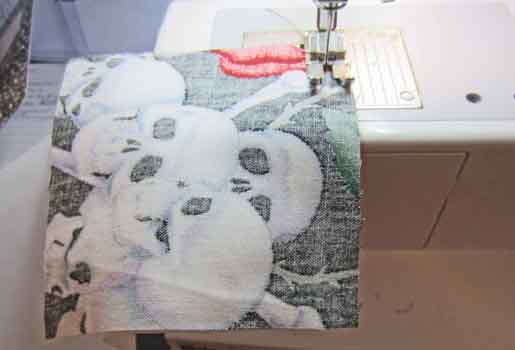
Step 2) Embroider the front panel.
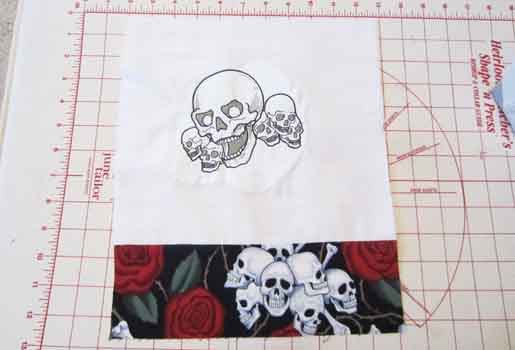
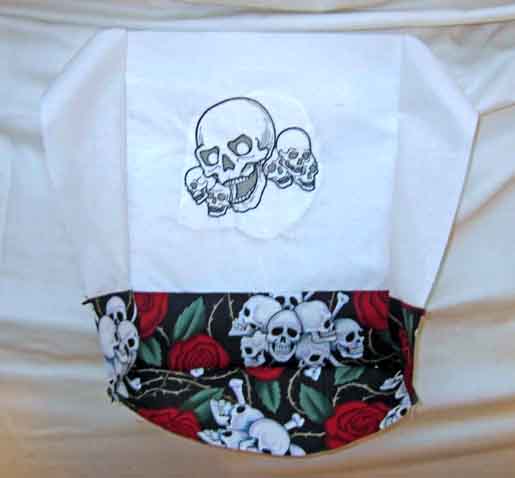
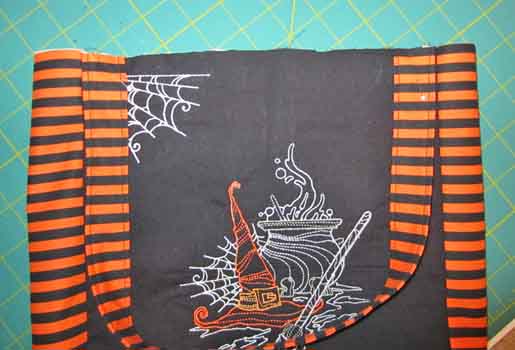
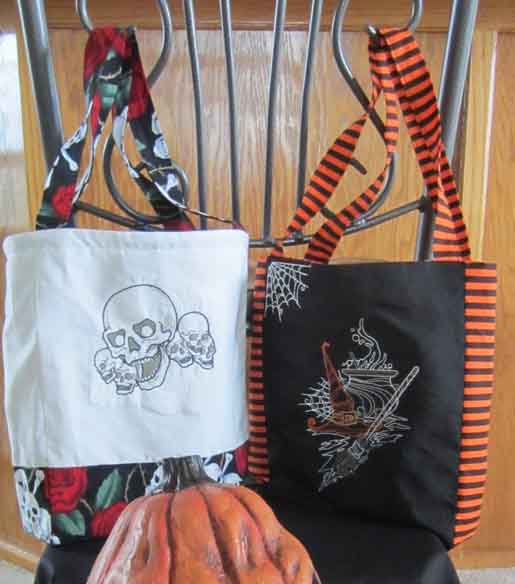
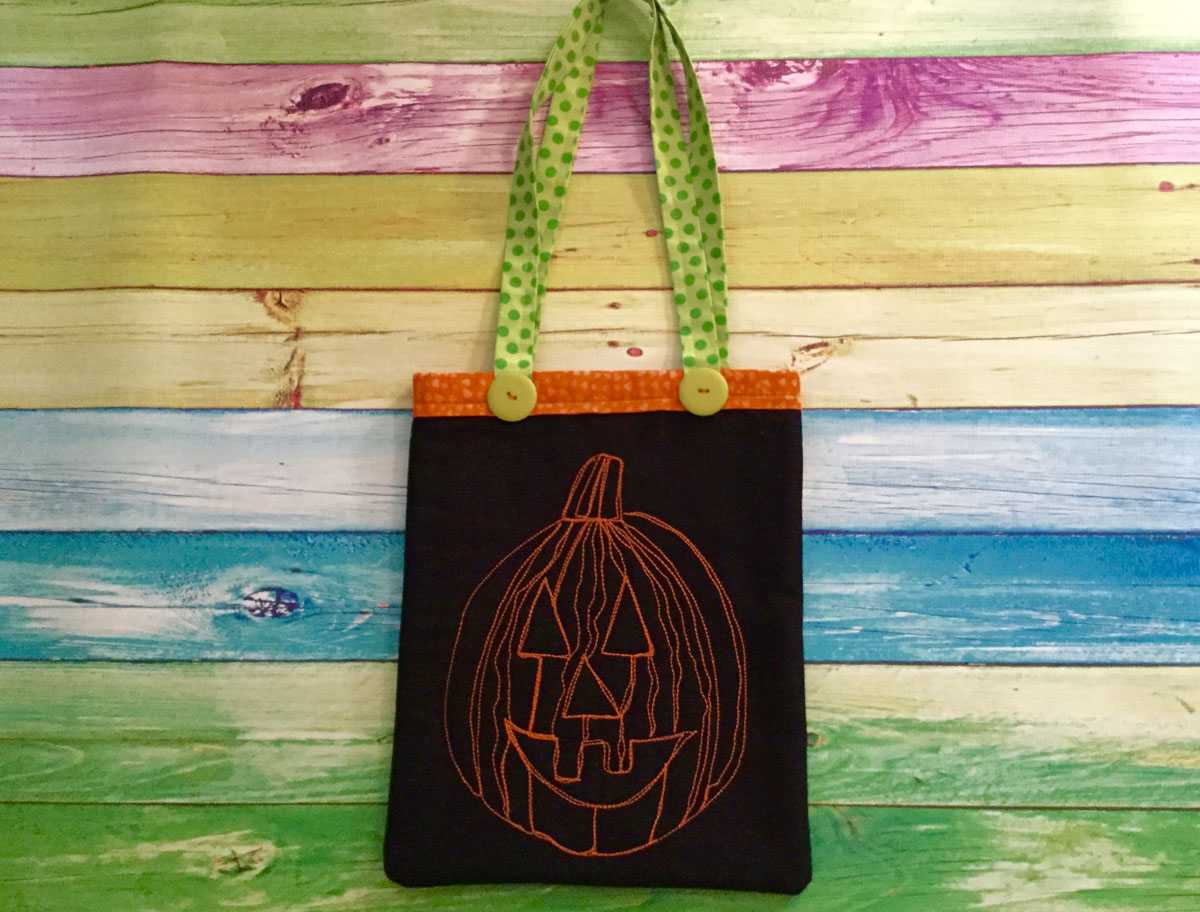
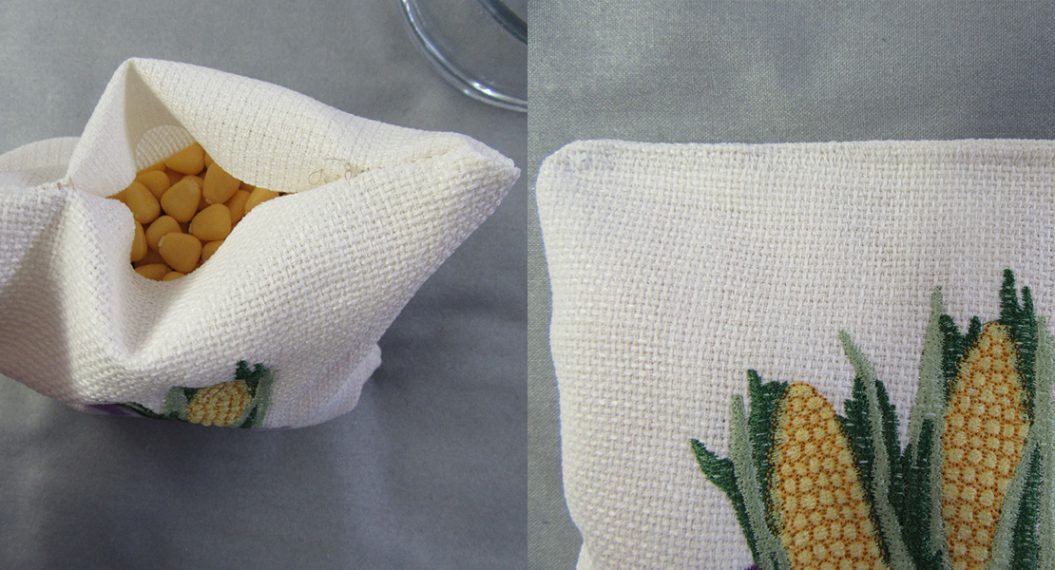
Embroider the bag fronts as desired using designs from OESD’s “All Hallow’s Eve” pack #12313. (Optional)
- Large Bag 1—Scary Skulls #HG556_48
- Large Bag 2—Witch’s Tools #HG543_48
- Mini Bag 1—Witch’s Hat #HG540_48
- Mini Bag 2—Scary Skulls Root 1 #HG557_48
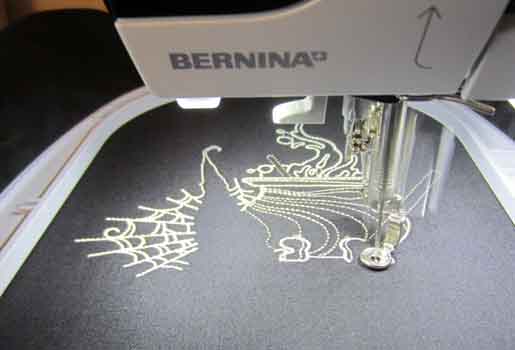
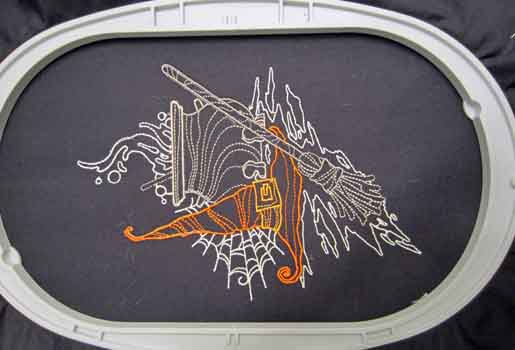
Glow-in-the-dark thread was used to “highlight” areas to be seen with the lights turned off. No special machine needles were needed to use this thread.
Note that hot irons should be kept away from the glow-in-the-dark areas, as the thread will melt. Consequently, it’s a good idea to interface your fabric prior to embroidering to keep heat contact to a minimum. To activate the thread, simply hold it to a bright light, then turn off the lights!

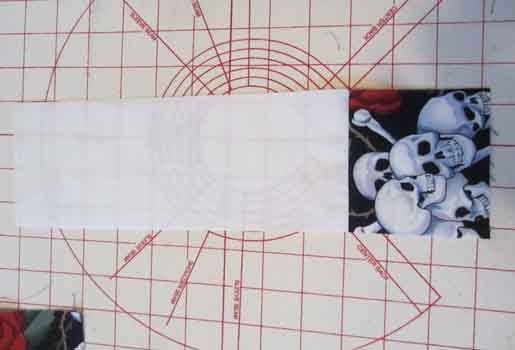
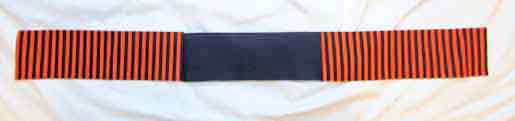
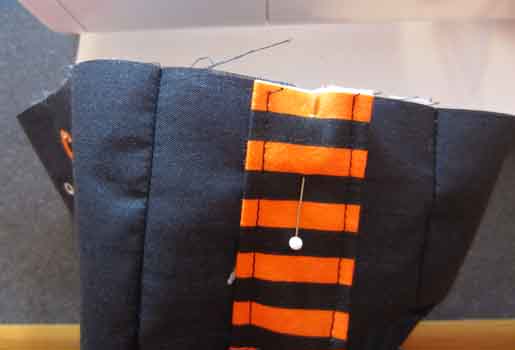
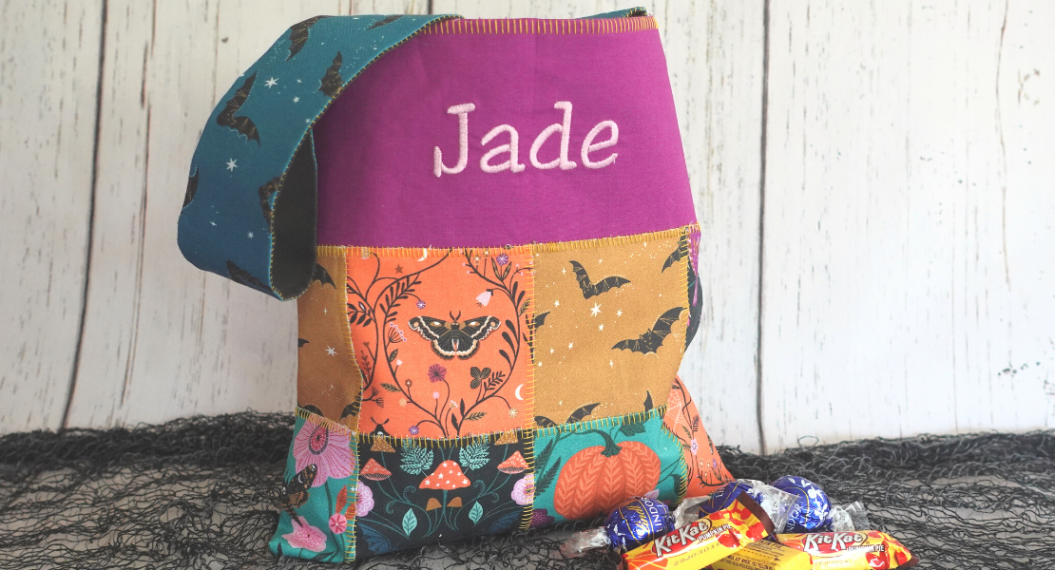
Step 3) Make the contrast panels (contrast bags ONLY).
Sew the bag upper front panel and the contrast lower front panel together, right sides together, using 1/2ʺ seam allowances. Press. The finished size will be 10-1/2ʺ x 12-1/2ʺ for a large bag or 5ʺ x 5ʺ for a mini bag.
Repeat for the upper and lower back panels.
Sew one upper side panel to a contrast lower side panel, right sides together. Press. The finished size will be 12-1/2ʺ x 3-1/2ʺ for a large bag or 5ʺ x 3-1/2ʺ for a mini bag.
Repeat for the second set of side panels.
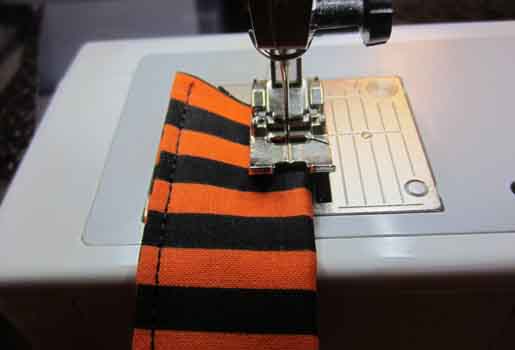
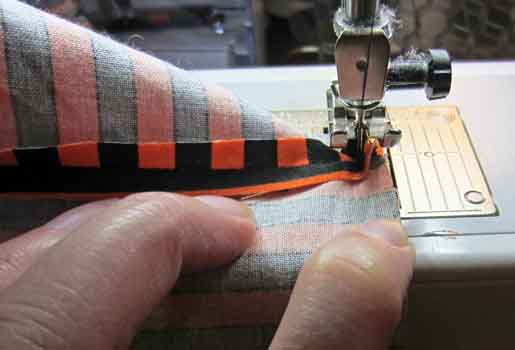
Step 4) Make the straps.
Fold 1/2ʺ to the wrong side along each long edge of the strap pieces; press.
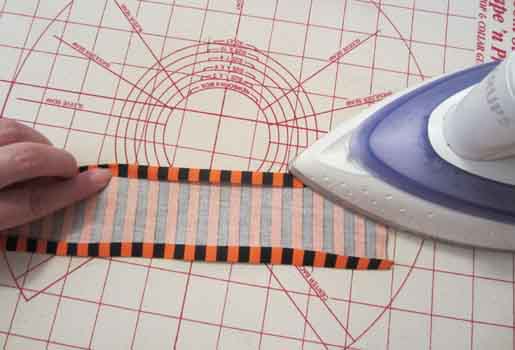
Fold each strap in half lengthwise, wrong sides together, making sure the finished edges are even.
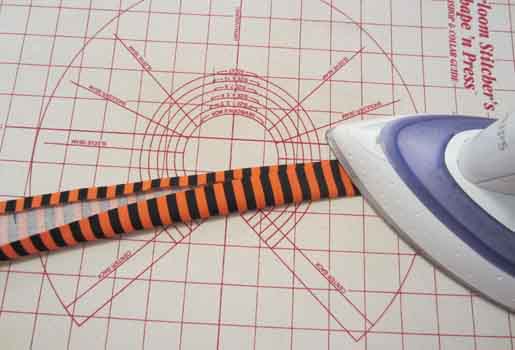
Stitch along the long edges of each strap, 1/8ʺ from the finished edge.
Set straps aside.
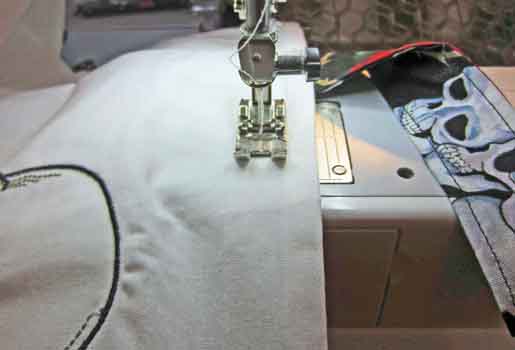
Step 5) Construct the bag (all views).
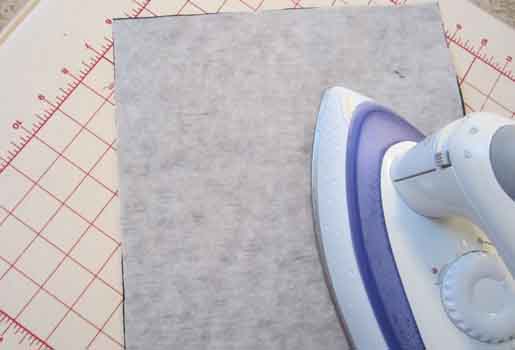
If you are interfacing your bag, fuse the interfacing to the wrong side of the front, back, sides, base, and strap(s) following the manufacturer’s instructions. If making the contrast bag variation, stitch the contrasting pieces together first, then apply the interfacing.
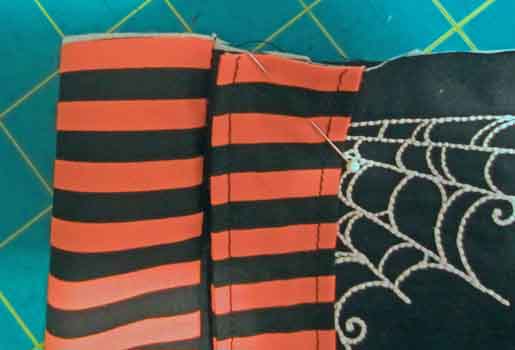
With right sides together, attach the short ends of the bag sides to each end of the bag base, creating a long strip.

Safety Tip: Concerned about trick-or-treat safety? Add a strip of reflective tape to the bag sides before attaching them to the main panels.
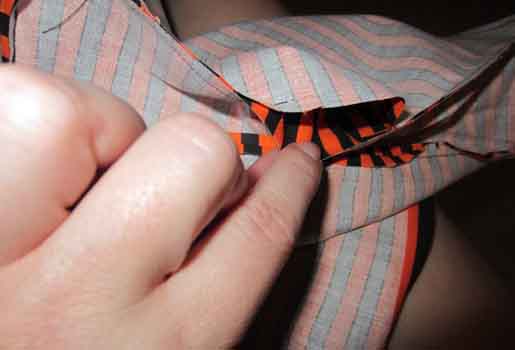
With right sides together and raw edges even, attach the side/base strip to the front bag panel. If using contrast panels, also match the contrast panel seams.
- Sew the side strip to the bag, stopping 1/4ʺ from the bottom edge. (If you sew with the side strip on top, this mark falls on the side/base seam.)
- Leaving your needle down in the fabric, raise the presser foot and pivot your bag and side strip. Lower the presser foot and continue sewing.
- Stitch the bottom edge of the bag, stopping 1/4ʺ from the bottom edge.
- Leaving your needle down in the fabric, raise the presser foot and pivot your bag and side strip again.
- Lower the presser foot and continue sewing until the side is attached to the panel.
Attach the side/base piece to the bag back panel, aligning the raw edges and matching the contrast panel seams.
Step 6) Attach the straps and lining.
With right sides together, baste the strap(s) to the bag.
- For the large bag: Place the edge of one strap on the front of the bag, butting the edges along the side seams and matching the raw edges. Repeat, basting the second strap to the bag back.
- For the mini bag: Center the strap ends on the bag sides, aligning the raw edges.
With right sides together, attach the short ends of the lining sides to the ends of the lining base, creating a long strip.
With right sides together, attach the lining sides/base to the lining front panel, aligning raw edges.
Attach the lining sides/base strip to the lining back panel, aligning raw edges. Leave a 3ʺ opening along one side for turning the bag right side out later.
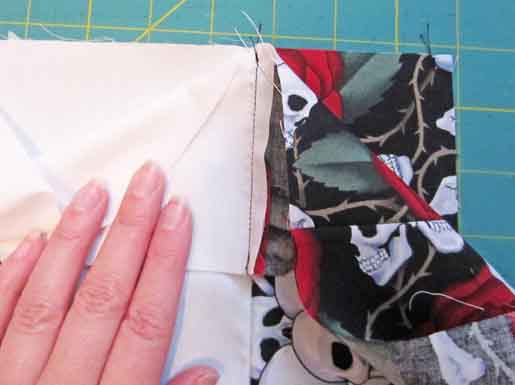
Turn the outer bag inside out. With right sides together, place the outer bag inside the bag lining.
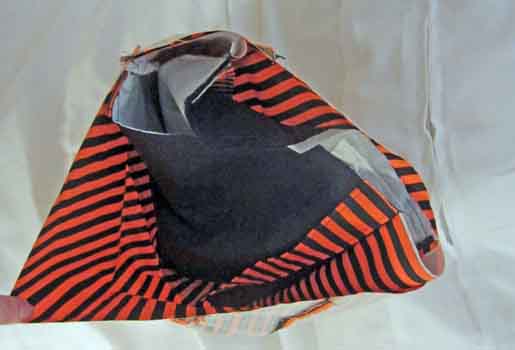
Pin, matching seams and raw edges.
Sew around the upper edge of the bag.
Turn the bag right side out through the opening in the lining.
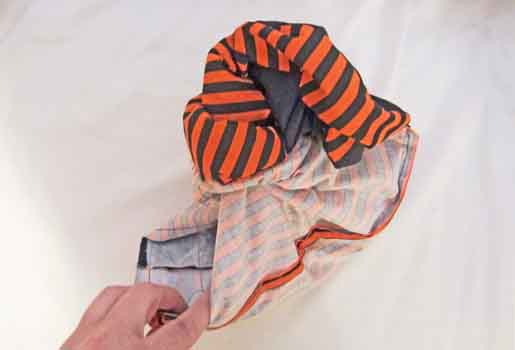
Push out all edges and corners. Press.
If desired, stitch 5/8ʺ away from the upper edge of the bag.
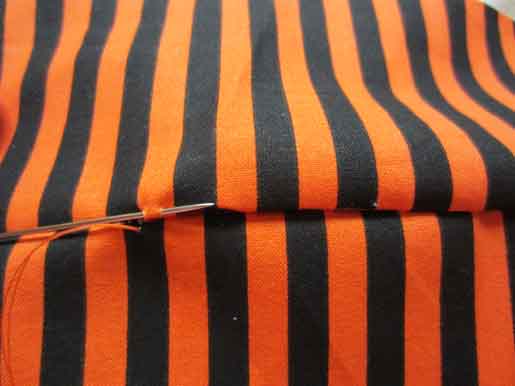
Using a hand sewing needle and matching thread, slipstitch the opening in the lining closed.


4 comments on “How to Make Your Own Trick-or-Treat Bags”