Sew Your Own Hammock

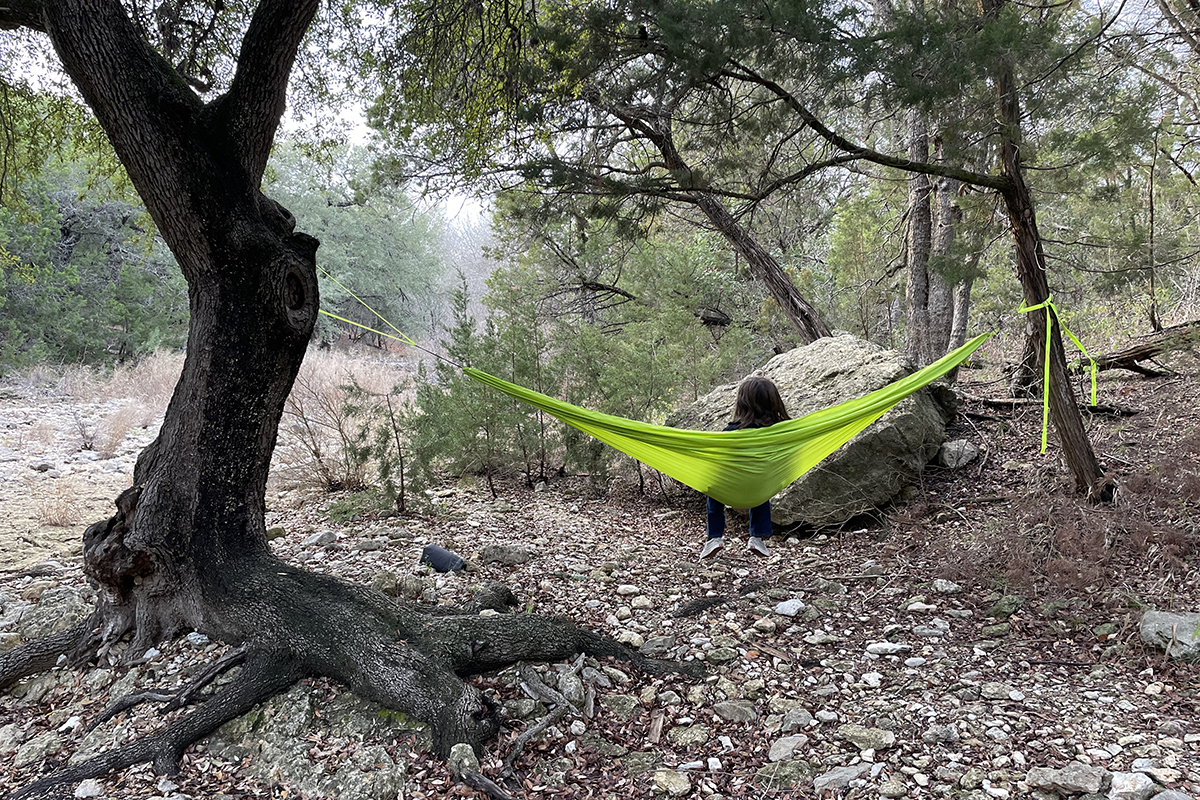
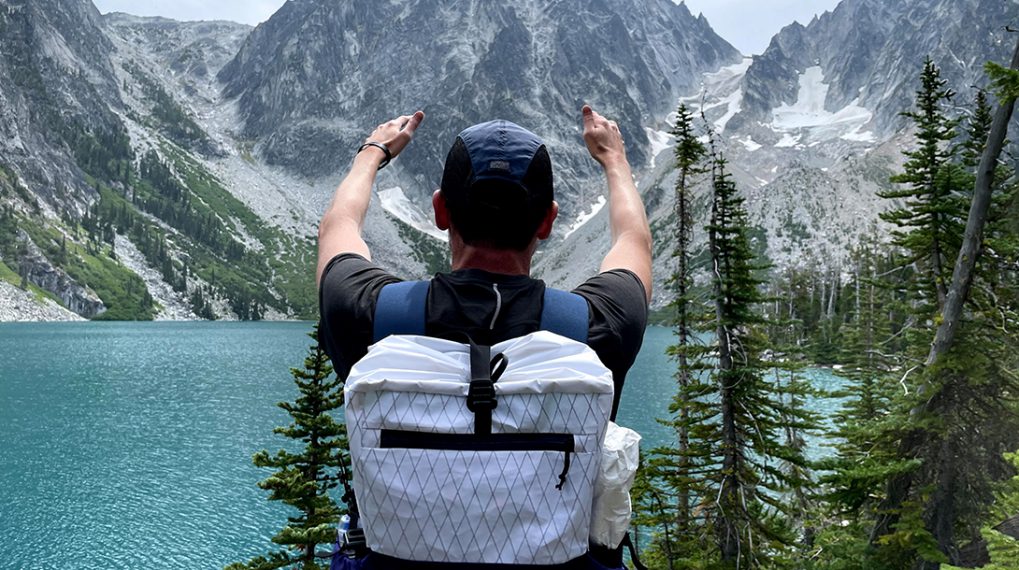
Being outdoors and hiking is one of my favorite activities. I often hike our greenbelts in Austin, but one of my favorite times of year is the spring. After the rains, the dry creek beds in Austin’s greenbelts will flow freely with spring-fed water and create a number of natural swimming holes. It’s very common for folks to hang a hammock by the creeks and read a book.
I had looked into getting some ultra-light hammocks for the hikes with my family, but after discovering the Make Your Own Gear (MYOG) community, I realized I could easily make them using the hammock kit from Ripstop by the Roll. They offer a wide selection of outdoor fabrics to make your own gear.
This is a great project for beginners. The seams are all straight and the most advanced part is backtacking, but the fabric is a bit slippery.
For this project, I used my bernette 05 ACADEMY. This machine is great for making my own gear because it has great penetration power, sews quick, has a turtle speed (great for sewing packs), and is my favorite machine for making gear.
Machine Featured:
Supplies to Sew Your Own Hammock:
I chose the uncalendared, 1.0-ounce HyperD as it is lightweight, strong and breathable. The kit from Ripstop by the Roll included 4 yards of fabric, 5’ of 7/64” Amsteel cording, 2 cinch buckles, a 3” drawcord and cord locks (for a stuff sack).
- 4 yards of fabric from the kit
- 5’ of 7/64” AmSteel Cording
- A strong thread, I have two recommendations:
- Gutermann Tera 80, using a 90/14 needle
- In this project, I’m using a neon Gutermann Mara 50 thread for some fun contrast. It’s totally overkill but neon is always fun! I’m using a 100/16 topstitch needle.
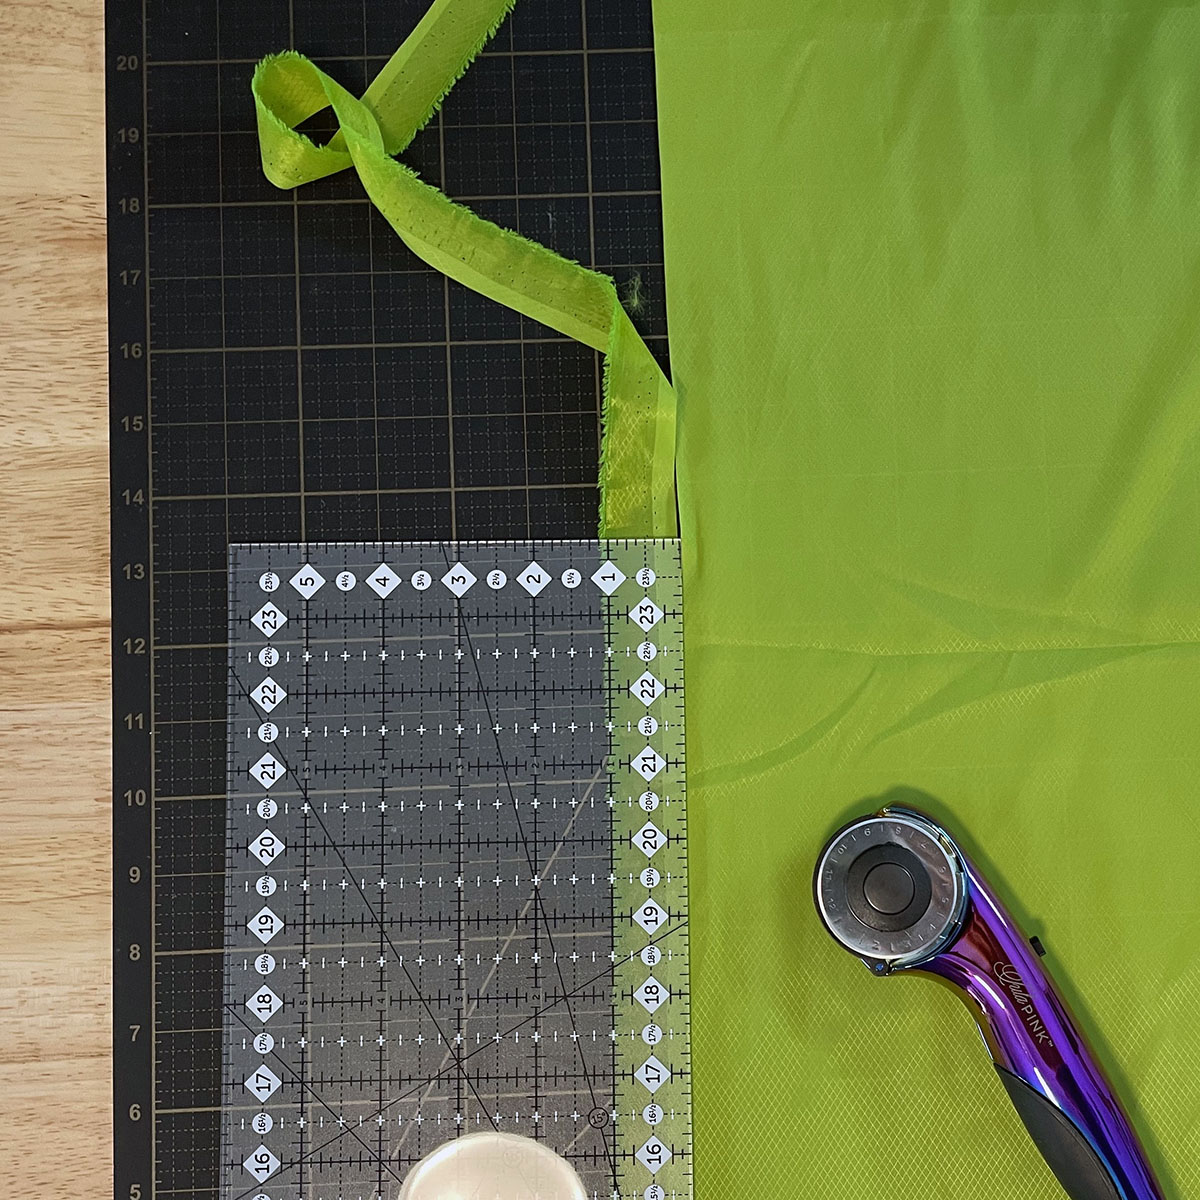
- Rotary Cutter
- Ruler
- Self-healing Mat
- Optional: Clips (short and long)
- Knitting needle & tape or tool to thread cord through the hammock channel
Let’s get ready for our hike to relax!
Step 1: Prepare your Fabric
The 4-yard length of fabric makes an 11-foot hammock. If you wanted a shorter hammock, shorten it 1 foot for every foot shorter you would like your hammock to be. I find the 11-foot length is fine and I’m a short person. My husband who is over 6’ finds it comfortable as well. It’s a good all-around size.
If you are not making your hammock shorter, the only prep we will do with this fabric is to trim the selvedges. This is a strong durable fabric, so be sure to use a sharp rotary blade when cutting your selvedges. I trimmed just enough, which was about 1”.
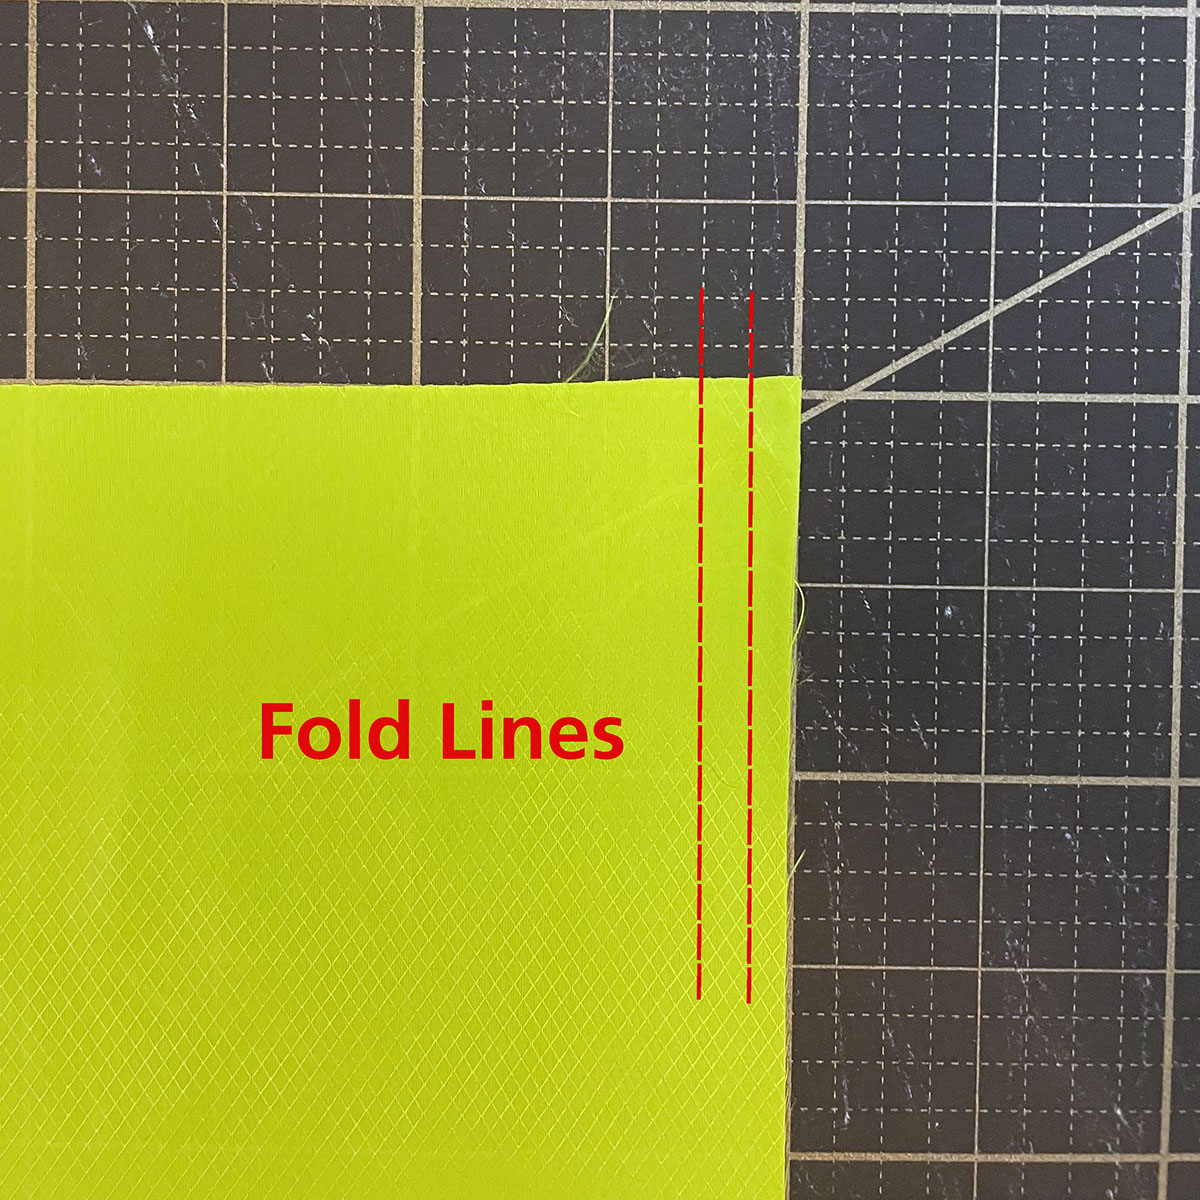
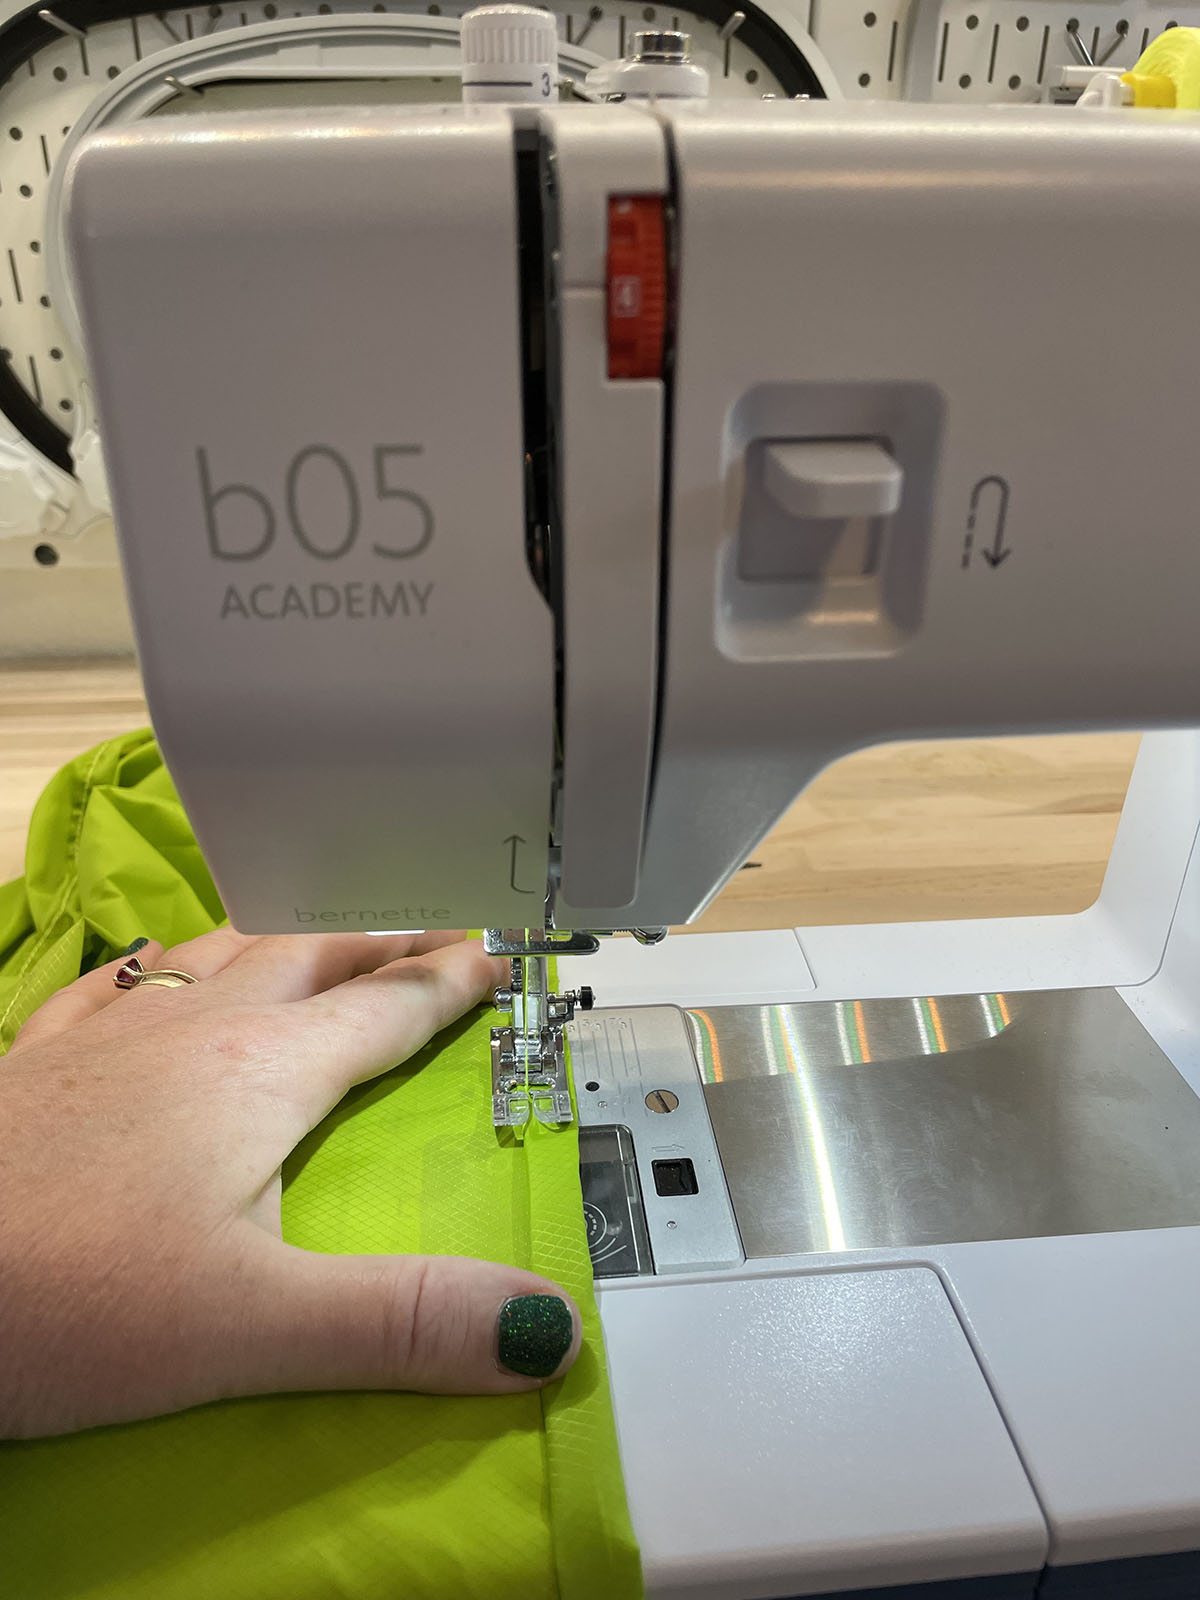
Step 2. Sew Side Hems
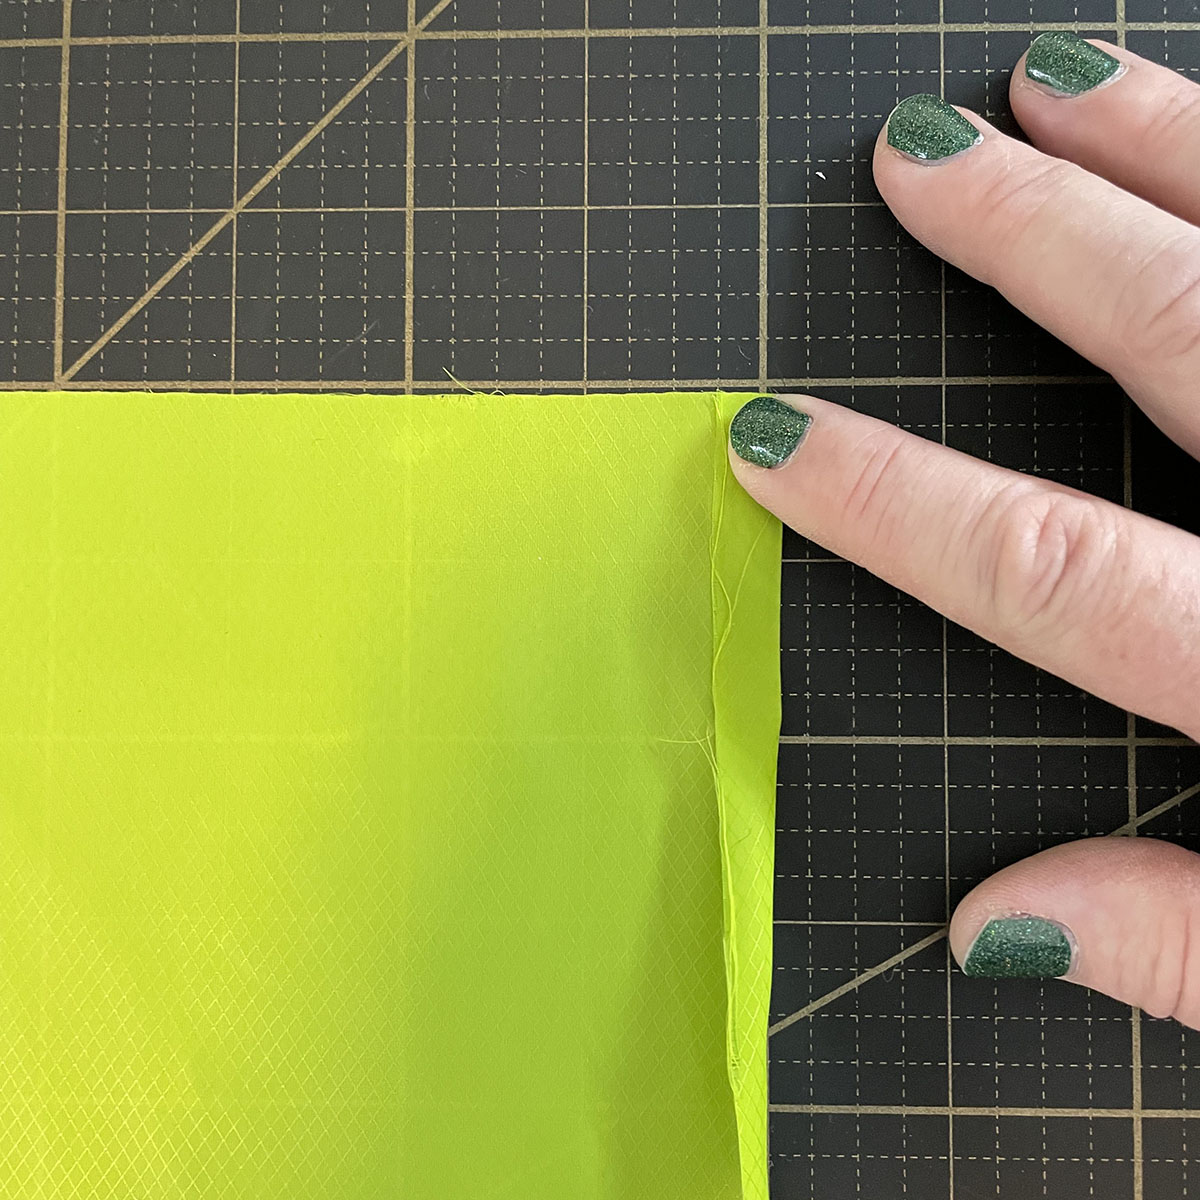
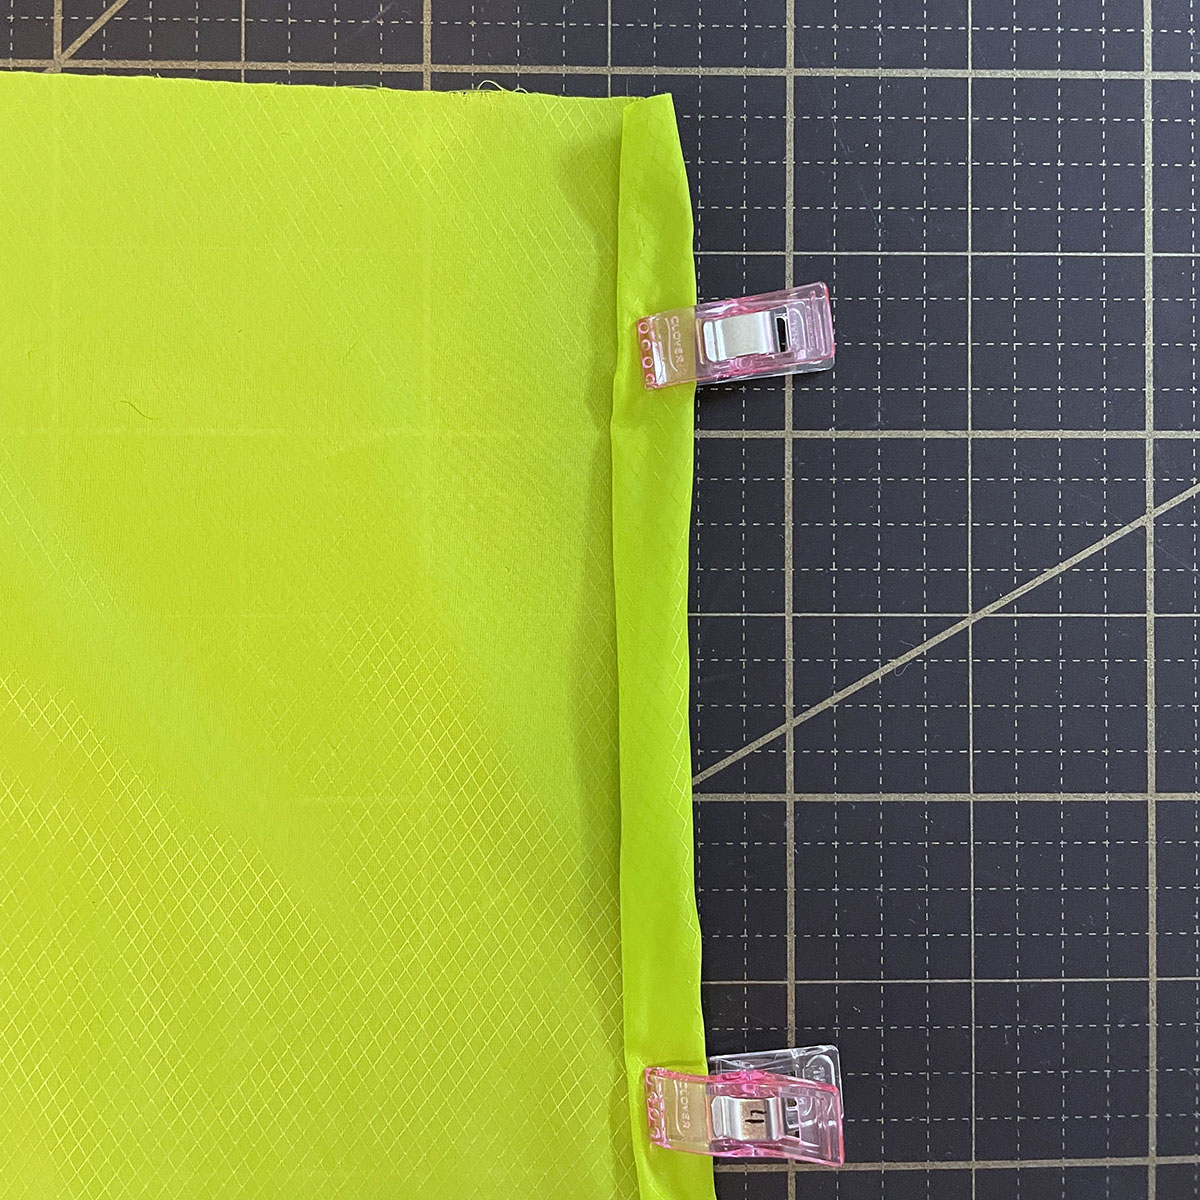
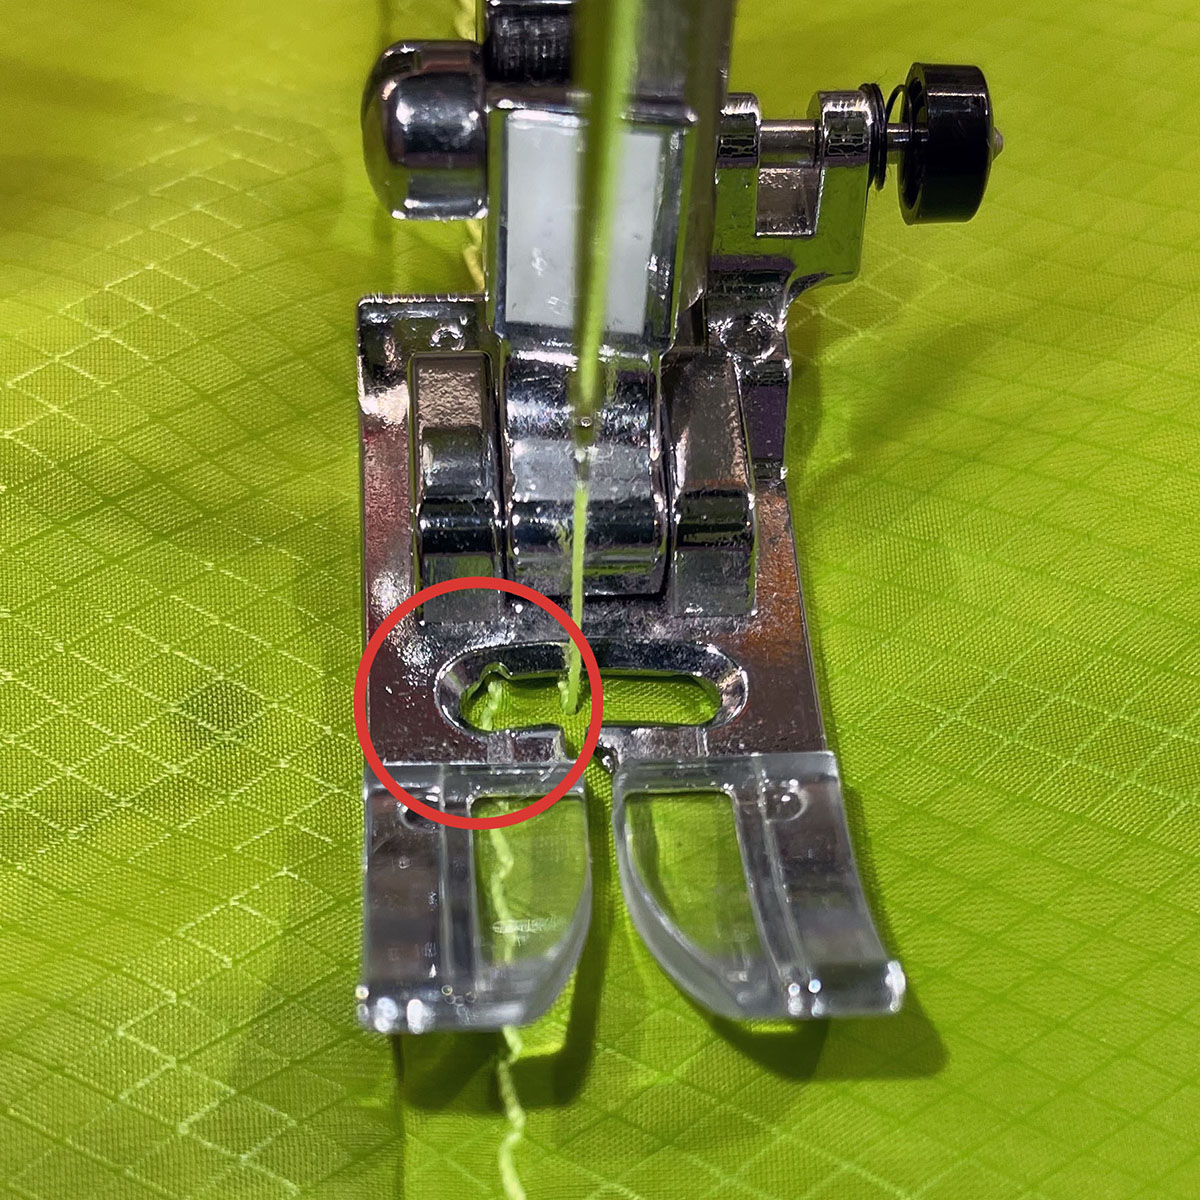
Next, you’re going to sew the long side hems using a straight stitch. First, fold the raw edge of the fabric in about ¼”, then fold it again, enclosing the raw edge of the fabric in the seam. Do not iron on this fabric.
Tip: If you are a beginning sewist, consider clipping your hem every 6-8” to hold in place while you sew.
Then stitch the seam down using a straight stitch. Since this thread is pretty thick, I lengthened my stitch to about 3.5. Test with your machine to see what works best.
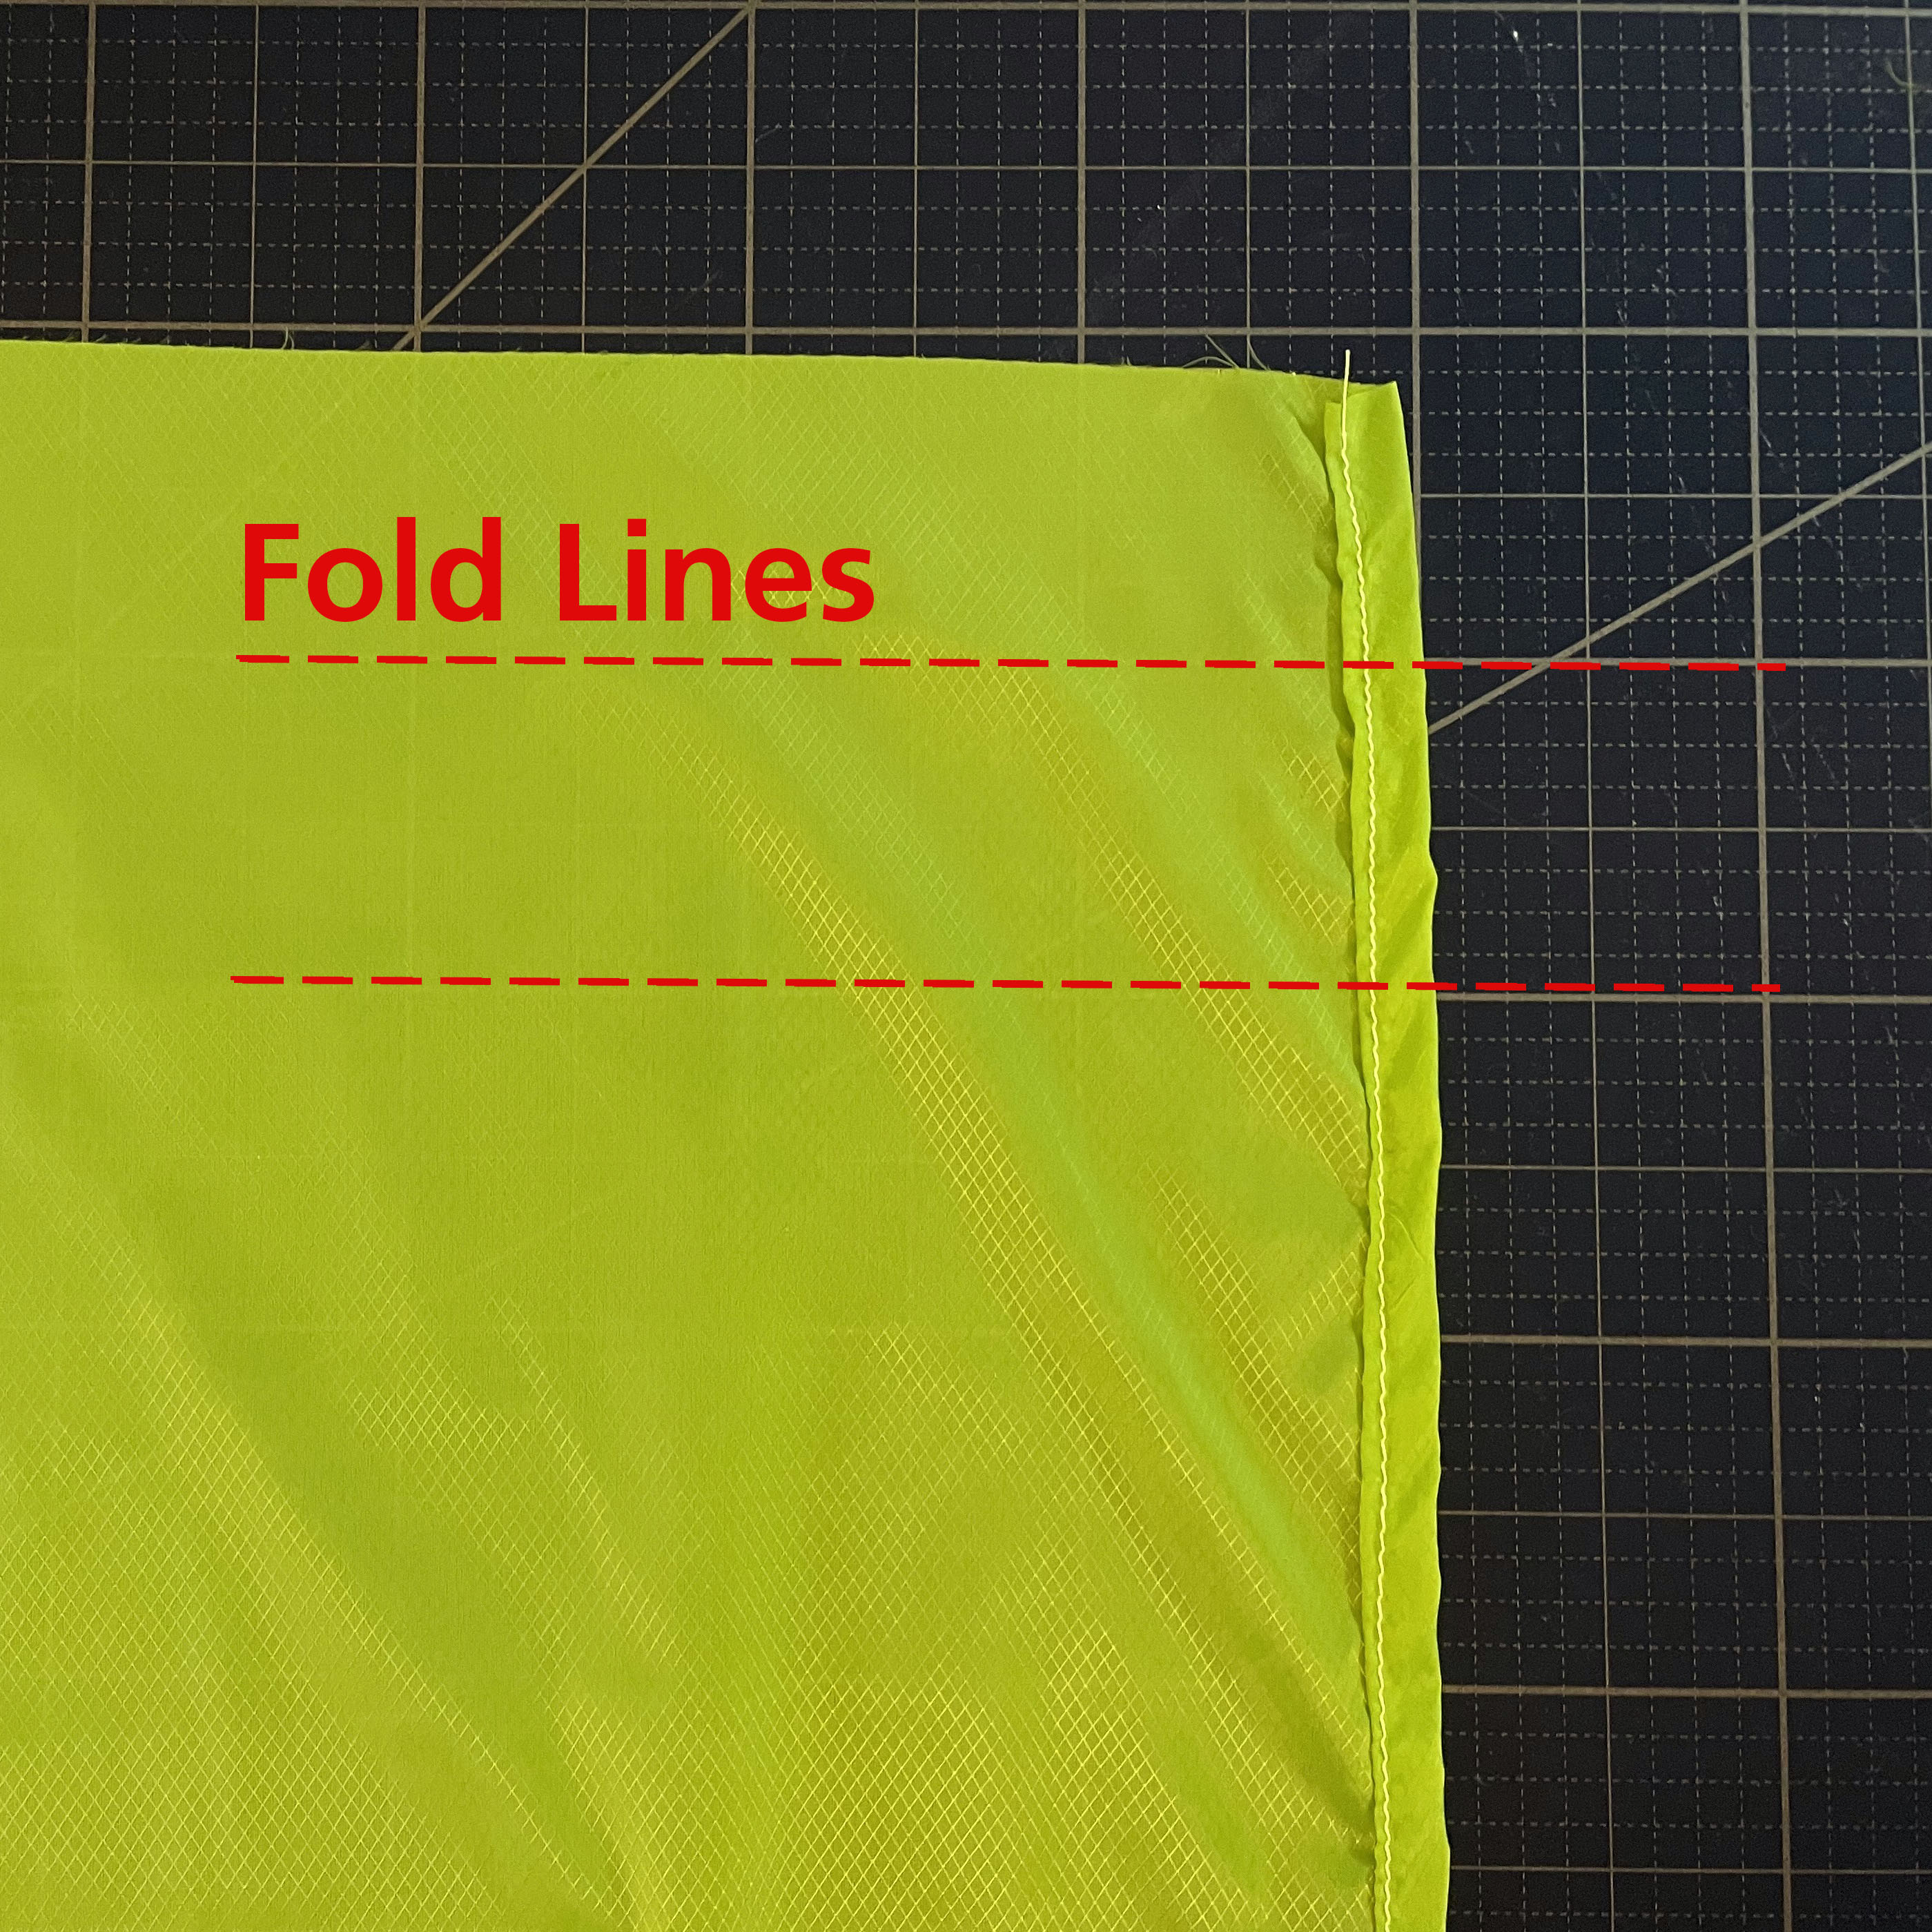
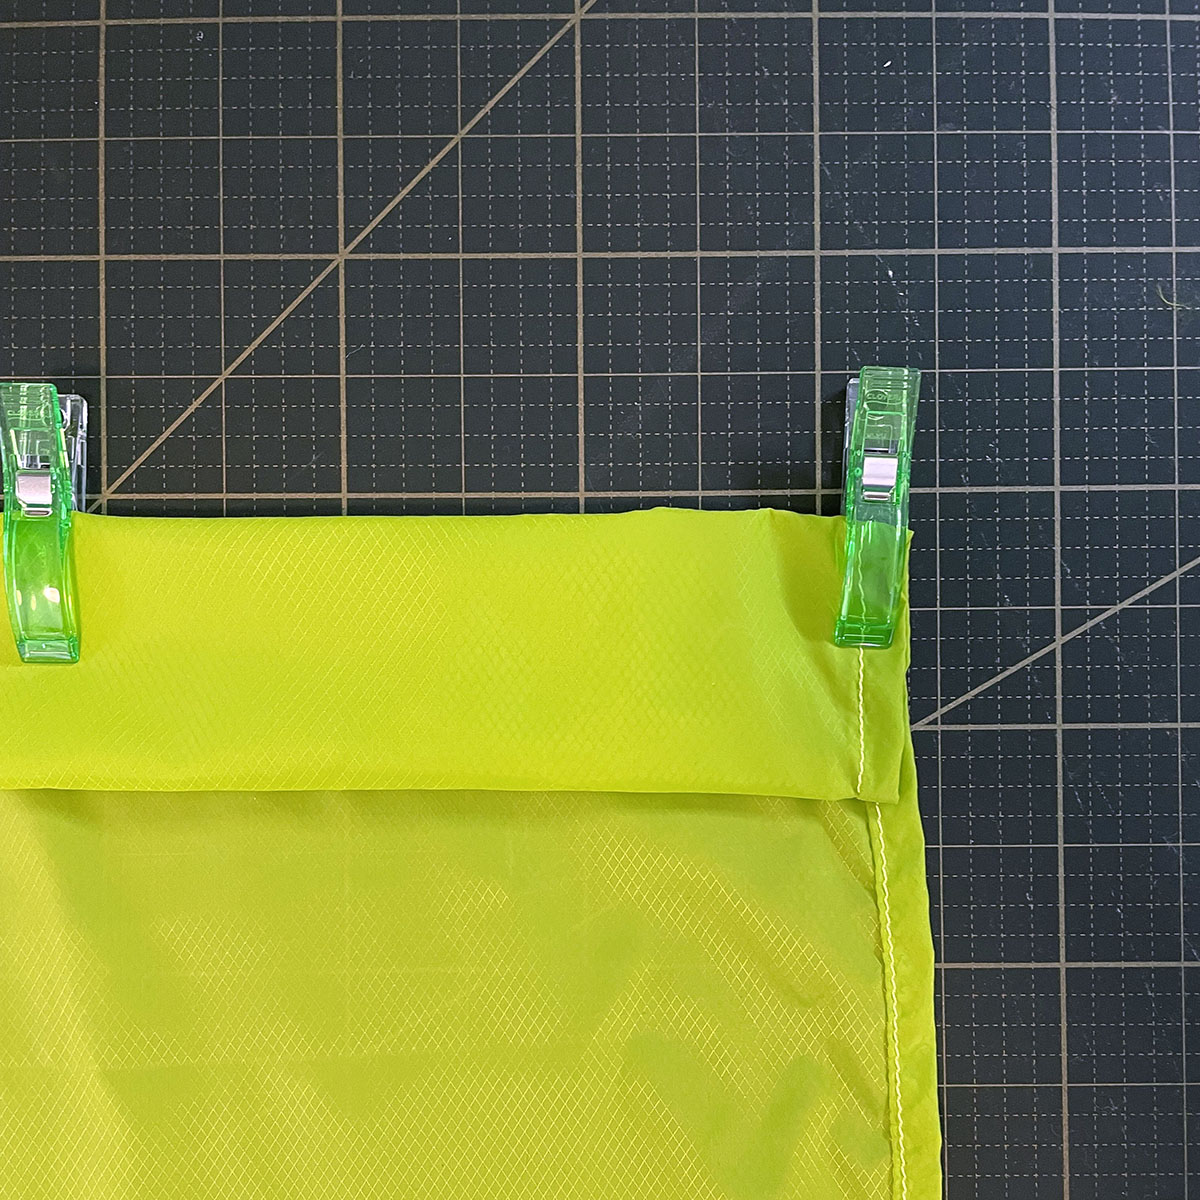
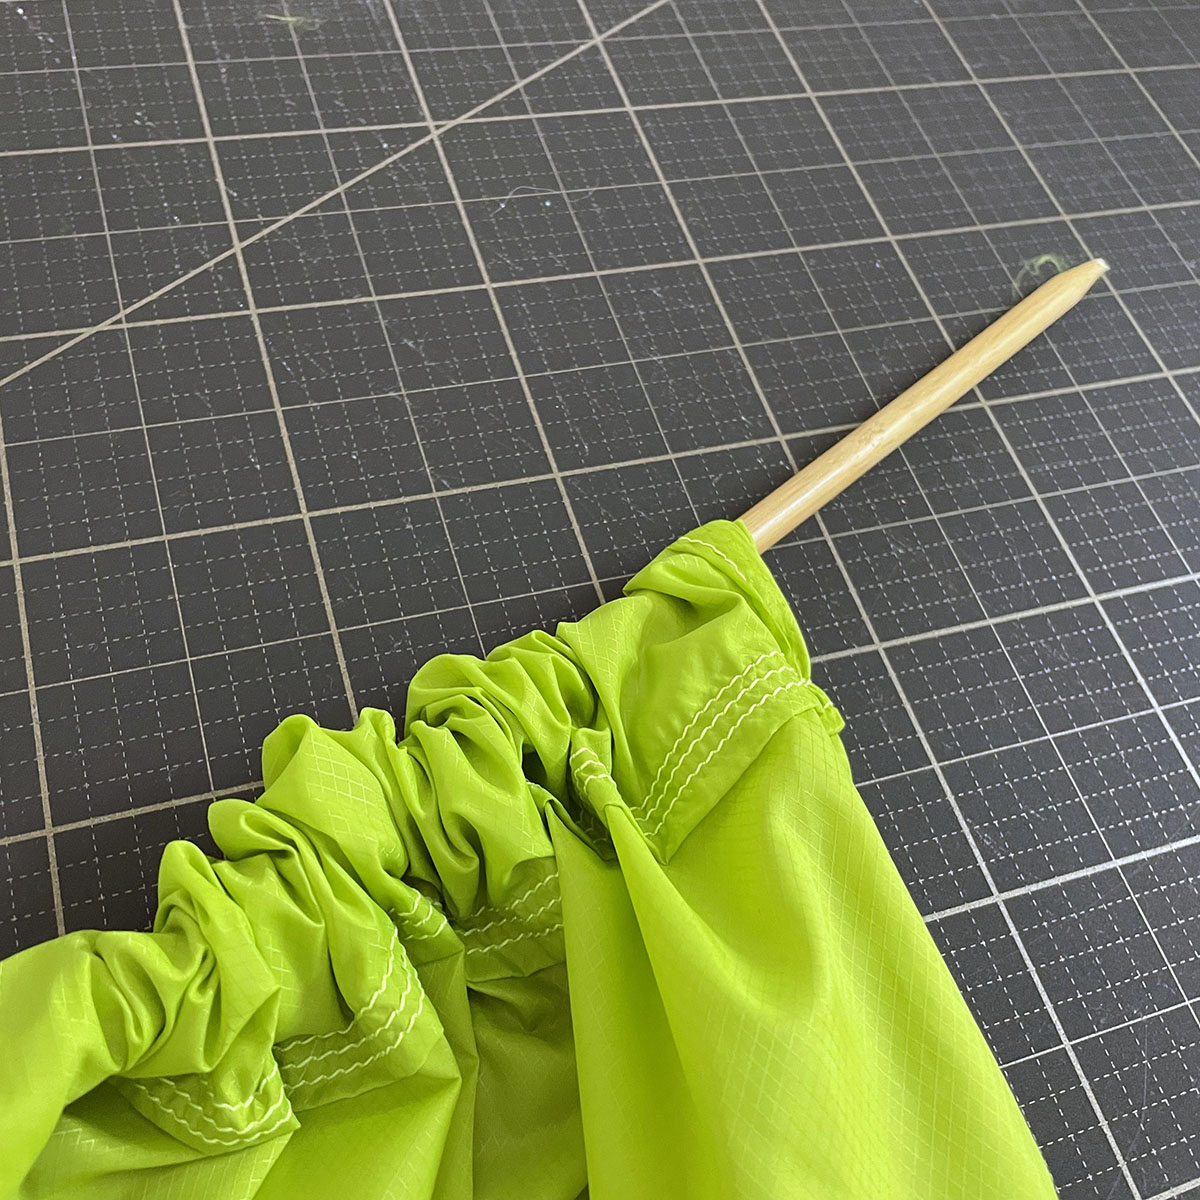
Step 3: Create Rope Channels
After sewing your side hems, you will now sew the rope channels for the Amsteel cording. You will fold this 2”, then 2” again, enclosing the raw seam like you did for the side hems.
Tip: They make extra-long clips that are great for clipping the rope channels before you sew.
Then sew the channel, backstitching at the start and end of the channel.
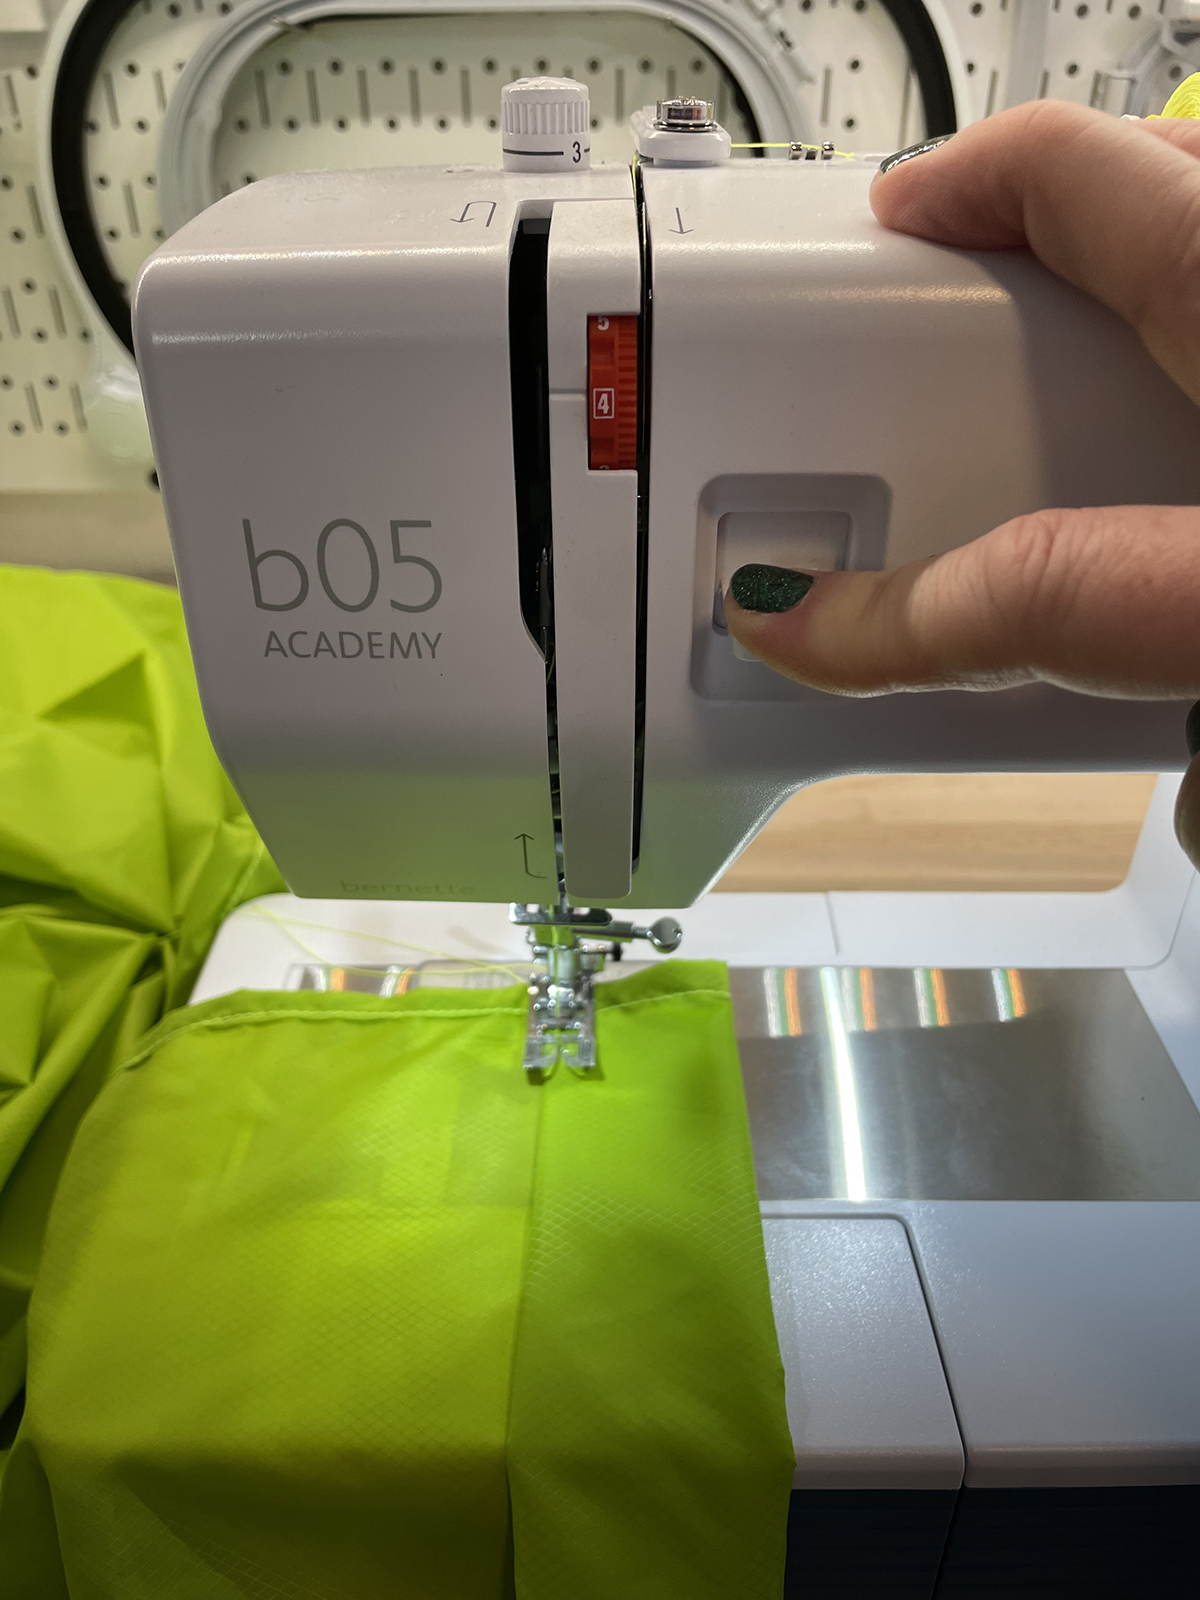
This time, you’ll sew two additional parallel lines to your first stitch line. Here is what it will look like when you are finished.
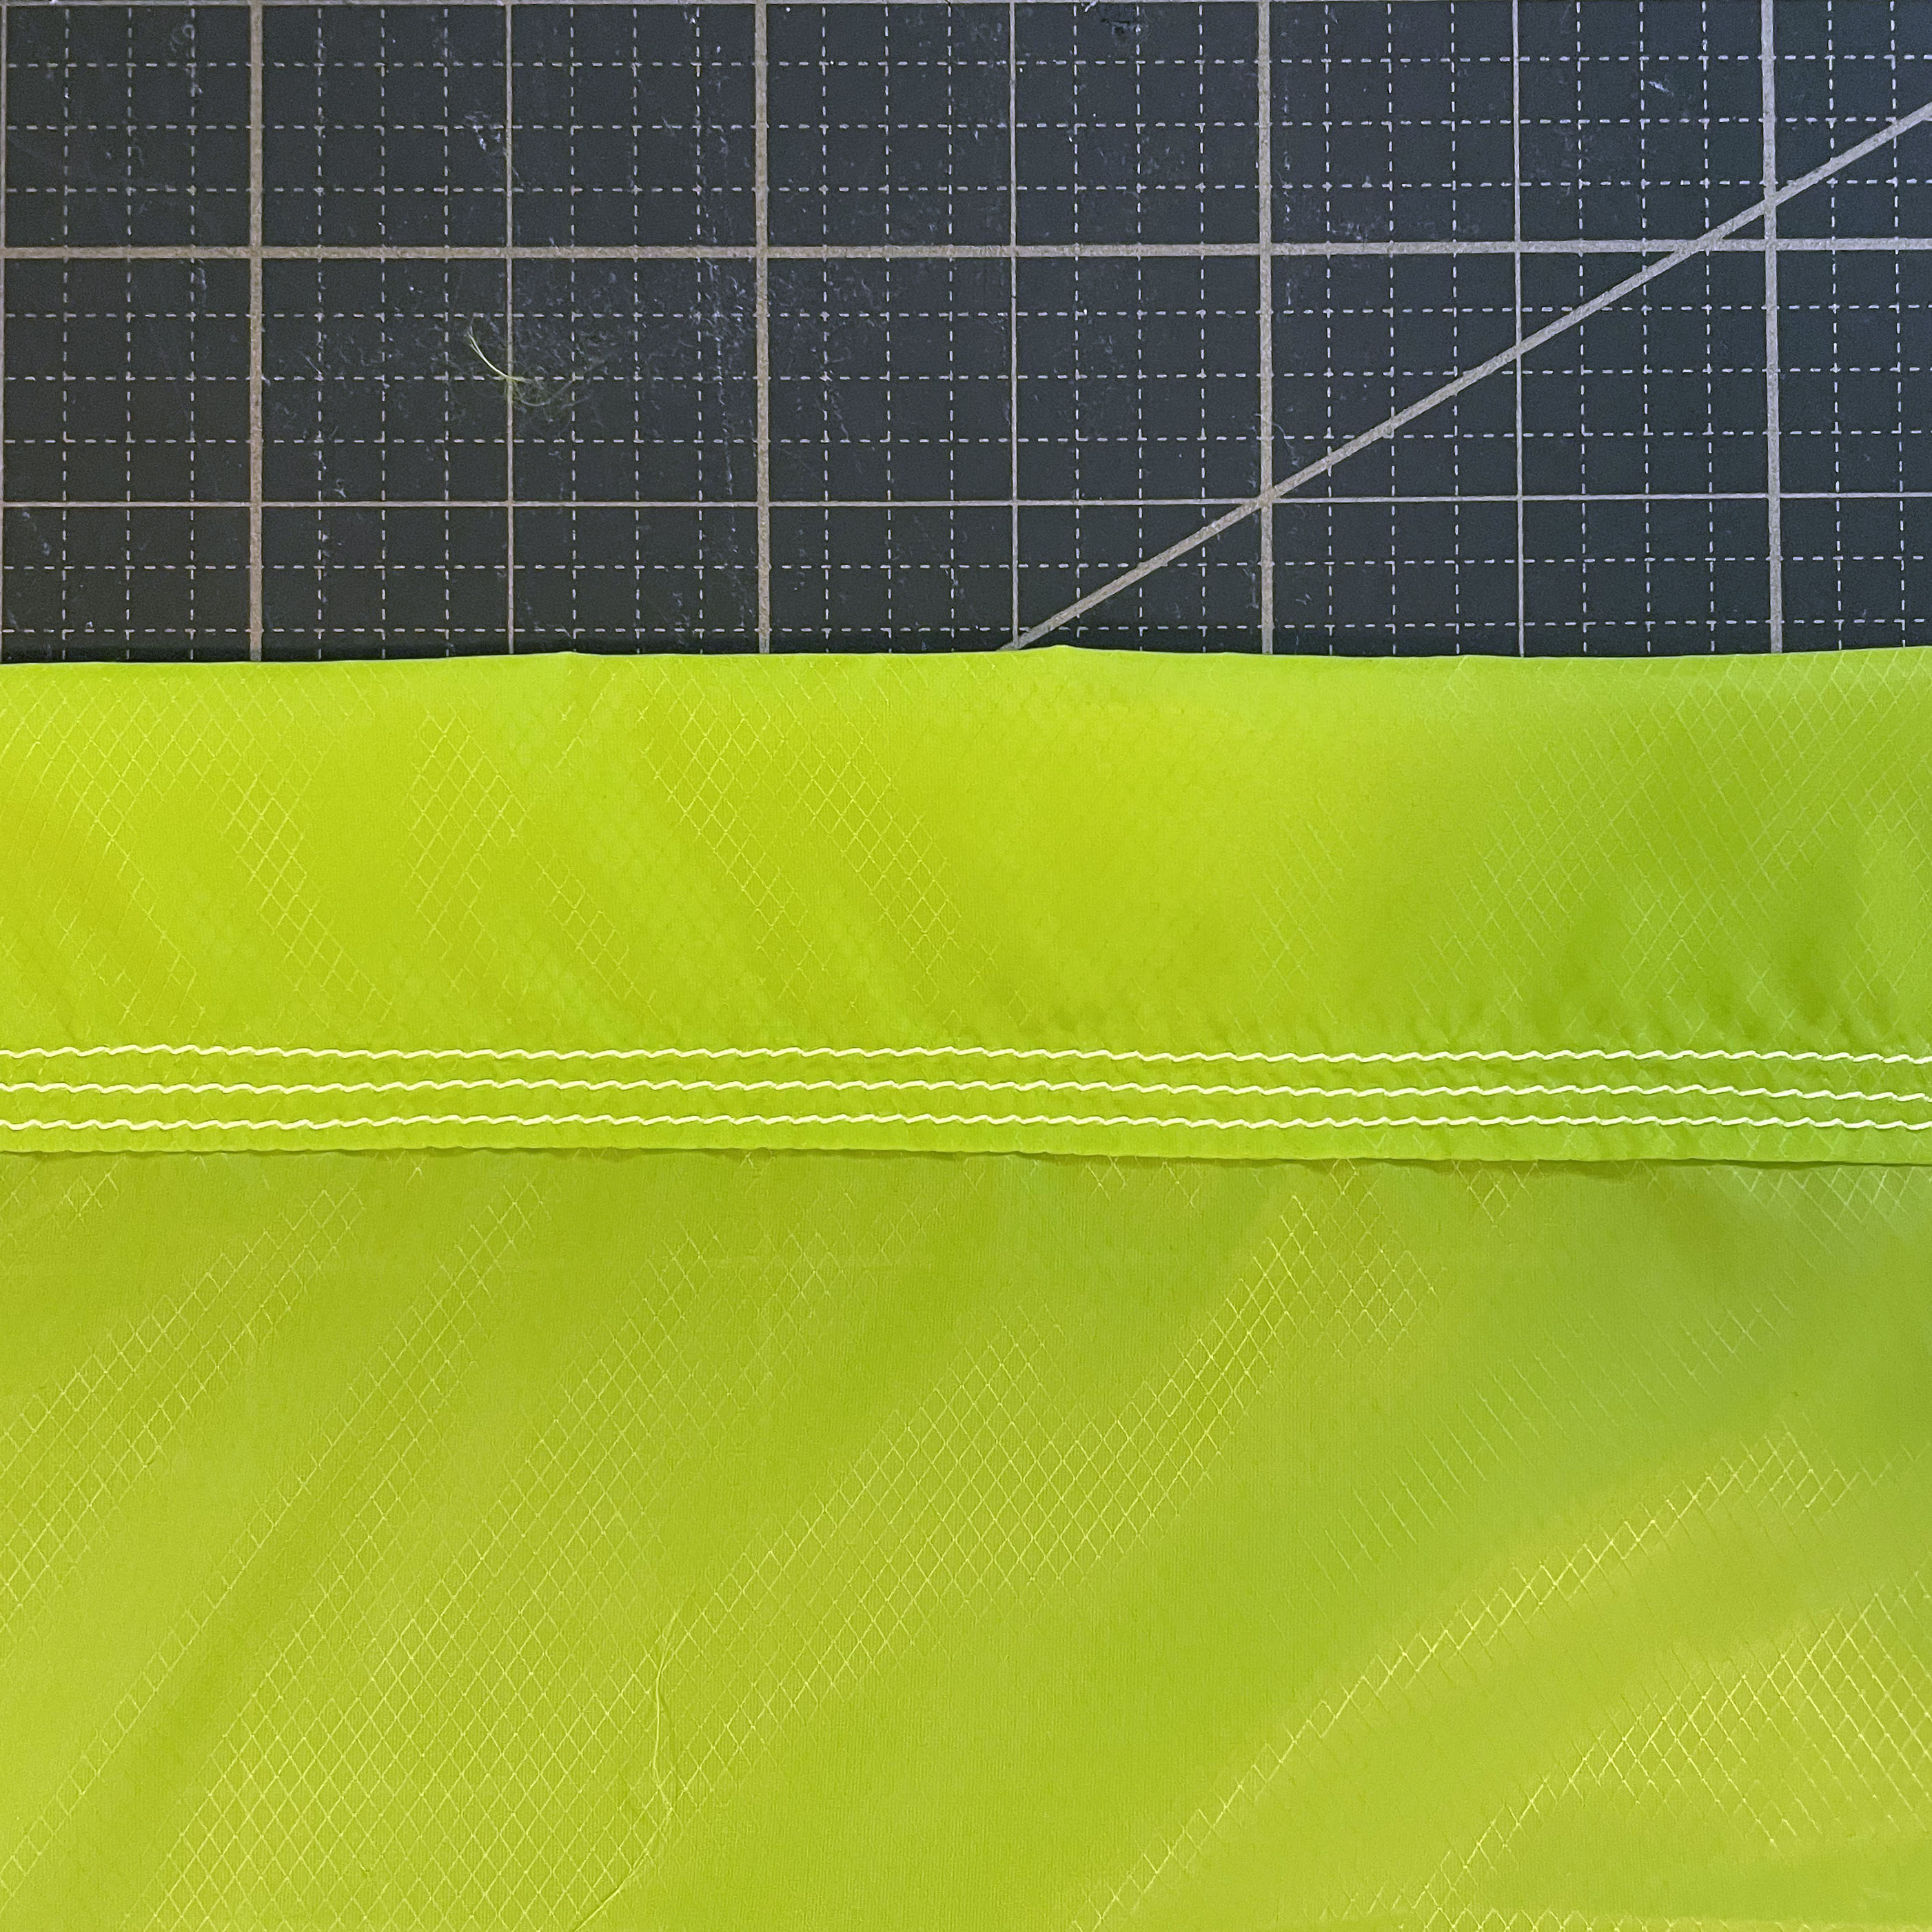
Tip: Use the inside of the foot as a guide to create parallel rows. This is seam is where the bulk of the weight is pulling, so it is good to ensure your seams are strong by reinforcing with multiple rows of stitching.
Step 4: Put It All Together
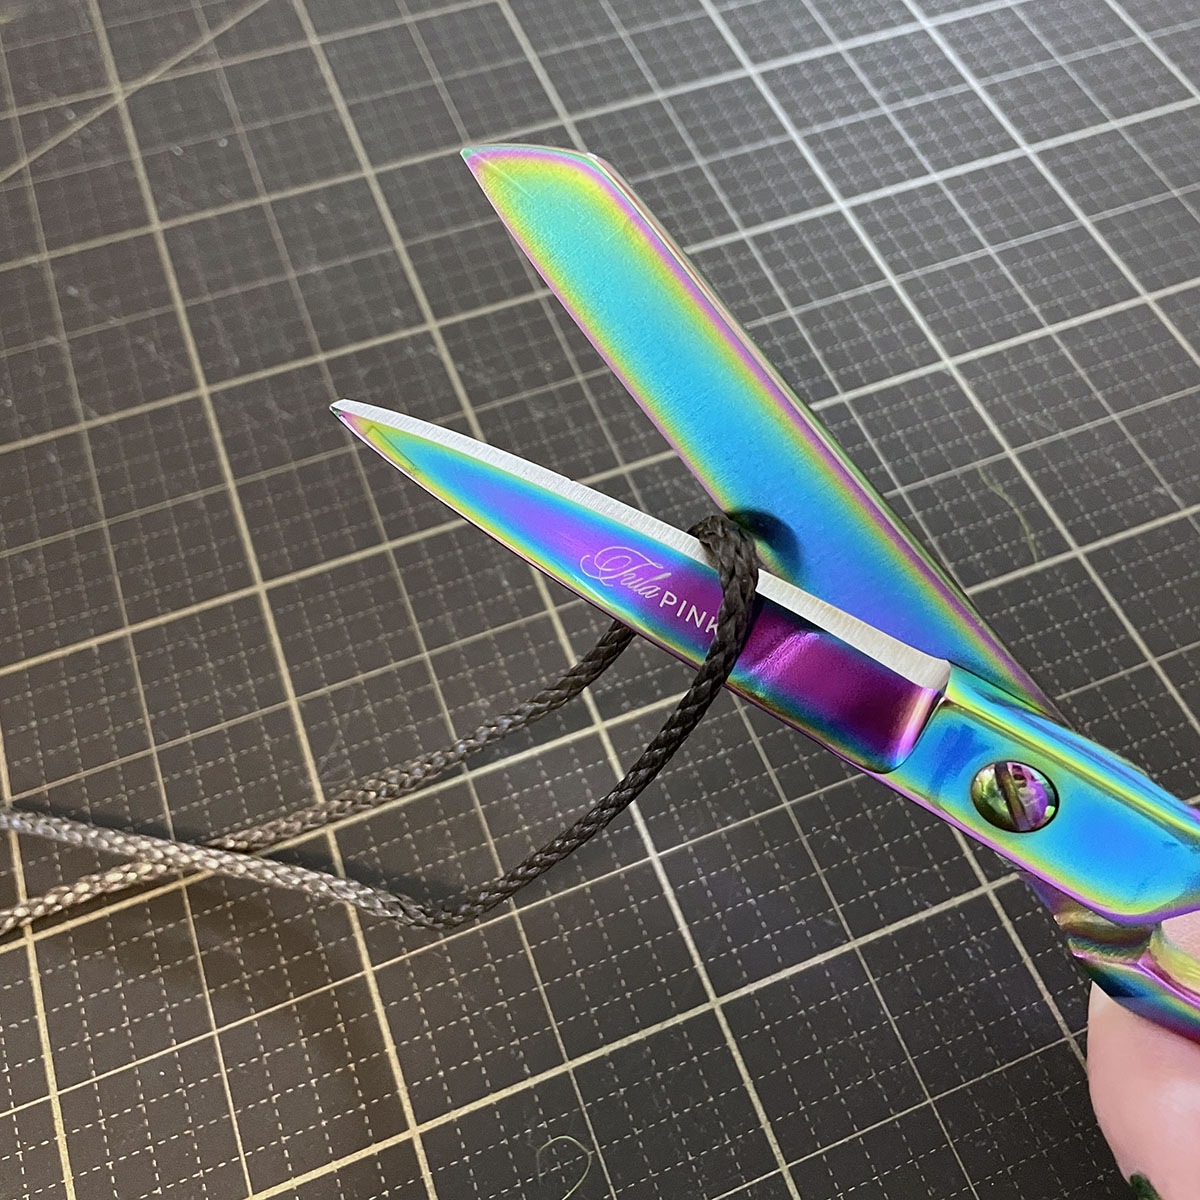
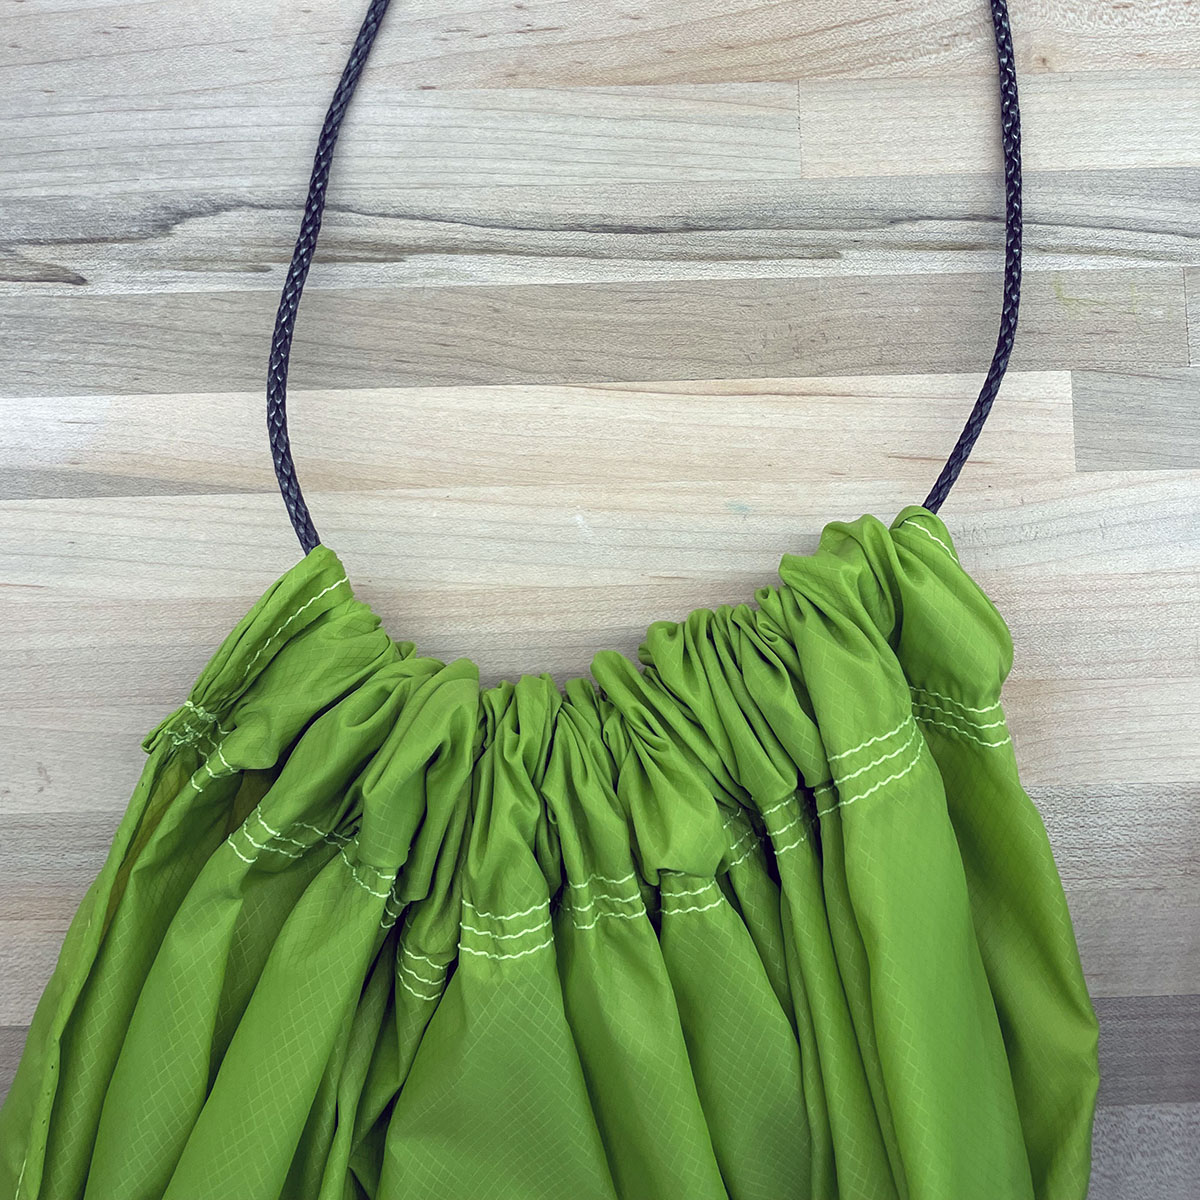
It’s almost time to relax now that your hammock is stitched up. Take the Amsteel cord and cut it in half, to create two 30” pieces.
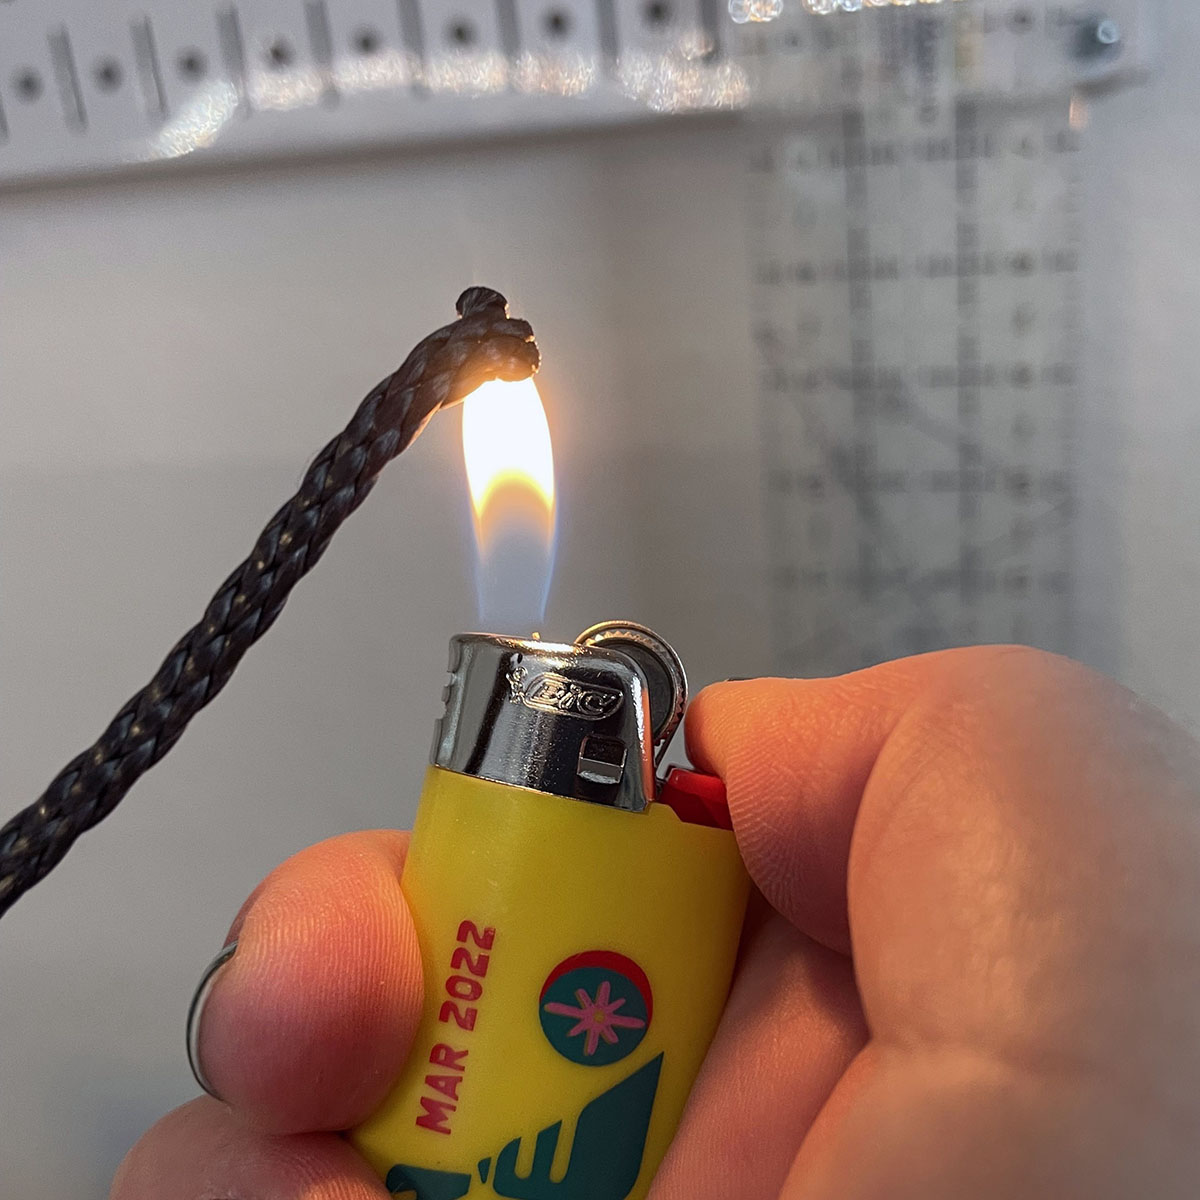
Use a flame (candle or lighter) to melt the end of the nylon cord to keep it from fraying.
Next, tape the cord to your knitting needle. Then holding the end of the cord, thread the needle through the channel to feed the cord through.
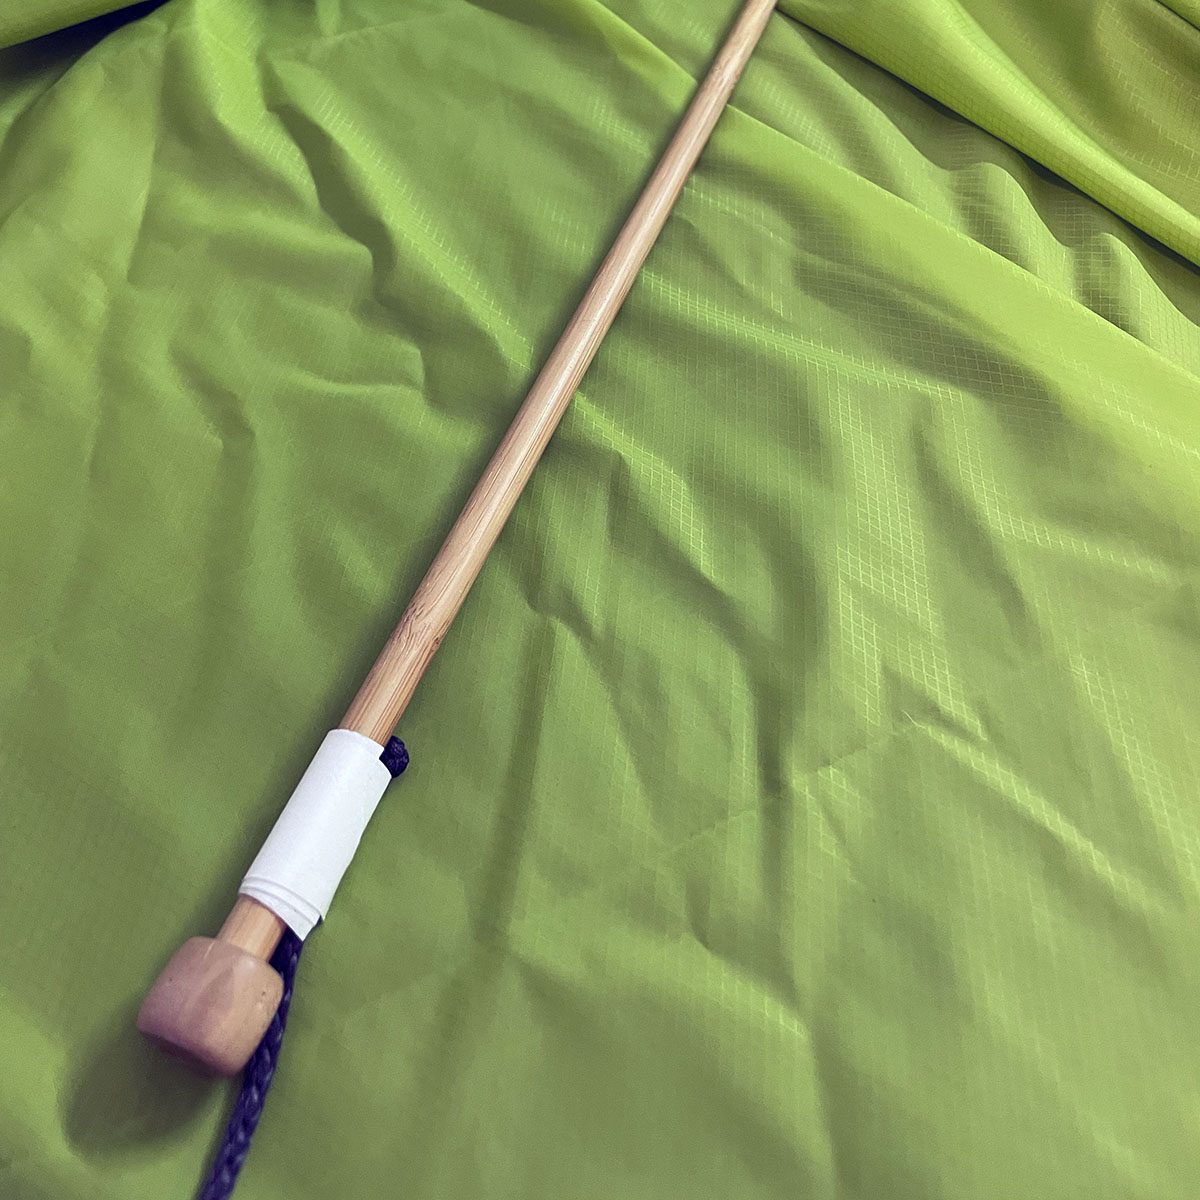
Then tie a sturdy knot of your choice at the end. Feed the knot into the channel and you are ready to hang out.
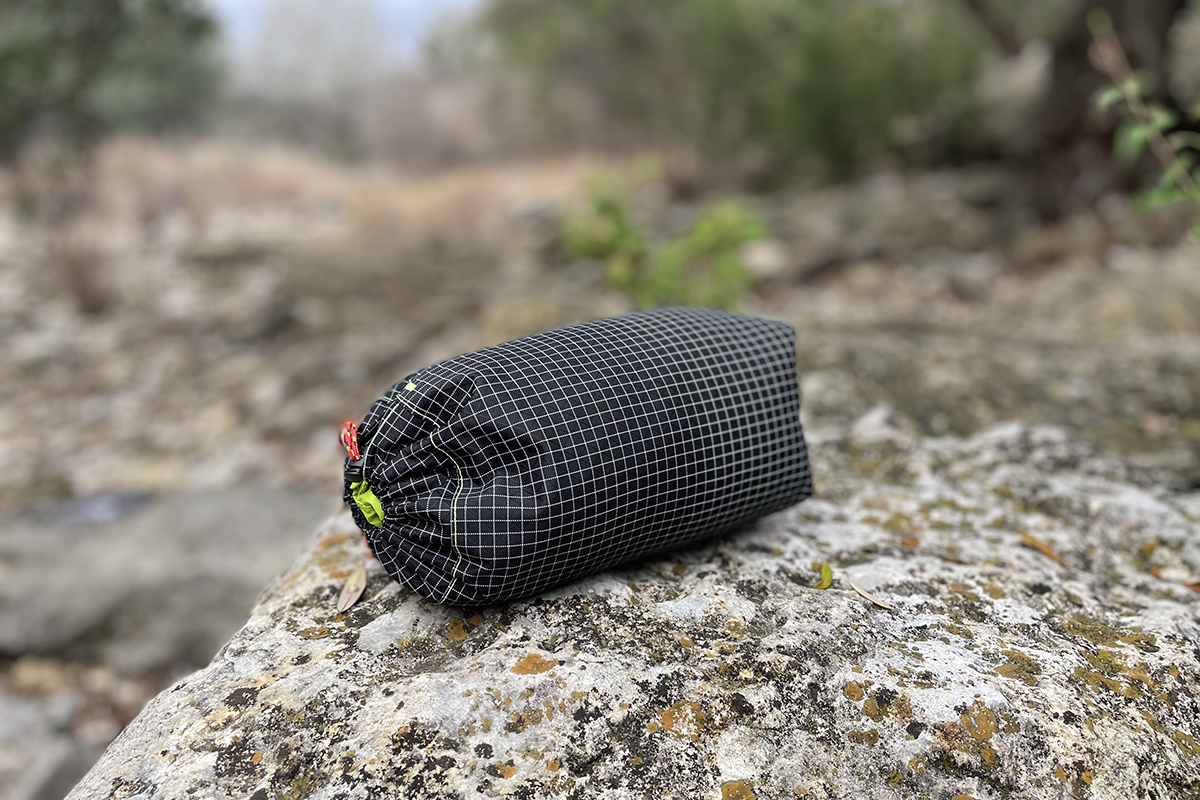
Tip: I also made stuff sacks using the Cinch Sack Pattern Generator over at Learn MYOG.
Grab some webbing and carabineers from your local outdoor store and you’ve got a relaxing afternoon ahead of you.


Love this idea! Great project for my grandkids who love the out-of-doors!