Sew Your Own Snuffle Mat, Part One
Hi! I’m Kate of Tough Kitten Crafts and I empower sewists to become fearless with machine embroidery through online education, a supportive community, and fun machine embroidery projects. I am so excited to get to show you how to sew your own snuffle mat for the furry friends in your life.
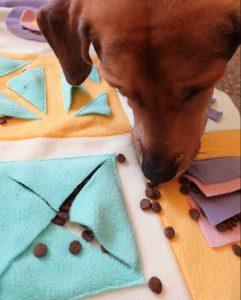
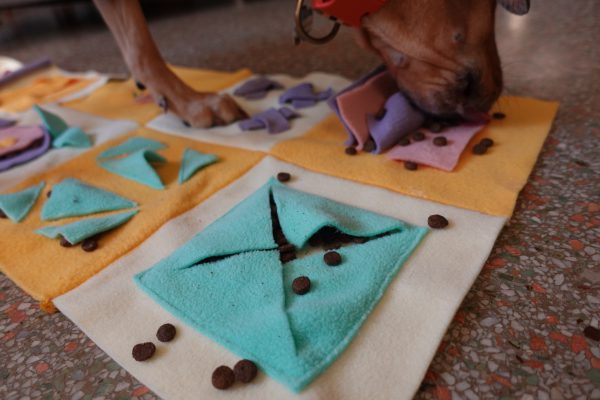
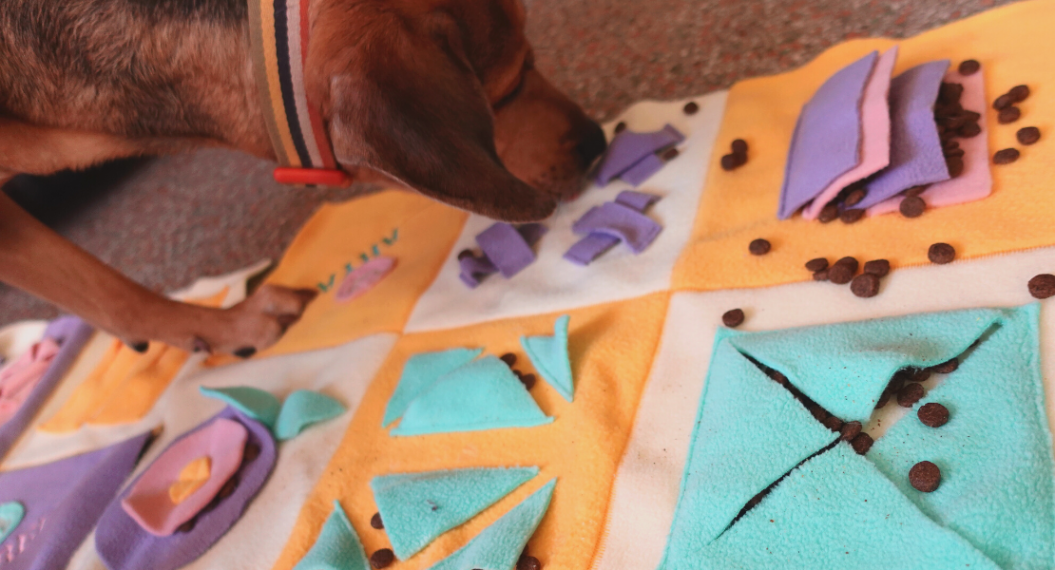
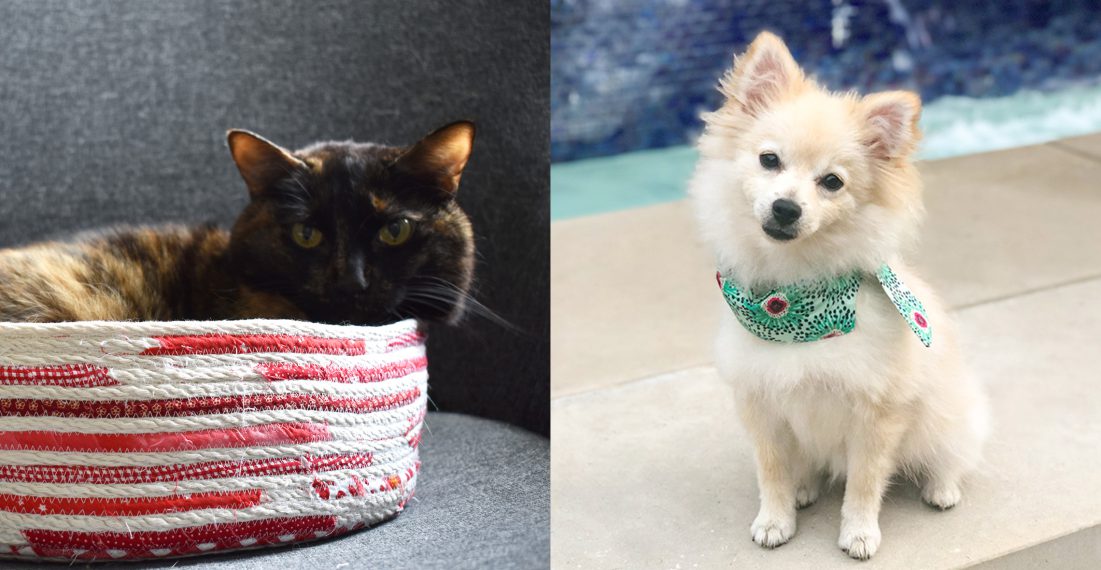
I’m so excited about this project because I get to mix two of my favorite things: enrichment for my dogs and sewing! I have been big into enrichment for my pets recently, particularly for my sweet boy Alfred. Alfie, is a hound dog who is very food motivated so toys like snuffle mats are absolutely perfect for him. Alfred also eats his dinner extra fast so puzzle feeders are a great way to engage his mind and keep him from wolfing everything down before I can blink. Notice how I couldn’t get a single picture of him with his head up—he was so happy foraging for treats and kibble
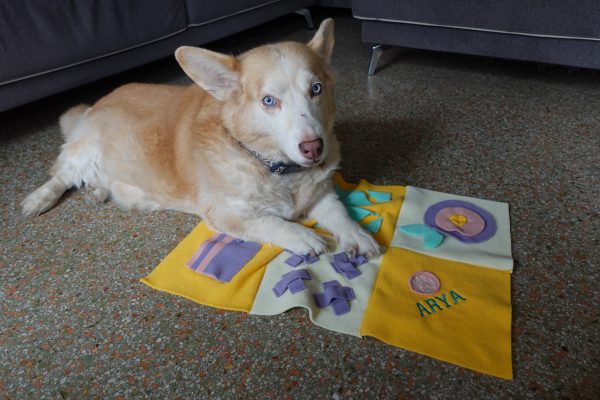
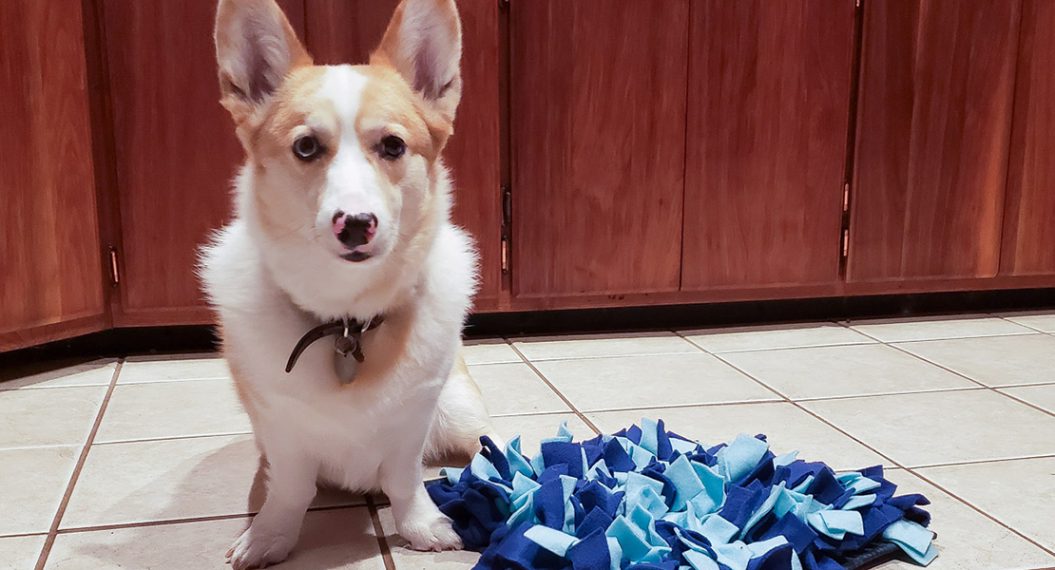
This is my boyfriend’s dog Arya, isn’t she cute? She’s a Corgi/Husky mix and unlike the breeds that make up her unique look…Arya is super low energy. She’s also not food motivated at all and complicated enrichment toys just annoy her, so I created some easier blocks geared toward her. I’m happy to report she was in love with these mats and had a lot of fun
These activity mats are not only wonderful for the furry friends in your life (cats can use them too!), but they will also make a quick and easy gift for the upcoming holiday season. Once you personalize these snuffle mats with machine embroidery, it makes a wonderfully thoughtful gift for the pet owners in your life.
We are going to make today’s mat in a patchwork style so you can mix and match the blocks you find most interesting. You will find additional snuffle mat blocks on the Tough Kitten Crafts blog, plus I’ll show you how to finish your mat if you don’t have an overlocker. I can’t wait to see which snuffle mat blocks you make!
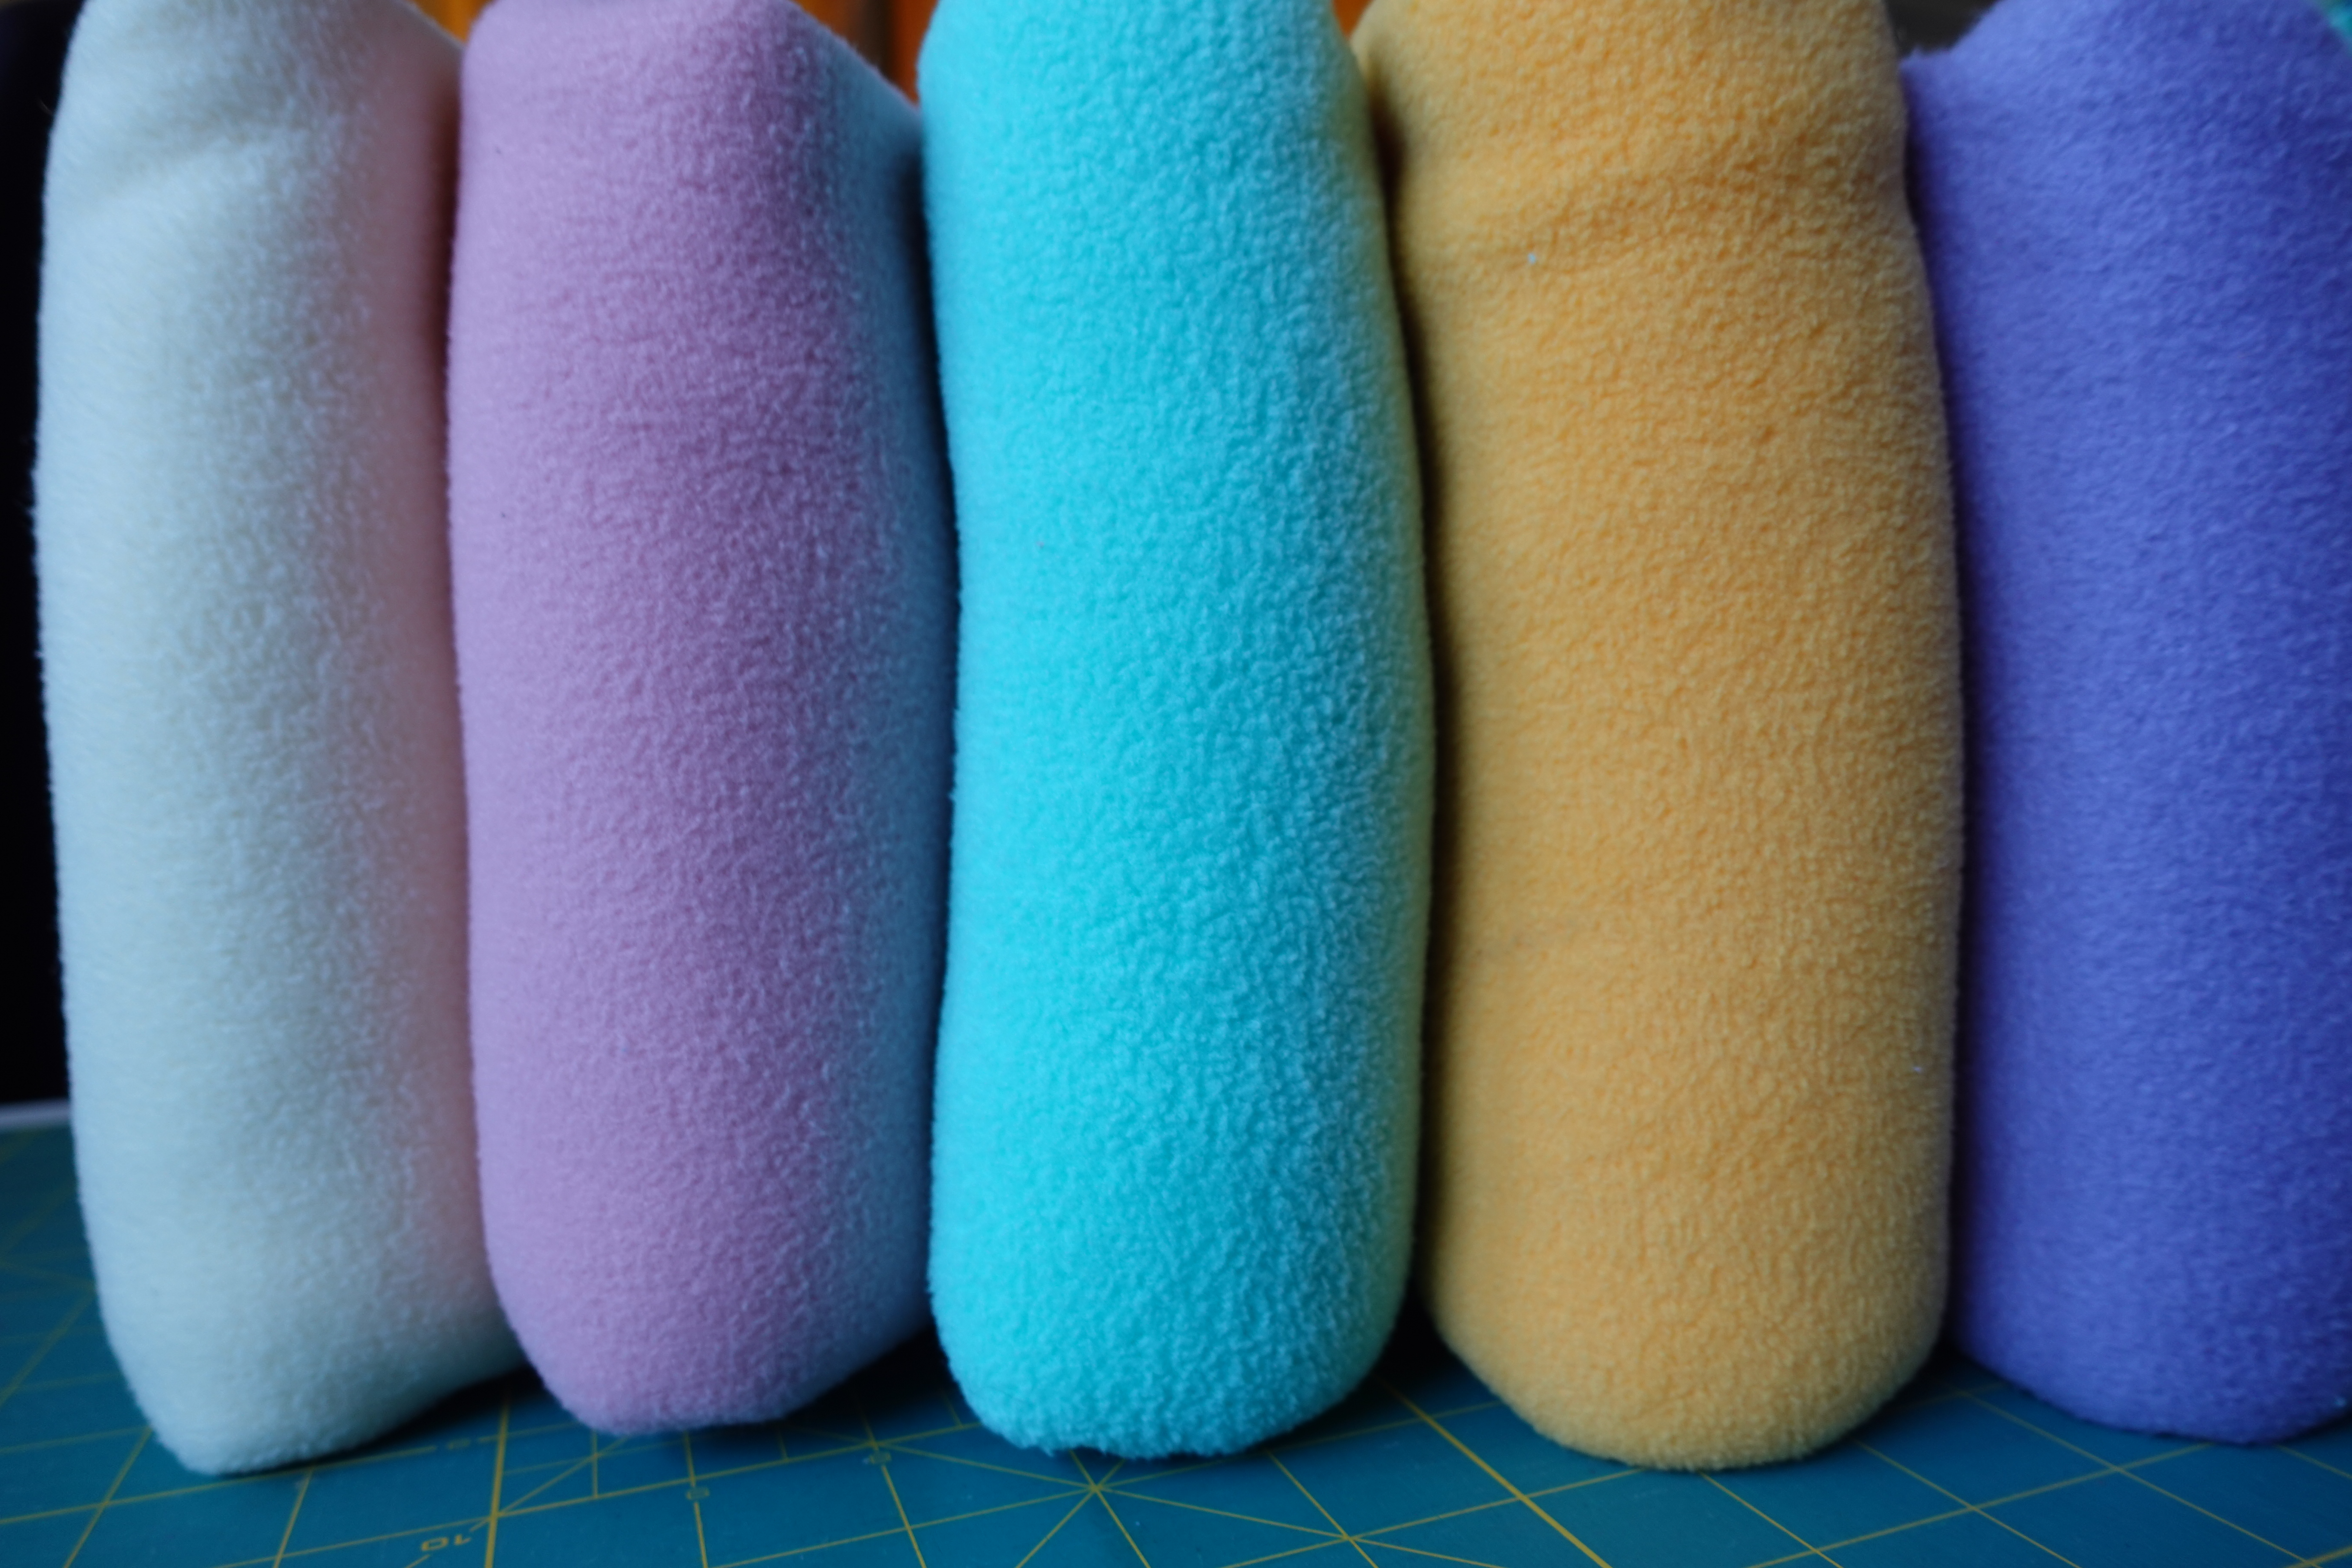
We will be working with fleece for this project which happens to be one of my favorite fabrics to sew with. Fleece doesn’t curl or fray on the edges, comes in so many fun prints and colors and is easy to care for in the washer and dryer, making it ideal for dog toys. Fleece fabric is a must for this project, don’t do like I did at first and substitute flannel.
This mat size is great for medium-large size dogs. You may want to make more blocks for an extra large dog or make smaller blocks for smaller breeds. As I already mentioned this mat would also be great for cats as well to hide a few treats or maybe even some cat nip.
Remember, never let your pet use the snuffle mat without direct supervision to ensure their safety.
Alright, let’s get making!
Supplies:
Fleece in the following amounts:
-
- 1 yard background/backing fabric (Purple)
- 1/2 yard of fleece background fabric (Cream)
- 1/4 yard of fleece accent fabric (Pink)
- 1/4 yard of fleece accent fabric (Orange)
- 1/4 yard of fleece accent fabric (Turquoise)
- 90/14 Stretch Needles
- Polyester Sewing Thread
- If you have a dog who is a strong chewer or likes to shred toys, you may want to use heavy duty thread.
- Polyester Serger Thread
- I used three cones of Mettler Seracor
- Rotary Cutter & Cutting mat
- Rulers
- Fabric Scissors
- Pins
- Hookey Serger Seam Hook (or preferred method of finishing tail ends)
- Skip Fray Check since this toy will be used for pet treats and meals.
- Marking pen or Hera marker
- OESD Stabilstick Cut Away
- OESD StitcH20 Wash Away
- BERNINA L 890 Overlocker
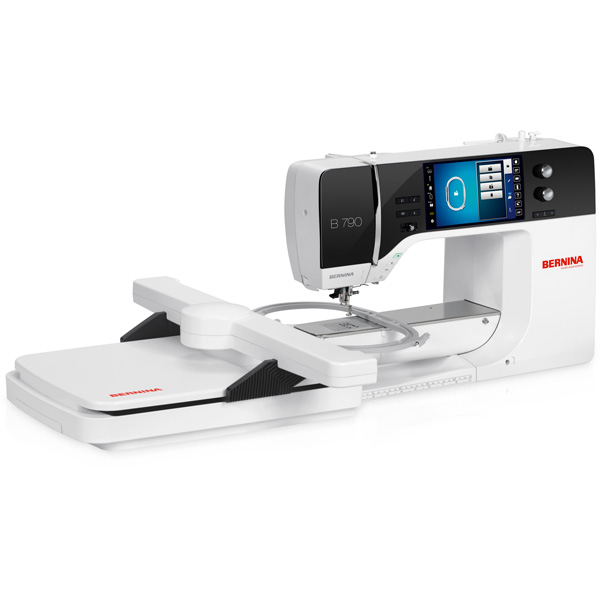
- BERNINA 790 PLUS with Embroidery module
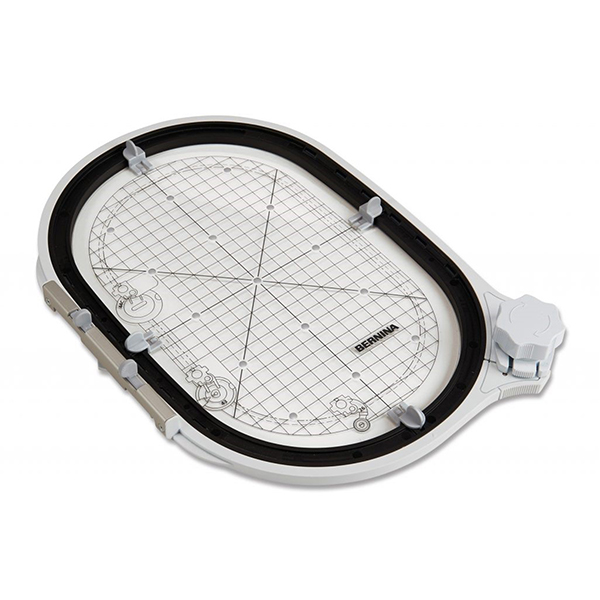
- Large Oval or Midi Embroidery Hoop
- Edgestitch Foot #10D
- Drop-Shaped Embroidery Foot #26
- Polyester Embroidery thread
- OESD Bobbin Thread
- OESD Medium Weight Tear Away Stabilizer (optional to support the blocks and aid in sewing on fleece)
Cutting Instructions:
There will be more cutting instructions based on the blocks you choose, the additional cutting instructions are under each block heading.
The backing fabric size will also vary depending on seam allowance, we will cut that later as well.
- Background/Backing fabric (Purple)
- (3) 8.5″ x 8.5″ squares
- (1) 24.5″ x 8.5″ squares
- 1/2 yard of fleece background fabric (Cream)
- (3) 8.5″ x 8.5″ squares
Setting up the machine for machine embroidery:
Install your 90/14 Stretch Needle in the machine. Thread the machine with polyester embroidery thread in the needle and OESD bobbin thread in the bobbin. Put your #26 foot and straight stitch plate on the machine.
Setting up the machine for sewing:
Each sewn block uses the same set up for the machine. Install your 90/14 stretch needle in the machine. Thread the machine with polyester sewing thread in the needle and the bobbin (this is a great project to use up those random bobbins you have). Put your #10D foot and 9mm stitch plate on the machine. Decrease your presser foot pressure to 25.
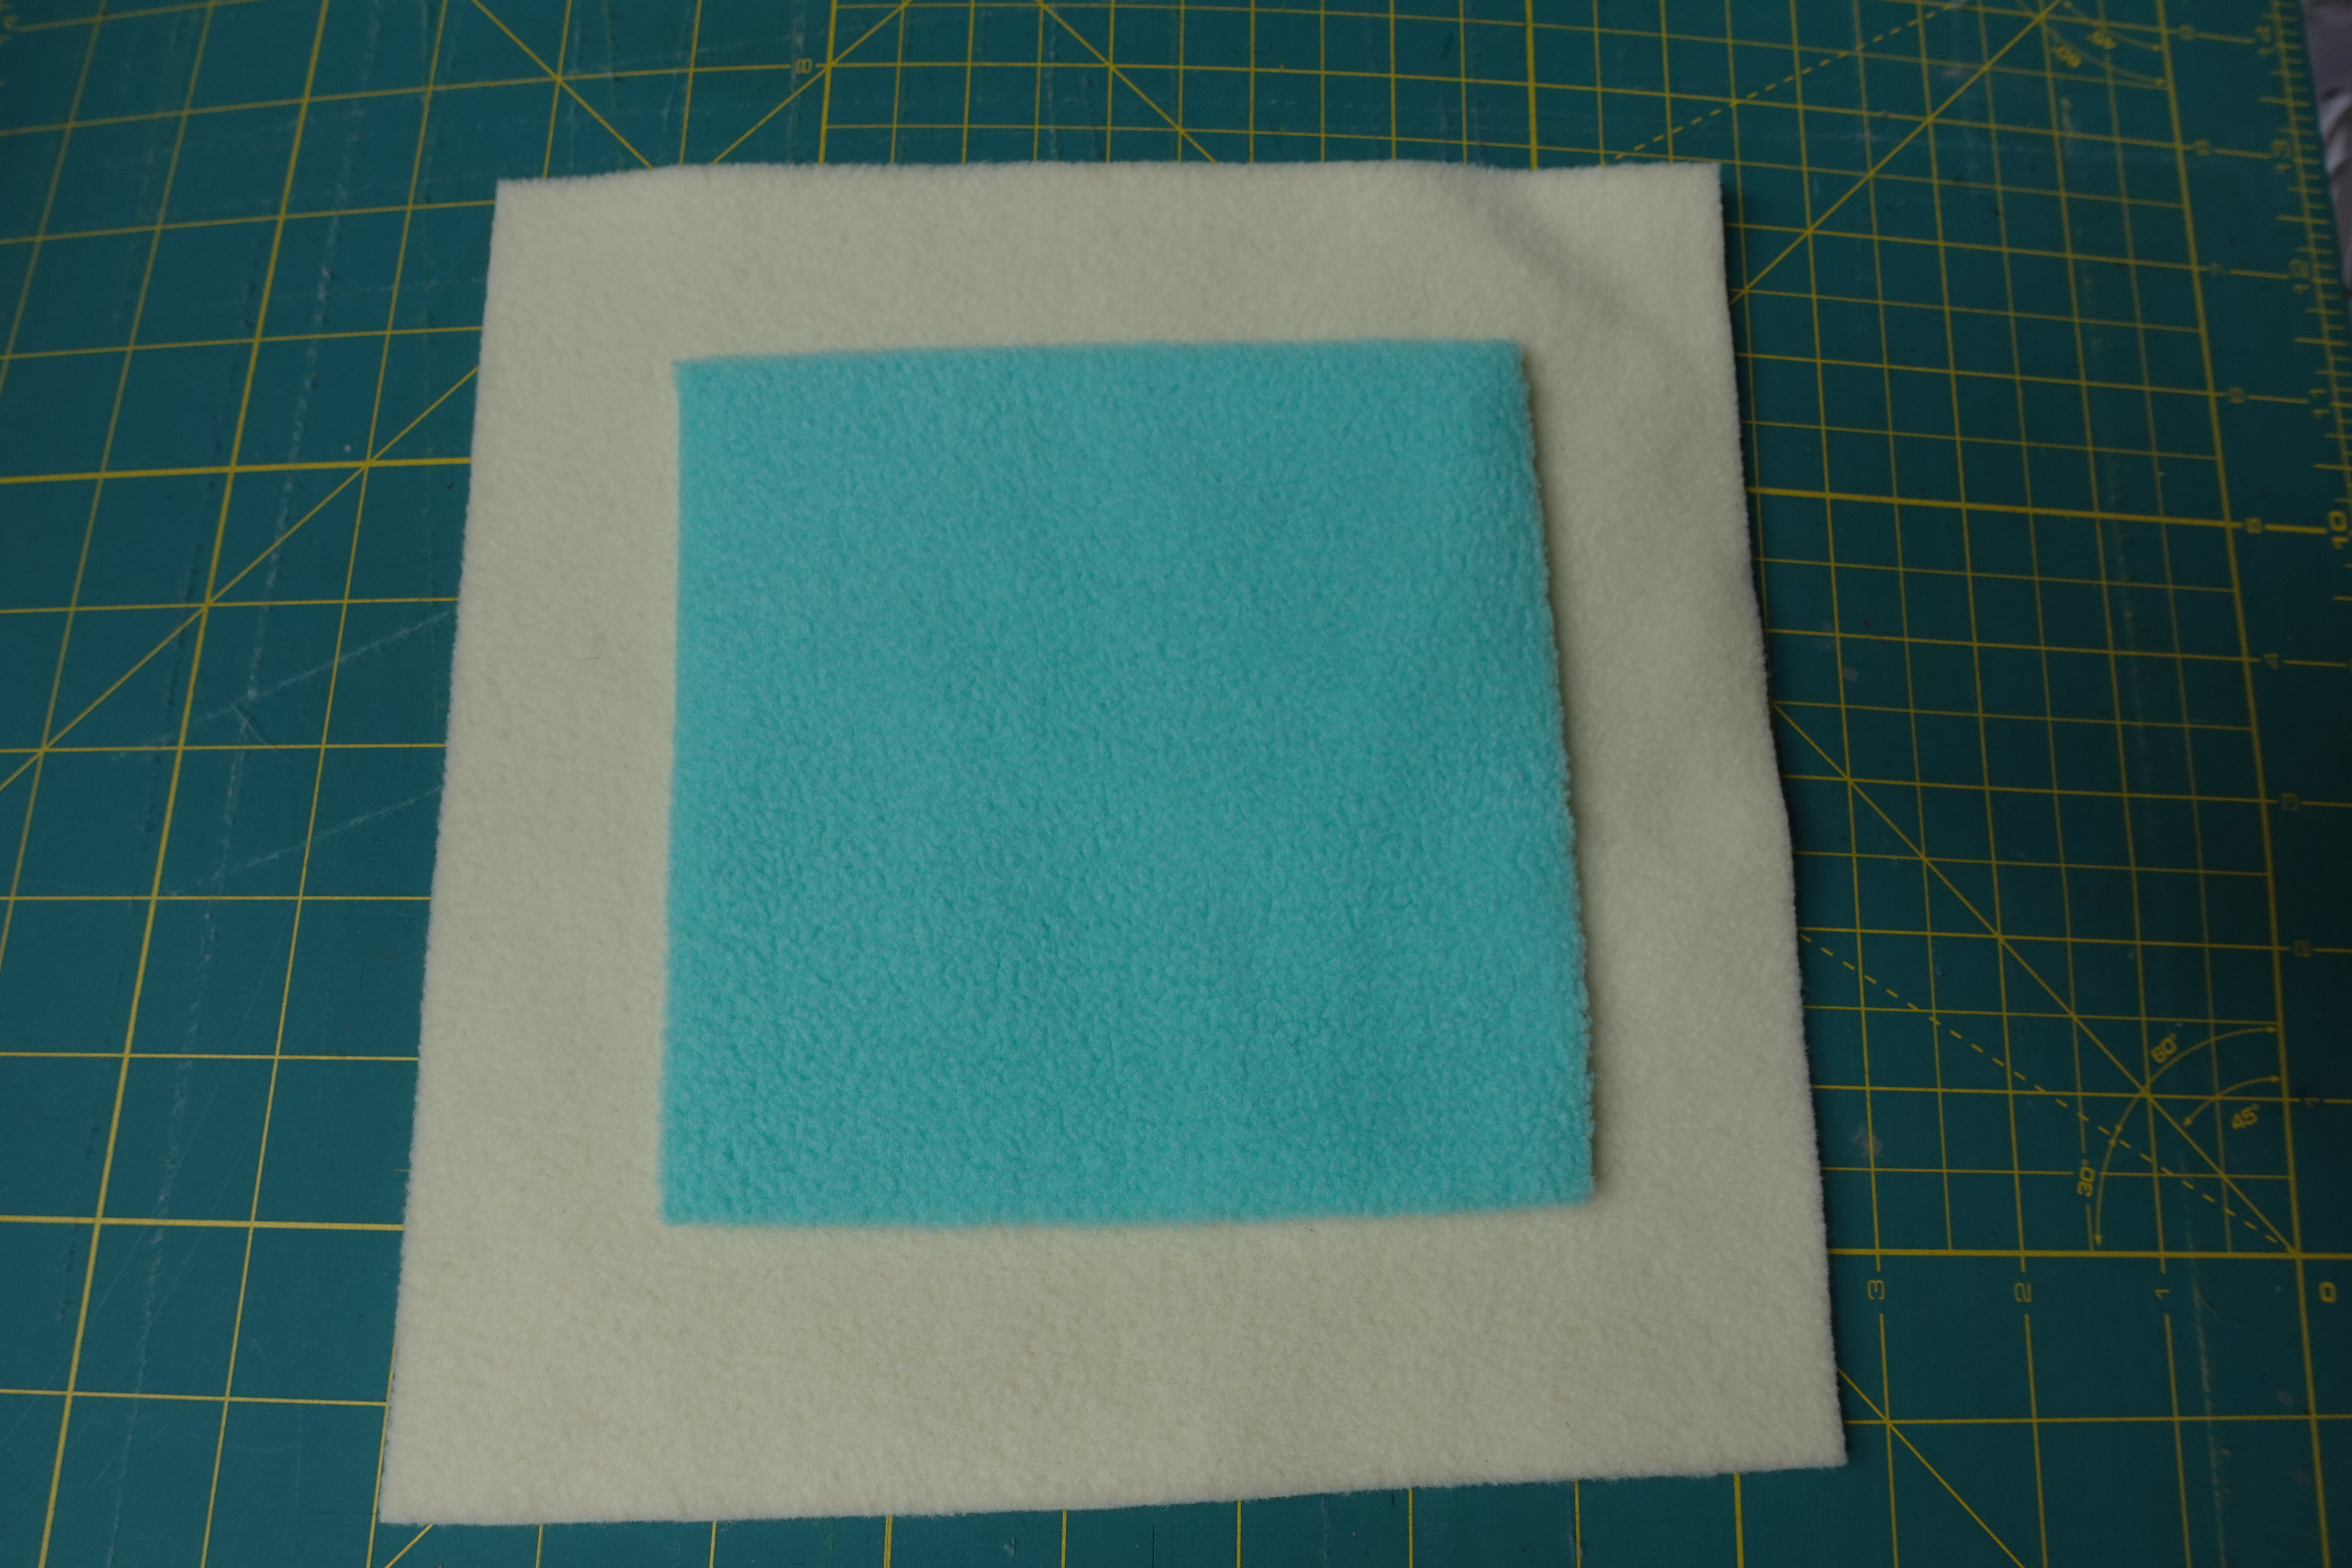
Fabric Prep:
Machine wash and dry all your fleece before getting started to ensure your fabric shrinks before sewing.
Instructions:
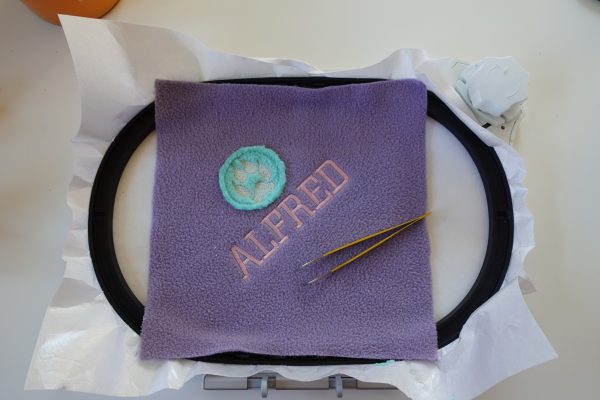
Machine Embroidery Block
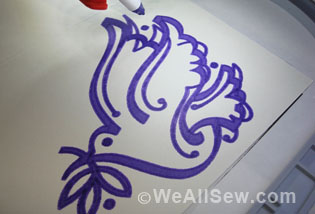
Personalize your snuffle matt with some quick and easy machine embroidery. When choosing your fonts and designs make sure the lines are thick so they don’t get lost in the knap of the fleece.
Cut the StabilStick to fit your embroidery hoop.

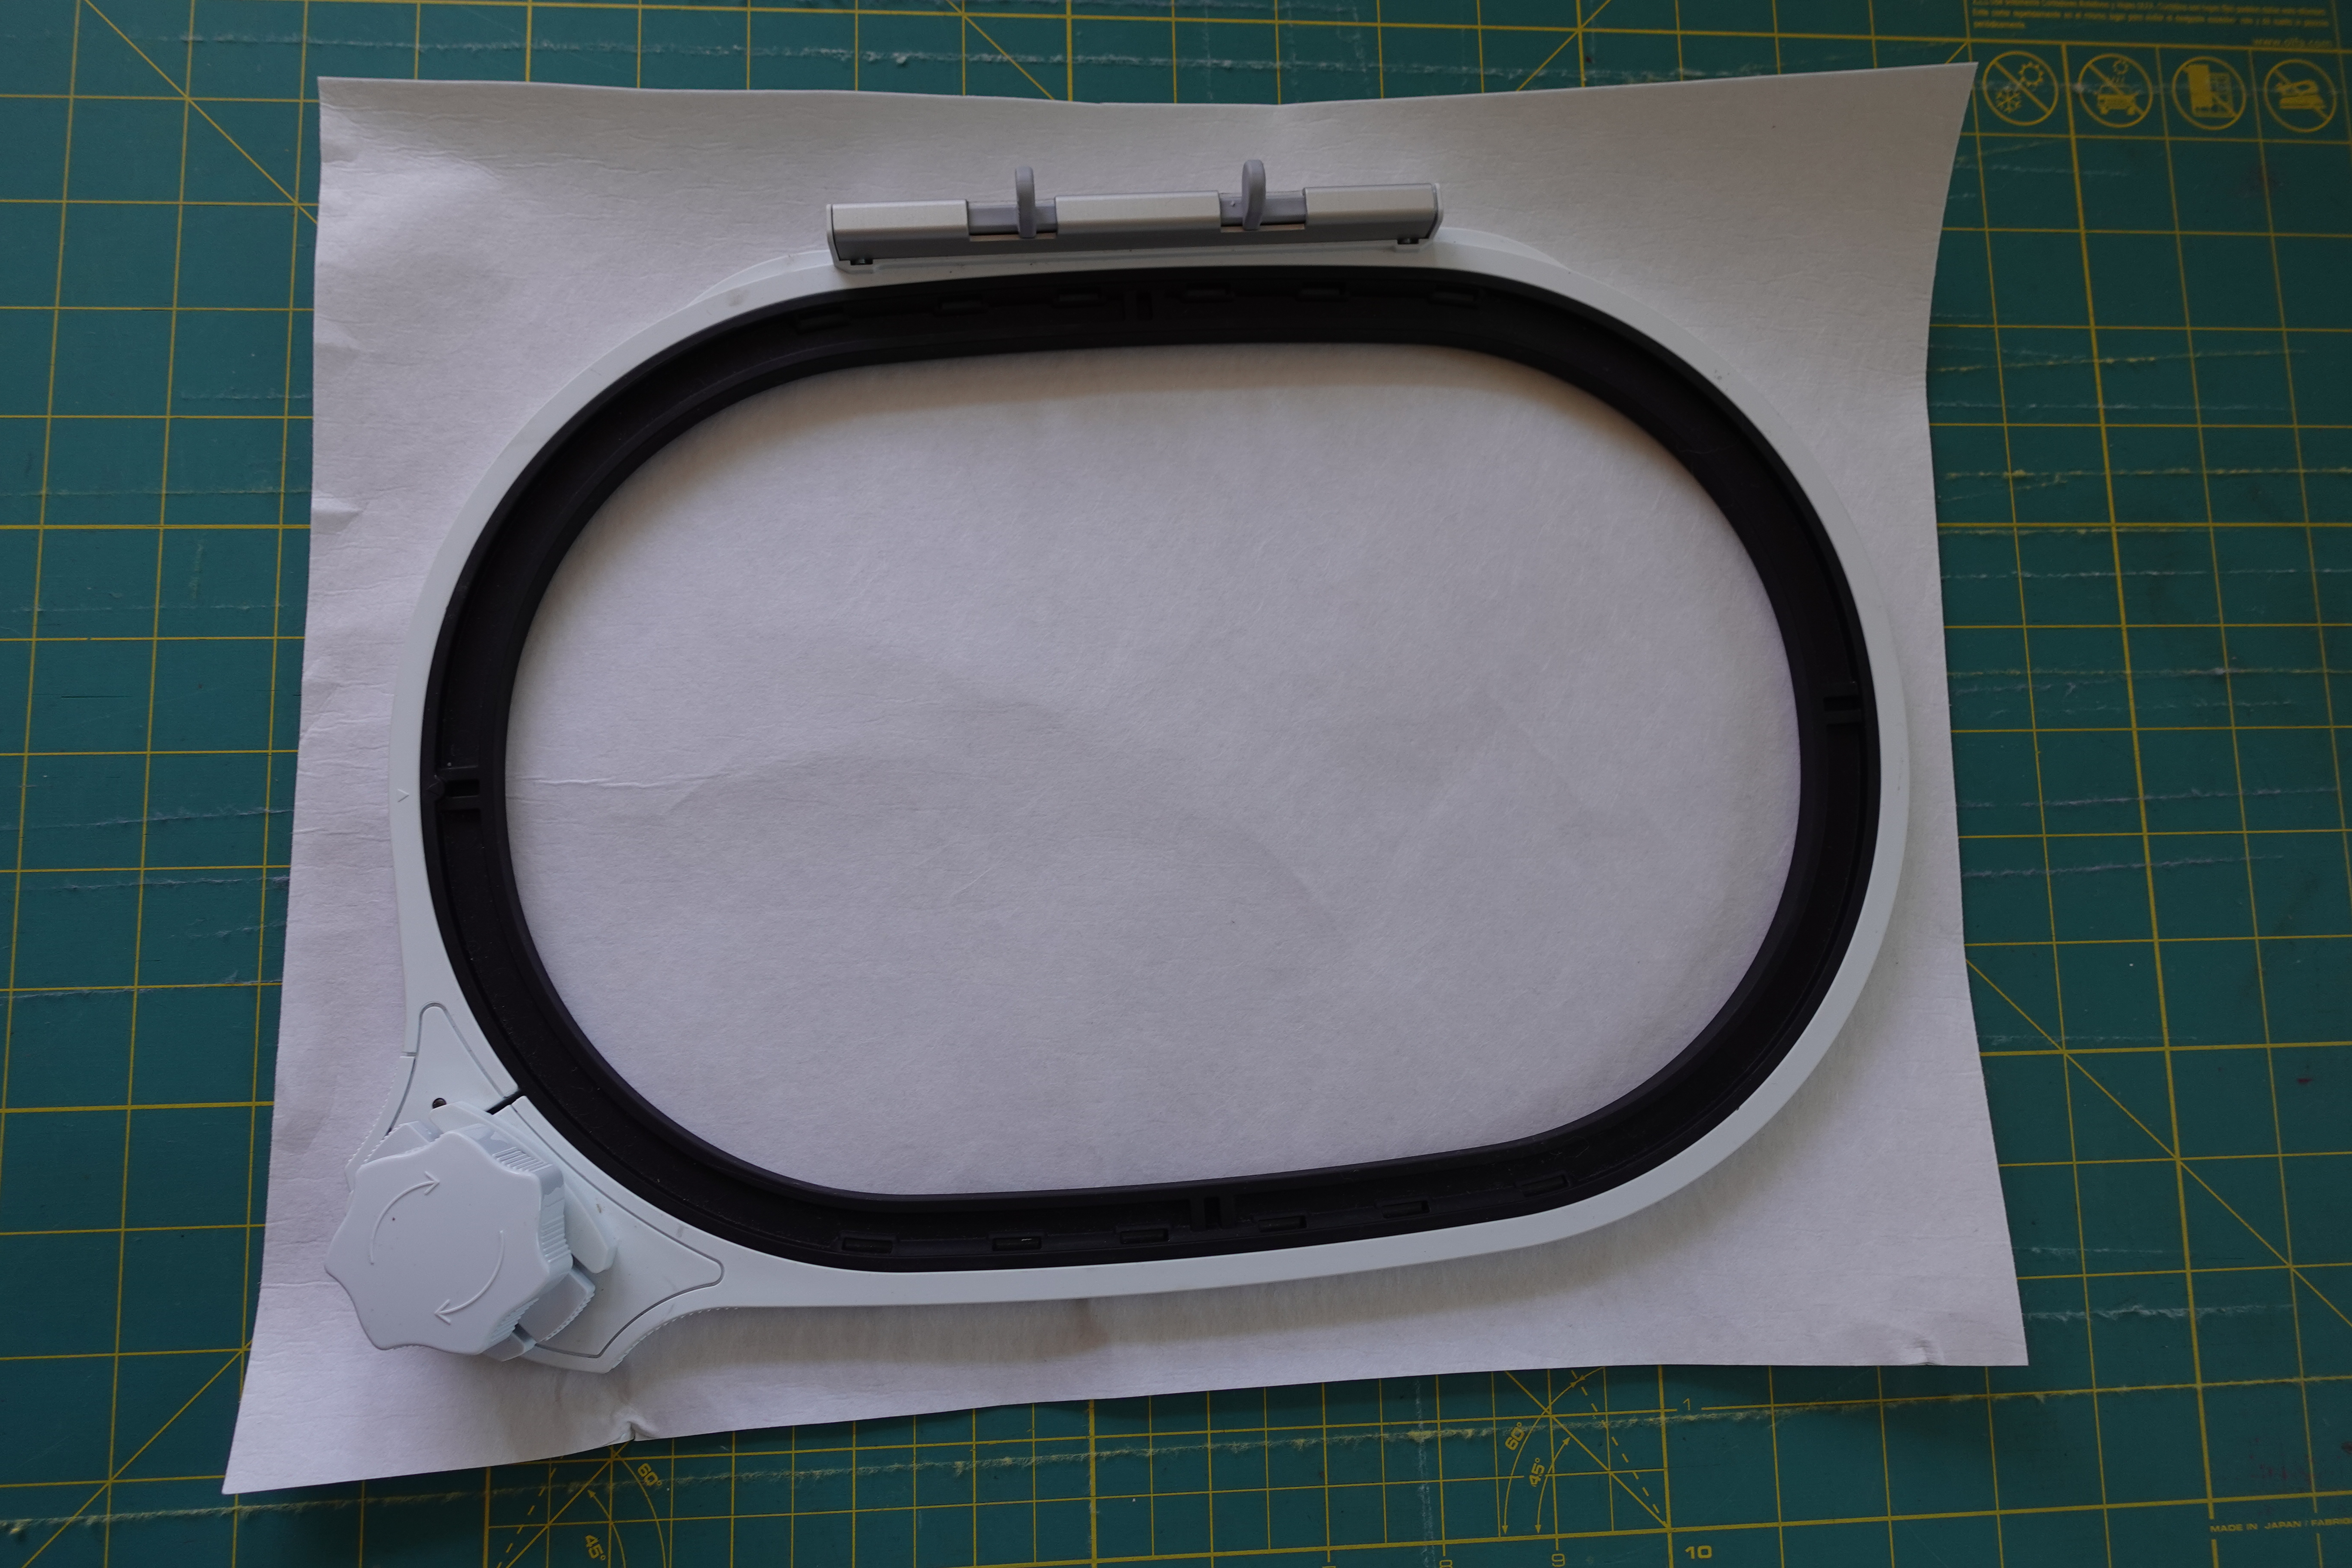
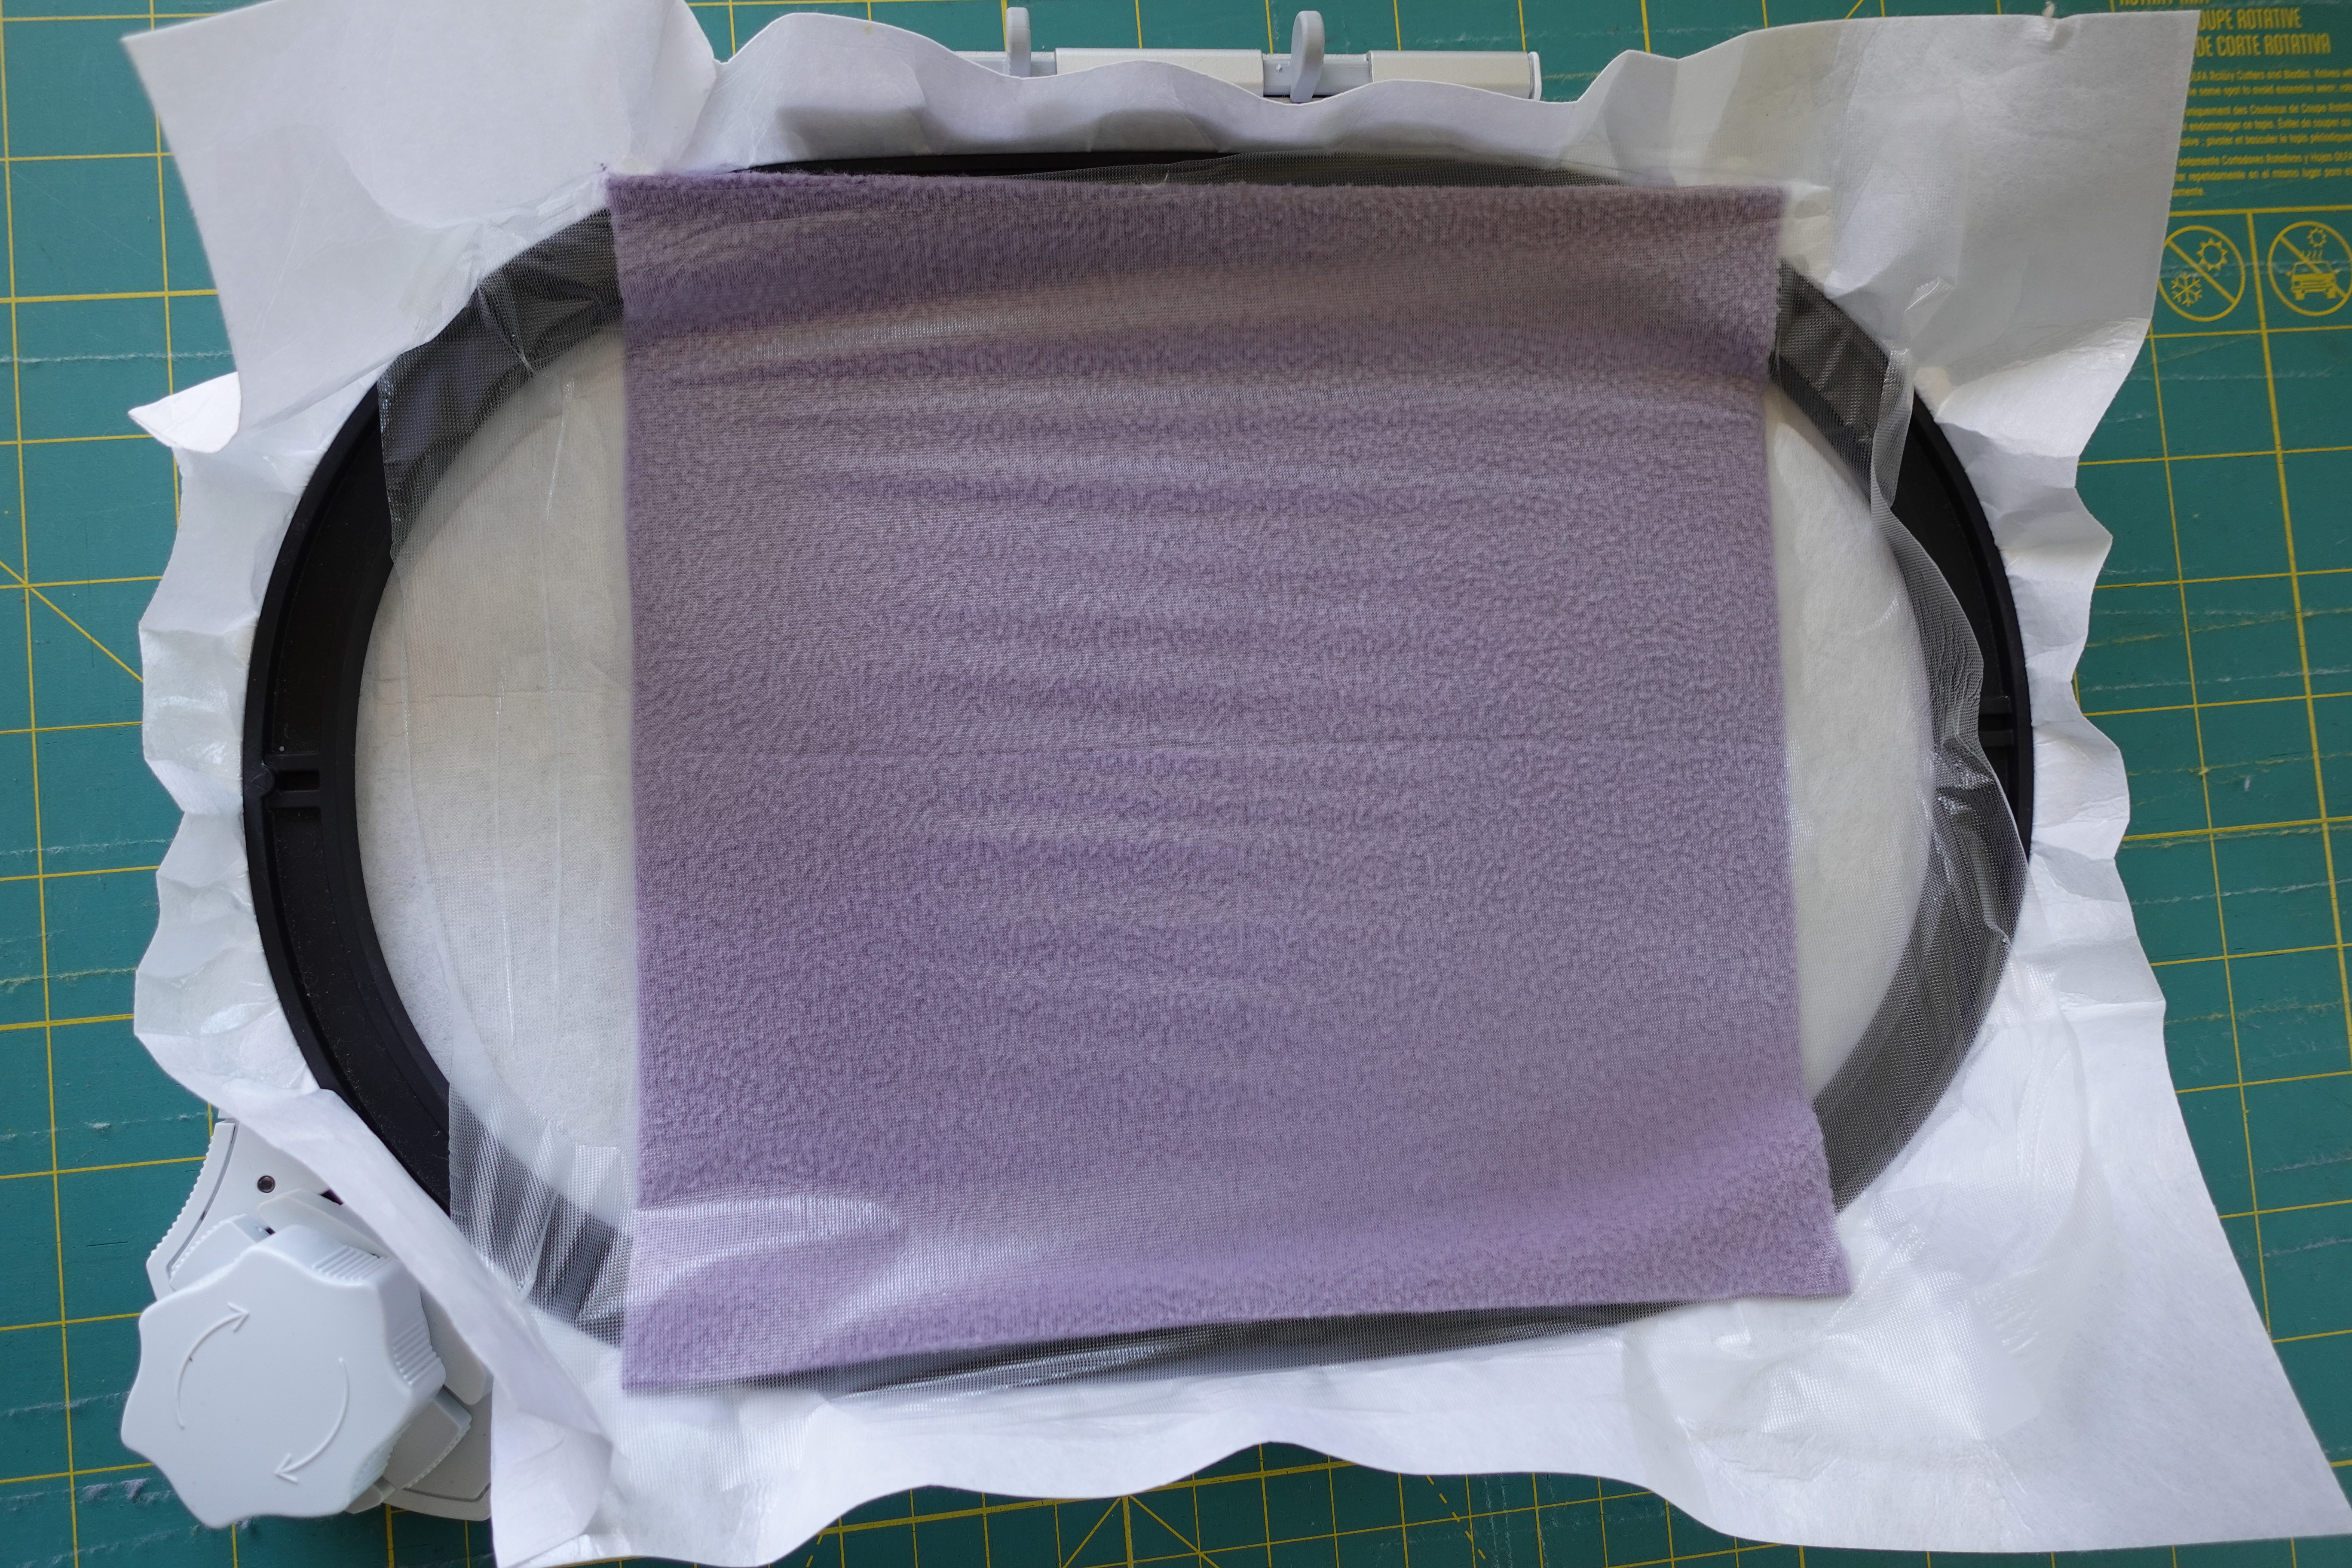
Remove the paper backing and place your stabilizer on the table sticky side up. Press the inner embroidery hoop in the center of your stabilizer. Make sure the arrow at the bottom center of the hoop is facing up.
Hoop your stabilizer, ensuring the arrow on the outer hoop is aligned with the arrow on the inner hoop. they may not align perfectly, that’s okay, they just need to both be face up and at the same end of the hoop.
Mark the center of the 8.5″ square horizontally and vertically. You can do this with a marking pen if you prefer. I like to use a hera marker to “carve” the lines but they do go away easily so you have to be careful.
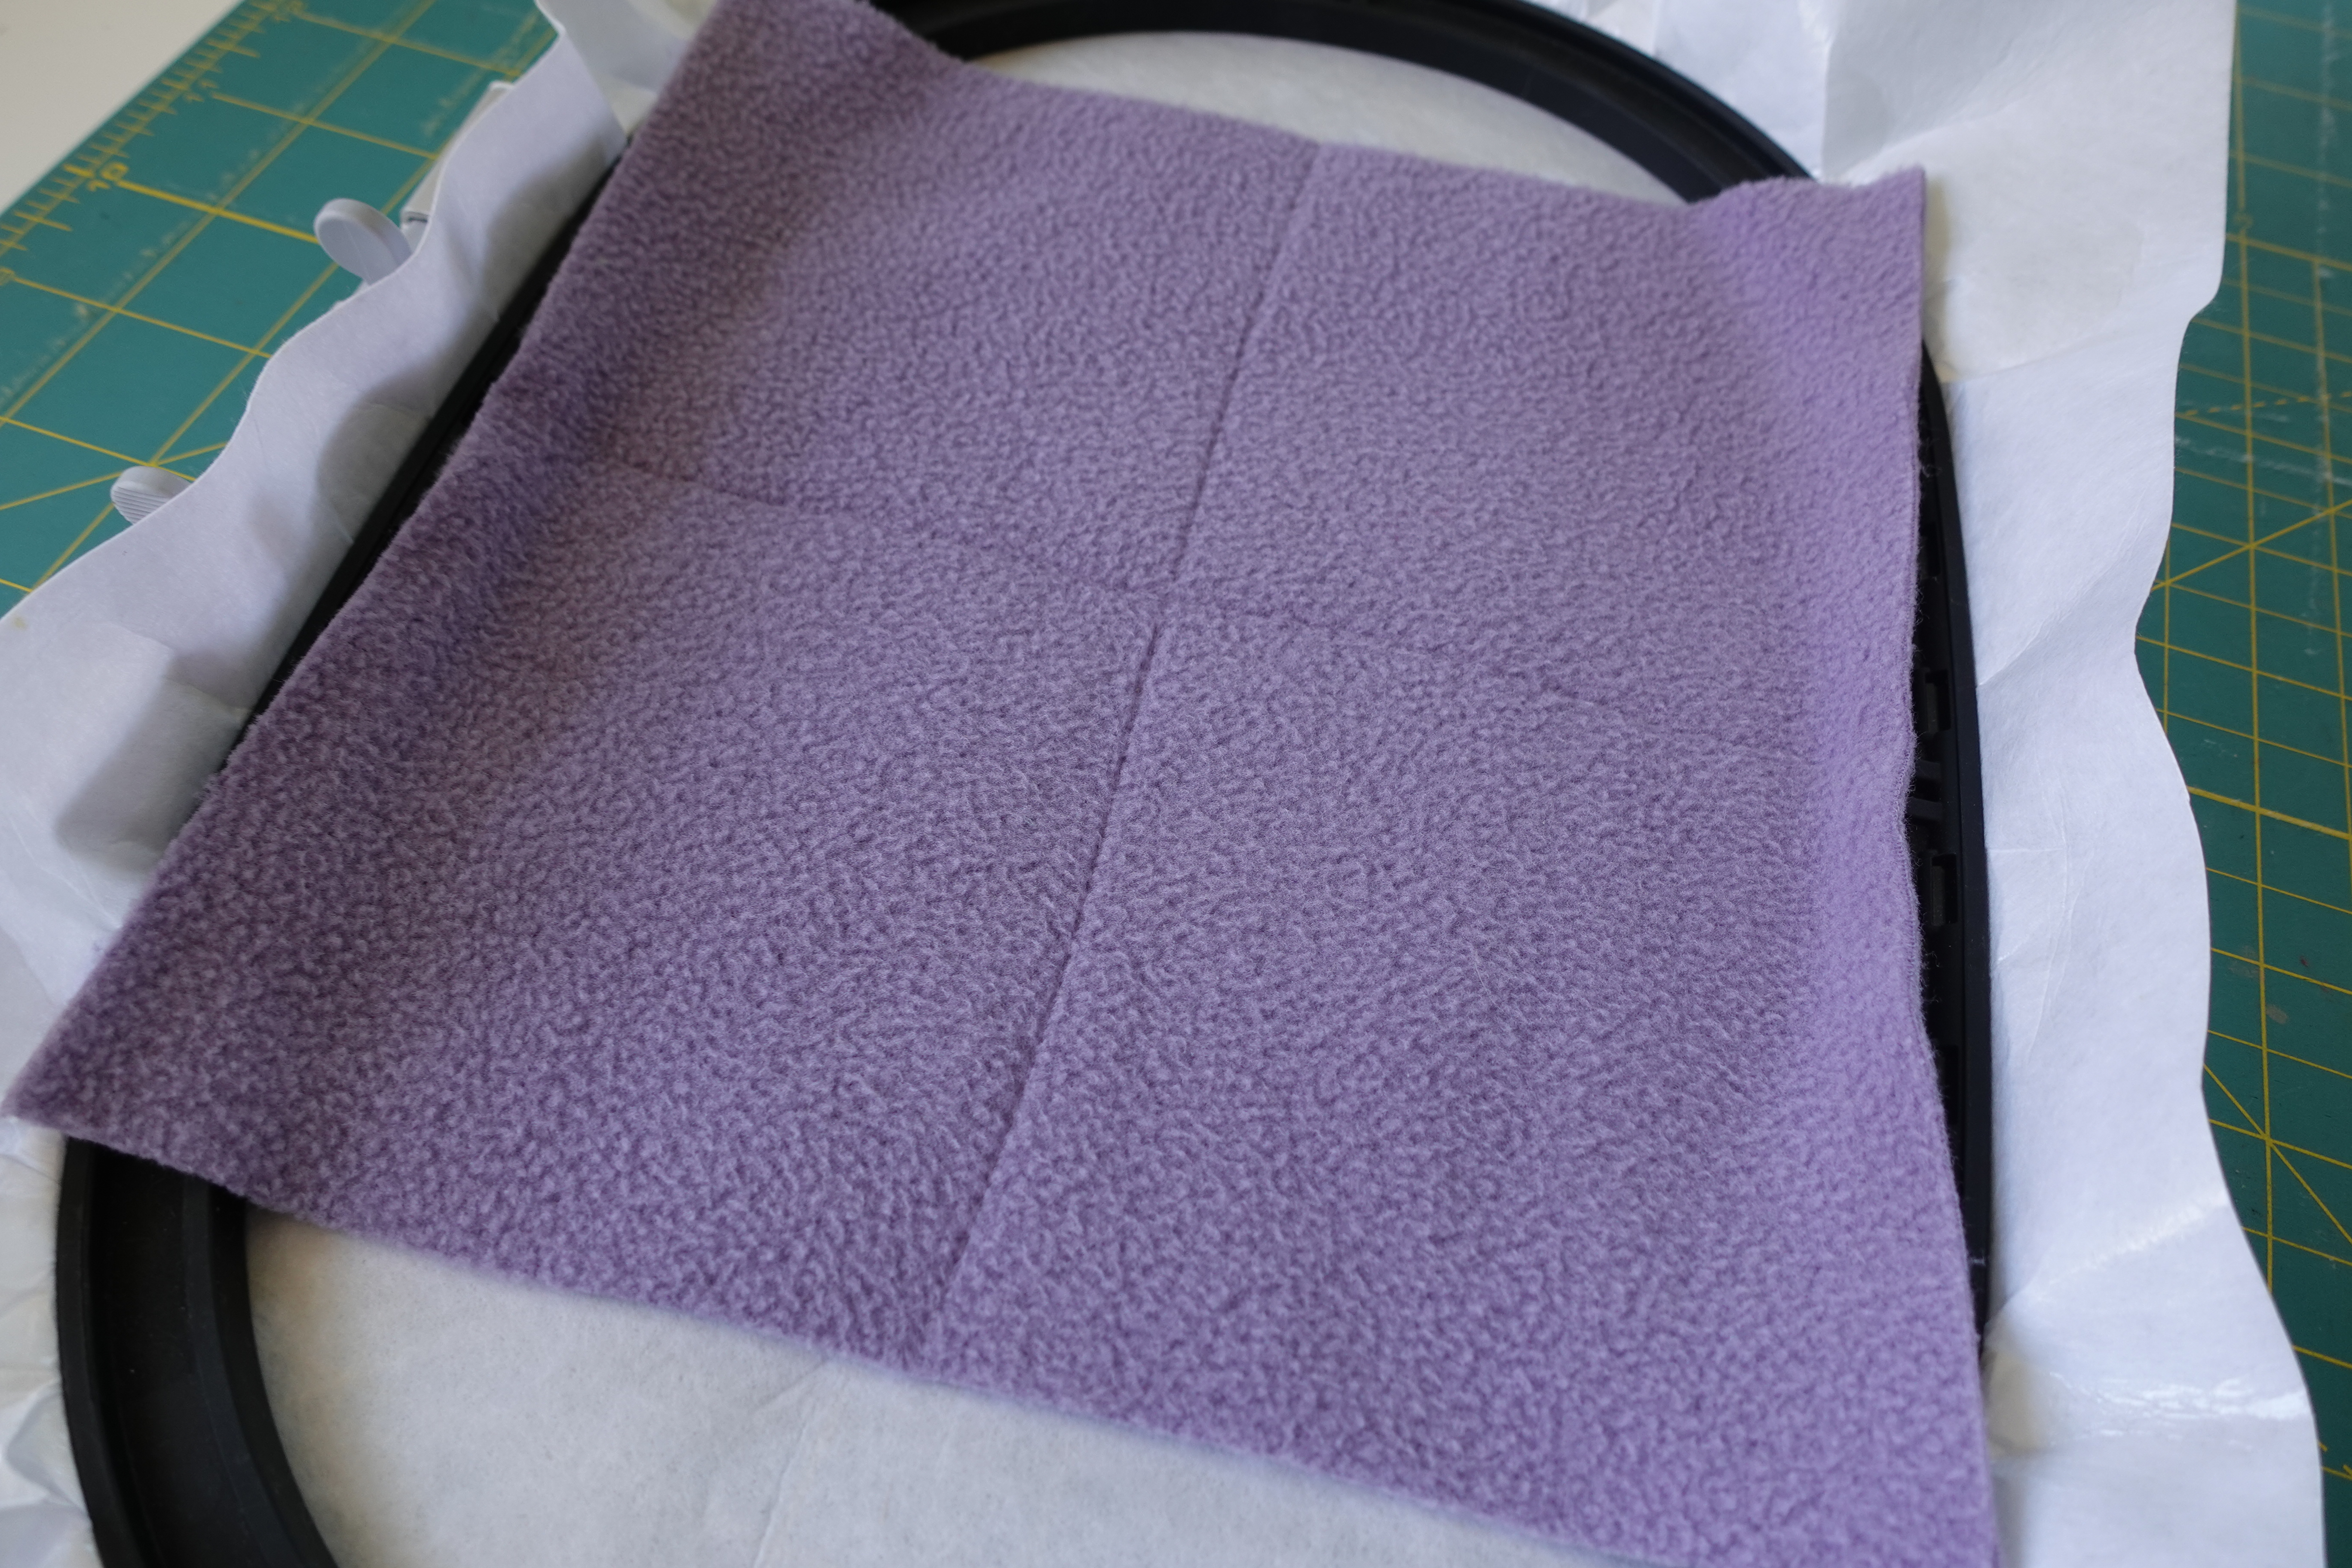
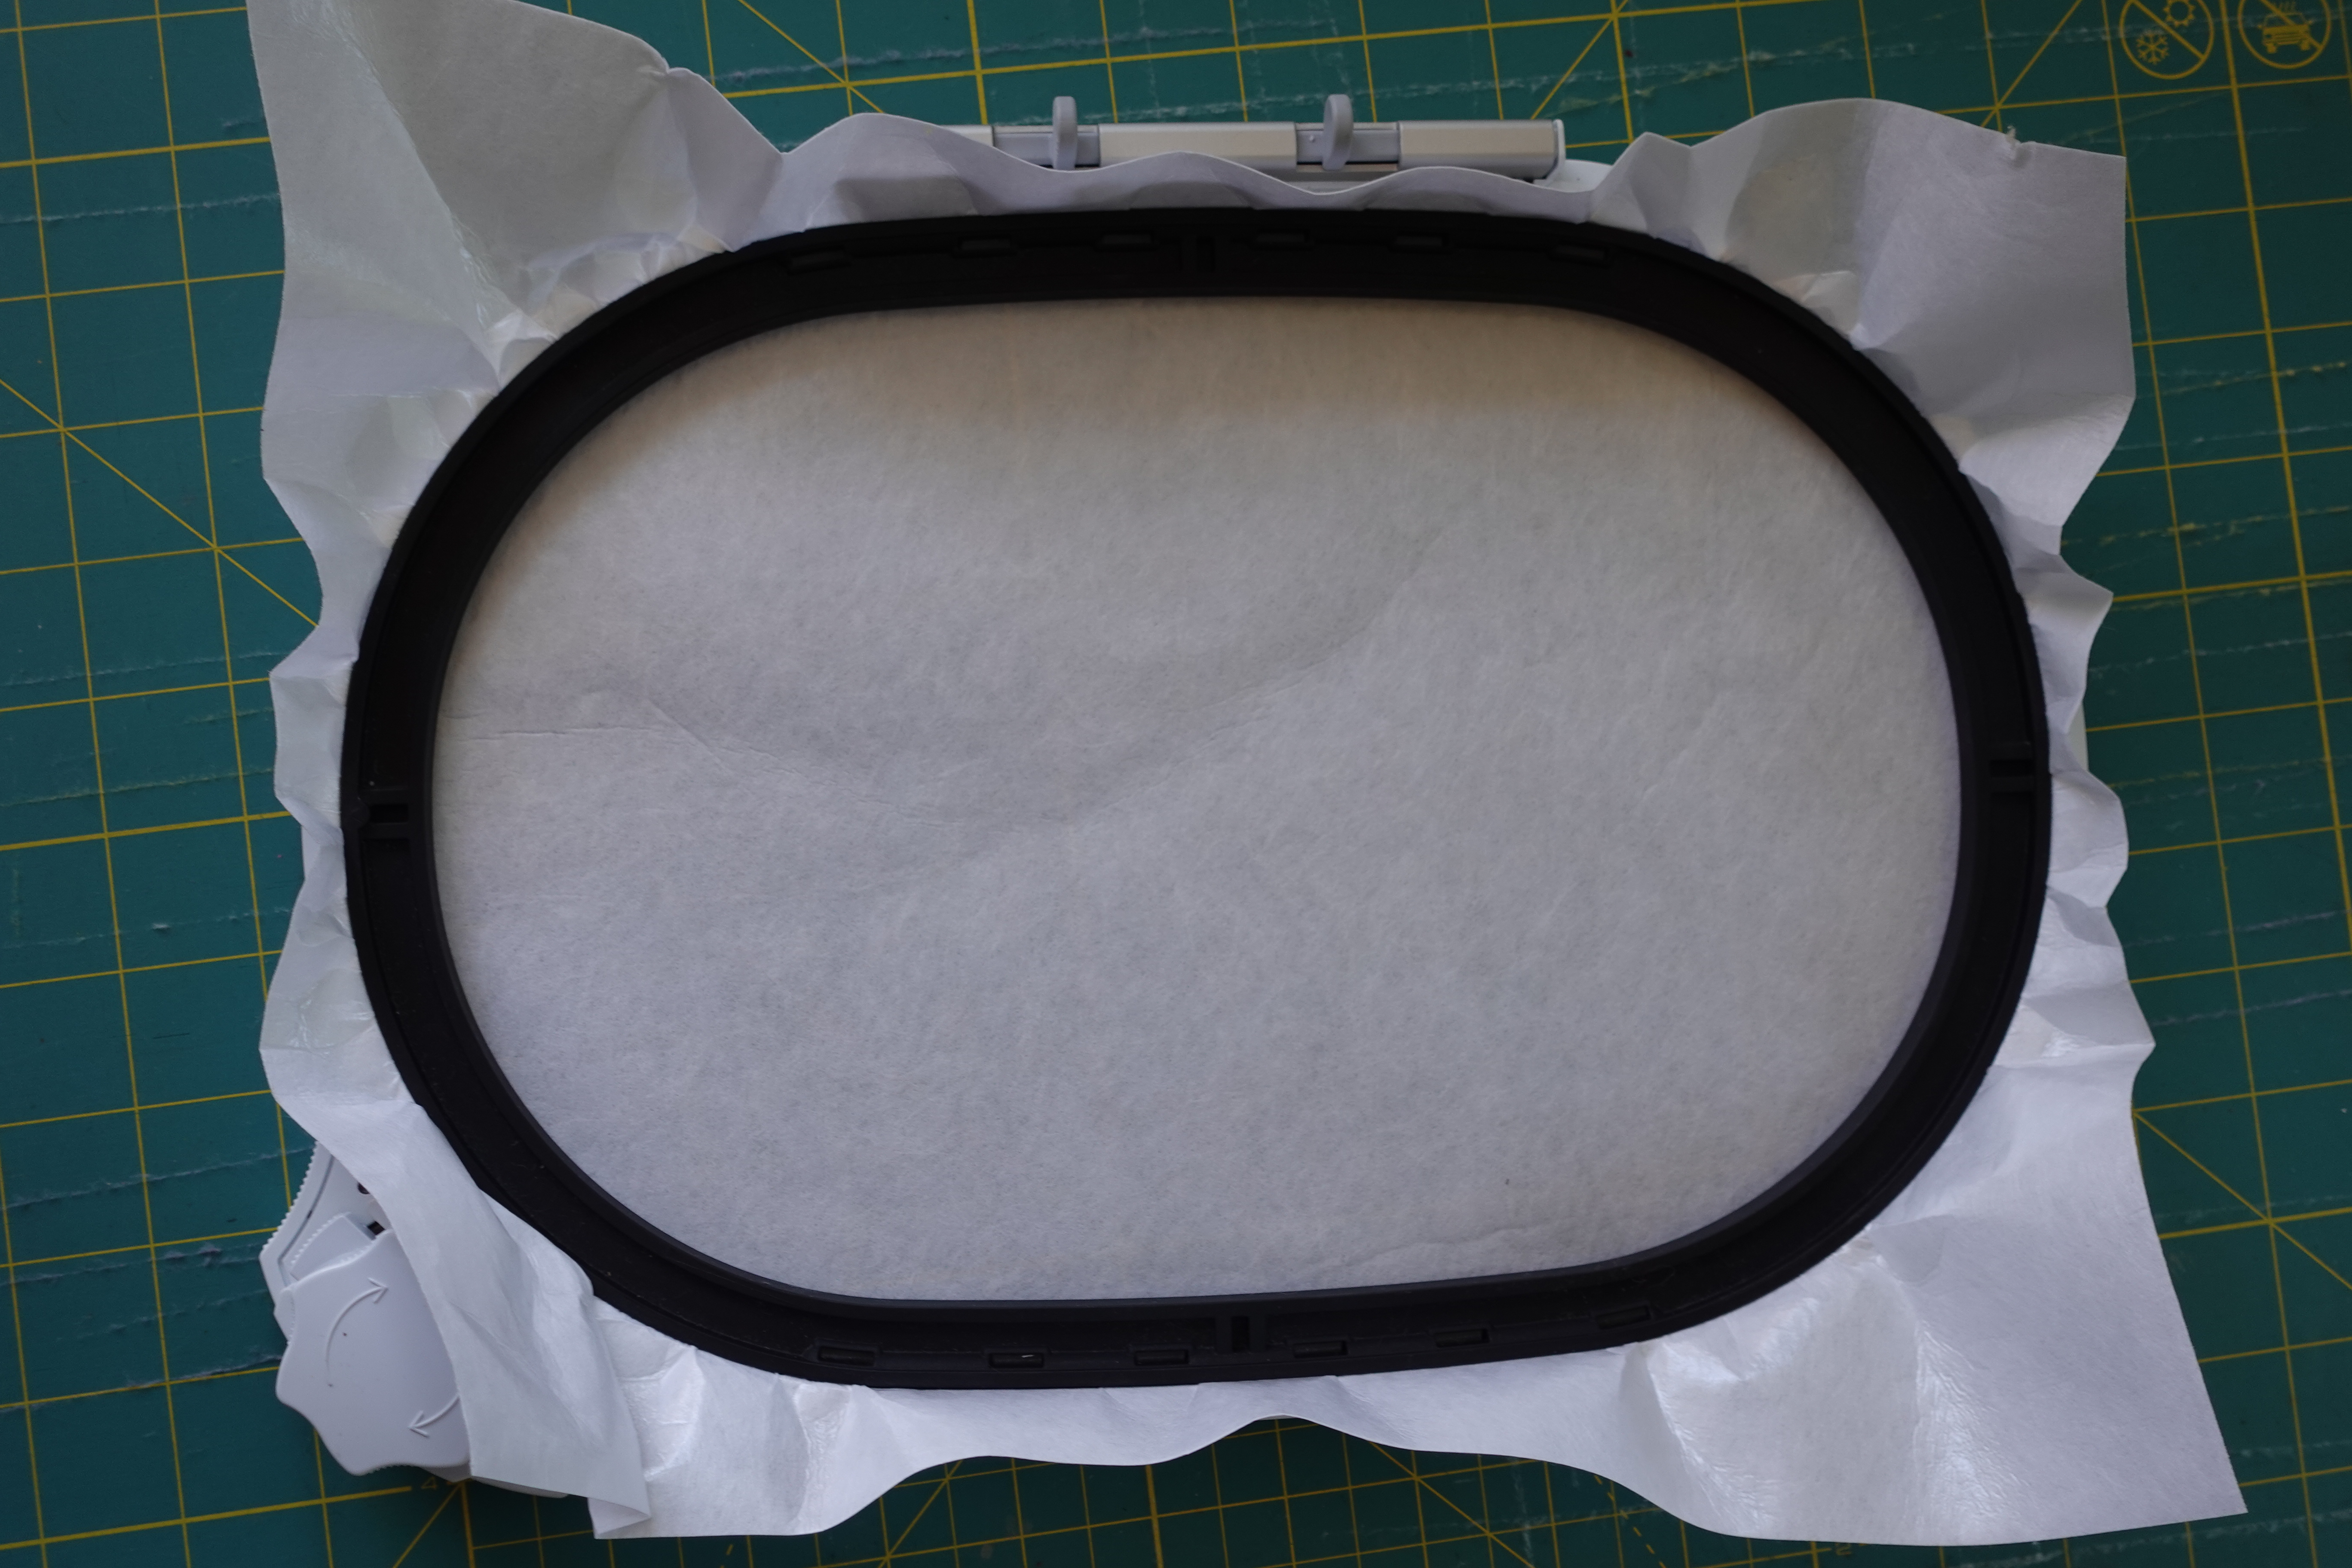
Press the fabric into the center of the hoop.
Cut the StitcH20 big enough to cover the fleece within the inner hoop. Cover the fleece with the StitcH20, textured side up.
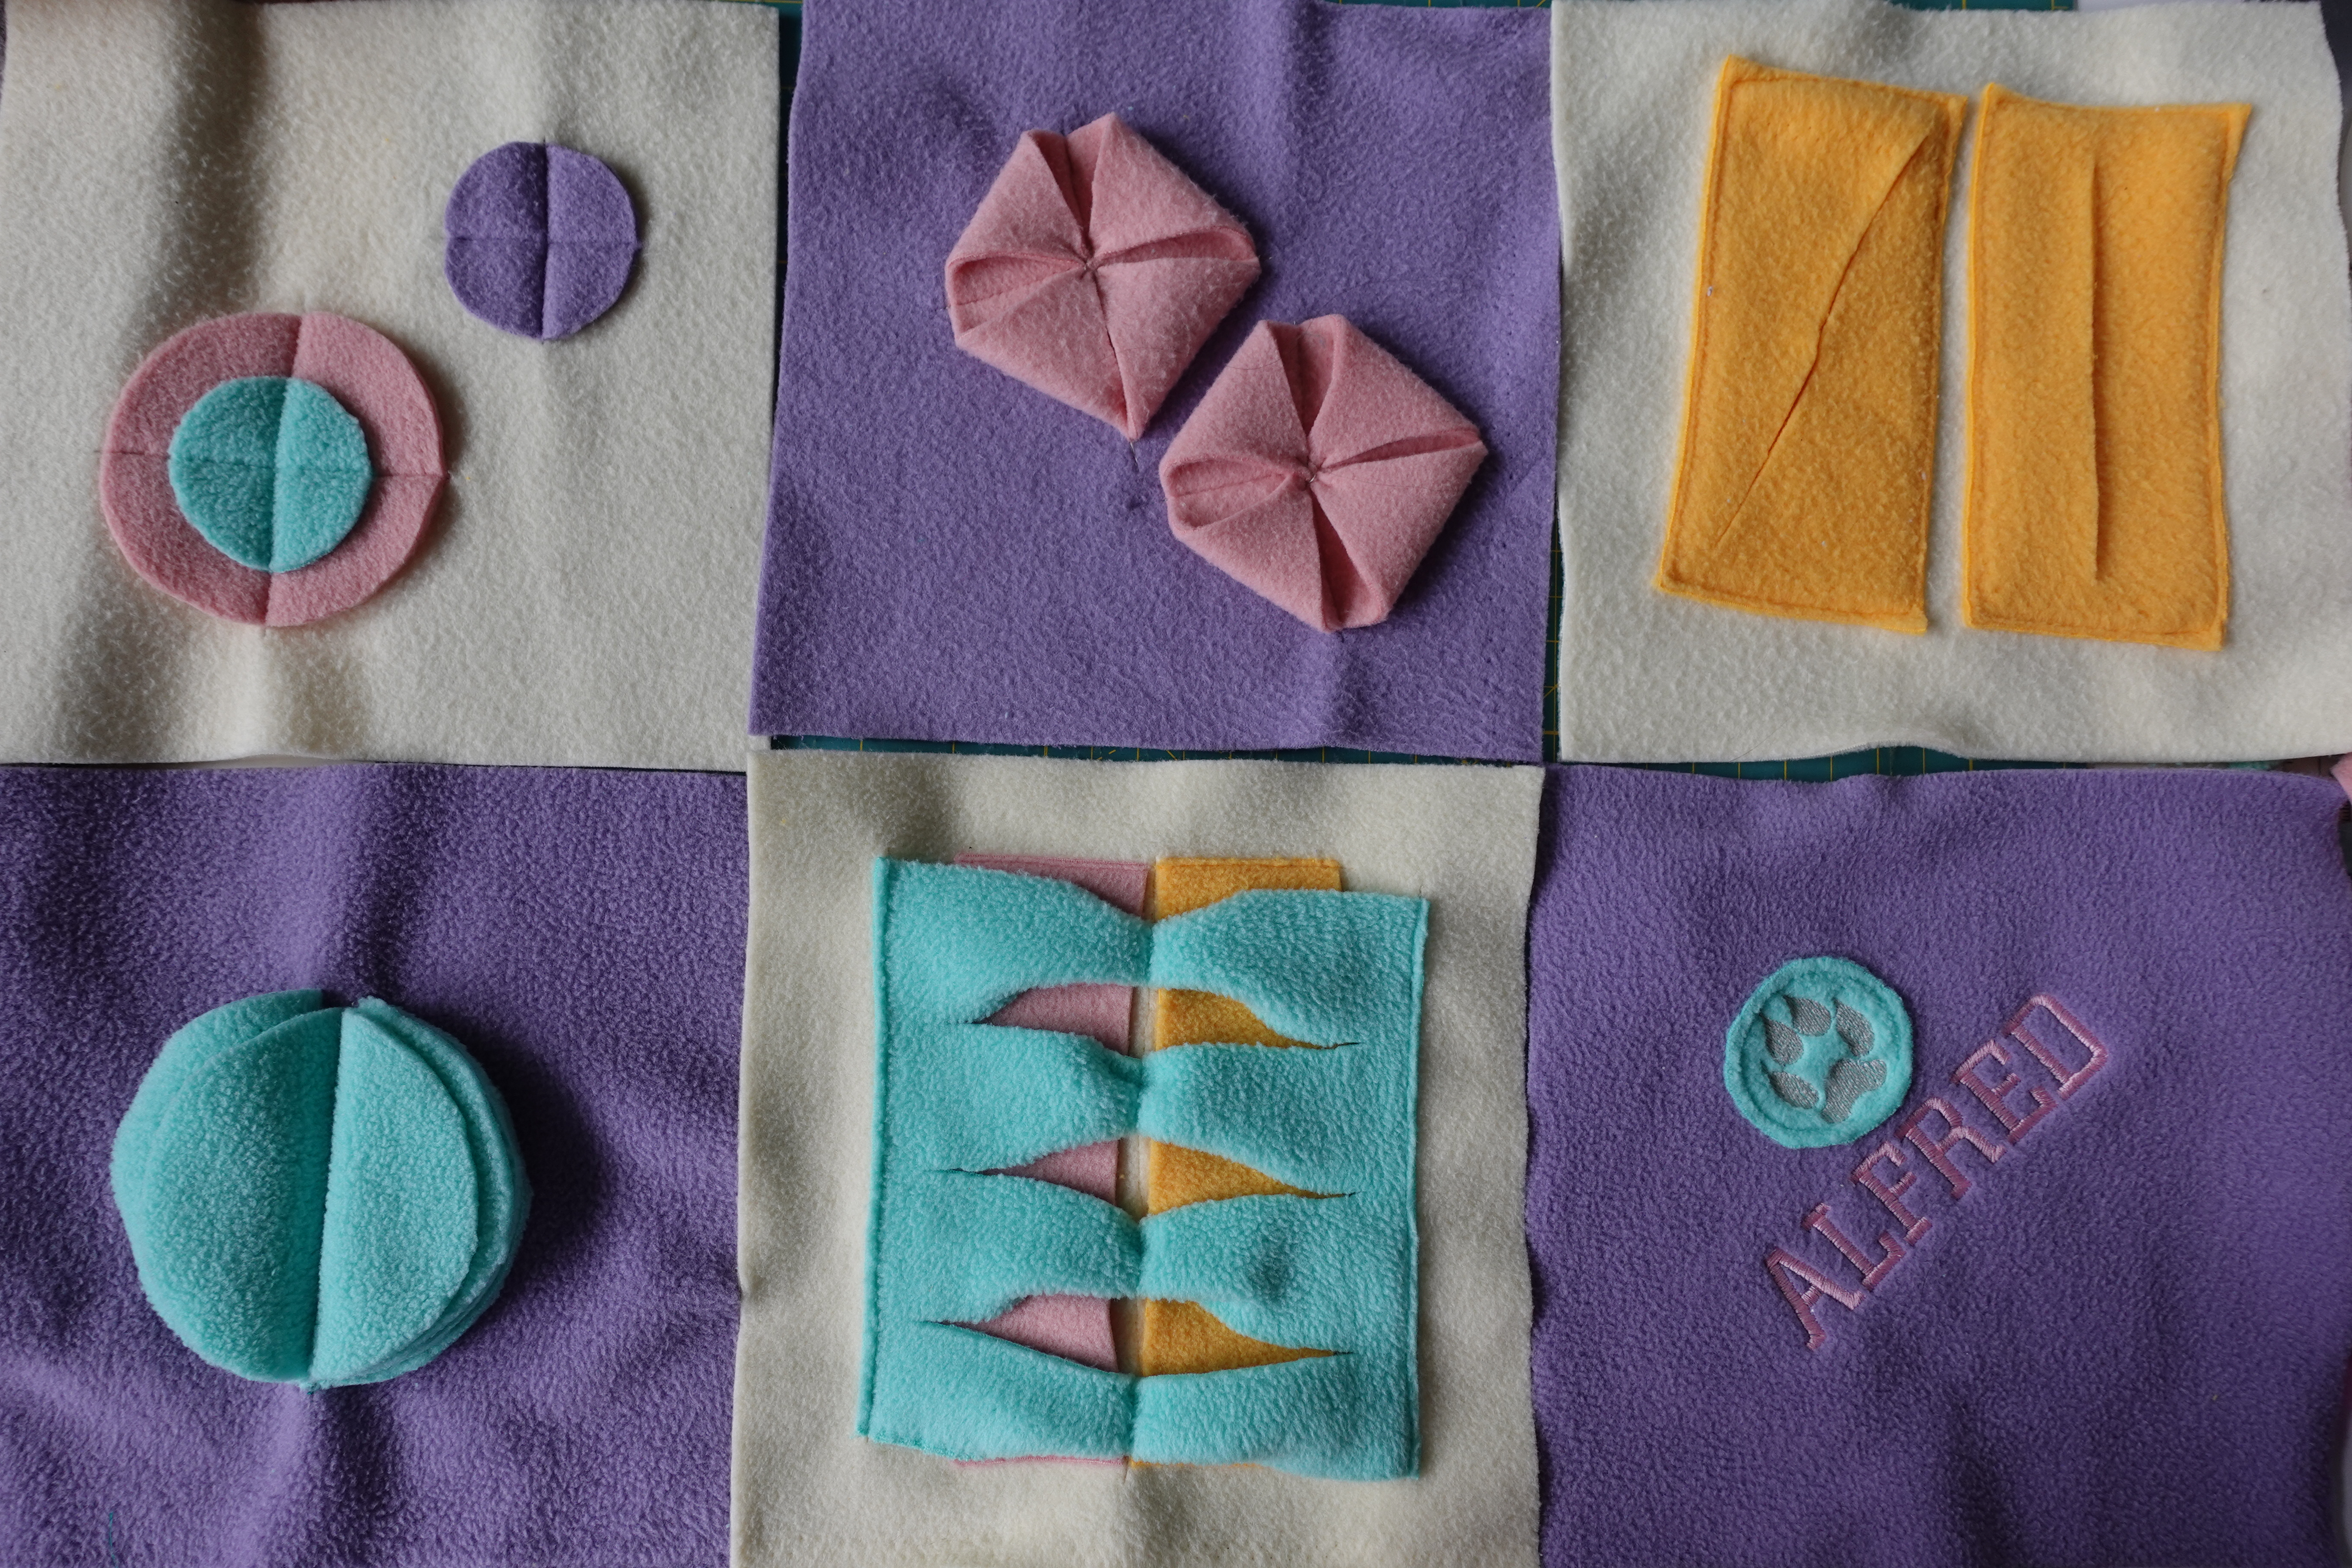
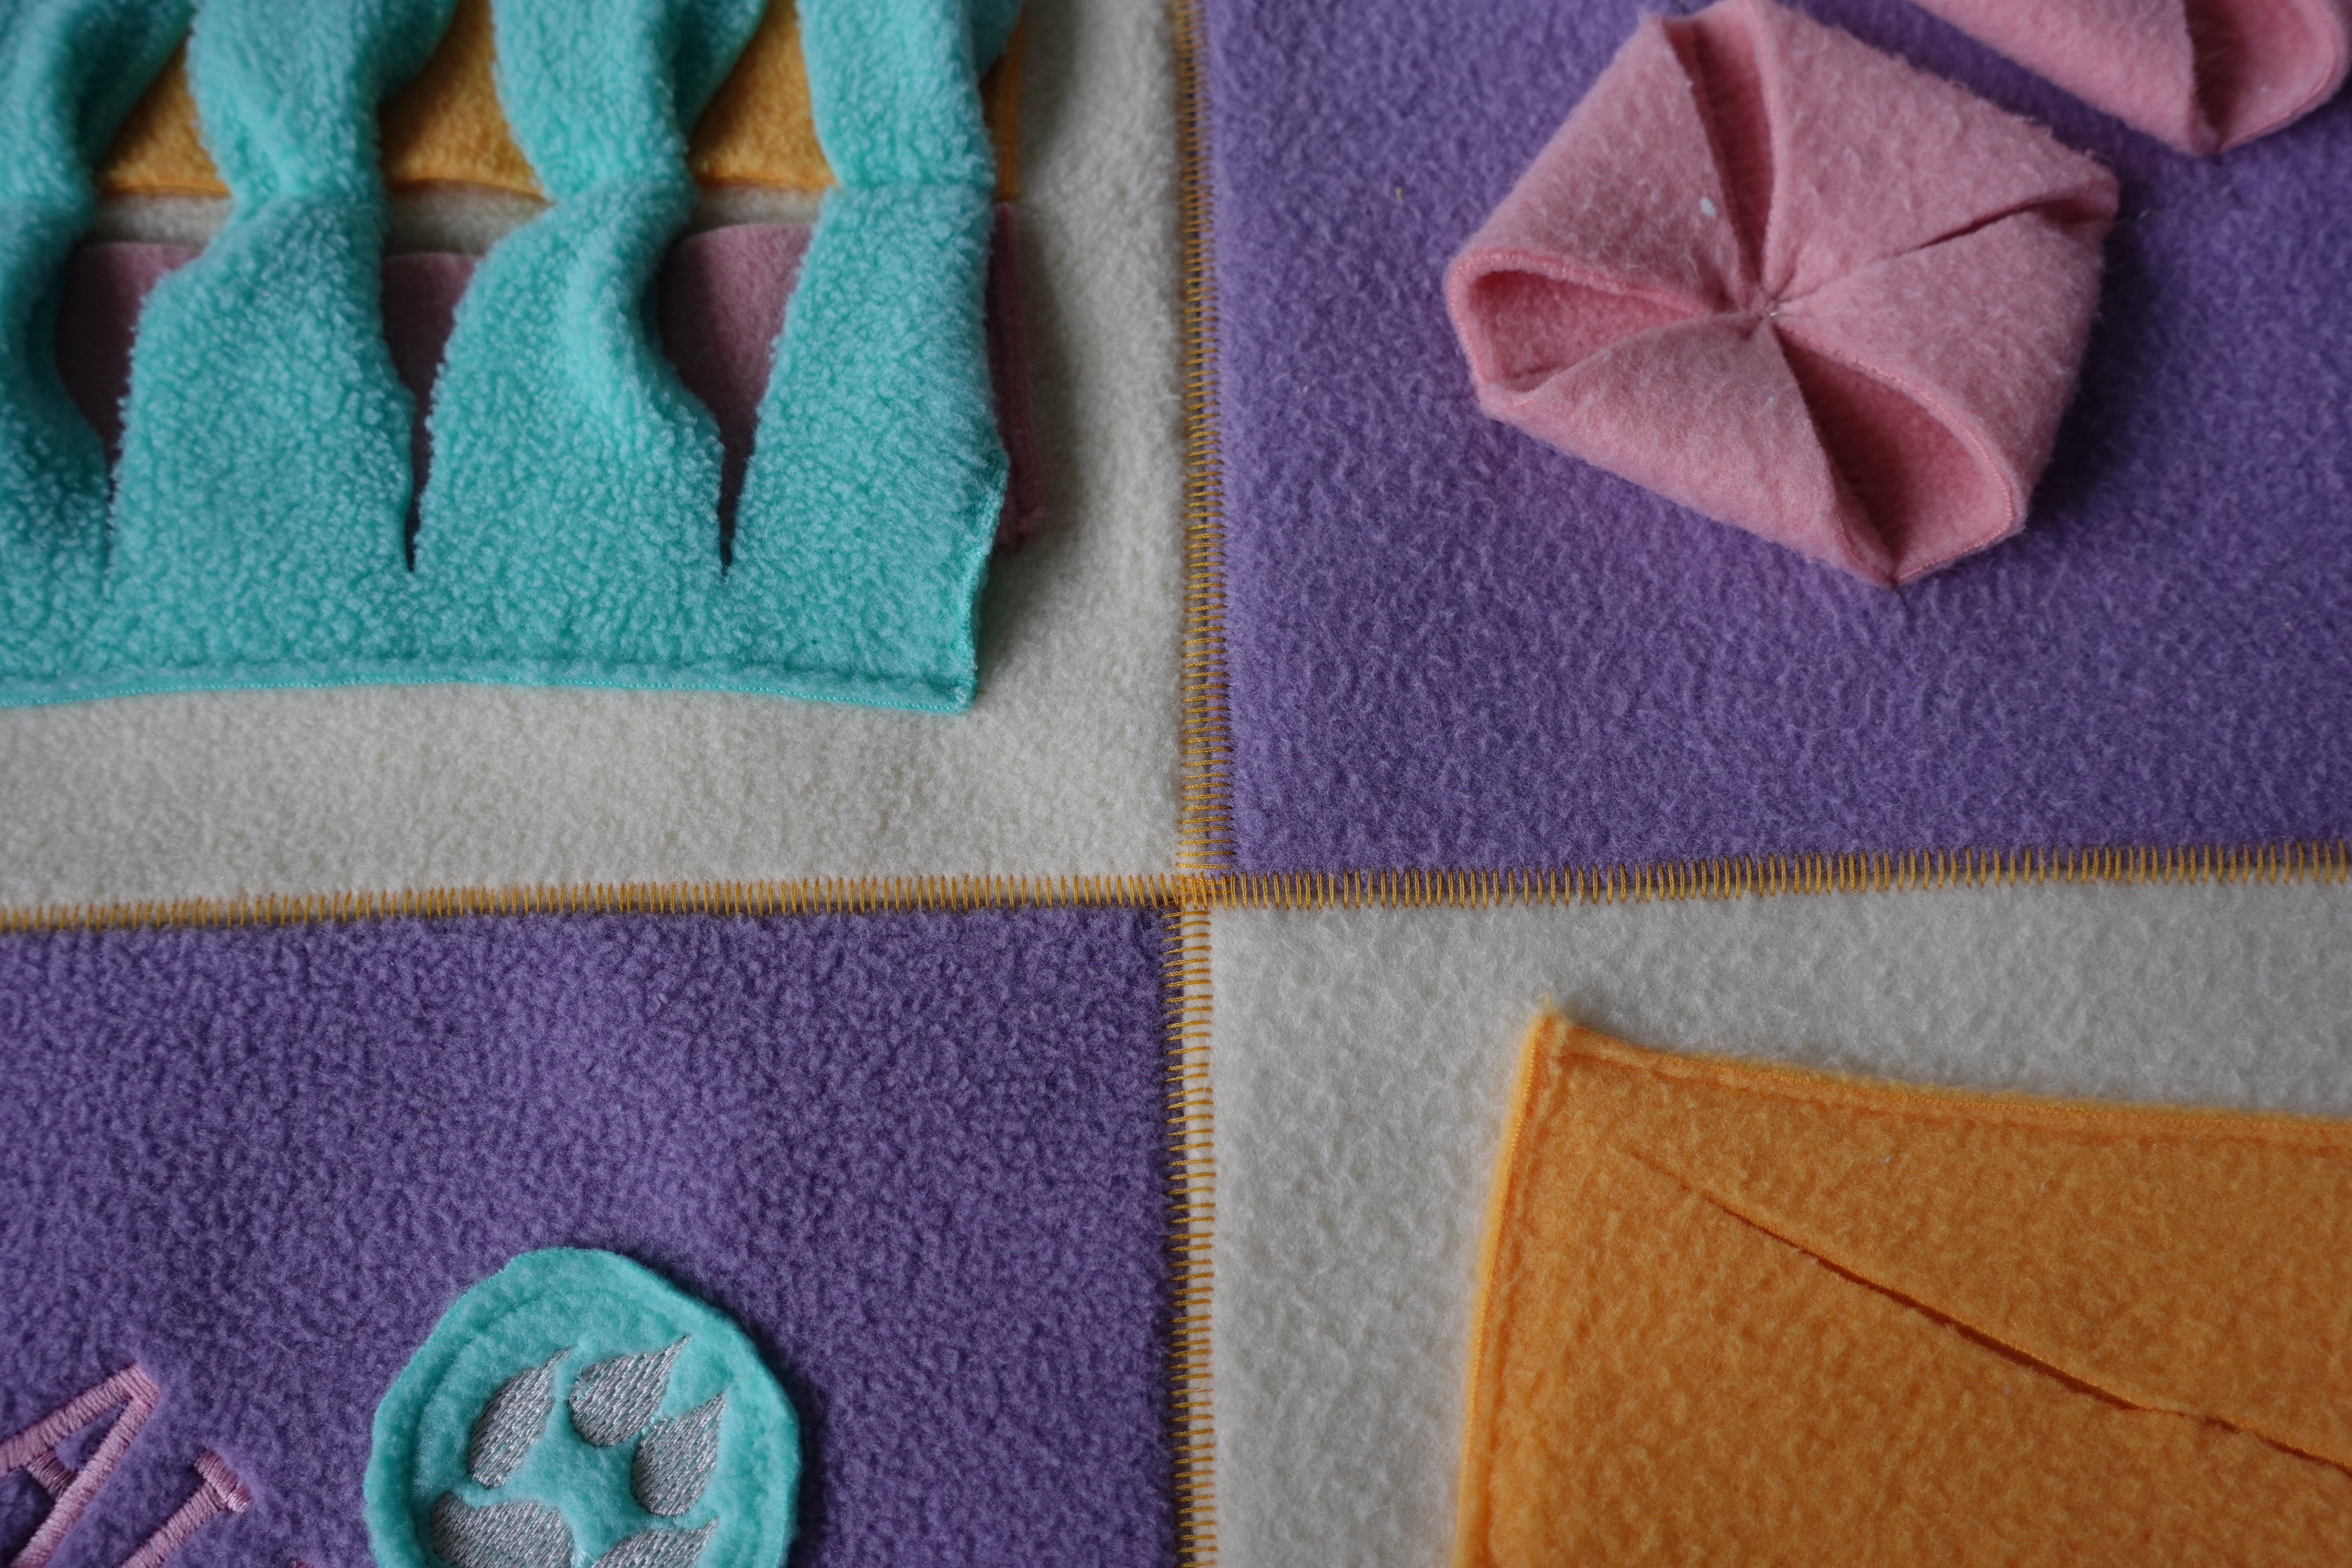
I used an alphabet within the machine to type out “ALFRED” I also added an applique from OESD “Dogprint Patch Applique”
Center your design using your marked lines and pinpoint placement.
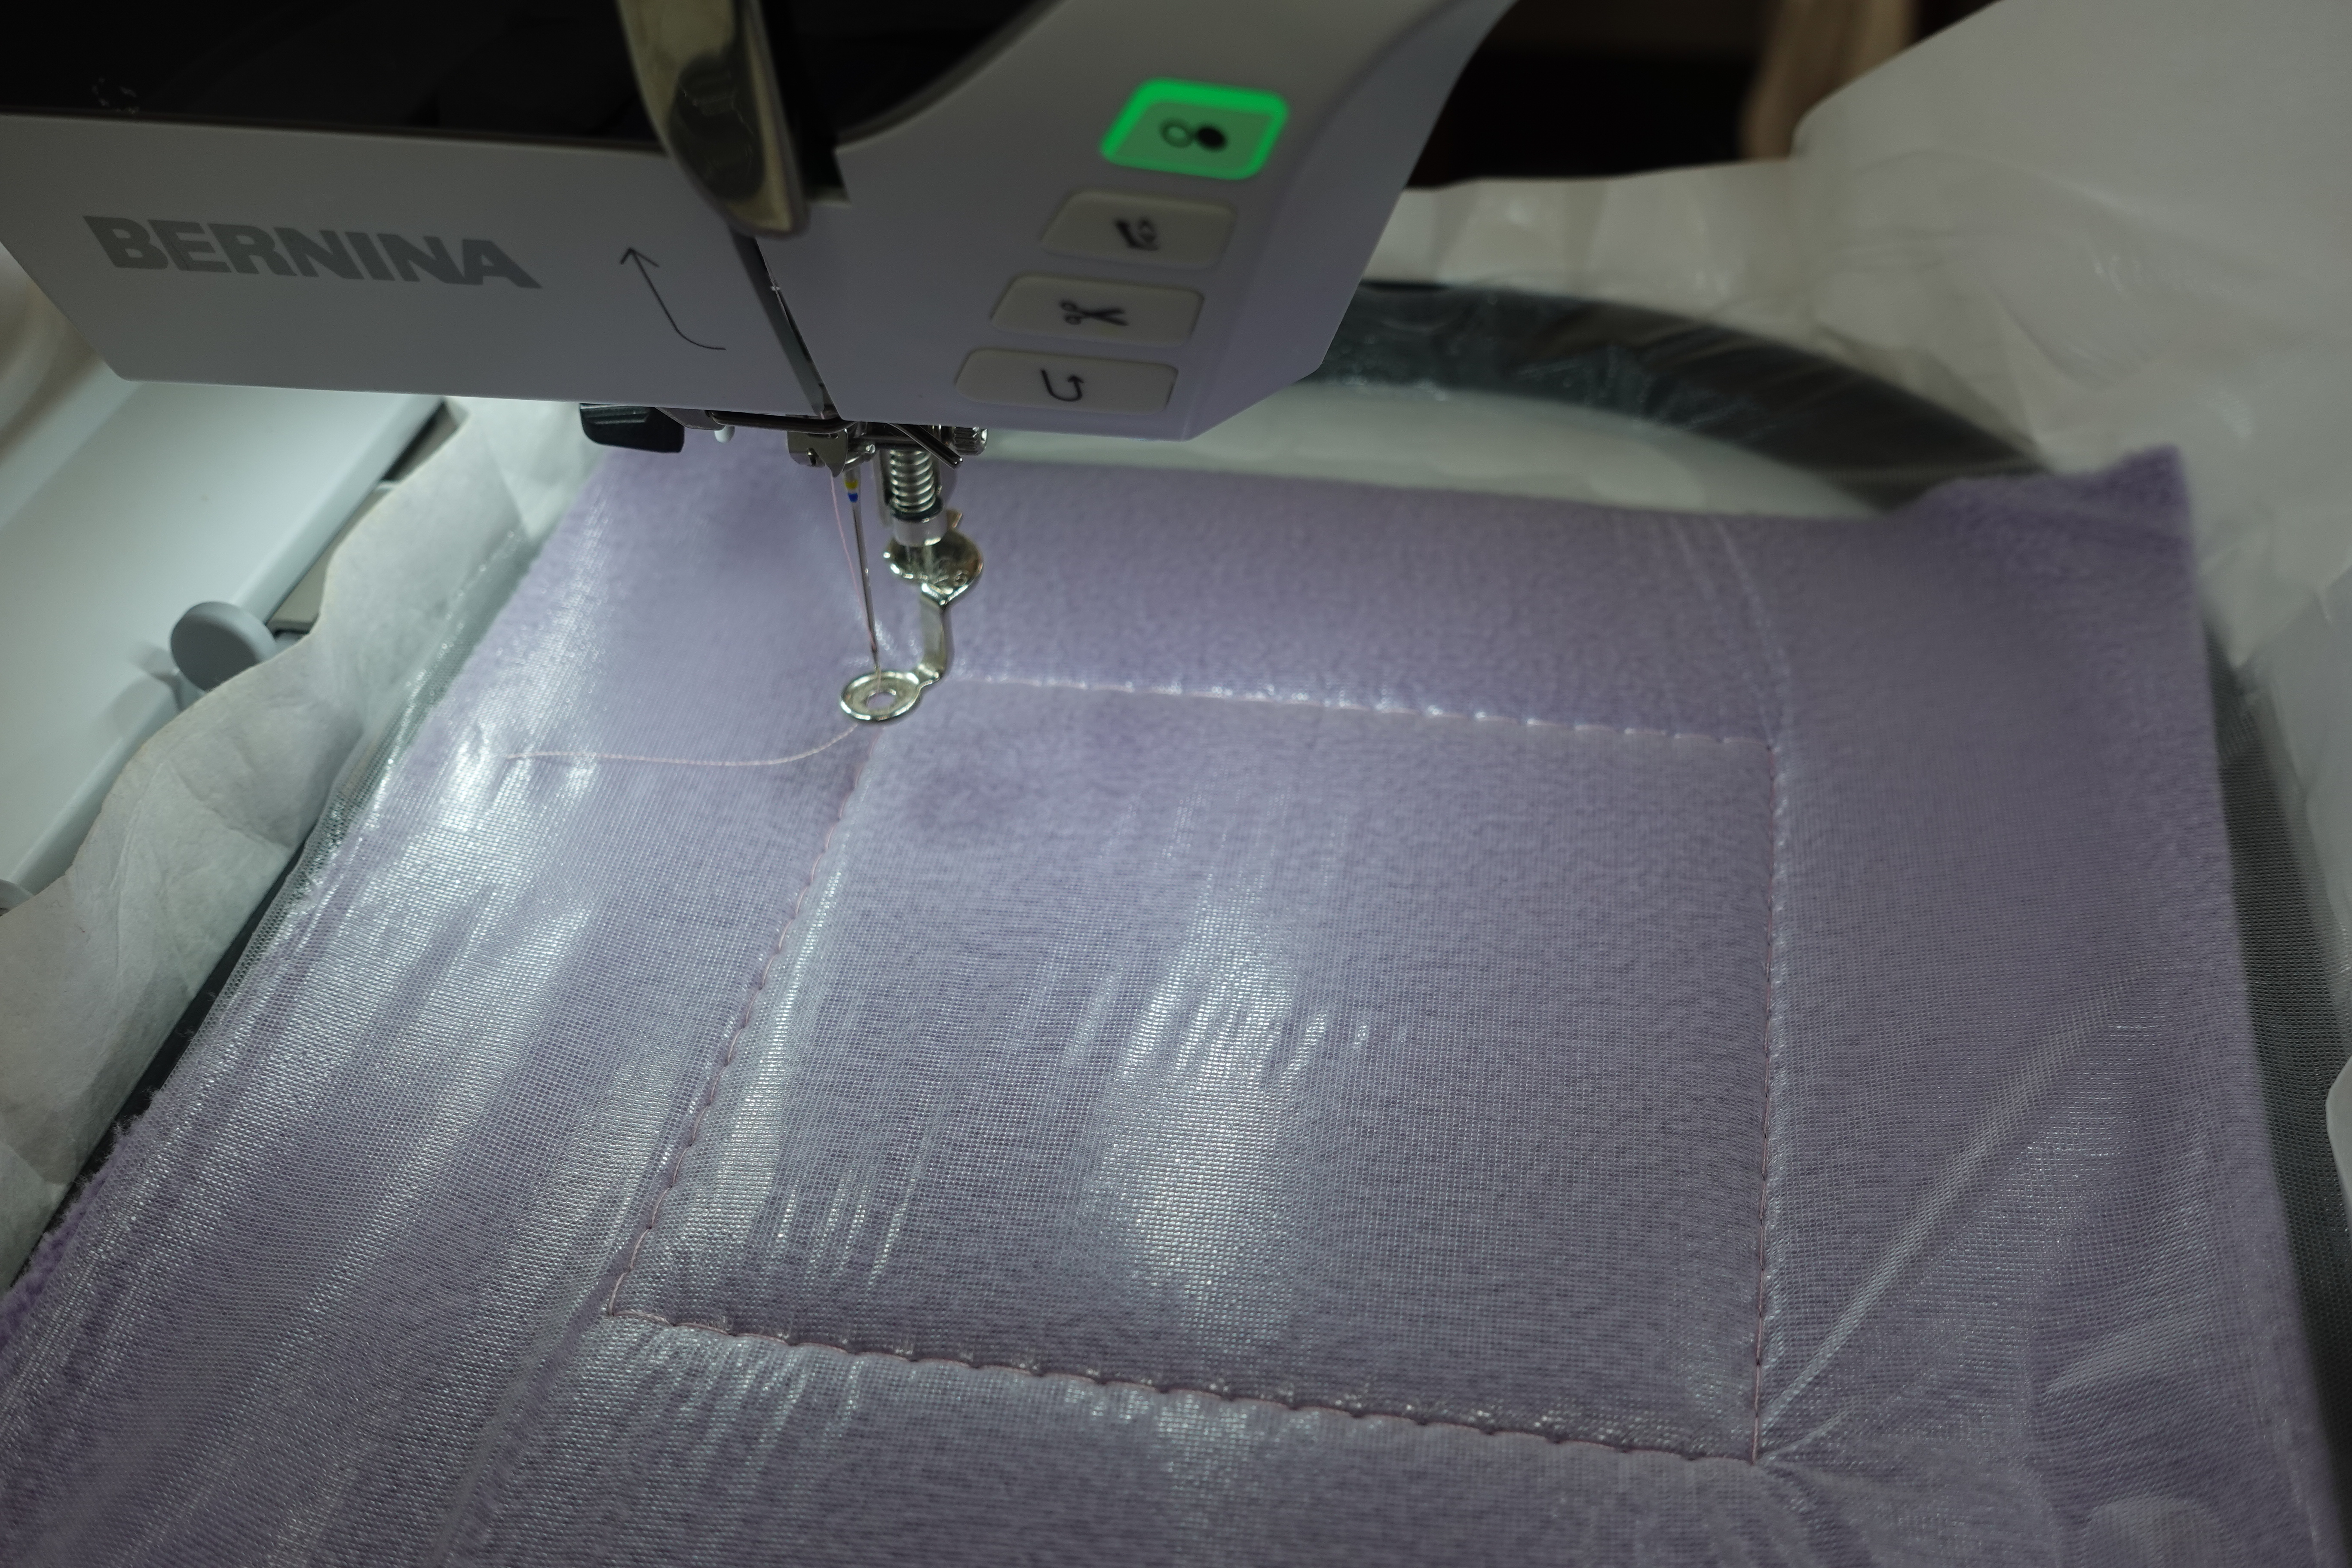
First, stitch out a basting box around your design.
Tip: Use your foot pedal to stitch out the basting box. I like to do this so I can easily stop to adjust my topper as necessary. Remember to protect your fingers by never put your them in the hoop while the embroidery machine is running. If you need to adjust your topper be sure you stop the machine first.

Stitch out your embroidery design.
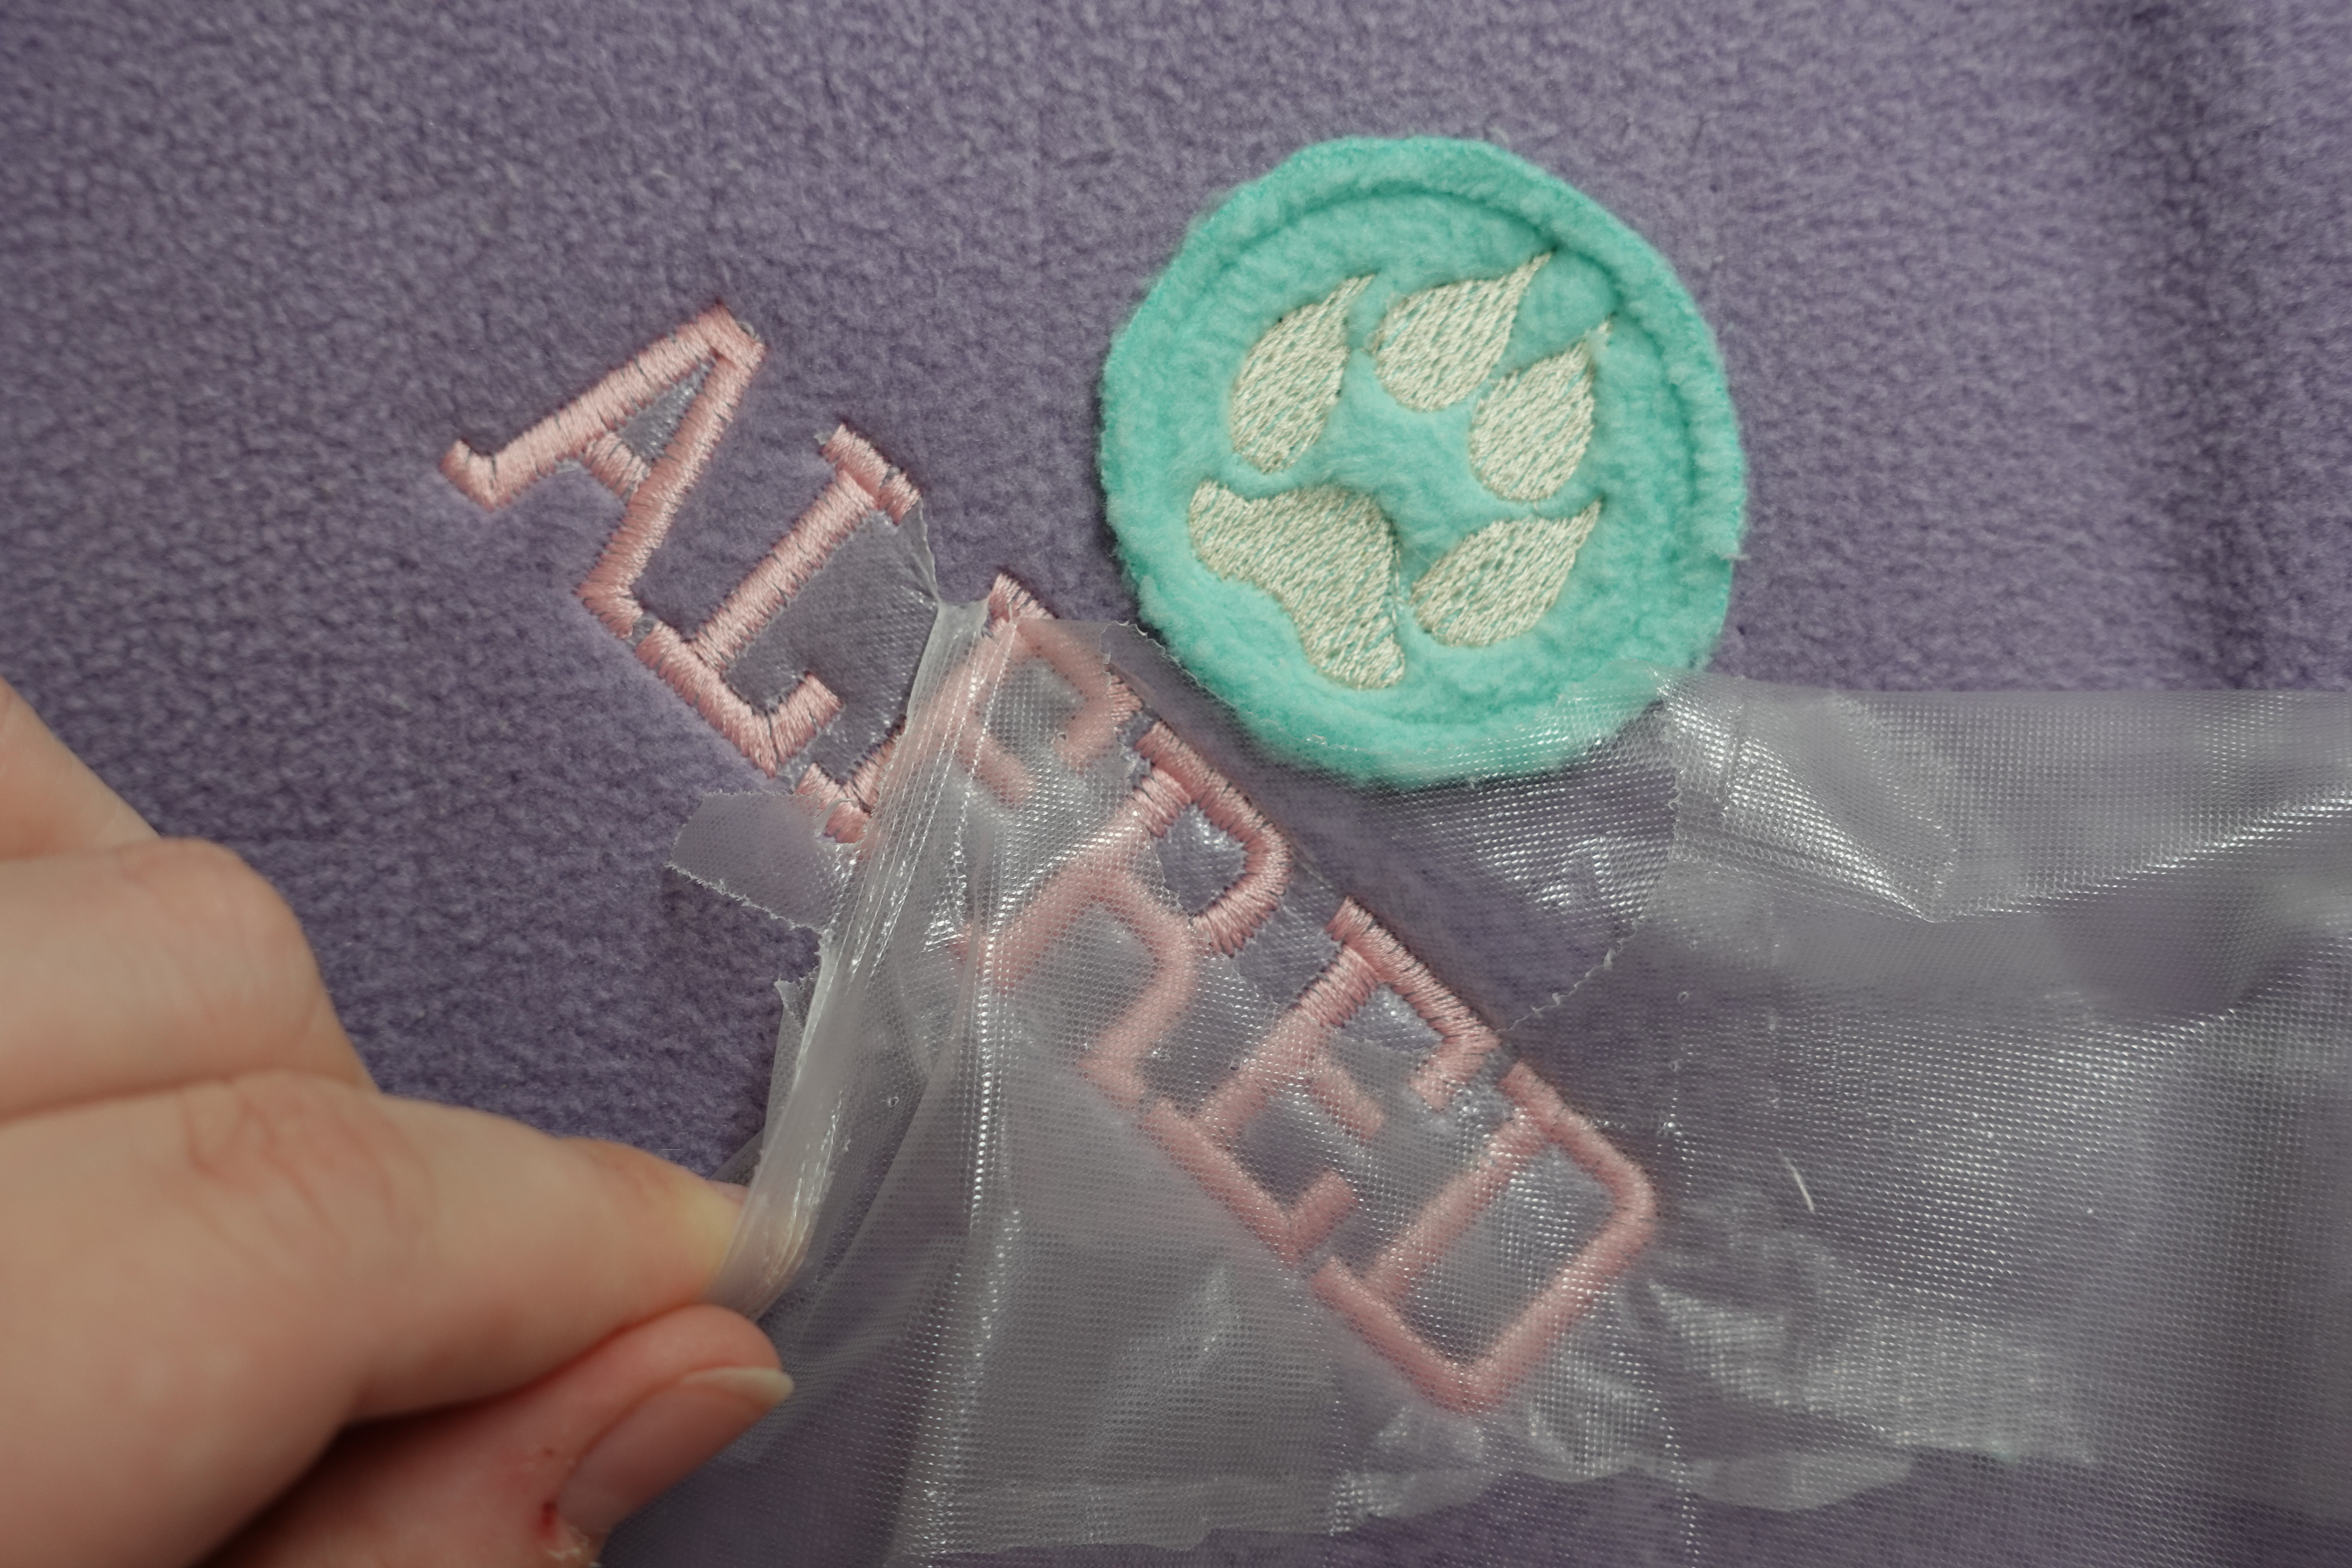
Once finished, remove the hoop from the machine. Turn over your hoop and snip the basting stitching from the back. Support the stitches with your fingers as you tear away the excess topper.
You can use tweezers to remove all the tiny pieces of topper in the letters or you can rinse it away with warm water.
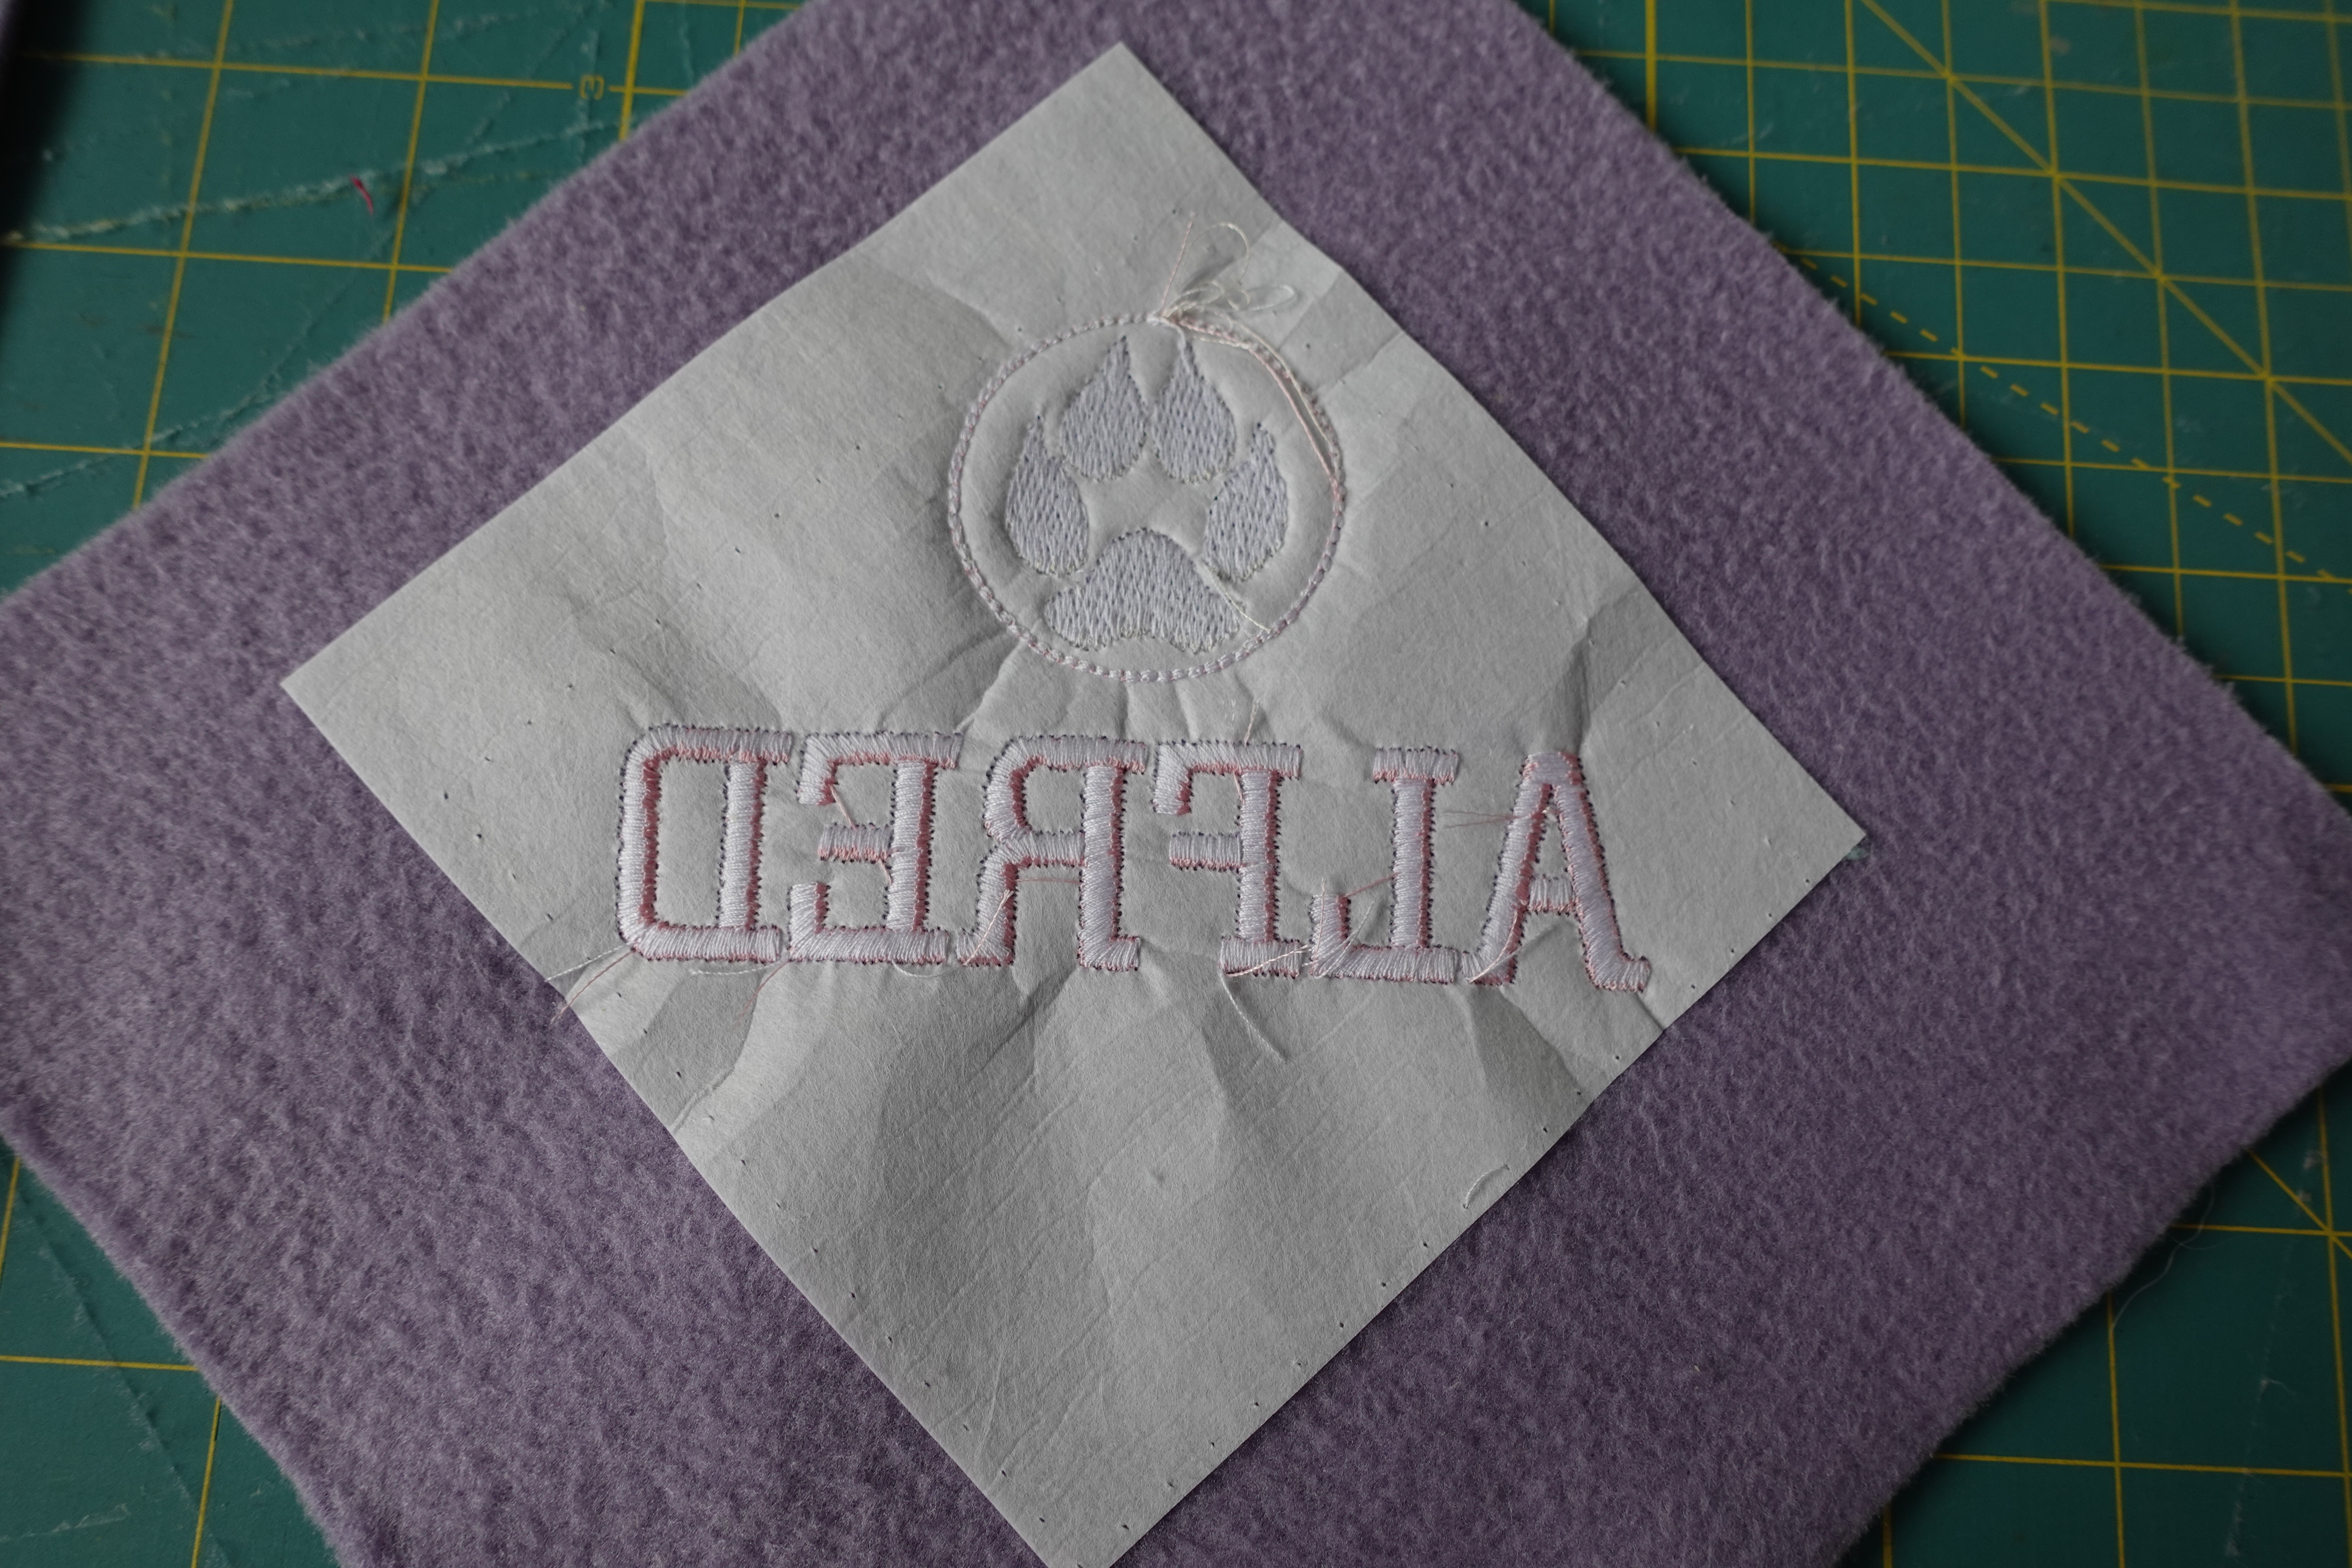
Unhoop your stabilizer and cut the stabilizer down. While you can round the edges if you like, don’t worry about cutting it out too close to the design. It will look better with this square of stabilizer behind it.
All finished! Set aside your personalized block for now.
Crossed Circle Stack
Have fun with this block by changing up the shapes, playing with color, or by varying how many shapes you stack on top of one another. Put one big stack on your block or do a couple of different circles, like on my sample.
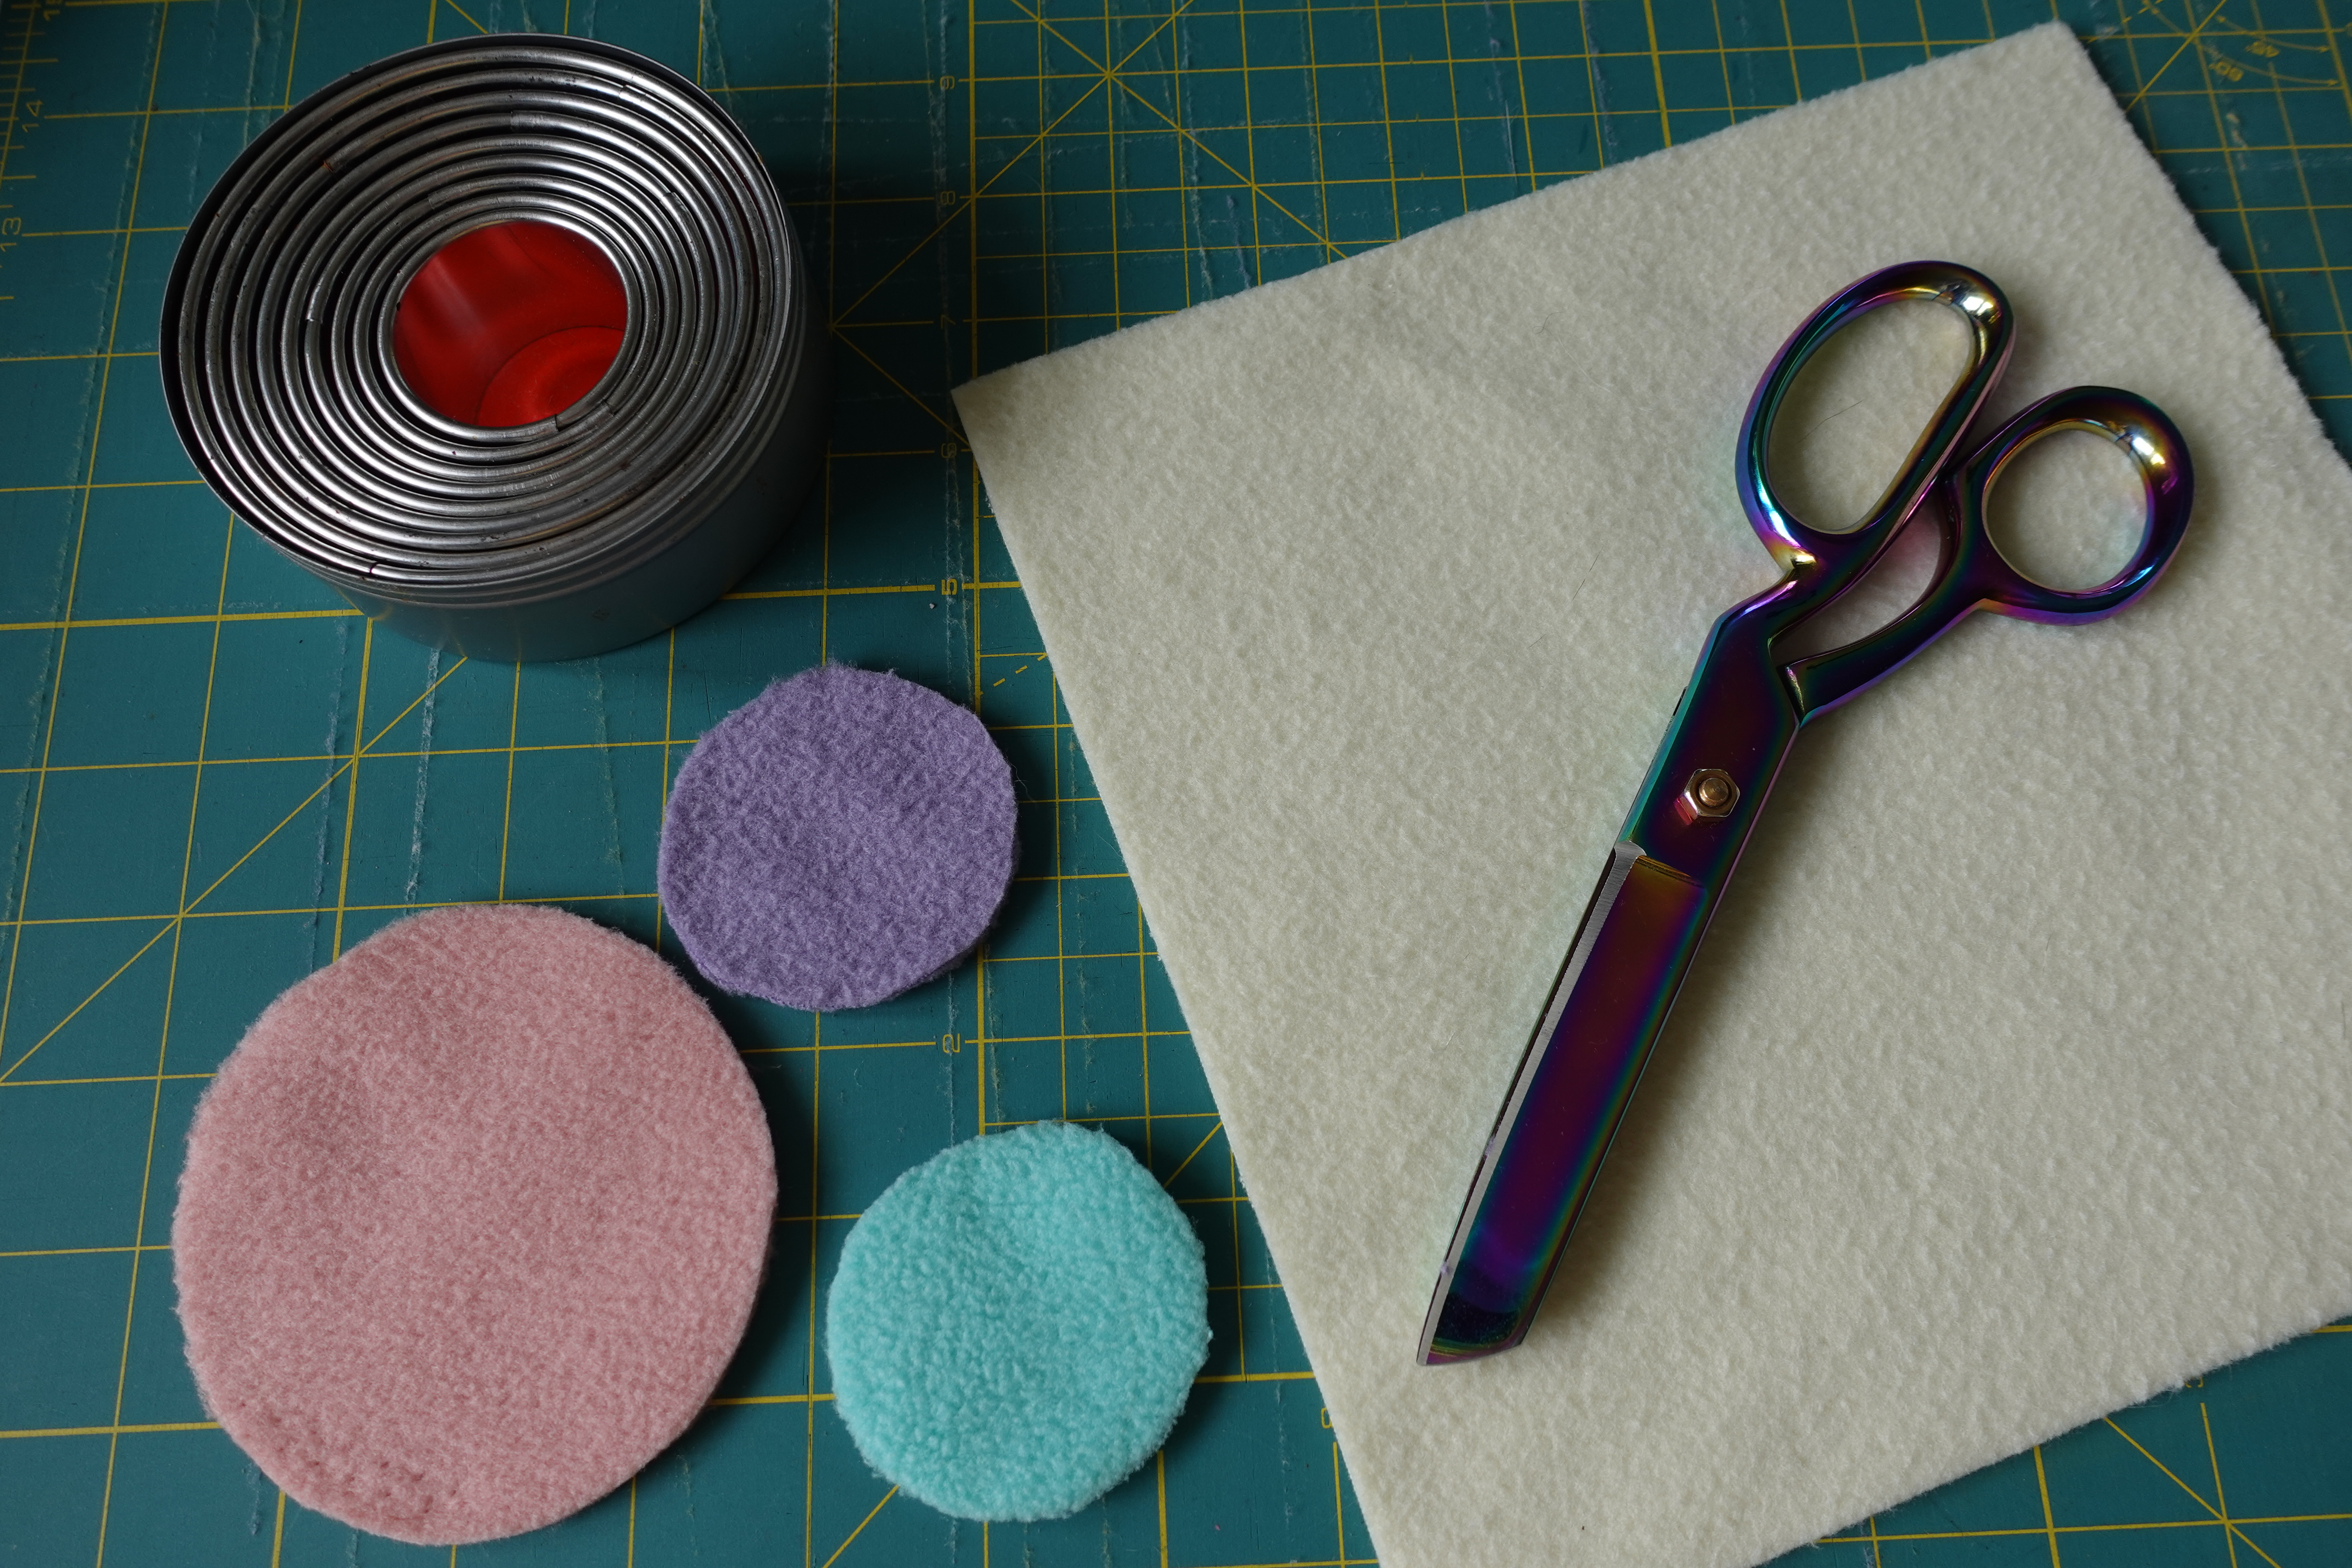
Cut circles out of various fleece colors in various sizes. You can print out circle shapes from the internet to use as a template or do like I did and grab some biscuit cutters from the kitchen to use as stencils.

Mark the centers of your circles. Stack your circles in order based on size with the bigger shapes on bottom and smaller ones on top.
Align the blade of your #10D on the marked lines and stitch across your circles. Be sure to start off of the circles and back stitch where each circle starts to reinforce the stitching.
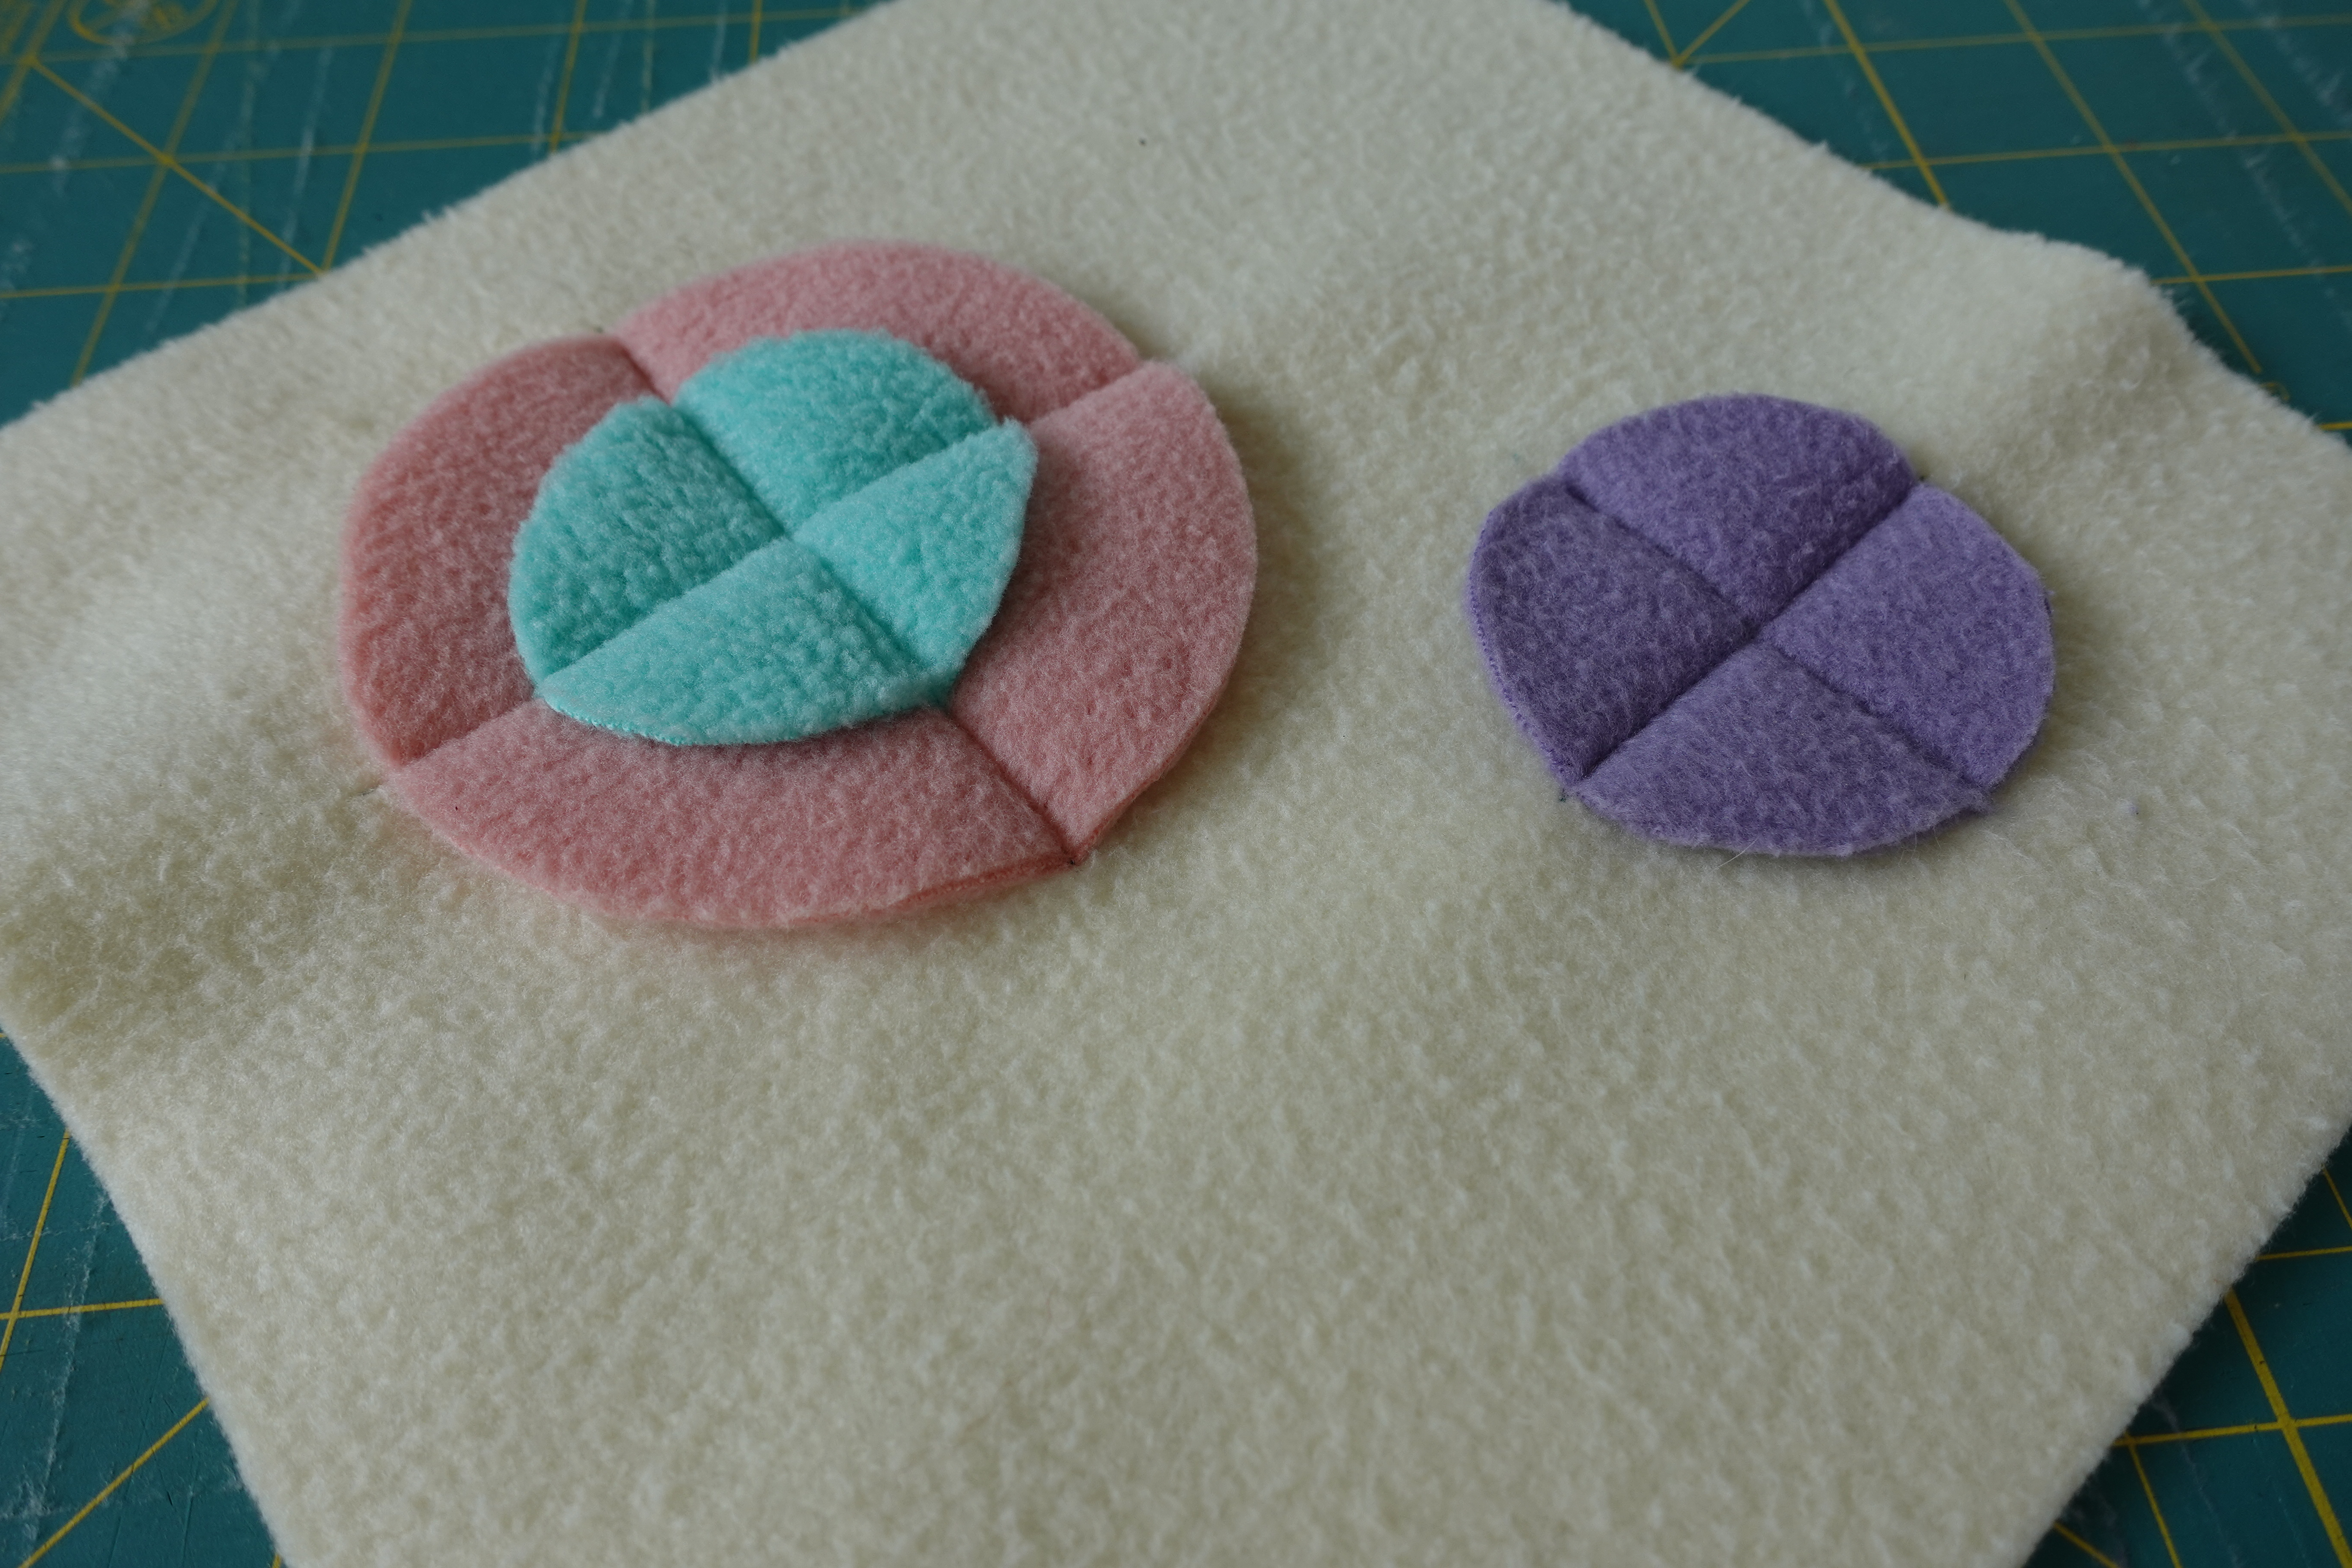
Finished! You’ll be able to tuck treats right under those circles.
Set aside while you work on your other blocks.
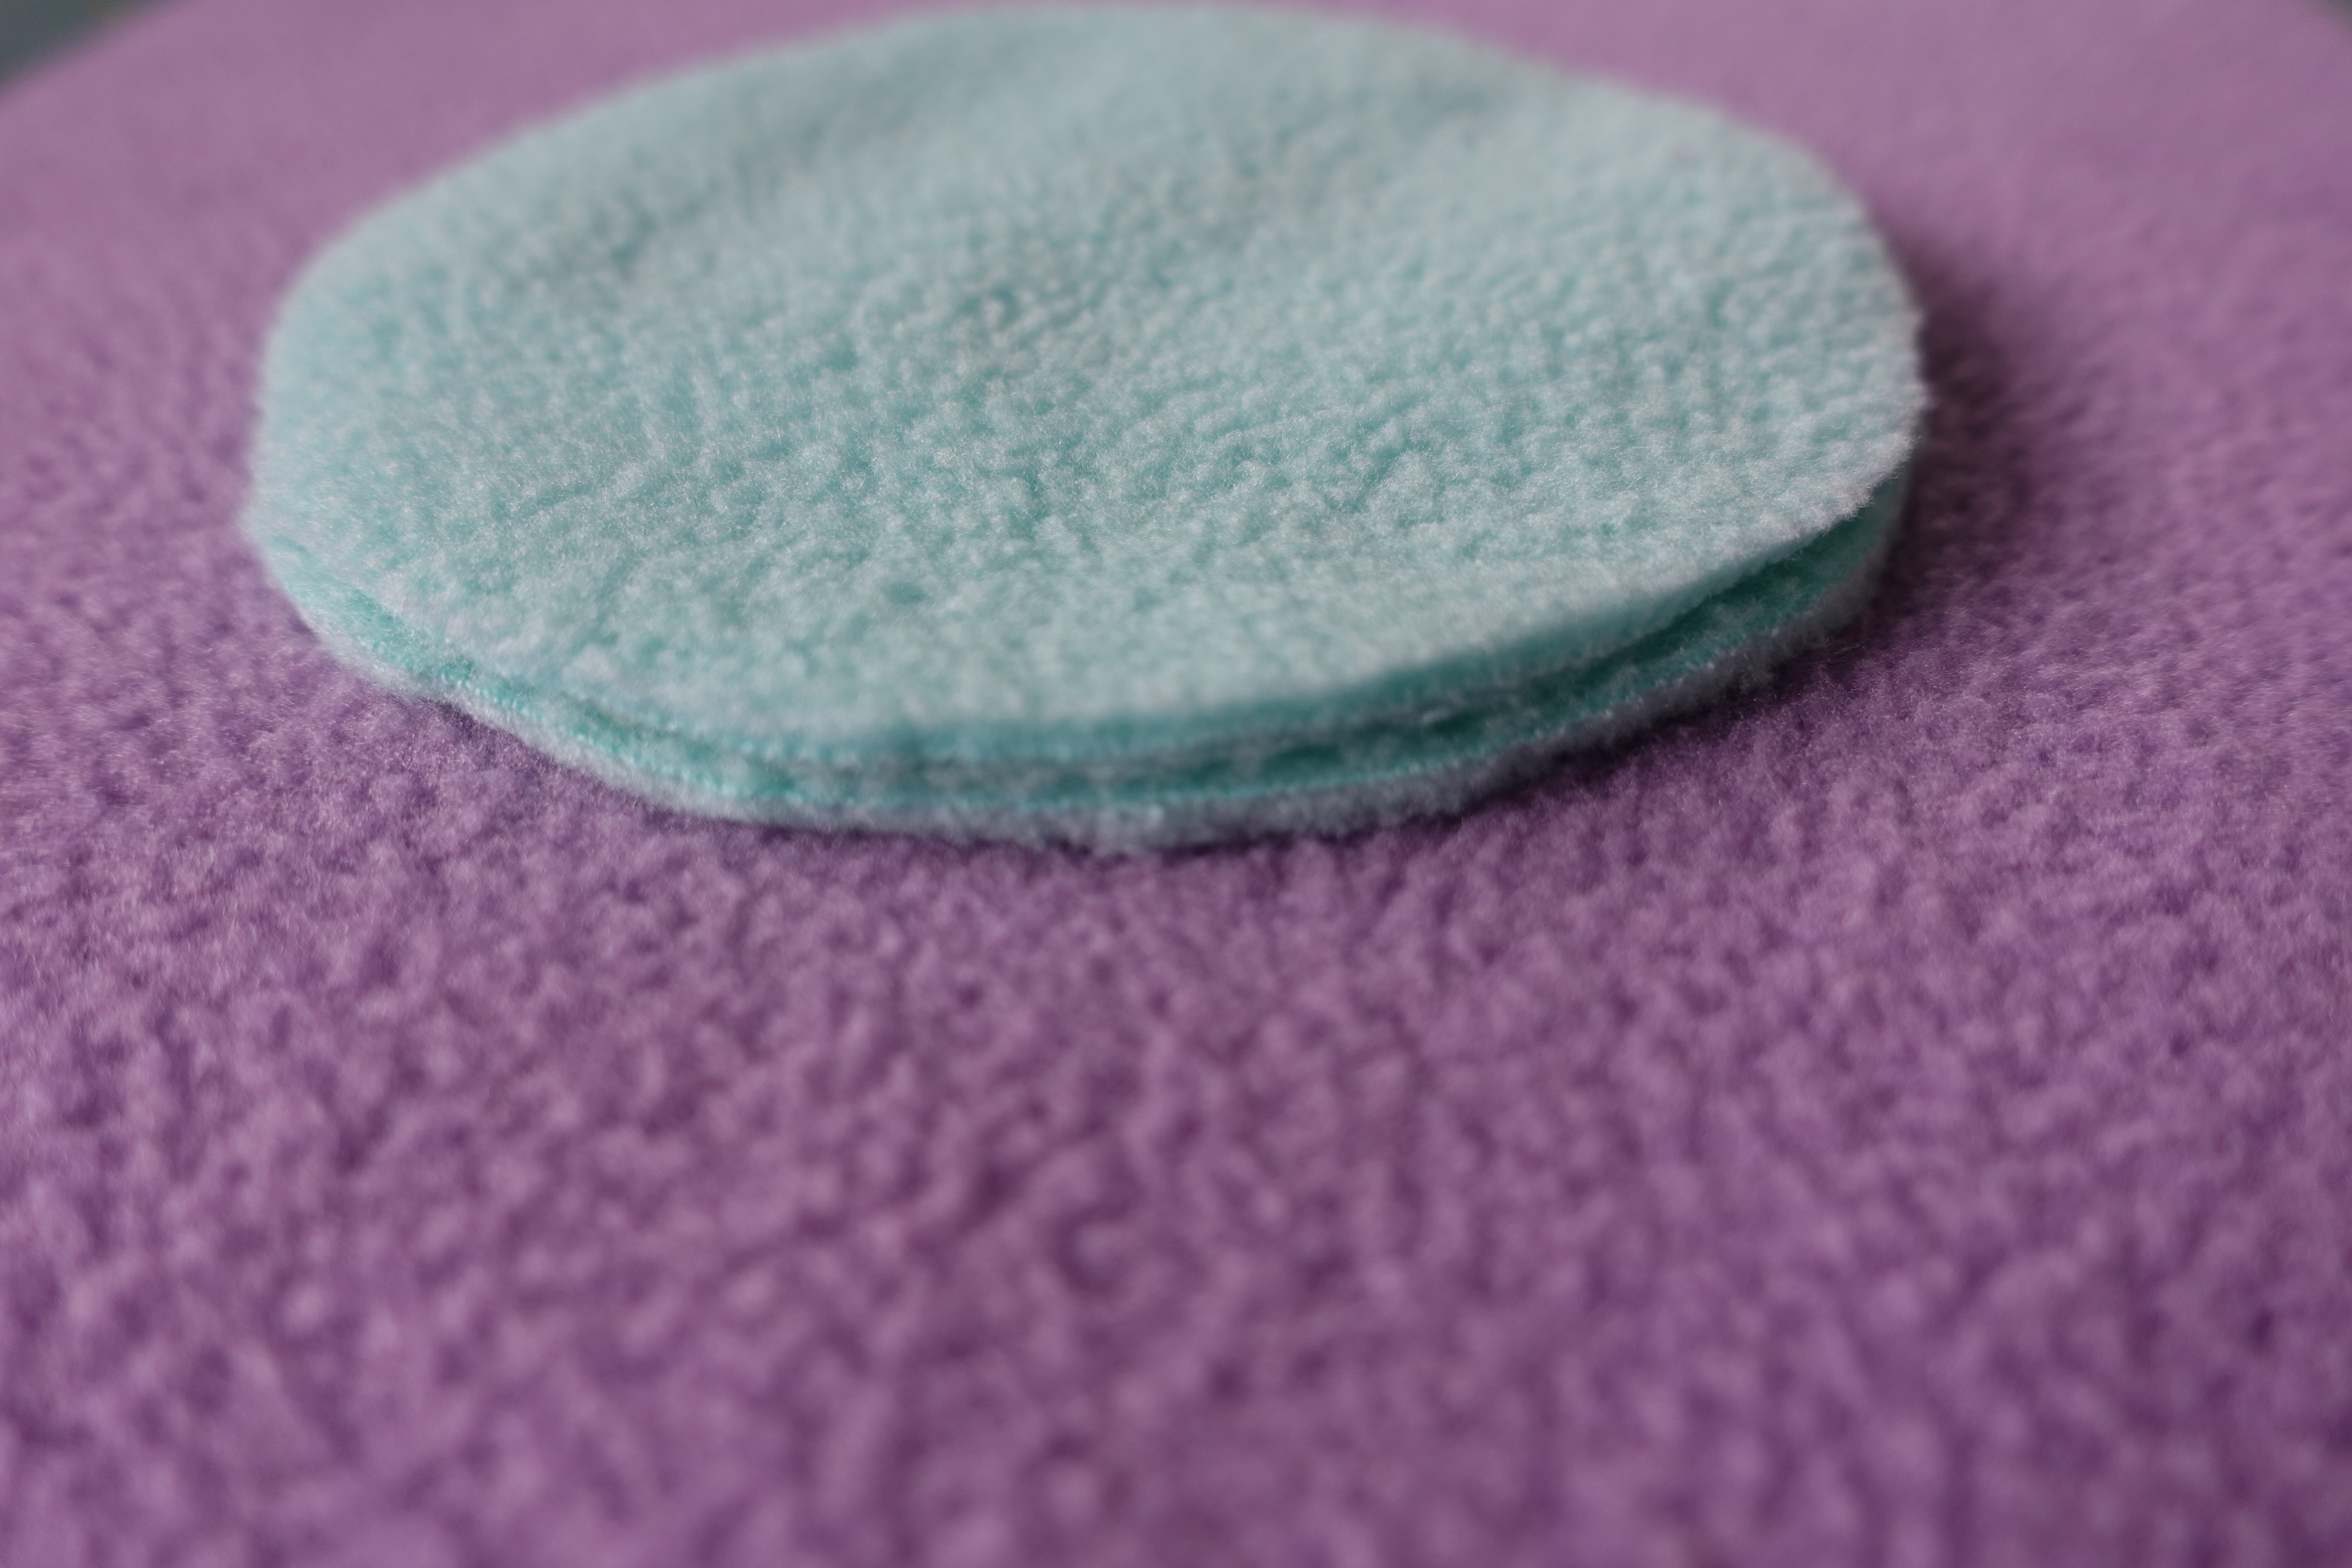
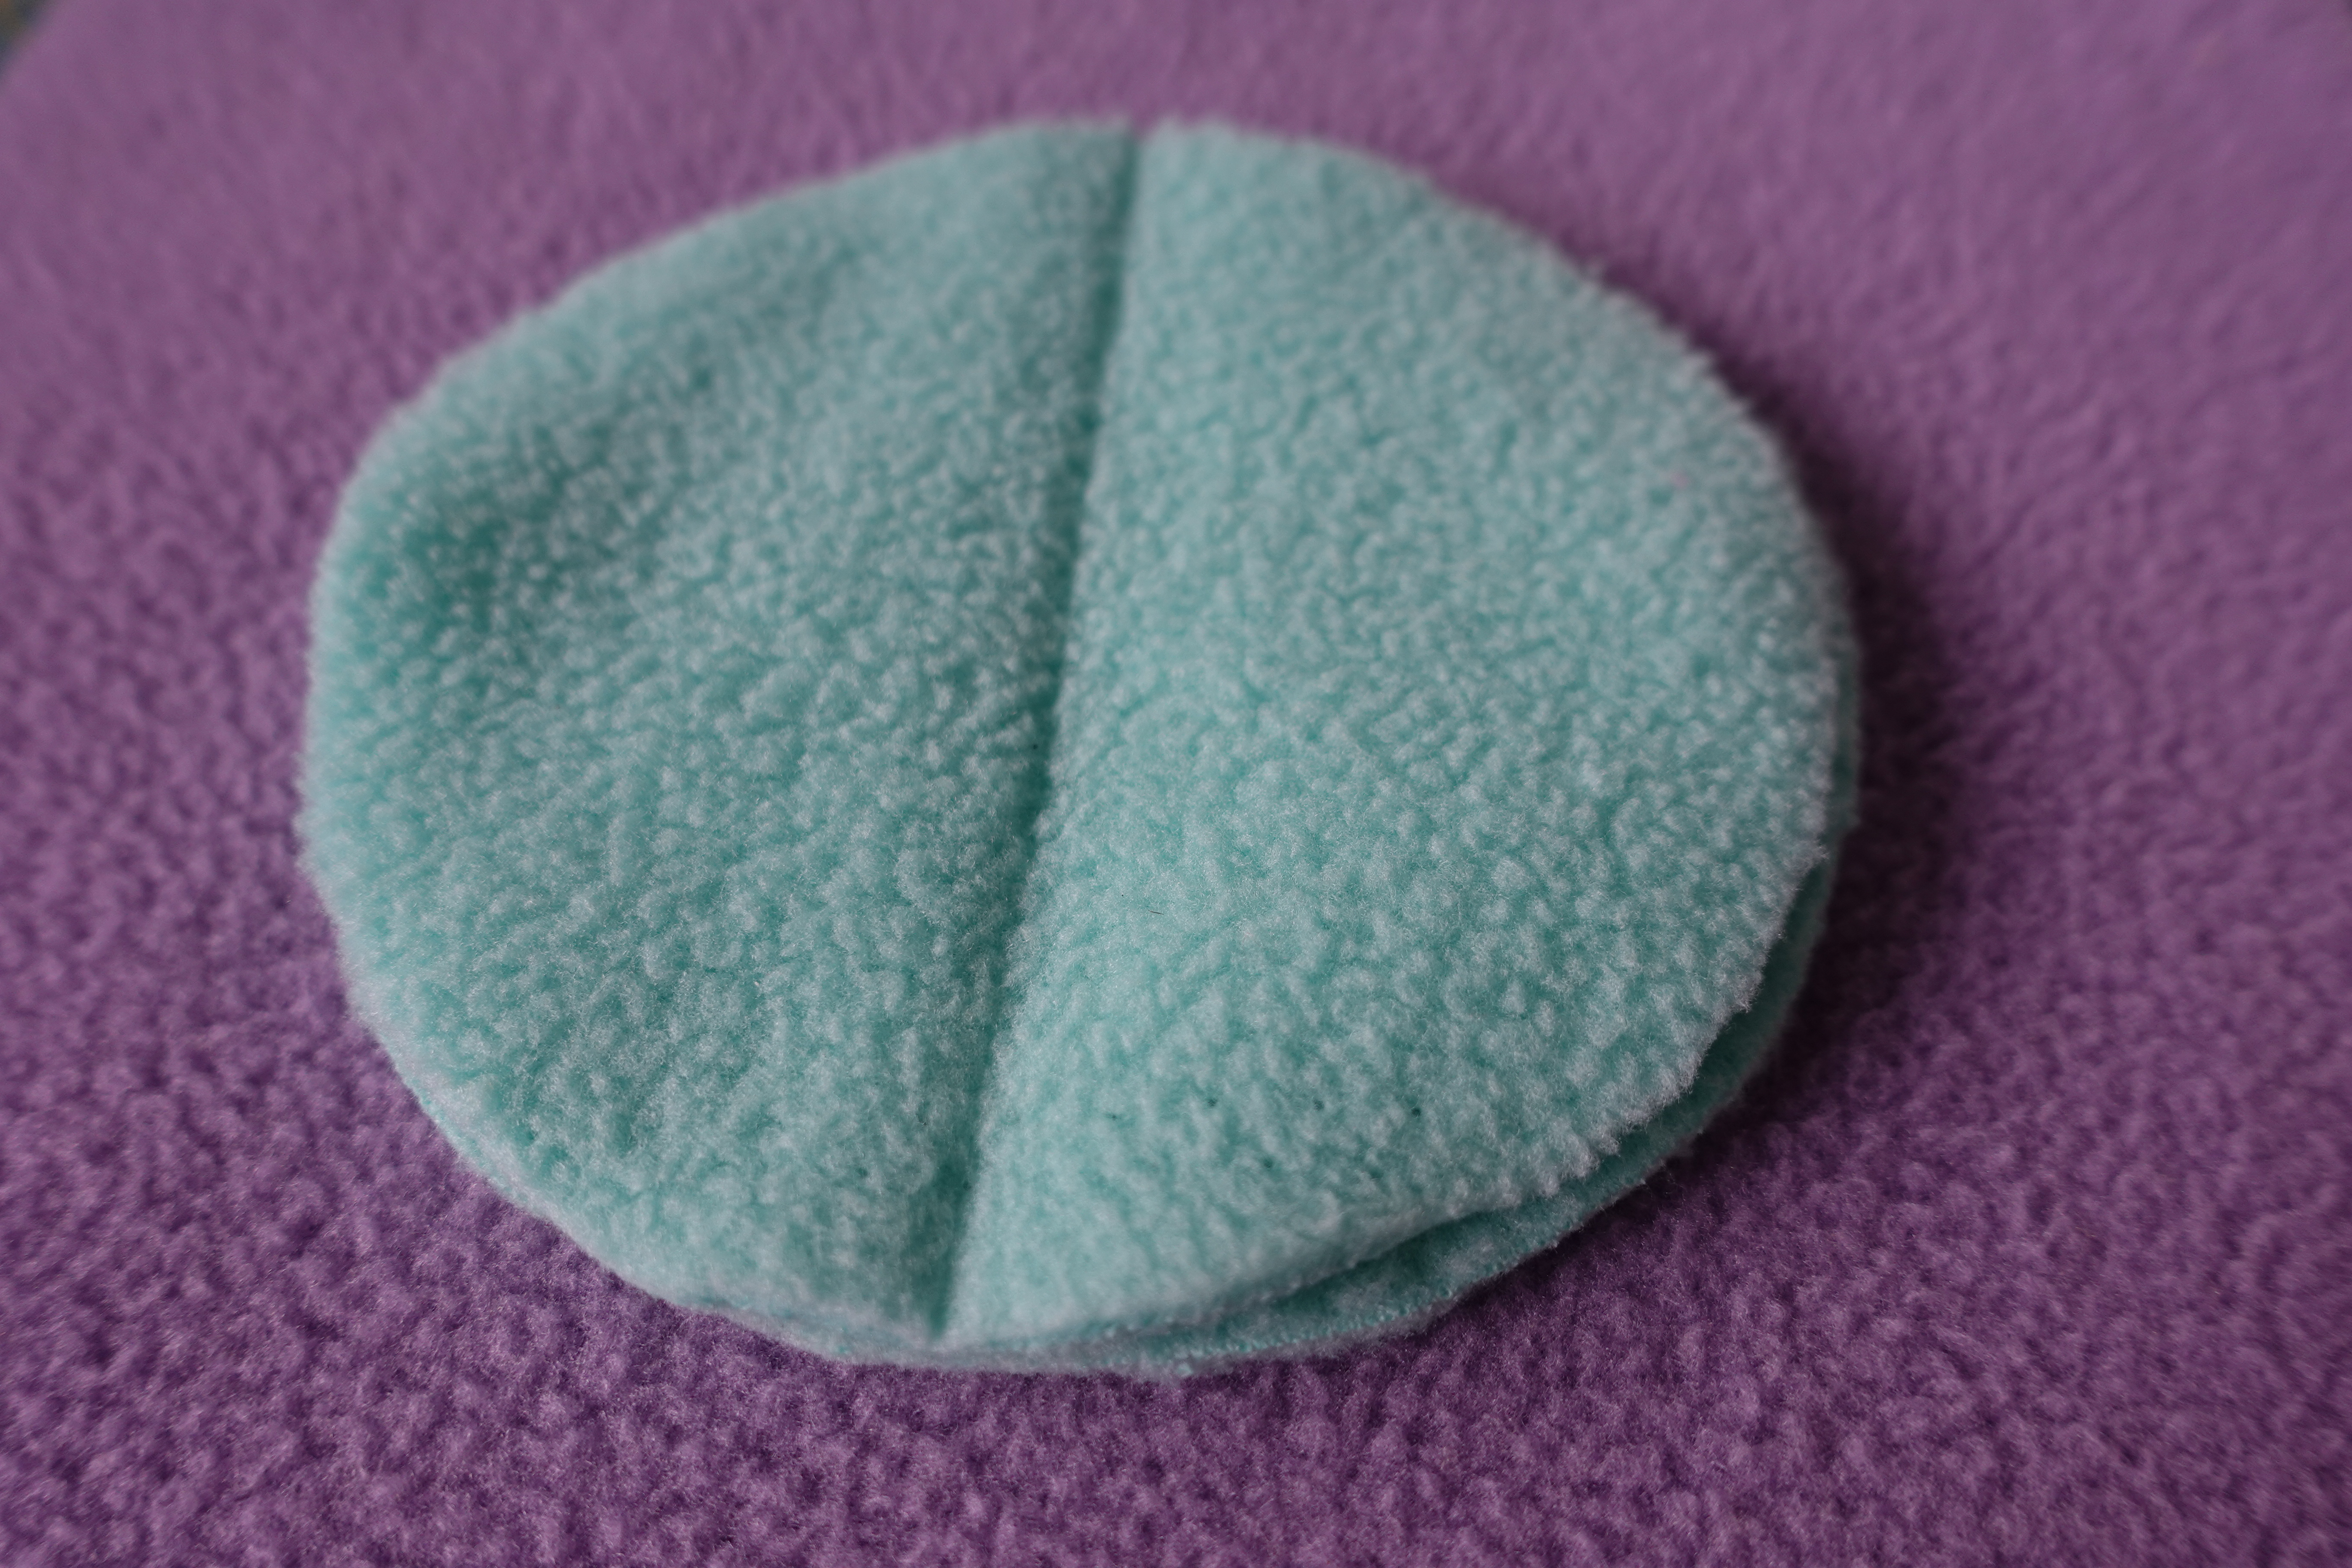
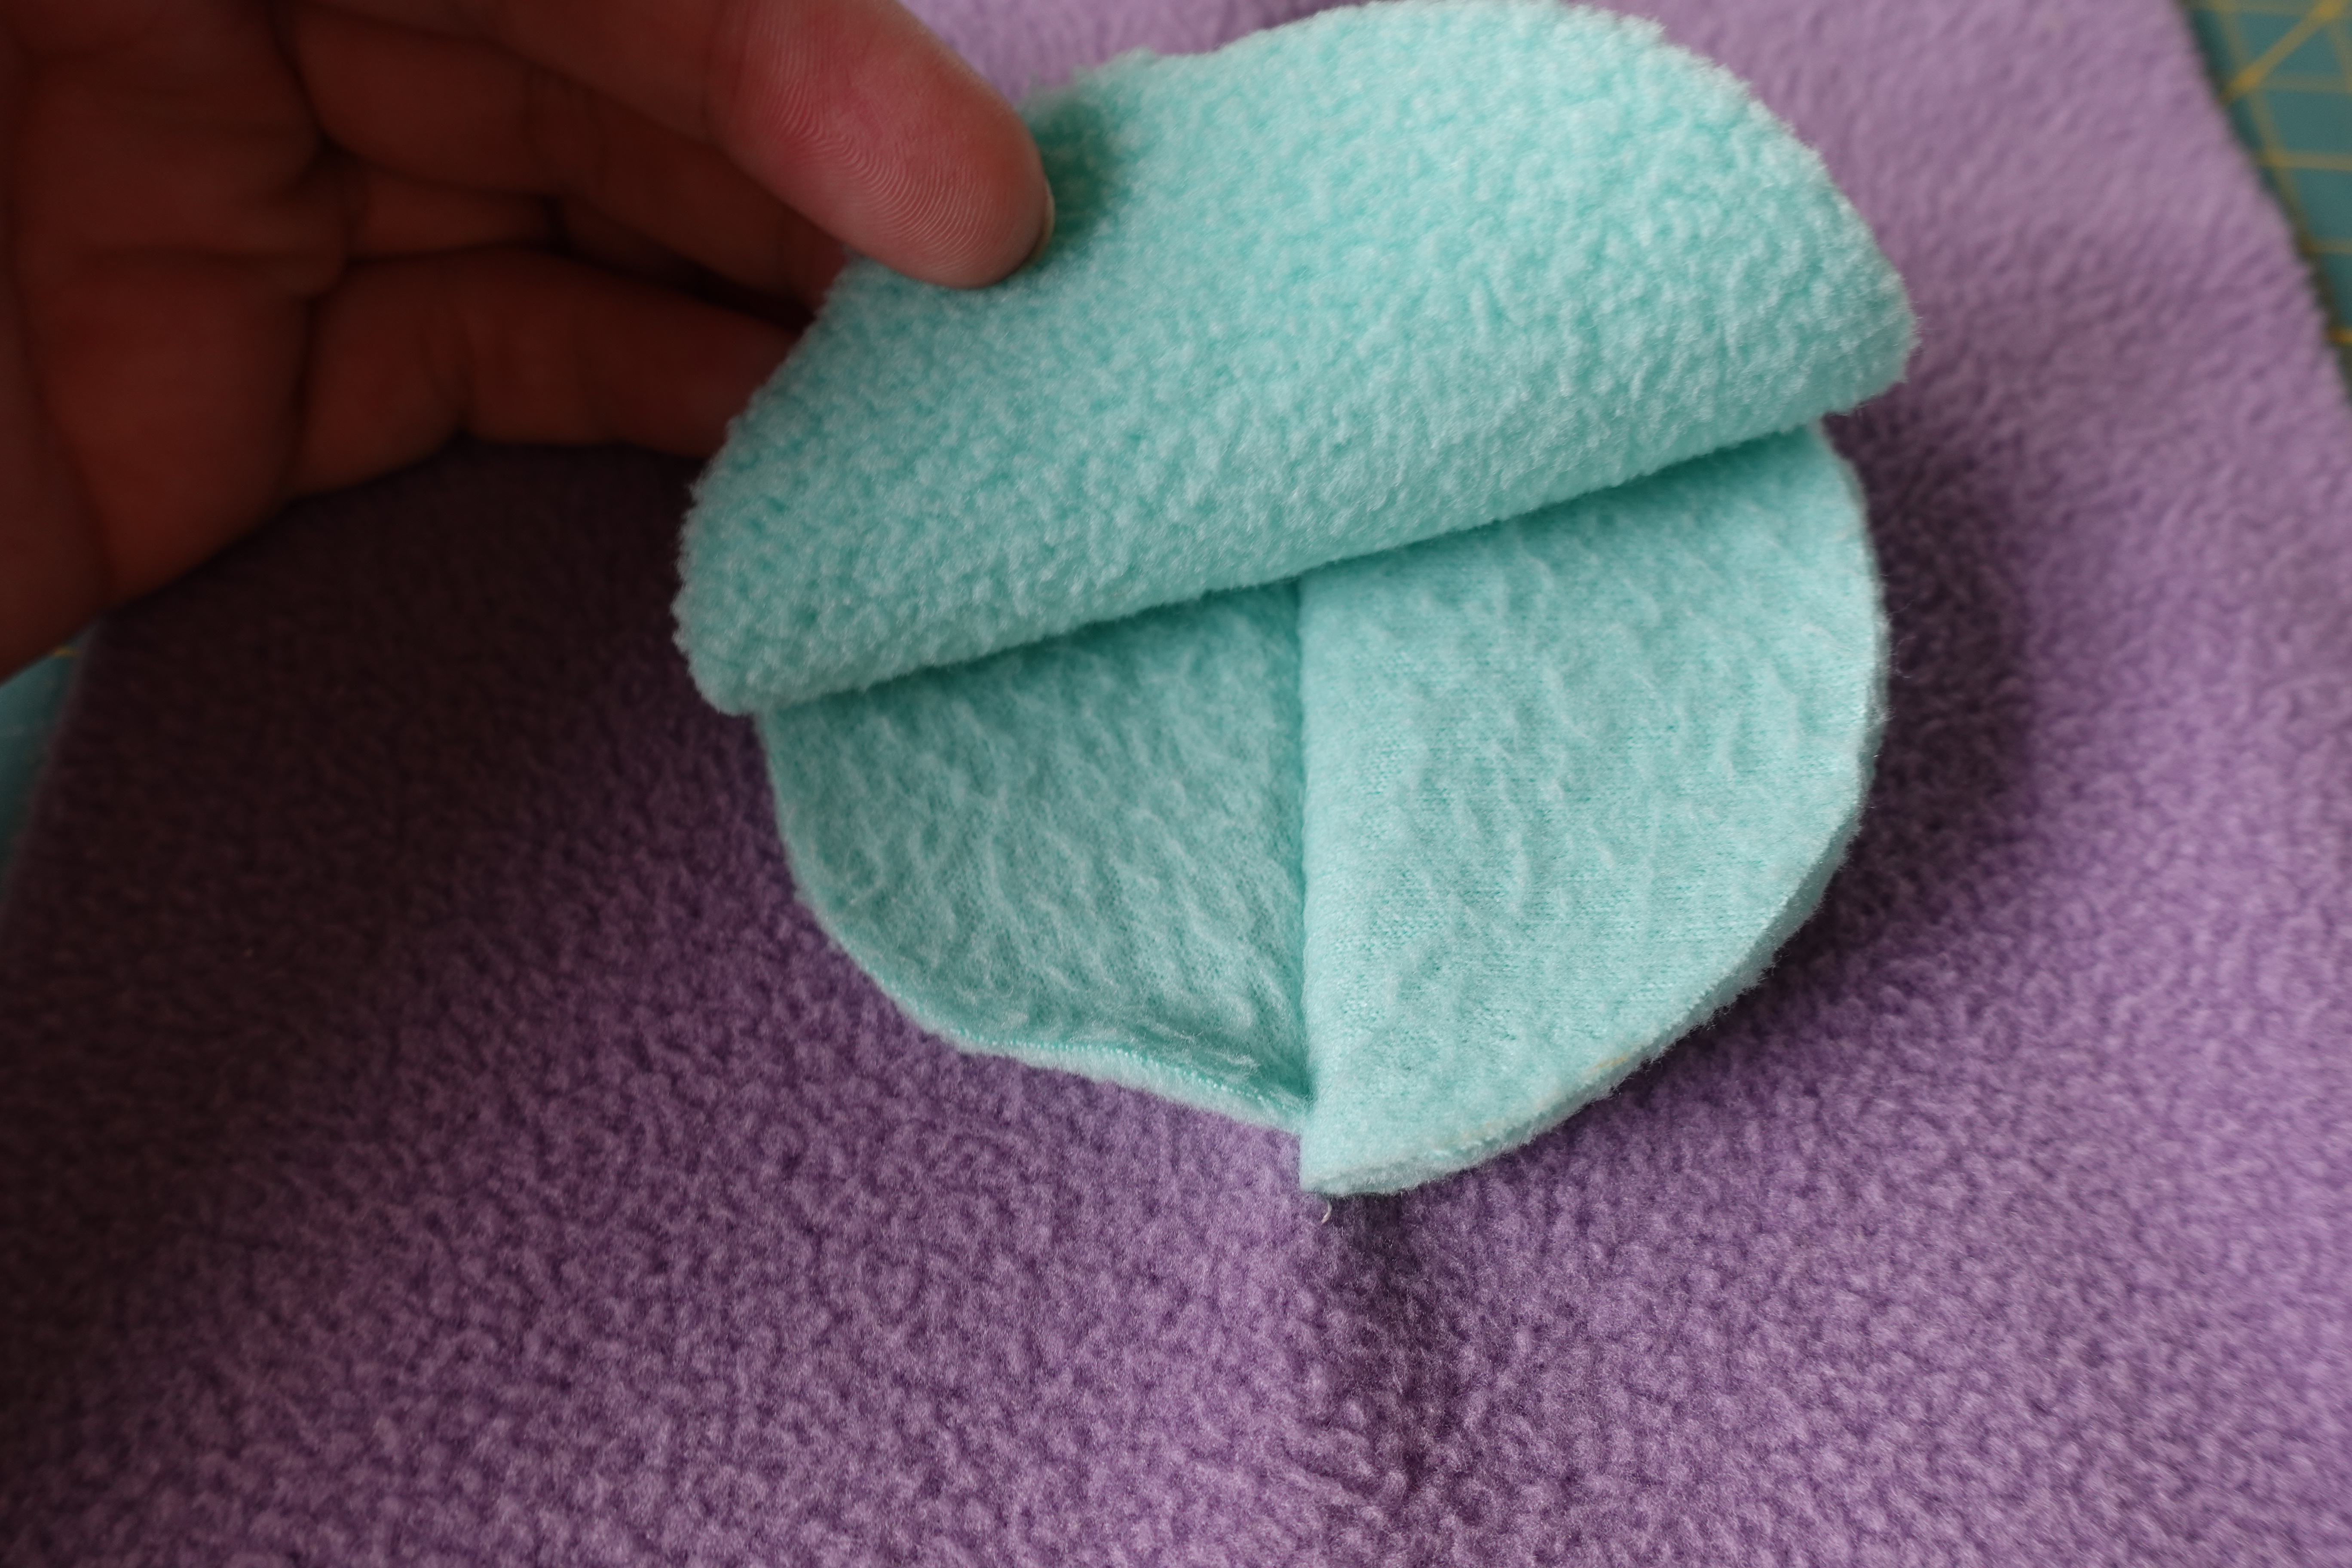
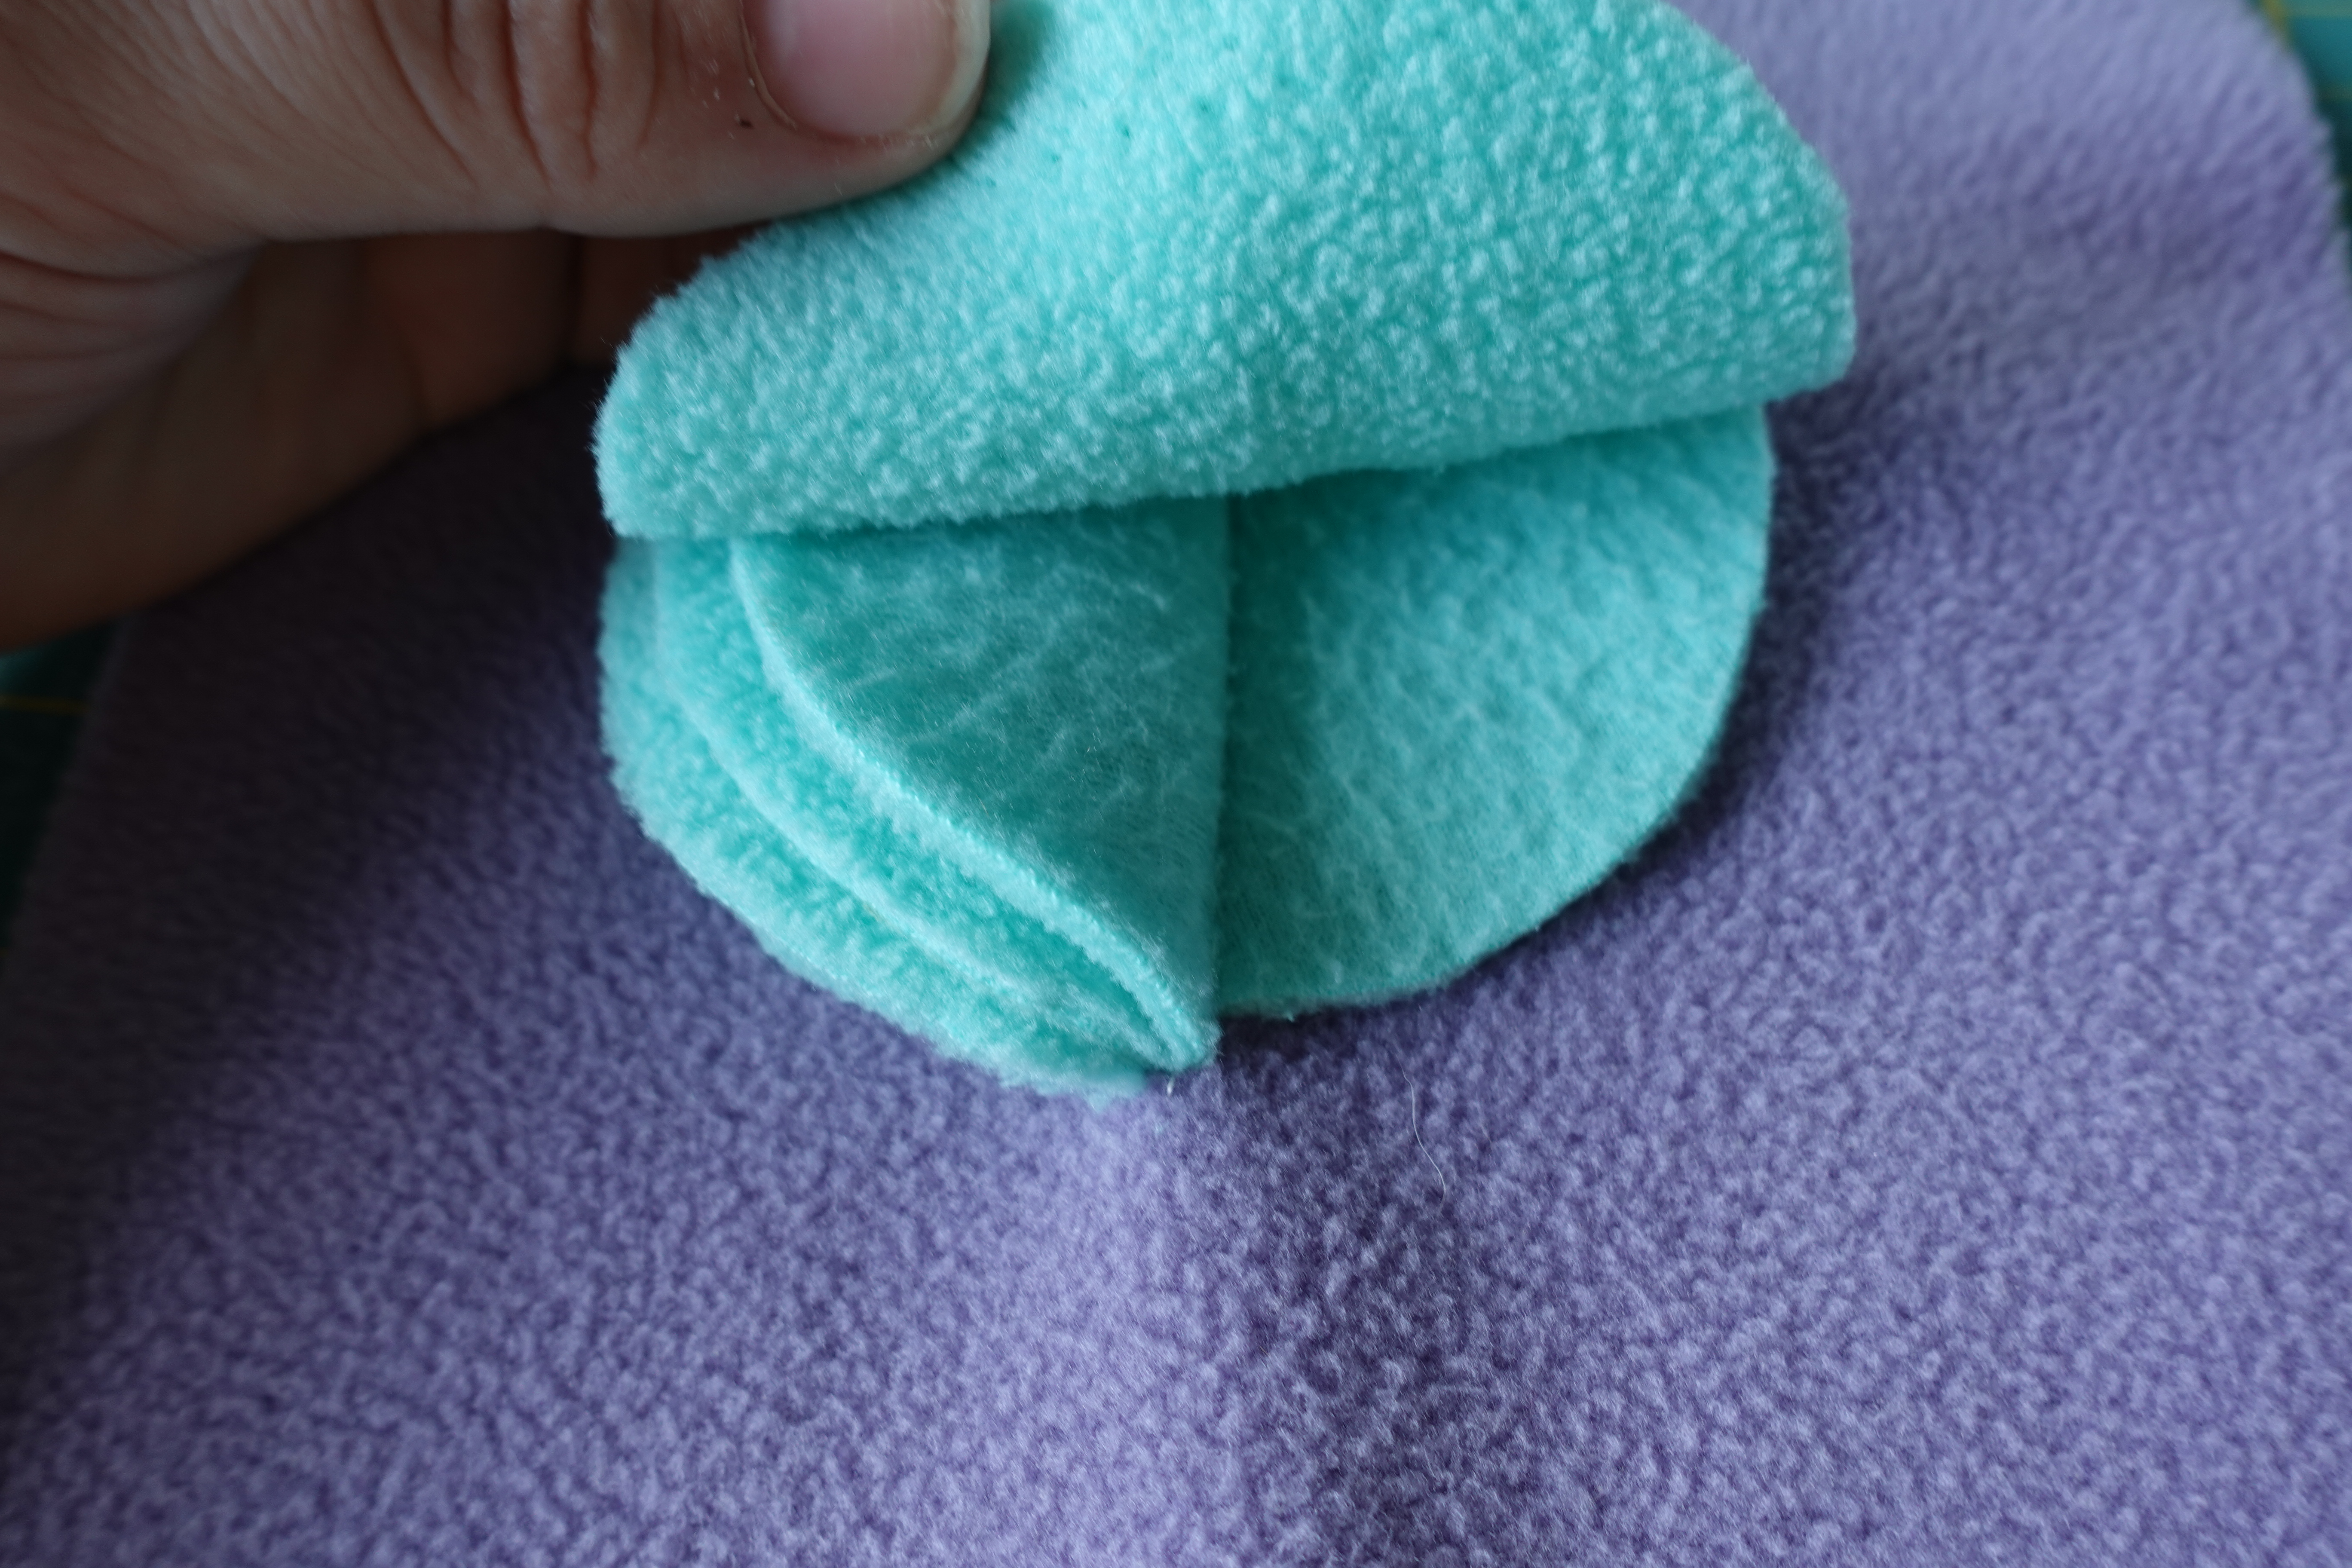
Cut X Square
This is a wonderfully easy block that can be made with any shape, at any size. Put a couple of smaller shapes on your block or one big one, like I did, either way, this block is perfect for all furry friends.
 Cut out a 5.5″ square. Center the square on your block.
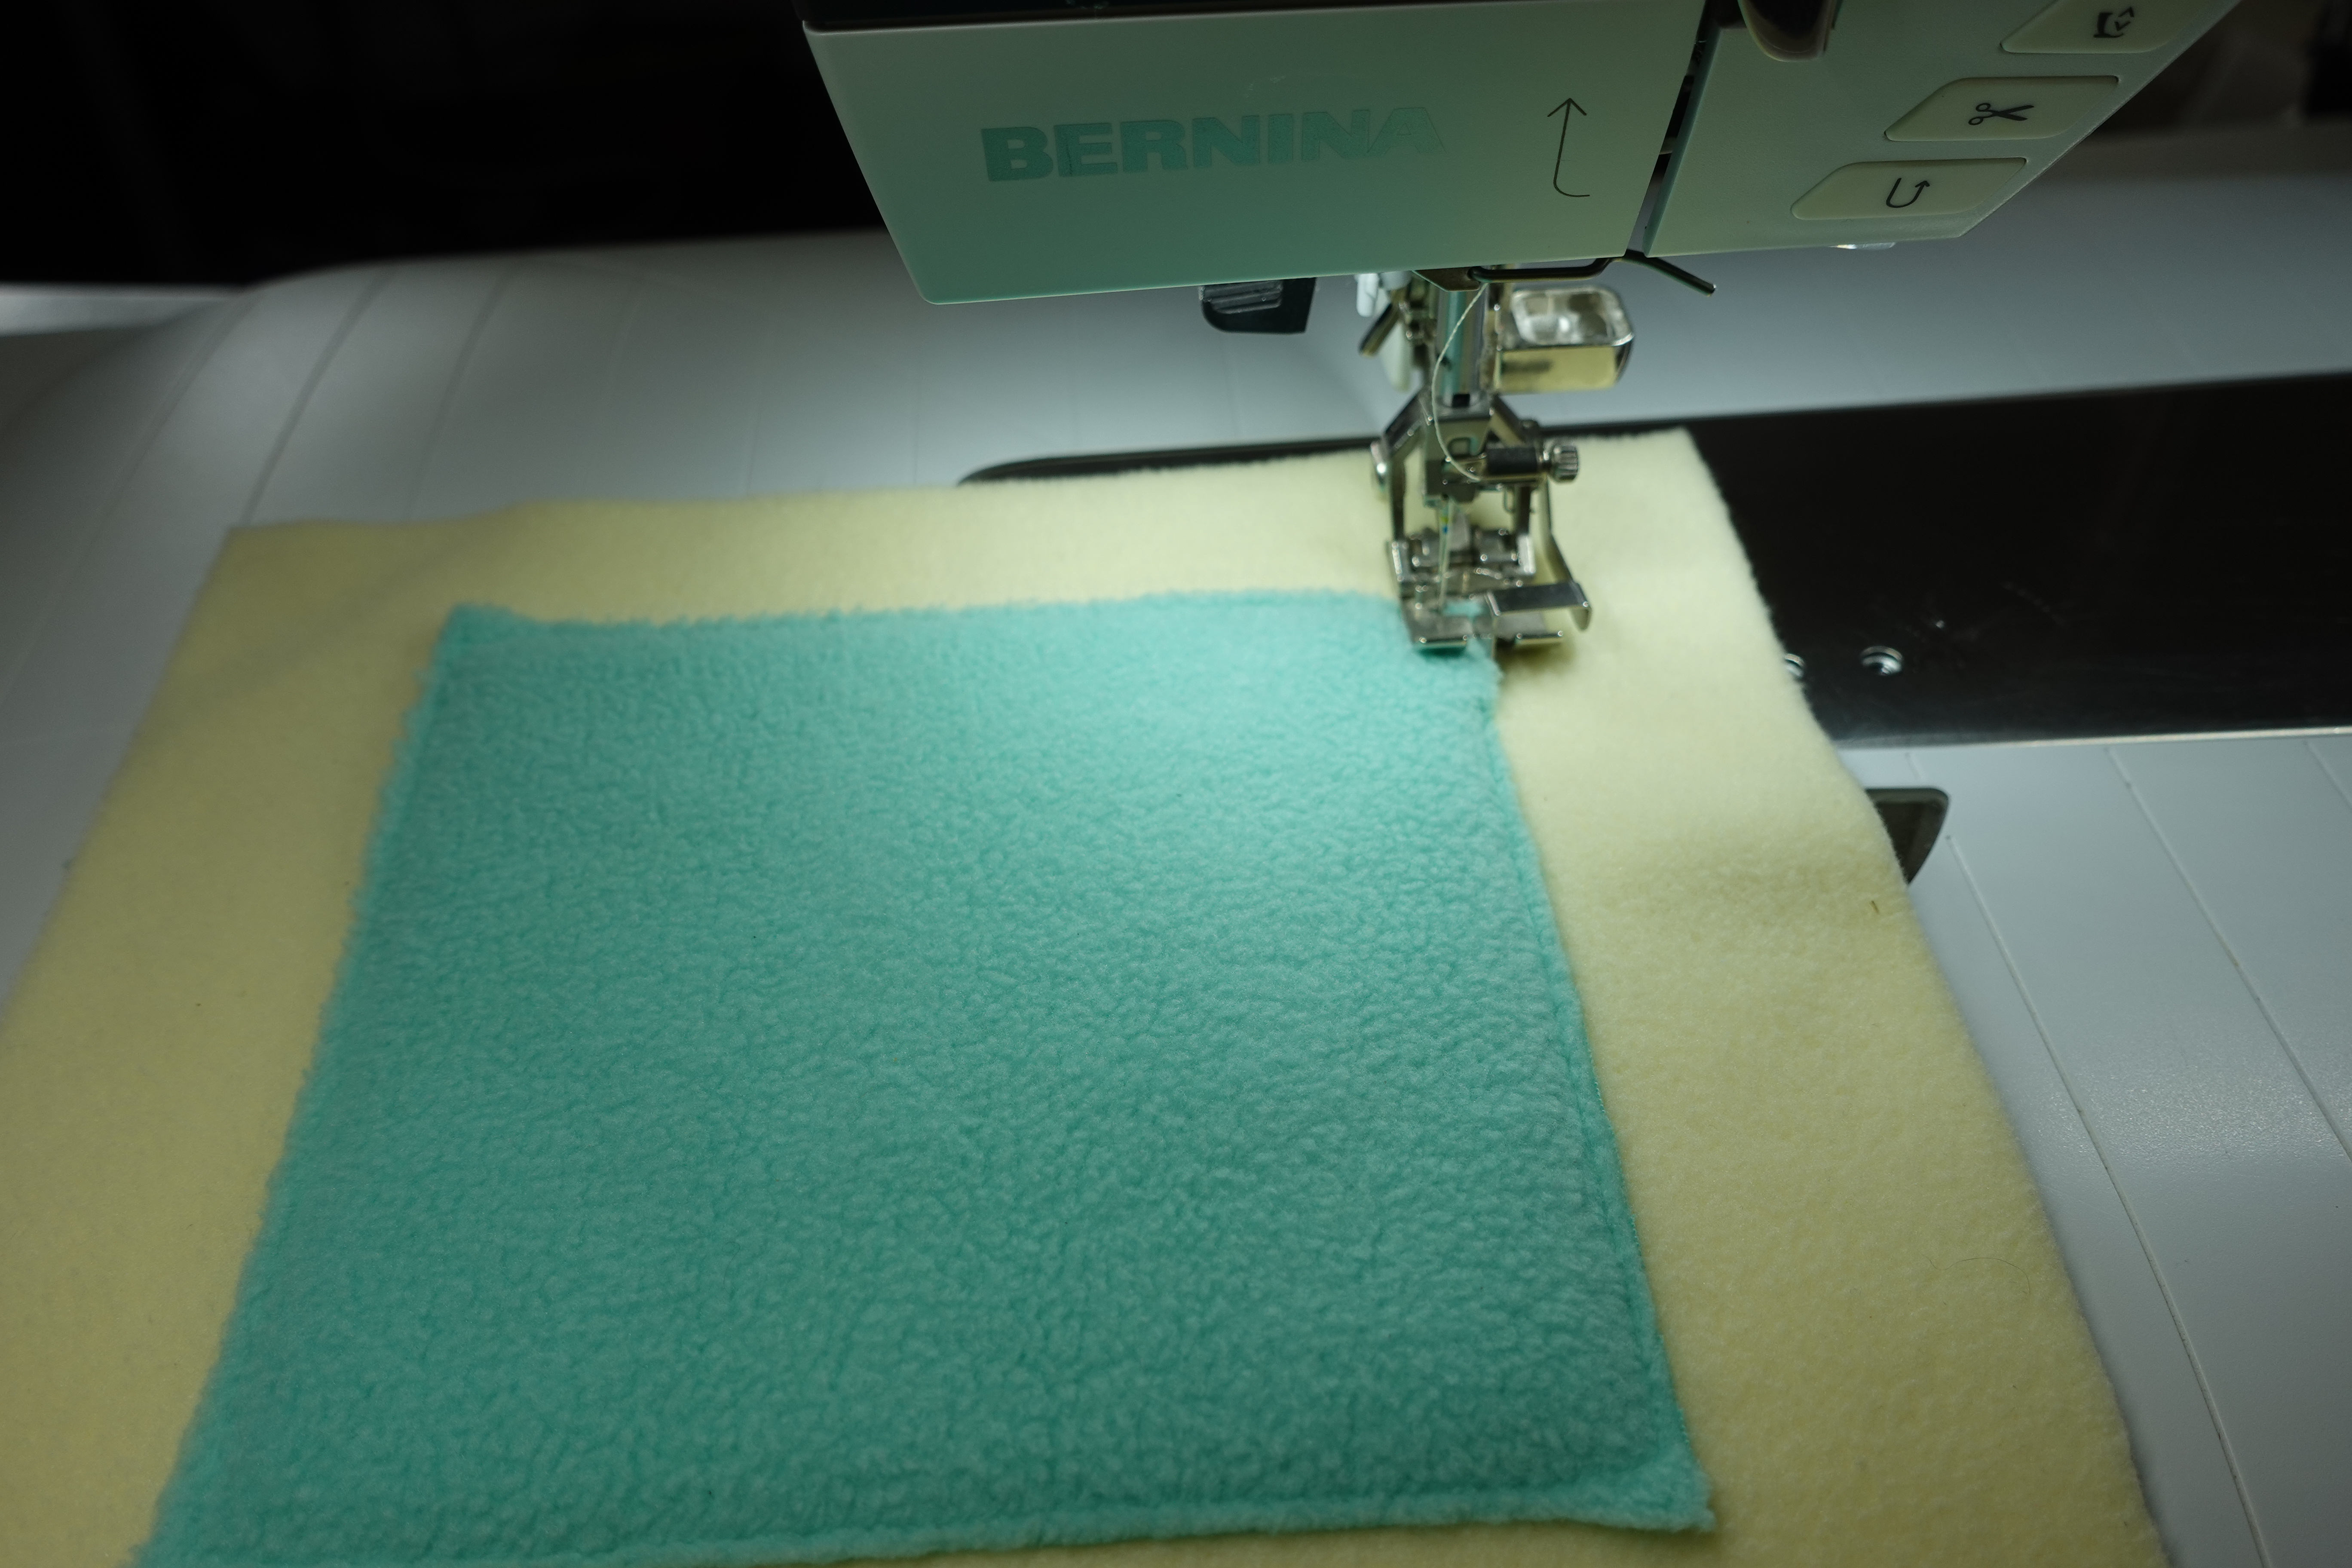
Move your needle to the -5 position, align the blade of the foot to the side of the square and stitch around the square.
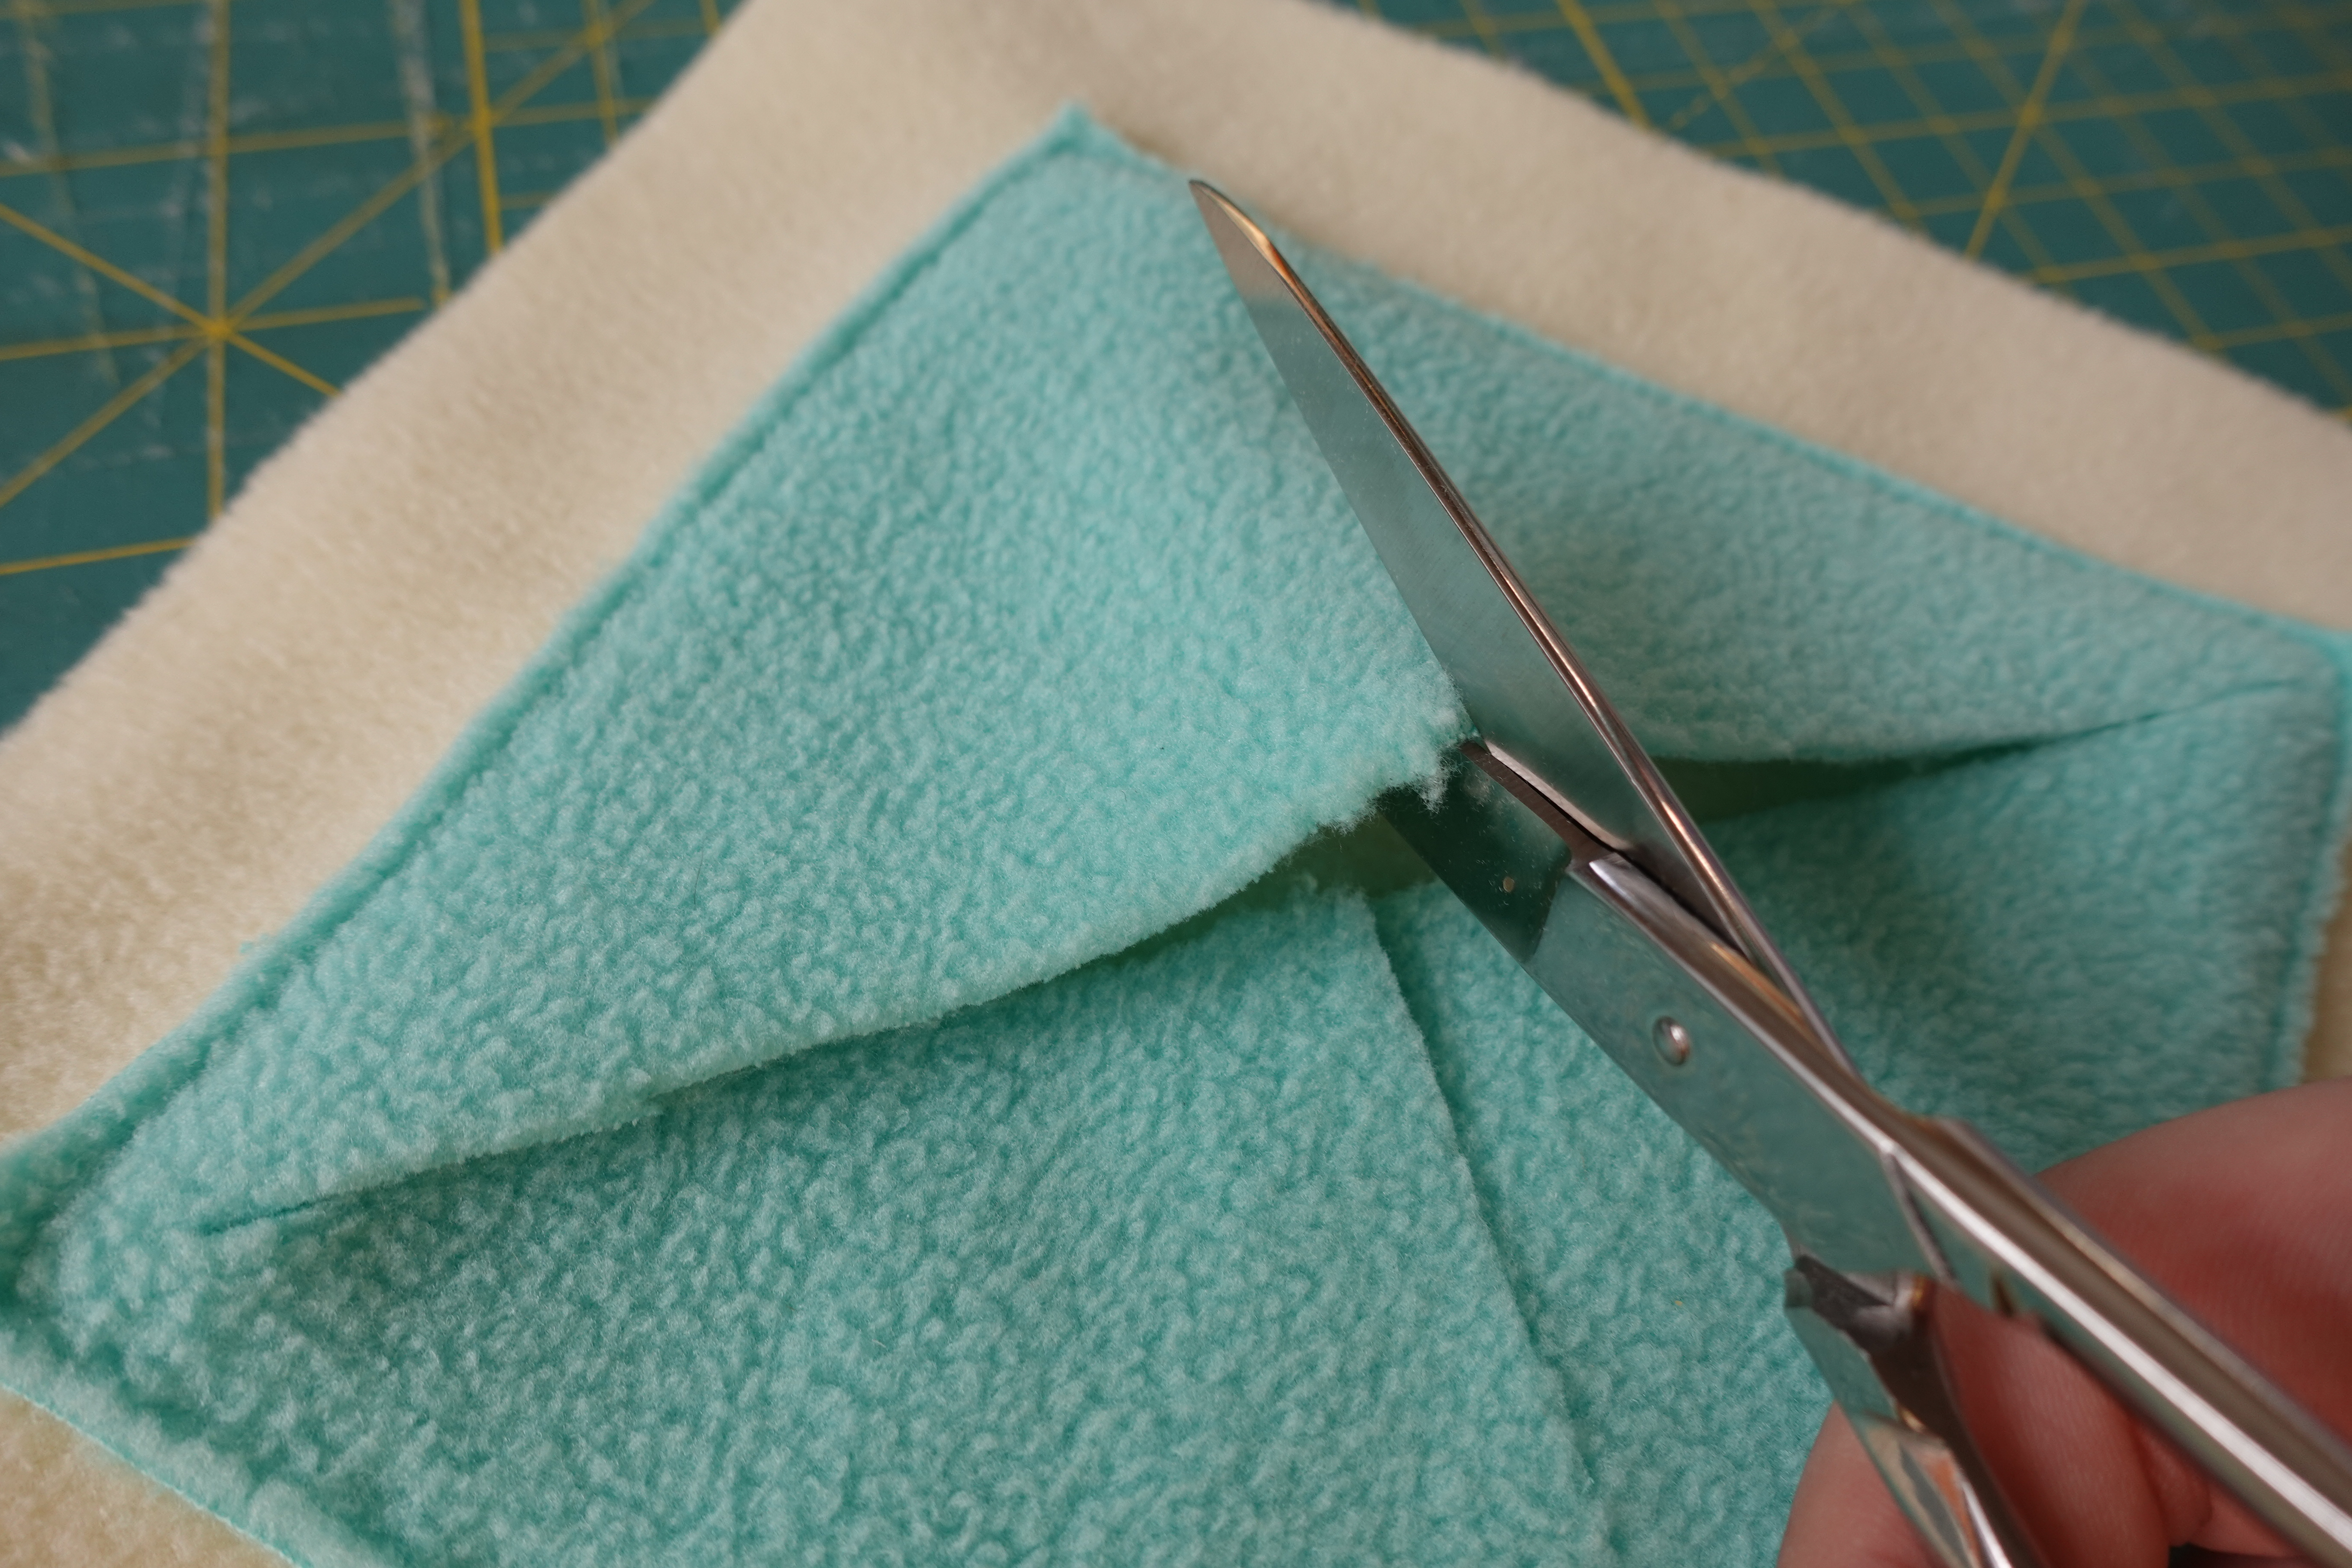
Once you’re done stitching, pull the two layers apart and snip a hole in the center of the square, making sure not to cut through the backing fleece.
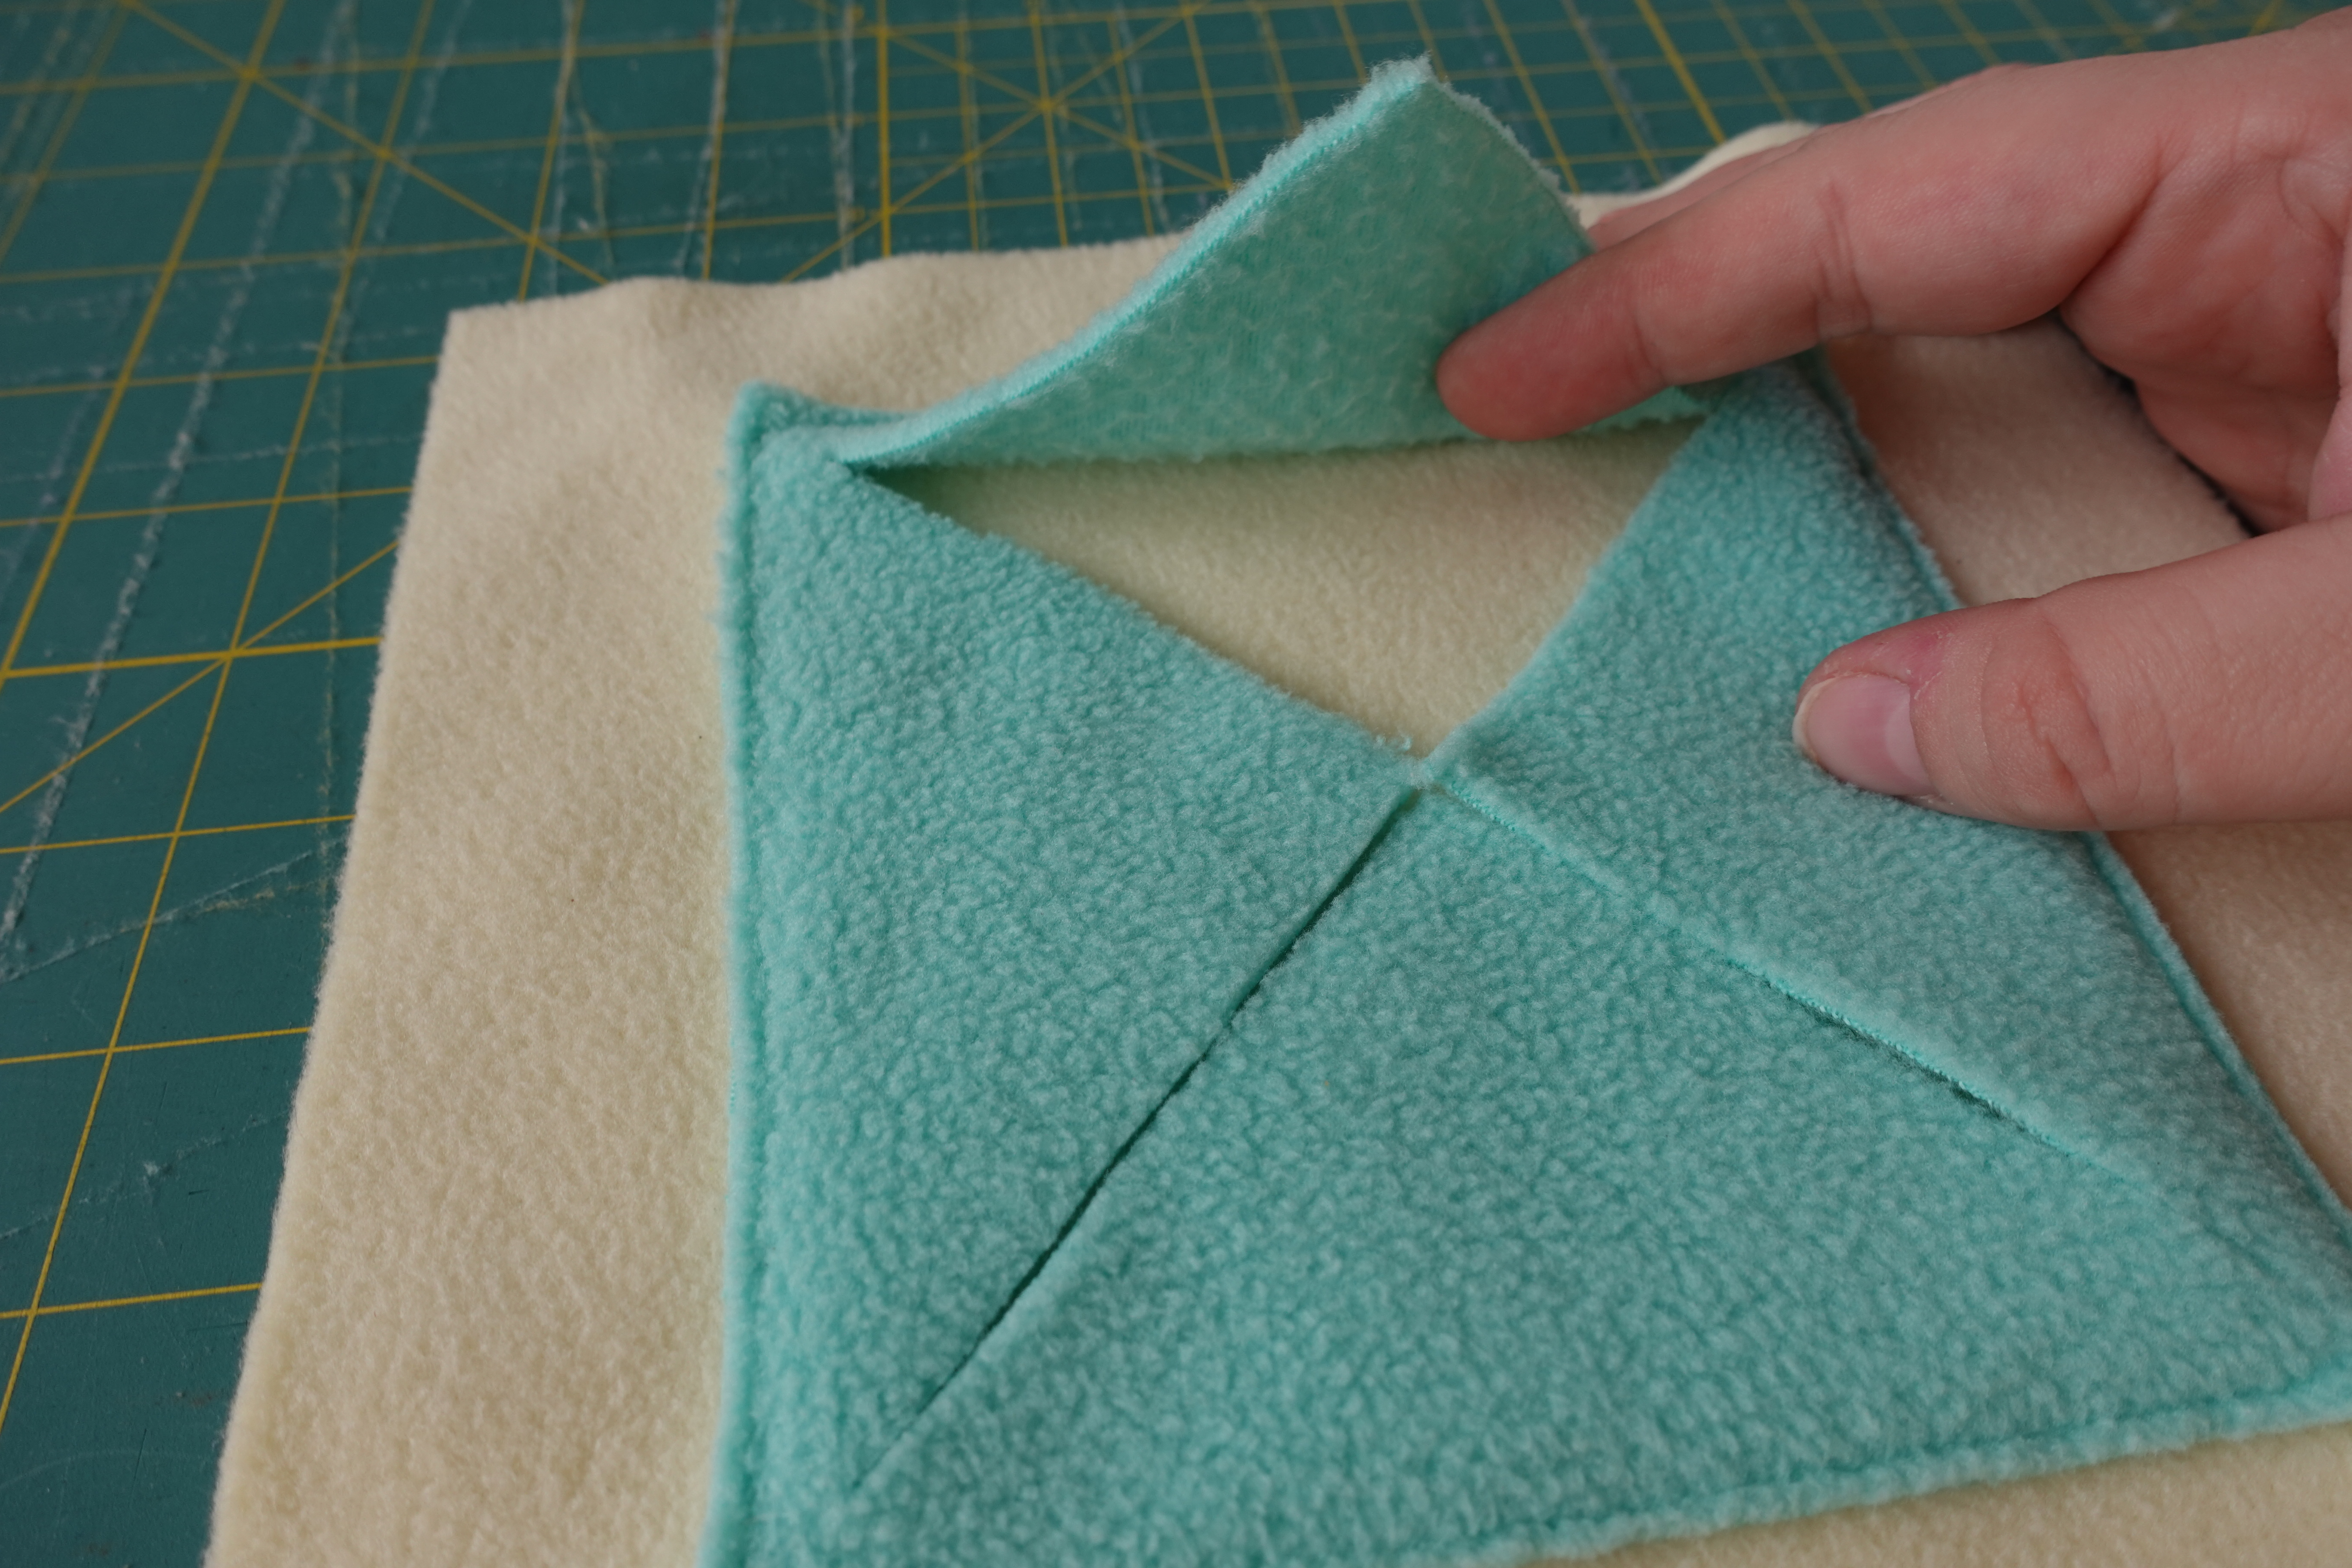
Cut an x shape in the center of the block.
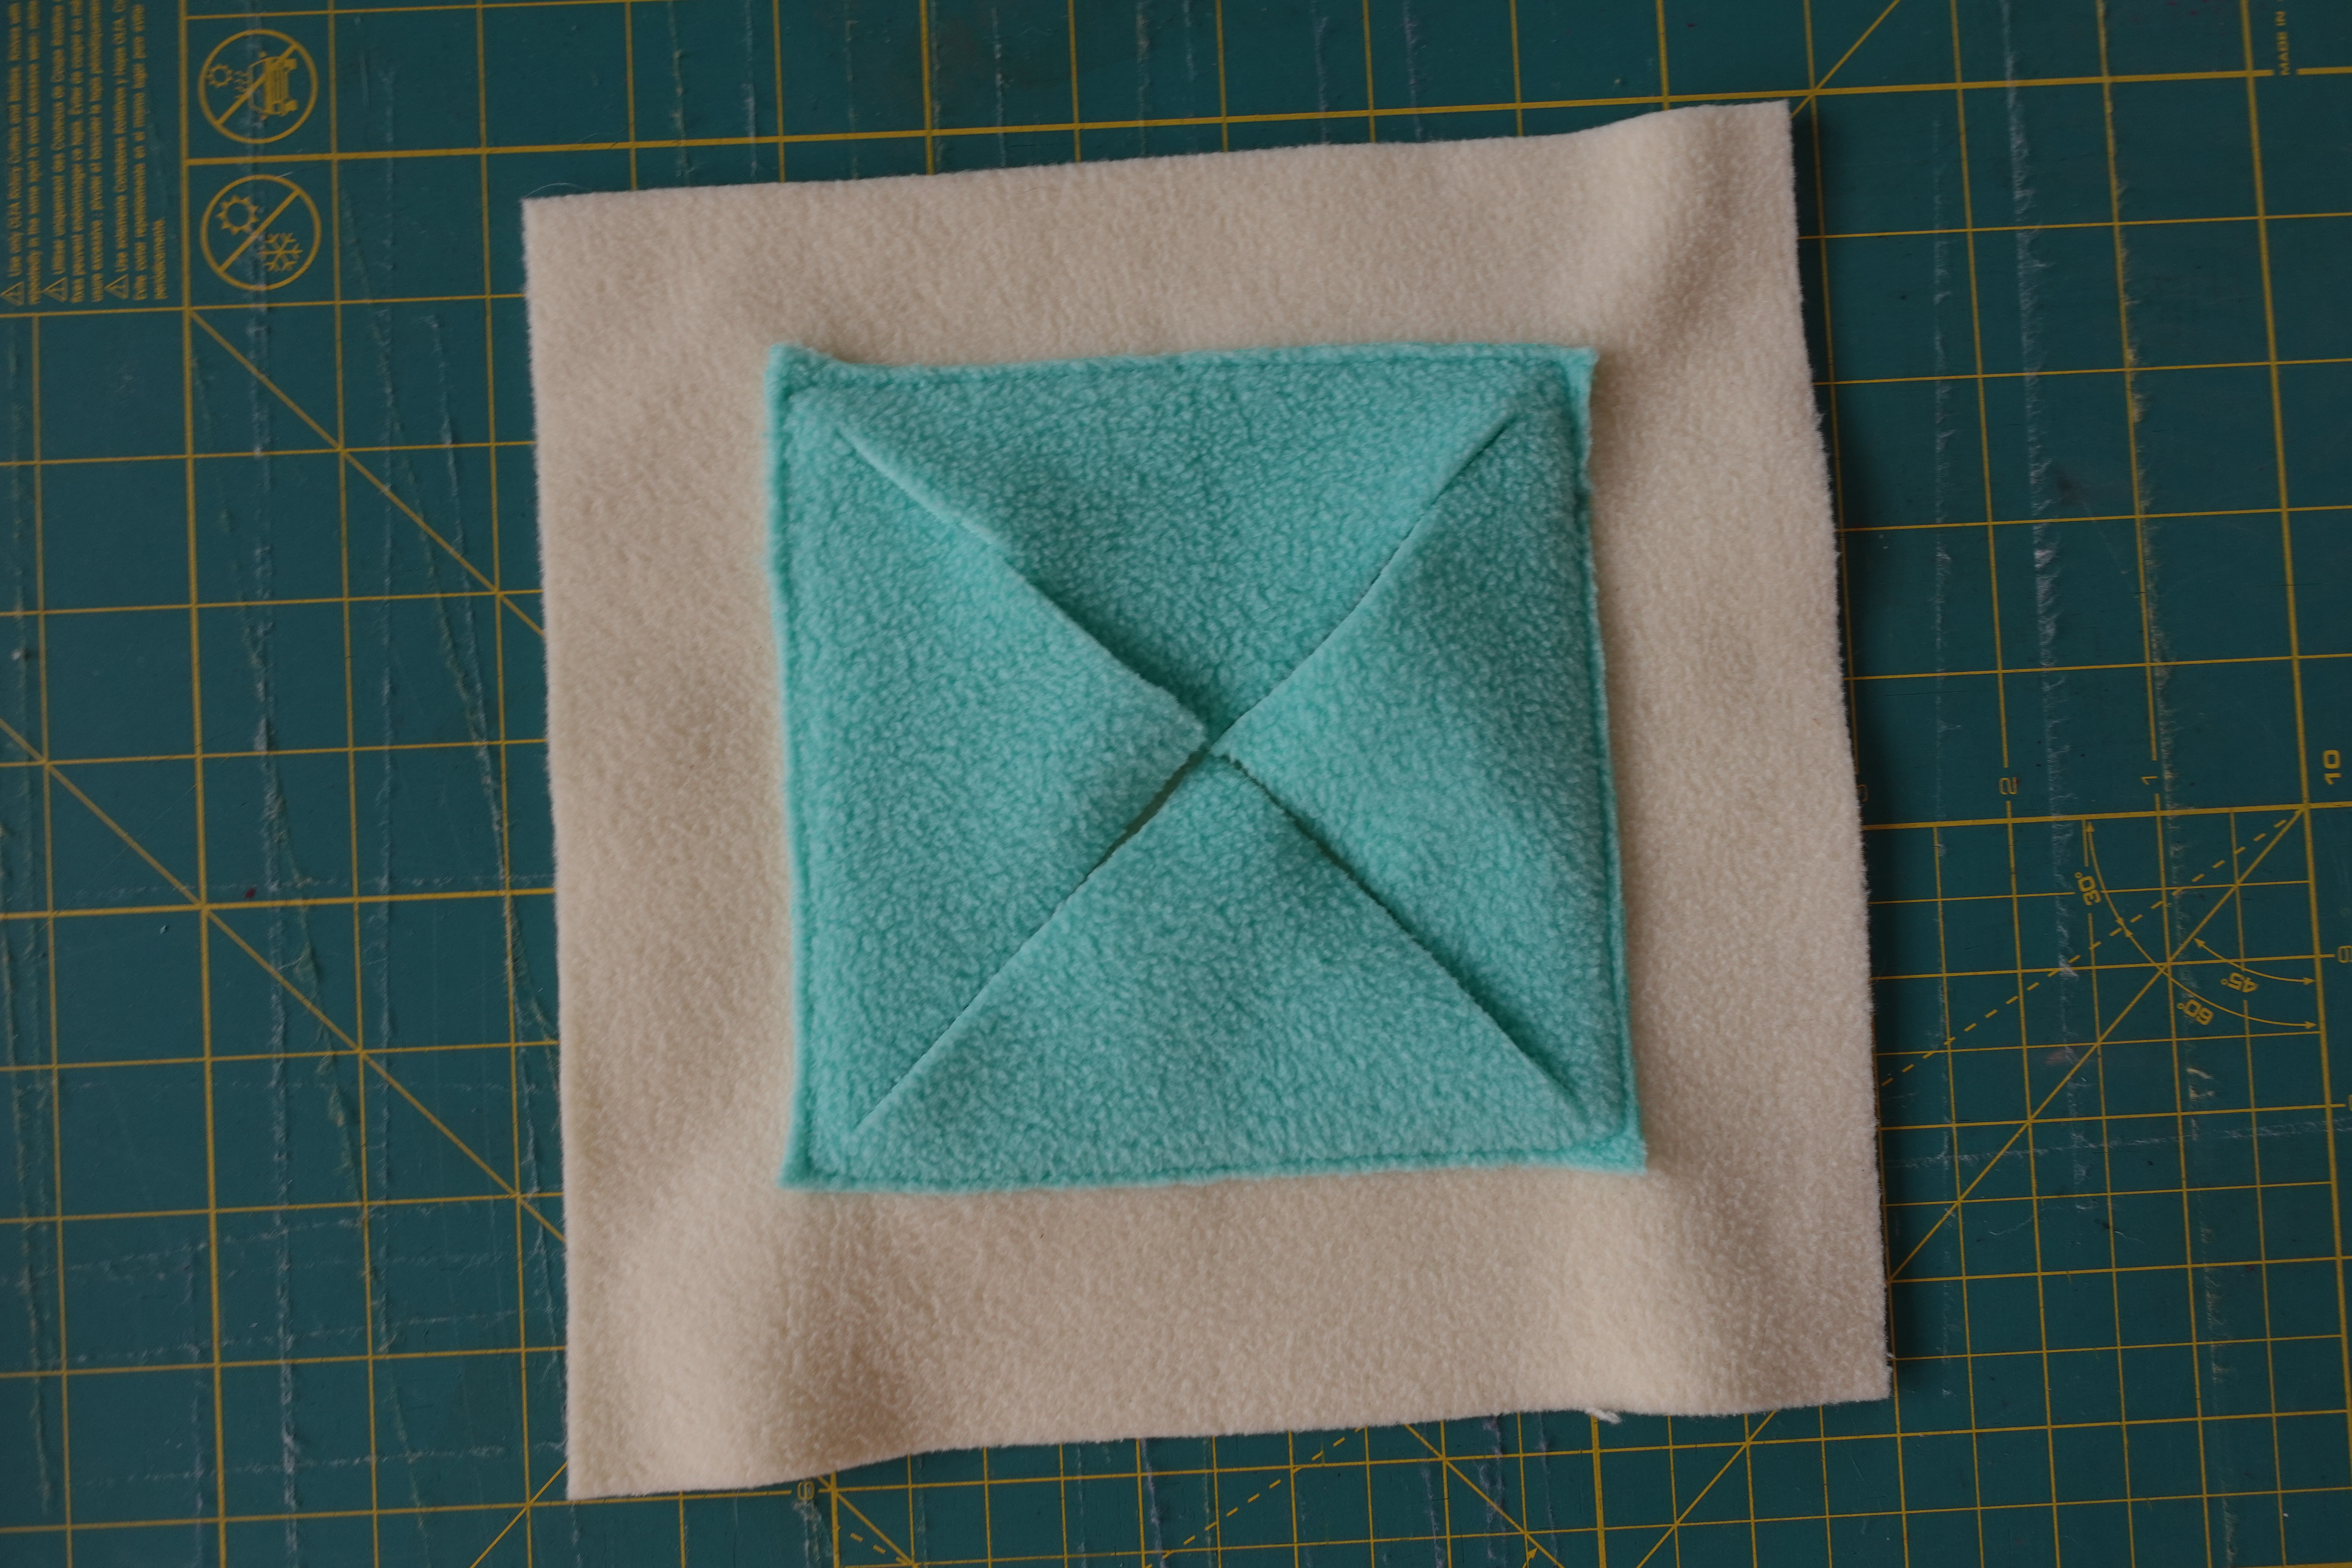
Finished! Set aside and continue to the next block.
Book Pages
This block is great for cats and dogs alike. I used this for my less food-motivated dog as it’s a pretty easy block to navigate.

Cut out four pieces of fleece 4.5″ x 2.5″ Place the four pieces of fleece on your block to get an idea of placement.

Place the first piece of fleece; mine was roughly 2 inches away from the left edge. Move the needle position to -5 and place the left side of the guide blade along the right side of your fleece rectangle. Sew the long edge. Be sure to sew off the edges of the rectangles and to backstitch at the beginning and the end to ensure the pieces are secure.
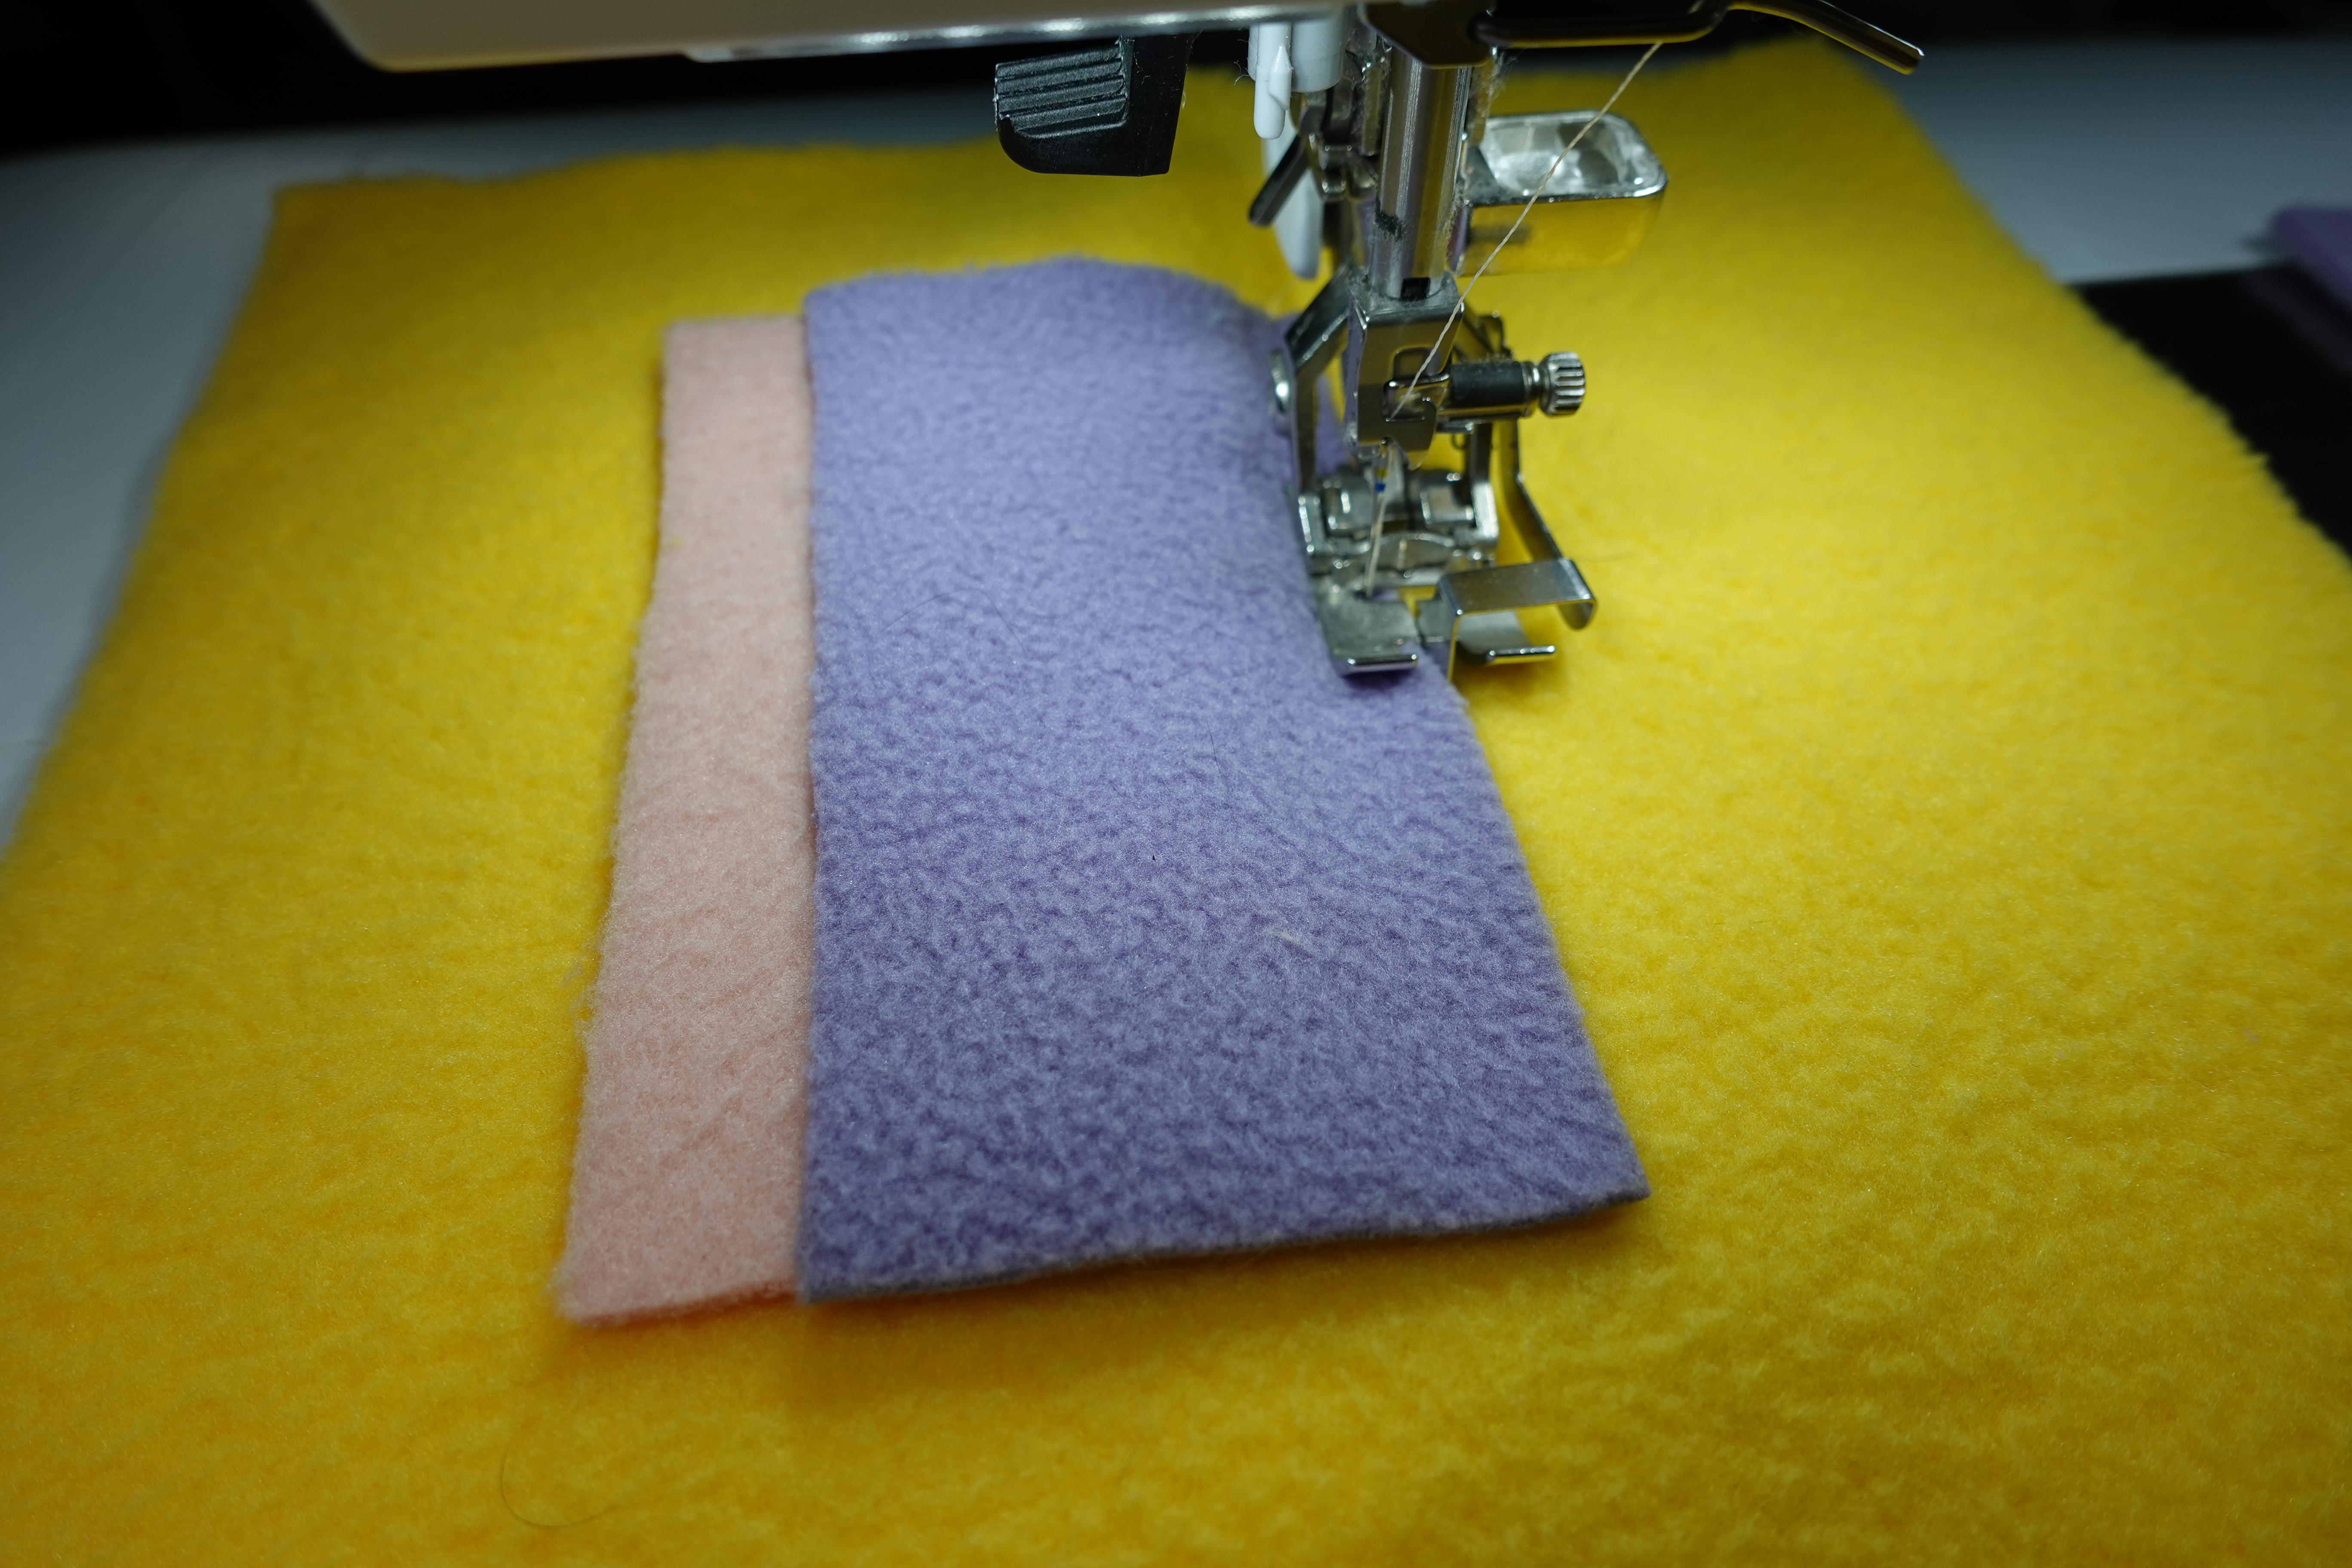
Place the second piece of fleece about half an inch to the right of the first piece and secure in the same way as the first.
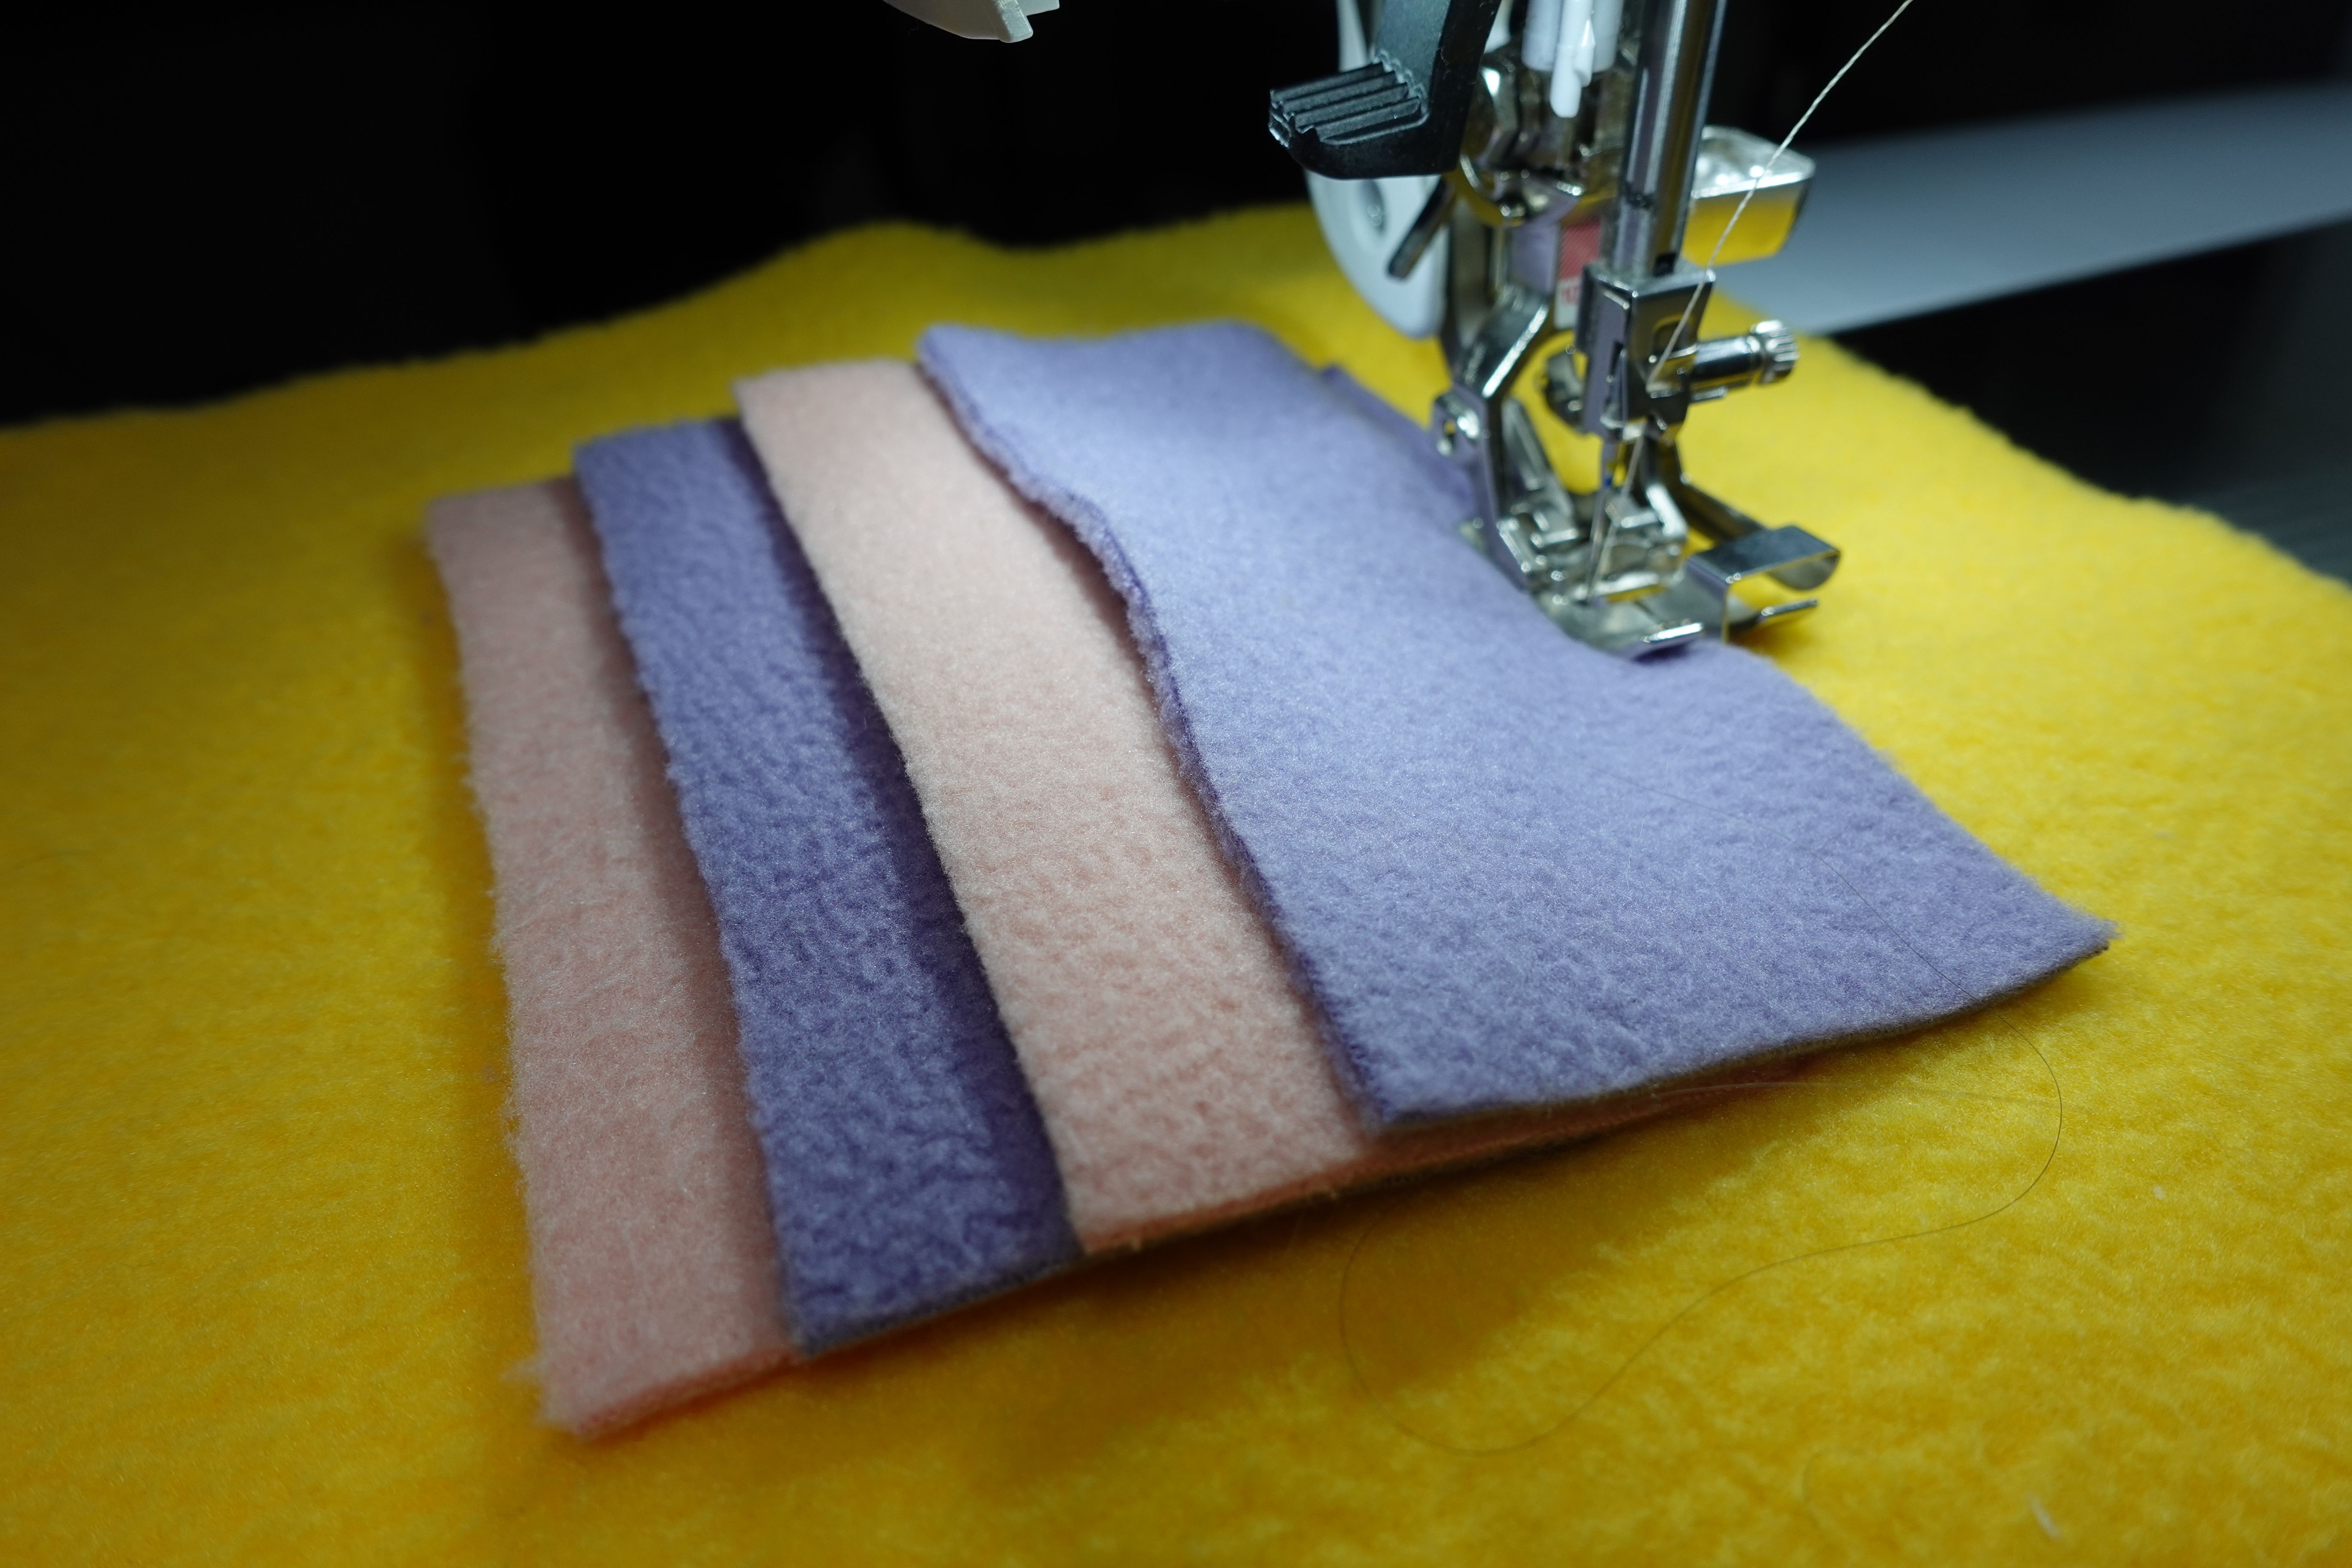
Repeat for the remaining two pieces until all four pieces are secure.

Finished! Ready for you to hide treats within the book pages.
3D Circle
I love hiding kibble throughout this 3D shape. Have fun playing with the shapes. Cut into fringe after sewing for even more fun for your dogs (avoid cutting into fringe for cats)

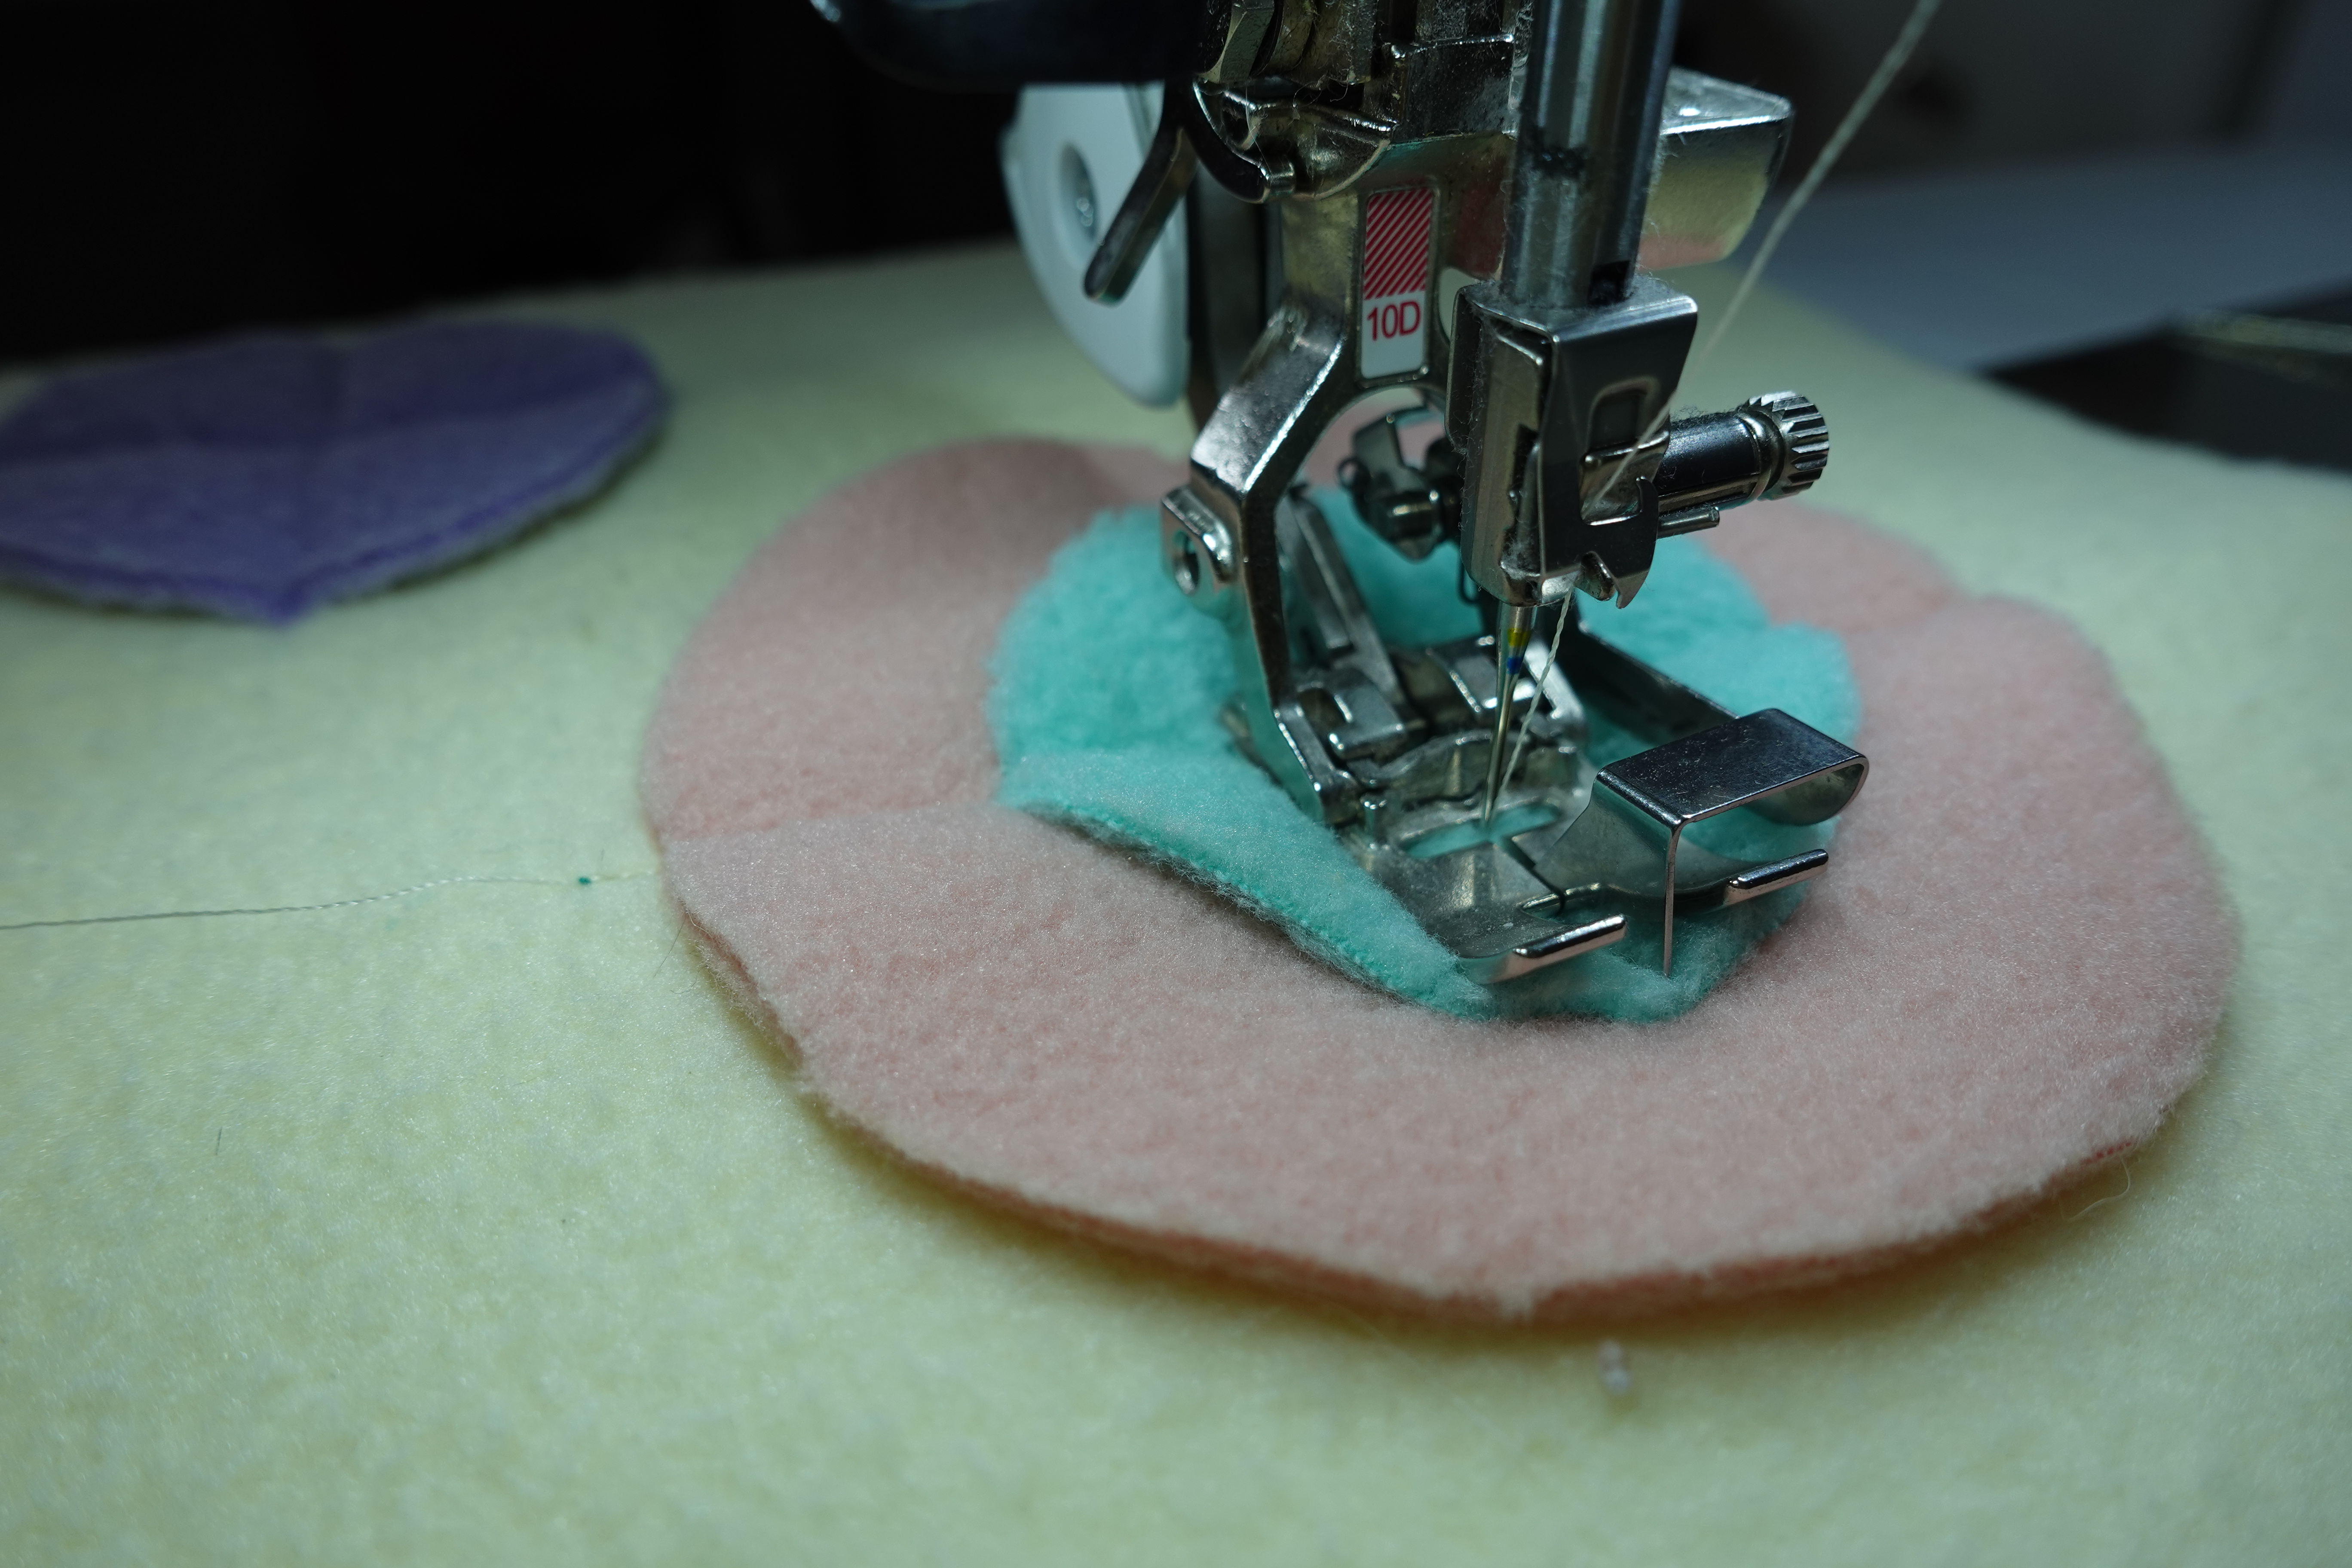
Cut out four circles that are the same size.
Stack two circles on top of each other in the center of the block.
Sew the two circles down the center, securing them to your block.
Open the two circles and place another circle on top. Sew the third circle to the other two circles, trying your best to match centers. Don’t worry if they don’t match perfectly.
Repeat this on the other side to affix the last circle.
All done!
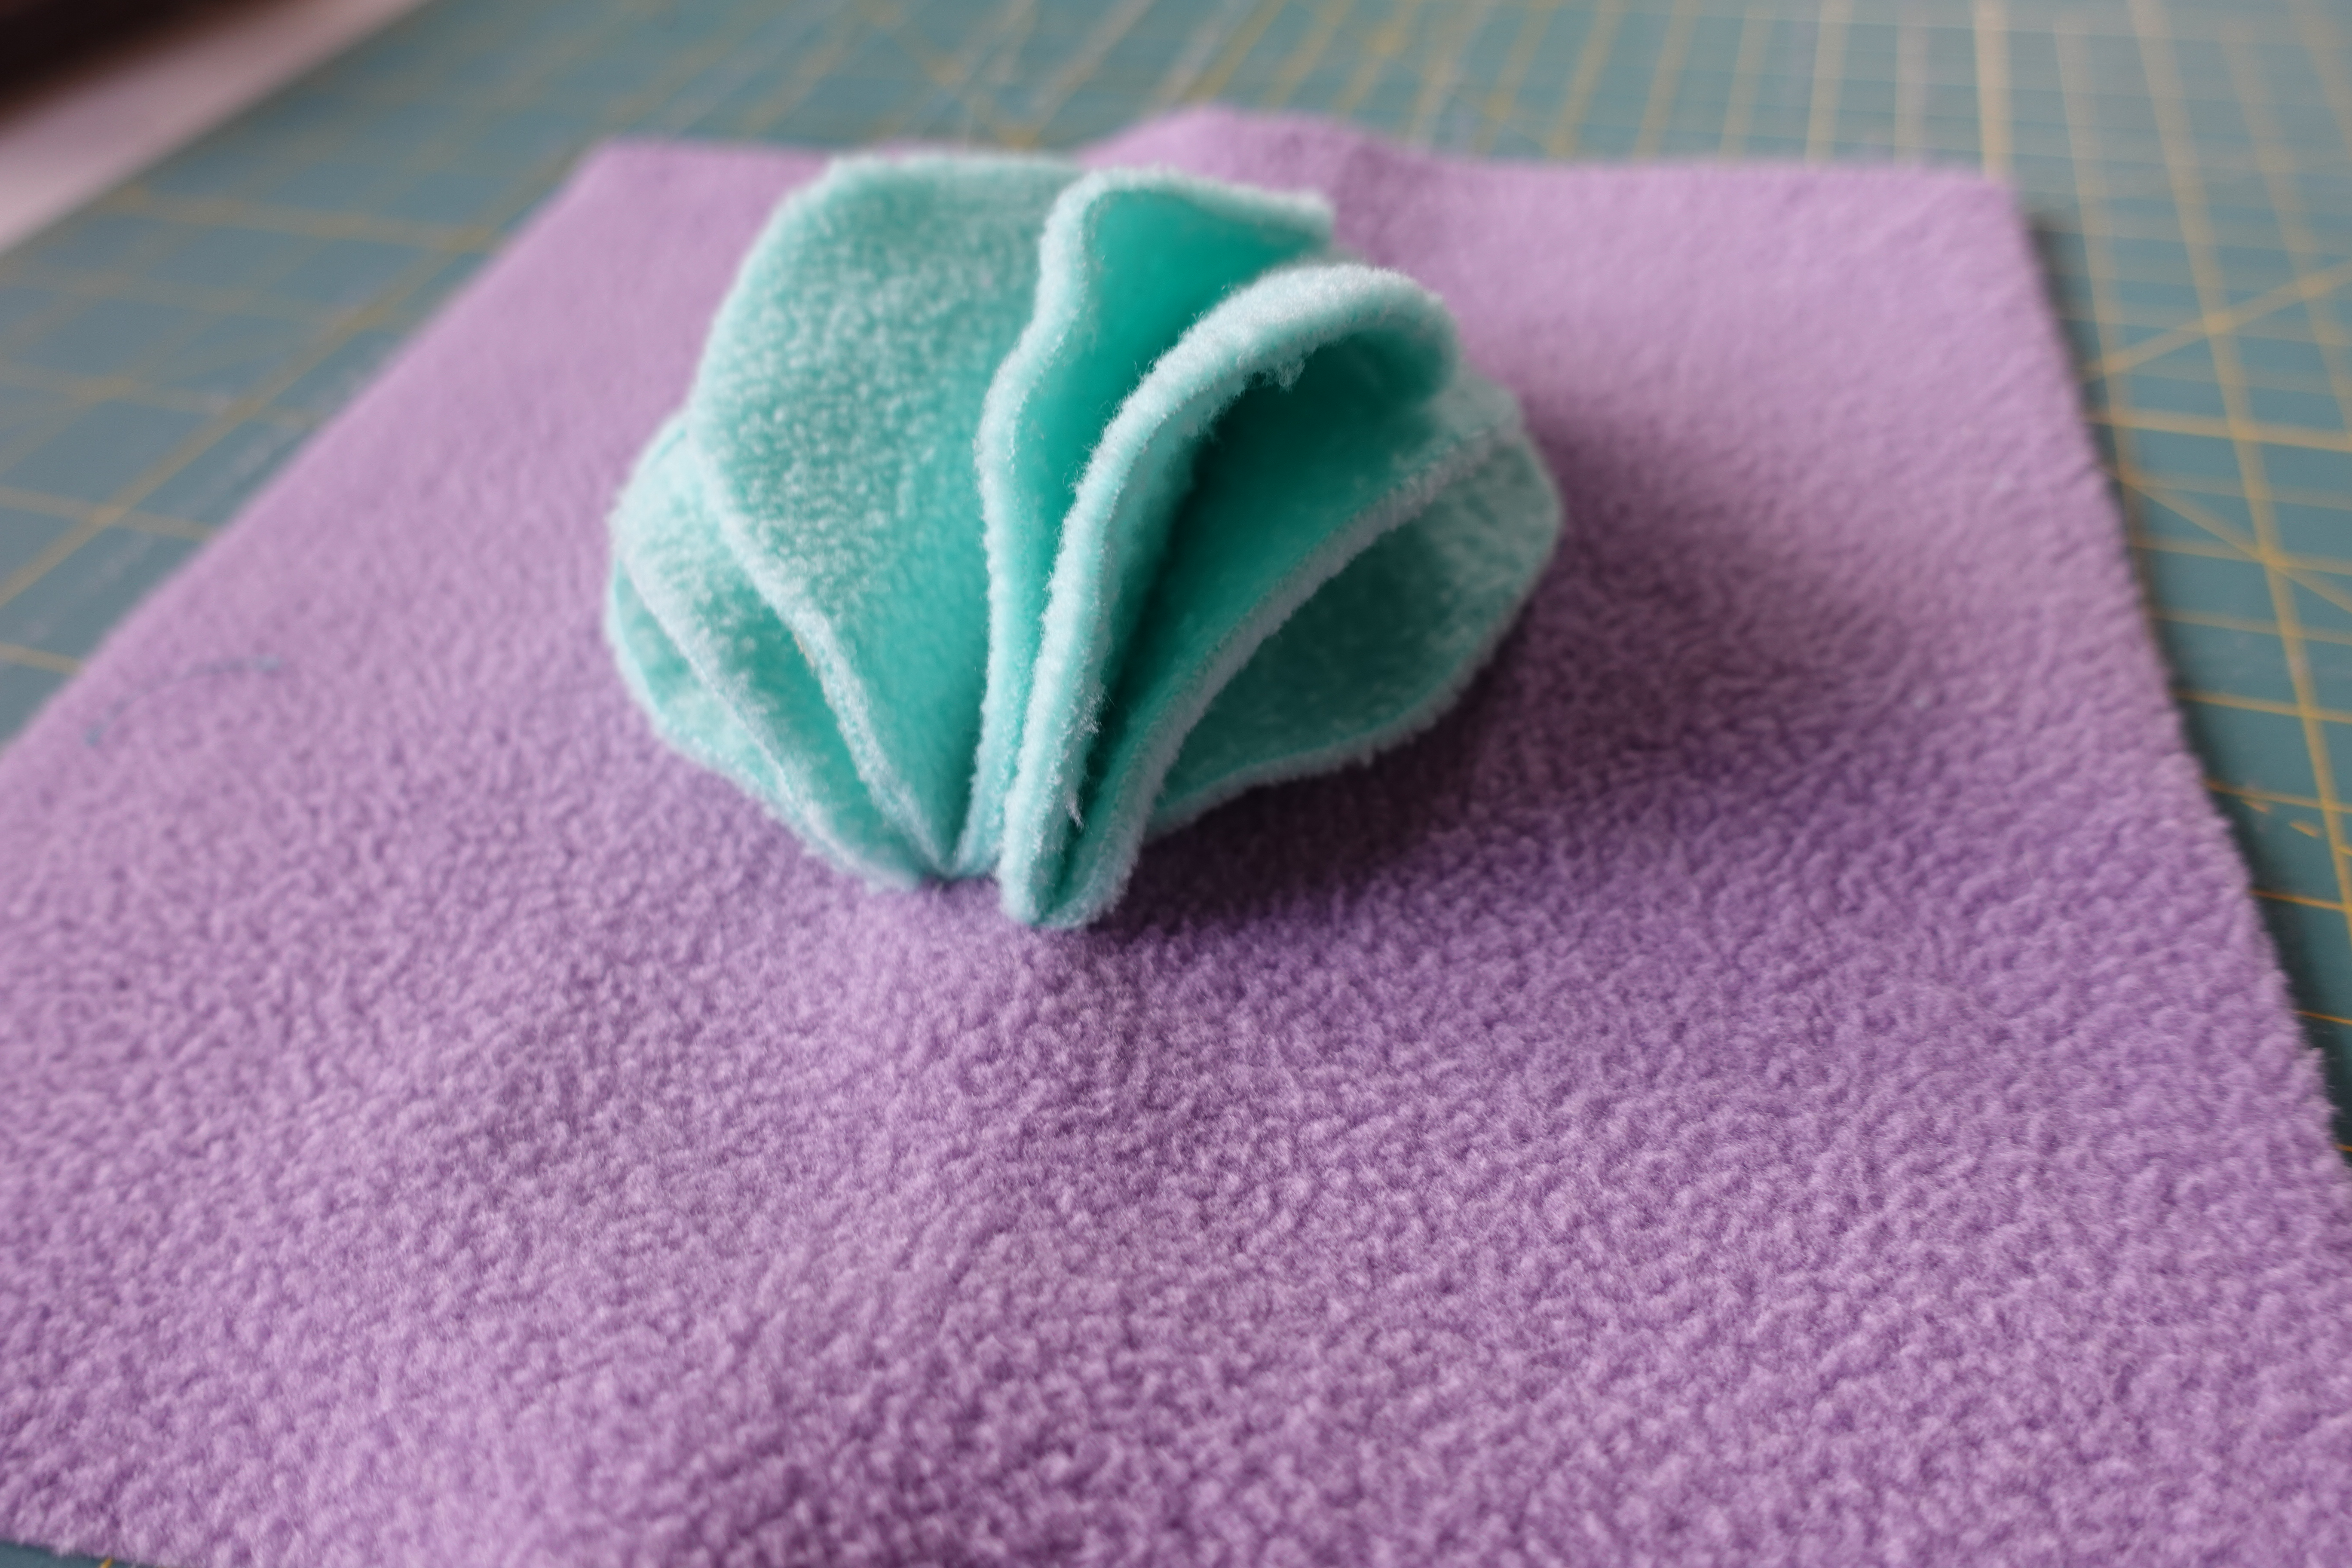
Flower Power
This is just the beginning of fun shapes you could create for your pets! Sew a snuffle mat of just flowers and leaves to create a beautiful flower bed for your furry friends to forage in.
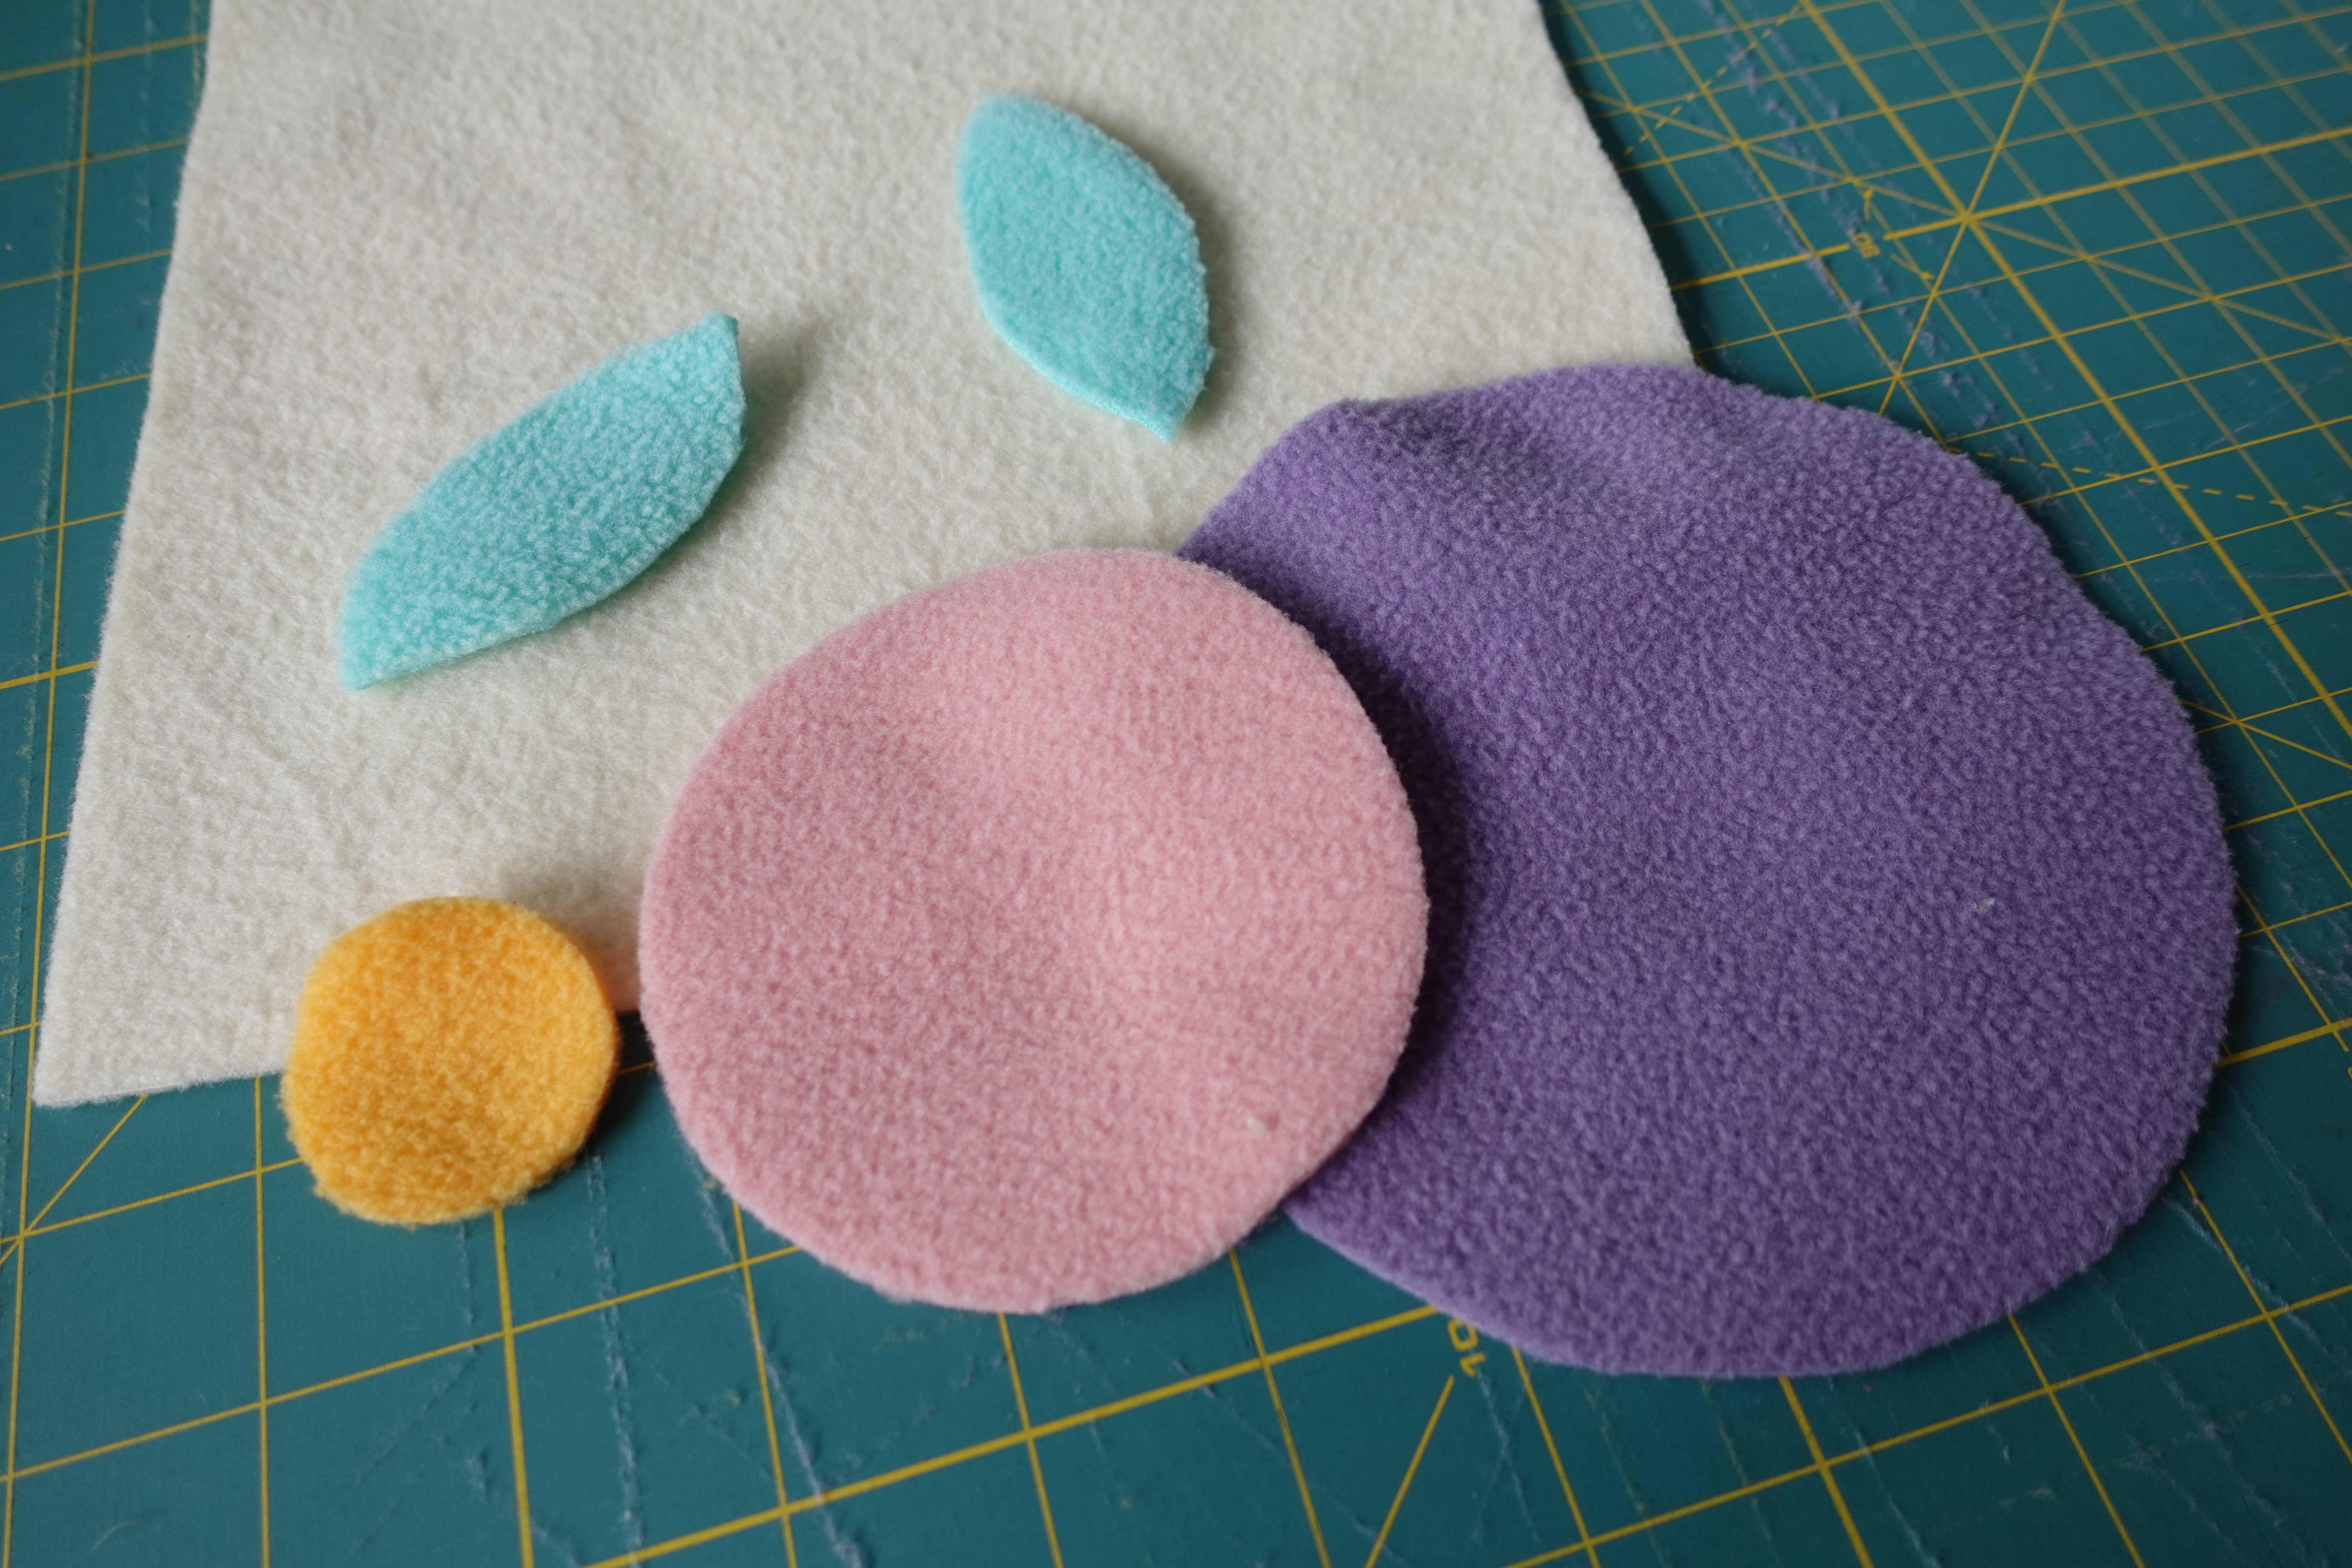
Cut out 3 circles in varying sizes (large, medium and small) and two leaf shapes, I freehanded a simple leaf shape for mine.

Stack the circles to look like petals and a center, arrange the petals how you like them.

Mark the centers of the smallest circle. Align the blade of your #10D on the marked lines and stitch across only the small circle. Be sure to start off of the circles and backstitch where each circle starts to reinforce the stitching. Sewing horizontal and vertical lines.
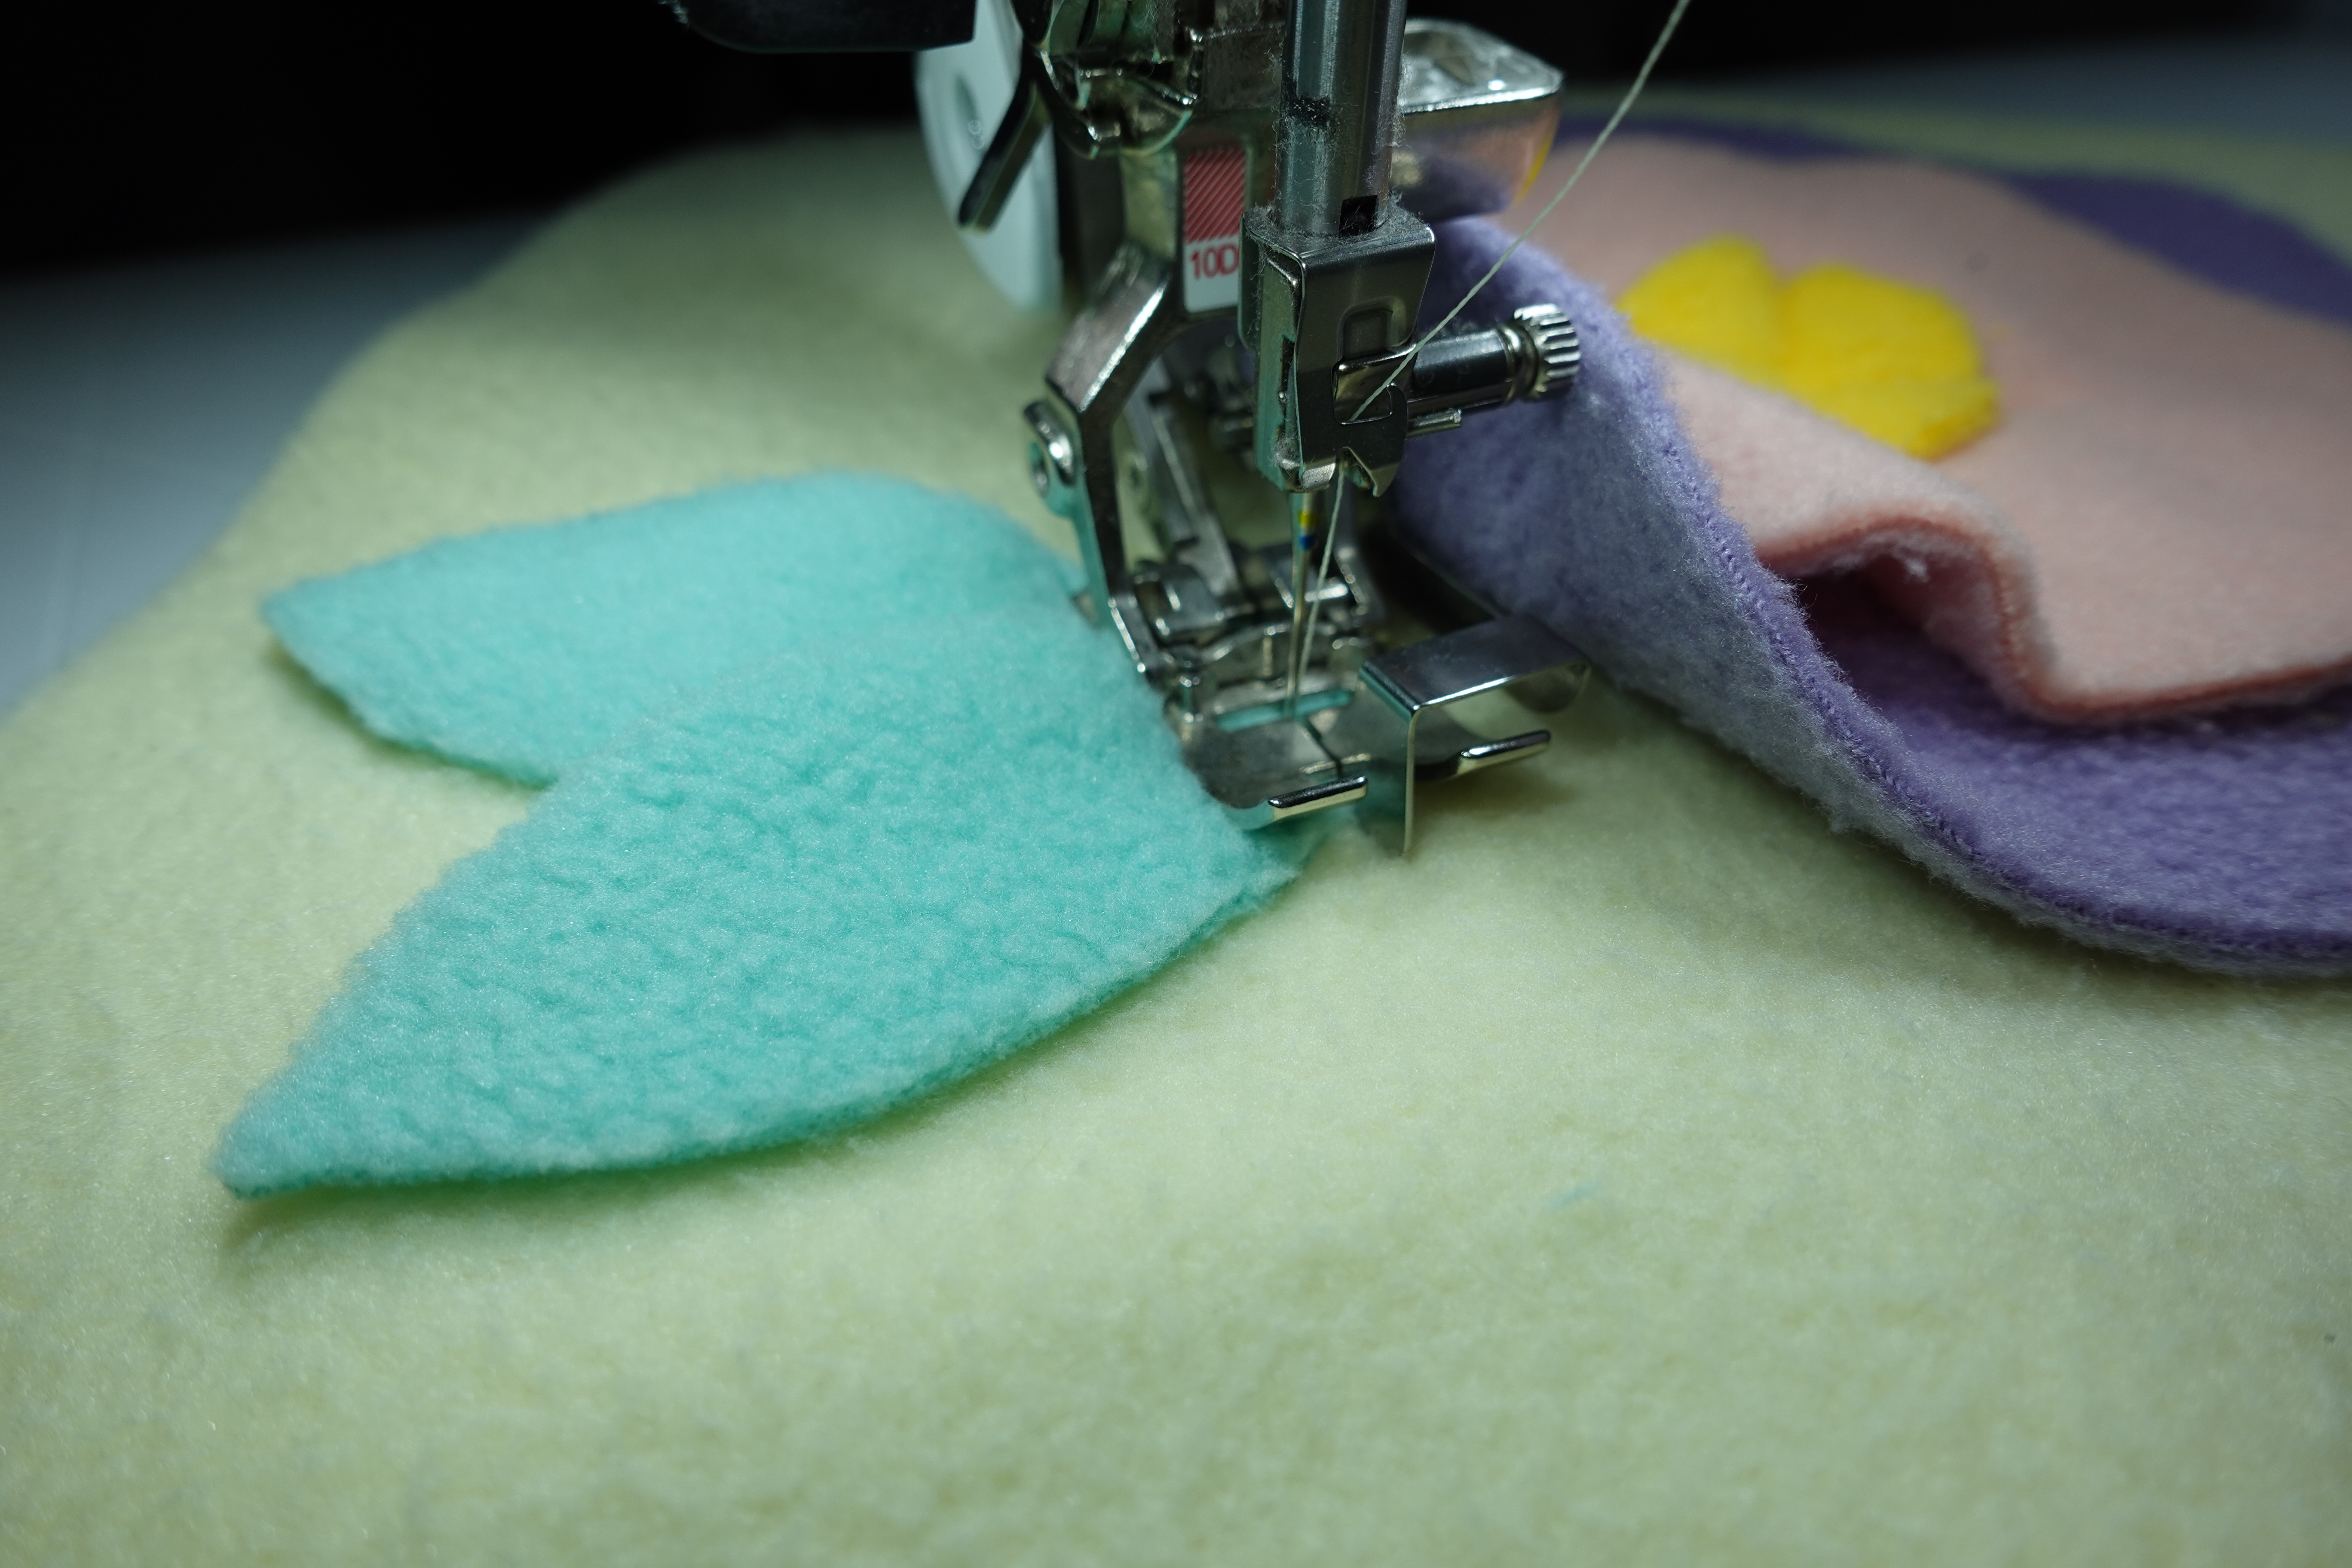
For the leaves, I stitched across the tips of the leaves and back stitched heavily. The dog I’m giving this one to is very gentle so I trust this will be enough, if your dog is tougher on toys you may want to secure it more.
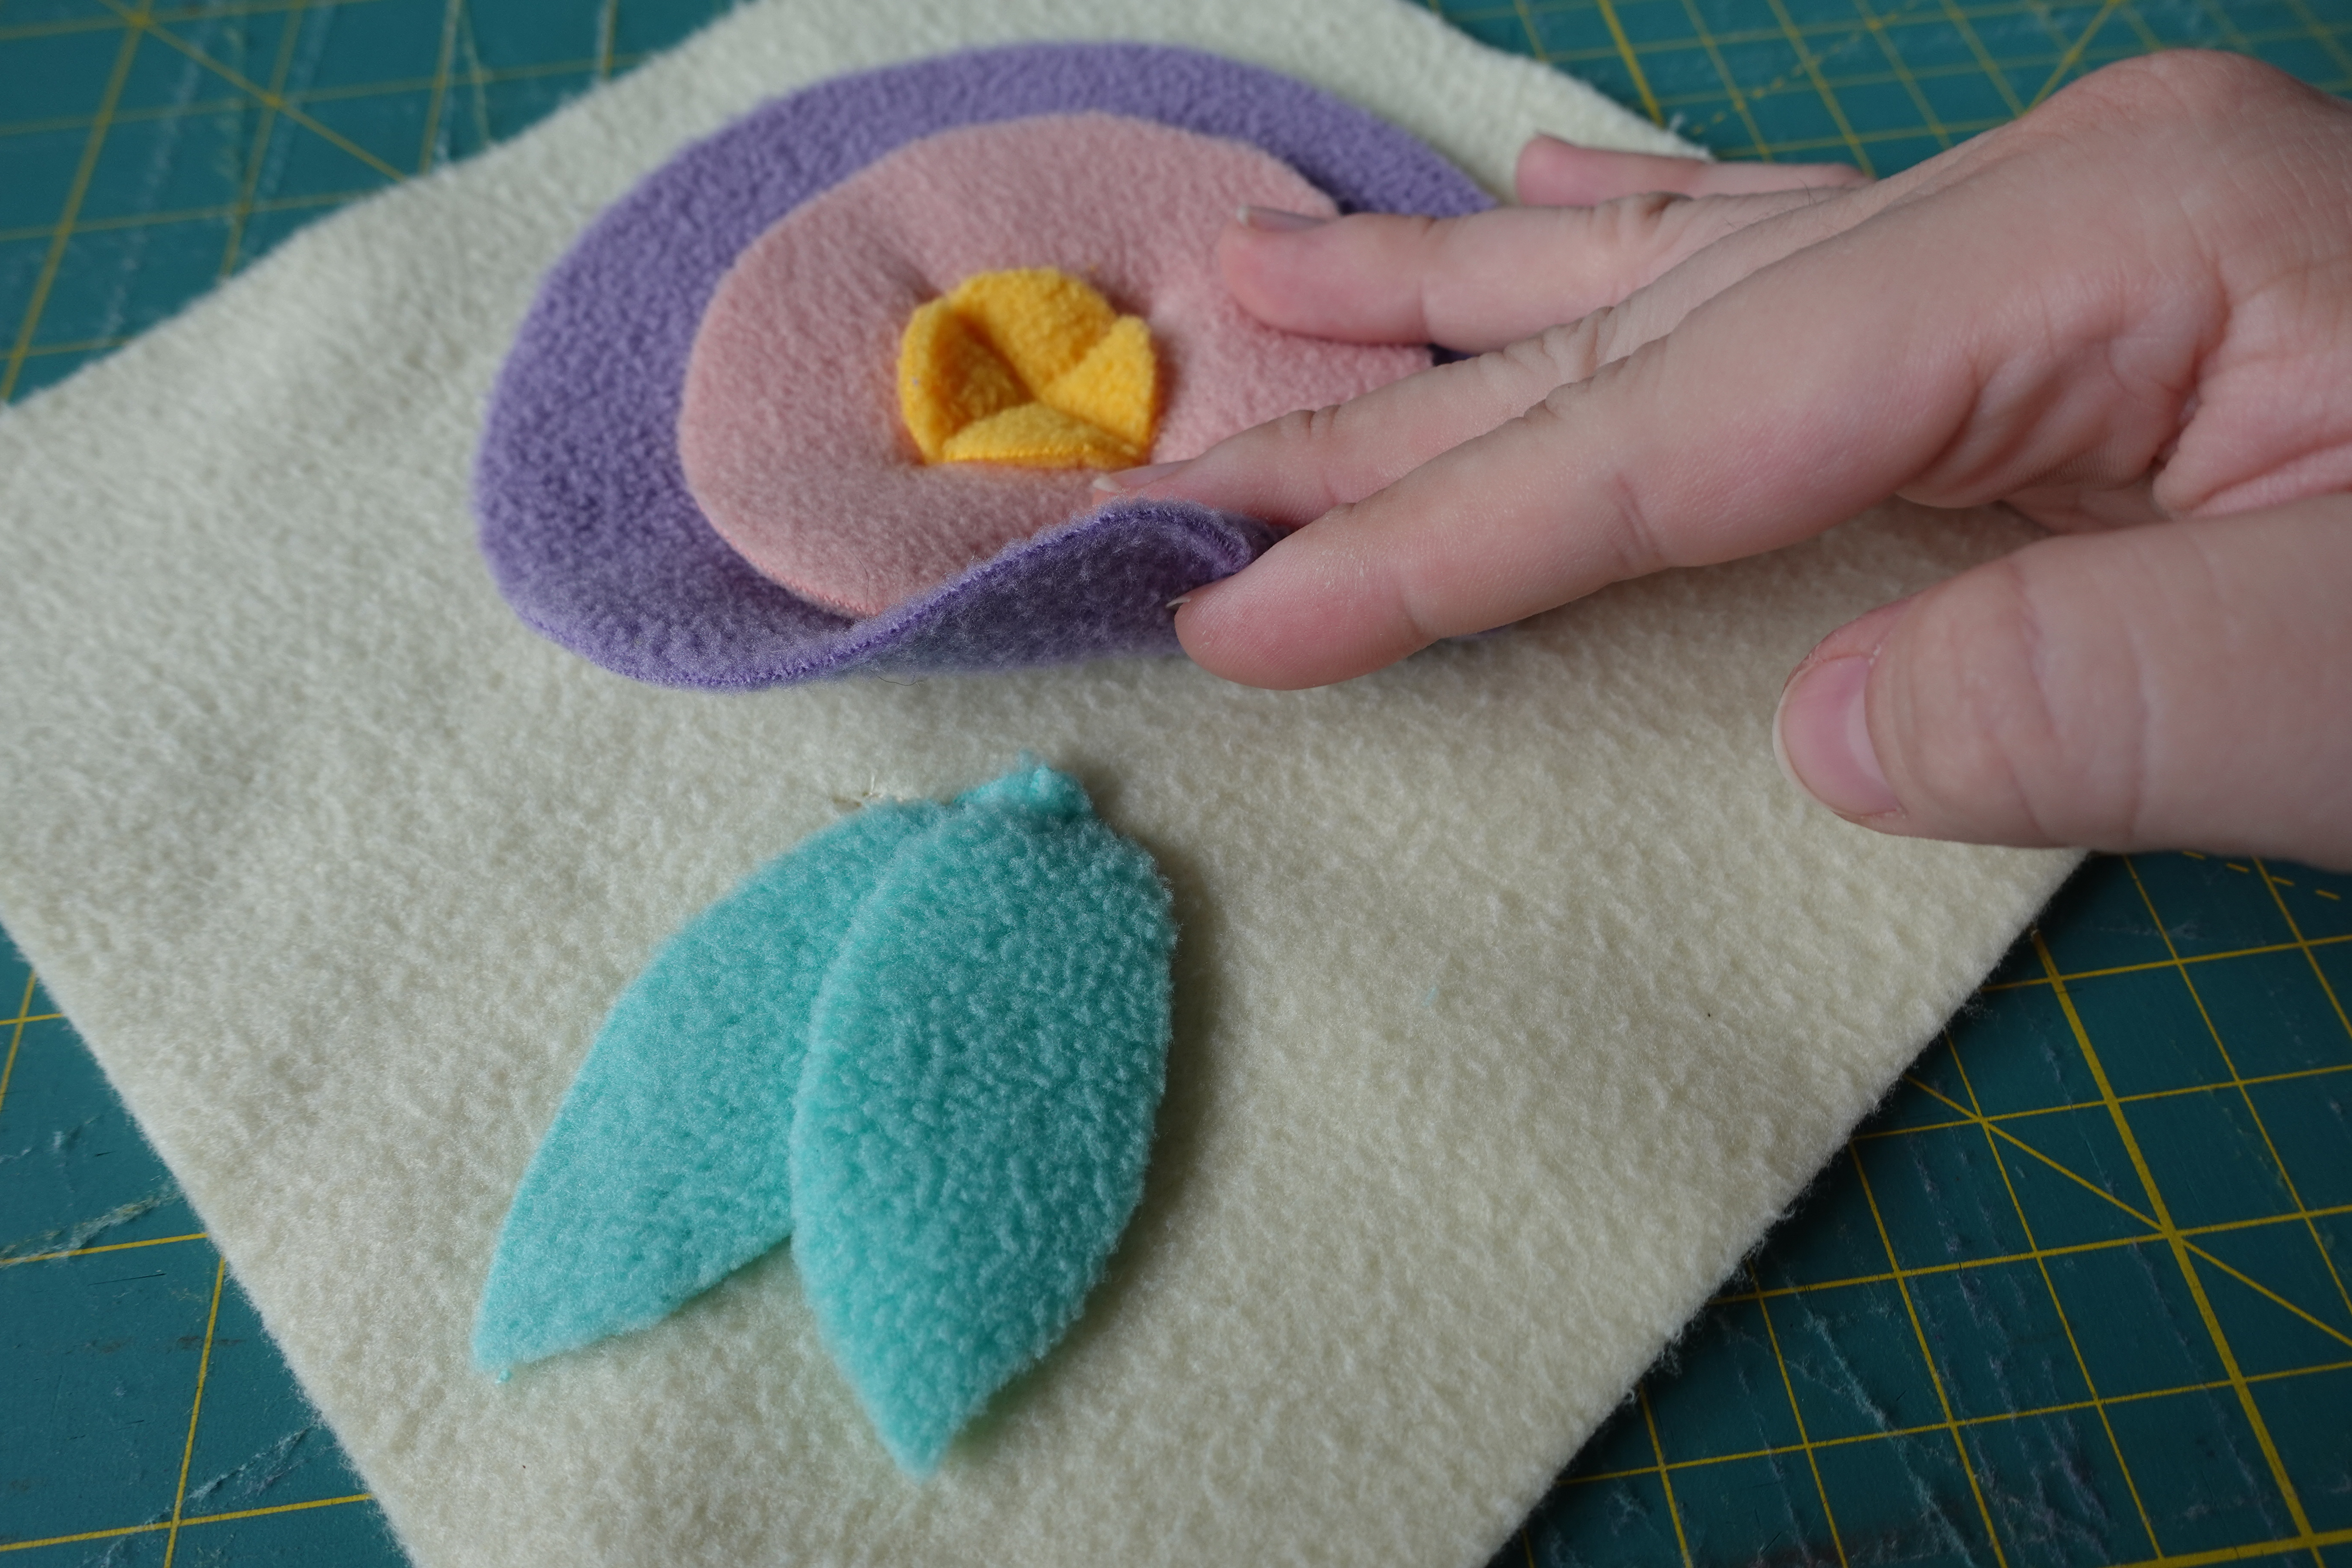
Finished! A cute little flower, ready for treats!
Finishing
Arrange the blocks how you like them. I made mine into a checkerboard pattern.

Pin the blocks together two at a time (making three pairs), right sides together.
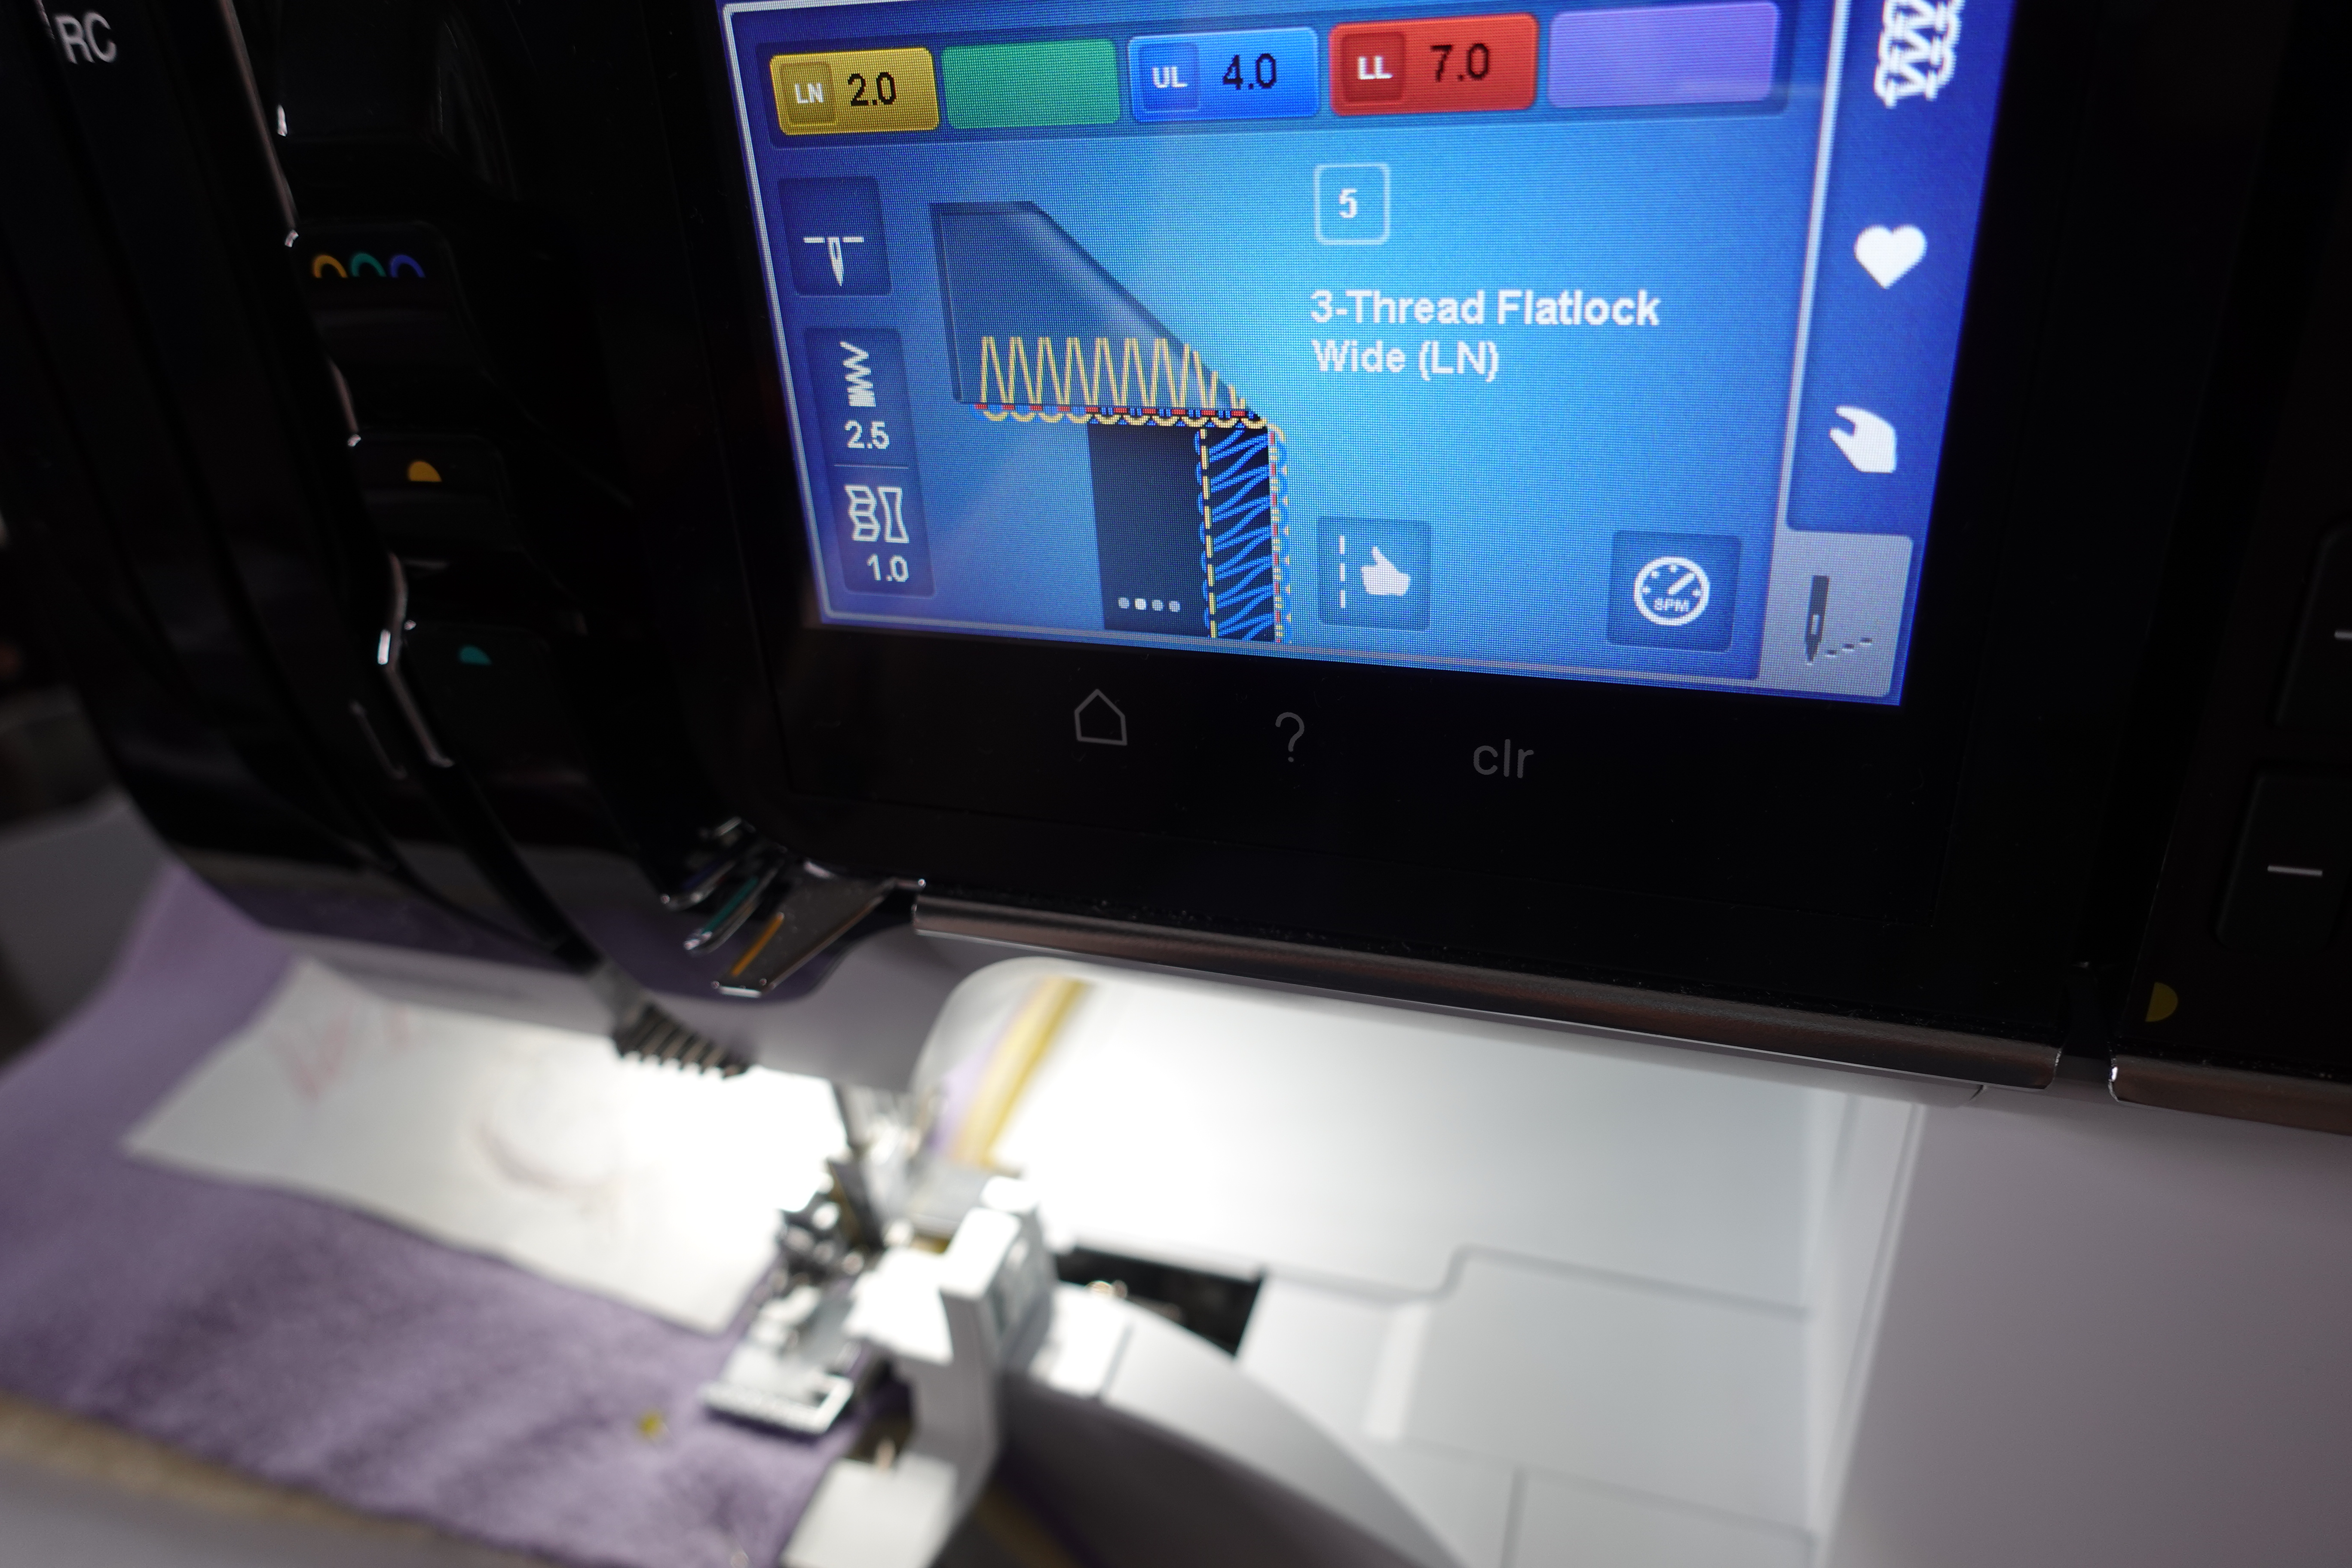
Set up the L890 Overlocker for a 3-thread Flatlock Wide (LN), Stitch #5 with a 5″ seam allowance. Change the pressure foot pressure to 1.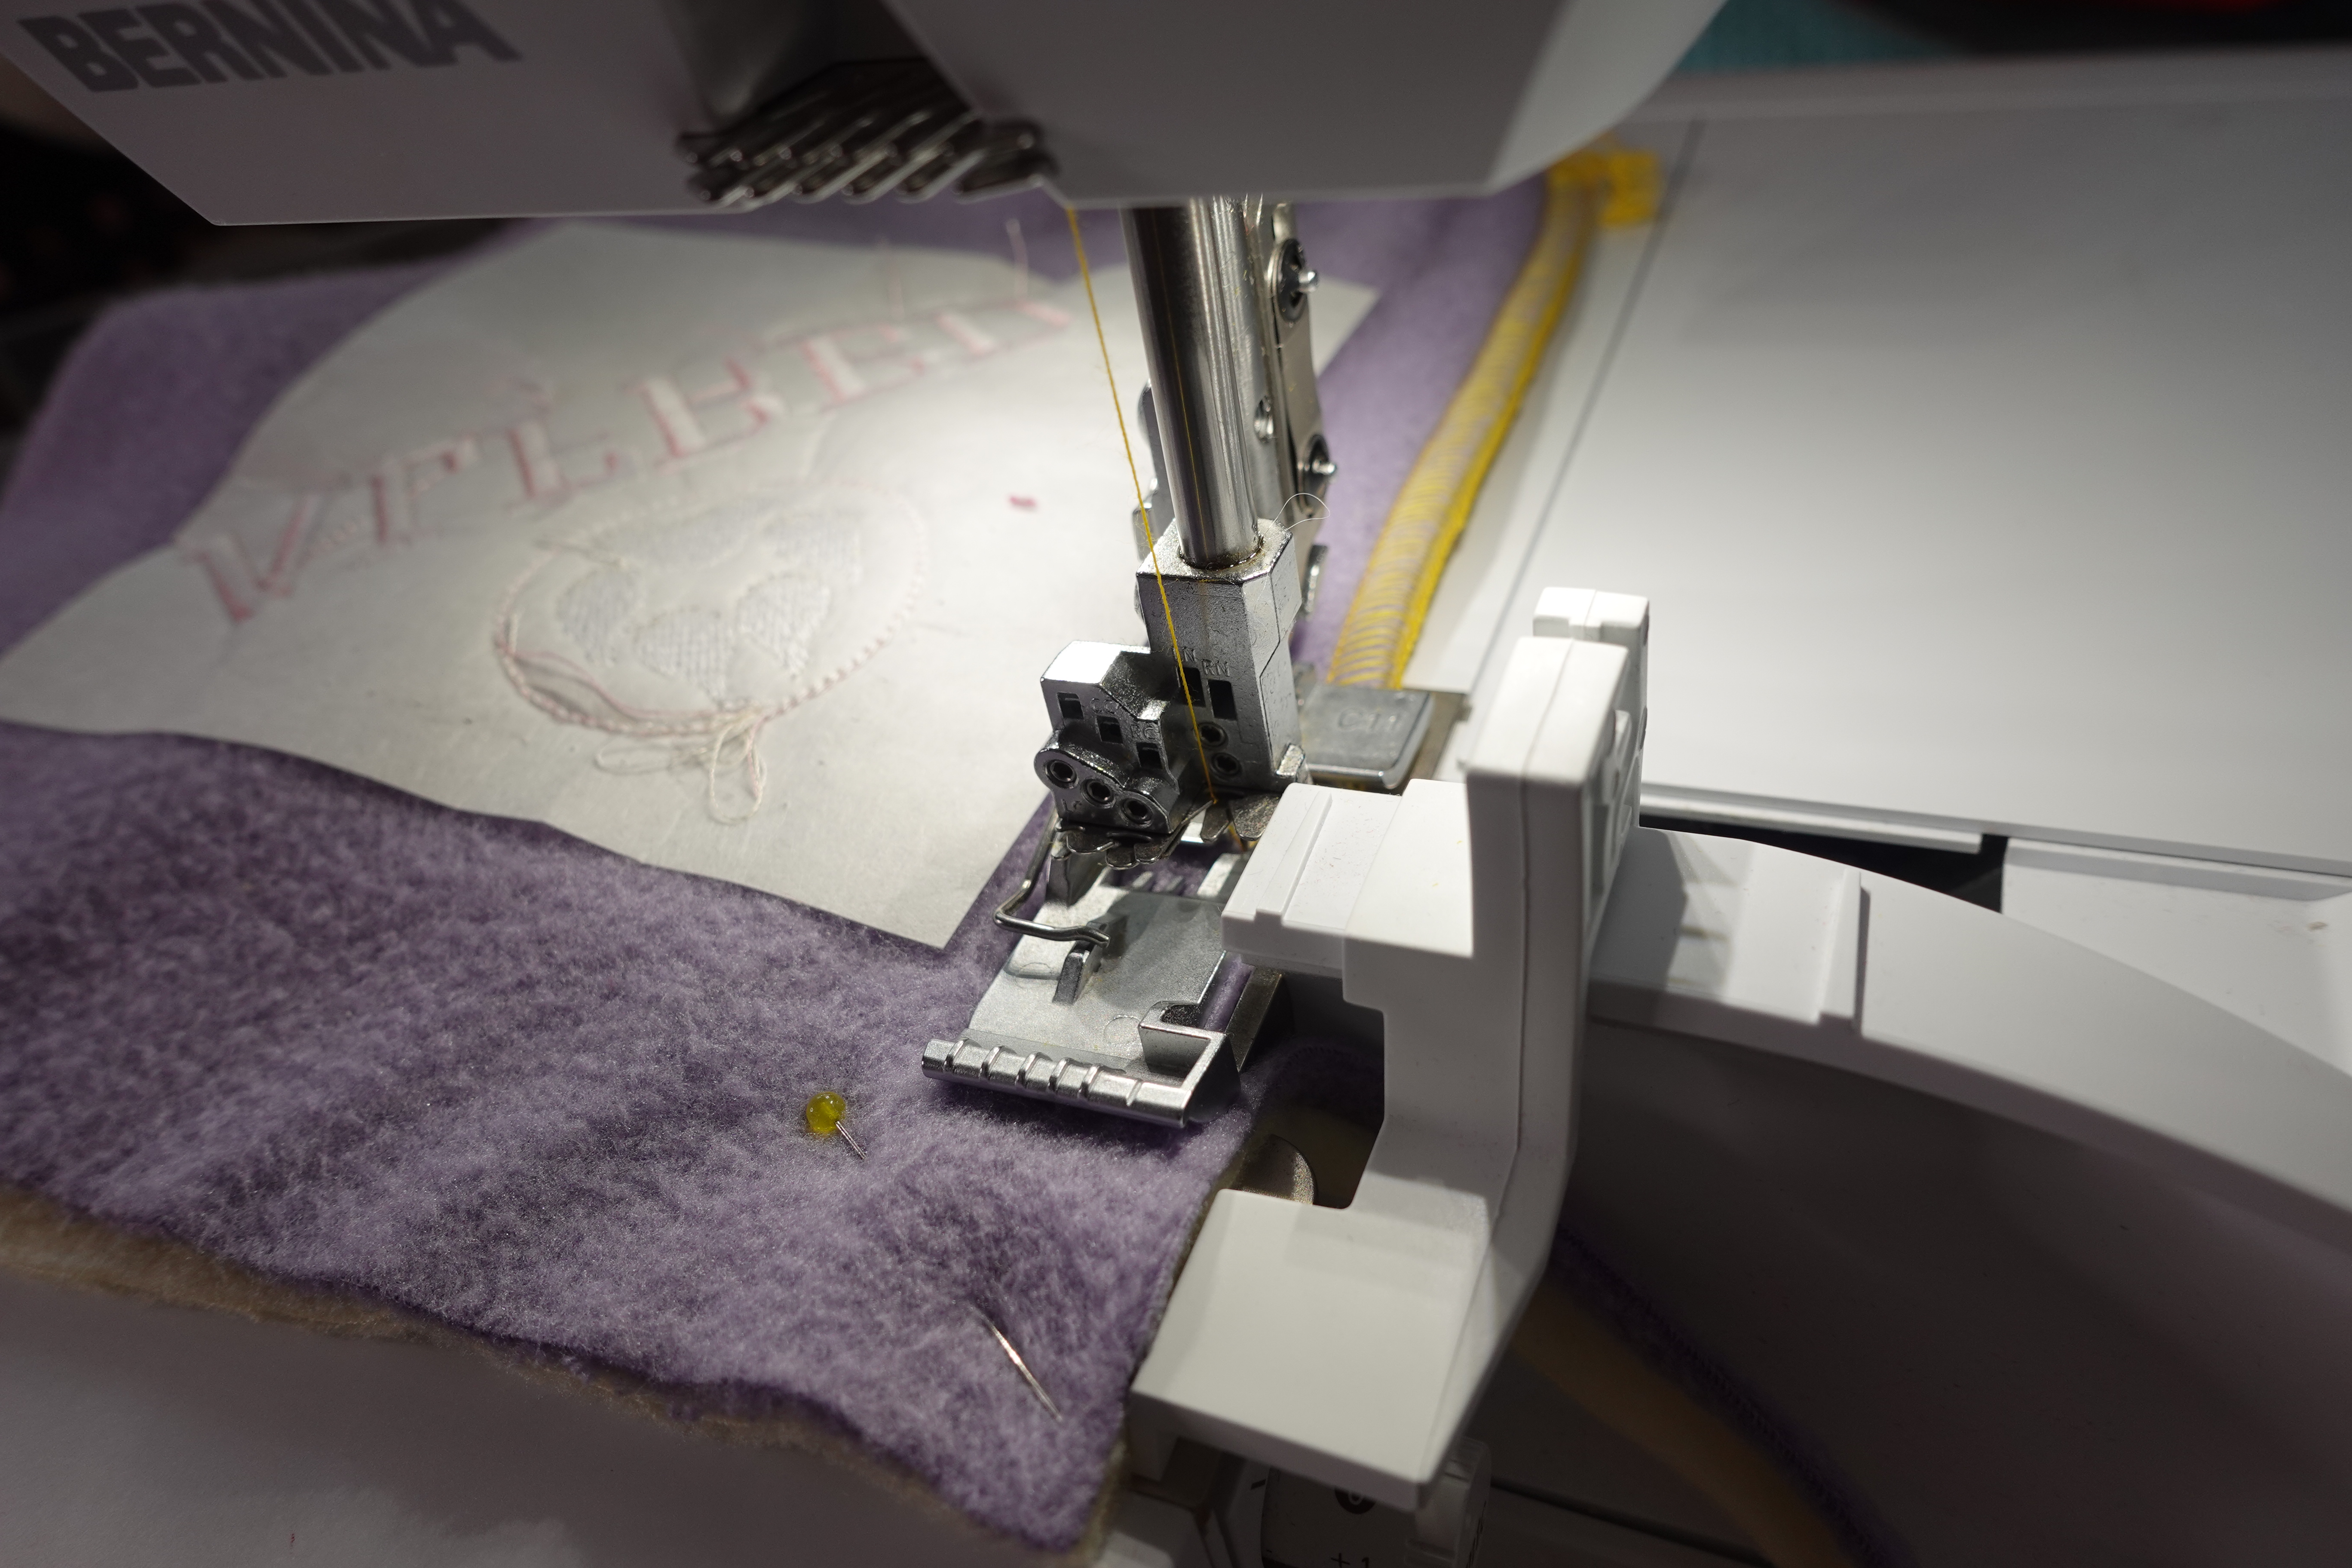
Flat lock along each of the three block pairs.

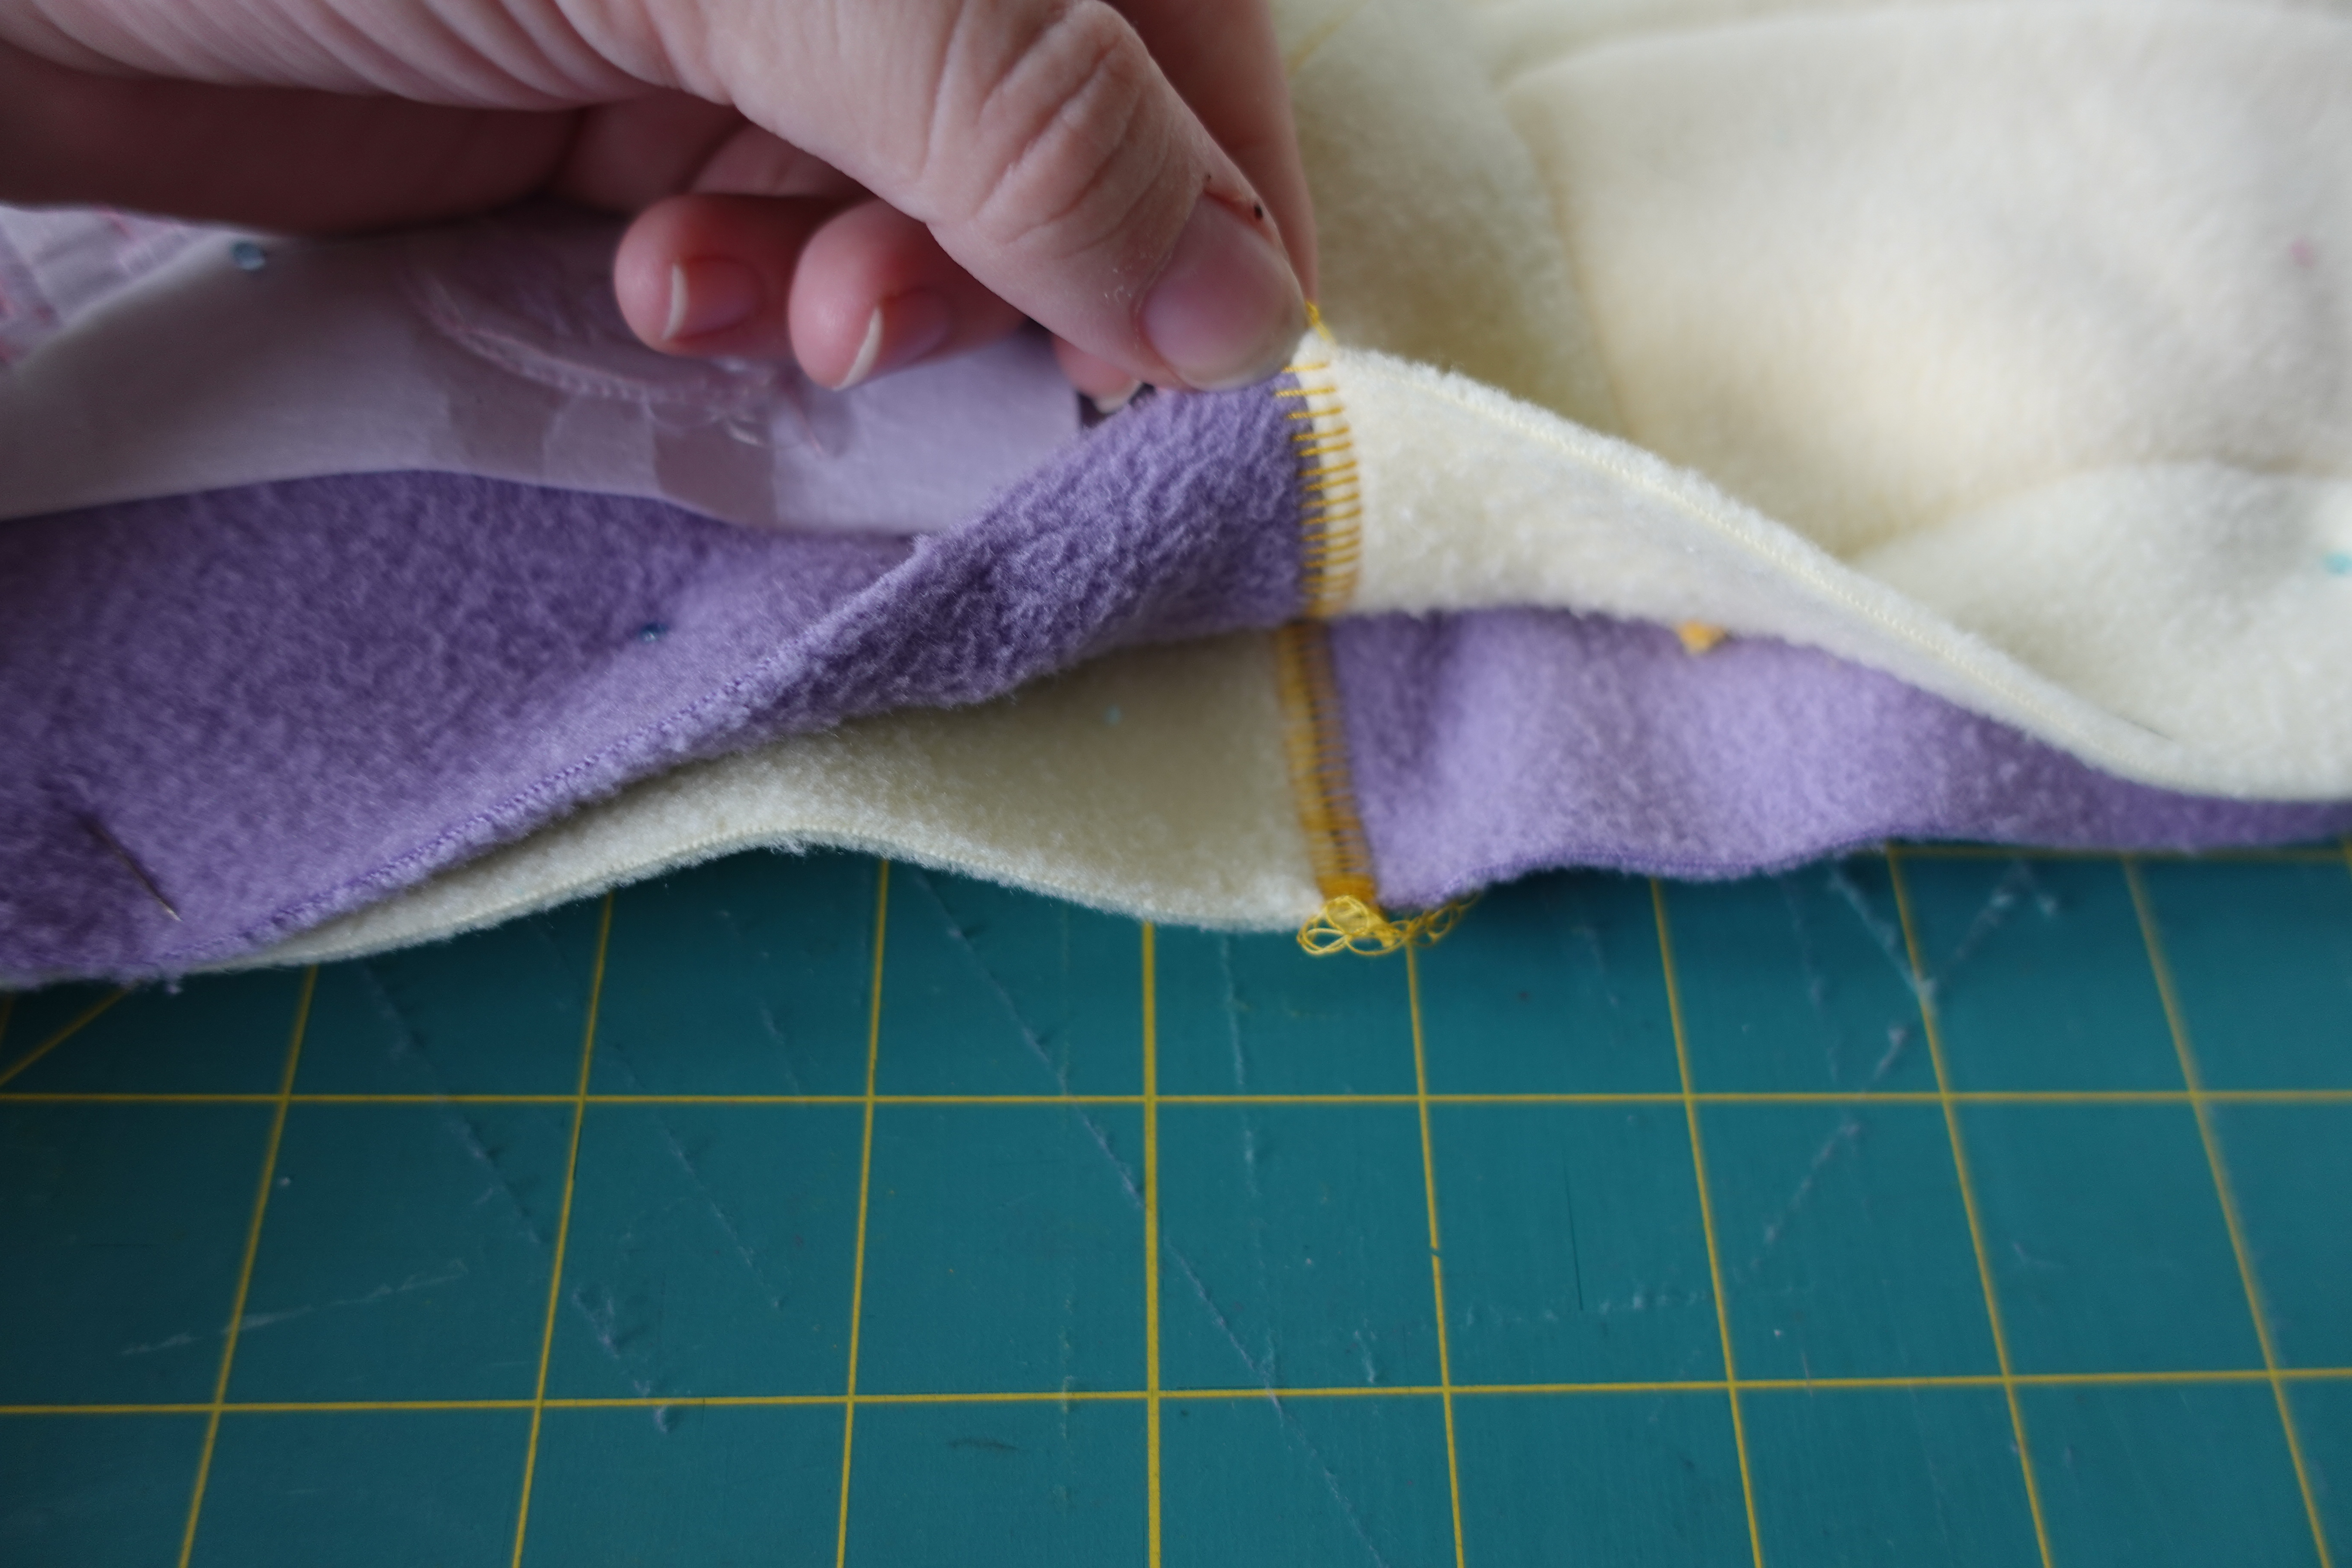
Pull apart the flatlock. Do not cut the thread tails, we will take care of them in the next step.
Now pin the column’s right sides together.

Flatlock the columns together. Be sure to hold the tails out so they are cleanly cut by the knife.
Pull apart the flatlock.
If you would like you can run an overlock around the whole activity mat to make the edges look more finished. I skipped this step and just took care of my thread ends using the hookey serger seam hook, I skipped fray check just to be extra safe.

Hooray! Your super cute activity mat is finished.

Use it to hide treats or feed your pet its meals. Here I used both snuffles to feed Alfred his dinner
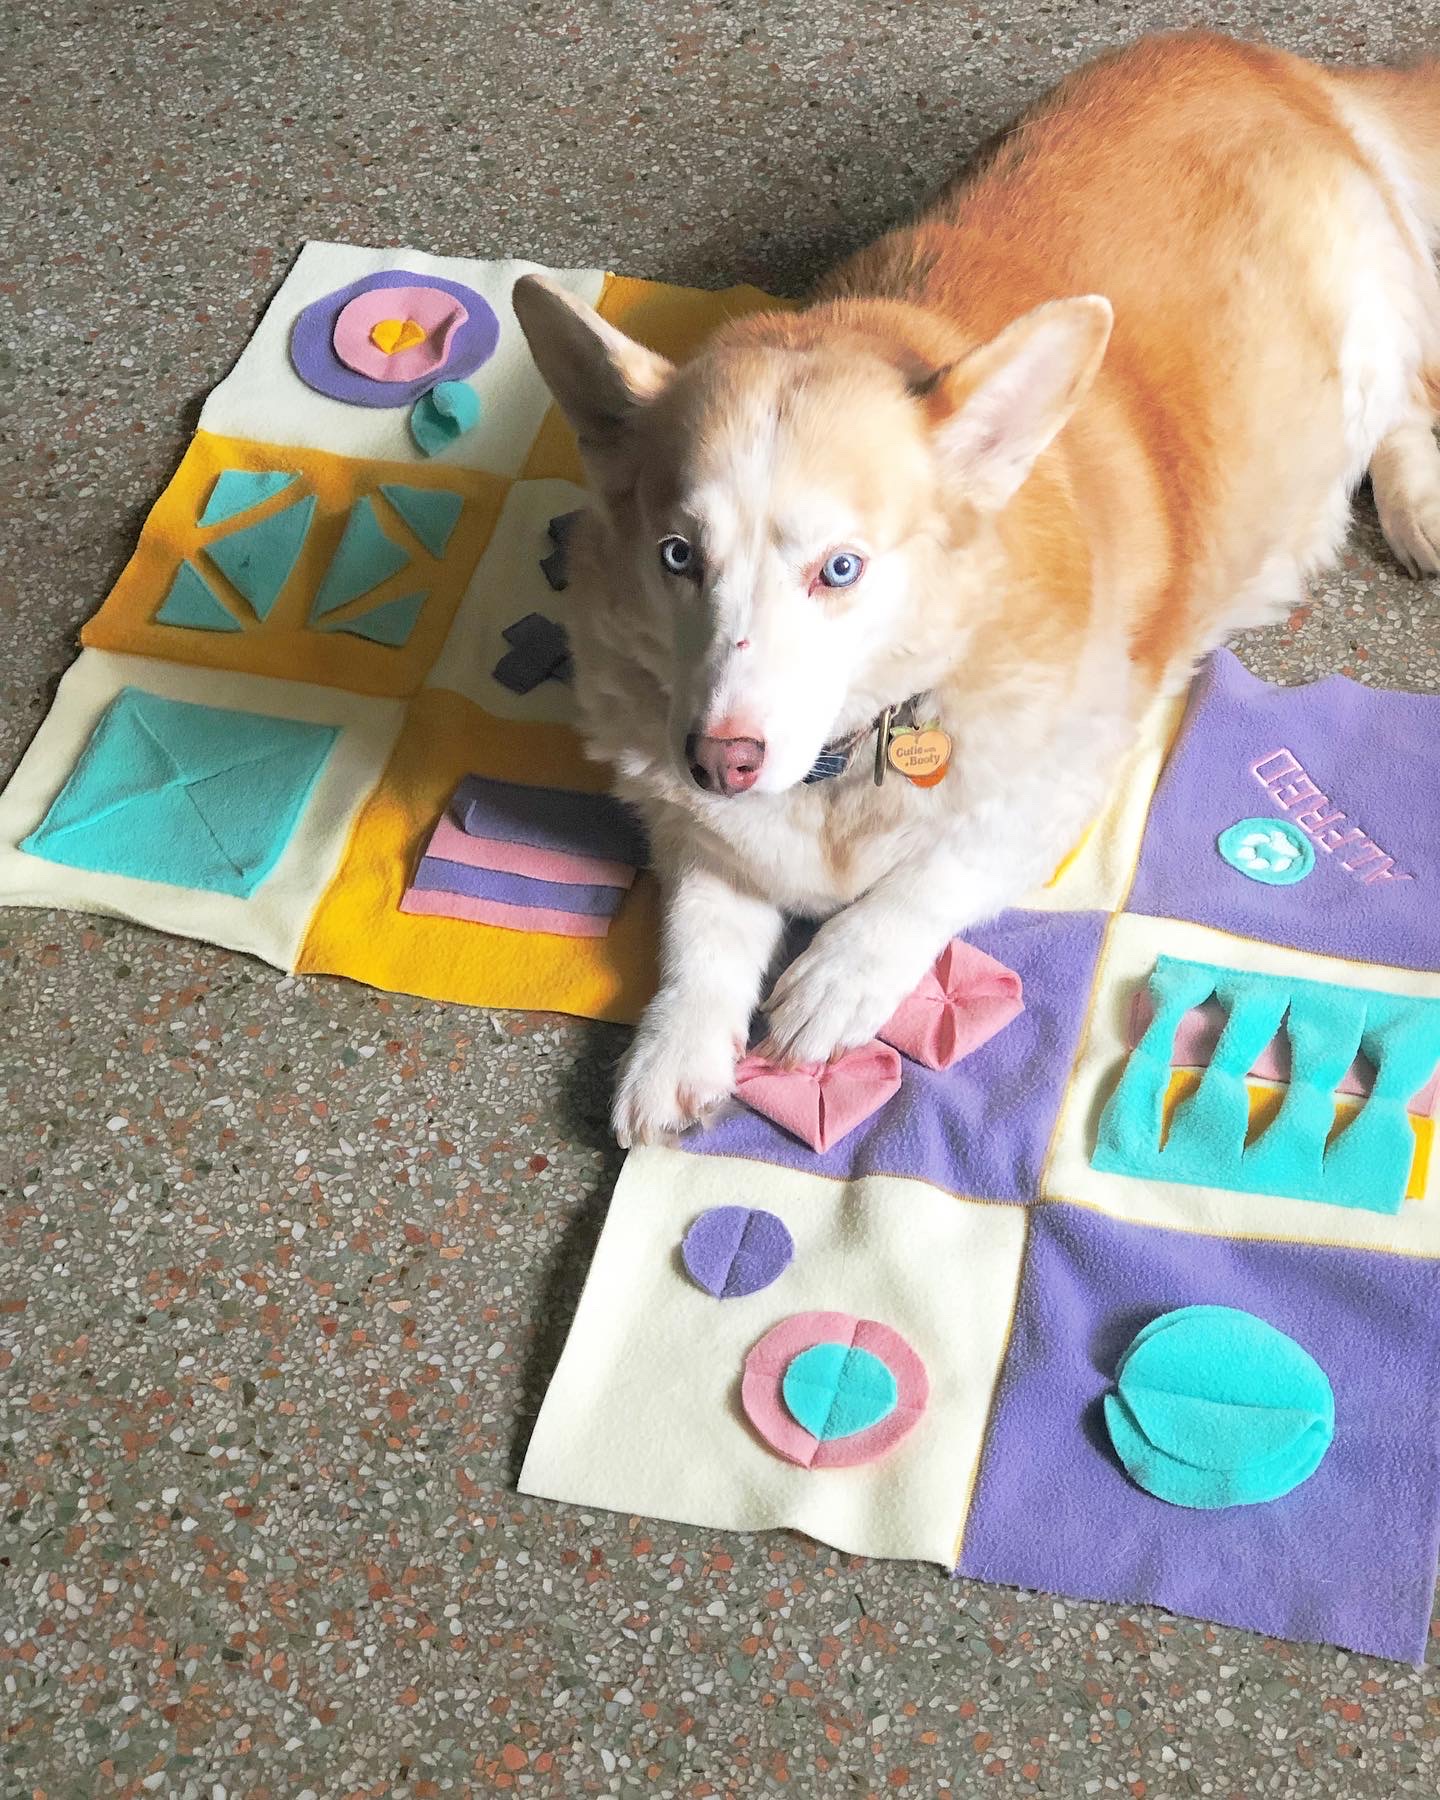
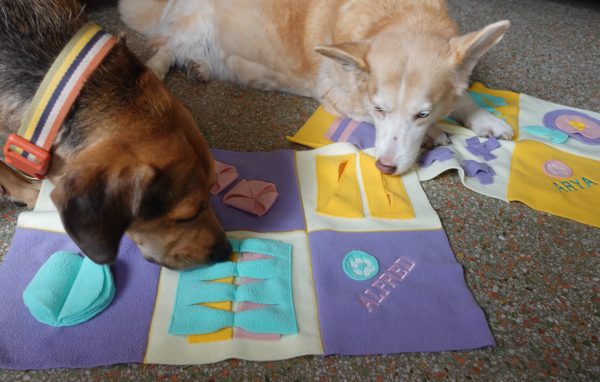
I thought Arya wouldn’t care about the snuffle mats at all but she loved them and even laid across them both to ensure if more treats were handed out, she’d be the first to know.

Through experimenting with the blocks and really playing around with the fleece, I made several more blocks not included in this tutorial. Let us know in the comments if you’d like to see a part two to this post with even more snuffle mat ideas!

And of course, if you’re looking to learn more about BERNINA machine embroidery, I hope you come check out Tough Kitten Crafts! I have video lessons to help you better understand your BERNINA embroidery machine, blog posts about my fave BERNINA features and so much more.
Hop into the Tough Kitten Crafts Facebook group for more help getting fearless with machine embroidery! It’s a great place for machine embroidery beginners and machine embroidery experts alike to get together and support each other as they learn machine embroidery.

I can’t wait to see your snuffle mat! Don’t forget to tag @ToughKittenCrafts and @berninausa when you share pics of your snuffle blocks and finished mats on social media. Oh! Especially if those pics include your pets! I can’t wait to see your furry friends.
Feel free to tell us about your fur babies in the comments! Do you think they would like these snuffle mats?

Used Products


What you might also like


One comment on “Sew Your Own Snuffle Mat, Part One”
Leave a Reply
You must be logged in to post a comment.

I would love to see part 2 of this! I have a mini doxie, Wolfgang, who is uber food motivated! I’m planning on making one of these for him as he gulps his kibble down.