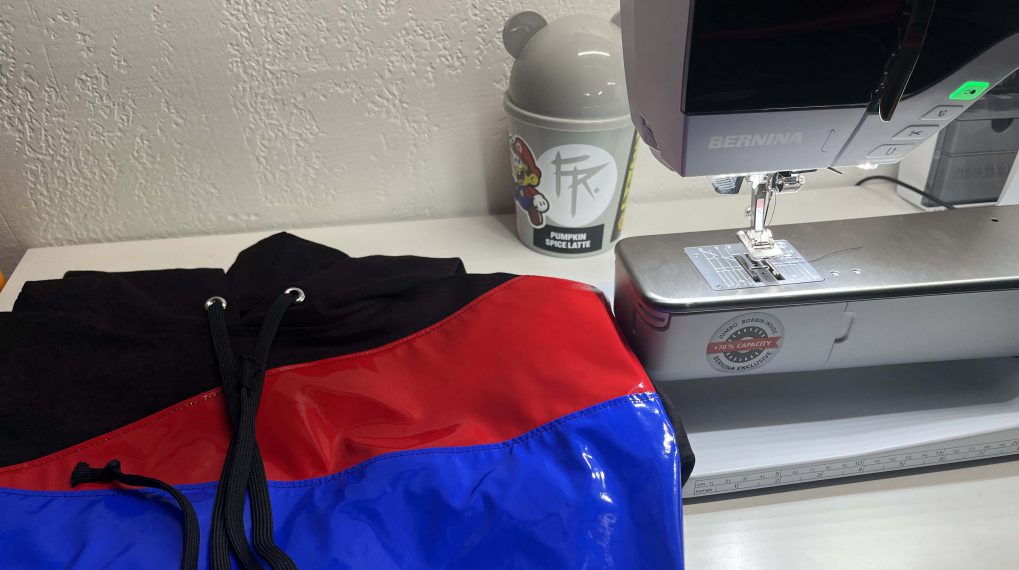
Mending a Well-loved Hoodie
Nothing is as comforting as a well-worn hoodie. They are soft, cozy and familiar until regular wear takes its toll. The zipper may go bad… and the sleeve cuffs may start separating off because of holes in that wear-prone area. Luckily, these are both relatively simple mending jobs if done before it’s too late.
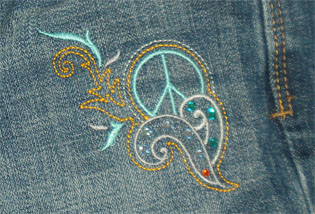
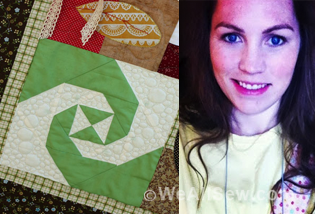
My colleague Maggy has this special hoodie. She called it a zip-up (generational gap!) that she got at a musical play. It has lime-green embroidery from the play logo and she is very attached to it. So much that it’s pretty well worn and the zipper stopped working and one of the sleeve is ripped open at the cuff. So I offered to mend it for her. Here’s the process:
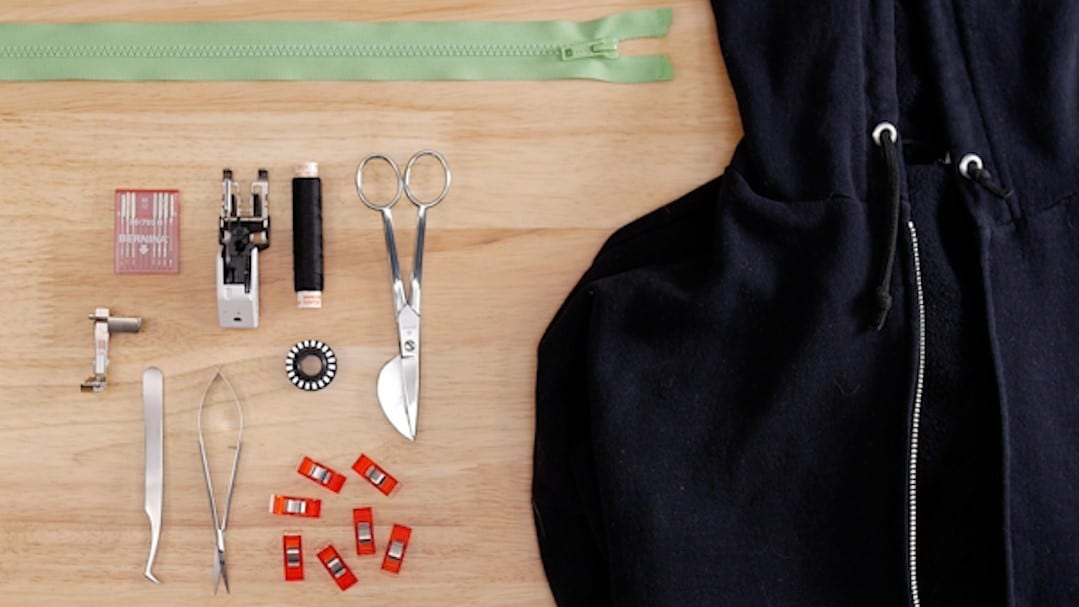
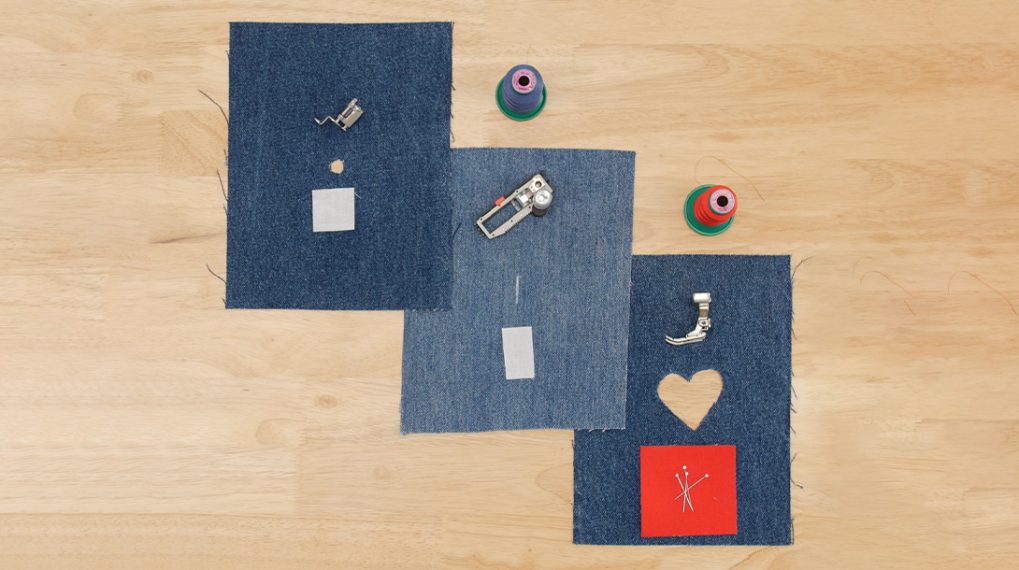
Materials:
- A replacement (separating) zipper equal or longer than the original.
I opted for a sport zipper in large nylon / large teeth for longevity. Zipper length equal to or longer than what will fit the garment. - Polyester thread (Mettler Metrosene) for strong seaming
- 5 mm stitch plate for your machine (to best support the stitches used)
- Three-Sole Walking Foot with Guide #50 for the zipper
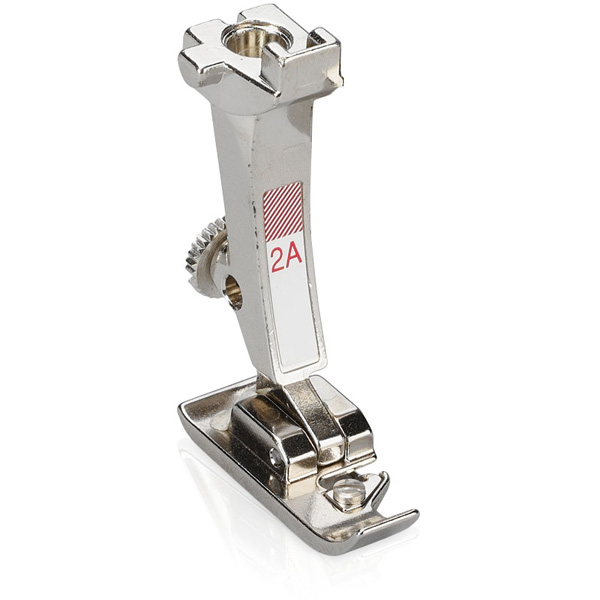
- Overlock Foot #2A for the cuff
- Jeans Sz 80 needles
- Duck Bill (appliqué) scissors
- Tweezers and thread snips
- Wonder Clips™
Replacing the Zipper
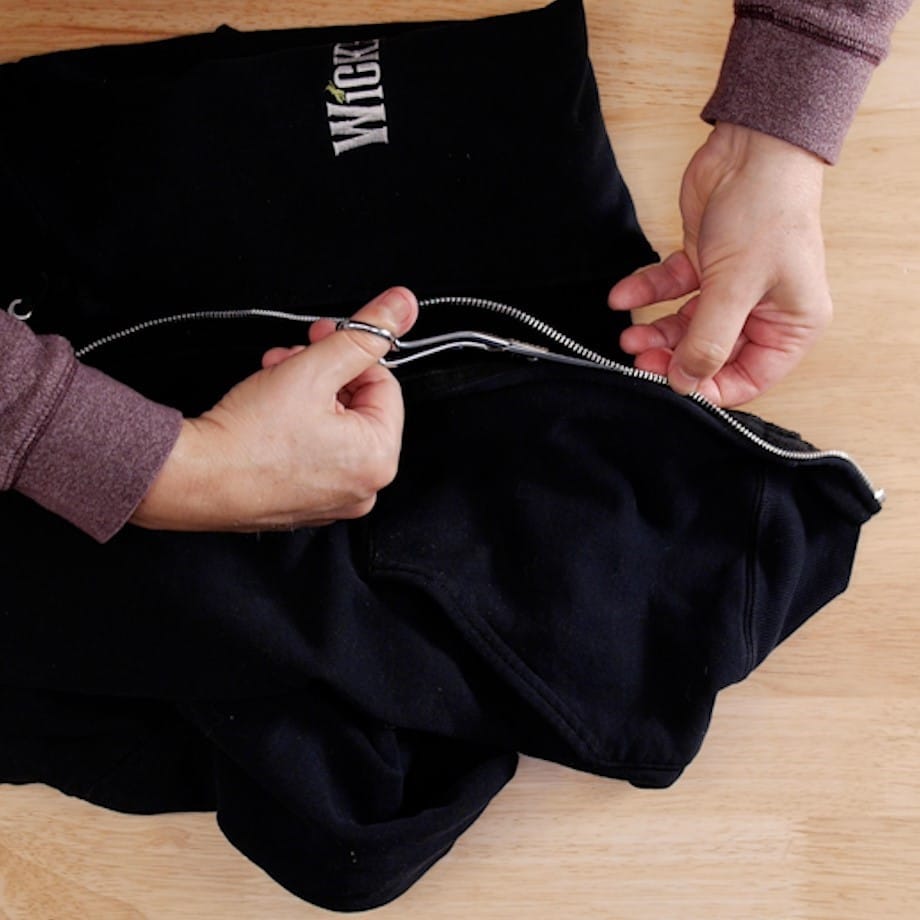
A note before starting, I never open up a zipper seam if I can avoid it because while the zipper tape may still be in reasonable shape, the fabrics attached to it have typically been stretched out of shape. They are usually longer than the zipper if you separate them out. Remember that when the zipper is first put in the garment, it is on virgin layers that are to measure and undistorted. That is no longer true after years of wear. Also, by keeping the old zipper tape in place, you maintain the integrity of the tired garment edge, making it easier to attach the new zipper, with more even results.
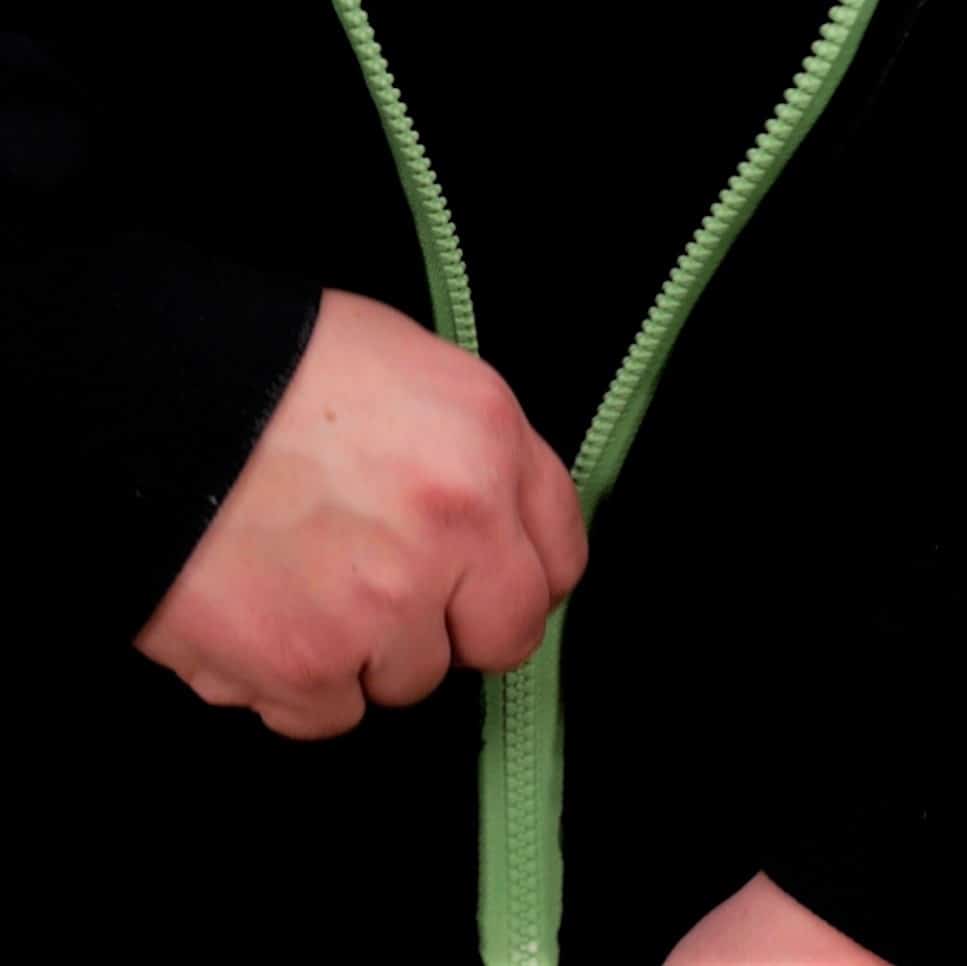
What I do instead is trim off the zipper teeth, using appliqué scissors (to avoid nicking the garment).
Note: some threads may come loose on the remaining zipper tape. I just tug them loose and snip them off.
Once the old zipper is de-toothed, it is time to line up the new one:
- Line up with the bottom of the garment.
- Note if the zipper is longer than needed, allow the excess to remain at the top. The excess with be turned in when stitching.
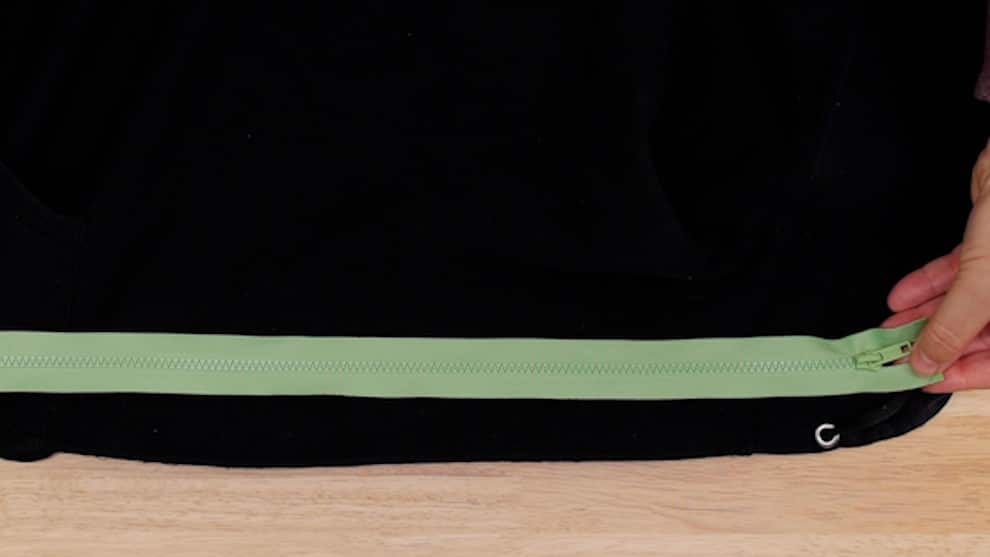
At this point, we can separate the zipper and place one side of it under the garment, right side up, so that the teeth are just near the edge (usually just peeking past the edge). Clip in place with Wonder Clips™.
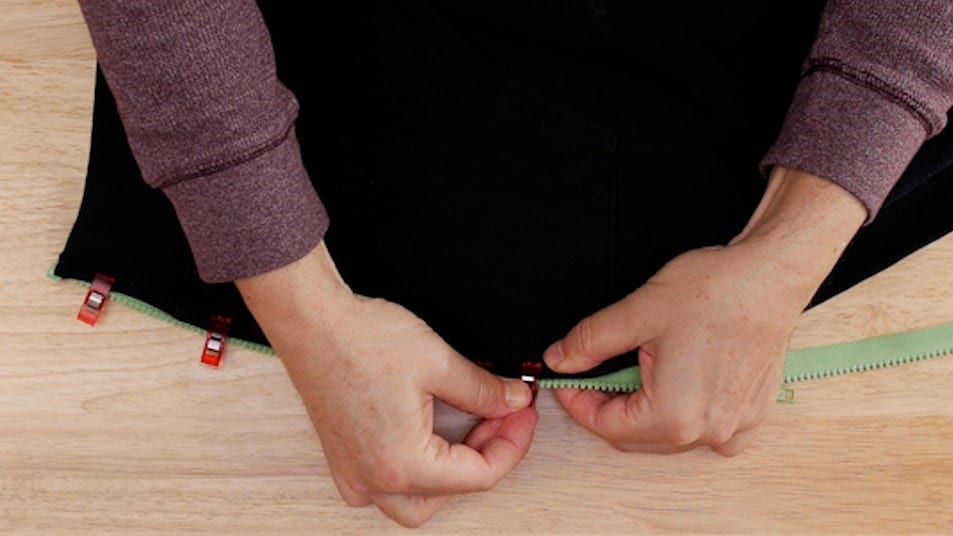
Tip: I clip only one side in place and stitch it first, so I don’t have to be careful not to unclip a second side while handling the garment to stitch the zipper in place. (I started with the right side of the hoodie)
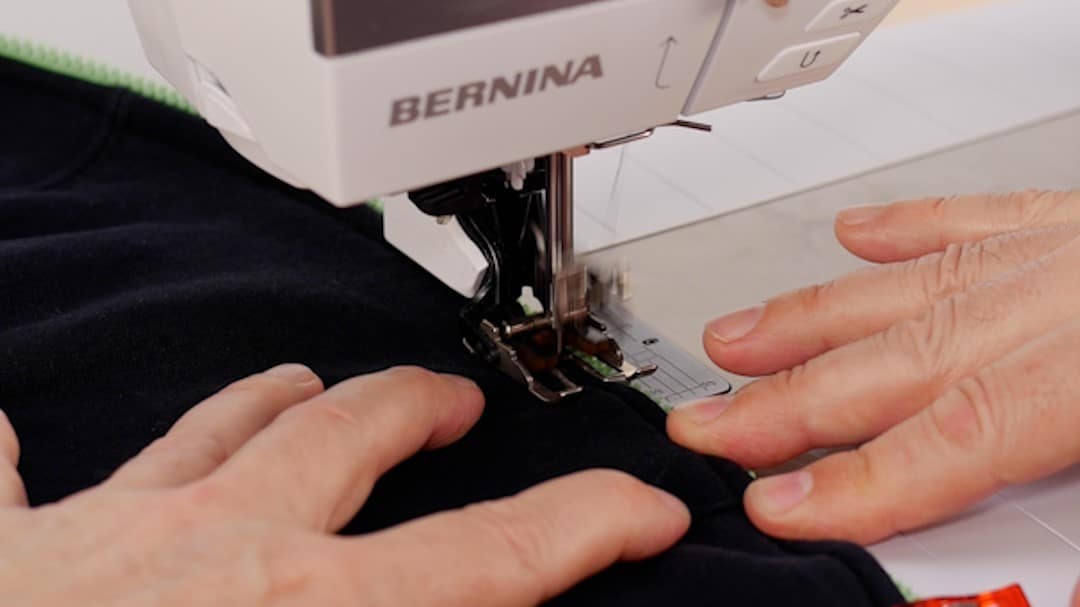
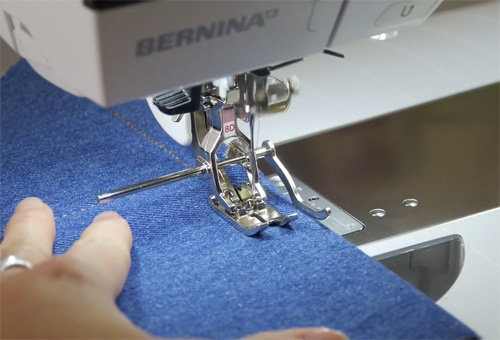
Talking of stitching the zipper in place, it is time to attach the Walking Foot. Since the layers will be somewhat uneven where the original fabric edge was sewn to the original zipper tape, the Walking Foot gives me reliable traction.
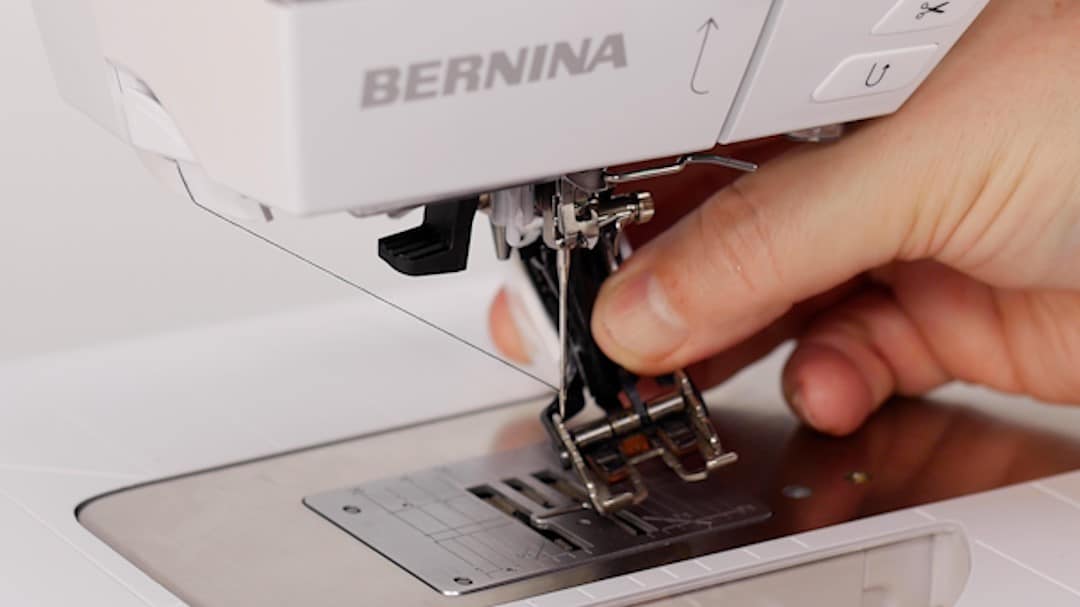
It’s stitching time! I align the edge of the zipper with the edge of the Walking Foot Sole and move the needle if necessary to align it with the original topstitch seam on the old zipper.
- Use Straight Stitch (Stitch Length = 2.5).
- Attach the Open Toe Sole on the Walking Foot for better visibility to the needle.
- Set Needle Stop Down.
- Practice taut sewing to keep everything lined up.
- Note: you may have to help walk the project for the first stitches (start ~ 1/2 inch into the seam, reverse to the bottom edge and continue forward.
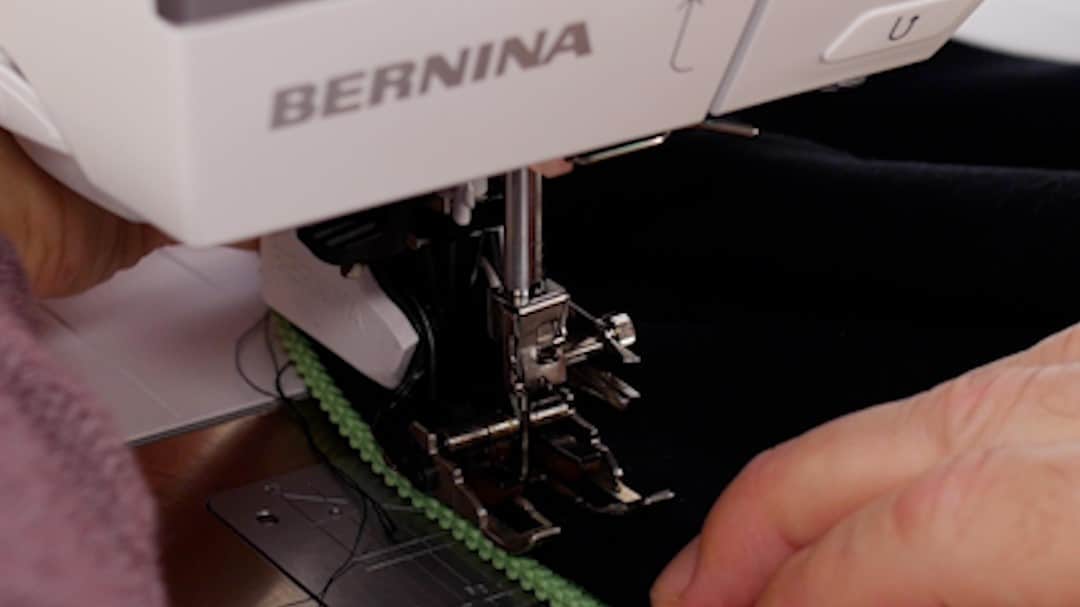
Continue stitching until reaching the intended end of the zipper at the top of the garment.
Zippers come in even numbered sizes typically… the garment may measure in odd numbers. If the replacement zipper is just the right length for the garment, turn under and to the inside (90-degree fold) the end of the zipper tape before reaching the end and stitch through the folded zipper tape. I like to take a second pass at the end and do a short bar tack to further secure the end of the zipper, especially since it will be subject to a lot of tugging.
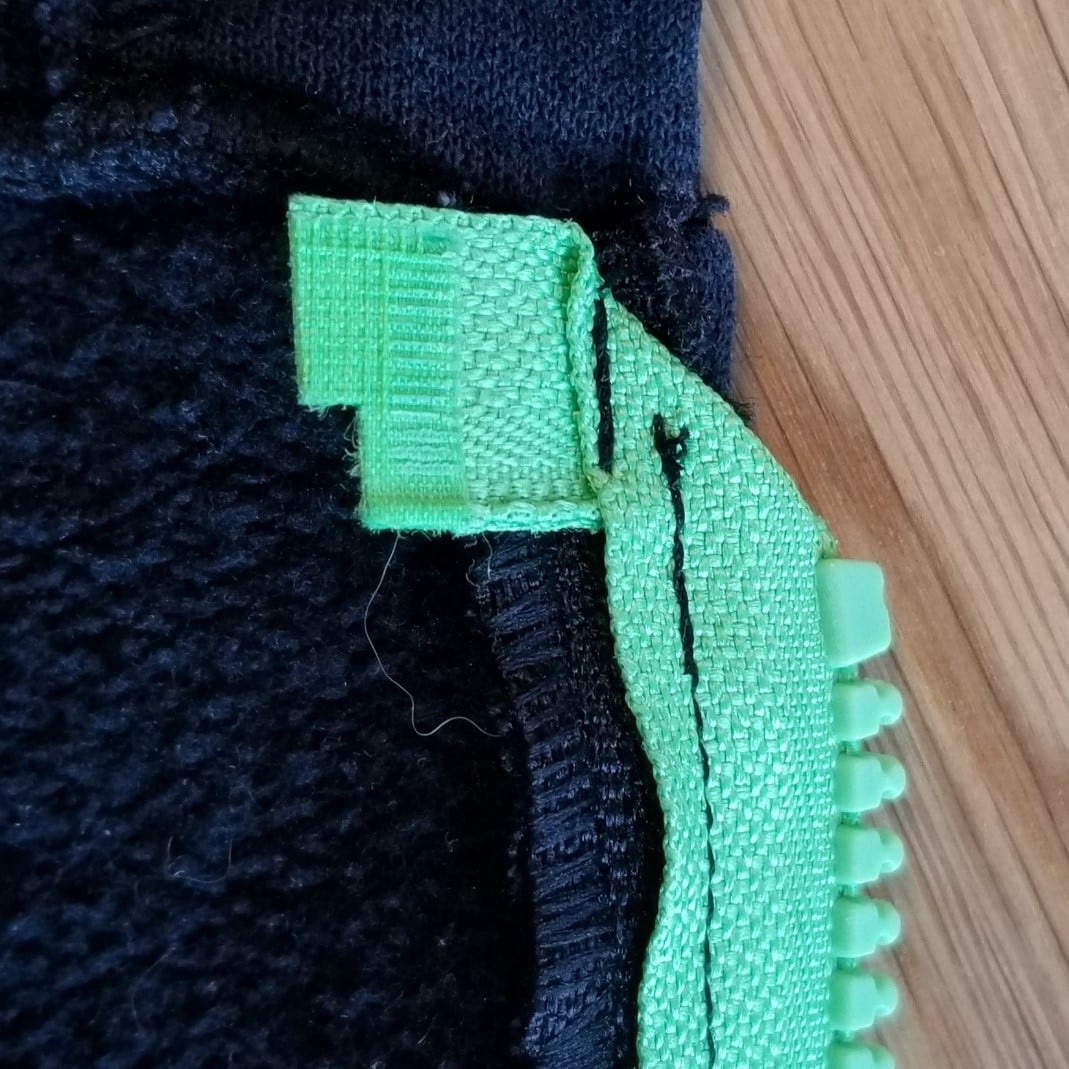
The last step on the first side is to trim the stub.
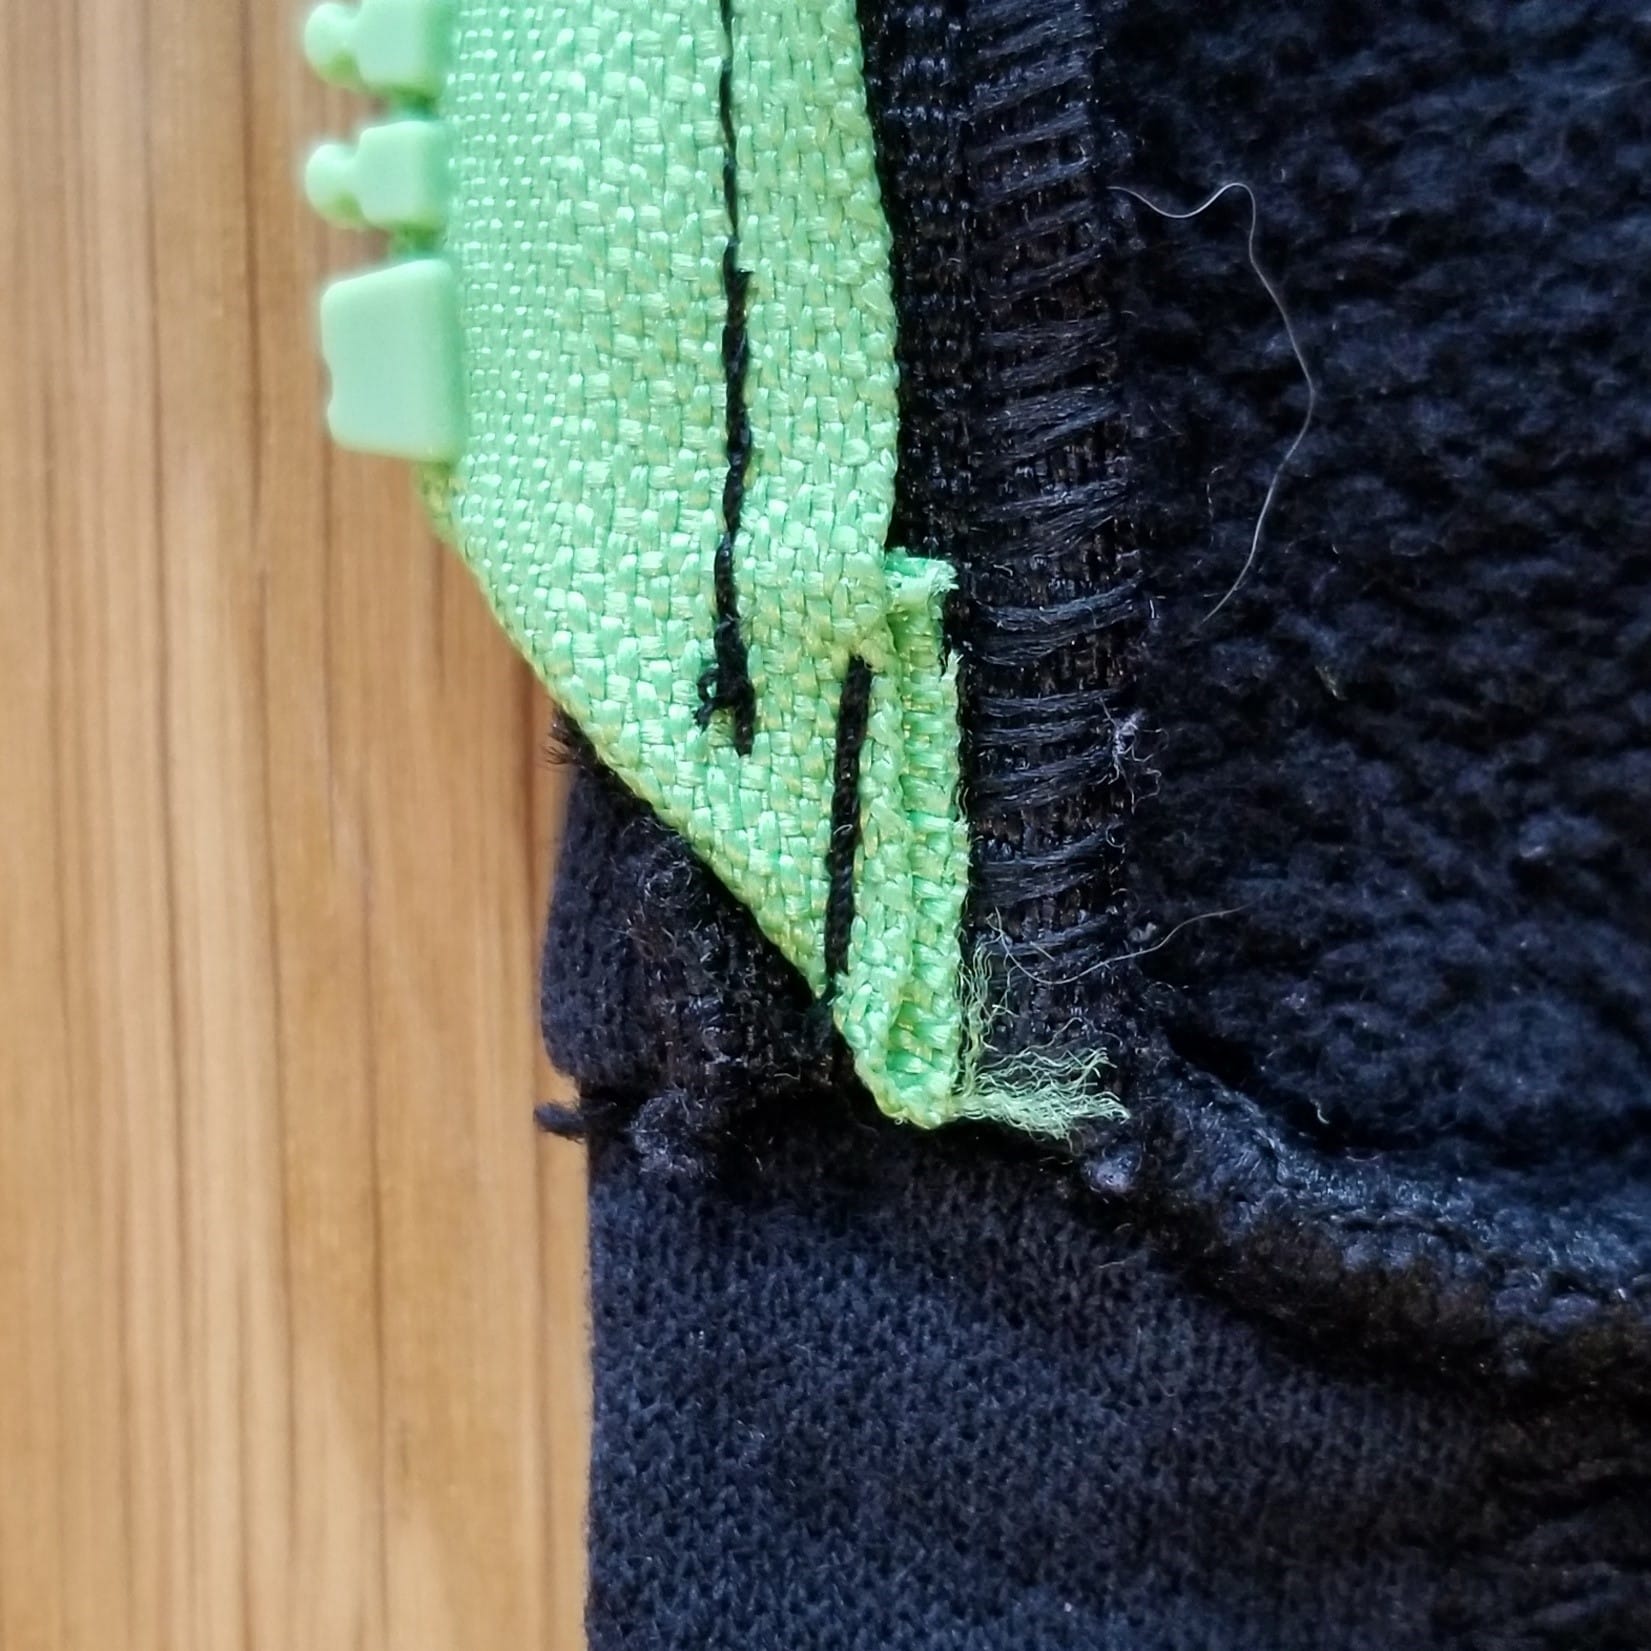
For this mend, the zipper was just the right length so only the stub at the end of the zipper needed turning in. The built-in stopper will end the zipper pull travel.
If the zipper is longer than the garment, the turned-in stub will have zipper teeth still. Simply stitch as far as possible before reaching the teeth that are crossing over and secure the seam. You can add a tacking stitch to secure the end. The teeth crossing over will end the zipper travel.
Now that the first side is done, repeat on the second side. Remember to place the zipper right side up and lay the garment edge over it (garment also right side up), making sure to align the bottoms so they match with the first side. Clip together and stitch.
When the second side of the zipper is attached, time for the zip-it-up test!
At this point, I do a second check on any potential fraying from the old zipper tape. While zipper tape is woven in a fairly fray-resistant way, there are usually some threads left to tug and snip off.
Mending a Worn Sleeve End
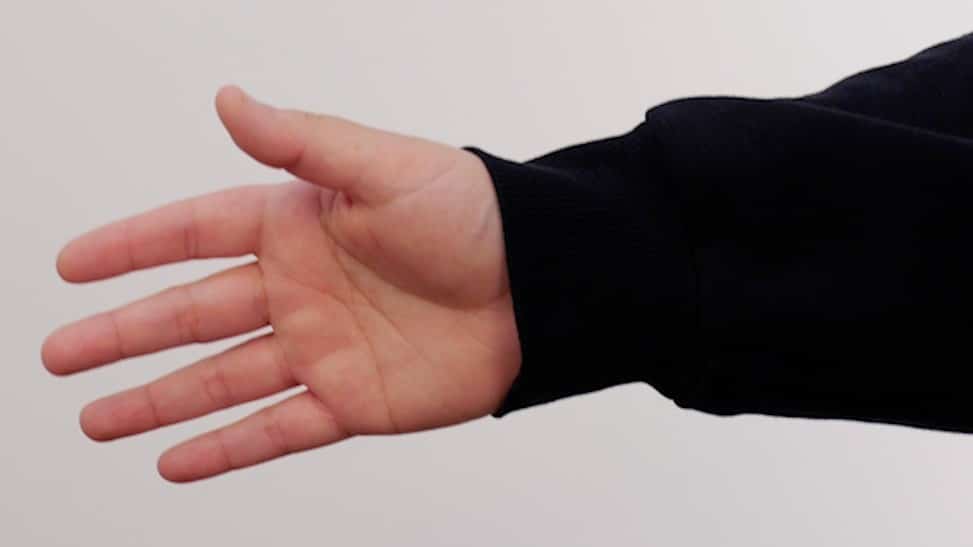
Over time, the hand pushing through the sleeve will wear the sleeve fabric thin when hitting the cuff seam… and then a hole will grow… and grow.
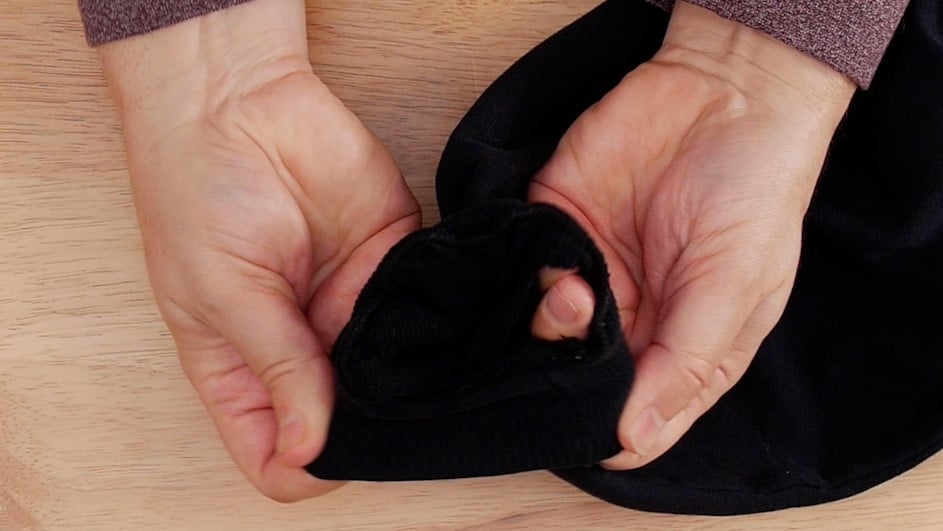
If the hole is mended early, you can simply pinch the sleeve to the cuff and re-stitch along the existing seam line. However, holes are rarely mended first thing, so the likely scenario is that pinching the sleeve back to the cuff would distort it too much. The solution is to:
- Remove the cuff by cutting it off right above the original cuff seam.
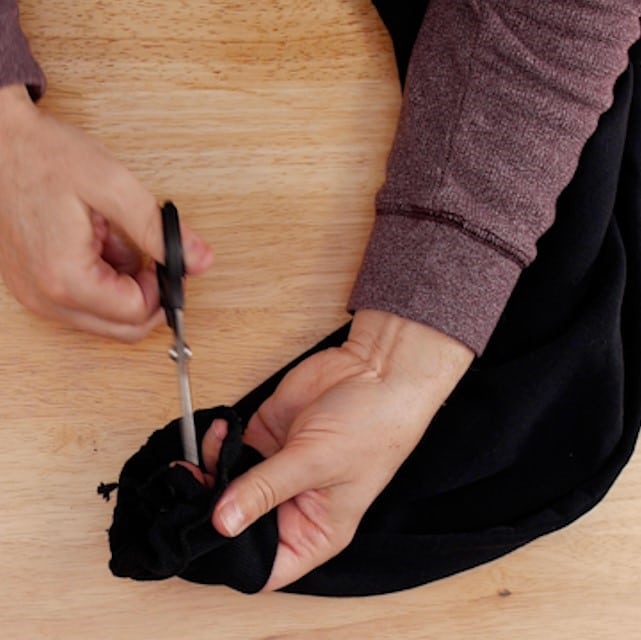
- Keep the original cuff seam allowances. These are typically sewn on overlockers and will have a bit of bulk to them. This is a good thing as it they will prevent the cuff from completely loosing shape.
- For this garment, I had to trim about 1/2 inch off the sleeve to remove the torn fabric. The length removed didn’t matter much as the sleeves are so stretched out already on the old hoodie that there is plenty left.
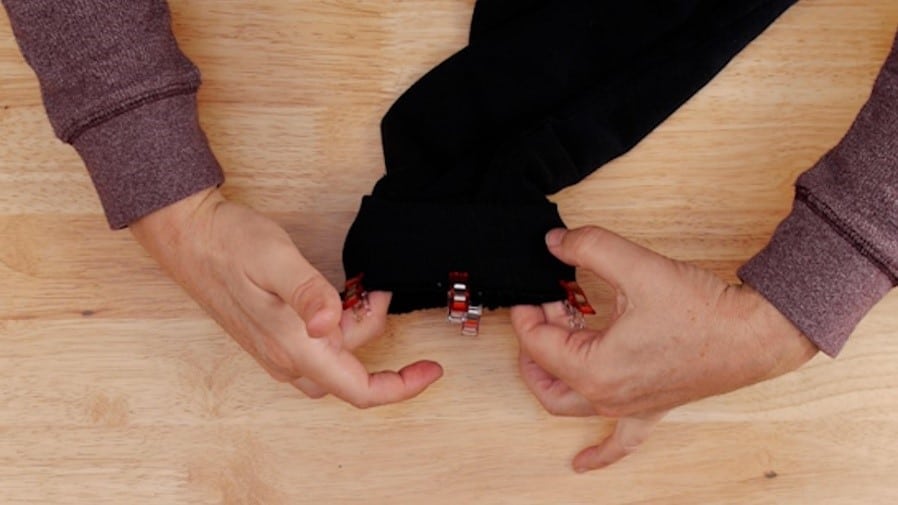
- Reposition the cuff outside the sleeve, right sides together, and clip in place.
Align the side seam of the cuff with that of the sleeve.
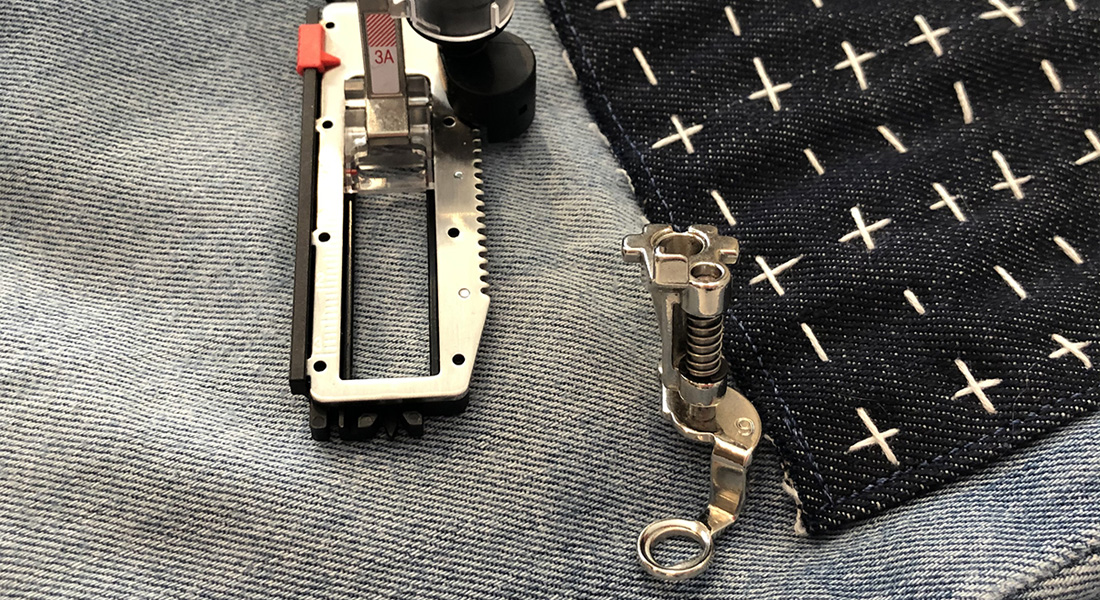
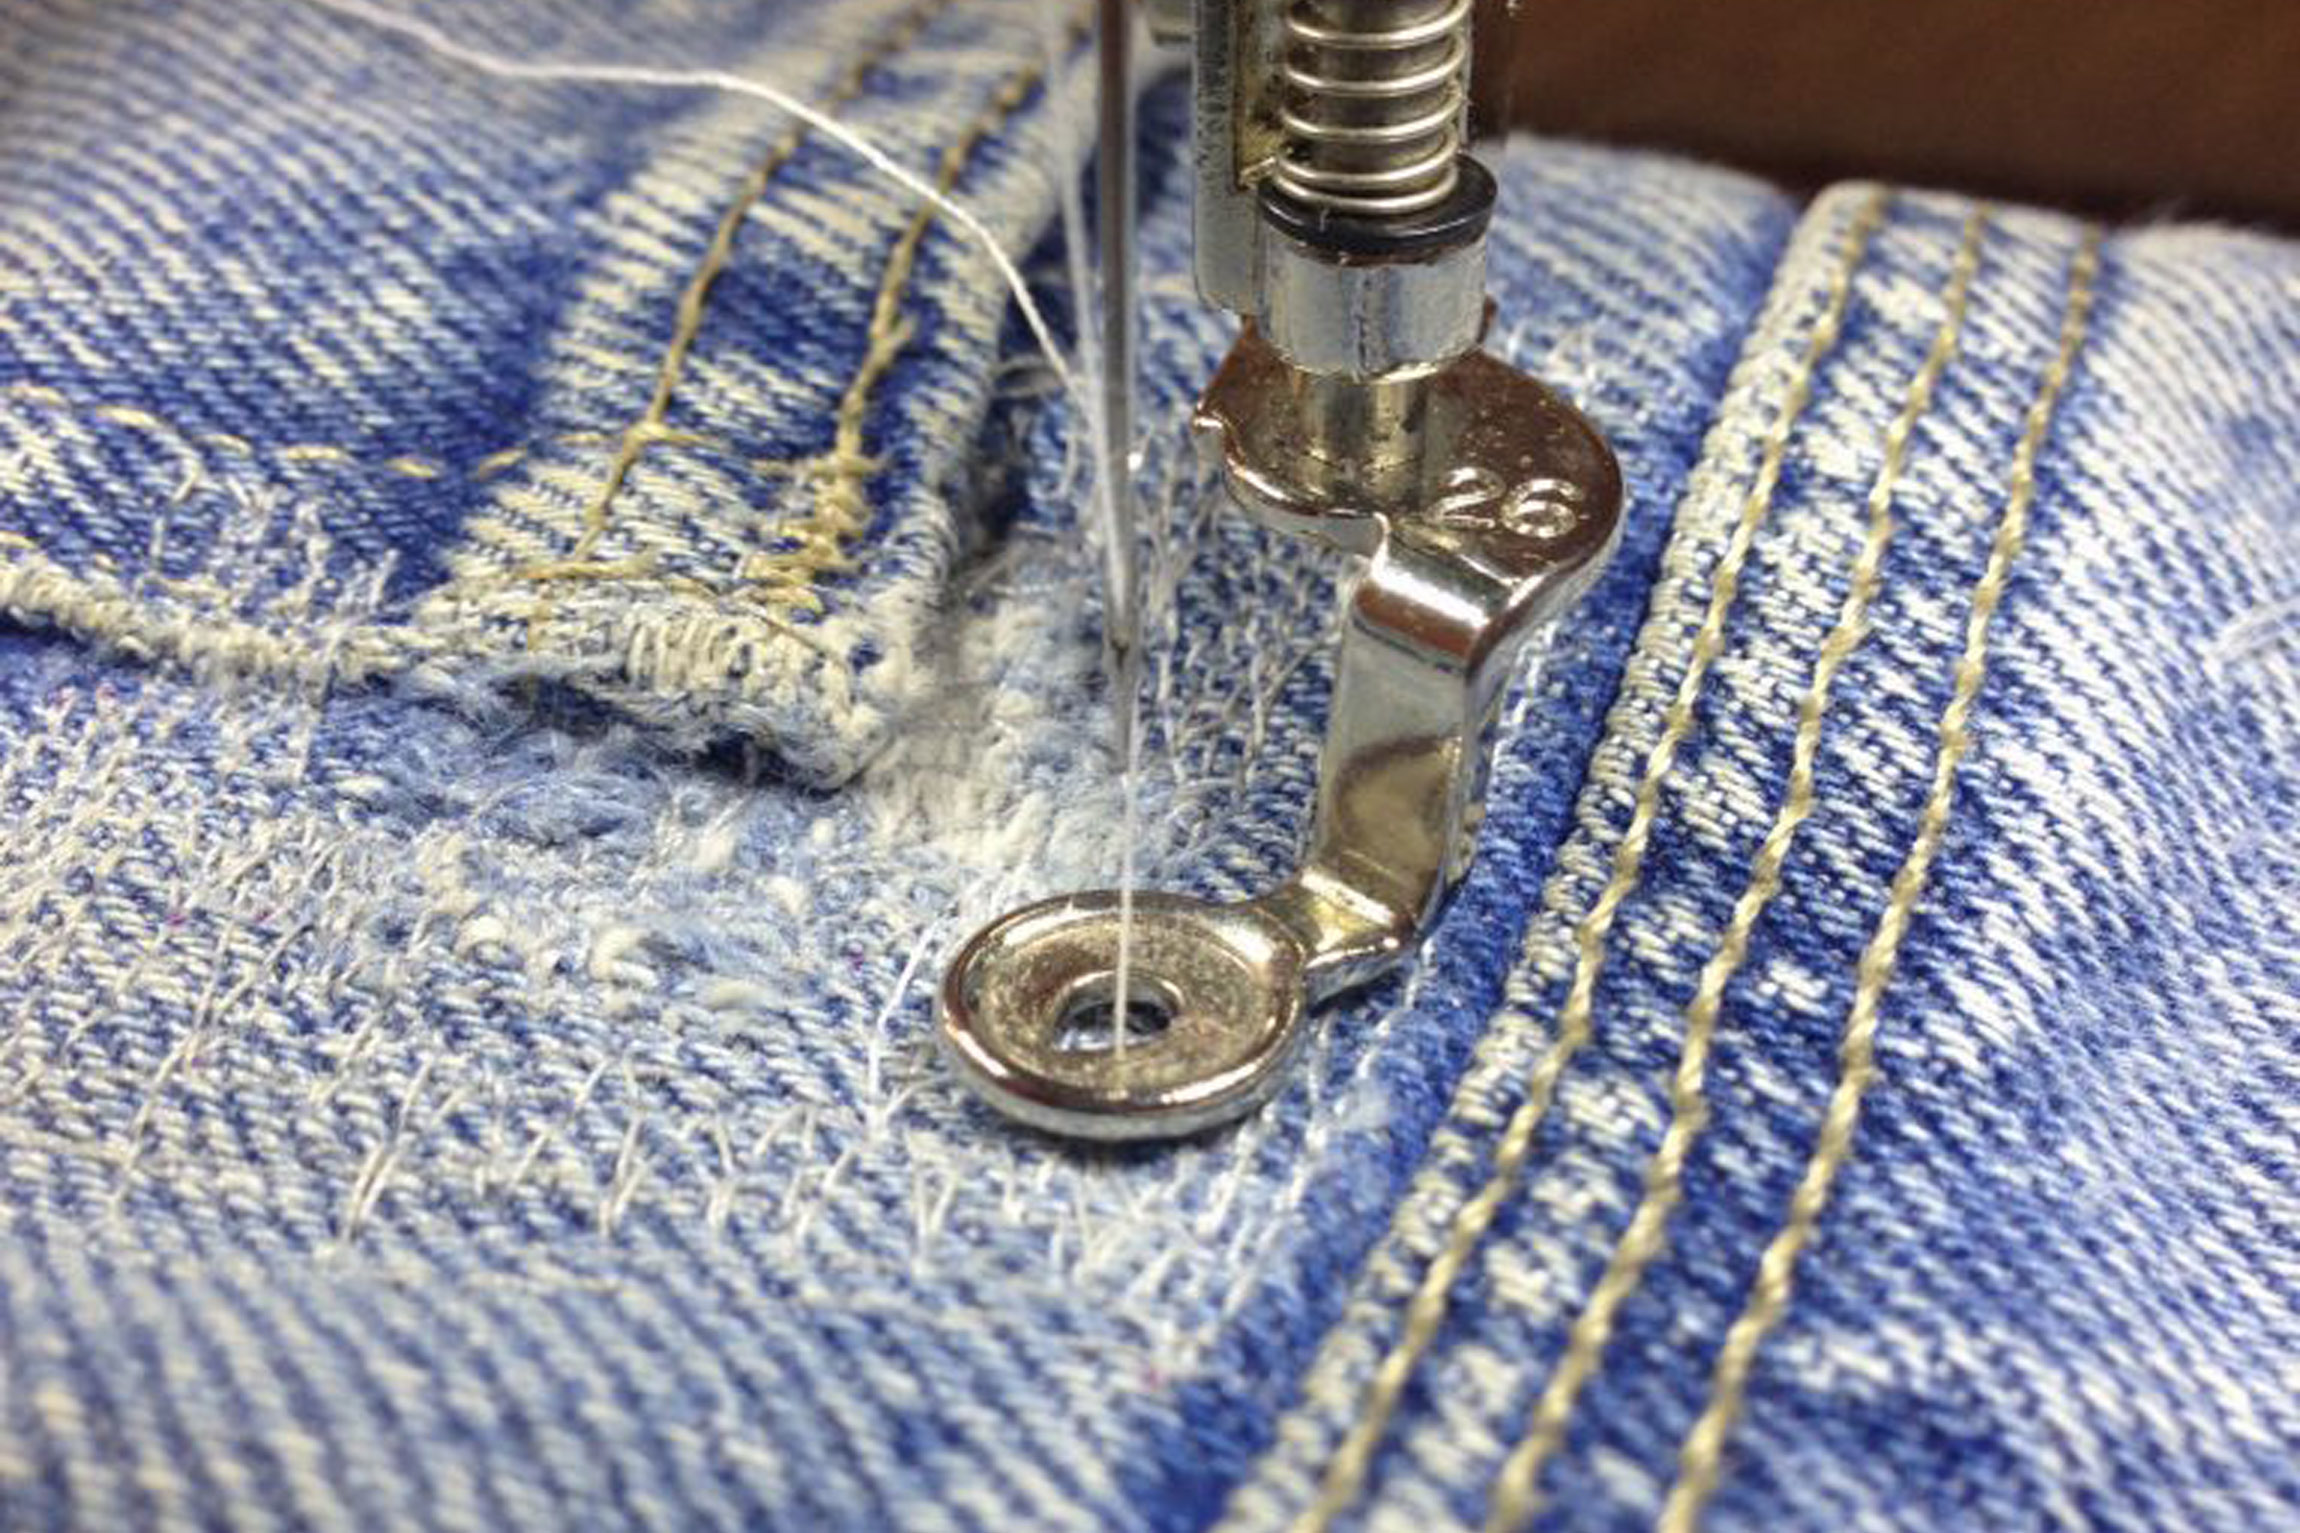
When it’s time to stitch the cuff back on:
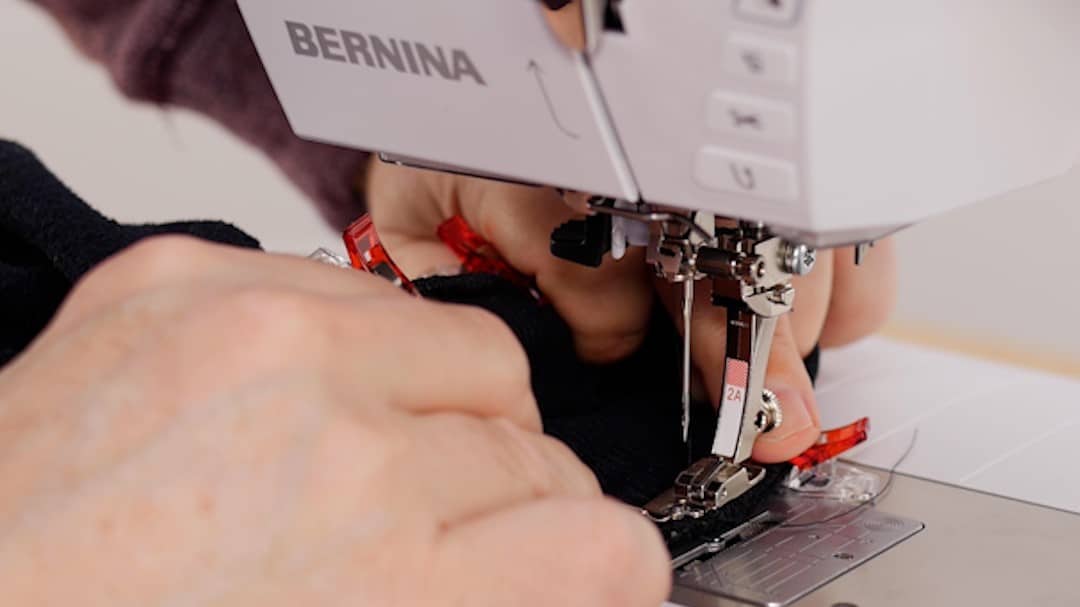
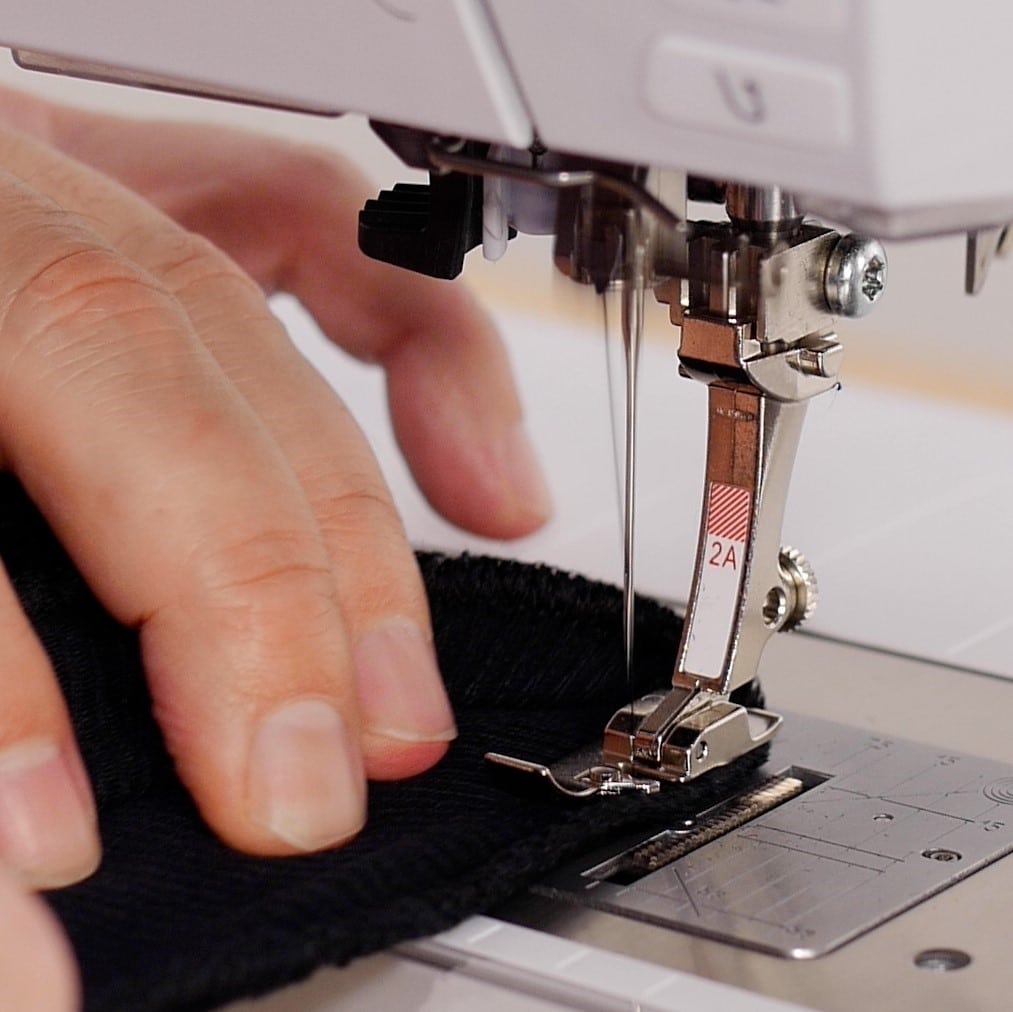
- Attach Overlock Foot #2A.
- If your machine allows you to, select Foot # 2A from the Presser Foot Selection menu. This will let the machine know where the needle can go…and where it cannot. The edging pin on the right hand side is definitely better avoided by the needle!

- Select the Vari-Overlock Stitch (Stitch #3)

- Position the raw edges of the sleeve and cuff (now clipped together) under the foot.
Align the raw edges with the pin on Foot # 2A.
- Drop the feed dog before stitching: this will let you anchor the stitches so they withstand further wear.
- Stitch 5-10 stitches (the needle will stitch from left-to-right and back one or 2 times.
- Raise the feed dog and stitch along the entire ‘loop’ of the cuff.
Tip: The sleeve fabric is usually stretched out this long into a hoodie’s life. I pulled the cuff-and-sleeve edge taut so that they would be as close to matching as possible. Note that the cuff is also stretched out at this point.
- When you overlap your start point, go another 1/4 inch or so and stop stitching.
- Drop the feed dog and stitch 5-10 stitches to anchor the seam at the end. This will make it washer-proof.
- Snip the thread tails and you’re done!
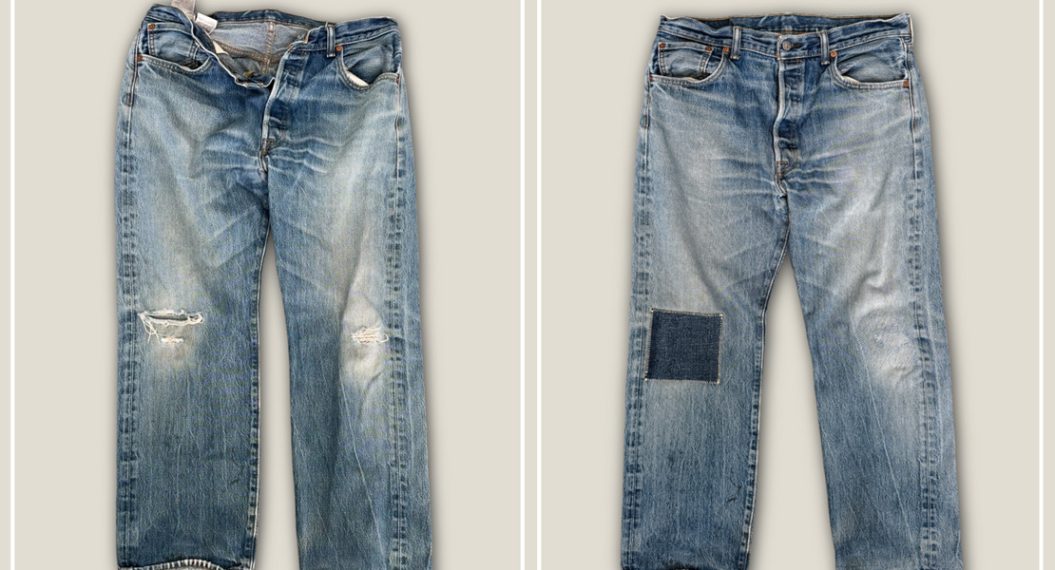
Like New! Almost!
The whole process would take an hour or less if not stopping for filming. One hour for a few more years of wear.
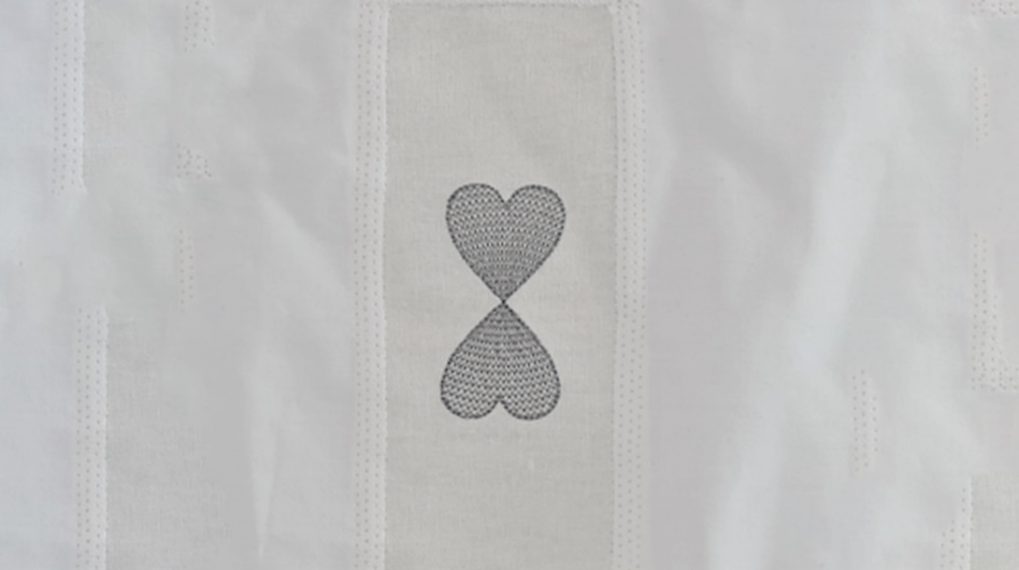
Epilogue
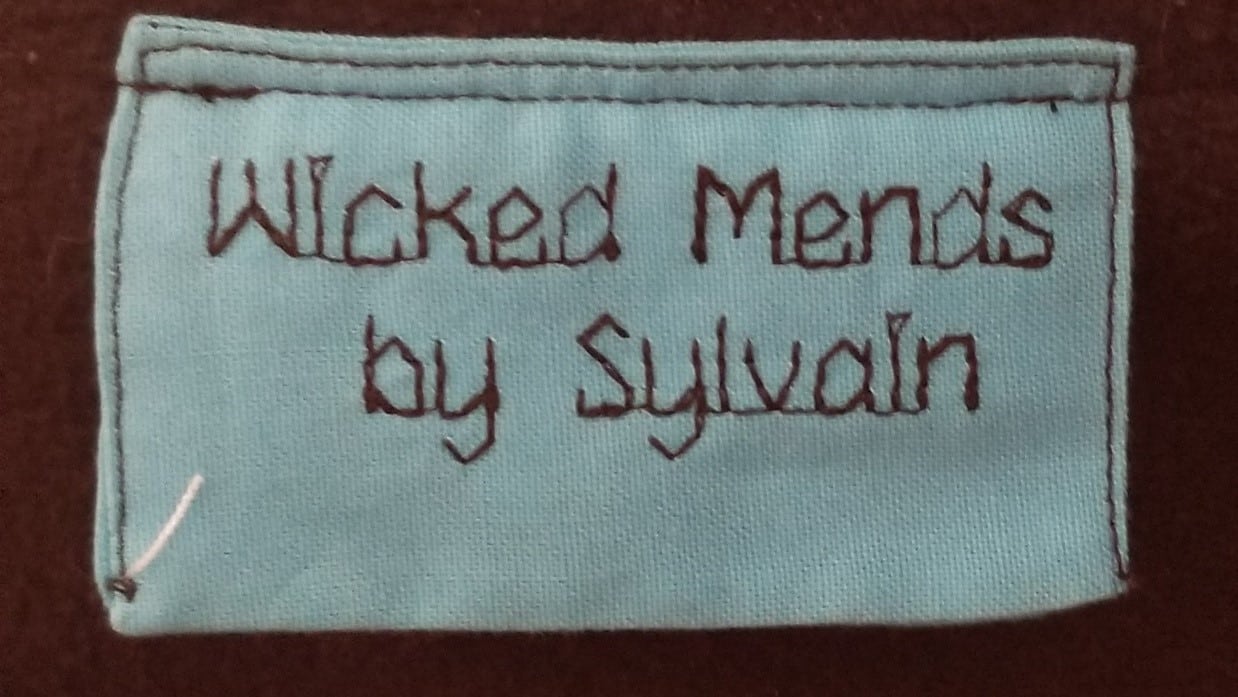
I like to make meaningful gifts. Mending a garment for a friend and colleague is a sweet opportunity. So I wanted to add a small signature to the mend. I created a small label with embroidery and attached it to the inside of the hoodie, along the hand pocket seam. You may have guessed by now from the pictures what the embroidery theme was on hoodie. The musical was rather popular.
Used Products

What you might also like


2 comments on “Mending a Well-loved Hoodie”
-
-
Love ❤️ love 💕 love 💗 the zipper replacement technique! It’s truly brilliant!
As a seamstress that last thing we want to do is replace a zipper on unstable fabric!
I have a favorite fleece jacket in mint green… they don’t make the color anymore 😢 I was procrastinating throwing it away… now I don’t have to!!!!
Leave a Reply
You must be logged in to post a comment.

one of the best we all sew posts ever! the zipper replacement is well explained and illustrated. I have used my L890 to do knit cuff replacement and pulling in stretched out sleeves.
Please bring more practical sewing posts to we all sew!