T-shirt Tunic Tutorial
Men’s T-Shirt redo—à la Lahaina T-shirt Tunic/Dress
Hi there!
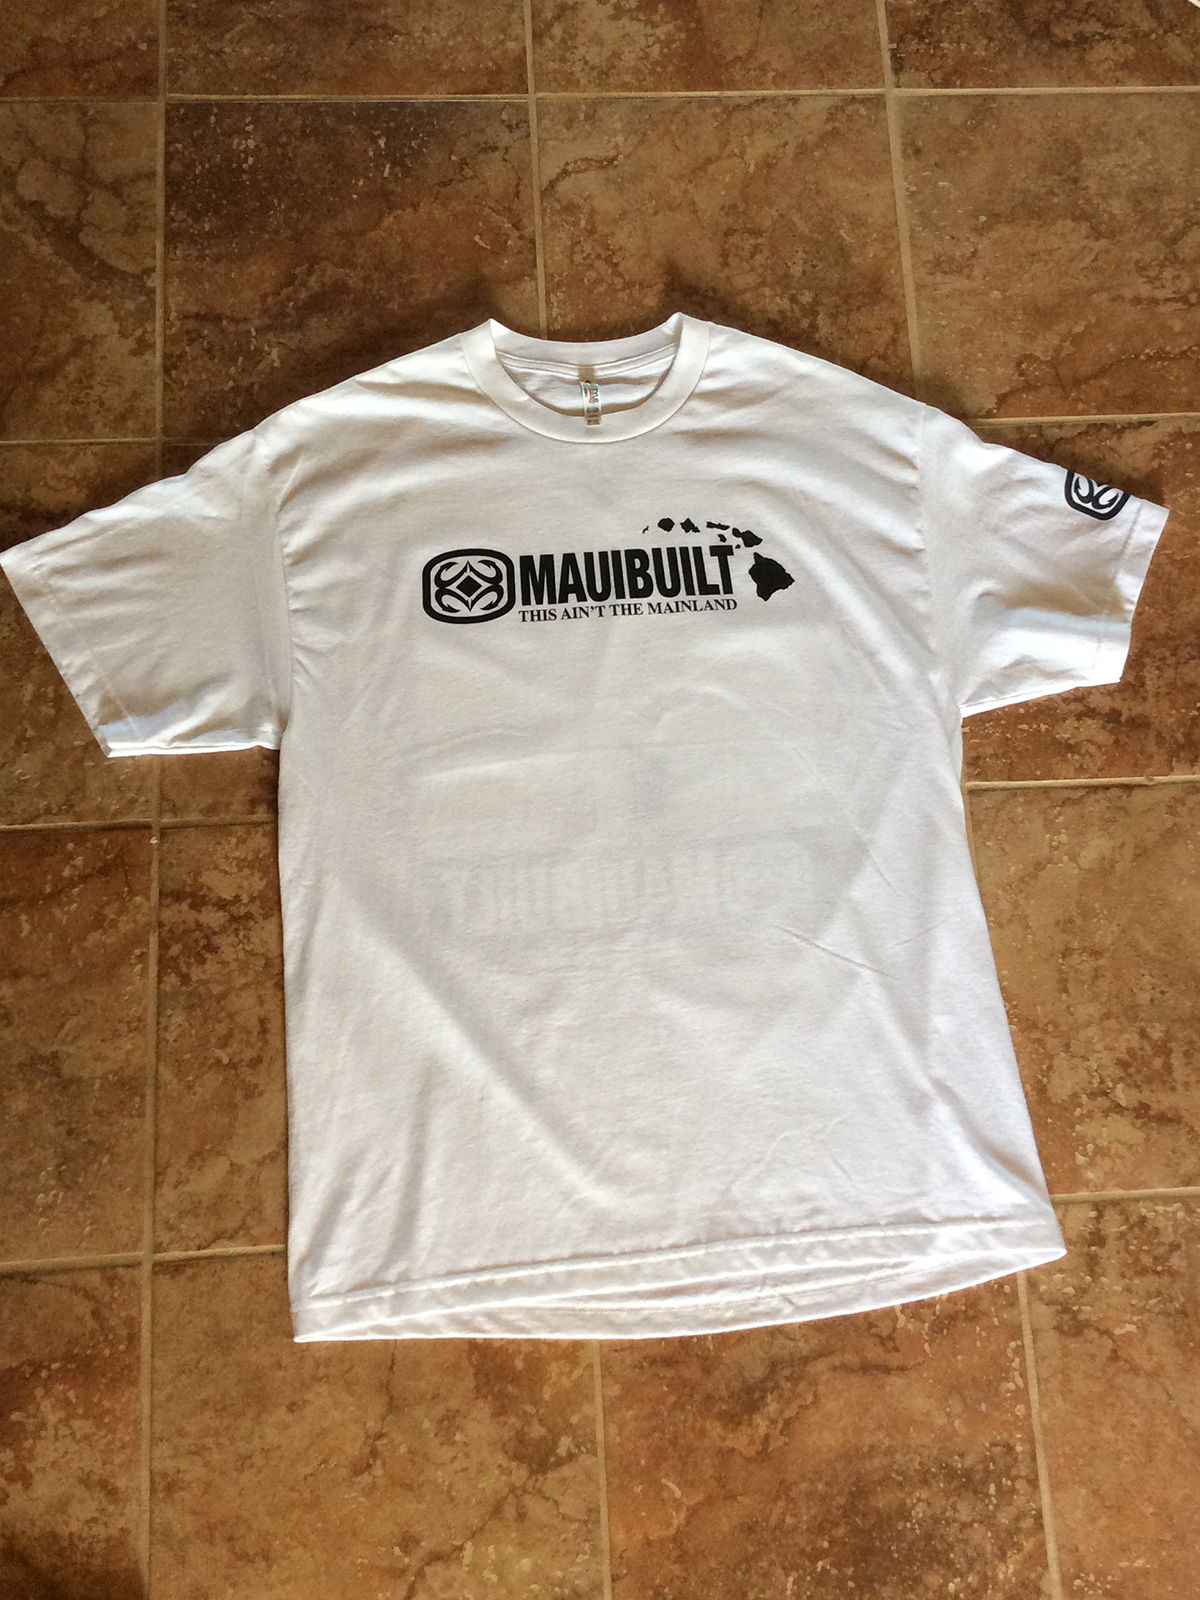
My name is Cheryl Kuczek, designer of Paradiso Sewing Patterns & BERNINA Ambassador. I am thrilled to share with you how to “Re-Do” an oversized T-shirt into a tunic/dress to treat yourself to a fun outfit for any time of the year! I bought this T-shirt in XXL purposely. It is really easy to buy these huge T-shirts at the thrift store…maybe even with a boss rock band logo, can you say score?
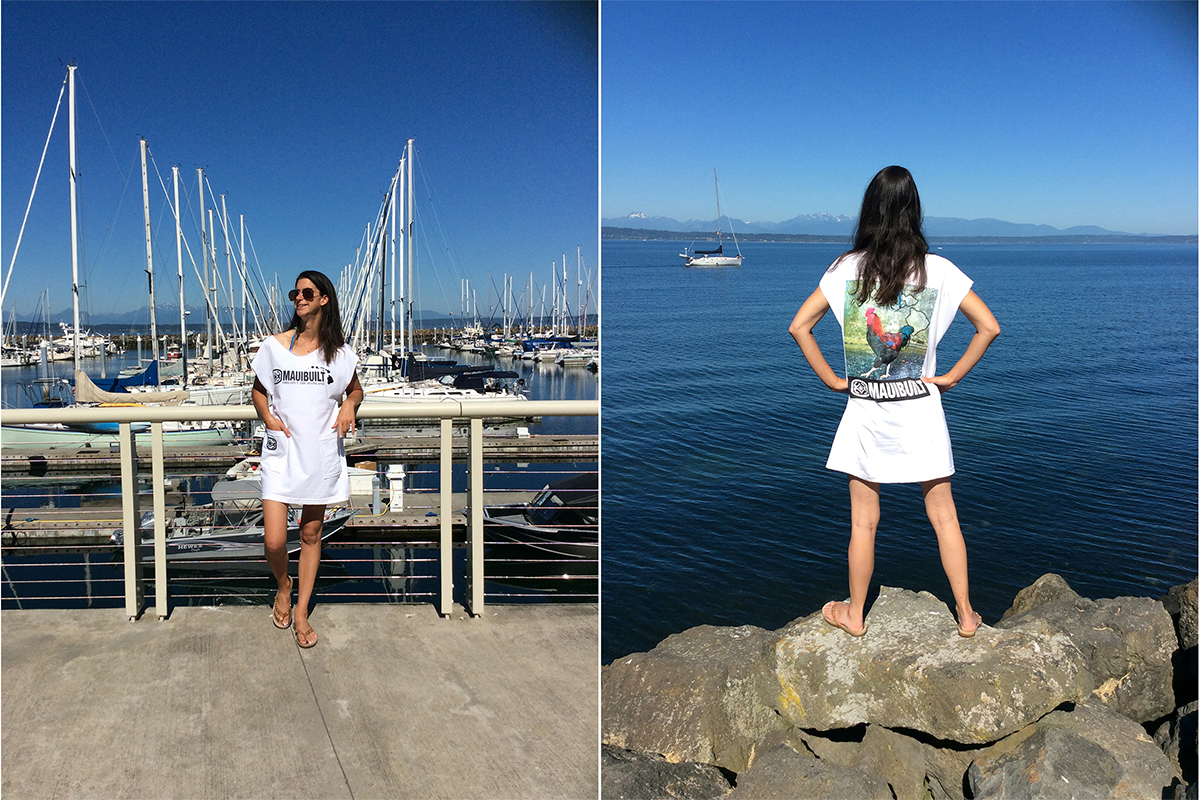
In January I went to Hawaii for the first time ever. I was lucky to land on Maui as I think it really is my kind of island vibe that my hippie self loves!
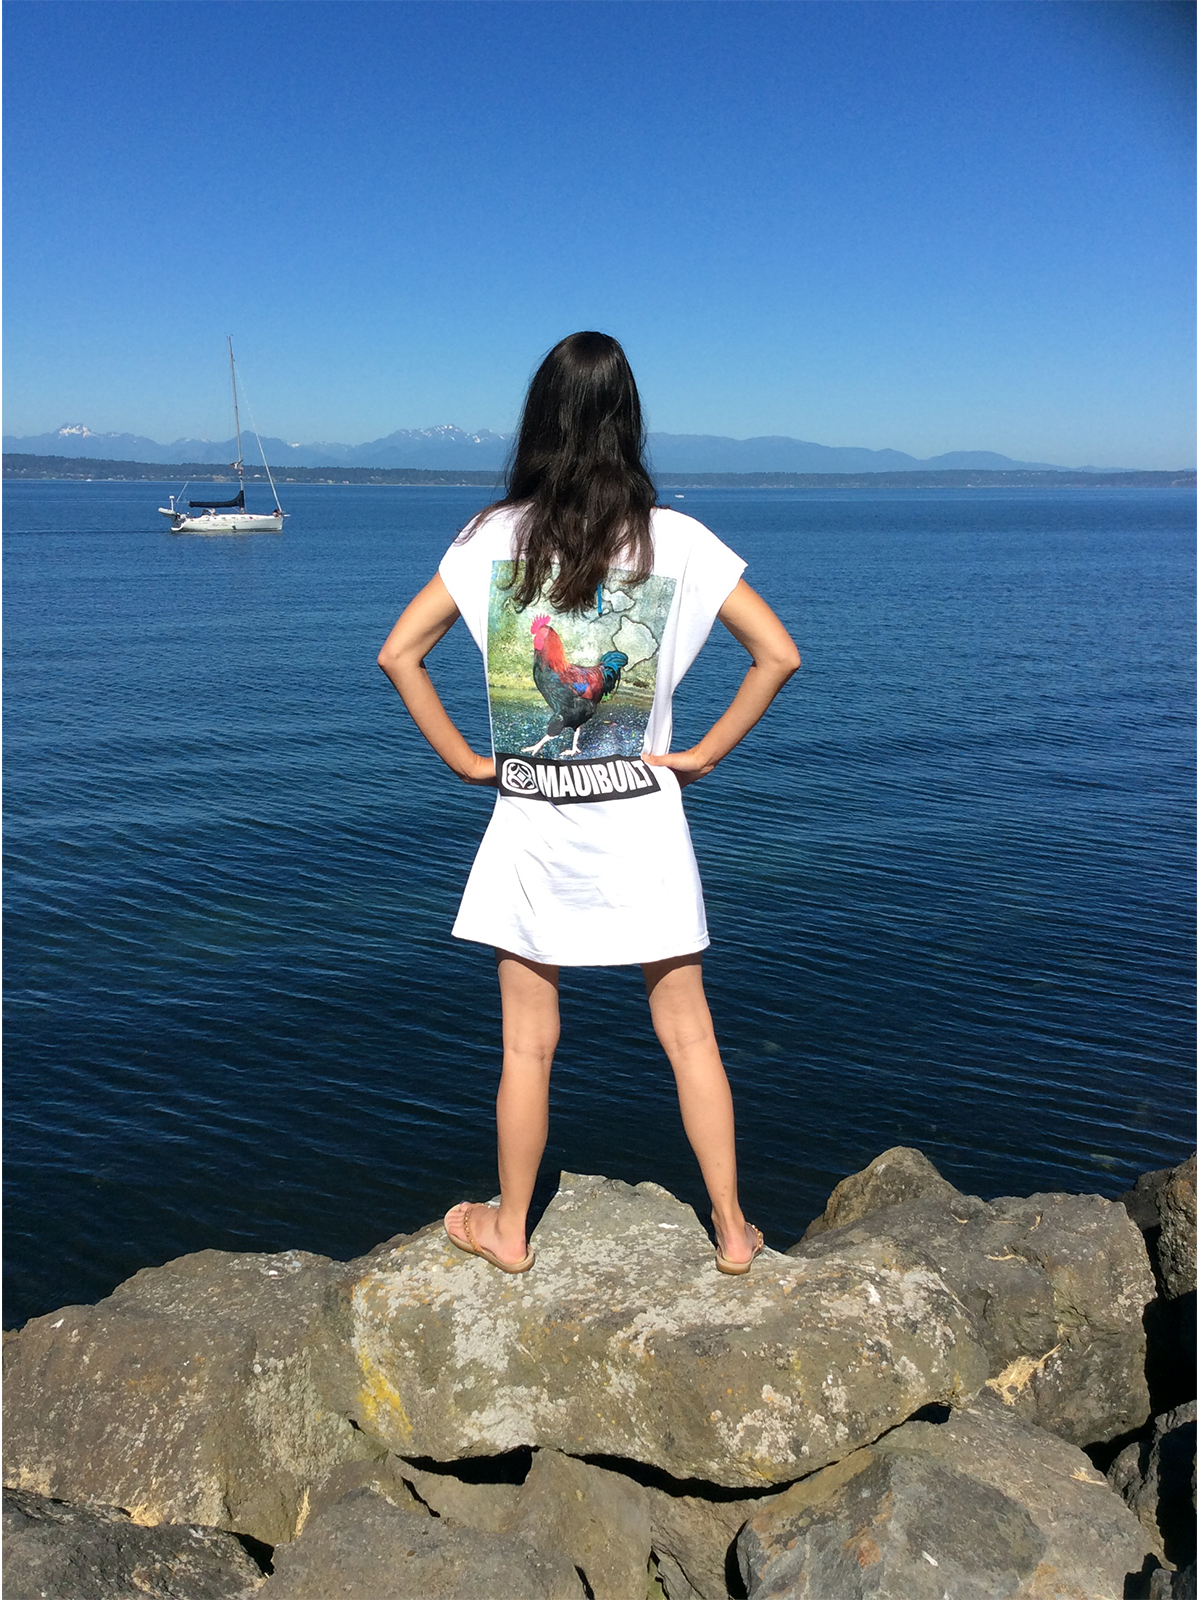
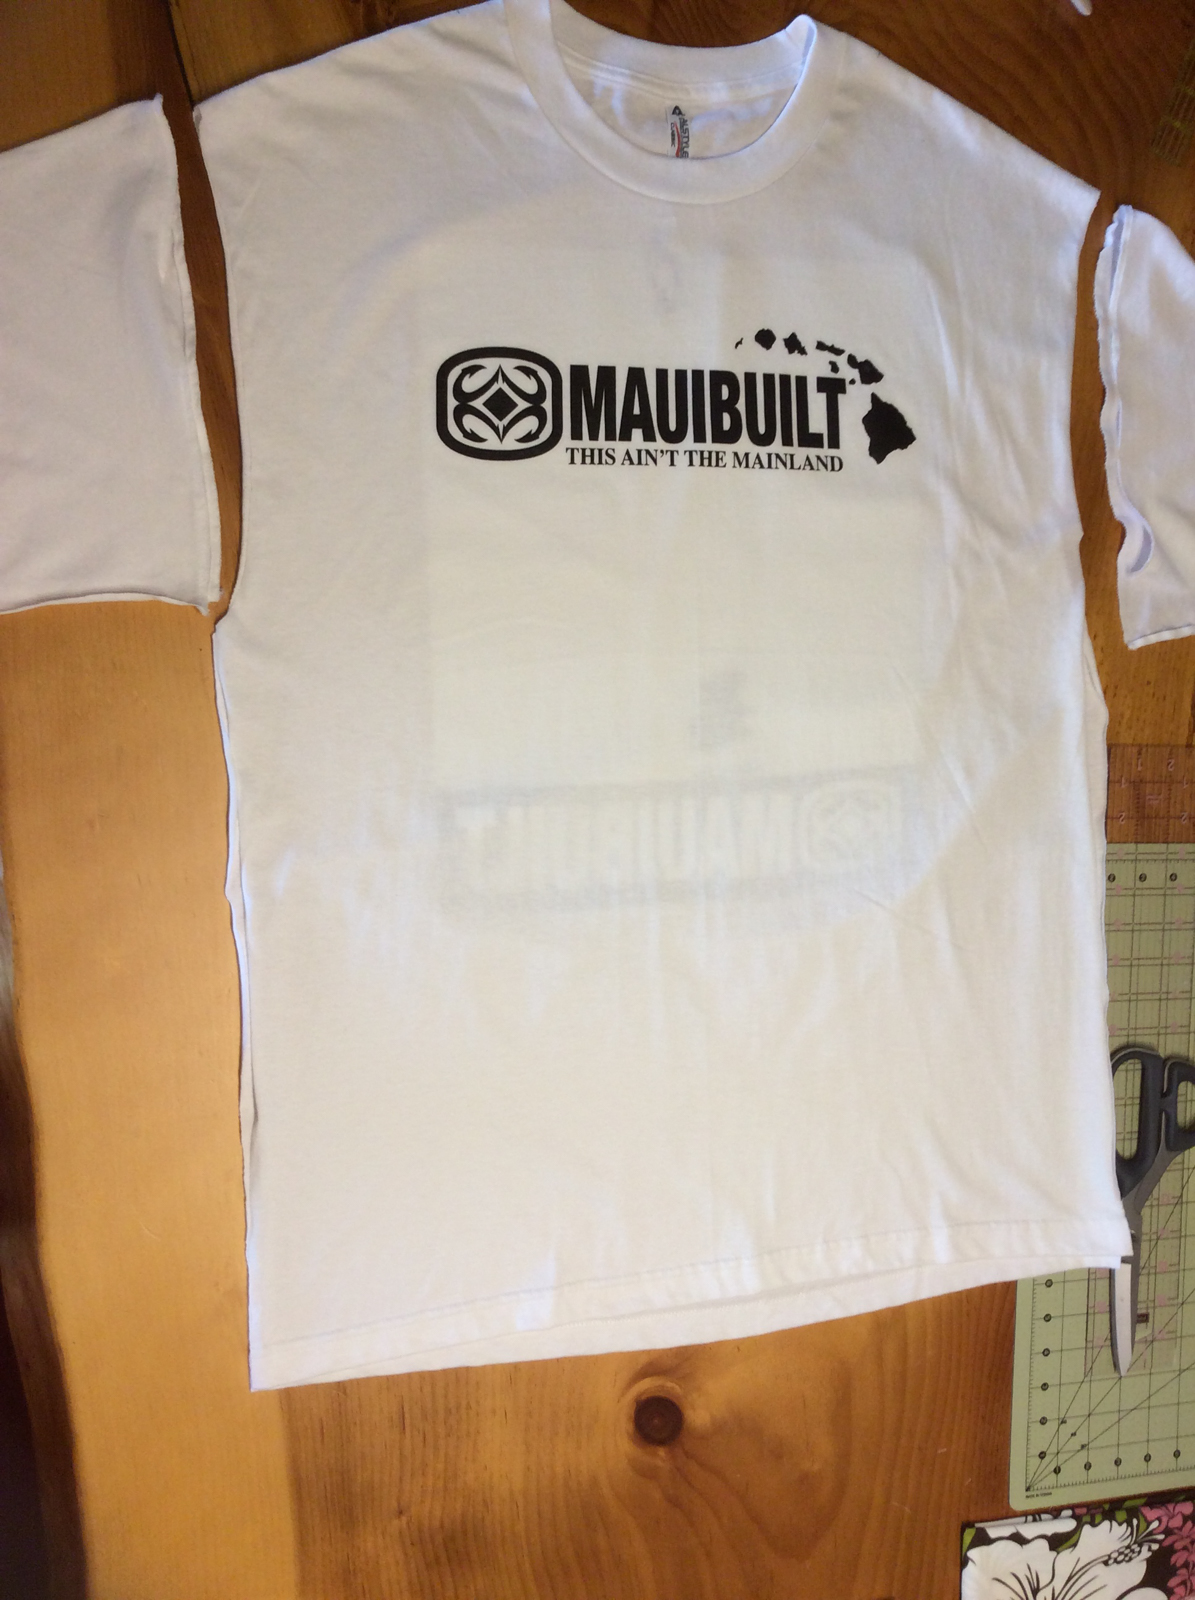
Located on the island of Maui is a retail shop called “Maui Built” with retail stores in a number of locations on the island. Maui Built merchandise consists of well-made T-shirts, hoodies, board shorts, etc. I fell in love with the merchandise and the whole idea of the brand. They had a T-shirt with a fabulous picture of a beautiful rooster on the back. While in Maui, I had a love affair with seeing & hearing chickens and roosters all over the island. It felt like home . . . yes I have seen loose chickens in my neighborhood in Seattle!
The T-shirts only came in men’s sizing, so I decided to make something cool out of a big XXL T-shirt!
And this is what happened . . . a fun T-shirt tunic in the winter and a cool short sleeve T-shirt dress in the summer! This is a very simple project, excellent for beginner sewists! You can do this! Because this is made of a knit fabric when you wear this T-shirt dress, it is super comfortable!
And if you can envision it, in the fall/winter this dress would work with a long-sleeved thermal T-shirt, leggings, scarf and jean jacket under for a trendy cold weather look.
I think there are a lot of people that have a fear of sewing knit fabrics. Some knits are challenging to sew with when the ends curls, and getting the fit right. Working with knits is fun, especially when using 100% cotton knits that are not so slippy-feeling in your hands and are easy to pin and sew. As you will witness here, I use a straight stitch to sew this entire T-shirt redo!
Material to Sew a T-shirt Tunic
- One XXL Men’s T-Shirt OR a tTshirt that is big on, and is long enough to be a tunic or a dress
- Keep in mind that the top should hug the bust and flow out from the bust. This will make the most of your shape and flatter the smallest part of your body too!! WIN-WIN!
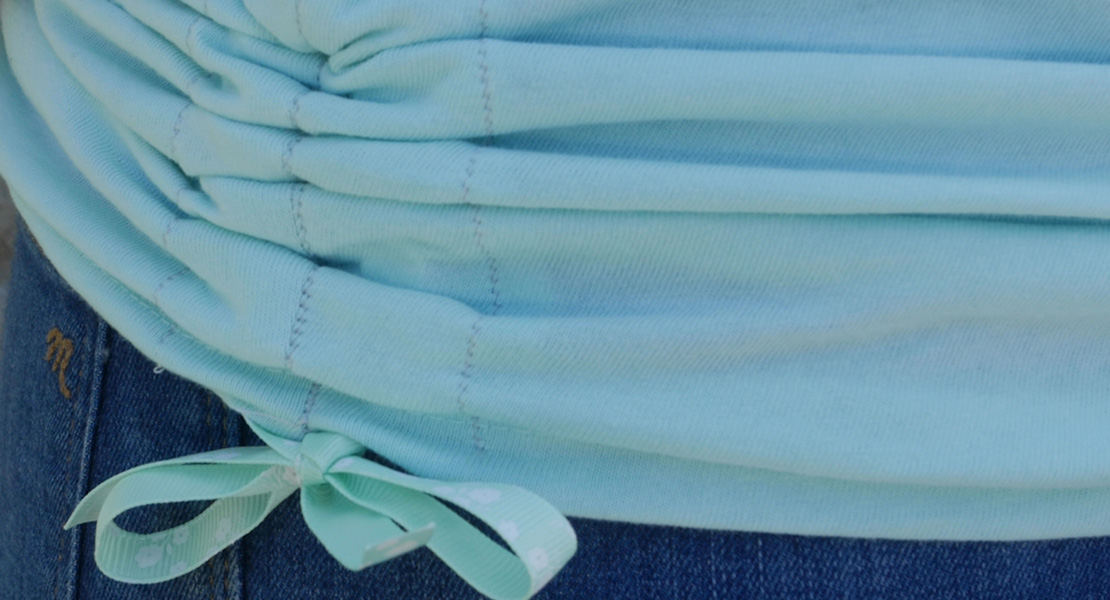
- Thread; I used vintage rose pink thread to sew this dress/tunic.
- Scissors
- Thread nips
- Marking pens or chalk
- Pins or clips
- Long clear rulers
- Rotary cutter
- Cutting board
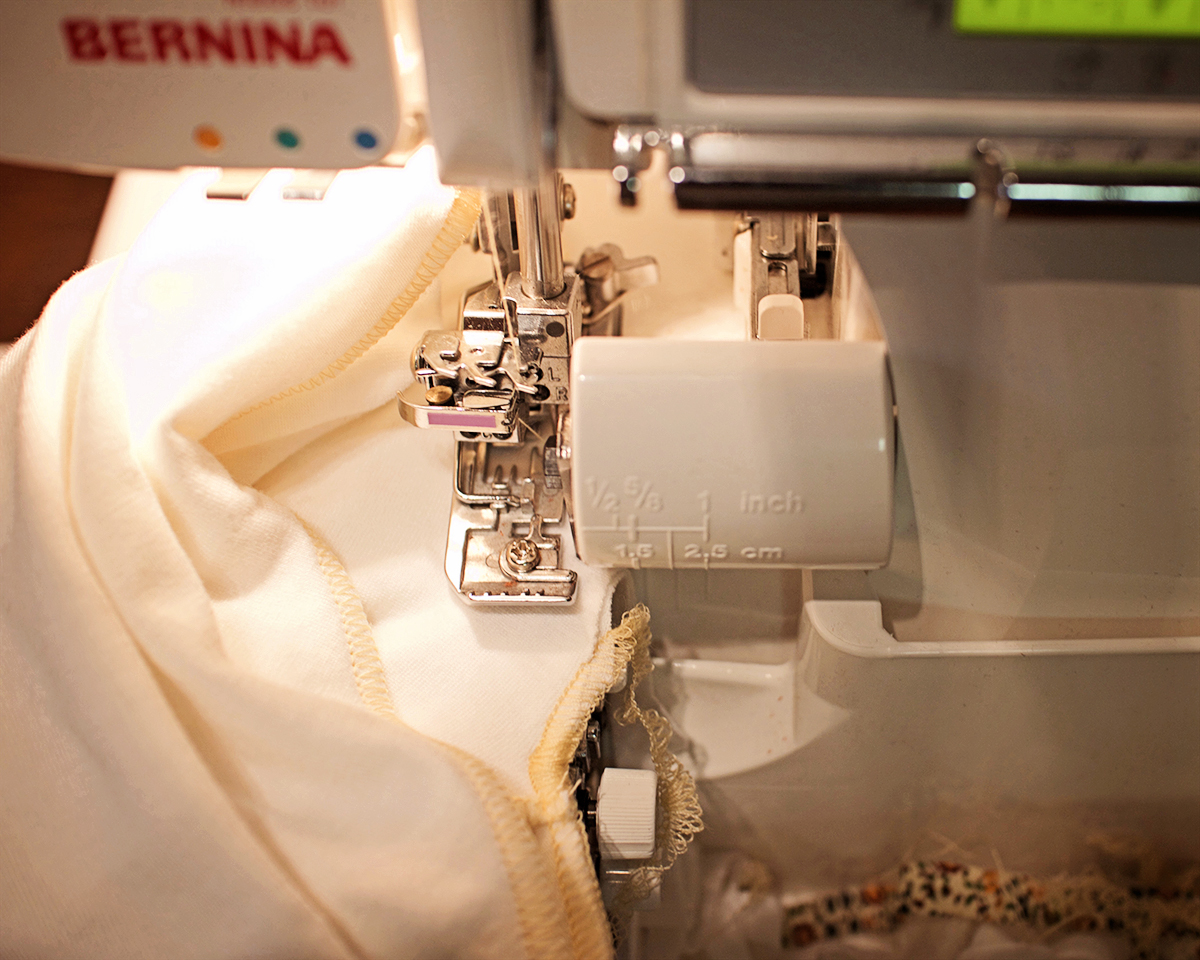
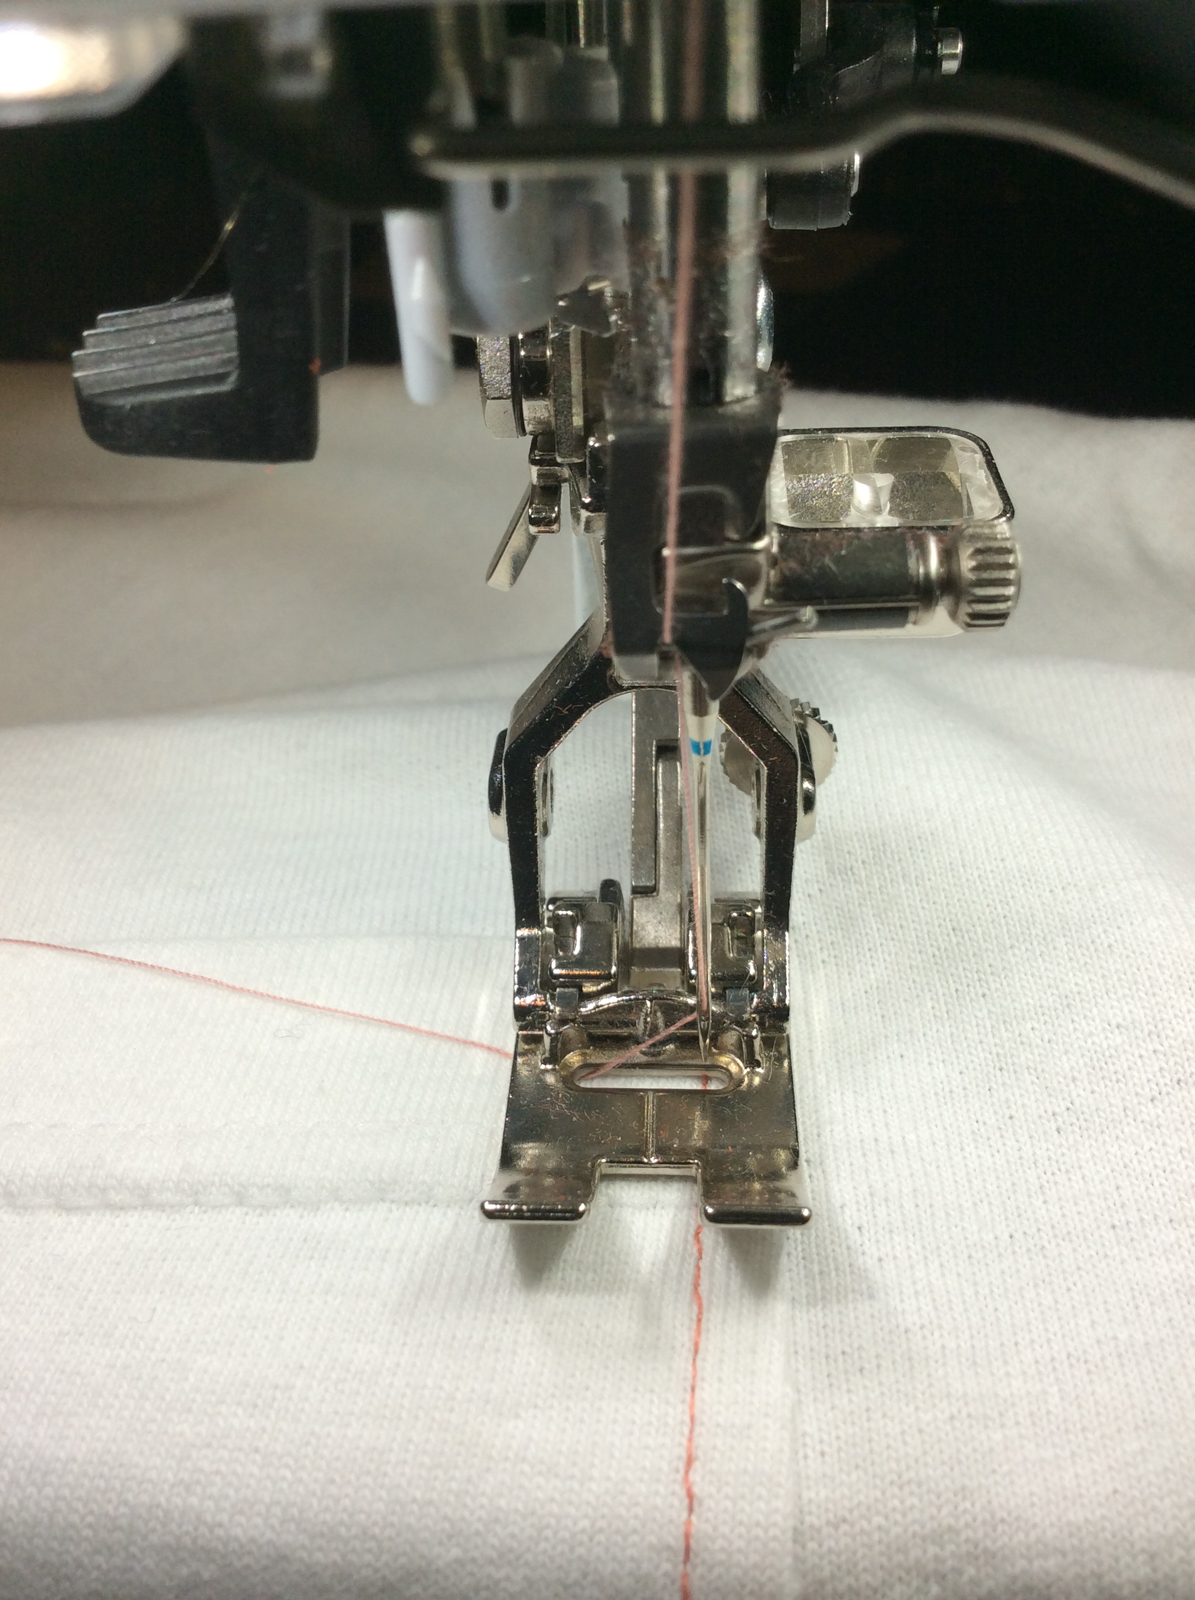
- BERNINA 770 QE
- Reverse Pattern foot #1 D
My sewing machine of choice here is the BERNINA 770QE, and for this project I used the Reverse Pattern Foot 1D , which works with the dual feed of the machine to help feed the top and bottom fabrics evenly. Personally, I love using this foot most of the time when I sew with all different types of fabrics because the dual feed is just that good!
HINT: Keep in mind that cut edges of the knit do not run or ravel, which is lovely, and makes for easy peasy sewing! I used a straight stitch of 2.5 to sew the pocket on and to sew up the side seams, so it is simple sewing with a regular sewing machine. I also used a regular needle, but you may need a stretch/knit/ball needle as the stitches may skip without it.
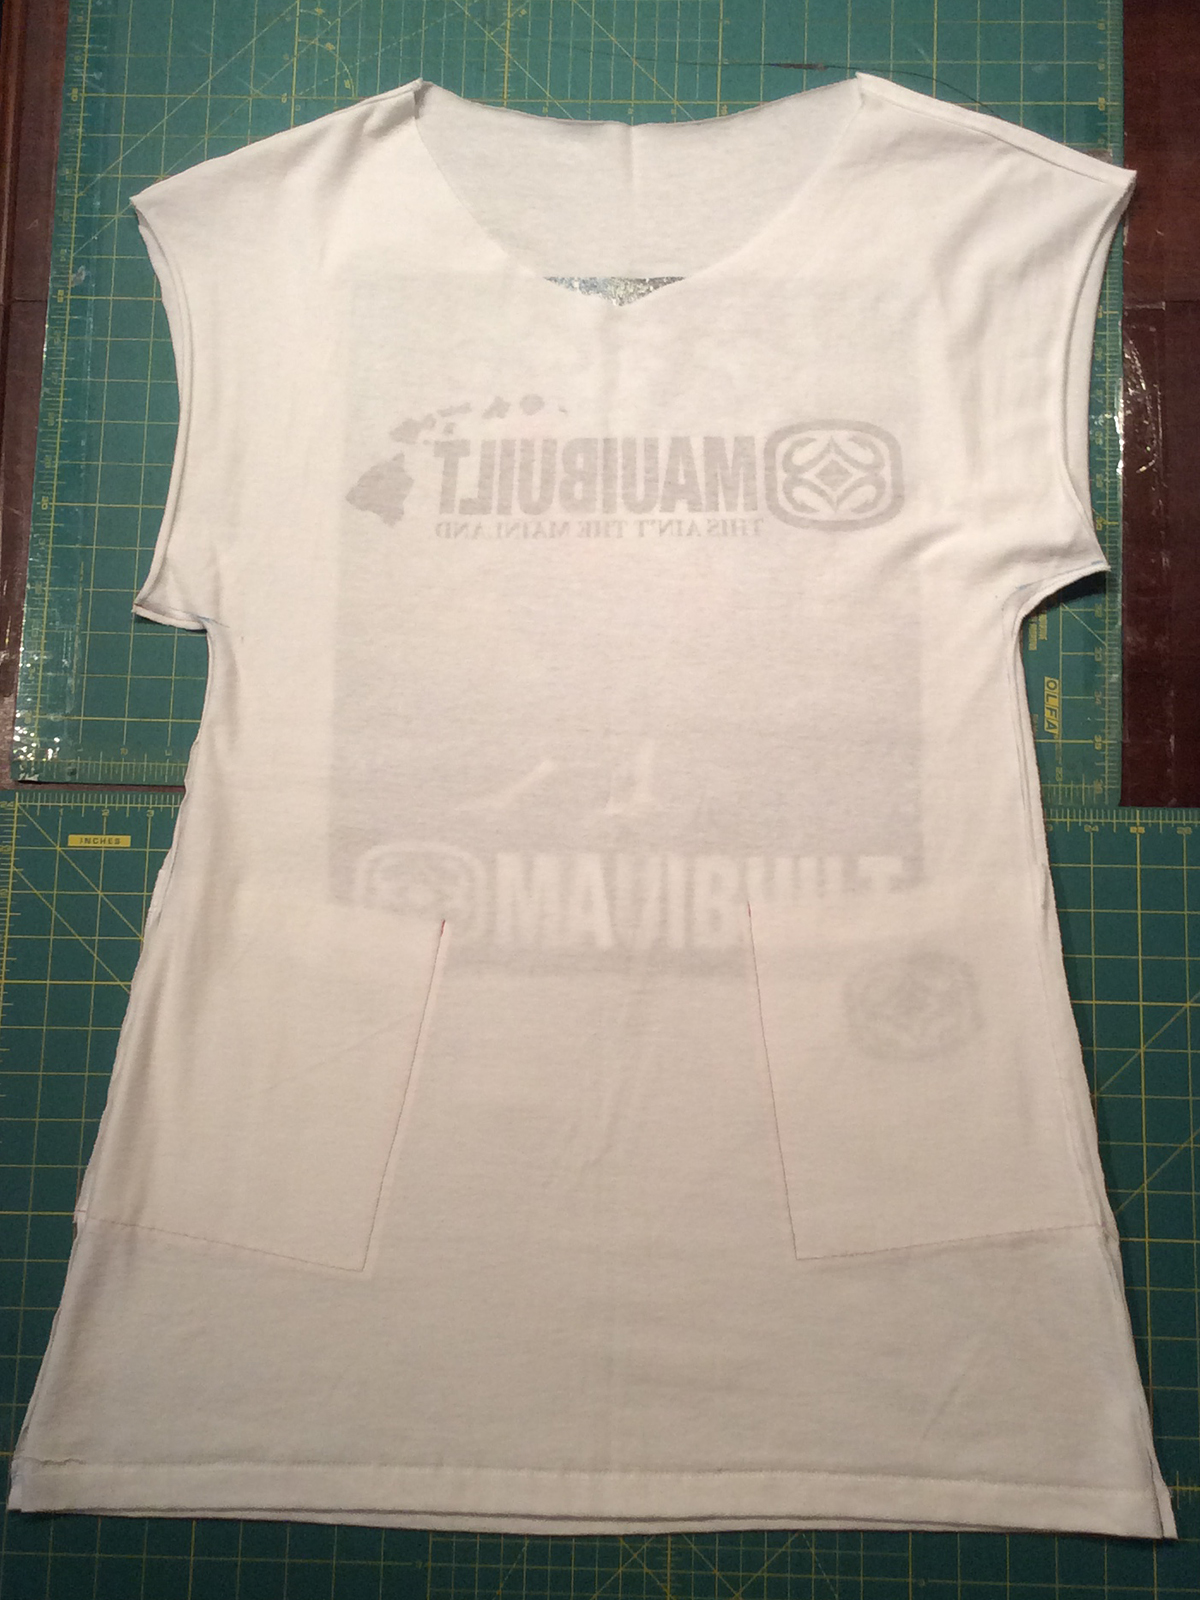
Here is the “before alterations” picture of the T-shirt.
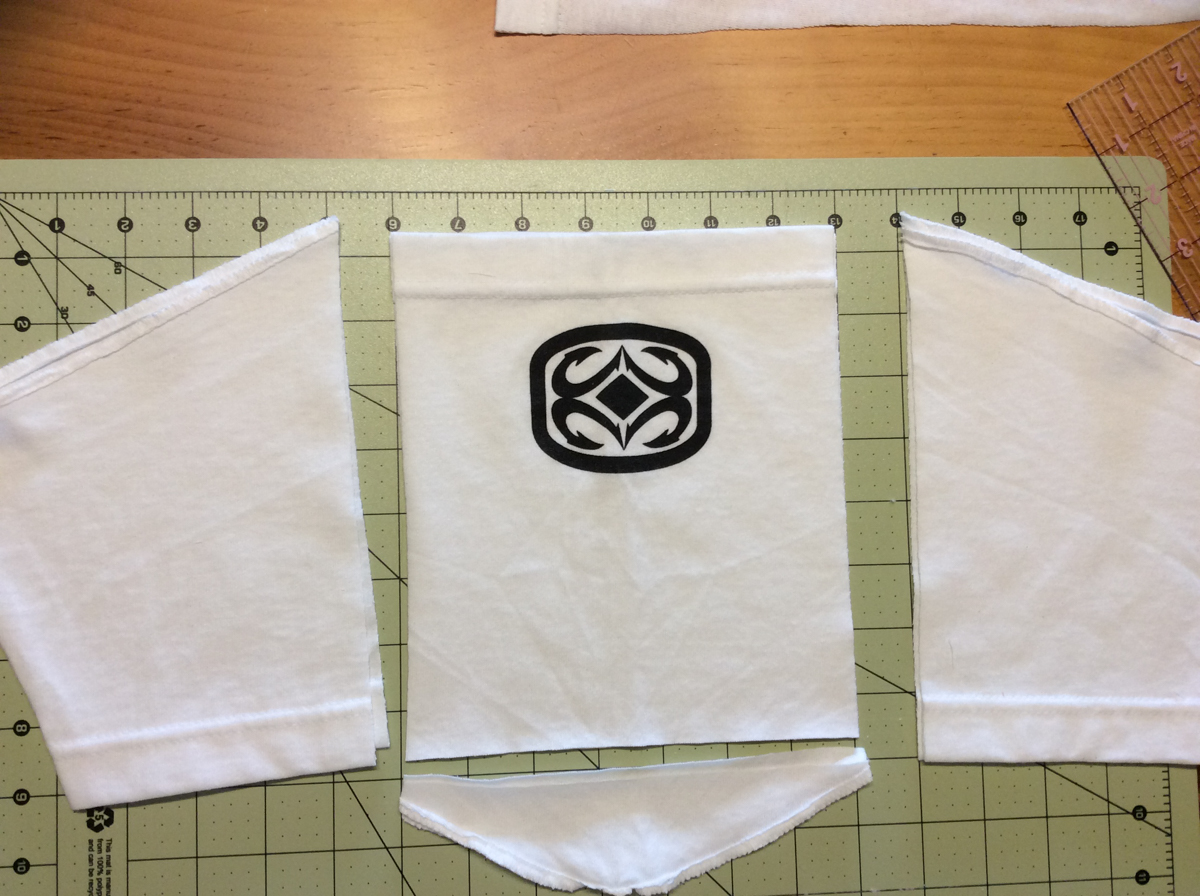
Step One, The Sleeves become pockets
Cut the sleeves off.
Carefully cut (important to do very straight cuts to get the most fabric) right next to either side of the seam to remove the sleeve seam and the sleeve from the T-shirt body.
Cut the sleeve seam off.
Lay the sleeves out, one right on top of each other. I got super lucky here. The Maui Built logo is on the sleeve and it is not directional.
Use the rotary board to make sure the finished hem of the sleeves are lined up and even with each other for straight cutting.
Cut the top of the sleeve off straight.
Cut each side straight to make a rectangle, set aside for Step 3 A good size is around 8” H x 7”W
Step Two, T-shirt Body Redo
Put the T-shirt on and pin evenly at both sides at only bosom. Should be slightly snug. Unpin, but leave a pin to mark. Measure from the pin to the edge of the fabric on both sides, add together and divide by 2= new sleeve seam (example 2″).
Lay T-shirt body on a flat surface evenly. Most T-shirts are made from knitted tubes and do not have side seams, which makes for easy cutting.
Cut entire side starting at the bottom of the sleeve and down thru to the bottom hem. Repeat for the other side.
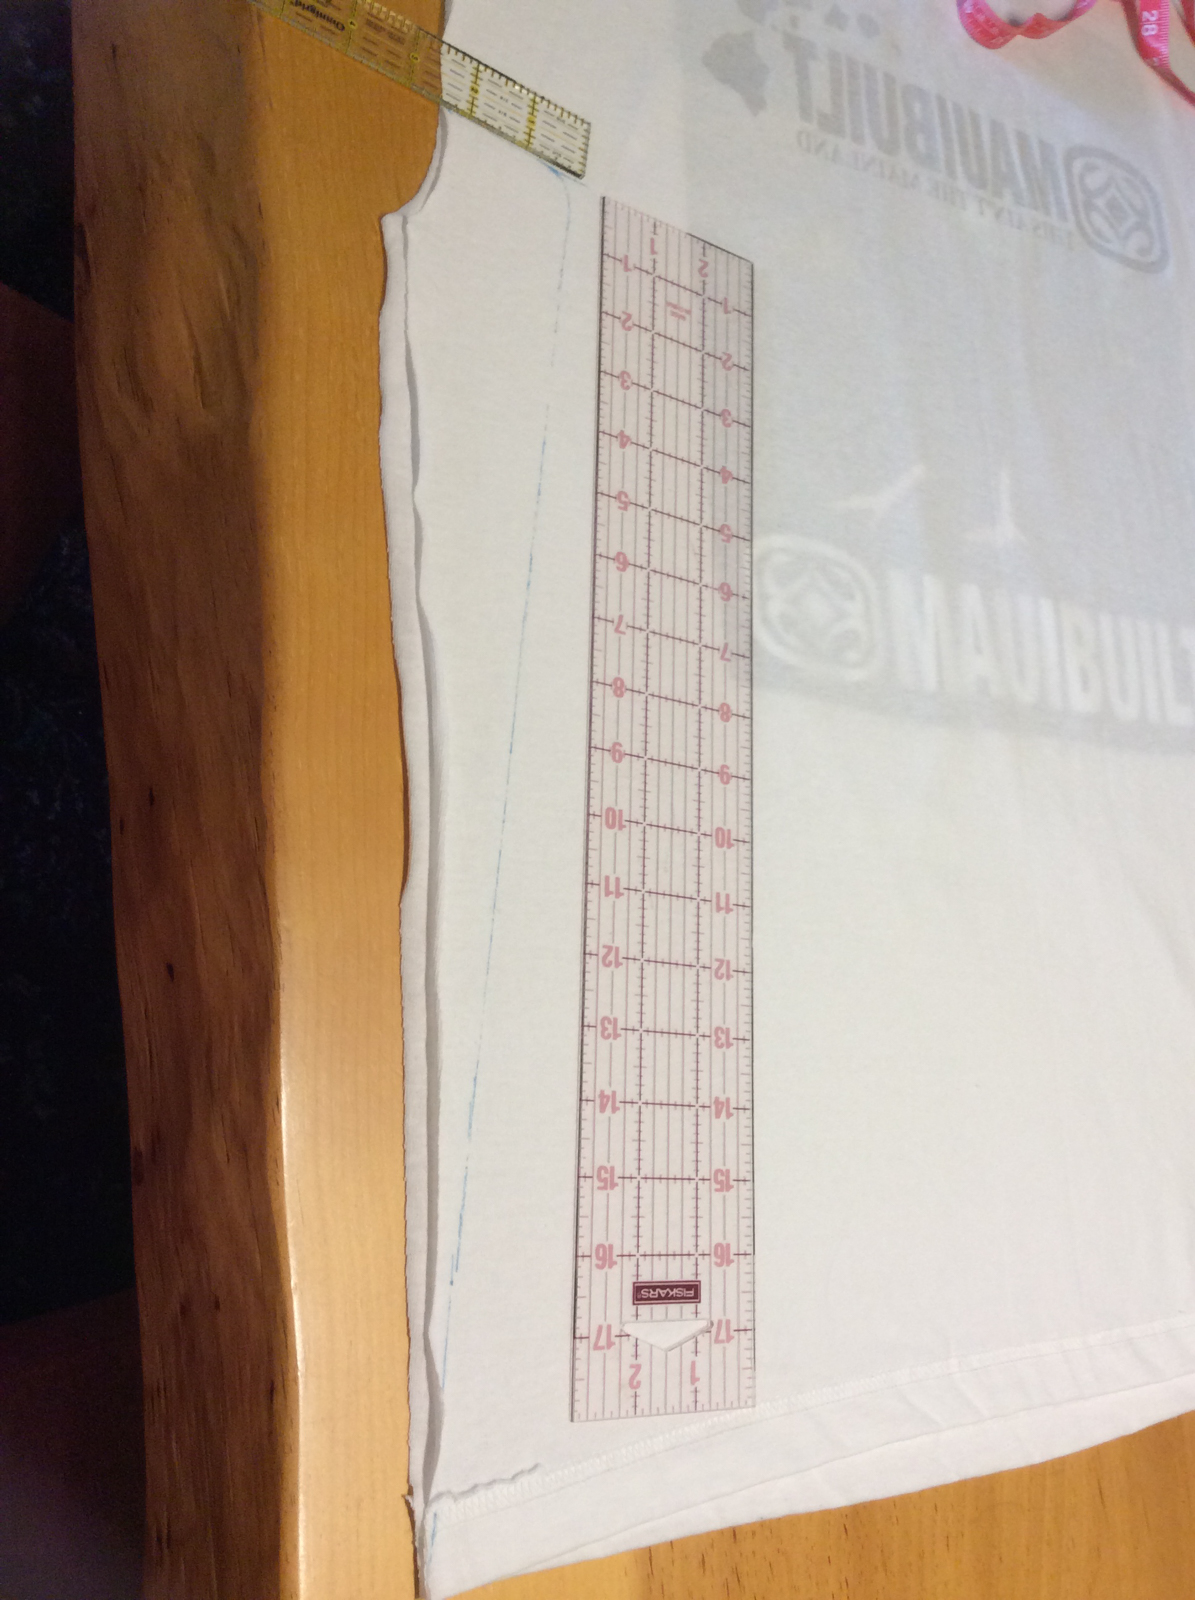
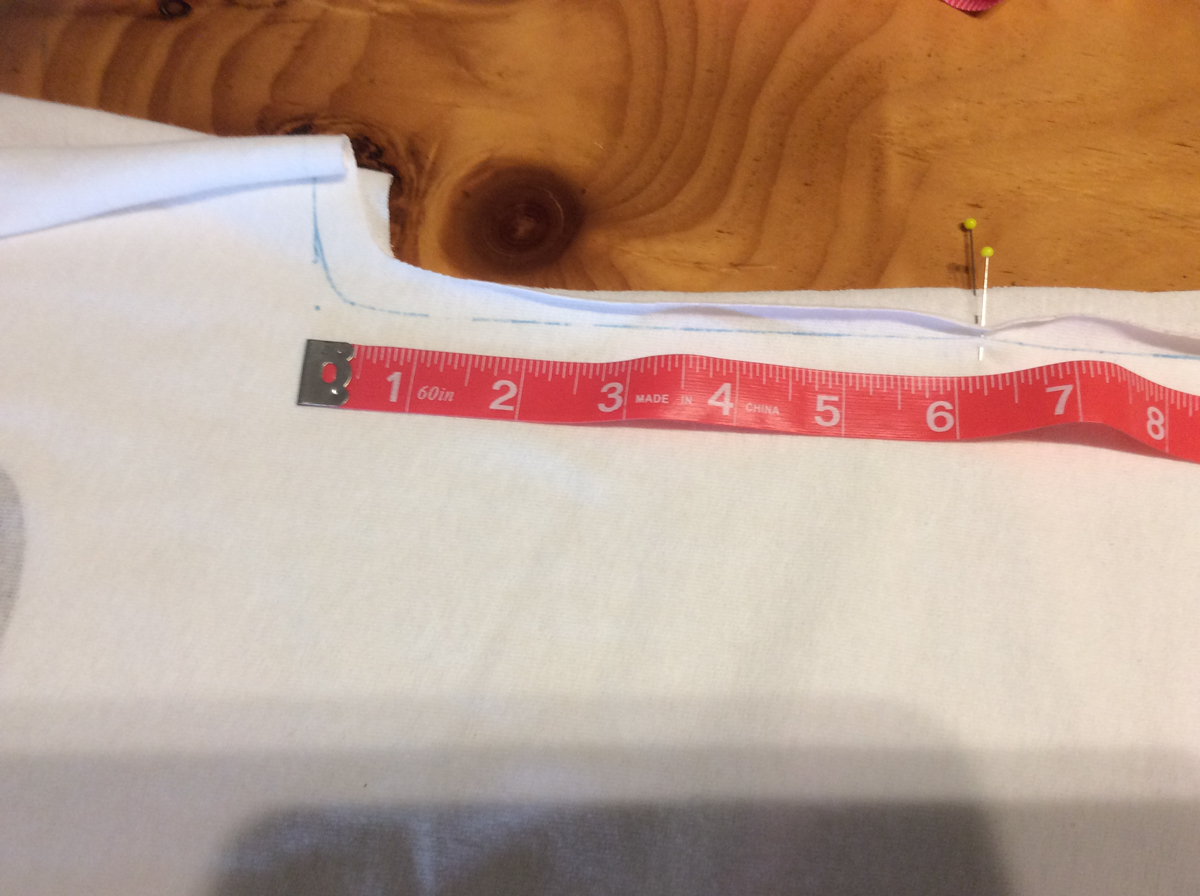
Sleeve Formula Measurement: Measure your upper arm at the top for the sleeve opening + 3.5″ and divide by 2. For example: If your arm is 13.5″ + 3.5″ =17″ / 2= 8.5″ sleeve opening. From the shoulder seam down 8.5″ is where the side seam will start.
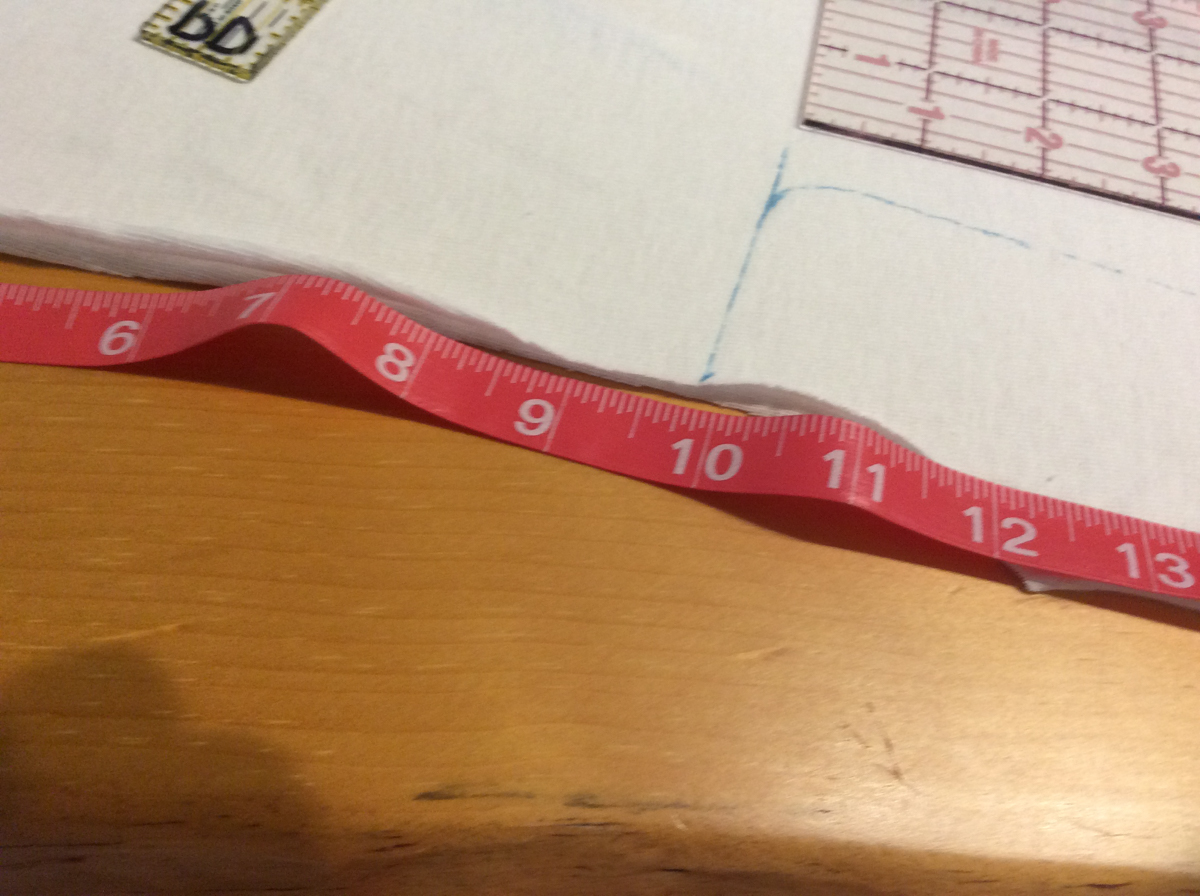
Starting down from the shoulder seam 10″, draw with chalk where the side seam will start to create a sleeve 2″ in, then curve down and out as far as possible to give the dress an A-line shape.
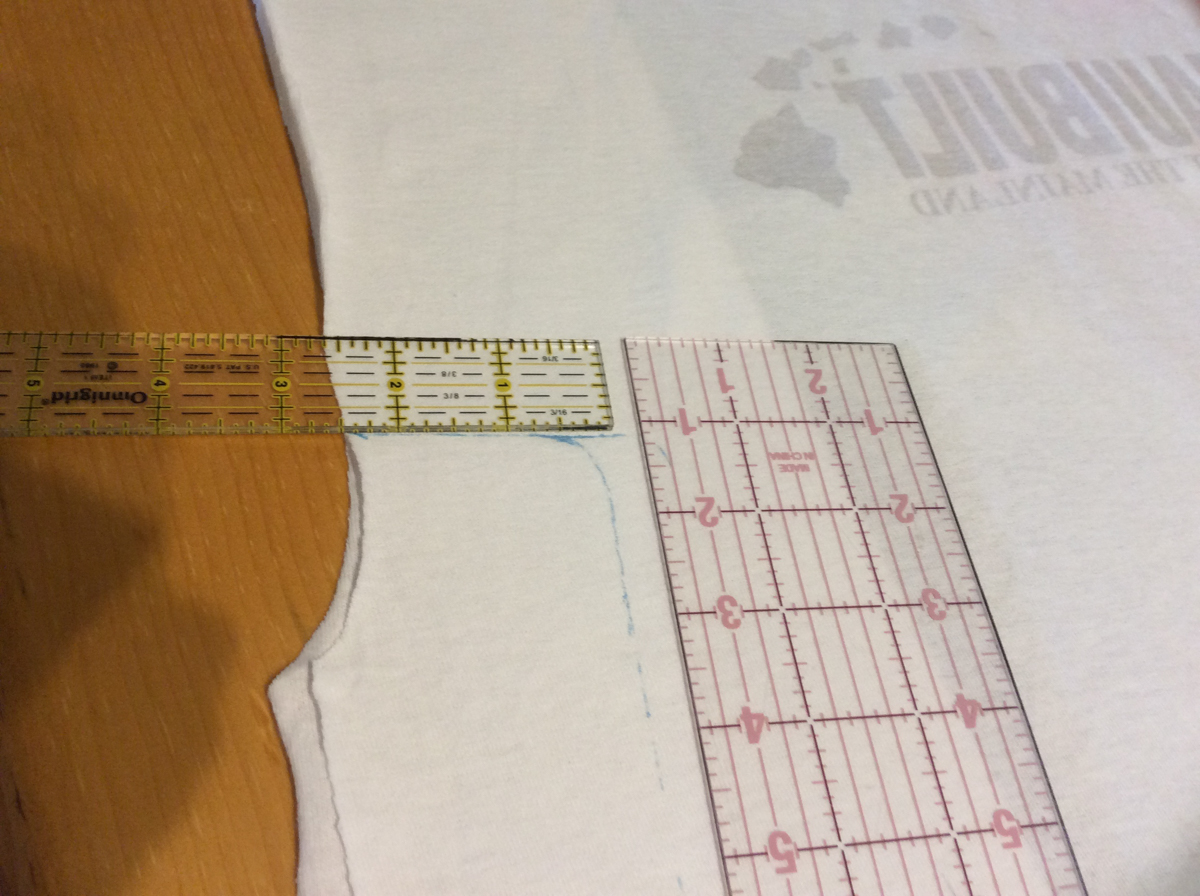
Your stitch line is drawn throw a few pins to keep the fabric from shifting and cut ¼″ from the drawn line.
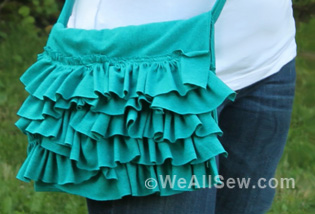
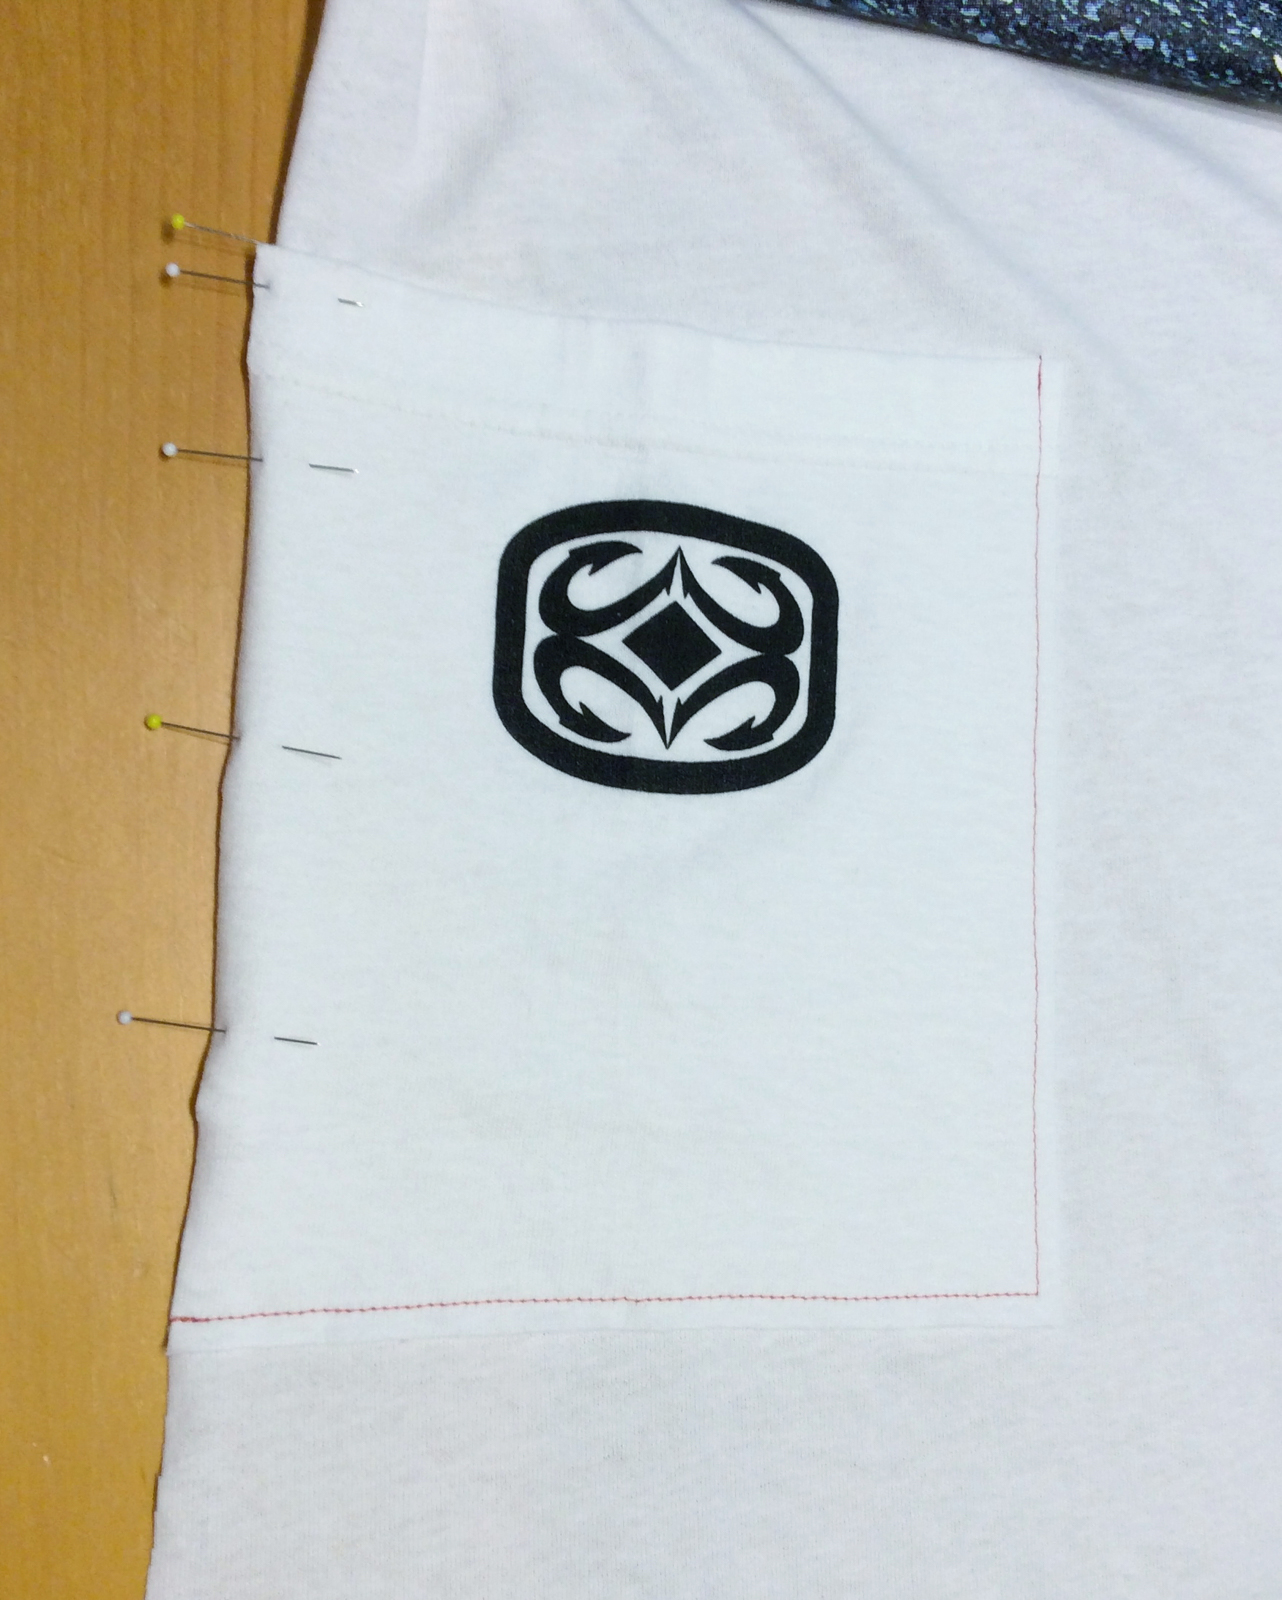
Step Three, Add The Pockets
Put the T-shirt on and find the pocket placement best for you. Pin the pockets directly onto the front of the tunic/dress with the hem as the top of the pocket, and the edge of the pocket lined up with the side edge of the T-shirt.
Sew the pockets on from the top of the side and bottom edges only. Use a ¼″ seam allowance with a 2.5 stitch length to attach the pocket. The sides of the pocket will form when caught in the side seam of the dress.
Step Four, Sew up the side seams
Pin the sides up and make sure to match the sleeve bottom edges and the hem edges for a clean seam that matches at all points. Sew with a ¼″ seam allowance and a 2.5 stitch length.

Try on the dress, if the sleeves are too open, then take up the sleeve seam an inch and blend in with the side seam.
Step Five, Make a new neckline
Cut into the neck to remove the edging of the neck.
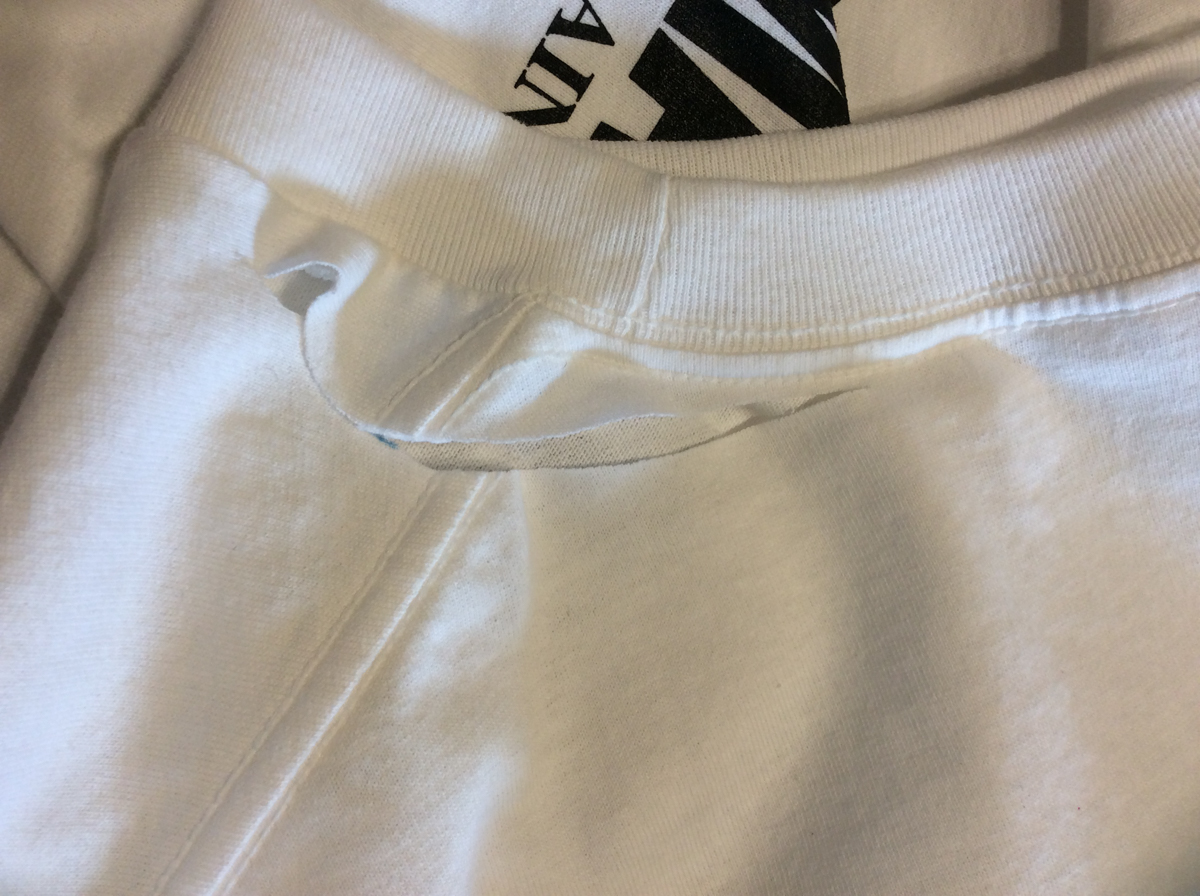
Cut along the edge to remove the entire neck edging as shown here.
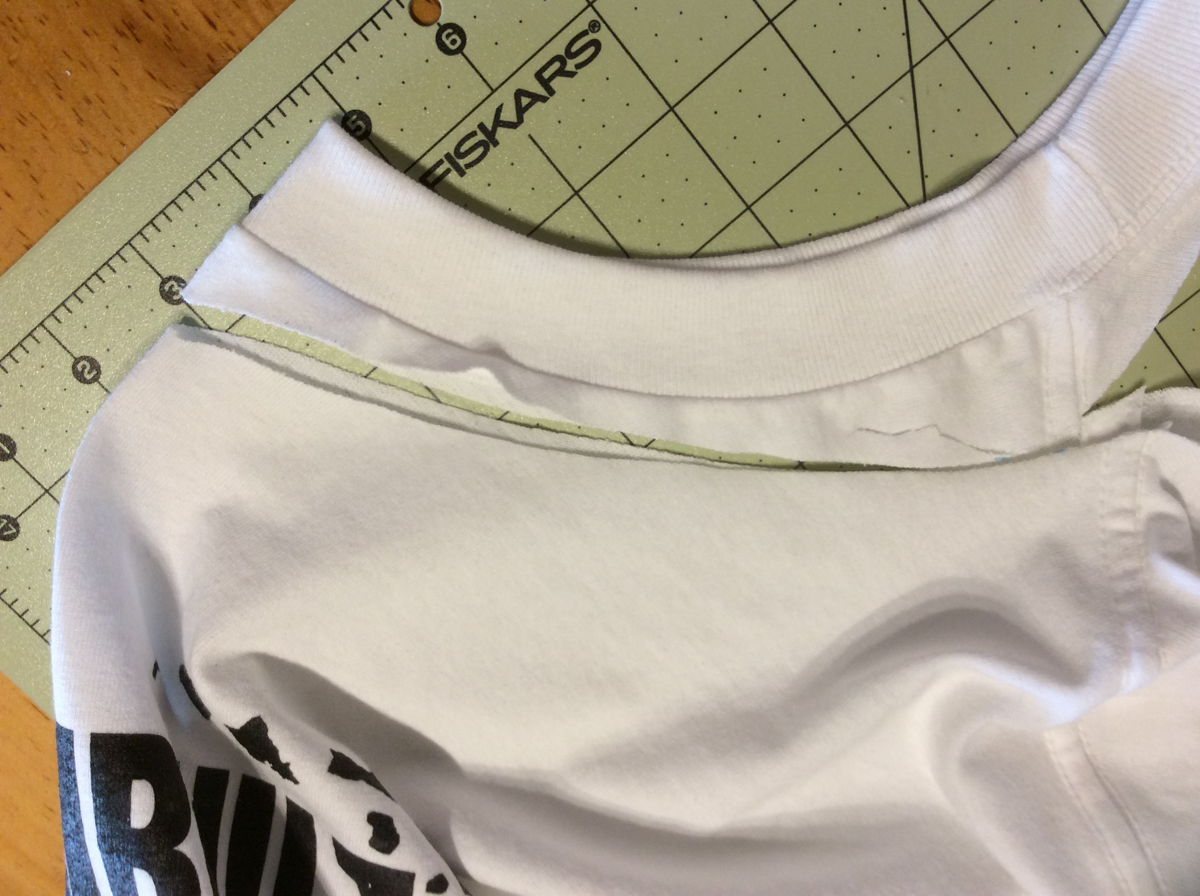
Match the shoulder seams to reveal the center front and center back of the neckline to cut a new one. I would recommend cutting conservatively and then try on for neckline fit. It is easy to cut a little more off.
Have fun here and use the neckline shape you love!
As you can see I did a gentle v-neck here.

Note: Use this as a tip for removing the necklines of other T-shirts that are uncomfortable!
And here is your finished Tunic/Dress!!