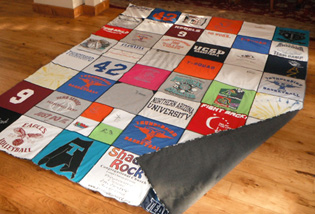
T-shirt Quilt
Everyone has a T-shirt collection, whether intended or not. Why not upcycle them into a stylish T-shirt quilt using your overlocker?
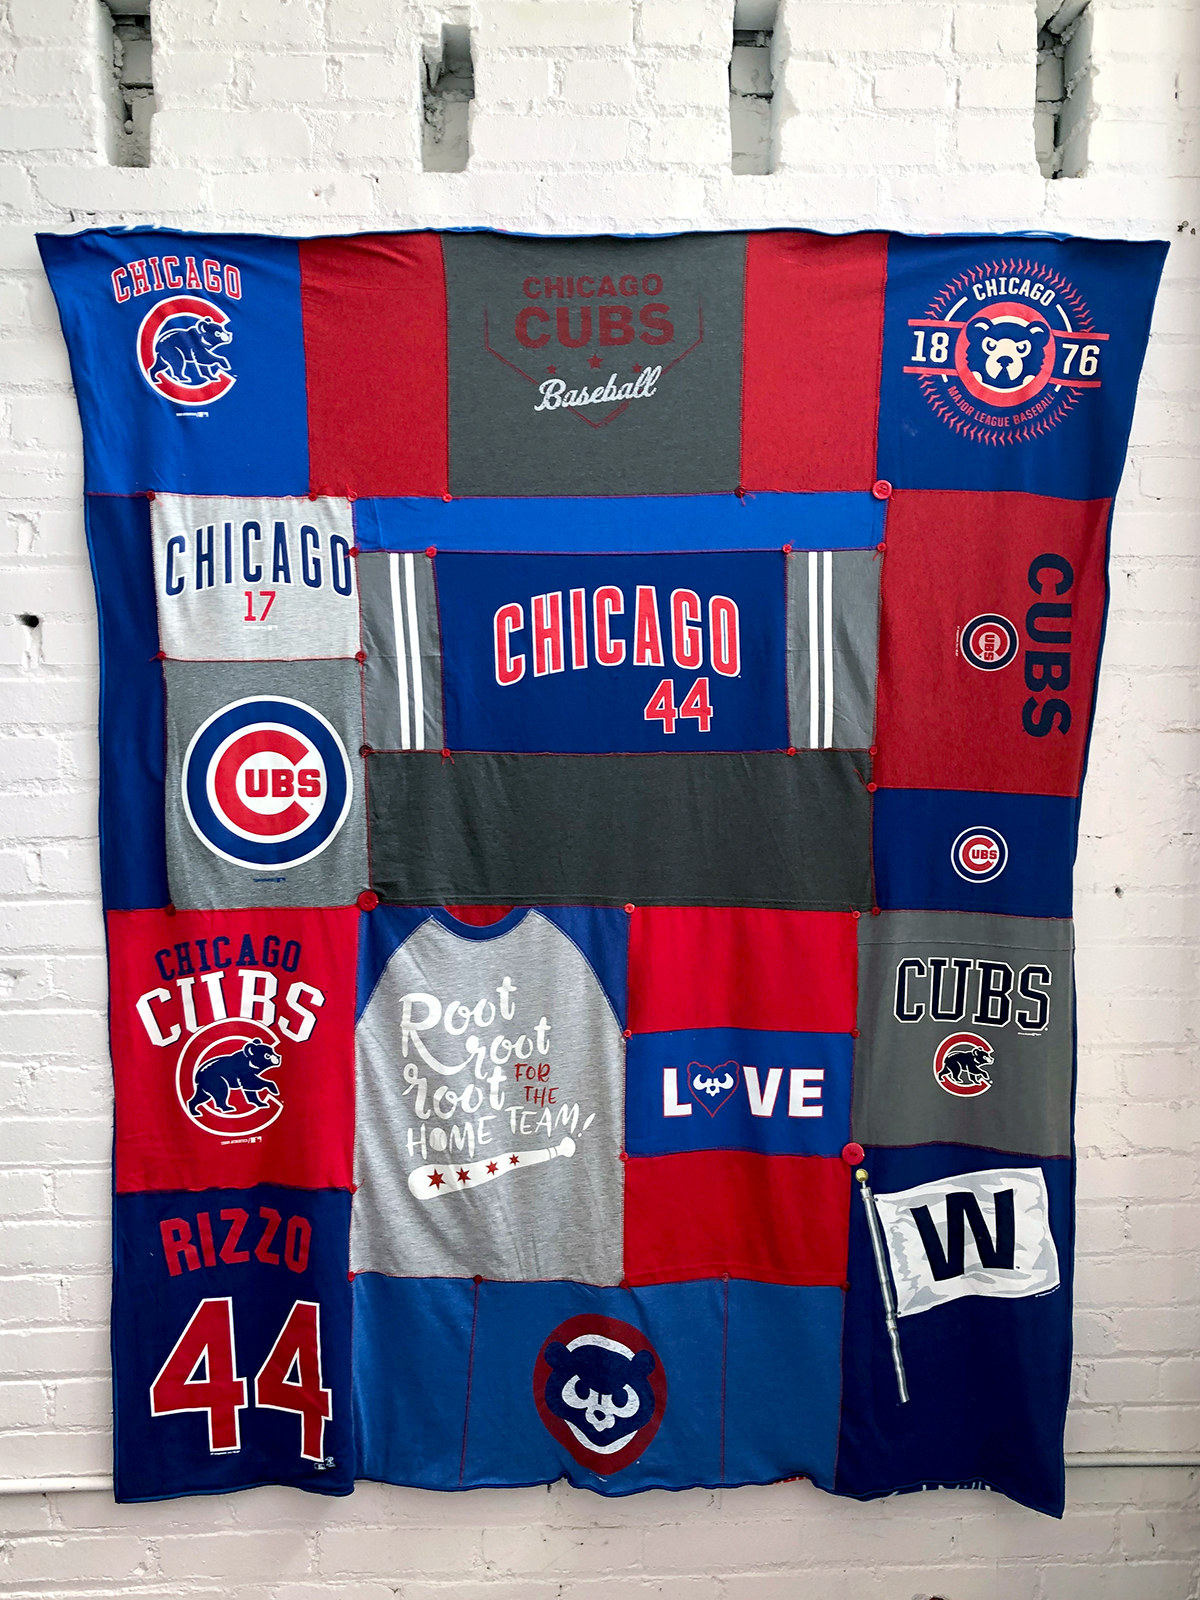
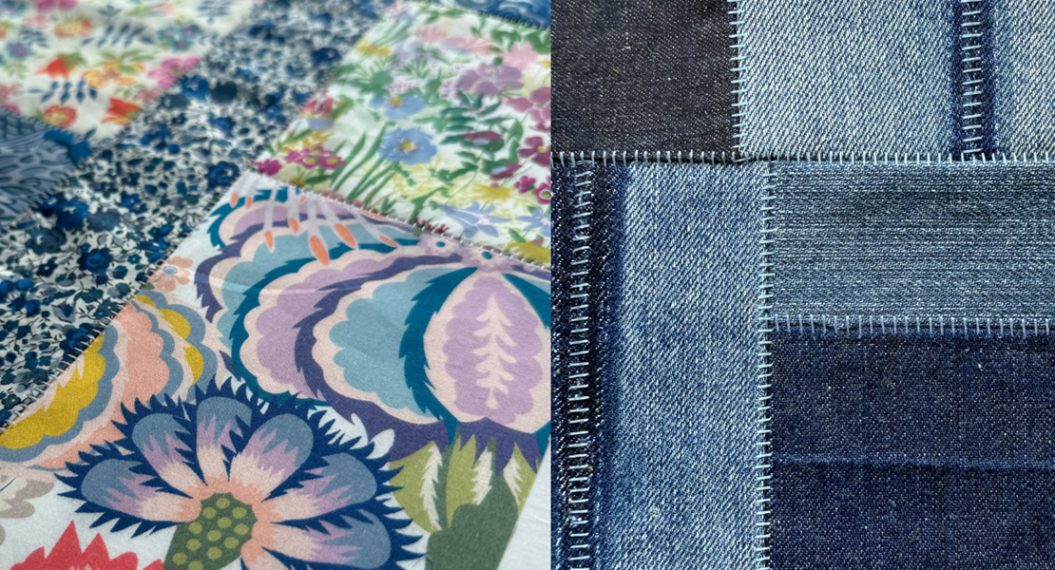
The overlocker is a great machine for sewing knits and makes fast work of this project. By using flatlock seams, the ladder side of the stitch adds a fun design element to the piecing. Add a fleece back and sew the edge with a 2-thread wrapped stitch. Finish it up by tying the layers together with some decorative buttons from your button collection. This is a fun and fast way to use your favorite tees to make a soft blanket to take to the game or snuggle in at home.
Materials for Making a T-shirt Quilt
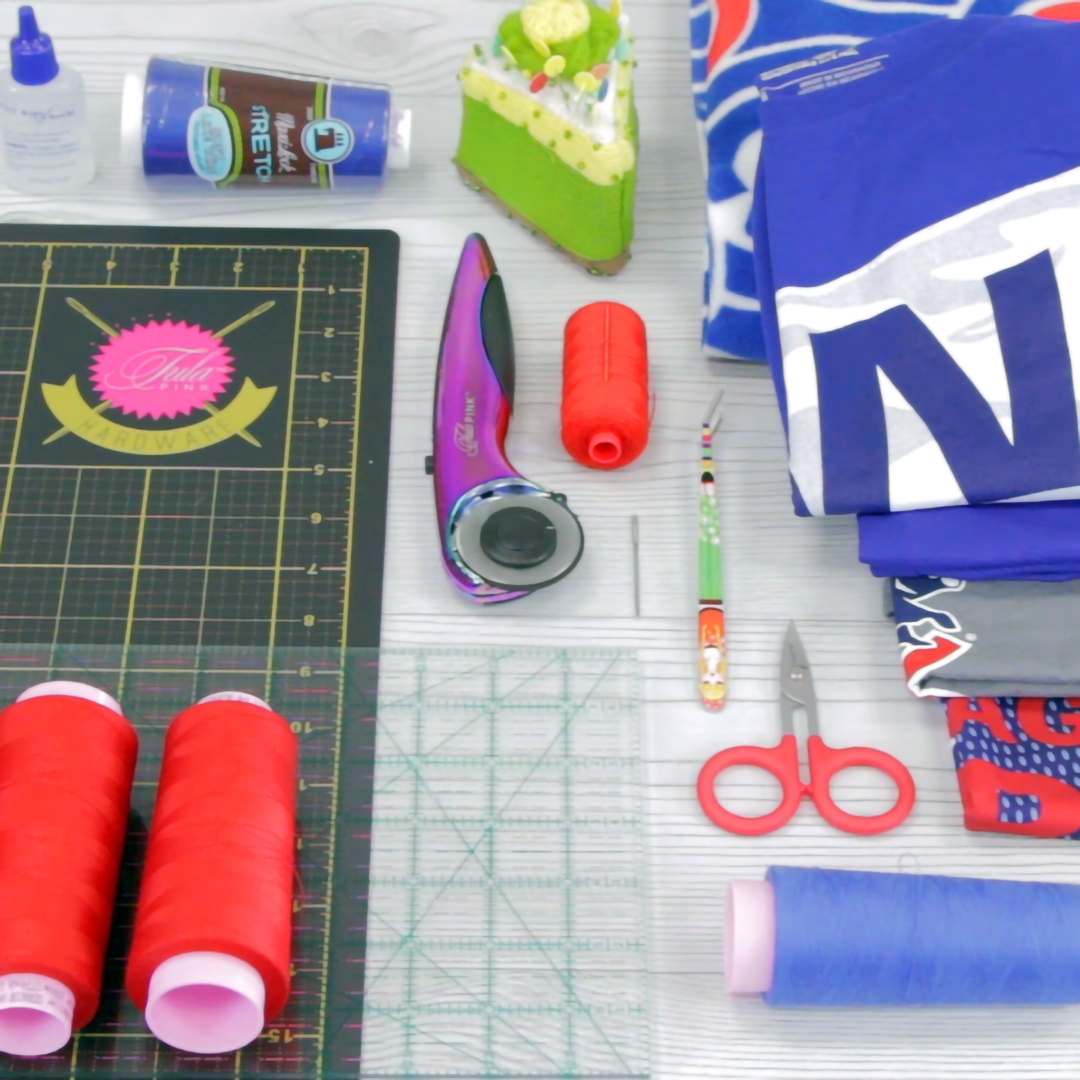
- bernette b44 Funlock
- Ten to 20 t-shirts
- Rotary cutter
- Cutting mat
- Ruler
- Seracor serger thread
- Maxi-lock stretch serger thread
- Flower head pins
- Scissors
- Buttons, hand sewing needle and thread
Steps to Make a T-shirt Quilt
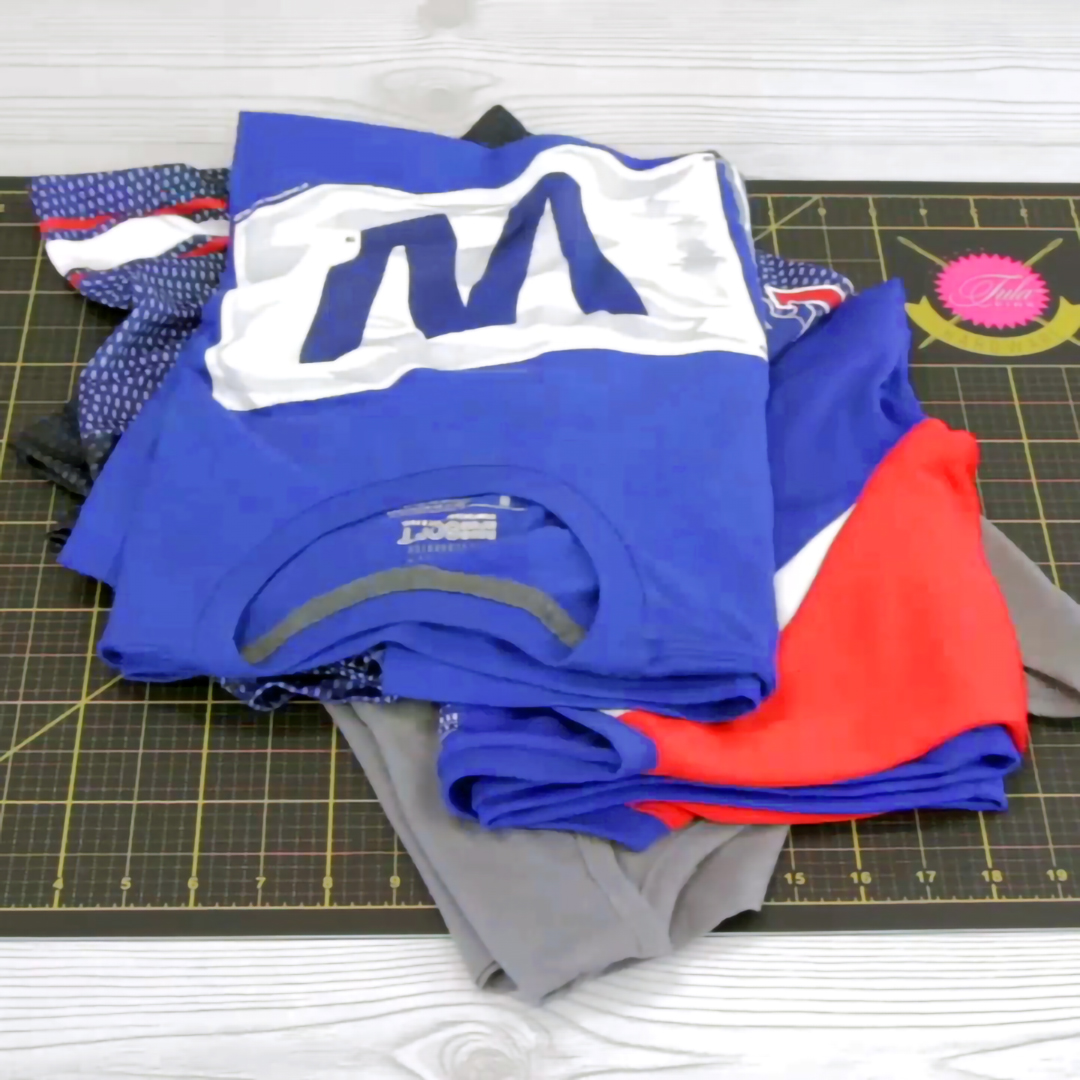
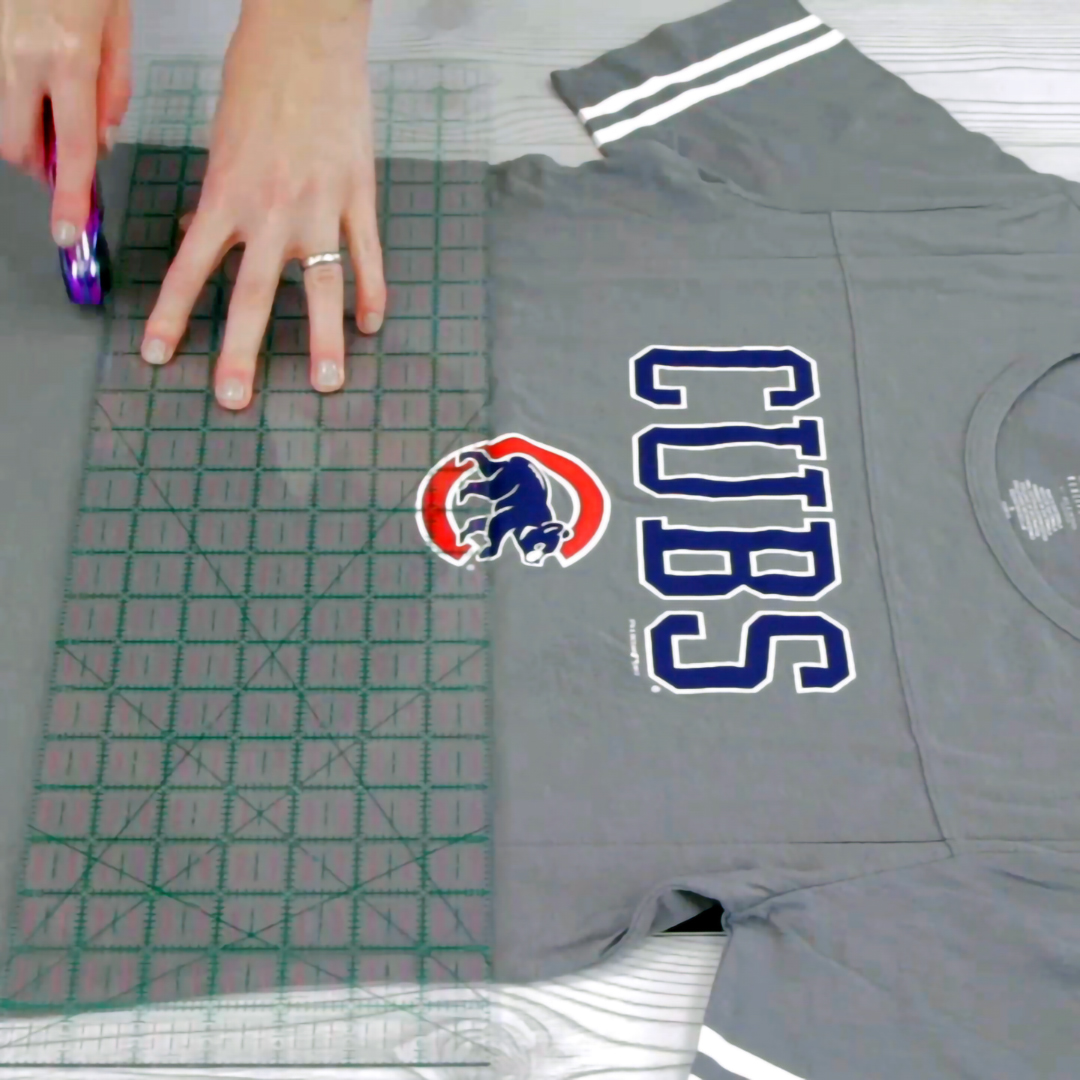
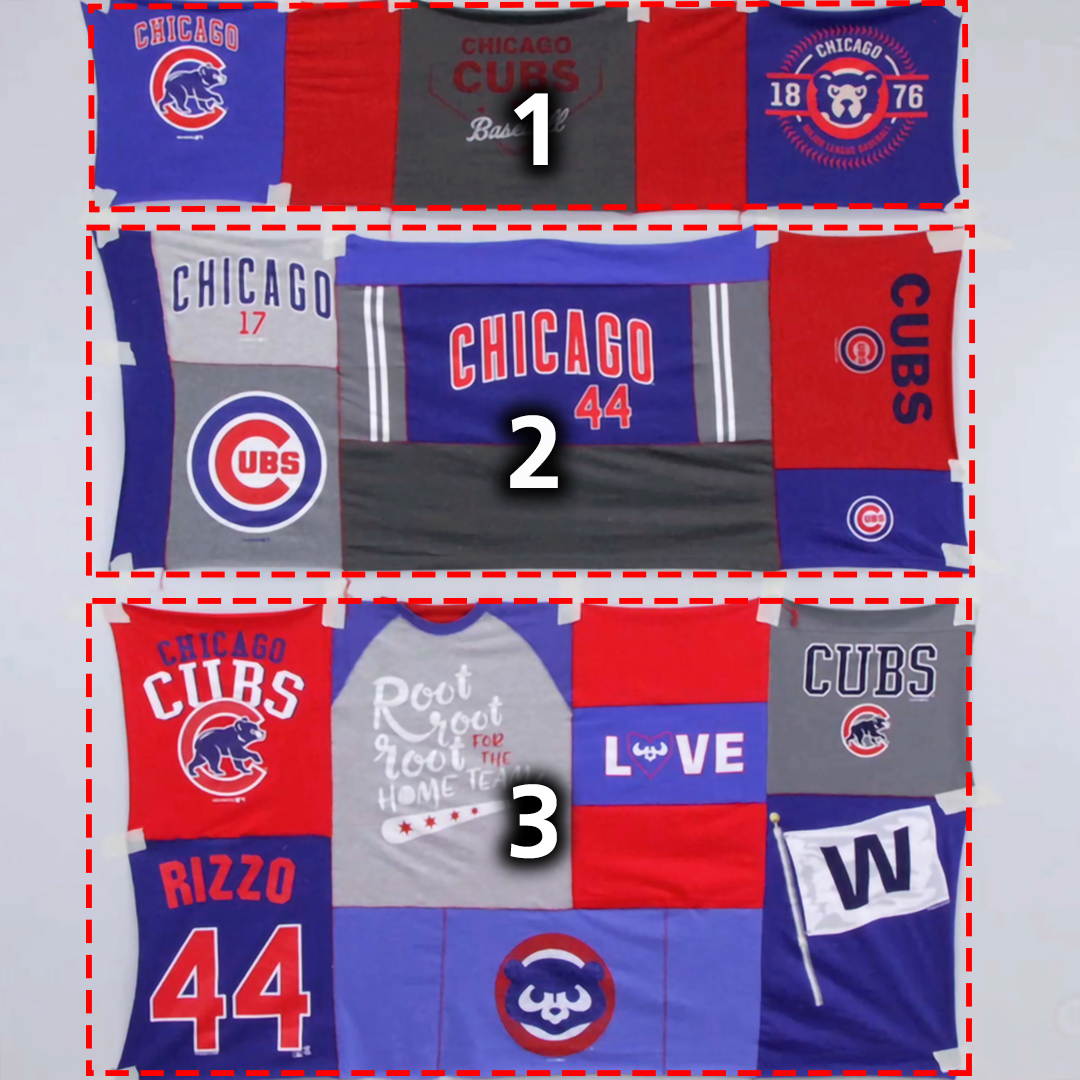
Step 1: Cut down t-shirts
Using a rotary cutter and ruler, cut the t-shirts down into rectangular /square shapes. Think about using parts of the shirt as design elements; pockets, neckbands, sleeves and even hems make fun textural elements in the blanket.
Step 2: Design the top
Lay out the pieces into a pleasing arrangement. Remember that your overlocker cuts and sews in one step, so a square that is too large can be trimmed as it is joined to the next piece.
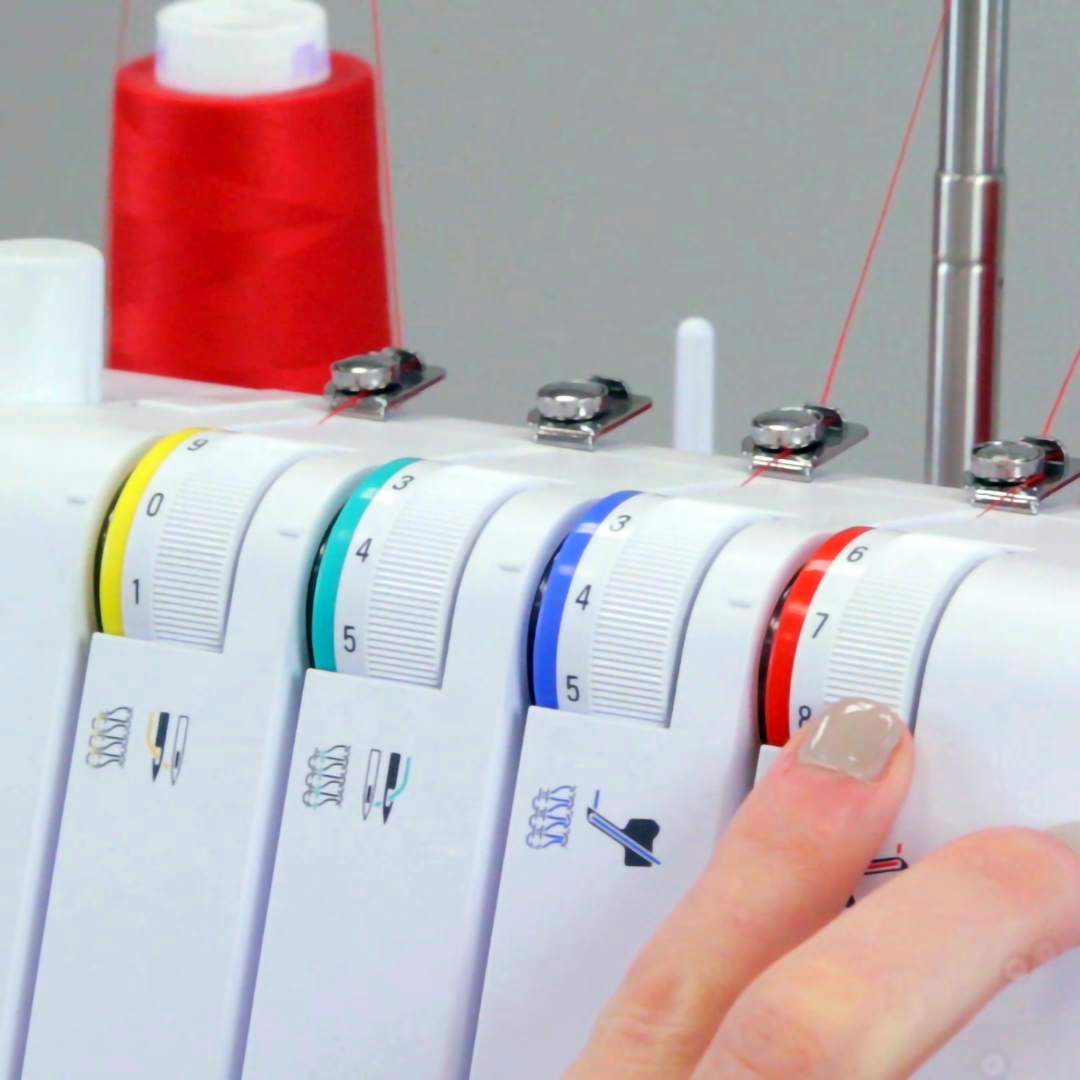
Step 3: Set up machine
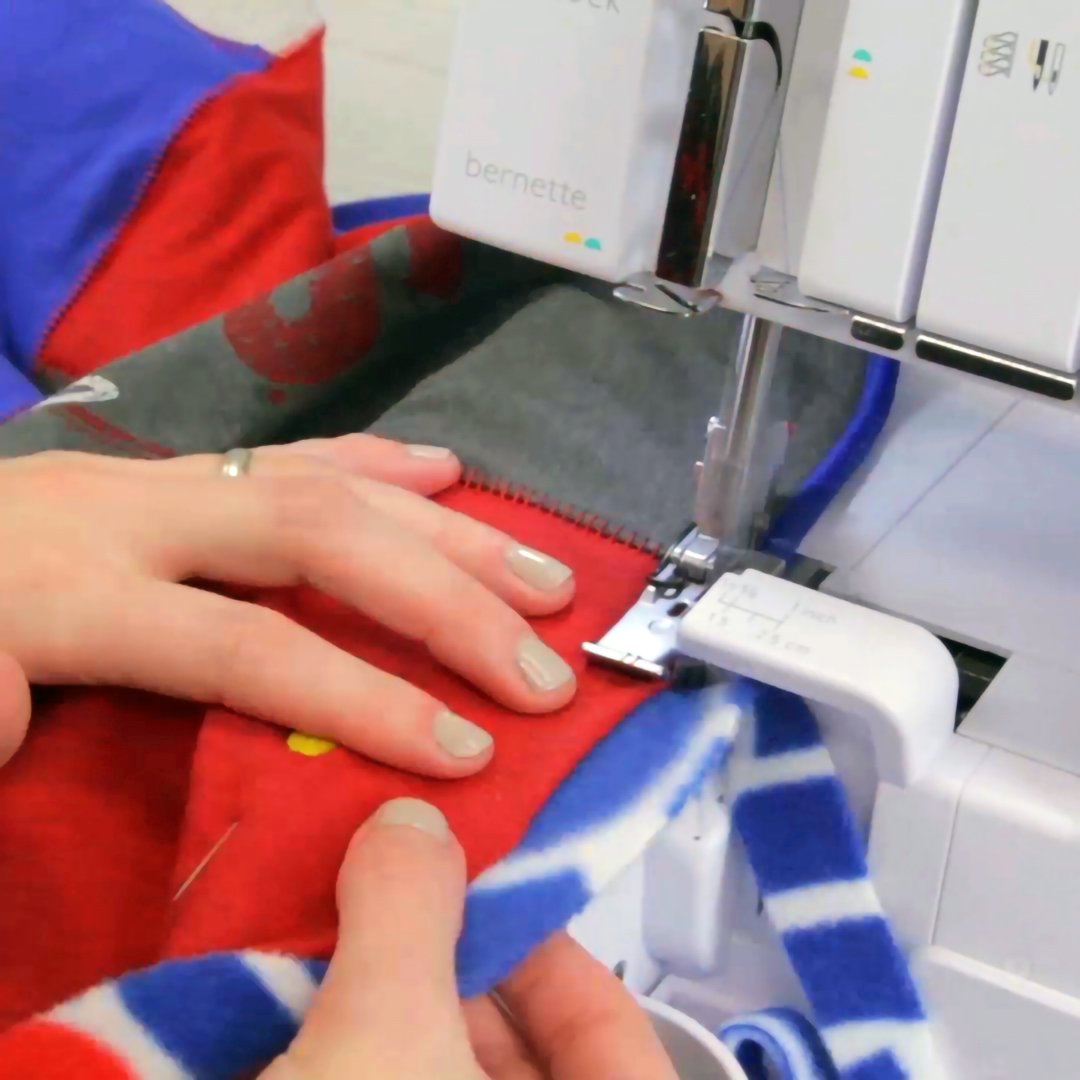
Set up your overlocker for a 3-thread Wide Flatlock.

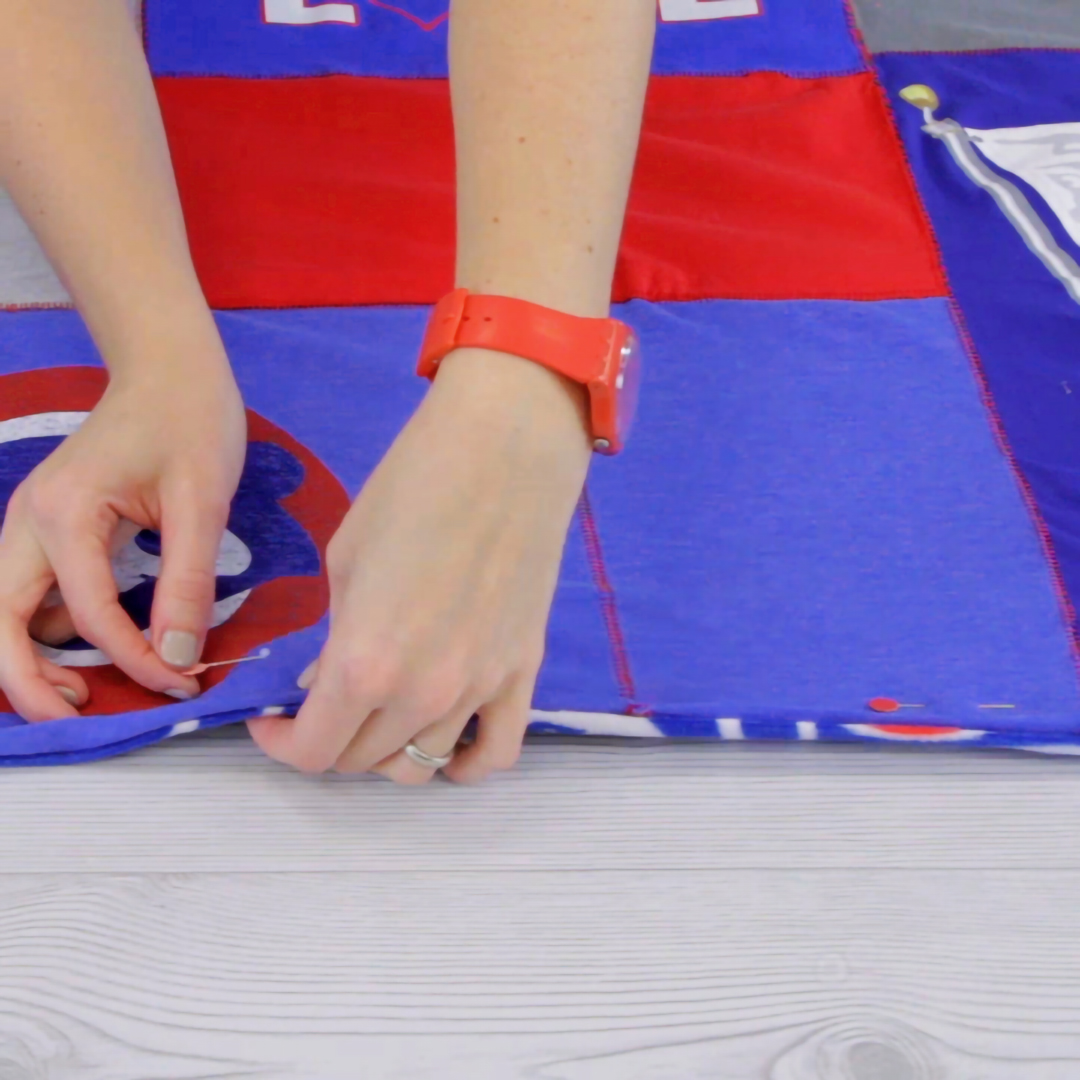
Step 4: Assemble the top
Using the flatlock stitch, assemble the top in sections improvisationally. When piecing the T-shirts, flower head pins are great for working with an overlocker because you can pin parallel to the seam line and the presser foot can move over them easily.
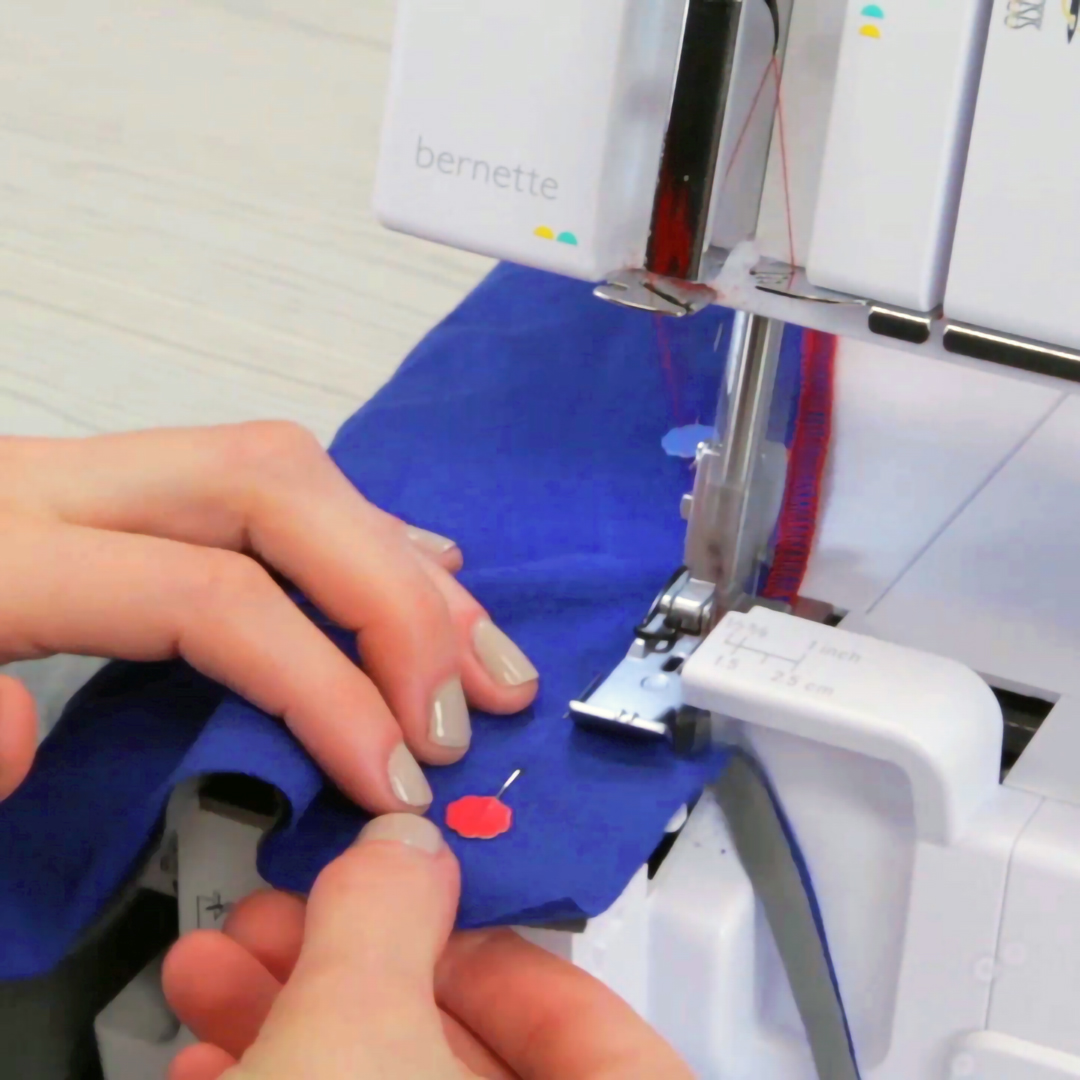
Take time to secure the thread tails of the seams before sewing the next seam. This will make the stitches less likely to separate (as the seam allowance is small). To do this use a tapestry needle and weave the thread tail back and forth into the back side of the stitch. When you make the next seam, watch carefully to not cut the end of the seam with the blade. Not to worry too much if you do, you can always add a little fray check to keep it in place.
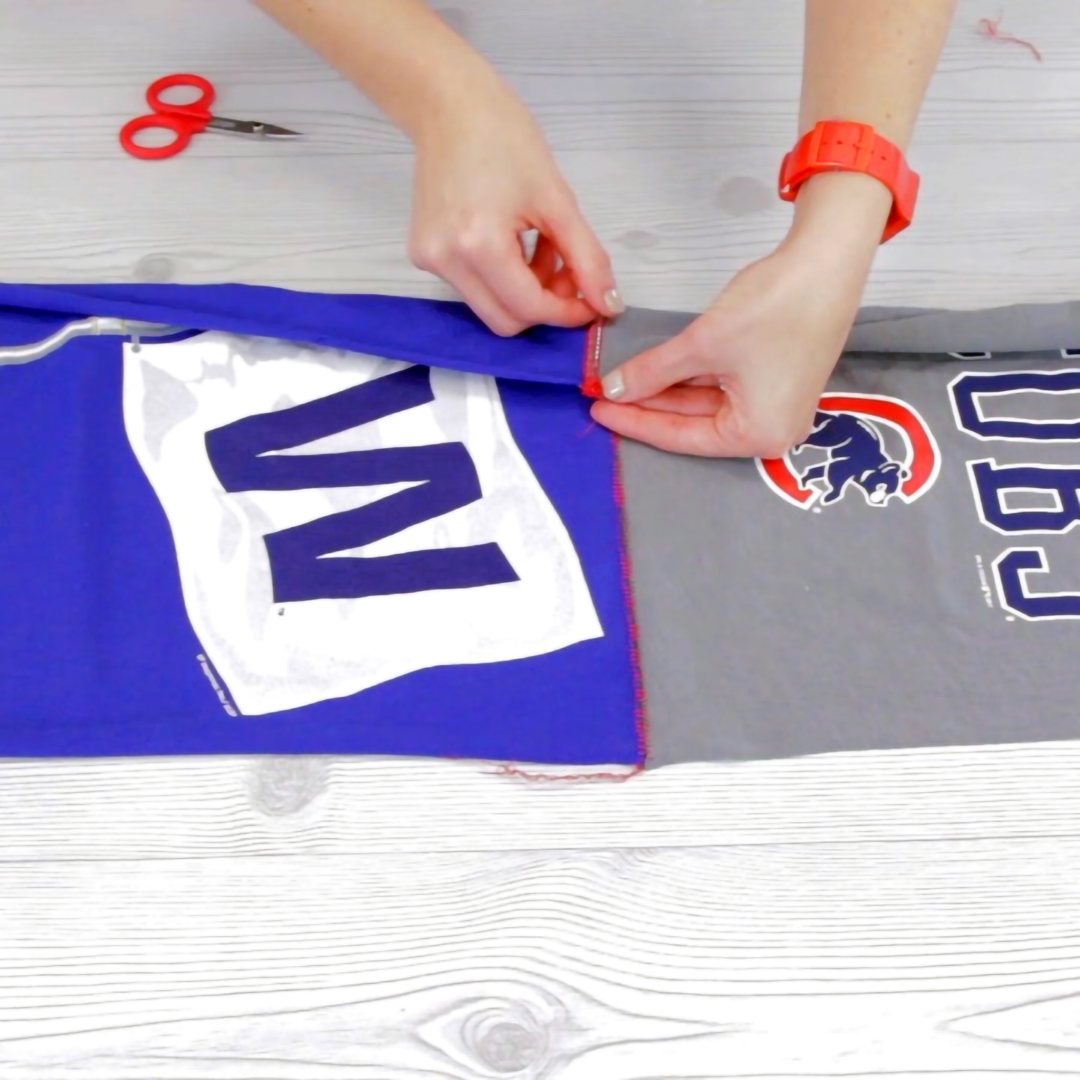
For my blanket I worked in three sections and joined them together with only two long seams to bring everything together.
Step 5: Join top and back
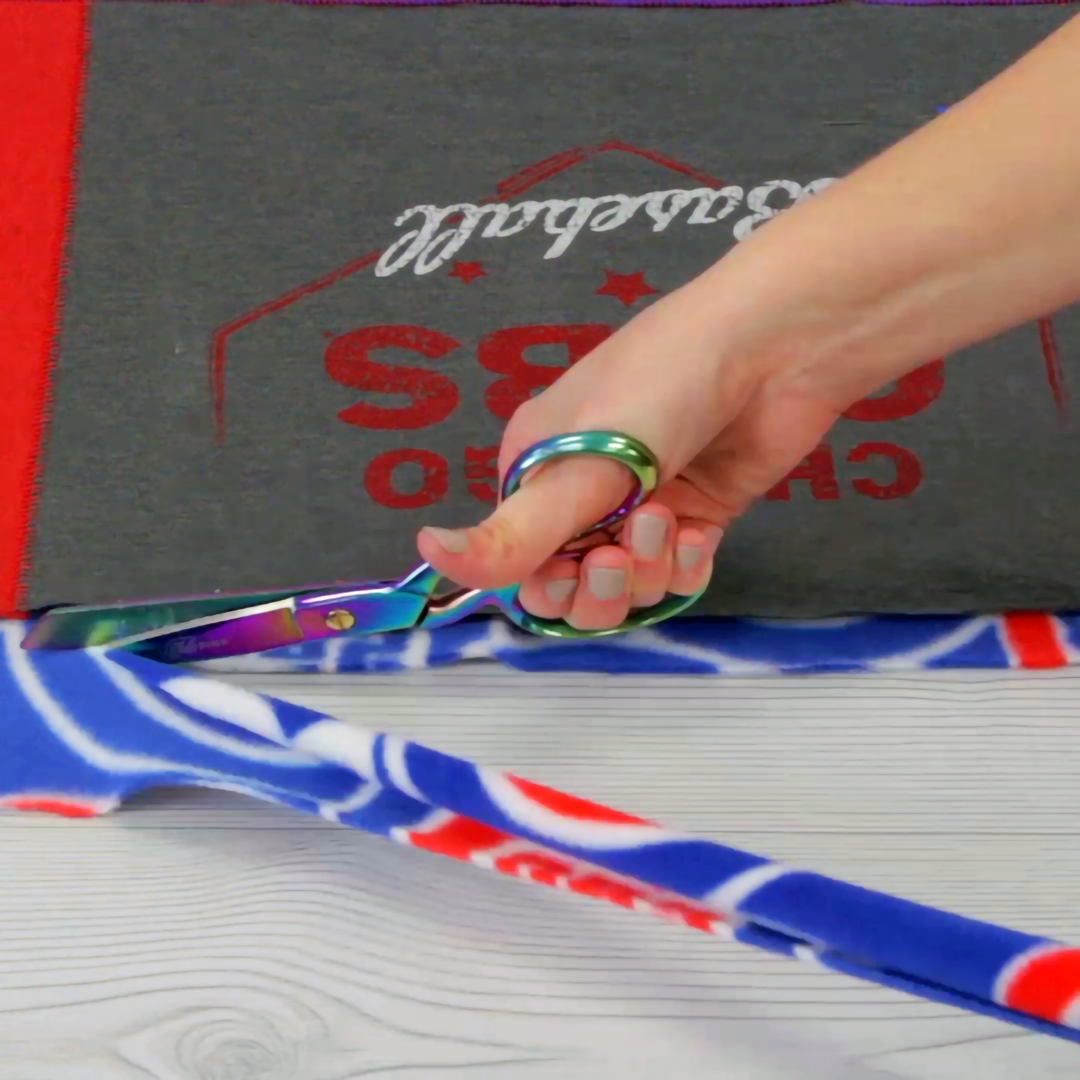
Fleece makes a great blanket backing. Depending on the size of your top, you may need to seam the fleece together. You can do this with a flatlock if you want to see the stitch or an overlock if you don’t.
Lay the top and back together with wrong sides together. Use the flat flower heads or safety pins to baste it together. Trim the fleece about 1” larger than the top.
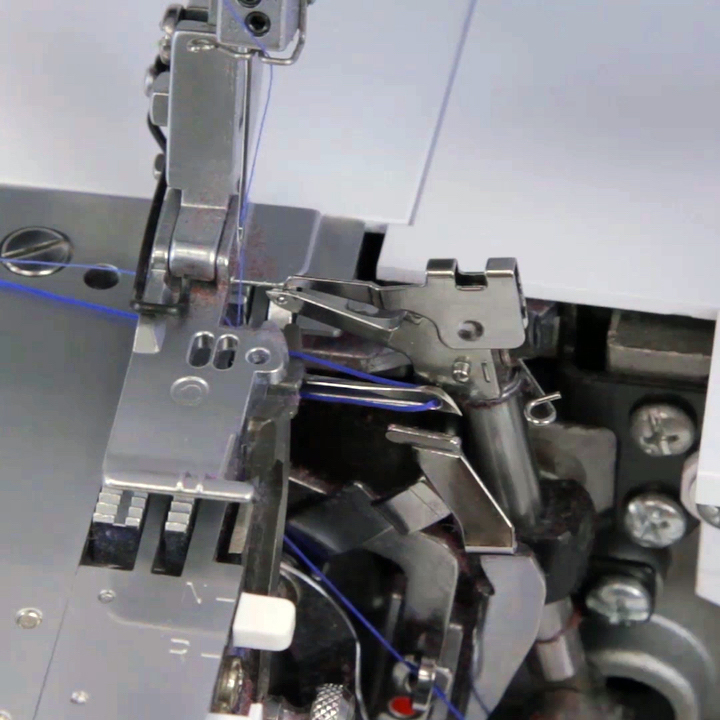
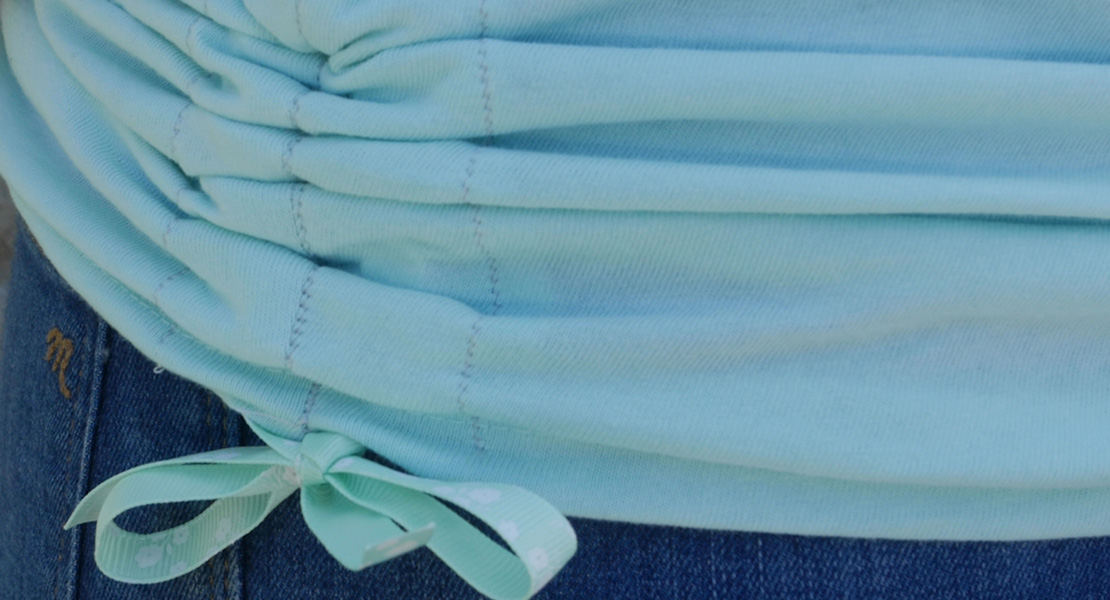
Step 6: Set machine to 2-thread wrapped edge
A wrapped edge looks great and is a fast way to finish the blanket edge.

Install the looper converter on the upper looper and thread the machine with maxi-lock stretch thread in the lower looper. Match the thread color with regular serger thread for the left needle.
Test sew and adjust your stitch length to achieve the desired look for your thread. Sew around the perimeter of the blanket with the T-shirt side up, trimming the fleece as you go.
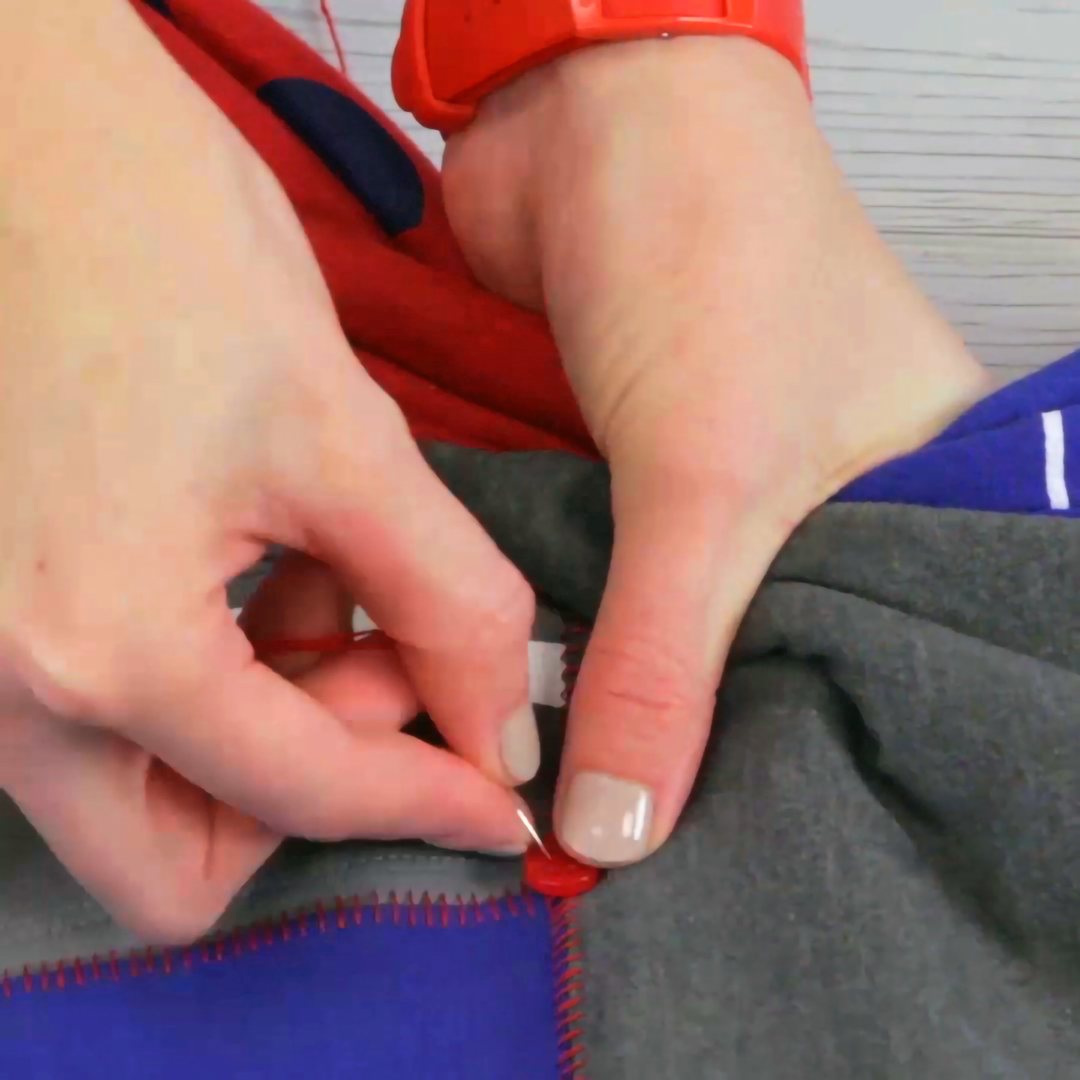
Step 7: Tie the layers together
To keep the blanket together you need to secure the layer to one another. Consider how you want this to look. I recommend sewing a fun decorative button over each corner where seams come together. It is a natural junction and adding the button will protect and secure this join from stress during use.
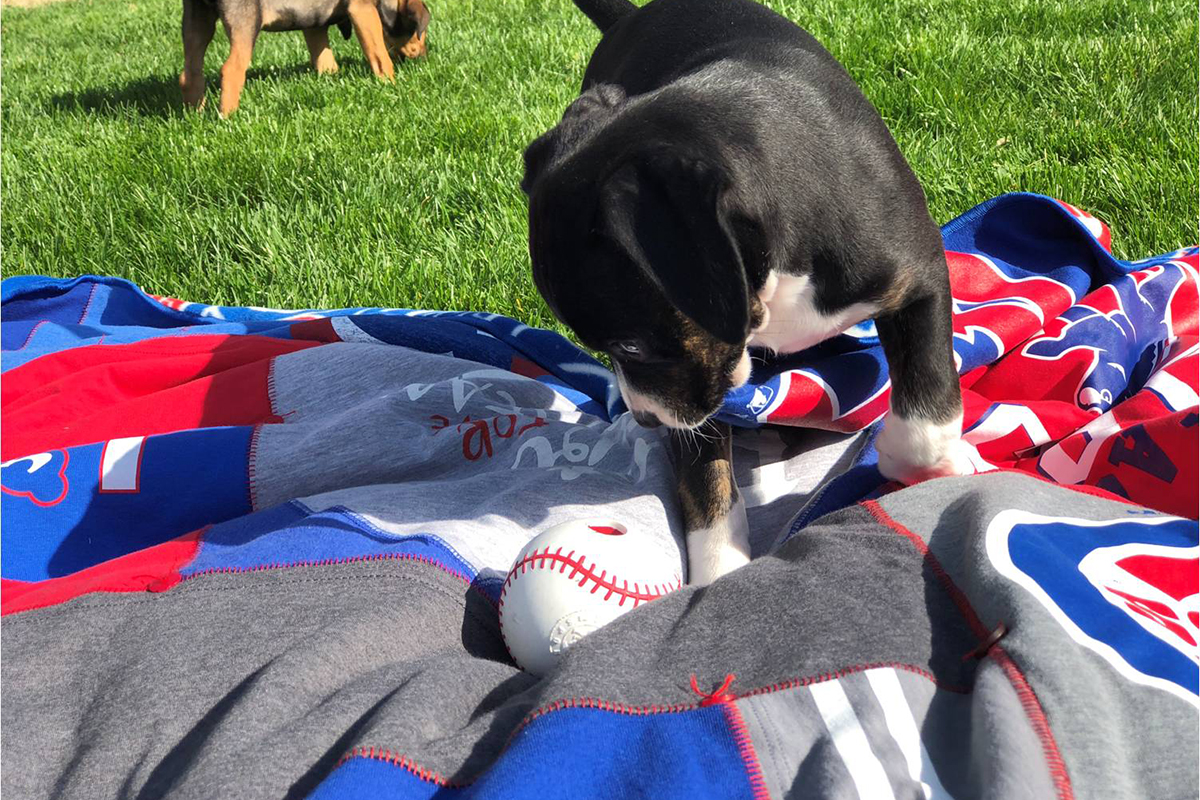
You’re all set to head to the ball game or the park!
Used Products

What you might also like


12 comments on “T-shirt Quilt”
-
-
Thanks Ann!
-
-
If it’ s a quilt, where is the quilting? Why not first quilt the usual 3 layers together, then randomly place the cut-out overlocked T- shirt pieces on? Much more interesting!
-
Thanks for your interest in the post. The intention of this particular project was to create a simplified version of a t-shirt quilt using an Overlocker machine. So the project is “tied” rather than “quilted” in a traditional fashion. There is a fleece back and no batting, to keep the project simple and appropriate for an Overlocker, so these material lend themselves well to a tying method. Quilting knit and fleece with free-motion or long arm would certainly need some stabilization added to the knit t-shirts to be successful. I hope this helps to clarify the creative choices made for this project. Of course, there are many ways to create and we totally endorse creating t-shirt quilts using our wonderful sewing and quilting machine features too!
-
-
I have a Bernina 700D serger. Can I make the T-shirt quilt with it?
What settings would I use?-
Yes! you can create a flatlock stitch on the 700D. Generally, the lower looper is tightened and the needles are loosened to create this stitch. Consult your manual for more specific information and of course, test sew until you get the stitch looking the way you like. The 2-thread wrapped stitch requires the use of looper converter, which is not standard for the 700D machine, however, you can purchase one through your local dealership. Of course there are many ways to finish the edge. I typically do a standard binding out of the knit scraps using my sewing machine, but my goal with this project was to show it all on the serger. Best wishes on your project!!
-
-
I have made 3 “traditional” t-shirt memory quilts–with batting, sashing, borders, and a little quilting–and they came out great. Even backed one with pieced recycled denim.
But I’m excited to try this one! It’ll be lighter and more “casual”! Thanks for the good idea!
-
Thanks for this Shirley! I hope you like the method and the casualness of it (that is a great way to describe it- btw). I often throw it over my lap when I am lounging about and I don’t feel bad taking it outside on the grass either. Best wishes- Jaime
-
Just finished this for my grandson, Zev (9). Used his old t-shirts!
Having trouble posting a photo, though 🙁
-
Thanks for following up about it! I don’t think there is a way to share on the blog- sorry. I am sure that Zev will love having his t-shirts around a little longer.
-
-
-
I have a Babylock Protege. Can this be done on this serger? Thank you.
-
This is constructed with basic stitches that most overlockers will do….just consult your manual for stitch setup directions. Also- if your machine does not do 2-thread stitches for the wrapped edge, you can select any number of other stitches to finish the edge–a basic 3-thread overlock would look great too! Have fun!
-
Leave a Reply
You must be logged in to post a comment.

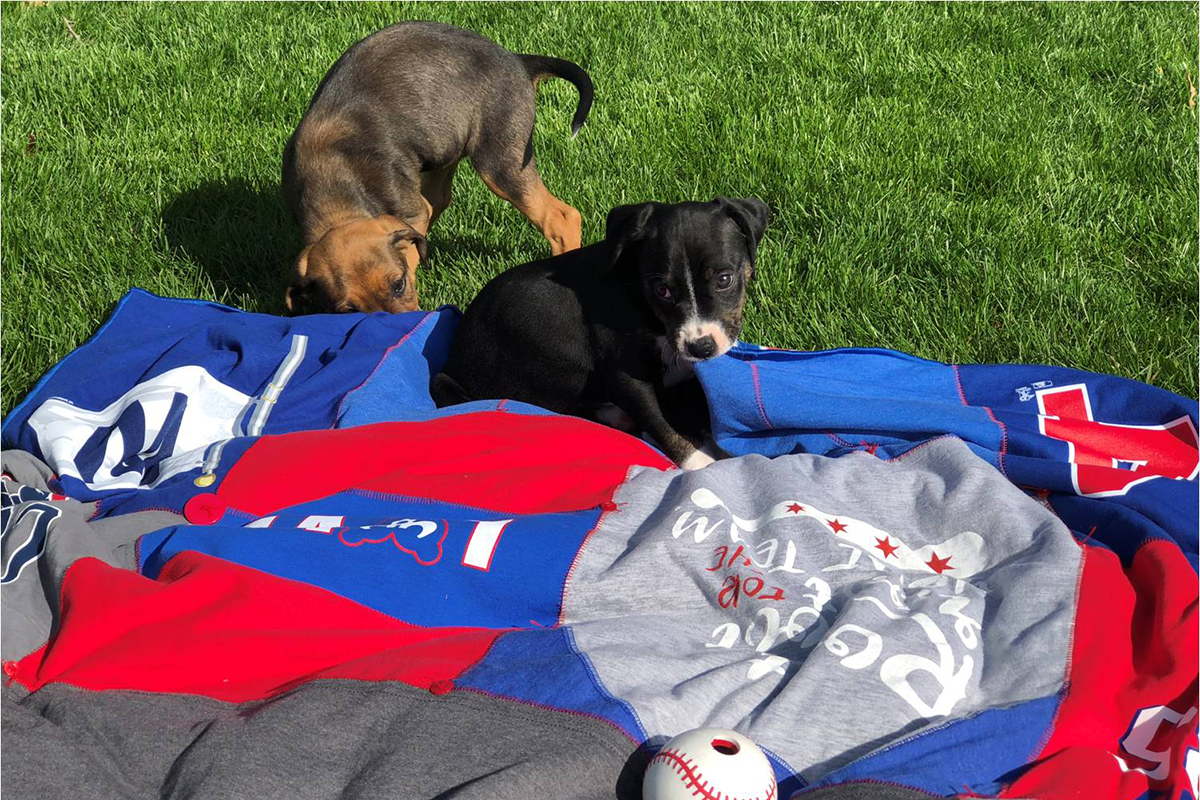
So Cute!!! Love this and the puppies too!