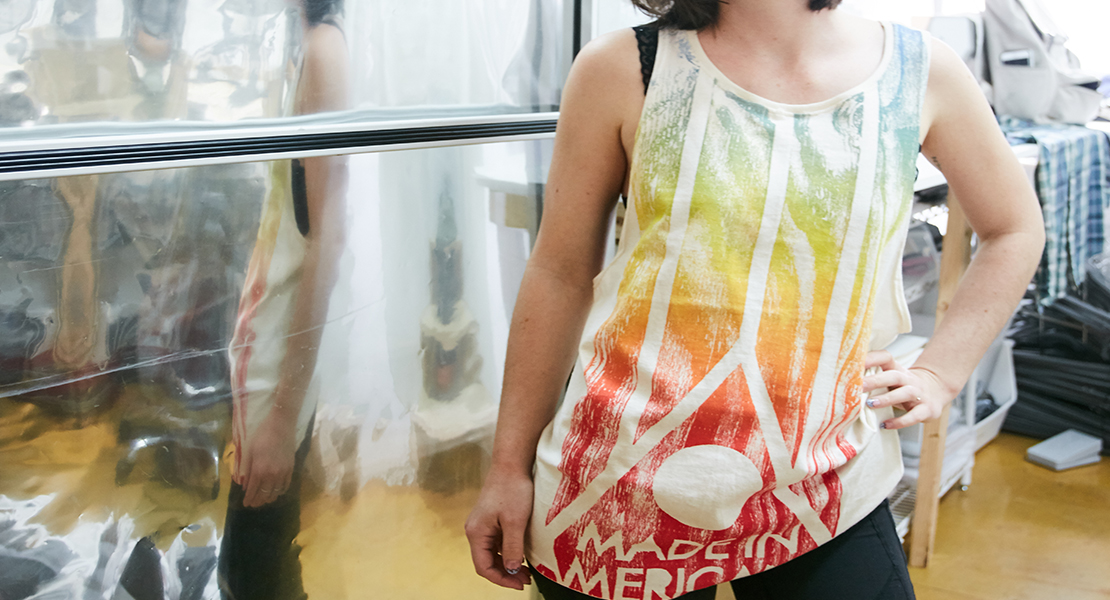
T-Shirt Refashion: from Large to Mini
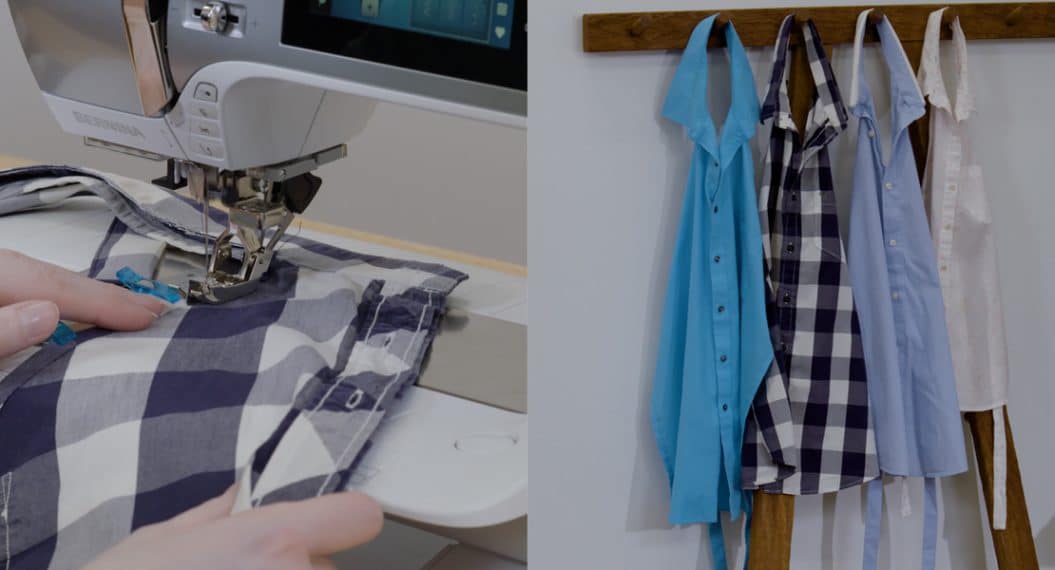
It’s a fact—anything “mini” is just cuter. That’s why my favorite refashion is to turn giant t-shirts into cute baby or doggy clothes. Plus, using the shirt’s hem and neckbands saves you time, and re-using an old shirt saves the environment! Not to mention, there are plenty of shirts with cool designs that are hard to get in the fabric store.
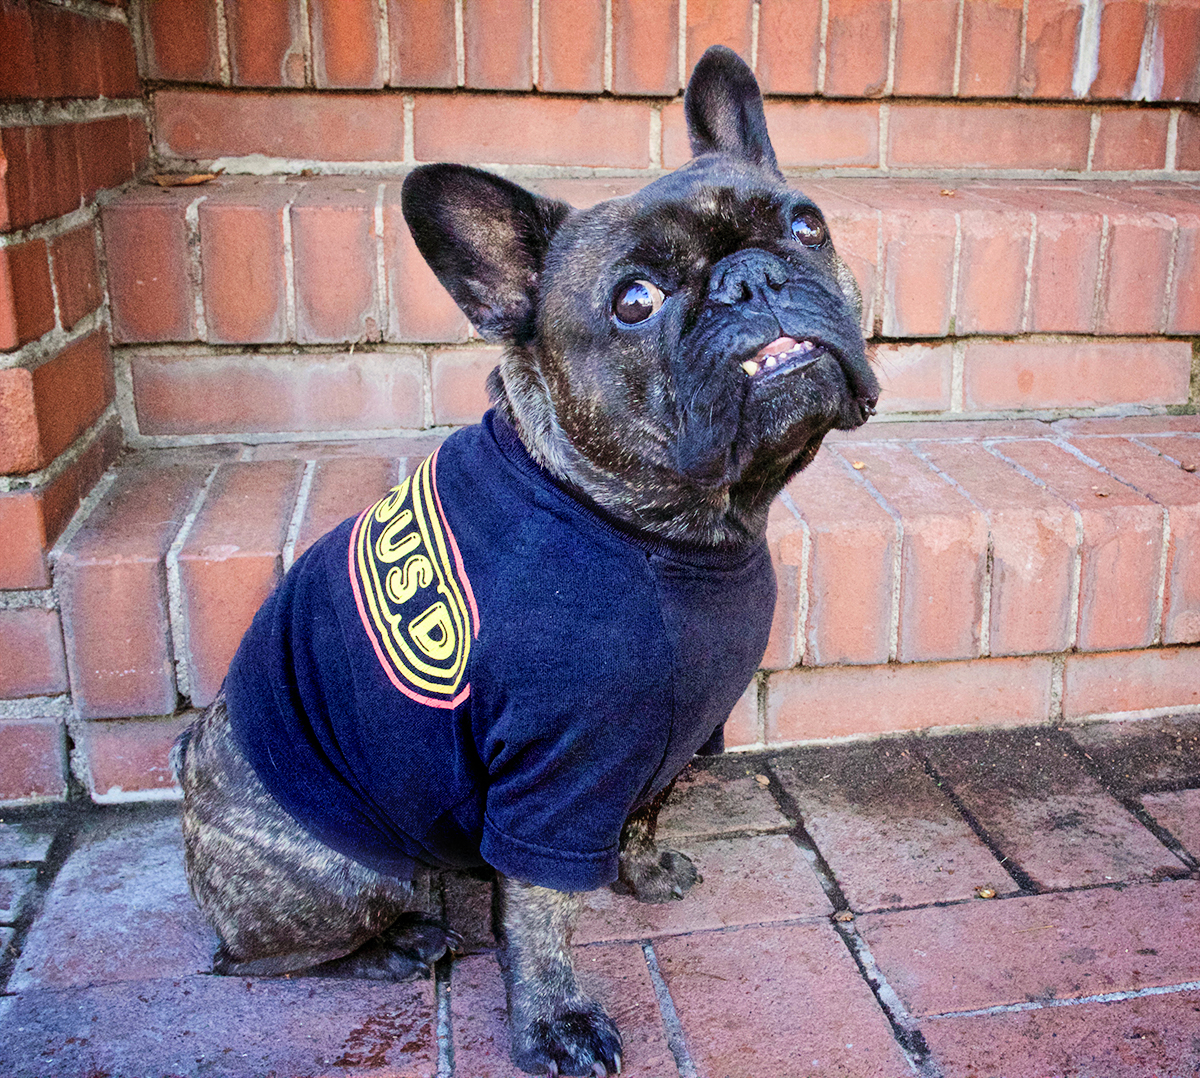
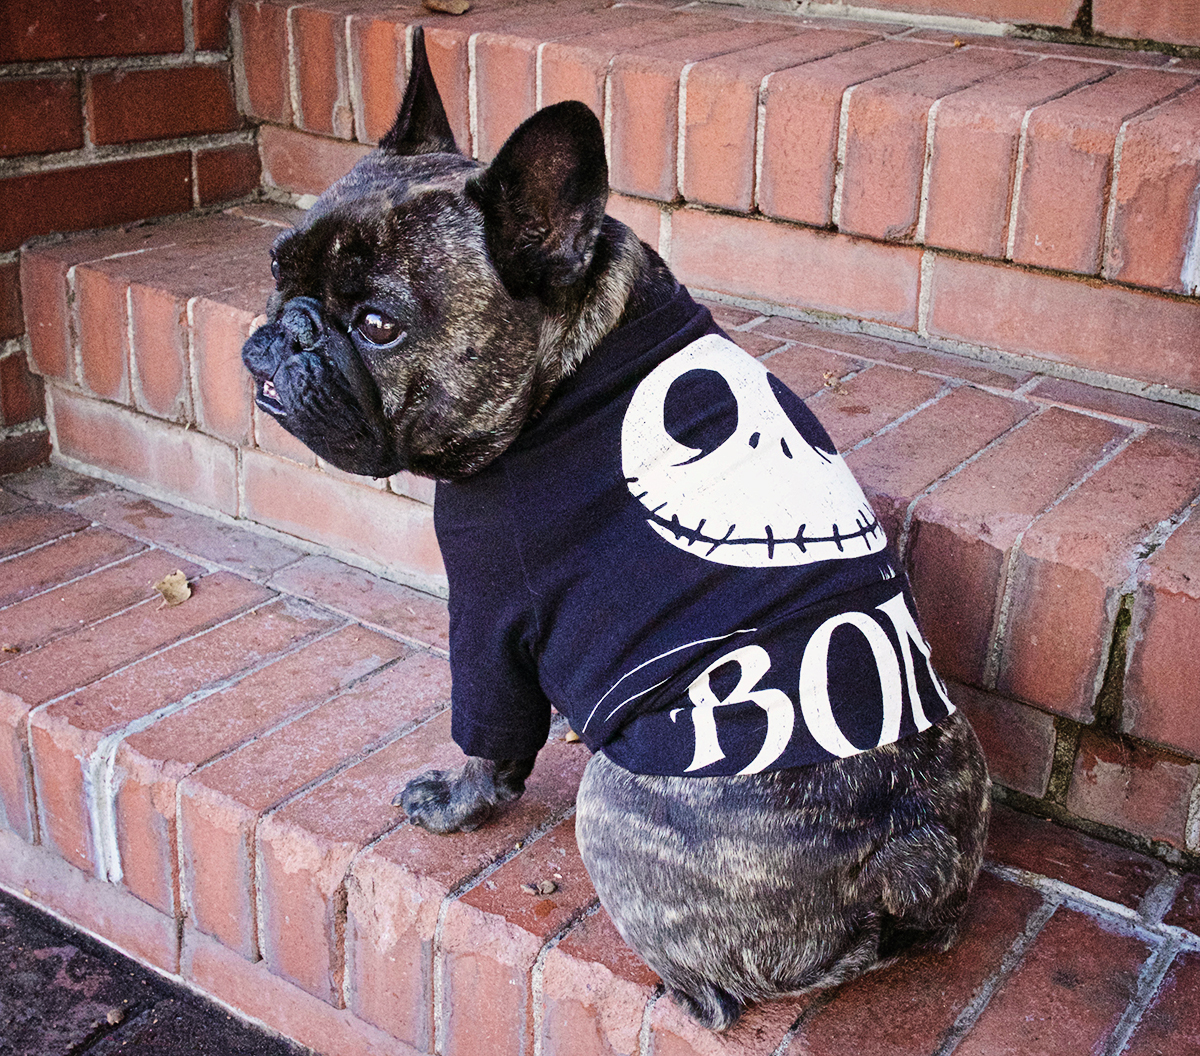
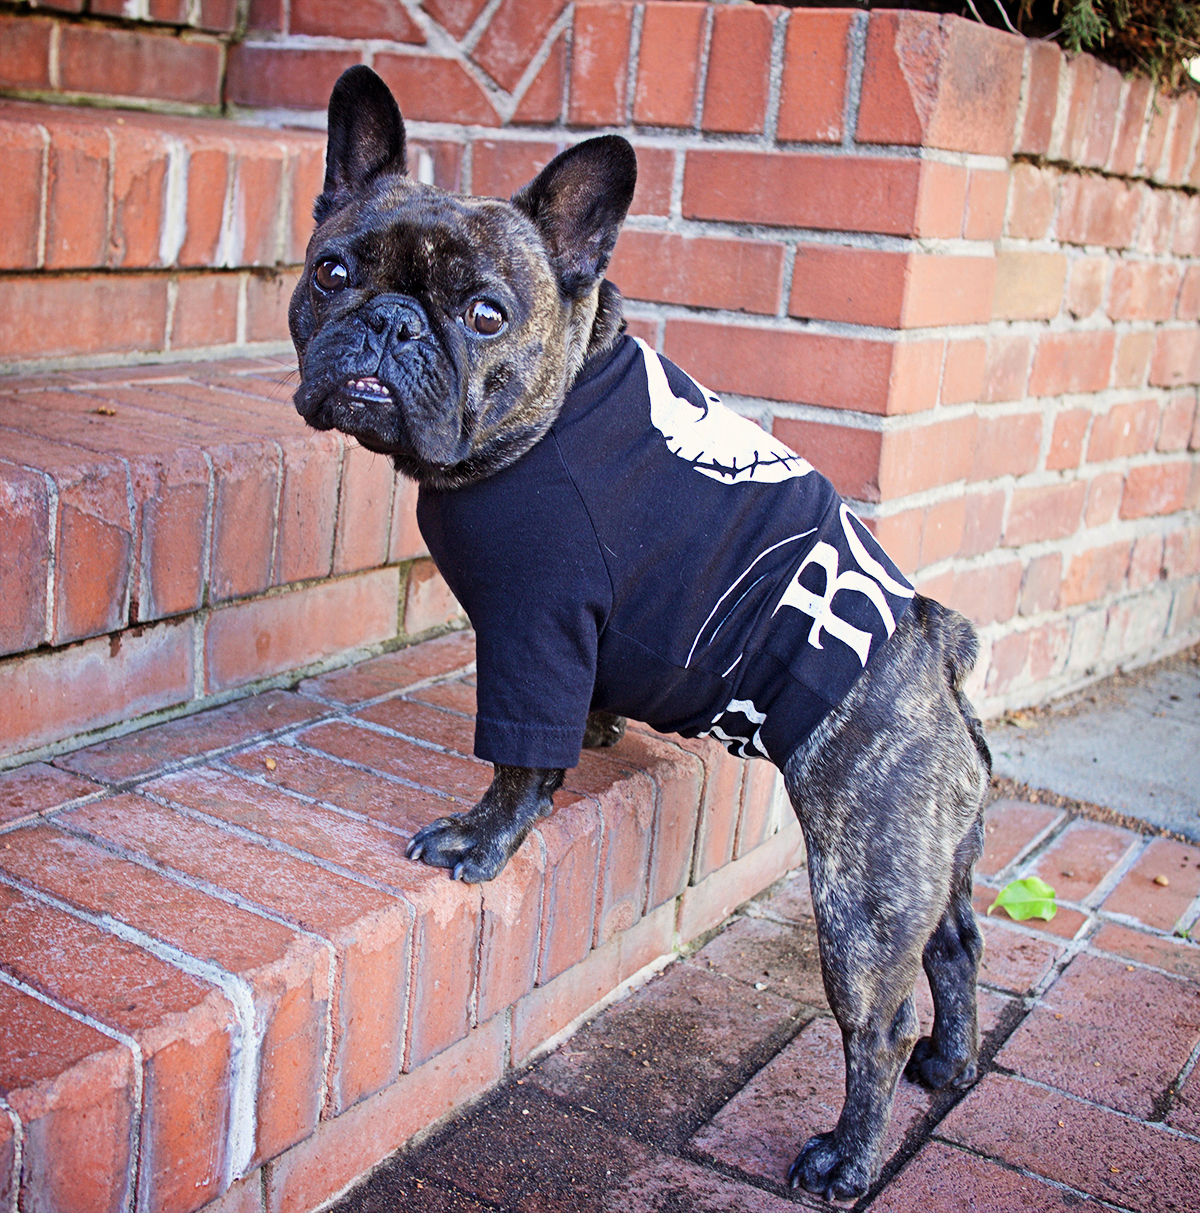
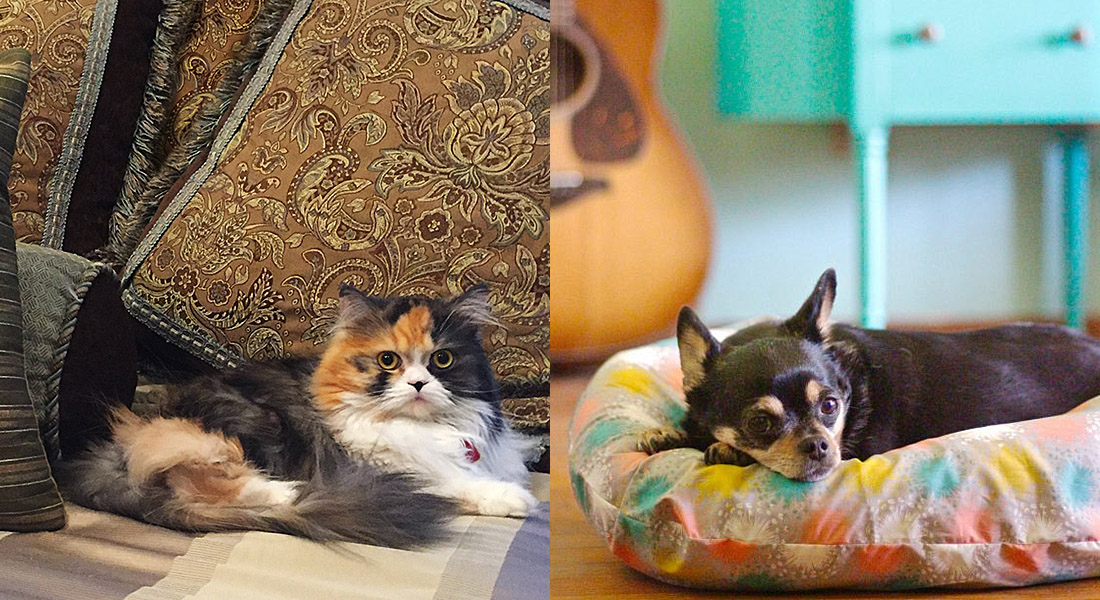
In honor of Halloween, I’m refashioning a spooky old skeleton tee into a new shirt for my dog, Beatrix! Follow along below to make your own for a little one in your life, or even cut down a larger shirt for yourself.
Supplies:
- Large, clean T-shirt
- Matching thread
- Pattern for a baby or dog shirt (or even for a smaller shirt for yourself)
- Scissors
- Seam ripper
- Pins
- Tape measure
- Sewing machine – you can use either a regular sewing machine or overlocker for this project
- Ball point needles for your chosen sewing machine
Steps on how to re-size a T-shirt:

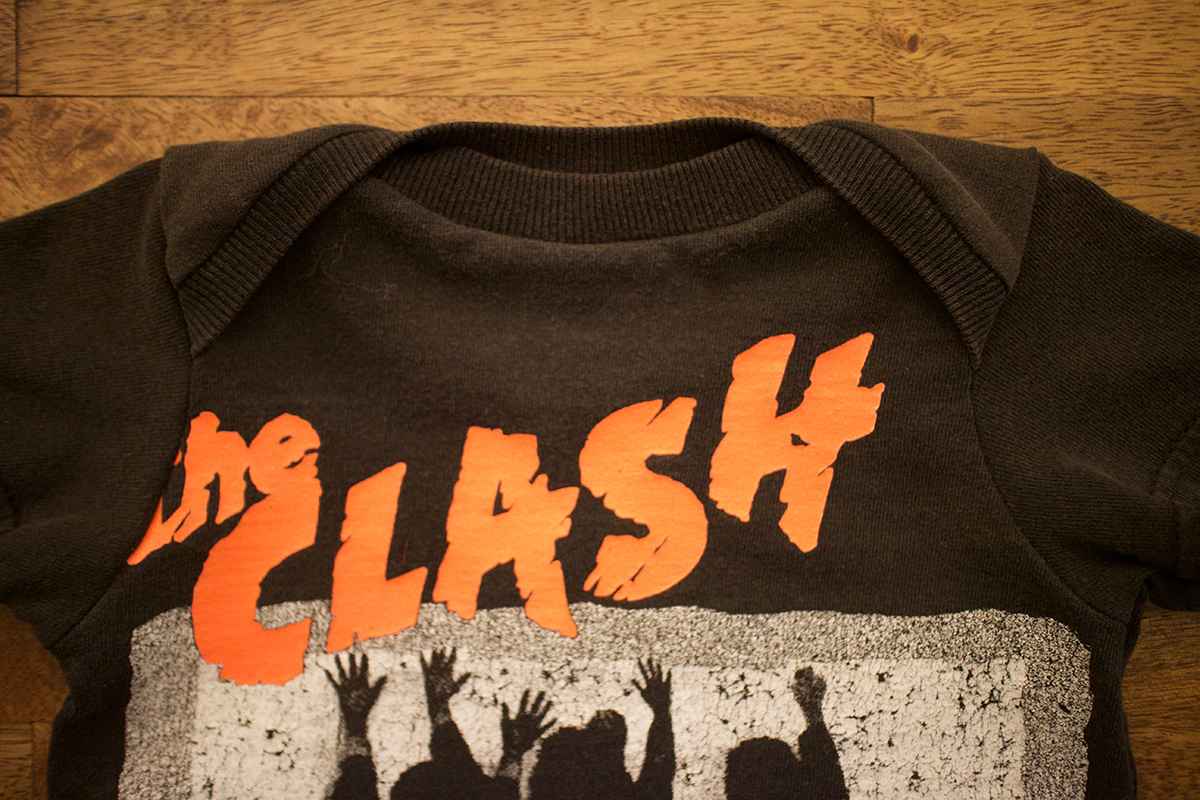
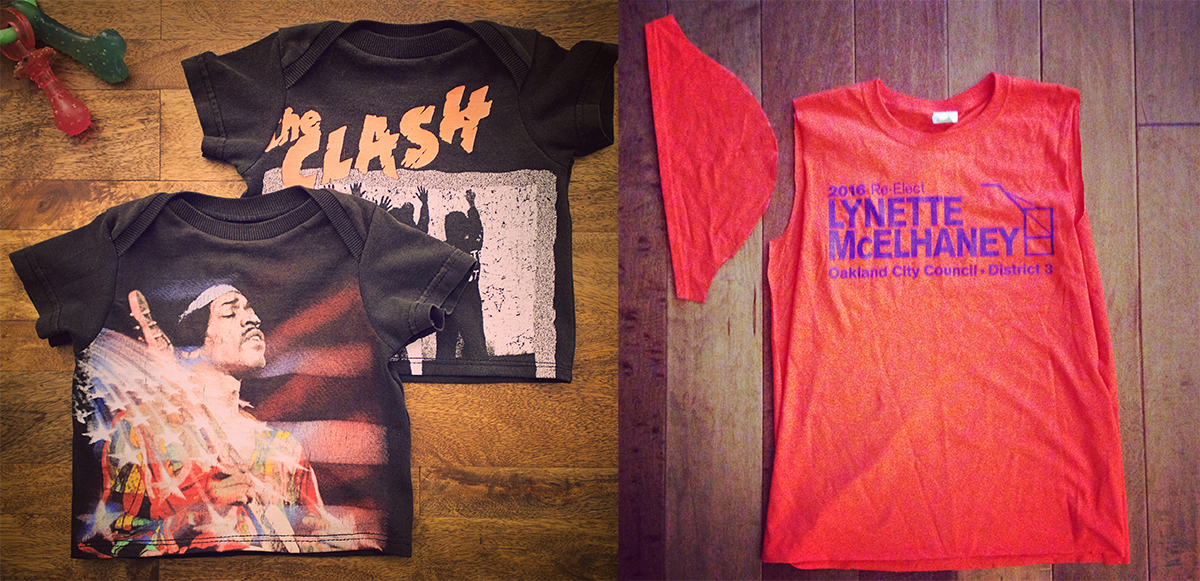
Step 1: Start with a large, clean T-shirt. Smaller prints work best (e.g., just the size of the skeleton head above), as we will be cutting down the shirt to a much smaller size.
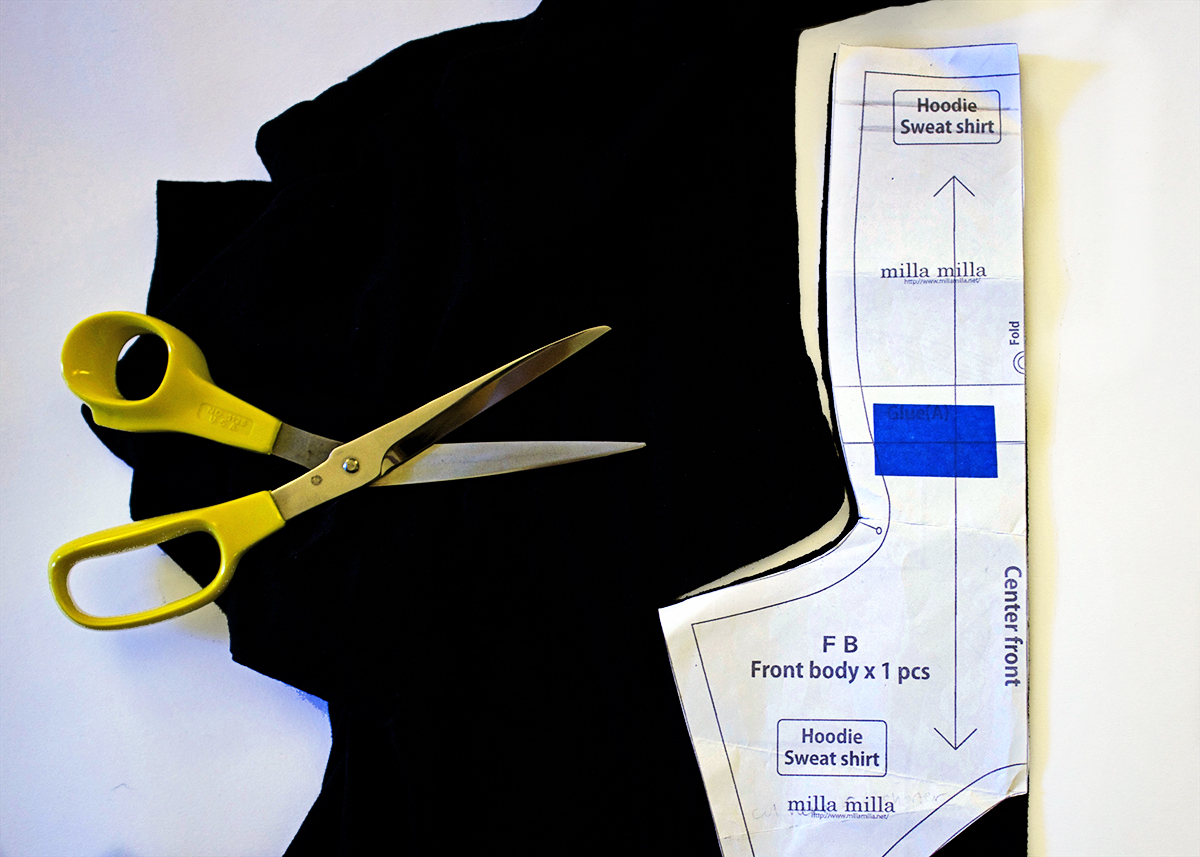
Step 2: Fold the front of the T-shirt in half and pin your pattern piece on top, matching the fold line of your pattern to the fold line of the shirt. Make sure there are no wrinkles or other wonky bits, and that your pattern is centered over the T-shirt design.
Tip: For a baby shirt, I like to have the main design on the front, but for a dog shirt I often put the design on the back so it is easier to see when the dog is wearing it.
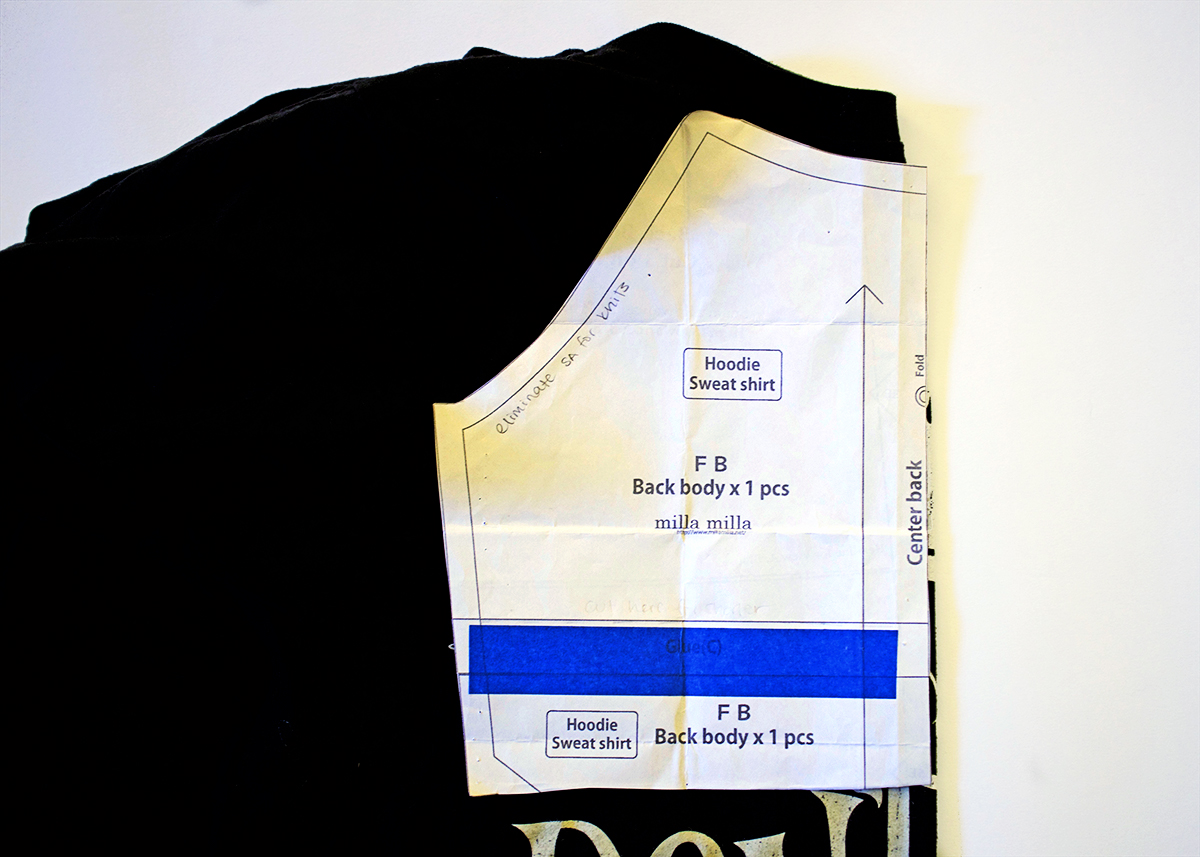
Step 3: Turn the T-shirt to the back, and use the fabric there to cut your other main pattern piece (the back of the shirt for a baby or the front of the shirt for a dog).

Step 4: Use your remaining T-shirt fabric to cut out the sleeves.
Tip: For the sleeves, I like to take advantage of the already hemmed edge of the shirt, be it along the bottom of the shirt or the hemmed sleeves. To do this, align the bottom of the sleeve pattern with the hem of the shirt to cut out your pre-hemmed sleeves. Remember to not include a hem allowance when cutting this way so that the sleeves don’t turn out too long.
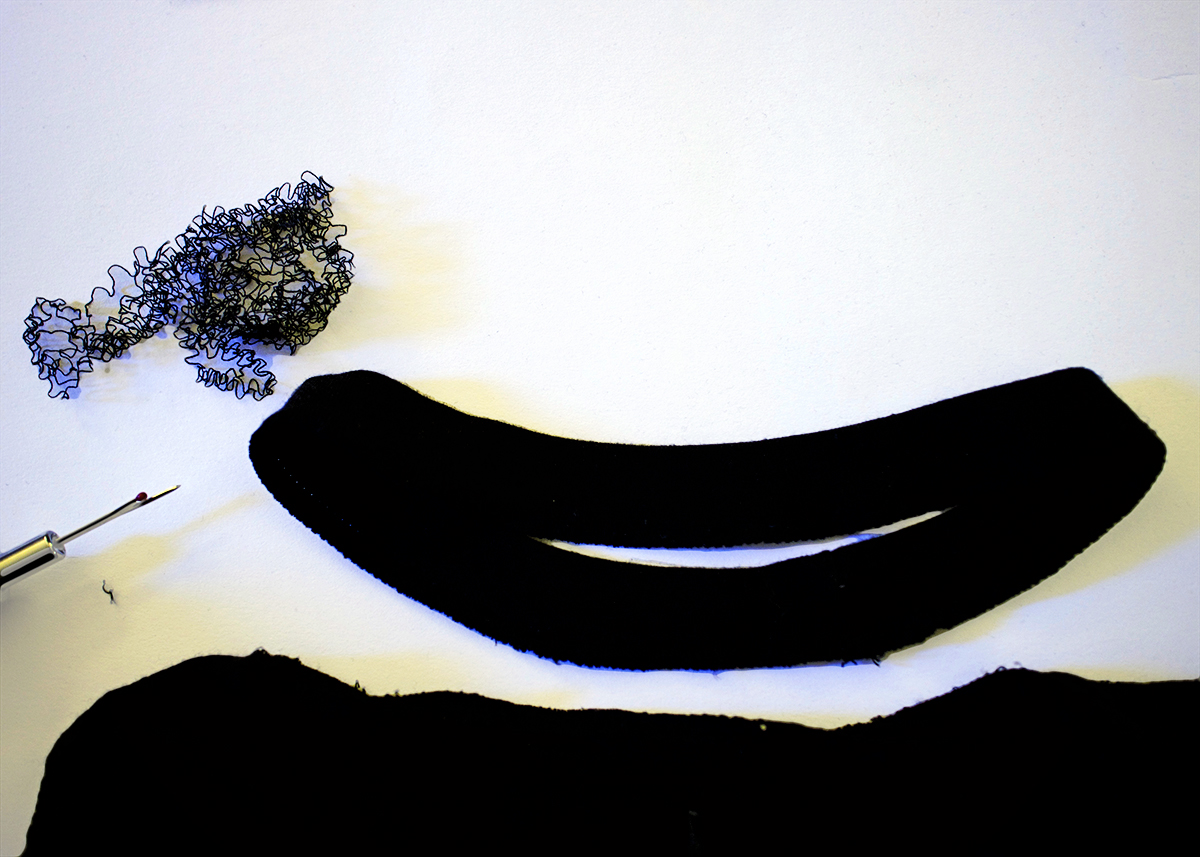
Step 5: Using your seam ripper, carefully unpick the ribbed neckband from the shirt. We will reattach this later so that your new shirt will have a ribbed neckband, too!

Step 6: Cut out any remaining pattern pieces according to your pattern’s instructions. In addition to a shirt front, back, raglan sleeves, and collar band, I also cut out a hem band.
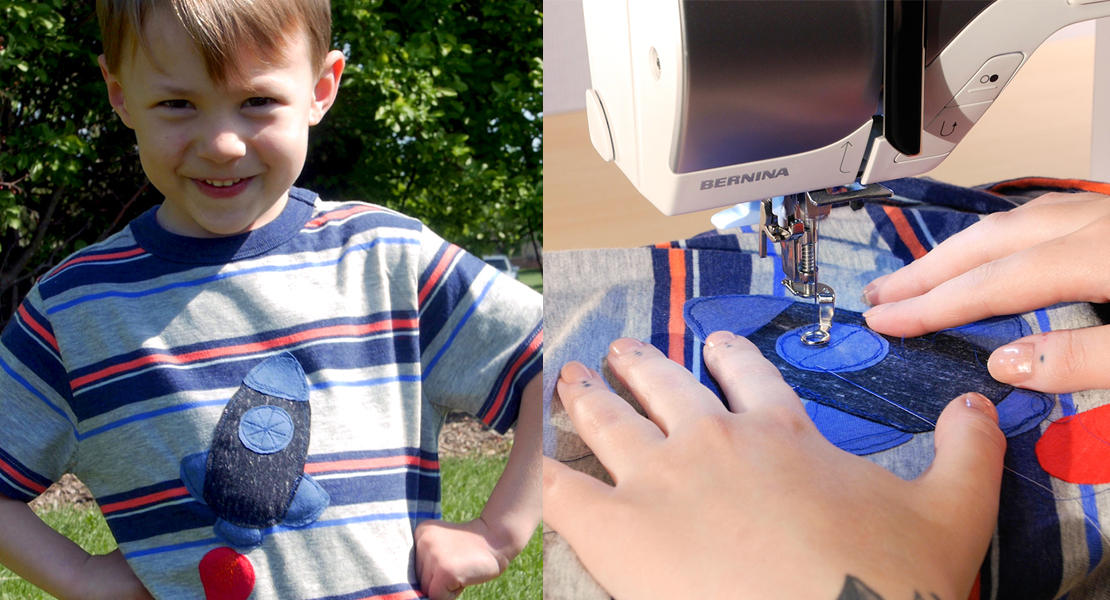
Tip: Get creative with your pattern placement! I used the skeleton head for the main body of my shirt, and cut out the words “Bonehead” to use as the band.

Step 7: Sew your pattern together as normal following the pattern instructions. However, do not finish the neckband.
Tip: When sewing together knit fabric that has a bit of stretch, use your overlock or a zig-zag stretch stitch on your sewing machine. Here, I am using BERNINA 1300MDC, a combination overlock coverstitch machine that handles knits beautifully. It also does a great coverstitch hem, which gives your t-shirts a professional finish if you aren’t already use the T-shirt’s pre-made hems.
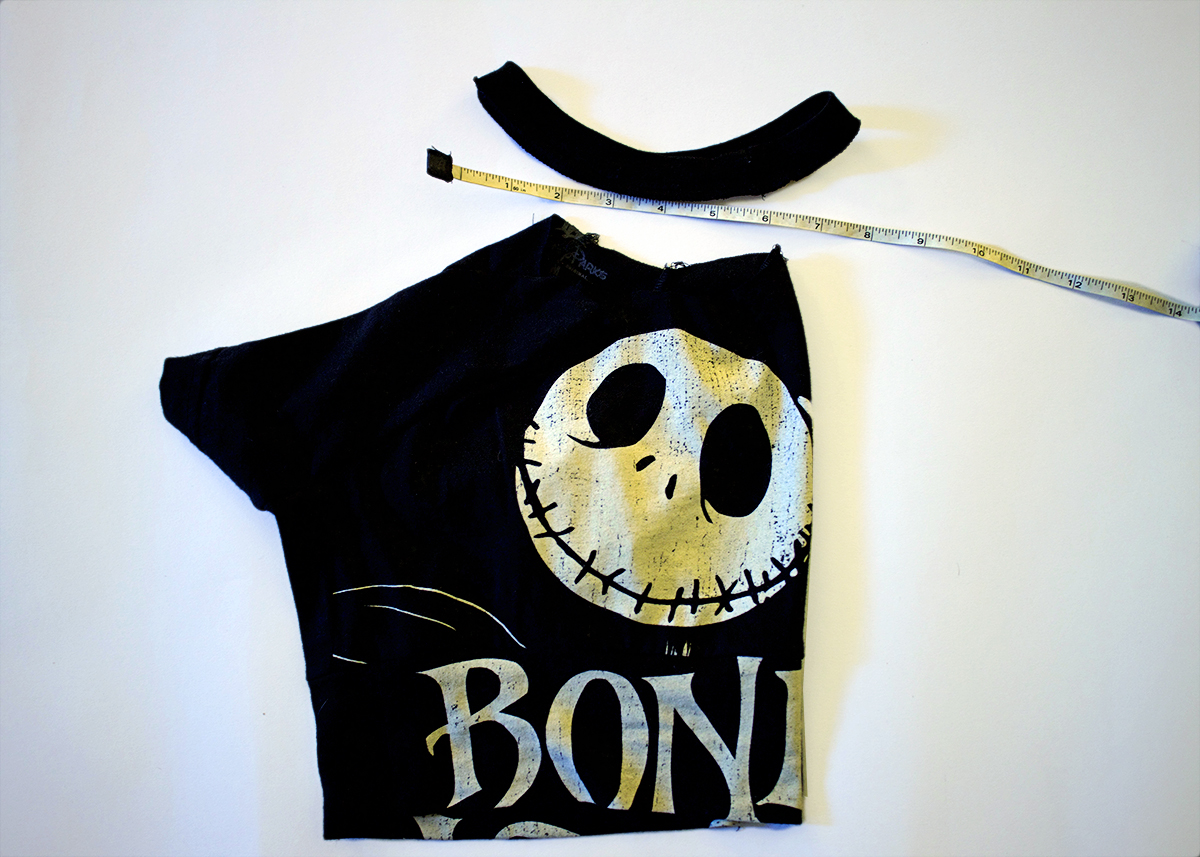
Step 8: Use the ribbed neckband you unpicked in step 5 to create a new neckband for your smaller shirt. To do this, first measure the neck opening of your shirt. Cut your neckband from the ribbing slightly smaller than your measurements, up to 1 inch for a neckband measuring 20 inches. Make sure that the ribbing will stretch to fit your shirt’s neck opening without straining too much, and be sure to take into account seam allowances.
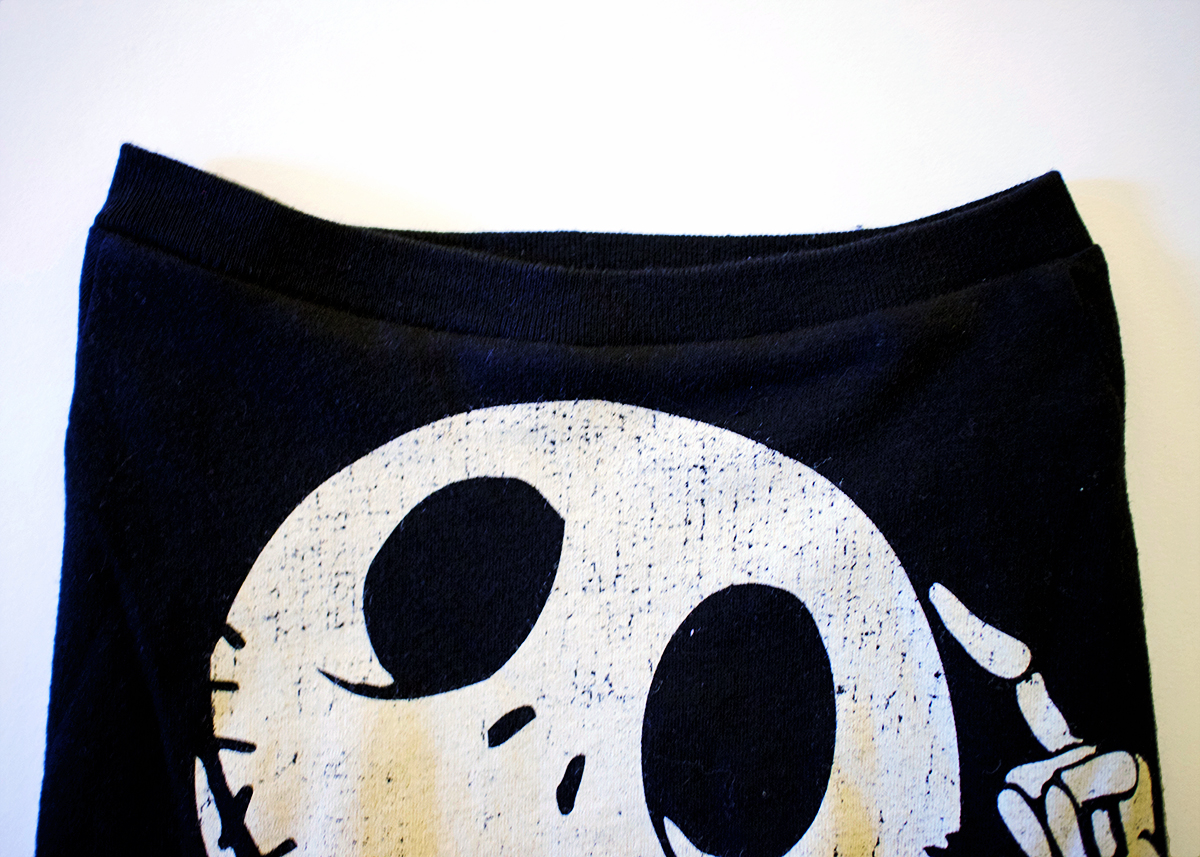
Step 9: Resew the neckband ribbing into a loop and attach it in the round to your shirt opening. The easiest way to do this is to find the mid-points of both the shirt opening and neckband, pin them together, and stretch out the extra, stretching and pinning in place between the midpoints.
Tip: For a clean finish, unfold the neckband, stitch in a loop, and refold to hide your seam allowance.
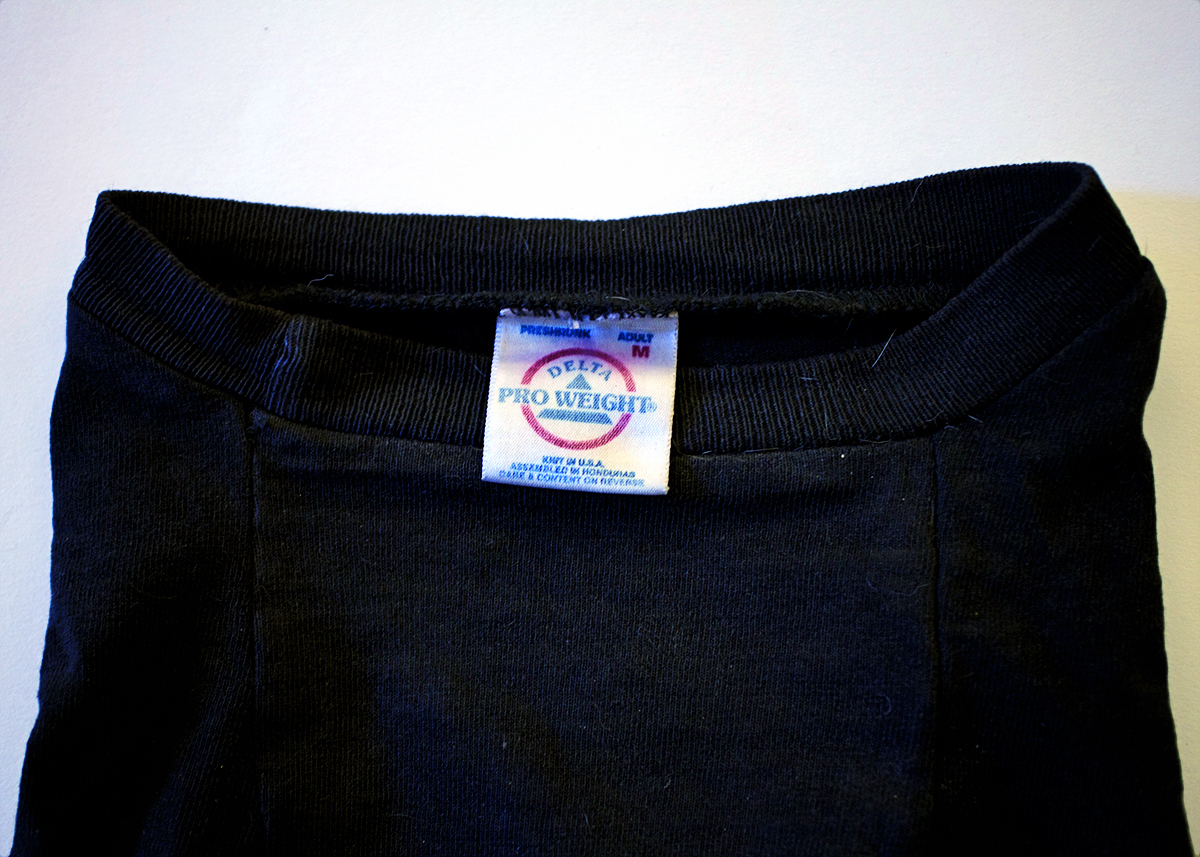
Step 10 – Optional: Sometimes as I attach my neckband I also like to reattach the original shirt tag. This preserves the care information and is a realistic-looking detail for your mini shirt.
Tip: The neckband can also be used to make lapped shoulders for an easy-to-wear baby shirt. To do this, use a baby pattern with this detail and attach the neckband before sewing on the sleeves.
And here she is in the finished product:
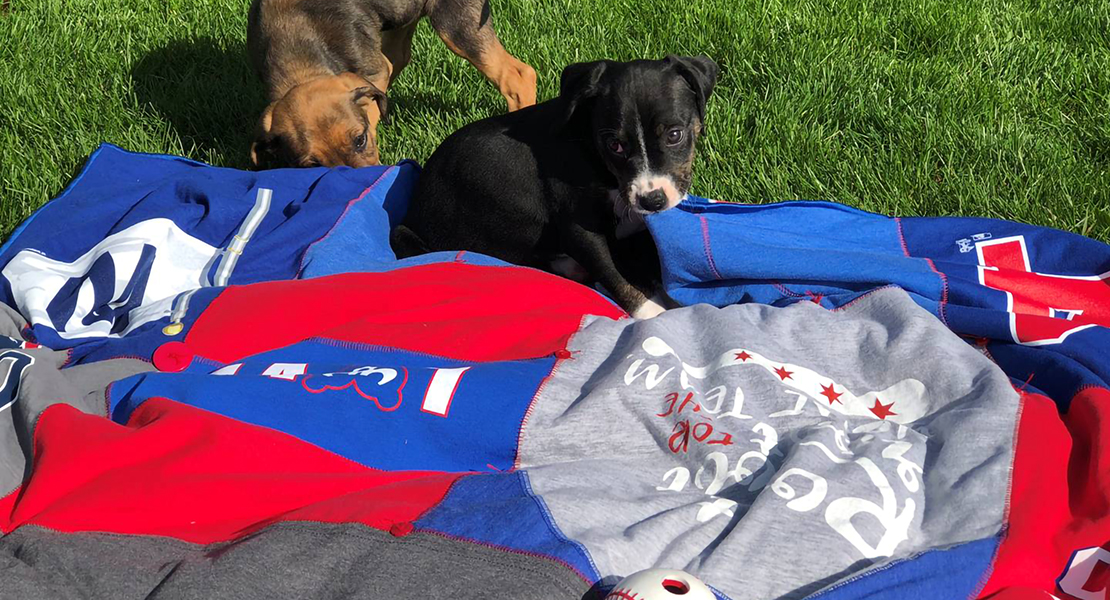
This is my go-to project for my pup, baby showers, and even myself when a volunteer or team shirt is too big. It is a great way to refashion old clothes, and I just love the adorable “mini” version of adult t-shirts. I even used this technique to create mini band-shirts for my friend’s baby, which is hard to find in child sizes!
What’s your favorite refashion? Share in the comments!


What you might also like


3 comments on “T-Shirt Refashion: from Large to Mini”
-
-
Where can I get a pattern?
-
For my French bulldog I like to use Mills Milla patterns in size FB because they fit her well, but there are several other patterns out there for dogs, including from Simplicity and McCalls. For babies and children any t-shirt or onesie pattern will work. Experiment and have fun!
-
Leave a Reply
You must be logged in to post a comment.

When my Bichon came home from surgery we needed to cover up his wound, so I found that 18 month children’s t-shirts fit fine. I will use this size to act as a base and add embellishments to make dresses for my girl Bichon too.