How to Make a School Bus Appliqué Tee or Dress
If you have young ones returning to school this fall I’m guessing they love spotting a bright yellow school bus. I know mine do! So as I was thinking about a way to make back-to-school clothes fun for my girls I came up with a school bus appliqué for embellishing a basic t-shirt or dress.

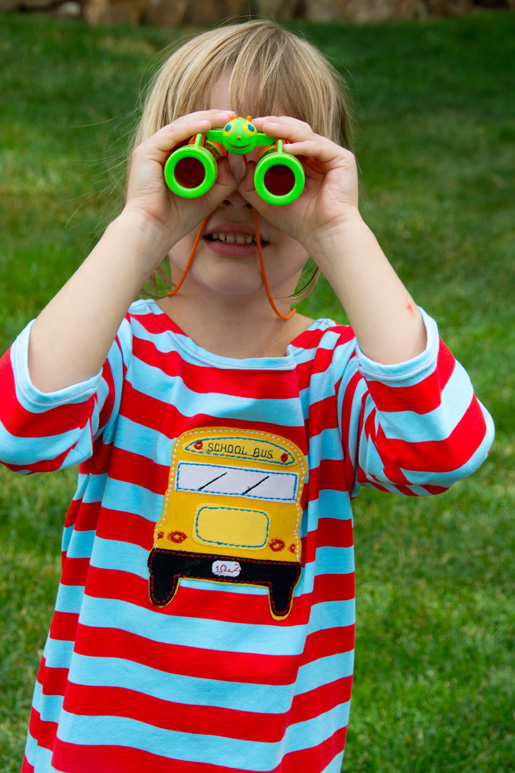
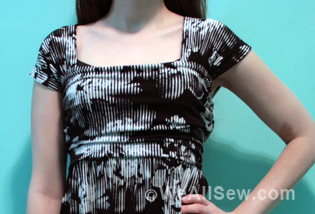
This fun design would work for boys or girls equally well. The boys might like the extra “gear” of the optional side mirrors included in the template. Sew it onto a simple shirt you’ve sewn or even a purchased cotton shirt. I sewed my own Bateau Neck Dress pattern in a bold stripe and appliqued the school bus on it. This applique is a great way to create something unique and fun to get your child excited about returning to school. And it’s not too difficult—it just requires a bit of patience.
Tip: I like to use fusible webbing to keep everything in place as I stitch, which eliminates all of the stress!
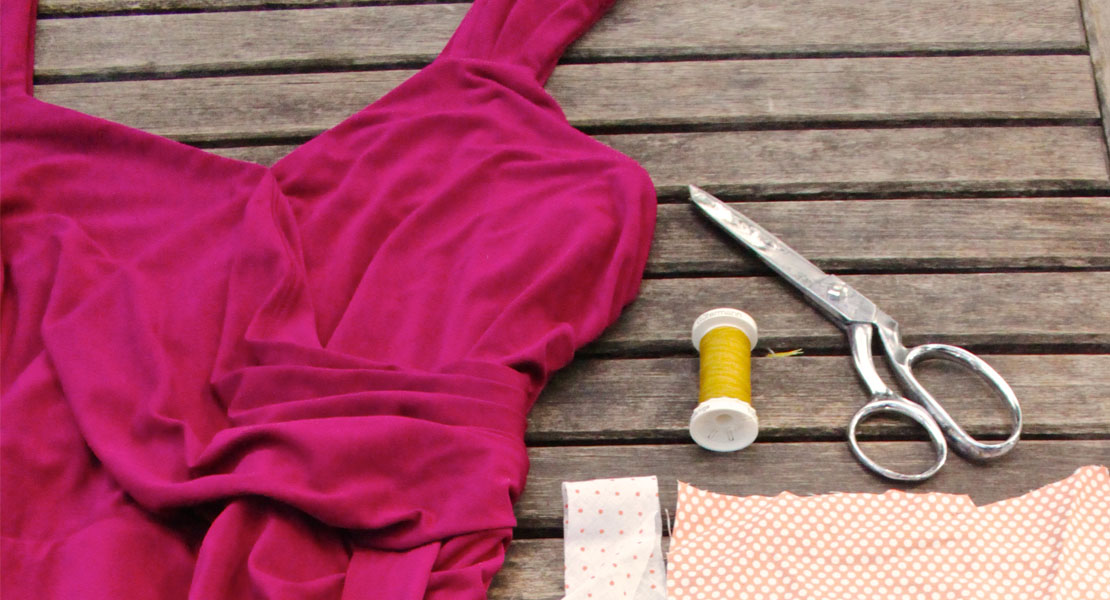
Supplies
- My School Bus Applique Template (download the PDF file HERE: DIY_School_Bus_Applique_Templates-WeAllSew_121314.pdf
- Scraps of knit or woven fabric for the applique. I used knit jersey in the following colors:
- School bus yellow for the large bus silhouette
- Lighter yellow for the “grill” and upper “School Bus” header
- Black for the “tires and bumper” and optional side mirrors
- White for the “windshield” and “license plate”
- Lightweight paper-backed fusible webbing or stabilizer (I used HeatnBond Lite)
- Coordinating thread (I used red, aqua, black and white)
The fun—and art—of applique is experimenting with the right combination of solid and patterned fabrics as well as colored threads. This can take a bit of time but it will pay off in something that looks unique and professional. Because I appliqued a boldly striped t-shirt dress I kept the applique fabrics solid colors but I love mixing prints in appliques too. It’s up to you!
Tips for sewing with knits:
- Because knit fabrics don’t fray, there is no need to finish the raw edges of any of these pieces.
- If using woven fabrics a bit of fraying will occur, which I quite like, but the fusible webbing will minimize this.
- I have found I prefer using different color threads on different pieces within the applique as well as bold stitch patterns. This is subjective—choose a combination that looks good to you. This applique would look great with all one color of thread too!
- Remember to remove the paper backing before stitching your applique pieces.
- Start with the smaller pieces on the top of the applique, ironing on and stitching those, and work your way backward to the larger shapes.
Step 1) Prepare the appliqué pieces.
Iron paper-backed fusible webbing to the wrong side of your fabrics. (Make certain the fabric is a bit bigger than your webbing so it doesn’t accidentally bond to your iron or ironing board.)
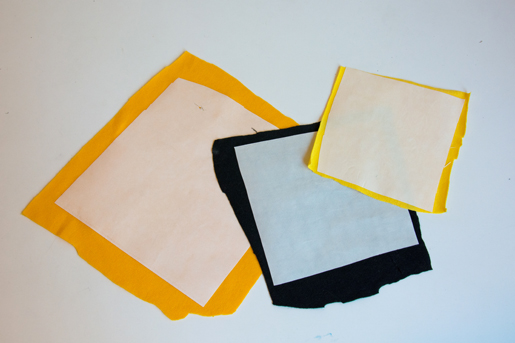
Print and cut out the School Bus template. Start with the largest shapes first, and cut them out of your fabric by tracing around them and then cutting along the lines. Then cut out the smaller shapes in the same manner.

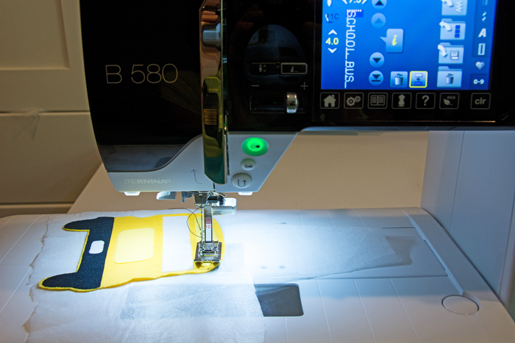
Step 2) Create the layered appliqué .
To minimize the amount of stitching on the inside of the t-shirt, I like to sew most of the smaller shapes to the bus before sewing it onto the shirt. I would recommend sewing on the “grill” and “School Bus” header. I also sewed on the “tires and bumper” with decorative stitching and later used a regular straight stitch in black to sew it to the t-shirt.
Start by layering the smallest shapes onto the larger shapes as follows:
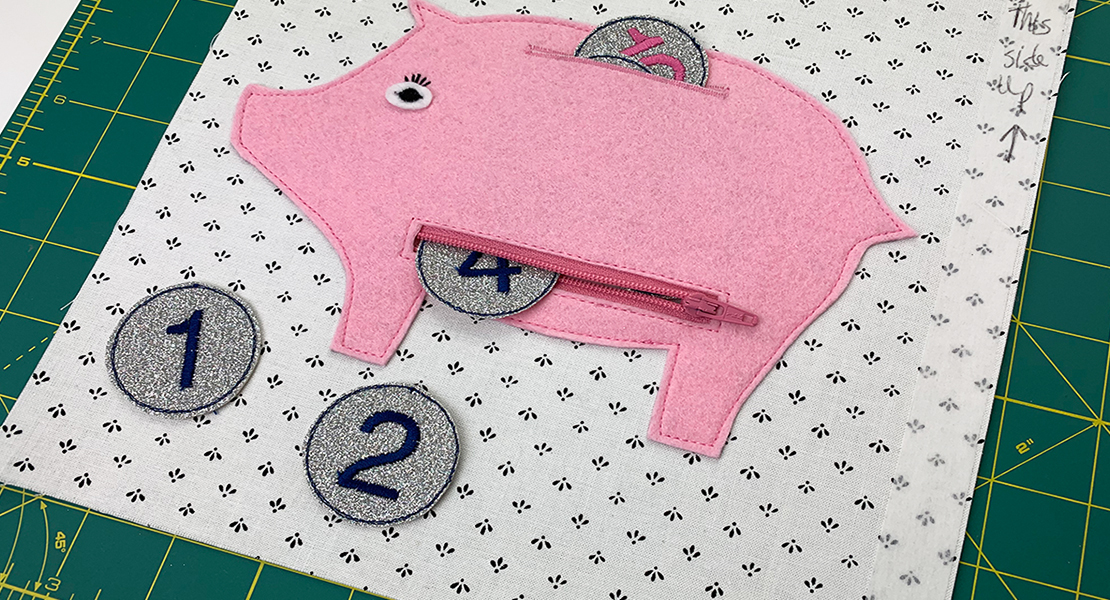
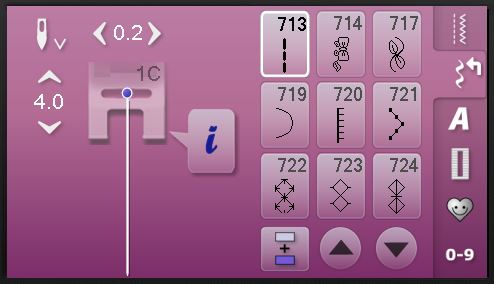
- Remove the paper packing from the license plate shape, position it on the center of the bumper, and then iron it in place. Then remove the paper backing from the bumper piece and topstitch the license plate to the bumper (use the triple stitch or my favorite, #713 on my BERNINA 580, which resembles hand embroidery). Or you can secure the license plate with a motif or set of numbers or letters as I did.
- Remove the backing and iron the header onto the school bus piece.
- Iron on the “grill” piece.
- Iron on the “windshield” piece.
- Stitch or embroider “SCHOOL BUS” in the center of the header piece if desired. I used a sans serif embroidery alphabet in the smaller size with the stitch width set at 7.5 and the stitch length set at 4.0. I strongly recommend that you experiment with this first on scrap fabric. Fine tune the size of the lettering before doing the final work on your applique. Then use a topstitch to outline the header piece.
- Top stitch around the “grill” piece.
- Top stitch on the “windshield” piece. Don’t forget to stitch the “windshield wipers.” I used the triple stitch for this.
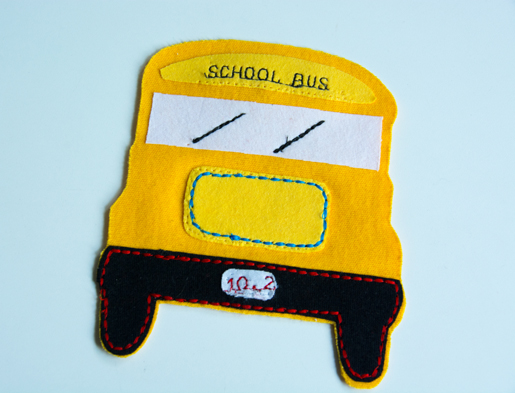
Topstitch the “red lights” on the header and above the bumper on either side of the grill. I used an eyelet stitch (#61 on my BERNINA 580) at a 4.9 width and 4.9 length for the small “red lights” and a 9.0 width and 14.0 length for the larger red lights. (Note that you’ll need a 9mm stitch plate and foot for this width to work!) Alternatives to this would be to sew on mini pom-poms for the lights, or hand- or machine-embroider circles using a satin stitch, or applique small circles of fabric, perhaps with an “x” formed by straight stitching.
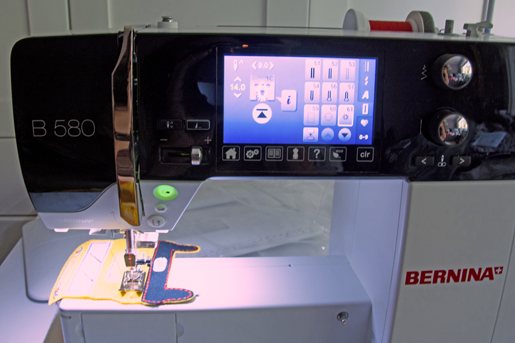
Step 3) Stitch the appliqué to the shirt.
Now that all the smaller pieces are secured to your larger bus shape, position the bus appliqué on your t-shirt or dress and iron it in place. Then use a topstitch to secure the bus to the garment.


If you are using the optional side mirrors included in this template, iron them in place last and then topstitch around the edges.
Sit back and admire your work! And just wait until your child sees it: All smiles!
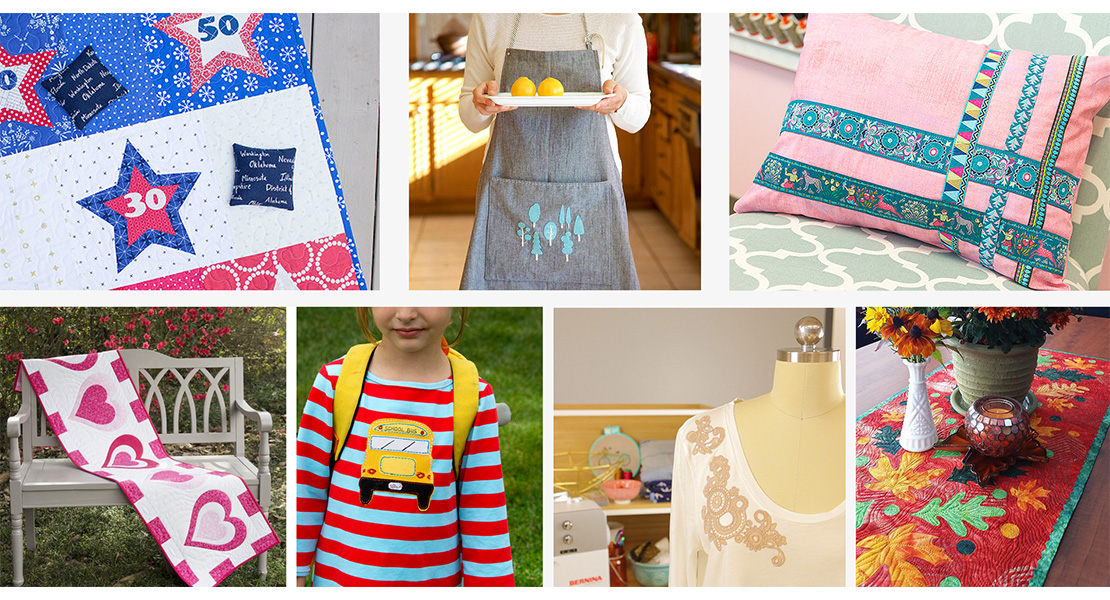
If you like this applique pattern you can find a few others on my Aesthetic Nest blog:


![Have a habit of misplacing your keys. Losing your iPod? Forgetting your coupons? Now, with this handy organizer, all your little necessities are in one convenient spot when you're ready to head out the door - right on the door knob! How to Make a Door Organizer Supplies 1/3 yard or heavyweight fabric such as twill, canvas, or denim 1/3 yard of fusible interfacing Coordinating thread Scissors Water-soluble marking pen or tailor's chalk Ruler 1/4" presser foot (BERNINA Patchwork Foot #37 or Patchwork Foot with Guide #57) Download and print the keyhole template: [download id="88"] Step 1) Prepare the fabric pieces. Cut from the heavyweight fabric: Two 5" x 11" rectangles for the organizer body One 5" x 12" rectangle for the large pocket One 5" x 7" rectangle for the small pocket One 6" x 7" rectangle for the hanging pocket Fuse interfacing to the wrong side of both 5" x 11" fabric rectangles following the manufacturer's directions. How to Make a Door Organizer Cut the keyhole: Measure down 1" from the top edge of one 5" x 11" rectangle. Center the top of the keyhole template on this mark. Trace the template. Cut along the traced line. Repeat for the second 5" x 11" rectangle. How to Make a Door Organizer Step 2) Make the large and small pockets. With wrong sides together, fold the large pocket in half to create a 6" x 5" rectangle. Topstitch close to the folded edge. How to Make a Door Organizer Place the large pocket on top of the right side of one 5" x 11" rectangle, matching the raw edges along the sides and bottom edges. Baste in place. How to Make a Door Organizer With wrong sides together, fold the small pocket in half to create a 3 1/2" x 5" rectangle. Topstitch close to the folded edge. Place the small pocket on top of the large pocket, matching the raw edges along the sides and bottom edges. Baste in place. How to Make a Door Organizer Step 3) Make the hanging pocket. With wrong sides together, fold the 6" x 7" rectangle in half lengthwise. Press. How to Make a Door Organizer Unfold the strip and then fold the long raw edges to the center fold line. Press. Refold the strip along the center crease. Topstitch close to both long edges. How to Make a Door Organizer Fold under 1" on both edge of the finished 7" strip. Measure up 1-1/4" from the lower edge on the right side of the second 5" x 11" piece. Center the bottom of the strip on this mark. How to Make a Door Organizer Sew close to the folded ends of the strip, then again 1/2" away from the first stitching. How to Make a Door Organizer Step 4) Construct the door organizer. With right sides together, place the two 5" x 11" rectangles together, matching the raw edges and the keyhole opening. How to Make a Door Organizer Stitch around the entire rectangle, leaving the keyhole open. Do not stitch around the keyhole area! Clip the corners. How to Make a Door Organizer Turn the organizer right side out through the keyhole opening. Press. How to Make a Door Organizer Topstitch close to the finished edges. How to Make a Door Organizer Baste the raw edges of the keyhole opening together. How to Make a Door Organizer Satin stitch close to the keyhole edges. Position the fabric so the needle goes just barely to the right of the raw edges and encloses them in stitches. Tip: A satin stitch is a zigzag stitch with a very short stitch length, so the stitches are very close to each other. How to Make a Door Organizer How to Make a Door Organizer Fill your organizer with keys, pens, letters, etc. so you never leave home without your essentials! How to Make a Door Organizer](https://weallsew.com/wp-content/uploads/sites/4/2011/10/How-to-Make-a-Door-Organizer-WeAllSew.jpg)