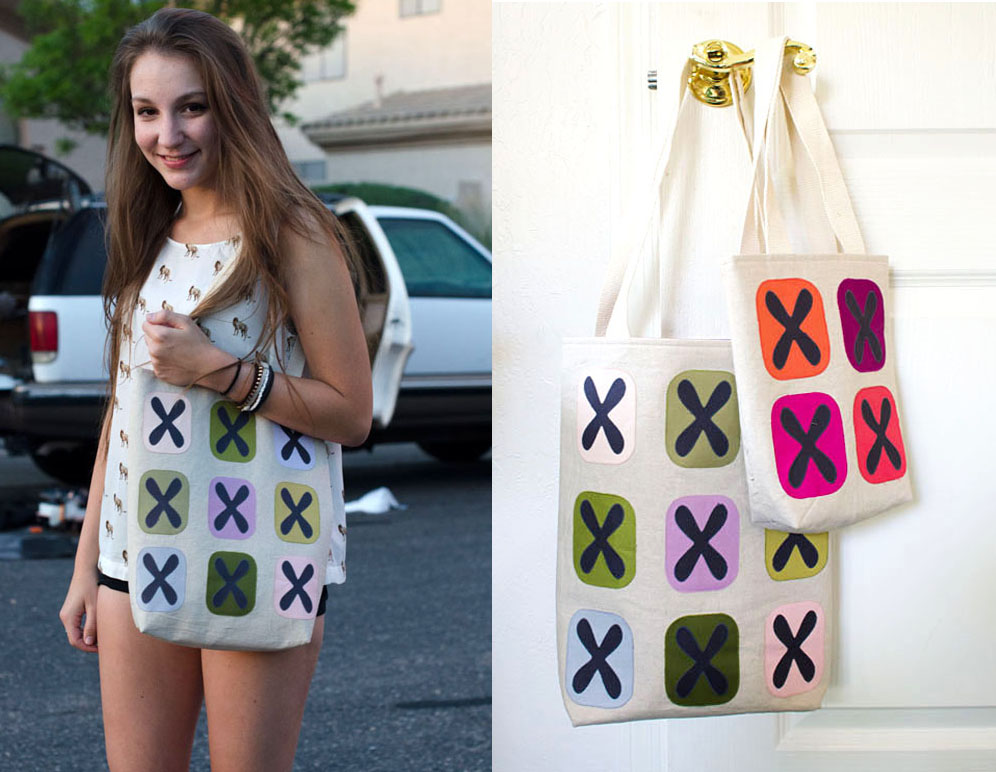
How to Make a Hippitee-Do-Dah Bag
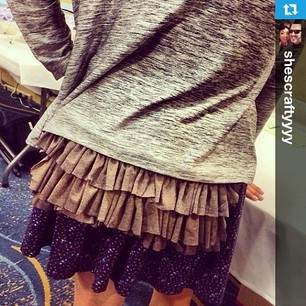
You might be asking yourself ,“A Hippitee-Do-Dah what?!” I’m very excited to share with you the much-requested Hippitee-Do-Dah Bag tutorial. I taught this sassy T-shirt-upcycling project last April at the Craftcation Conference along with the Floppy Fedora Hat. I particularly love the comfort & versatility of this bag and I know you will too! Are you looking for a cross body bag for your trip to the zoo? This is it. Are you looking for a new hip bag to wear while vending at the local craft fair? This is it. It can even be worn as a ruffle bustle if you’d like!
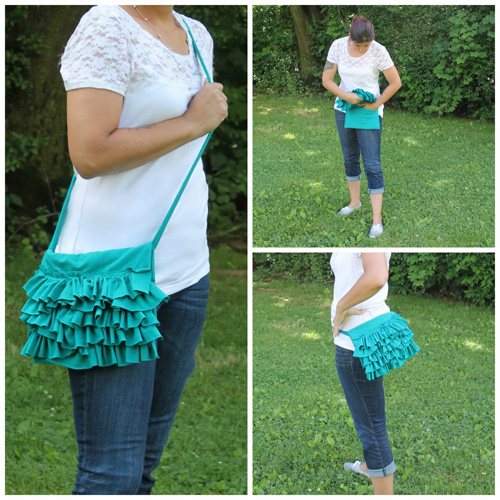
This quick and easy bag can come together in less than 45 minutes. Wear it cross-body with a long strap or tie it around your waist for a secure and comfortably-fitting hip bag.
Supplies
- 1 large or extra-large t-shirt
- Coordinating thread
- Rotary cutter and mat
- Ruler
- Thread snips
- Walking foot (BERNINA Three Sole Walking Foot #50)
- Ruffler (BERNINA Ruffler #86)
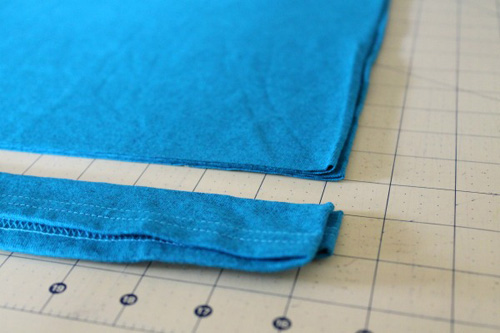
Step 1) Prepare your fabric.
Start by laying out your t-shirt on a flat cutting surface. Fold your t-shirt in half lengthwise, matching the sleeves and edge corners. Using the rotary cutter and straight edge, remove the bottom shirt hem by cutting 1″ above the stitching line, cutting through both the front and back of the t-shirt. When finished you will have a large tube of fabric. Set the hem piece aside; it will be used later as the strap for our Hippitee-Do-Dah Bag.
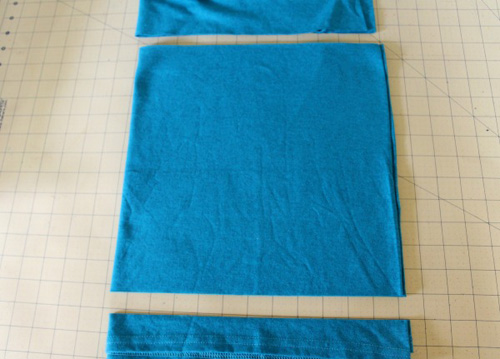
With your t-shirt still folded, measure 12” up from your cut line. Again using your straight edge and rotary, cut across the shirt, making sure you are cutting through all 4 layers. This 12″-wide tube of fabric will become the body of your Hippitee-Do-Dah Bag. Set it aside for now.
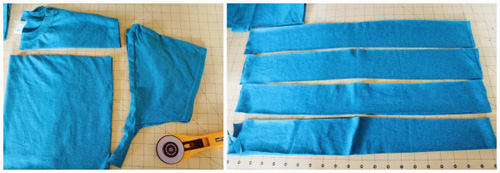
Only the top portion of your shirt is now remaining. Remove the sleeves and neckband; the shirt material that is left will be used to create ruffles using the ruffler foot. Cut as many 3” strips from this fabric as you can. Don’t forget to use the sleeves for fabric too!
Step 2) Construct the body of the bag.
Take the piece that is going to be the body of the bag and turn it inside out. (This will essentially only make a difference if you’re using a t-shirt with graphics or print.) Lay it flat on a flat surface with the folds at top and bottom and raw edges at right and left. Match the side edges and pin them together.
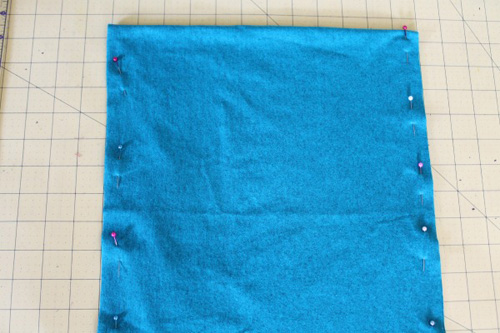
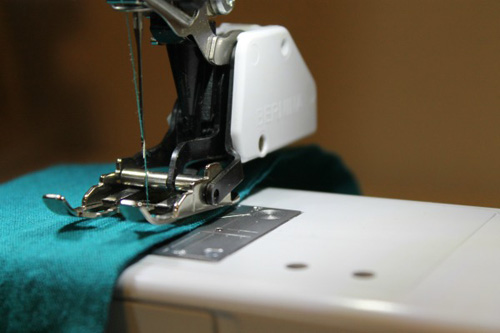
Using the left edge of your walking foot as a guide (or a 1/2″-wide seam allowance) sew the long edges together, leaving a 2.5″-long opening at the lower right side for turning.
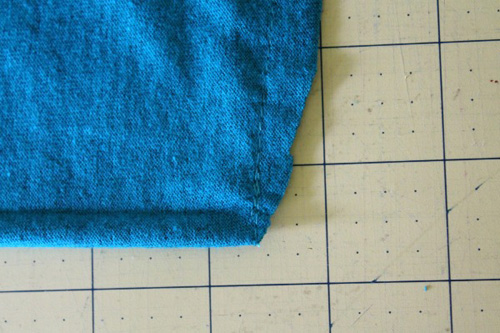
Clip the corners, then turning right side out.
Tip: I like to clip my corners and then blend or taper it into the edge. It’s hard to get really crisp corners with knits; this helps make nice corners and also reduces bulk.
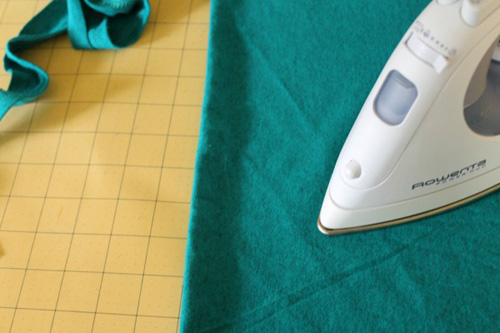
Press the body of your Hippitee-Do-Dah Bag on an ironing board. (I do not recommend ironing on your cutting mat. My iron isn’t actually on the fabric.)
Step 3) Create the strap.
We’re going to attach the strap, close the open section of the side seam, and sew the bottom of the bag – all in one swoop.
First take the strap/hem loop and cut it once to make one long piece.
Lay the bag flat and imagine it divided into thirds. Fold the bottom edge up 8″. Sandwich the strap in between the layers and pin it in place. Sew 1/4″ from the outer edge of the bag.

Variation: If you’d like, you could stop at this point and create a Hippitee-Do-Dah bag sans the ruffles. Add a patch, applique, embroidery, or fabric paint to embellish your bag and let your imagination run wild.
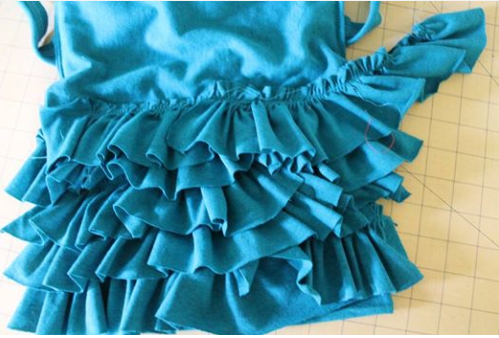
Step 4) Add the ruffles.
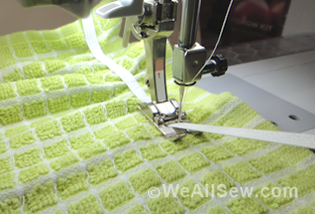
Using the ruffle, attach the 3″-wide t-shirt strips to the front flap of your bag. Start at the bottom of the flap and work your way up to the top. I set my ruffler to 1 stitch/tuck and pulled ever so slightly back on the knit as it fed through the ruffler; this helps to maximize the ruffling.
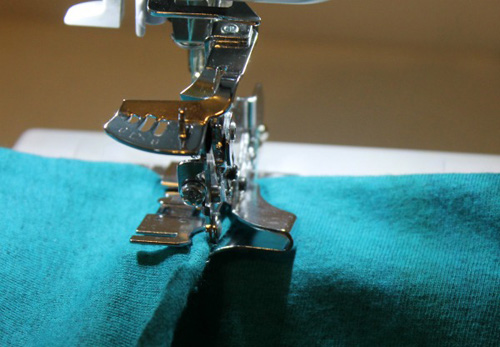
Tip: If your strips are not long enough (every shirt is different!) you may need to piece your strips together. If you find you are coming close to the end of a strip but still have inches left to cover on your bag, stop the machine and feed an additional t-shirt strip under the ruffler, overlapping the previous one, and continue sewing.
Tip: If you do not have a ruffler you can make ruffles by hand or by gather the fabric using a long straight stitch.
I’d love to see your finished Hippitee-Do-Dah Bags! Please share with us on social media by using tag #BERNINAUSA and/or #TrashN2Tees. Want to find out more ways to repurpose or refashion old t-shirts? Visit me on the TrashN2Tees Blog.


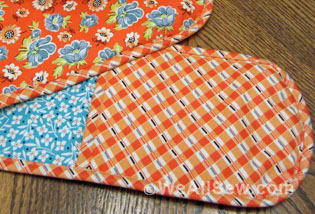
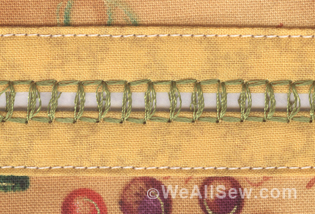
![Have a habit of misplacing your keys. Losing your iPod? Forgetting your coupons? Now, with this handy organizer, all your little necessities are in one convenient spot when you're ready to head out the door - right on the door knob! How to Make a Door Organizer Supplies 1/3 yard or heavyweight fabric such as twill, canvas, or denim 1/3 yard of fusible interfacing Coordinating thread Scissors Water-soluble marking pen or tailor's chalk Ruler 1/4" presser foot (BERNINA Patchwork Foot #37 or Patchwork Foot with Guide #57) Download and print the keyhole template: [download id="88"] Step 1) Prepare the fabric pieces. Cut from the heavyweight fabric: Two 5" x 11" rectangles for the organizer body One 5" x 12" rectangle for the large pocket One 5" x 7" rectangle for the small pocket One 6" x 7" rectangle for the hanging pocket Fuse interfacing to the wrong side of both 5" x 11" fabric rectangles following the manufacturer's directions. How to Make a Door Organizer Cut the keyhole: Measure down 1" from the top edge of one 5" x 11" rectangle. Center the top of the keyhole template on this mark. Trace the template. Cut along the traced line. Repeat for the second 5" x 11" rectangle. How to Make a Door Organizer Step 2) Make the large and small pockets. With wrong sides together, fold the large pocket in half to create a 6" x 5" rectangle. Topstitch close to the folded edge. How to Make a Door Organizer Place the large pocket on top of the right side of one 5" x 11" rectangle, matching the raw edges along the sides and bottom edges. Baste in place. How to Make a Door Organizer With wrong sides together, fold the small pocket in half to create a 3 1/2" x 5" rectangle. Topstitch close to the folded edge. Place the small pocket on top of the large pocket, matching the raw edges along the sides and bottom edges. Baste in place. How to Make a Door Organizer Step 3) Make the hanging pocket. With wrong sides together, fold the 6" x 7" rectangle in half lengthwise. Press. How to Make a Door Organizer Unfold the strip and then fold the long raw edges to the center fold line. Press. Refold the strip along the center crease. Topstitch close to both long edges. How to Make a Door Organizer Fold under 1" on both edge of the finished 7" strip. Measure up 1-1/4" from the lower edge on the right side of the second 5" x 11" piece. Center the bottom of the strip on this mark. How to Make a Door Organizer Sew close to the folded ends of the strip, then again 1/2" away from the first stitching. How to Make a Door Organizer Step 4) Construct the door organizer. With right sides together, place the two 5" x 11" rectangles together, matching the raw edges and the keyhole opening. How to Make a Door Organizer Stitch around the entire rectangle, leaving the keyhole open. Do not stitch around the keyhole area! Clip the corners. How to Make a Door Organizer Turn the organizer right side out through the keyhole opening. Press. How to Make a Door Organizer Topstitch close to the finished edges. How to Make a Door Organizer Baste the raw edges of the keyhole opening together. How to Make a Door Organizer Satin stitch close to the keyhole edges. Position the fabric so the needle goes just barely to the right of the raw edges and encloses them in stitches. Tip: A satin stitch is a zigzag stitch with a very short stitch length, so the stitches are very close to each other. How to Make a Door Organizer How to Make a Door Organizer Fill your organizer with keys, pens, letters, etc. so you never leave home without your essentials! How to Make a Door Organizer](https://weallsew.com/wp-content/uploads/sites/4/2011/10/How-to-Make-a-Door-Organizer-WeAllSew.jpg)


One comment on “How to Make a Hippitee-Do-Dah Bag”