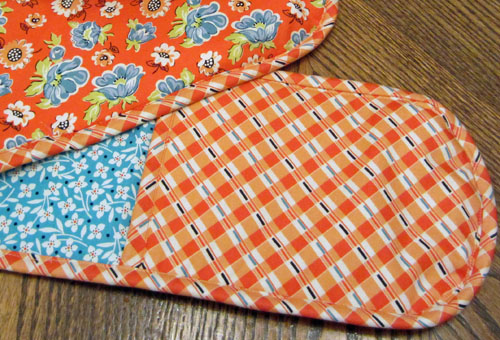
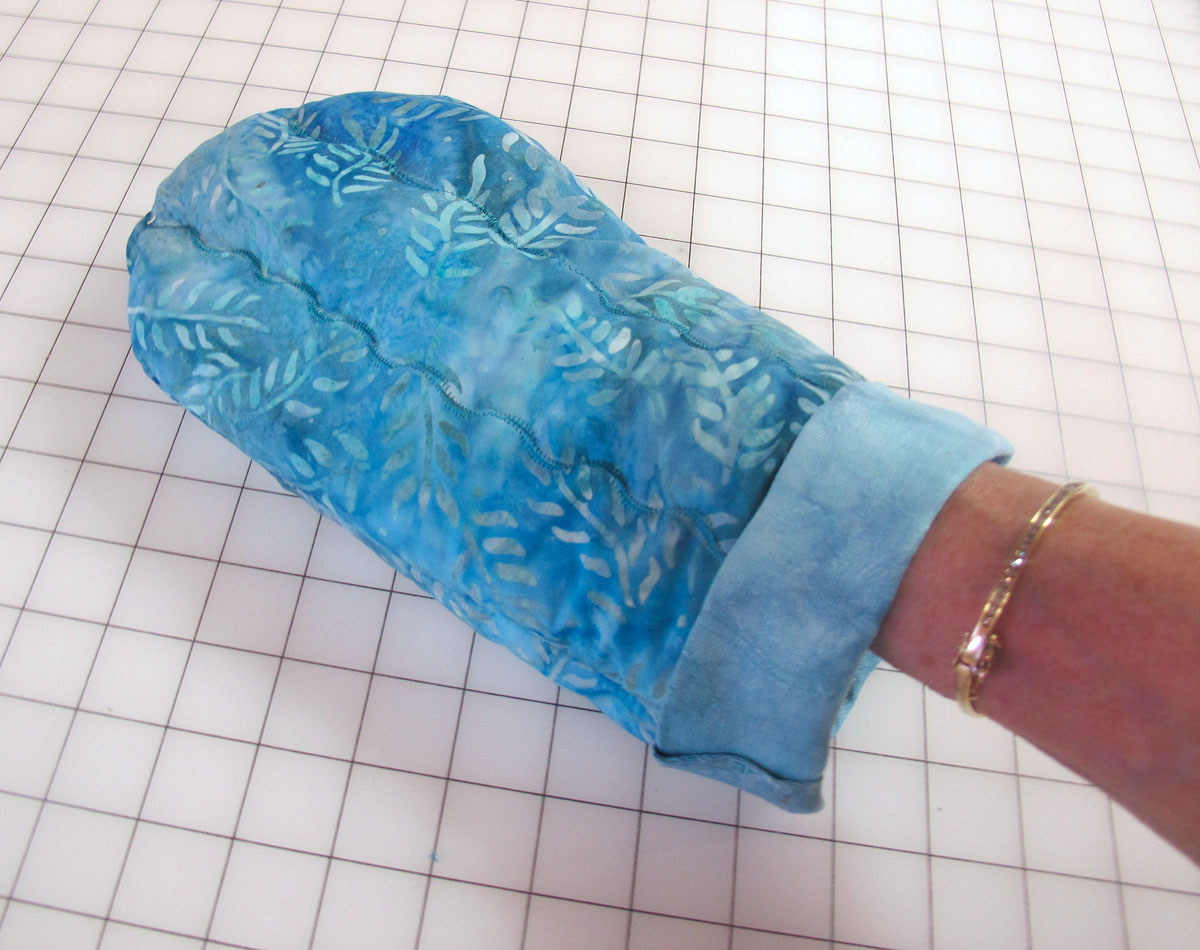
How to Make Double Oven Mitts
Keep your cool in the kitchen with this ever-practical oven glove. Make one and protect two hands from burns. Choose from a variety of fabrics, add more insulation as needed, and in very little sewing time you have an indispensable kitchen item. Finished size: 7″ x 35″
Tip: As a bonus, the 2-in-1 glove can be draped over the oven handle so it is always at hand, ready when you need it.

Supplies
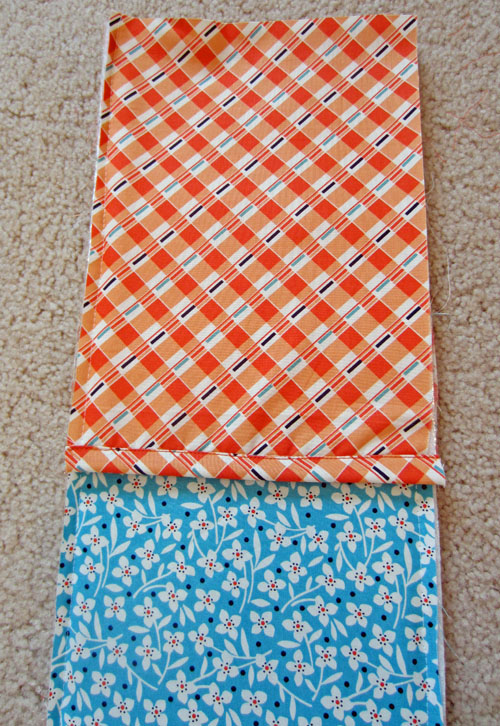
- 1/4 yard fabric for exterior
- 1/4 yard fabric for interior\lining
- 1/4 yard fabric for pocket
- 1/2 yard of Insul-Brite (found in the interfacing section of the store)
- 1 package of 1/2″-wide double-fold bias tape or enough fabric to make 3 yards of bias binding
- Water-soluble marker
- Rounded object such as a dinner plate
- Ruler
- Rotary cutter/mat or scissors
- Thread to match
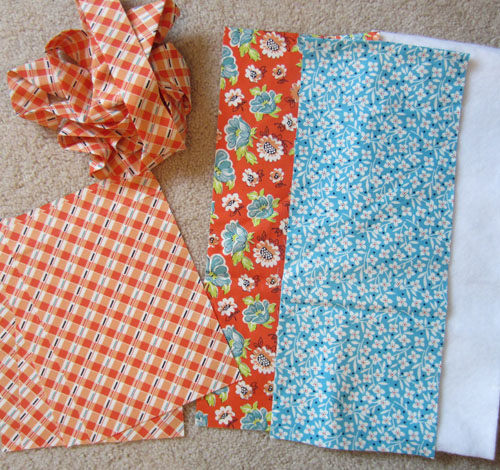
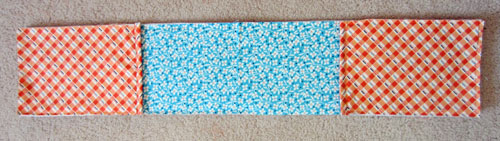
step 1) Cut the fabric pieces.
Outer fabric:
- cut one 7″ x 35″ rectangle
Lining:
- cut one 7″ x 35″ rectangle
Pocket fabric: cut four 7″ x 10″ rectangles
Insul-Brite:
- cut one 7″ x 35″ rectangle
- cut two 7″ x 10″ rectangles
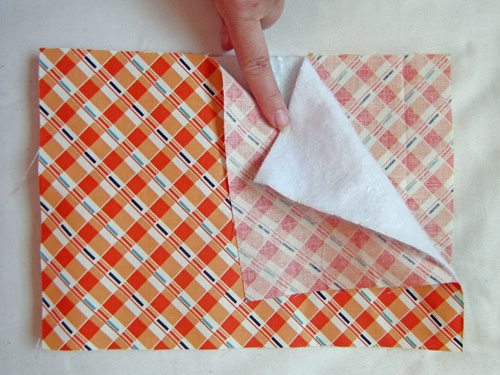
step 2) Make the pocket.
Make a “batting sandwich” by placing one 7″ x 10″ pocket fabric wrong side up, one 7″ x 10″ Insul-Brite rectangle on top of it, and then placing a second pocket fabric rectangle face up on top of it all.
Make sure all the edges are even, then baste the layers together along the edges.
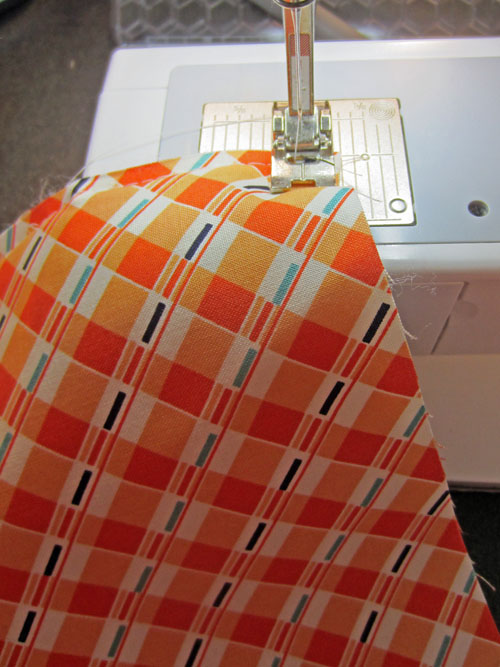
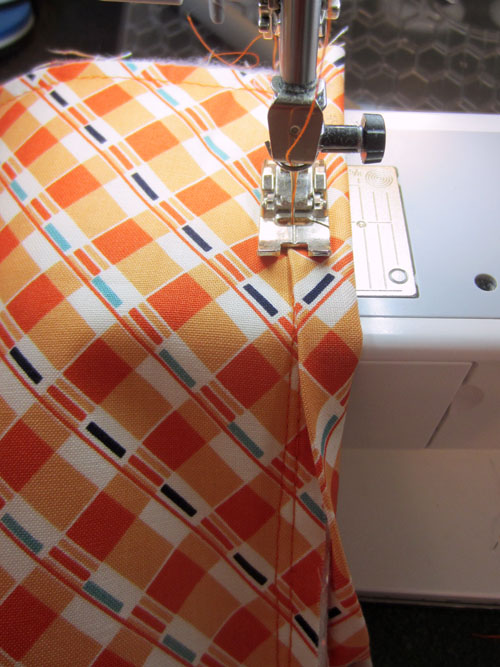
Bind one short edge of the pocket with double-fold bias tape following the manufacturer’s directions (or your preferred method of binding).
Tip: Make your own bias binding like I did and bind your oven glove with matching fabric.
Repeat for second pocket.
step 3) Make the glove.
Make another “batting sandwich,” this one with a 7″ x 35″ outer fabric rectangle wrong side up, a 7″ x 35″ Insul-Brite rectangle, and a second 7″ x 35″ rectangle right side up on top of it all.

Make sure all the edges are even, then baste the layers together close to the edges.
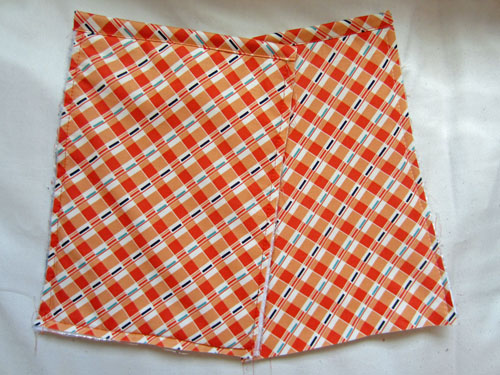
Place a pocket on one end of the glove lining so the bound edge is facing towards the middle.
Make sure the raw edges match and then baste them together, leaving the bound edge free from stitching.
Repeat for second pocket.
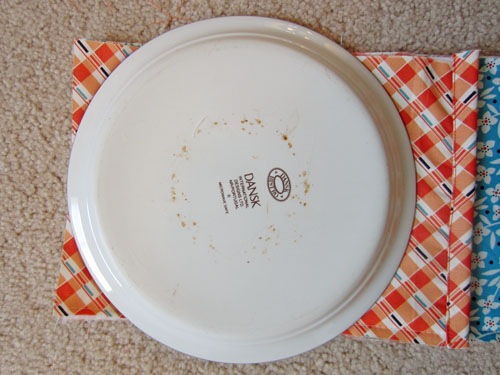
Using a dinner plate and a water-soluble marker, round the edges of the glove and pocket. Trim away the excess material.
Tip: To reduce bulk, trim one layer of Insul-Brite around the pocket. This will make the next step – applying the binding – easier.

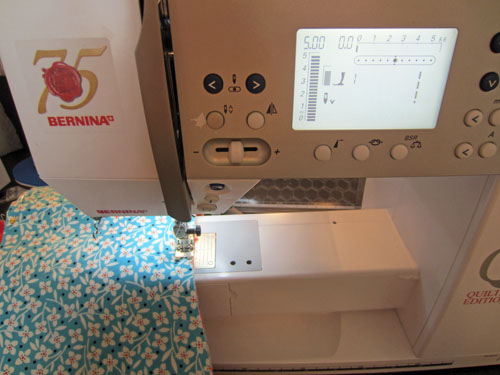
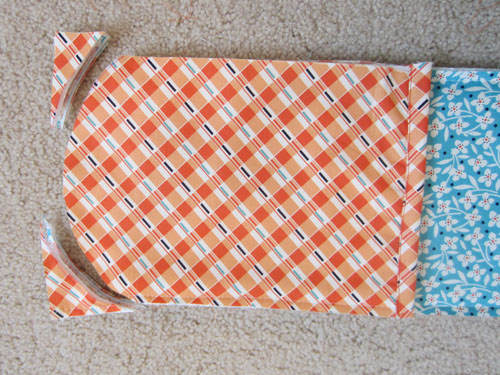
Bind the outside edges of the double oven glove with bias tape following the manufacturer’s instructions or your preferred method.


5 comments on “How to Make Double Oven Mitts”
I love this double oven mitt. I make it with 2 matching microwave bowls and 1 folded hot pad. They make great gifts and craft fair bundles.
Was wondering if you could use double-sided prequilted fabric to make this and add an extra layer of insulated batting to the mitt part??
mayden – you definitely could used prequilted fabric for this project! If you add extra insulation to the mitt (I would also recommend lining as well), then you may find that that area is a little bulky when adding your binding – you may want to increase the width some to accommodate the extra thickness.
I’ve made a half dozen of these mitts for myself and as gifts. Everyone loves them and now I’m adding embroidery details to the outer pocket.