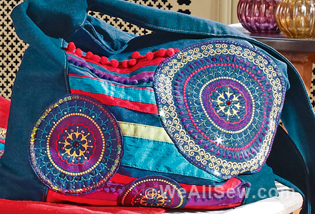
How to Make a Crumb Catcher and Bag
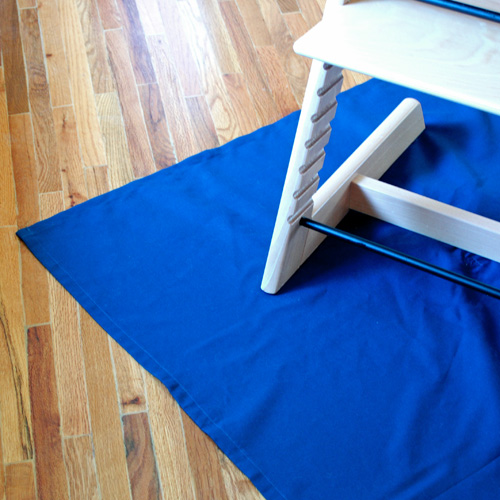
You say high chair, we say crumbly mess on the floor. But thanks to this inventive crumb catcher, moms, dads and baby-meal-givers alike can keep feedings clean and under control. Whether you choose fabric to match your kitchen décor or your baby’s outfit, this project is truly precious, just like your little ones.
This project does not require a lot of fancy supplies, just a large piece of fabric, some coordinating thread and some ribbon. Care should be taken nonetheless in the selection of the fabric. I recommend buying very inexpensive “bottomweight” fabric in a mix of cotton and polyester, as this fabric does not have a clear right or wrong side and doesn’t wrinkle much.
Supplies
- A generous 1-1/2″ yards of fabric
- Coordinating polyester thread
- 2-1/2 yards of 1/4″-wide ribbon, silky to the touch
Read all the instructions to the end before starting!!!
Step 1) Cut the fabric.
Crumb Catcher: Cut one large square measuring 40″ by 40″.
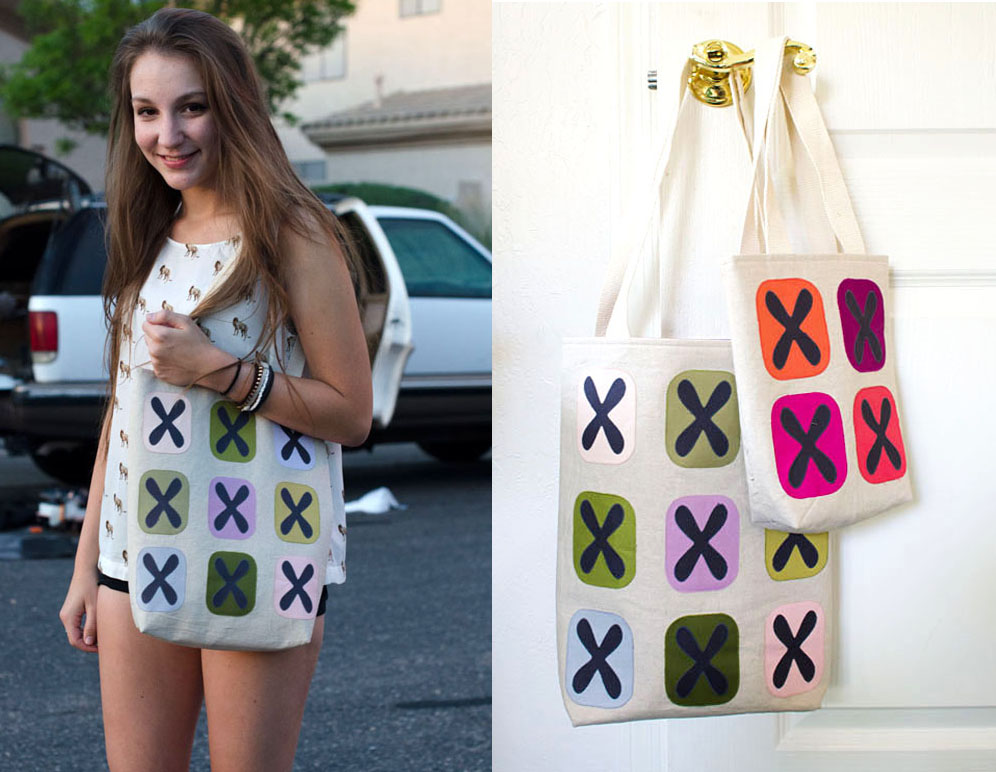
Bag: Cut one rectangle measuring 21″ by 14″. Note: If you want, the bag can be made of a print fabric instead of a solid.
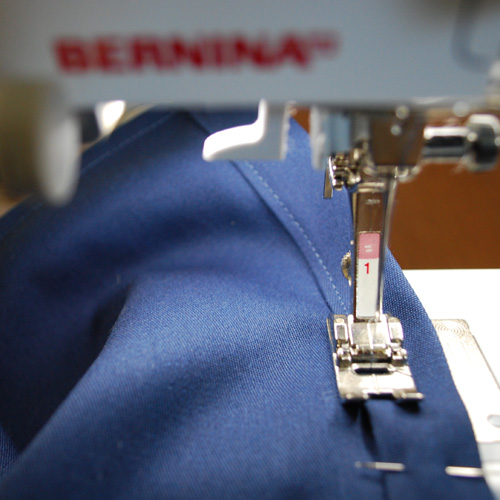
Step 2) Hem the square.
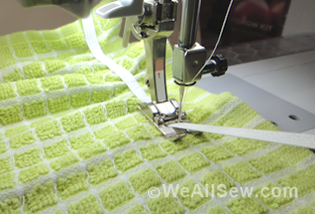
Starting on one side, fold the edge under 1/2″ to the wrong side and press. Fold over 1/2″ once more to finish the edge and stitch very close to the fold.
Working clockwise, keep folding and pressing to finish all four sides. Put aside.
Step 3) Make the drawstring bag.
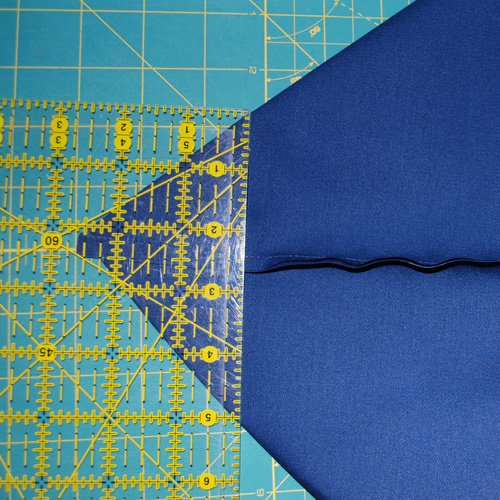
Fold the rectangle in half by bringing both 14″ sides together. With the fold on the bottom, mark a line 1-1/2″ from the top on each side.
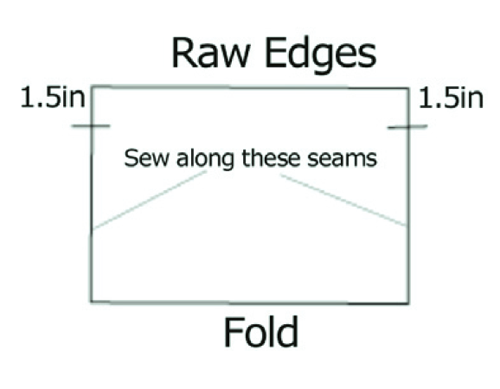
Sew along the side edges below the marked lines using a 1/4″-wide seam allowance, back-tacking at each end.
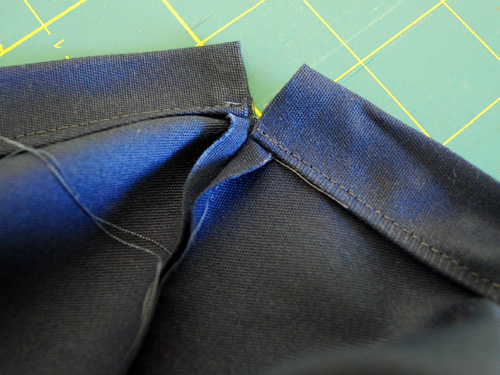
Square the corners at the bottom: Folding the bag flat on its corners to create a triangle, sew a 5″ line across the corner (2-1/2″ on each side of the center seam).
Press seam allowances open. Trim seam allowances to 1/4″.
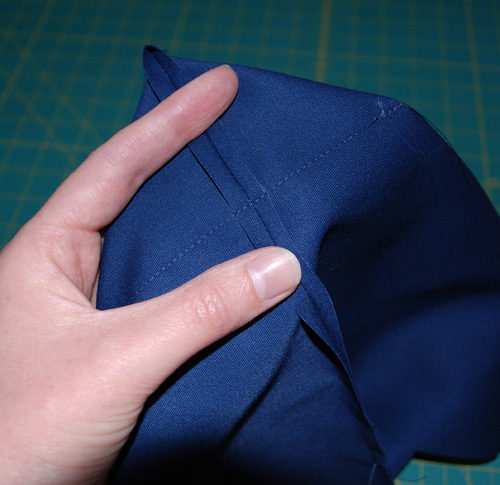
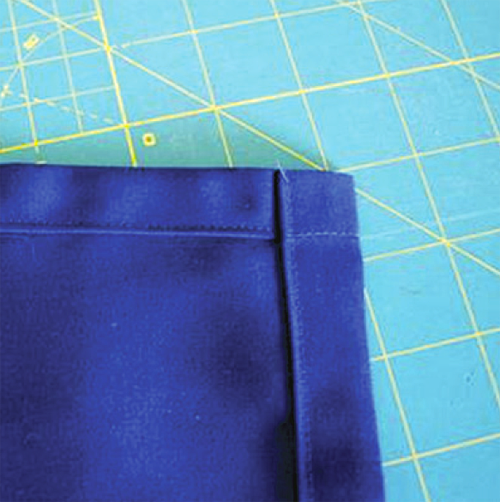
Fold each top raw edge under 1/4″ and press. Fold again, matching the fold with the top of the seam. Press.
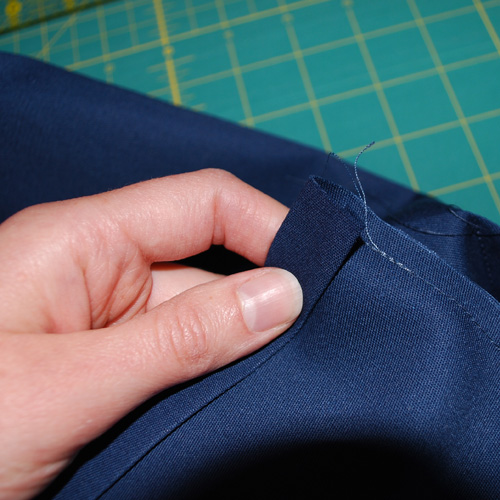
Fold the ends of the casing under 1/4″ to finish the raw edges; pin in place.
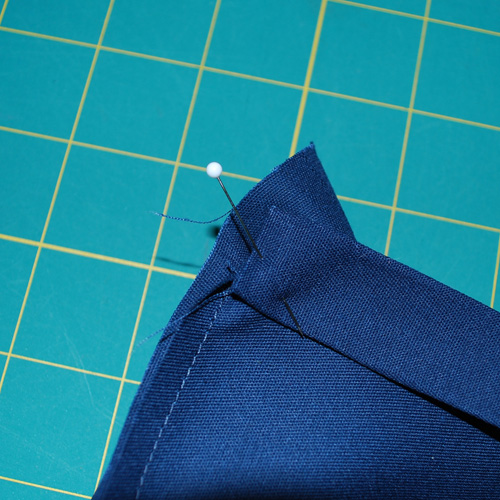
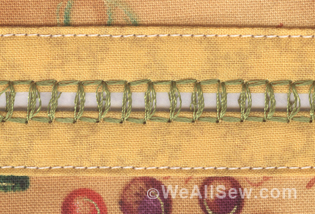
Sew very close to the side of the lower fold to create a casing for a drawstring, back-tacking at each end.
The ends of the casing will be open.
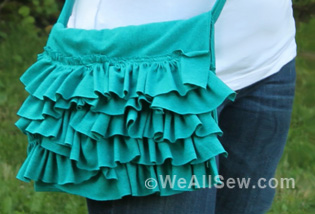
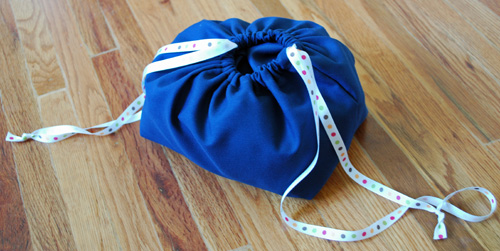
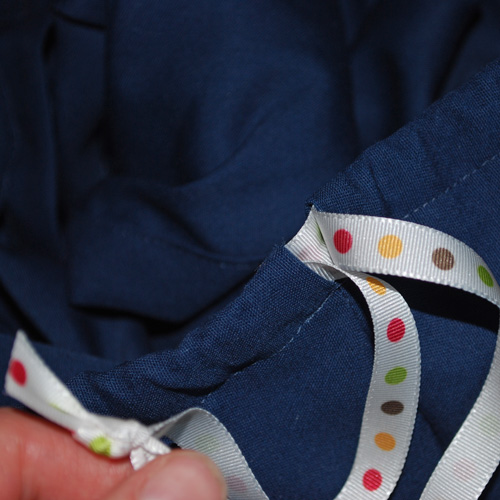
Your bag is almost complete! All that’s left is to insert two pieces of silky ribbon into the casings.
Cut the ribbon into two 40″-long pieces. With a safety pin, draw the ribbon all around the bag starting on one side. Knot the ends together. Repeat the procedure starting on the opposite side. You’ll end up with knotted ribbon tails on each side of the bag.
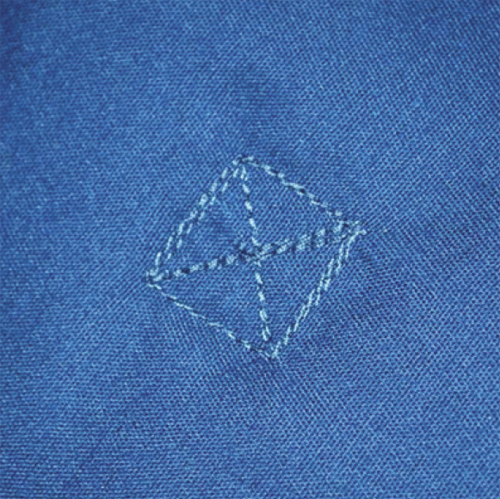
Step 4) Attach the bag to the crumb catcher.
Find the middle of the wrong side of the square; also find the middle of the inside bottom of the bag. Pin together and sew a square pattern to join them together.
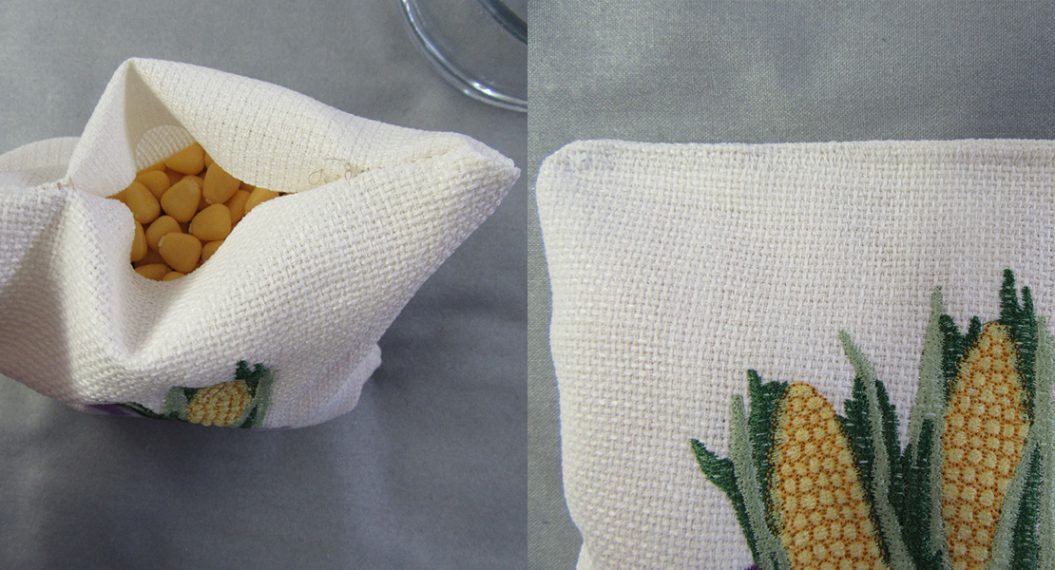
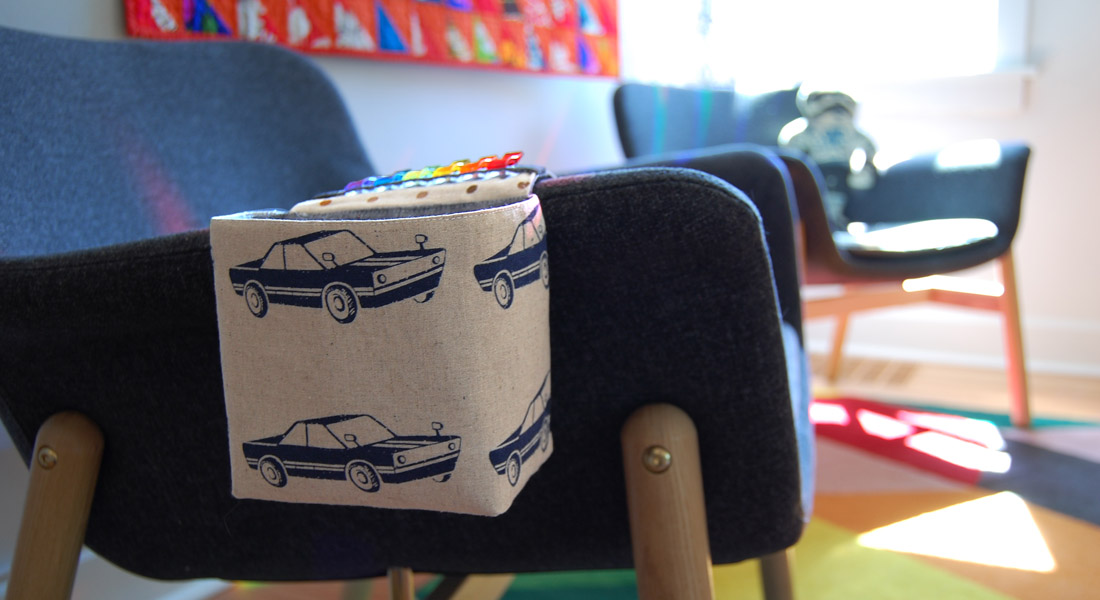
You can now gather the square inside the bag for stowing.
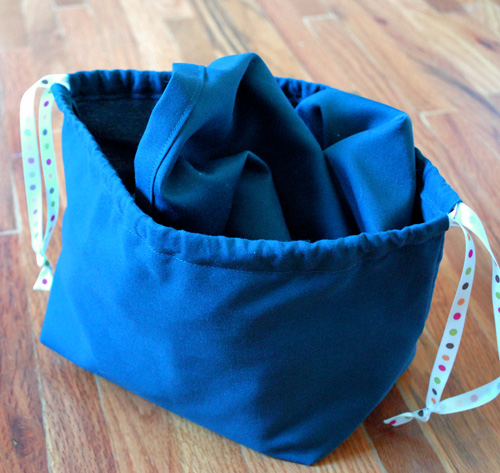 After a meal you can gather the crumbs inside the bag and dispose of them once you are home. How convenient is that!