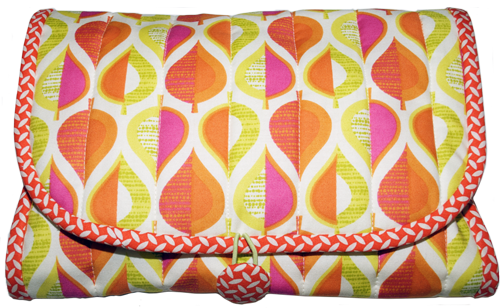
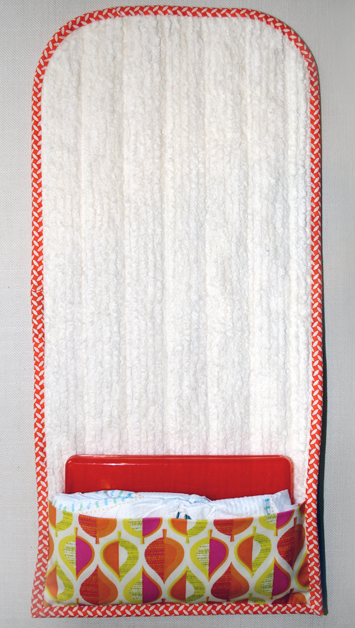
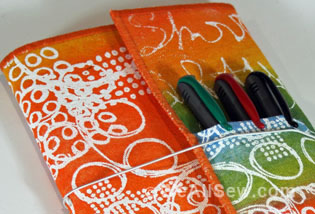
How to Make a Changing Pad and Pocket
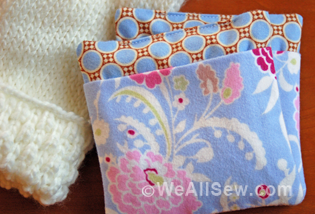
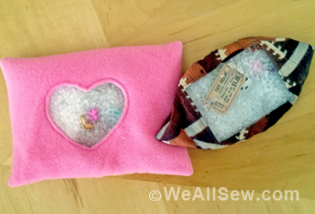
This handy little mat will follow you and your tot where the diaper bag cannot or will not go. Unfold it on the floor, a bed, a sofa or a hard public changing table to keep your little one comfortable and everything clean. The wallet snugly stores a couple of diapers and a small box of wipes.
Supplies
- One 11″ x 23″ rectangle of chenille or other soft fabric for the mat
- One 11″ x 23″ rectangle of quilting-weight fabric for the outside
- One 11″ x 2″ rectangle of thin batting
- One 11″ x 9″ rectangle of quilting-weight fabric for the pocket
- One package of double-fold bias
- One large button
- Marking pen
- One small ponytail elastic
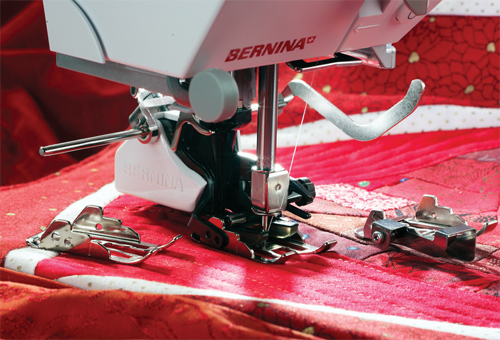
I do not recommend starting this project without a walking foot on hand, such as BERNINAWalking Foot #50. It will make quick work of stitching all the layers without any shifting.
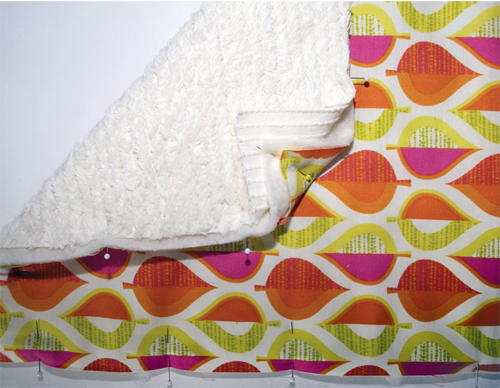
1. Prepare the Rectangles for Quilting
Layer the three large rectangles exactly on top of each other as follows:
- The chenille rectangle face down on the bottom
- The batting in the middle
- The large quilting-weight fabric rectangle face up on the very top
Place pins all around the perimeter of your fabric sandwich.
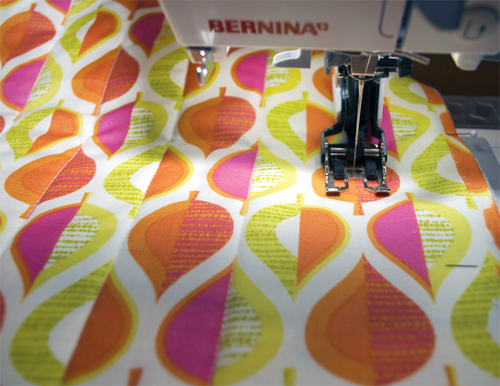
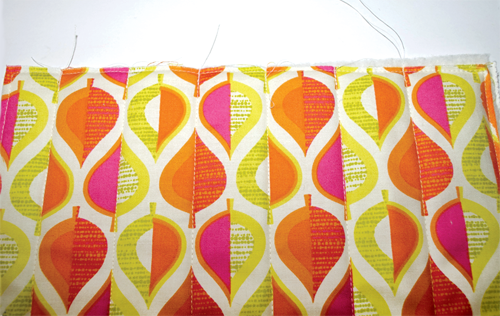
2. Quilt the Layers
Using a walking foot, follow the lines of your fabric (if it has any) or draw some with a marking pen to guide you. Quilt up and down with a slightly lengthened stitch (3 mm), rotating the direction in which you feed the fabric into the machine. This minimizes stretching and shifting of the layers. I quilted this wallet every 1-1/2″.
3. Sew around all four sides, staying as close as possible to the edge. Aim for a seam allowance slightly less than 1/4″ from the edge.
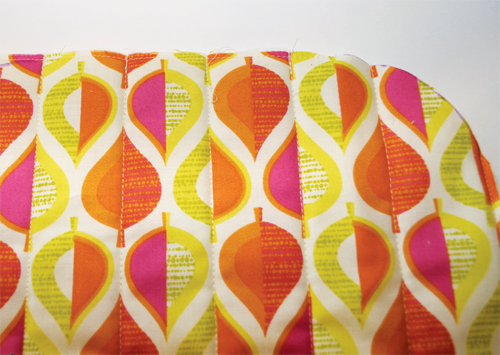
4. Round the Corners
Use your marking pen to round the two corners of one end of the wallet. Cut away the corners on the draw lines. Clean up the edges of the four sides of the wallet with a rotary cutter and mat or scissors. Do not cut into the perimeter seam.
5. Sew on the Pocket
Fold and press the small rectangle in half, wrong sides together, to create a 4-1/2″ x 11″ rectangle. Place it on the square end of the wallet mat, against the chenille, matching the raw edges.
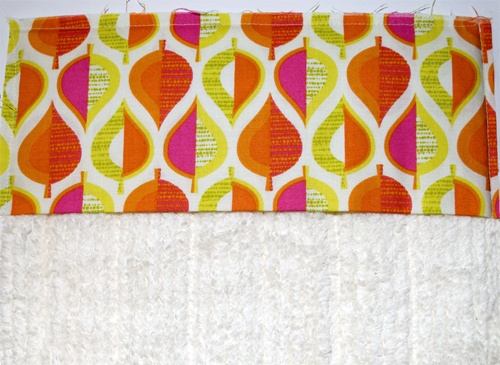
Pin in place and sew around the edges leaving the fold open. If you find that the pocket is now a bit larger than the mat, it’s nothing to worry about. Just trim the excess fabric with your rotary cutter or scissors.
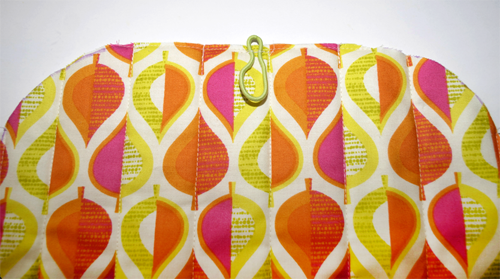
6. Attach the Ponytail Elastic
Place the ponytail elastic on the outside of the wallet mat, in the middle of the rounded end. Sew back and forth over the elastic a few times to secure it in place.
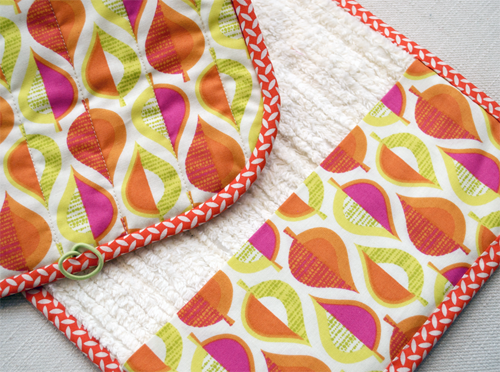
7. Bind the Wallet
Bind the edges of the wallet with double-fold bias following the instructions included in the package.
8. Sew on the Button
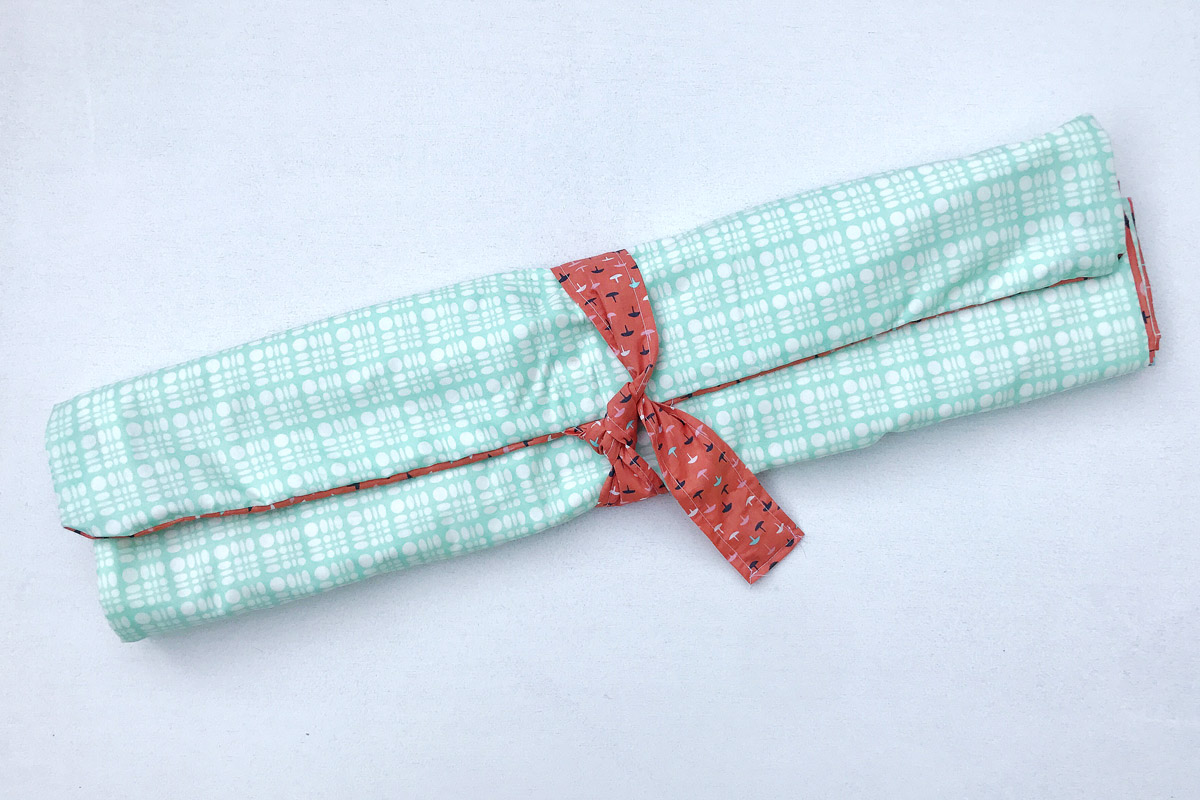
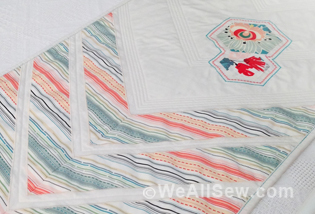
Place a diaper and some wipes in the pocket, fold the wallet in thirds and mark the placement of the button.
9. Sew on the button and you are ready to go out and play with your tot in tow!


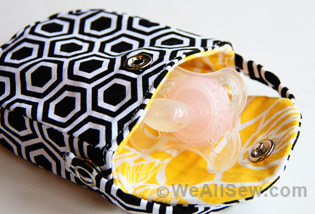
What you might also like


2 comments on “How to Make a Changing Pad and Pocket”
-
-
The pattern say 11 x 2 inch piece of batting? Is this correct? I’m thinking it should be 11 x 23? Thanks!
Leave a Reply
You must be logged in to post a comment.

Very useful !