How to Add Pockets to a Skirt

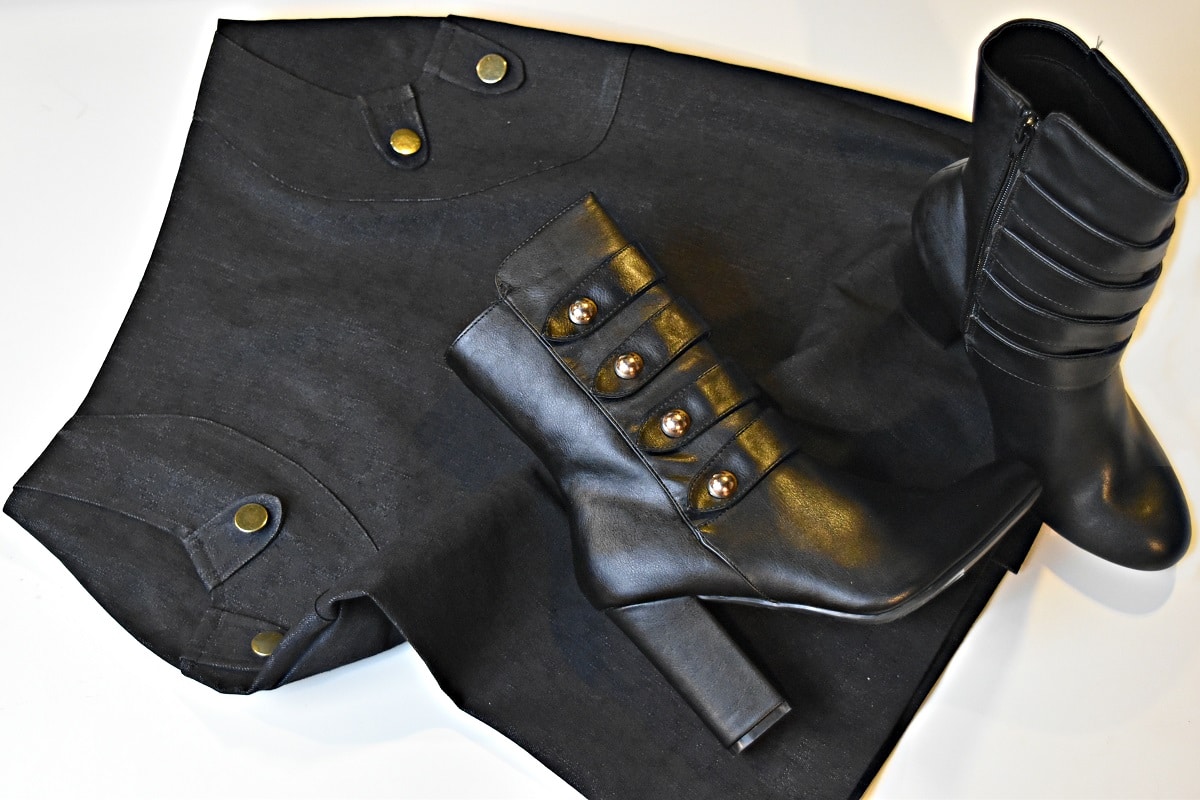
Have you ever gone shopping and found a pair of shoes or boots and had to have them? Well, that happens quite often when I hit the stores. While out looking for boots for a photo shoot I saw these boots with these shiny gold buttons. I walked by these boots several times and I really tried to leave them in that store but I think you know what happened.
Now I had these boots and they sat for a while. I was out shopping again and I saw these gold buttons and I said why don’t I make something with gold buttons to wear with the boots. I didn’t buy the buttons because I knew I had some at home. When I got home I realized I didn’t have any dome gold buttons. I only had flat circles. I decided they would have to do for this project.
Skirt pattern of your choice (a plain front pattern will work best), add the pockets to the skirt front, and follow your instructions to construct the skirt.
Materials to Add Pockets to a Skirt
- ½ yard of extra fabric for the pockets.
- Buttons or embellishments for the pocket
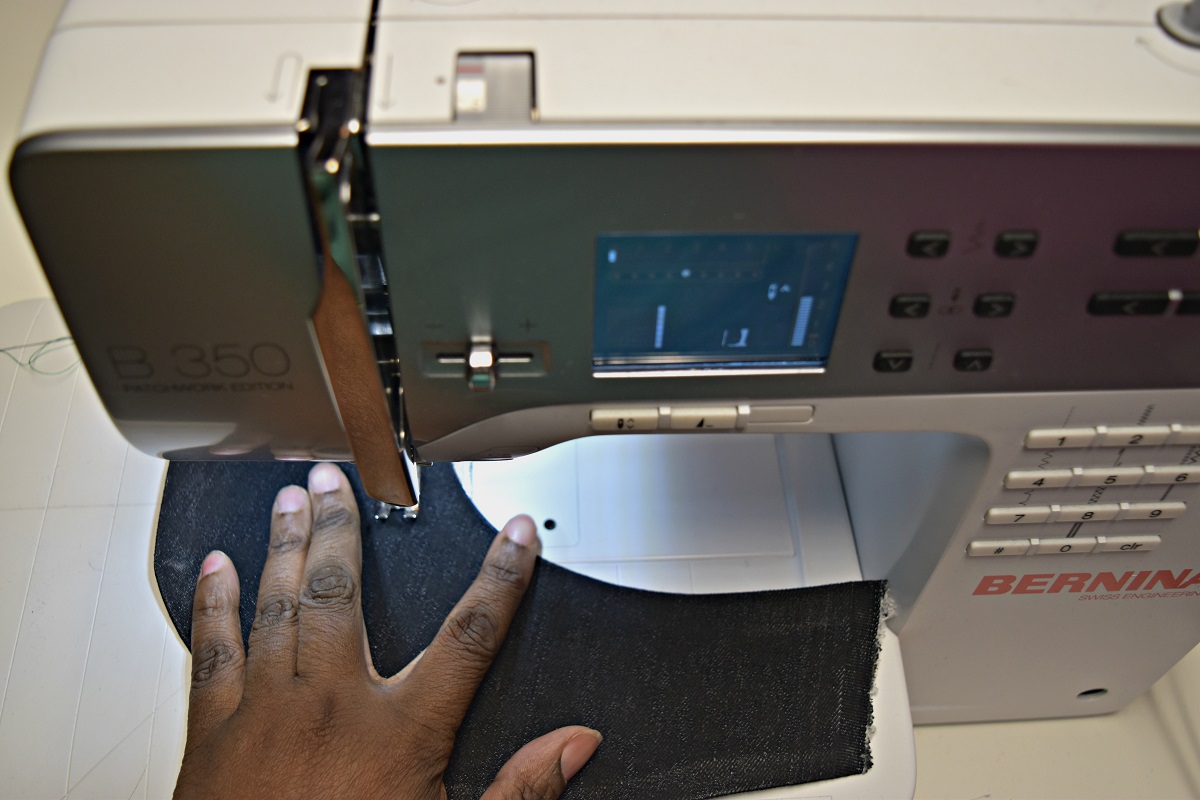
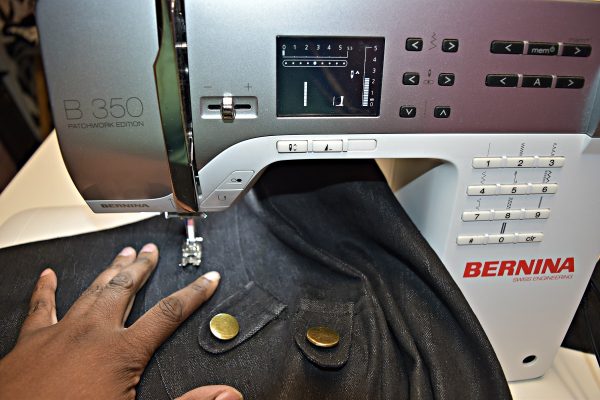
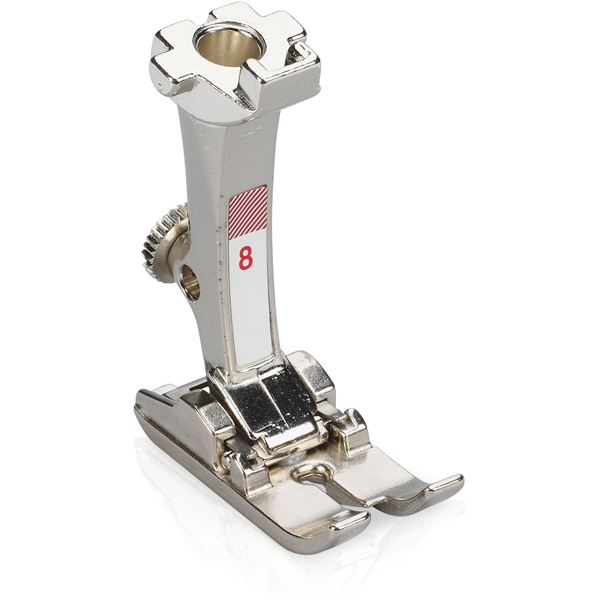
- Sewing machine (I use a BERNINA 350PE)
- If using denim you can use the Jeans foot #8
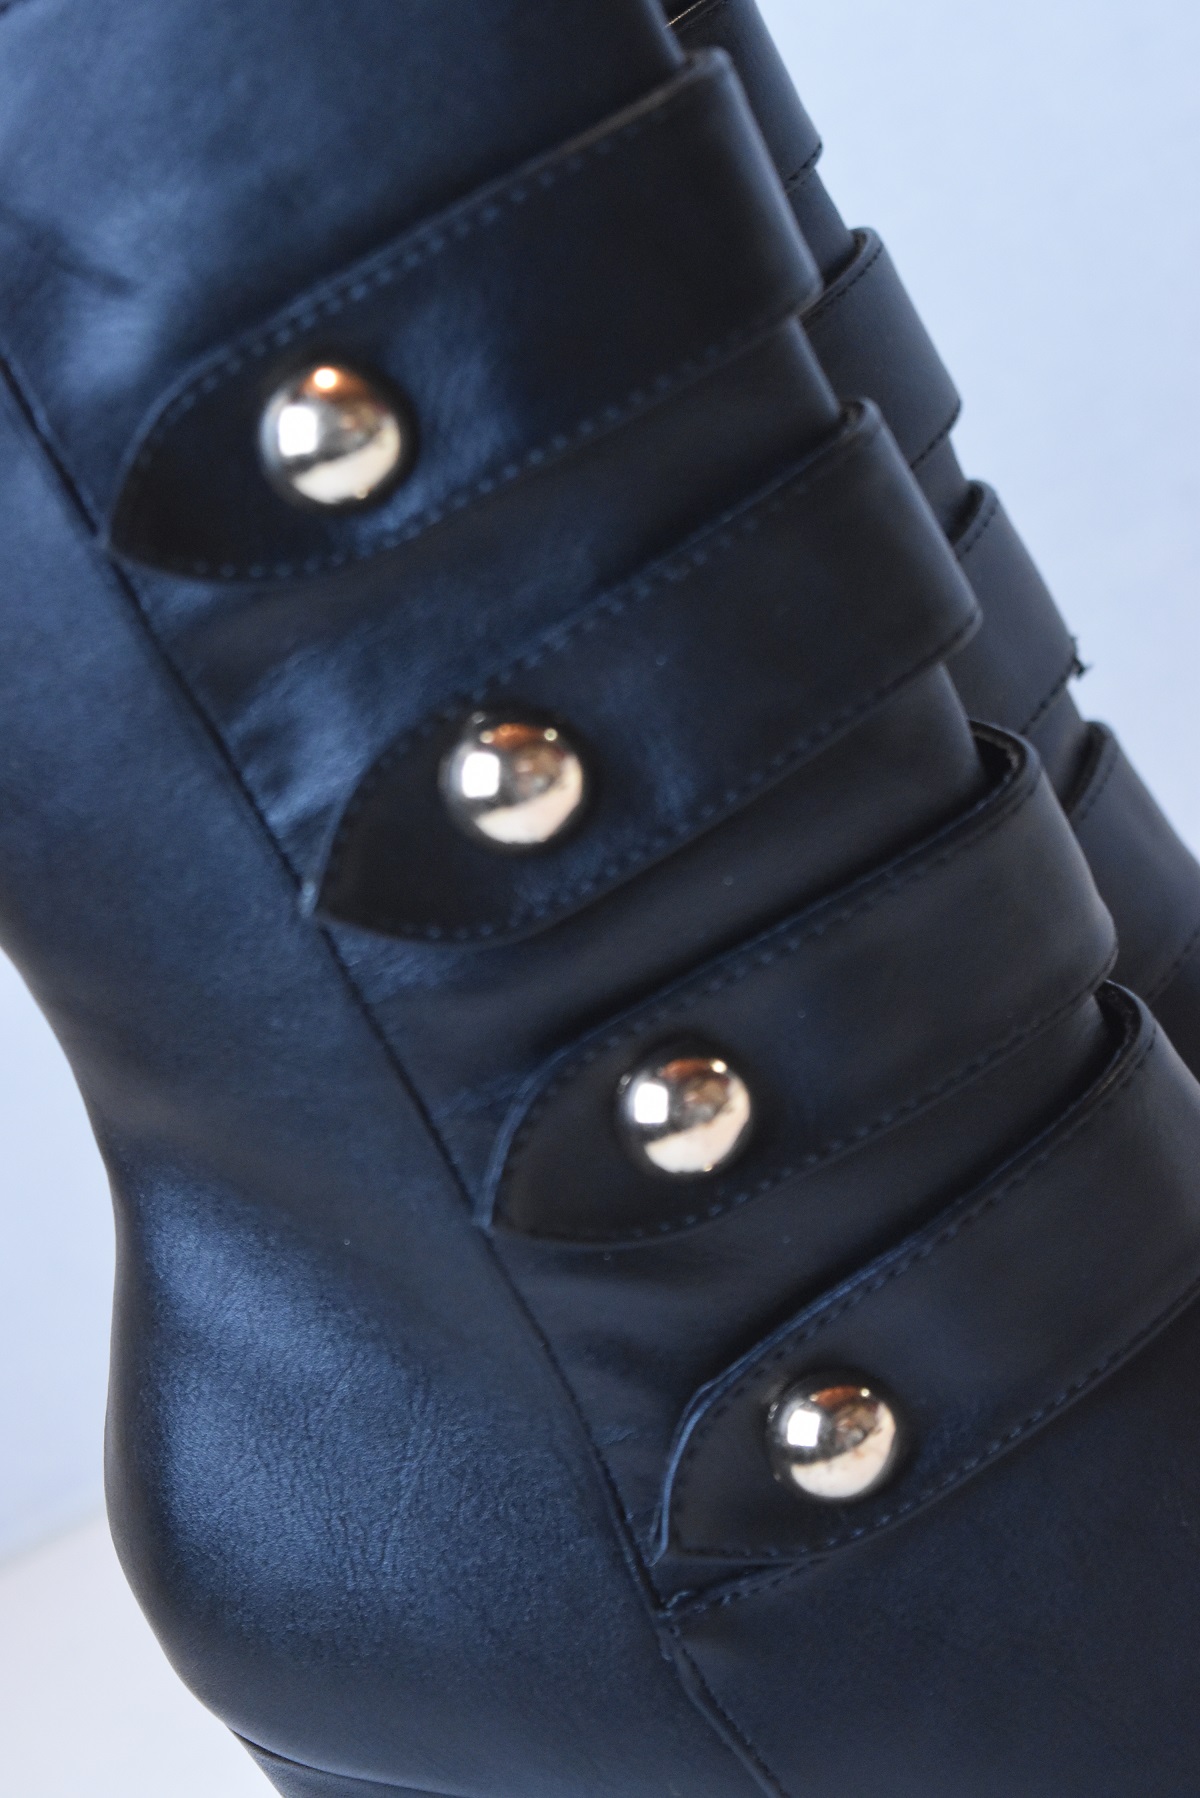
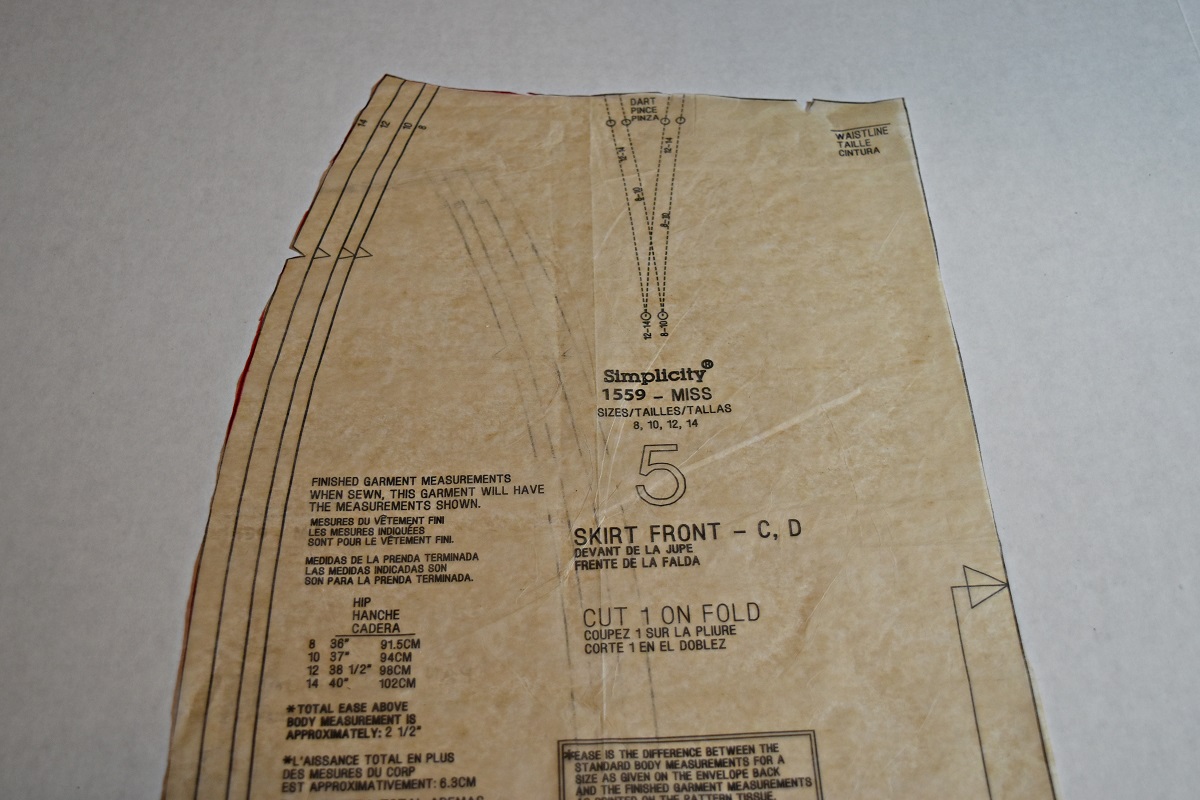
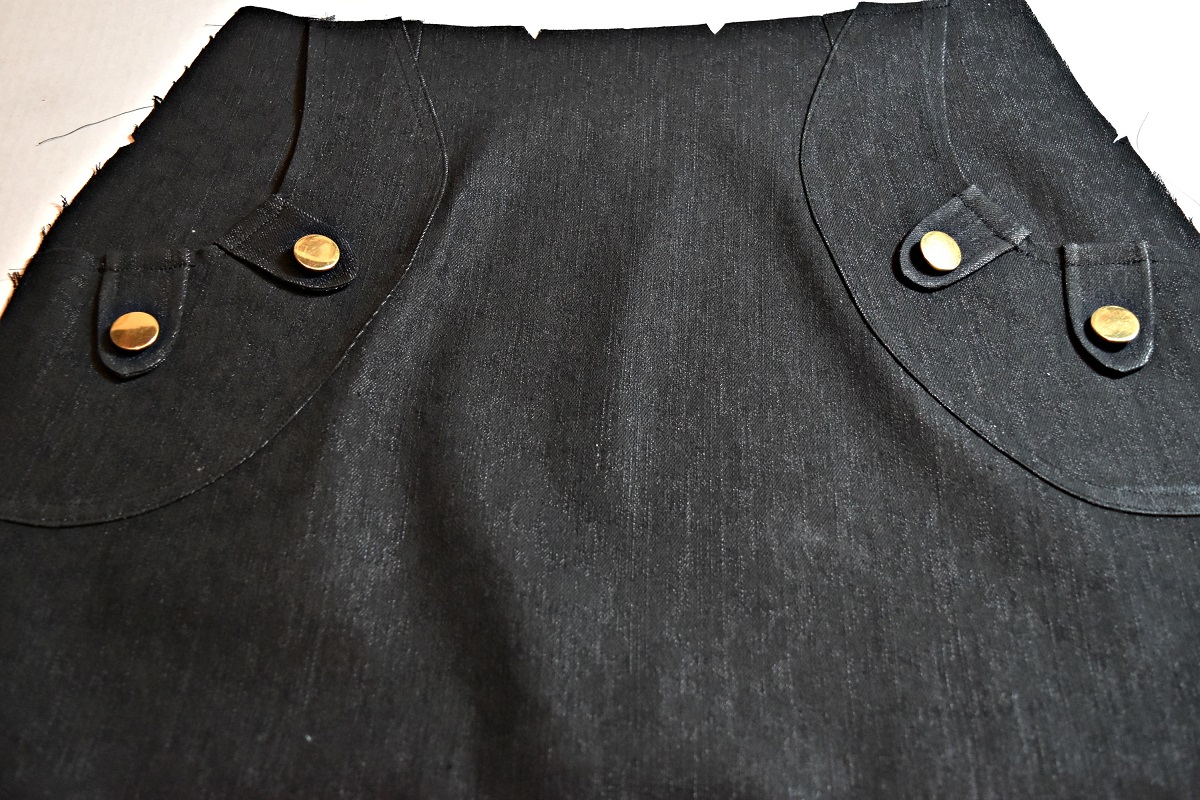
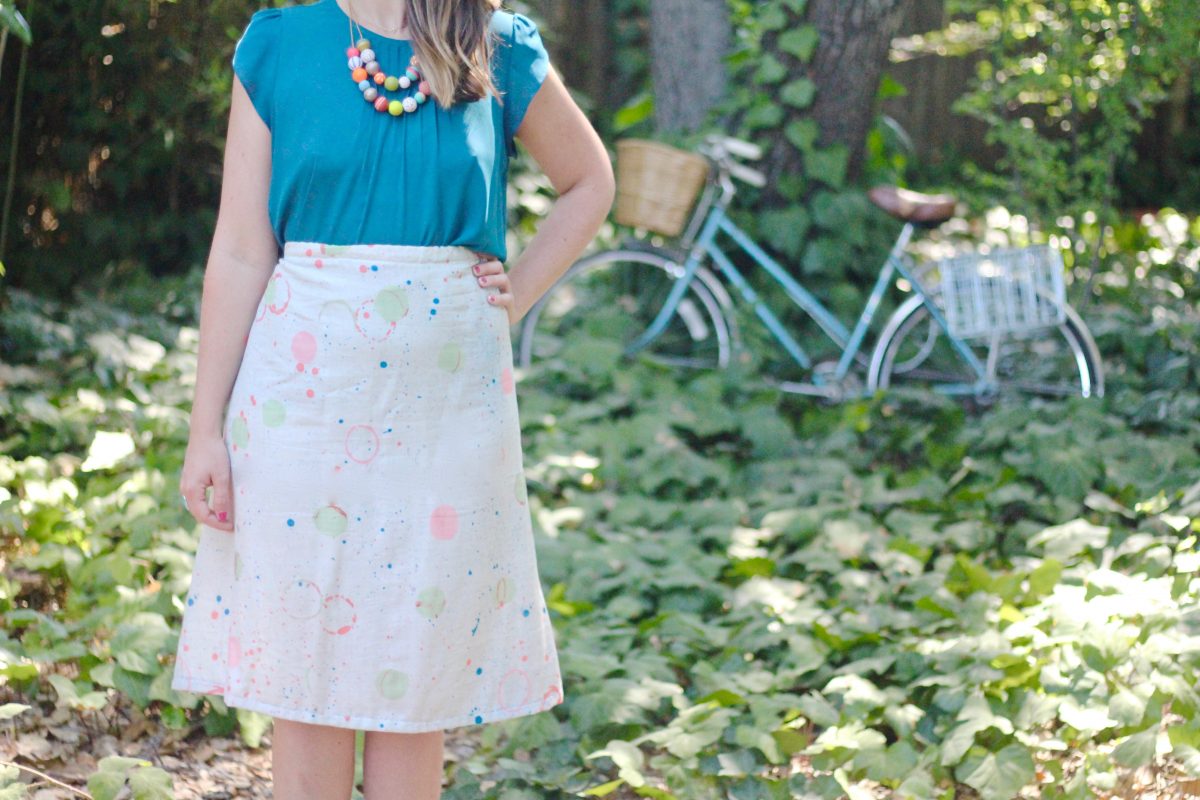
So, Boots on deck, buttons on deck and I used my go-to skirt pattern Simplicity 1559. I decided I would make statement pockets for the skirt which would include the buttons. The pockets I made were more decorative than functional. They were not very deep but they could hold your lipstick. This is a cute pattern hack that can take a simple skirt to an awesome skirt.
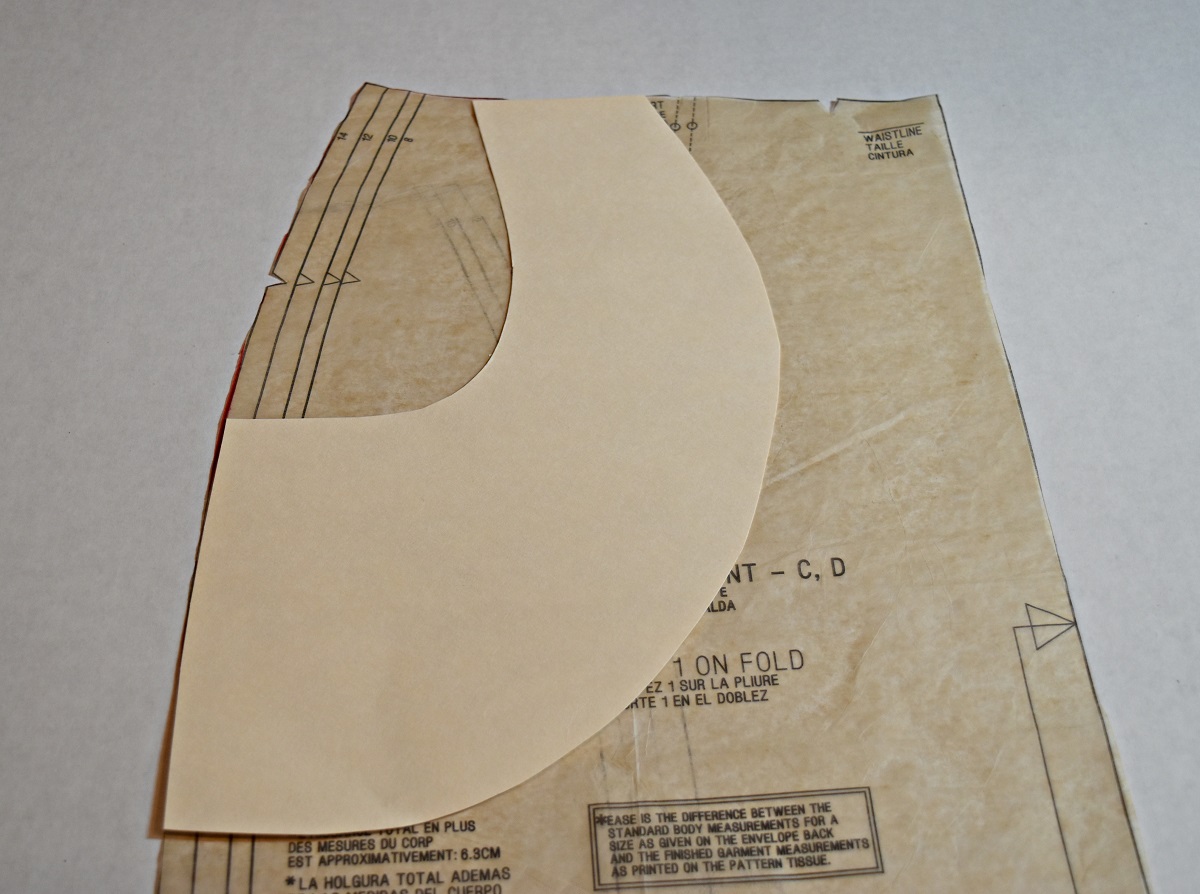
I used a simple shape because I didn’t really know how it was going to work out. I also used a wearable denim muslin for the project.
Step 1: Choose your pattern
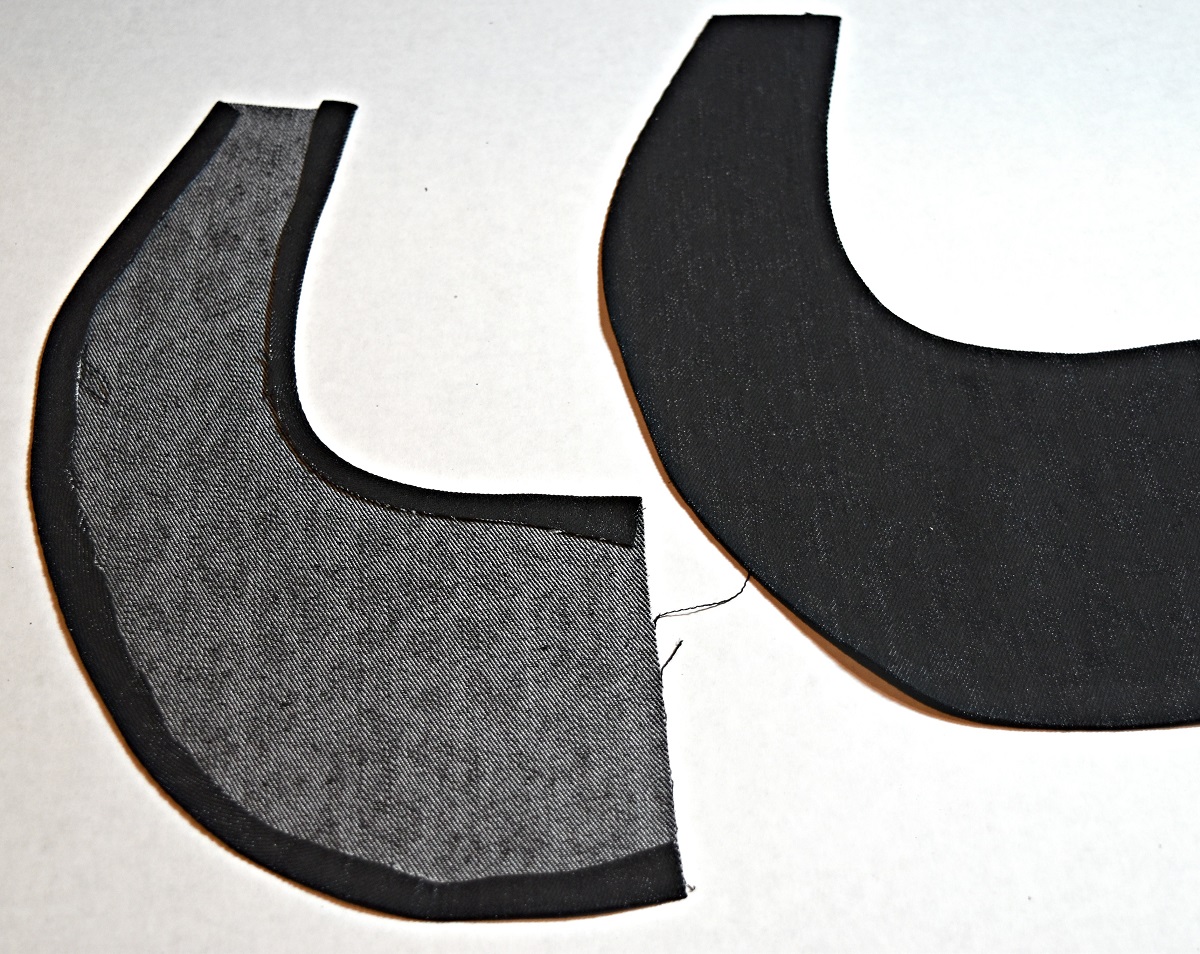
Step 2: Create your pocket shape on the pattern piece and cut two pockets. My pockets are 11″ long x 8″ wide.
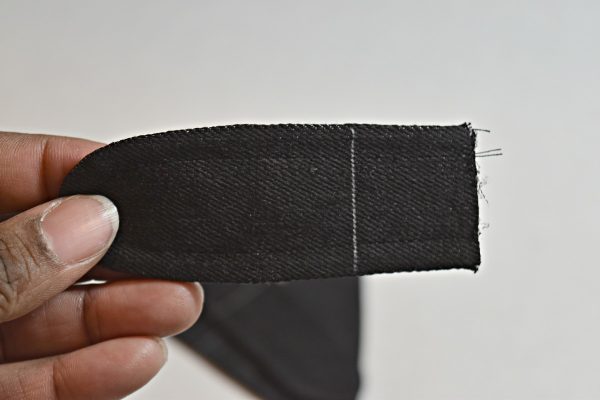
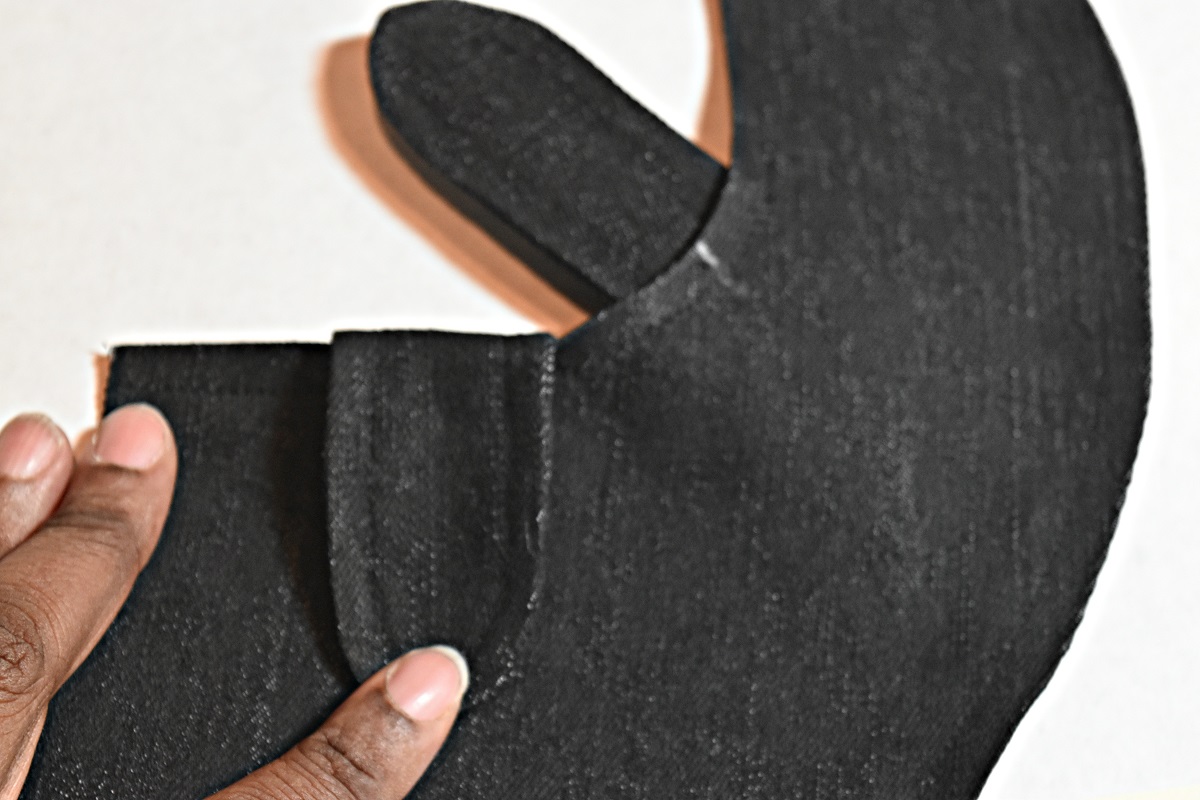
Step 3: Create your tab pattern and cut out 8 pieces. The tabs are 4″ long x 2″ with a 1/4″ seam. 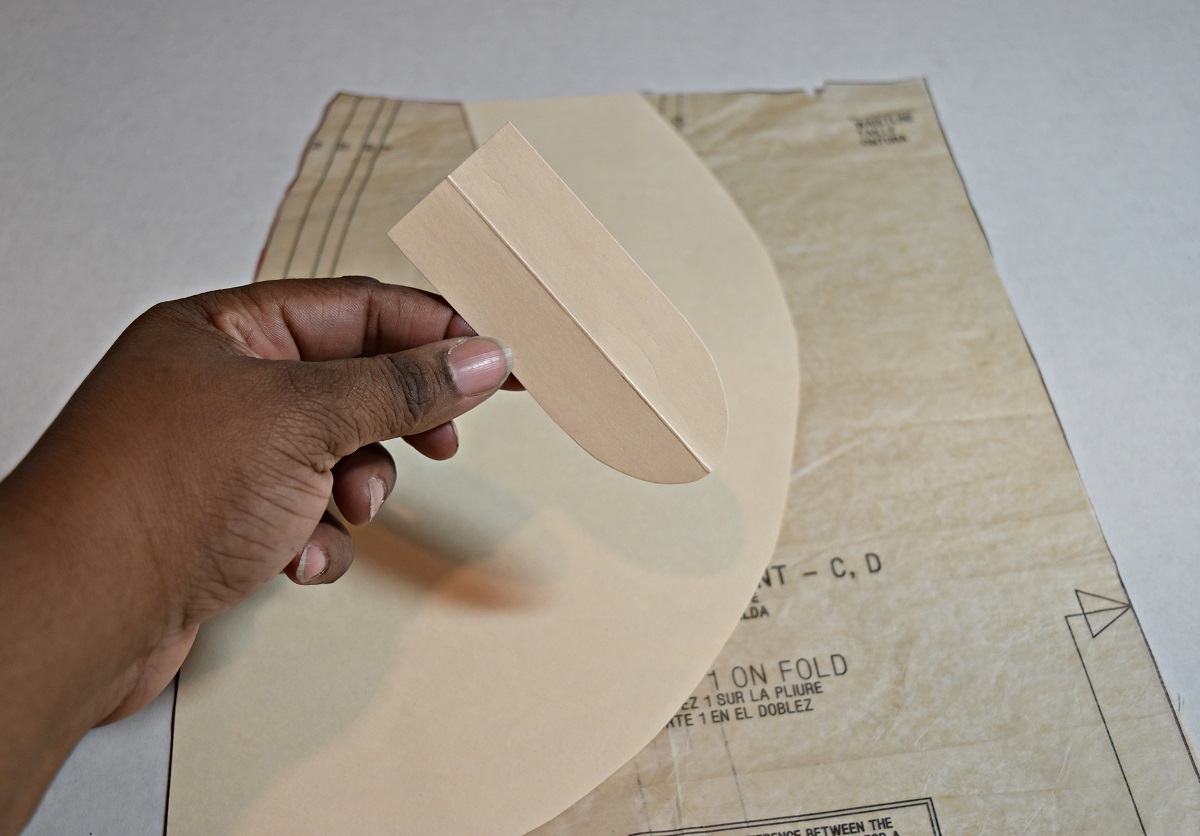
Step 4: Fold the edges of your pockets under about 1/2 inch adding one row of top-stitching about 1/4 inches away from the edges.
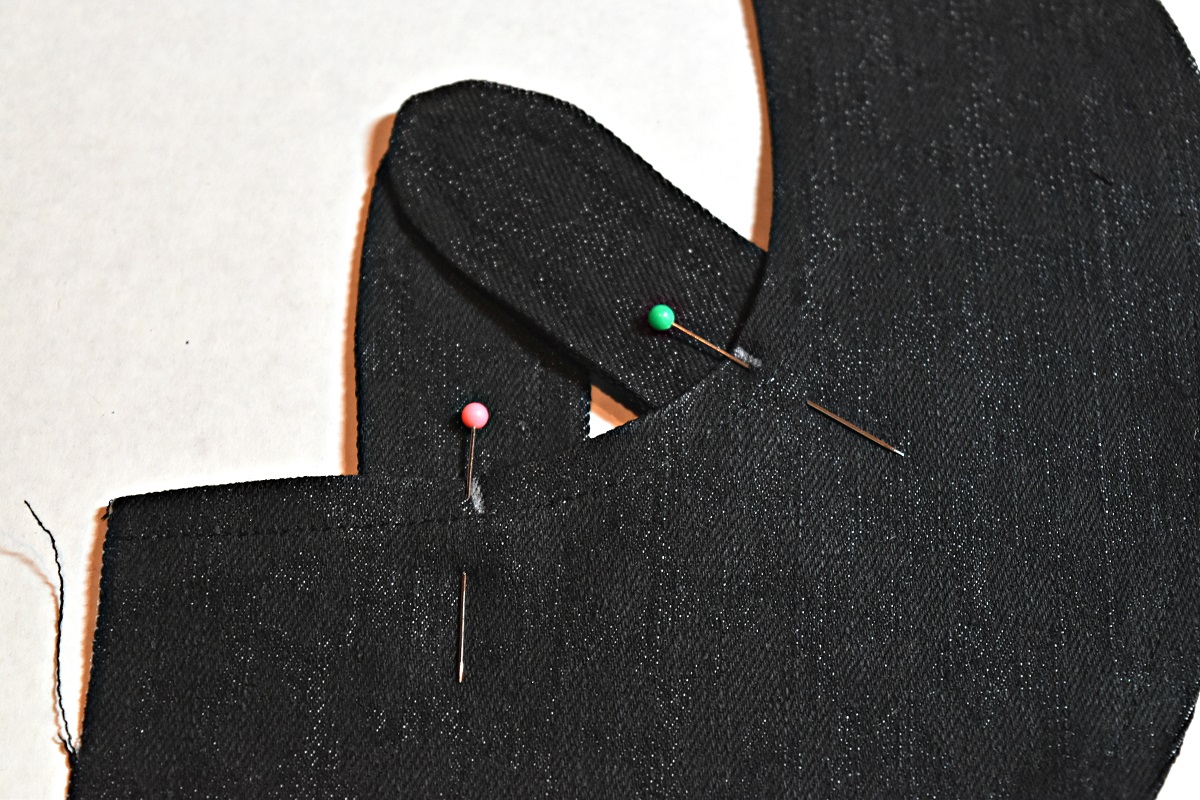
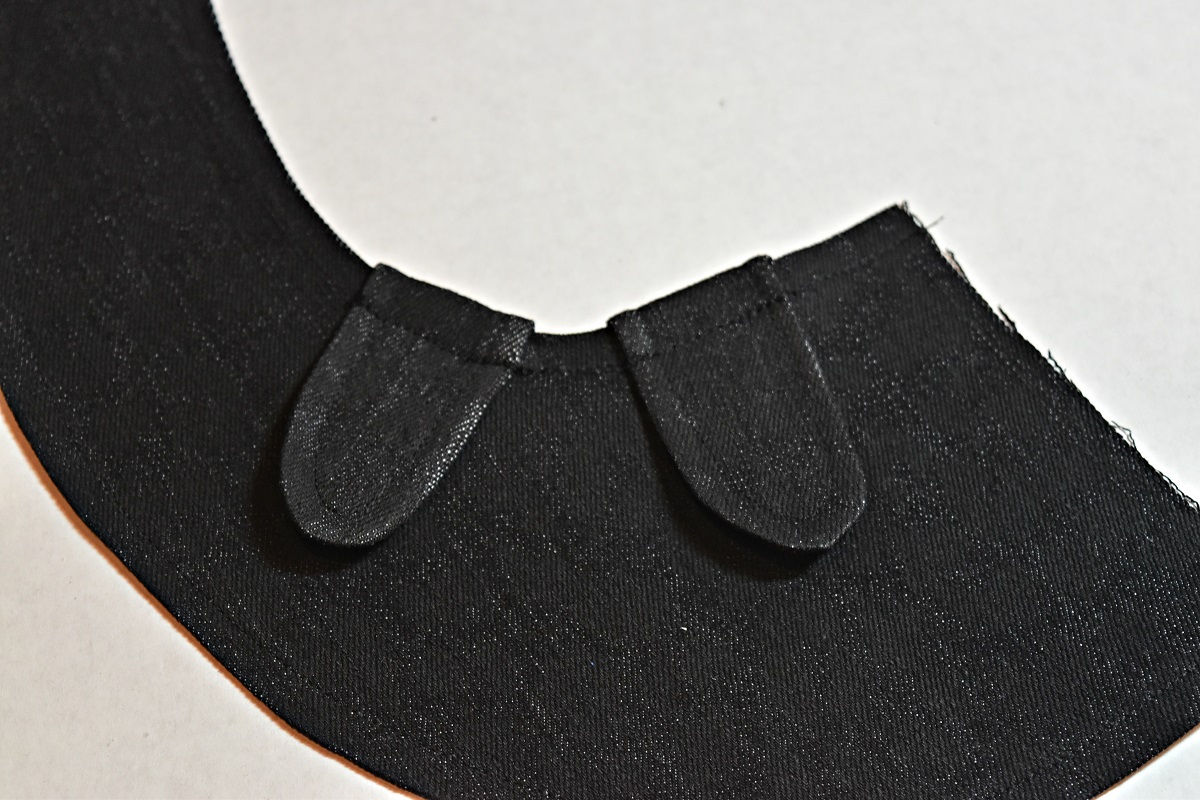
Step 5: Sewing the tabs. (8 pieces equals 4 tabs. The tabs are 4″ long x 2″ wide and my seams are 1/4″ wide.) Take two pieces and sew them right sides together, leaving the straight end open. Turn each tab to the right side and press. I added a single row of top-stitching once they were pressed. Now you will need to mark a line on each tab, these lines will help with placement on the pocket.
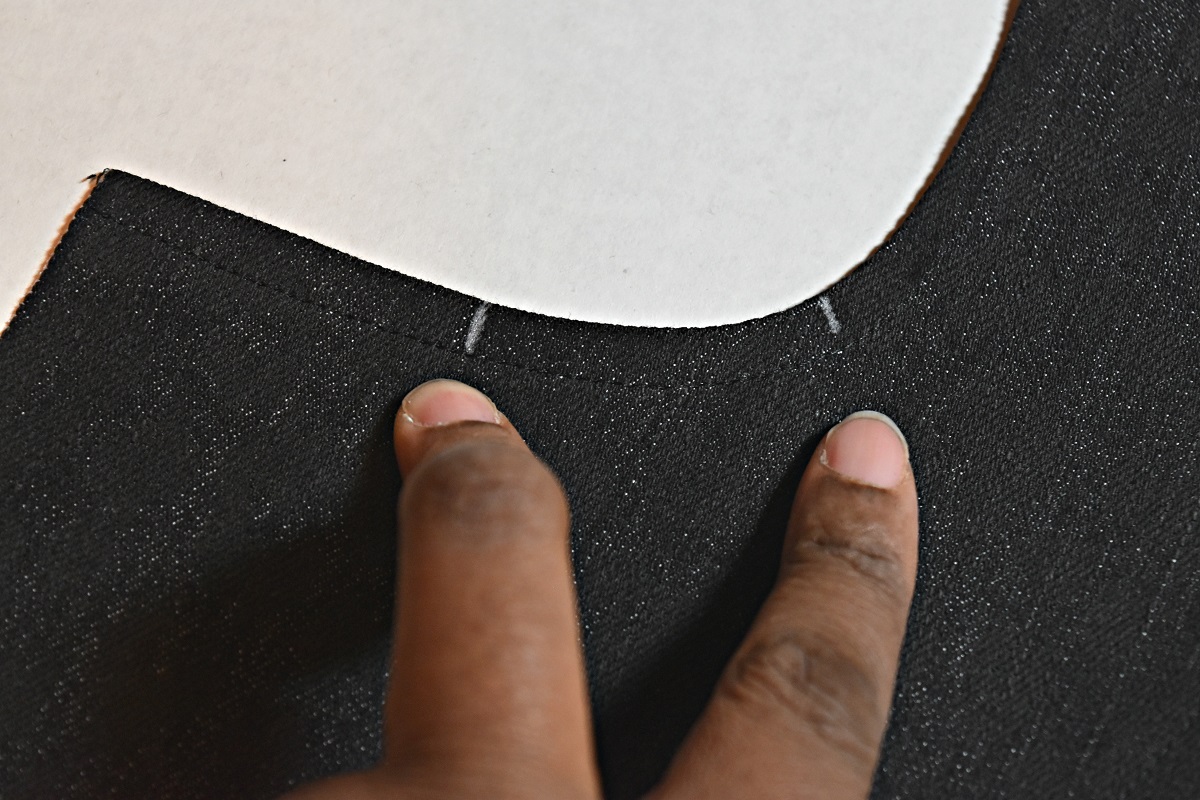
Step 6: Mark your tab placement on your pockets.
Step 7: Now pin the tabs in place and stitch. Make sure you are stitching on top of the top-stitching already on the pocket.
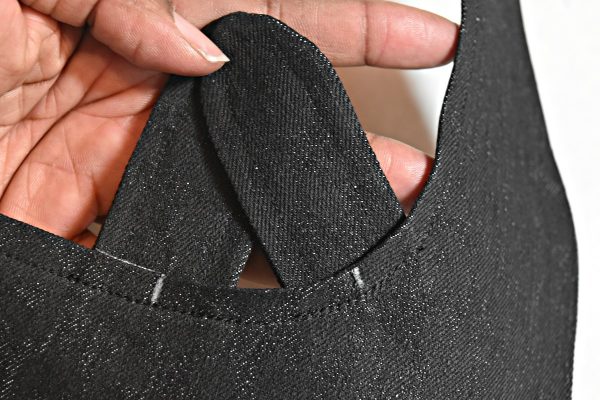
Step 8: Now fold the tabs down and press in place. You will sew them down going over the top-stitching already in place (this will make your 3rd time stitching on the same line).
Step 9: Add buttons or embellishments
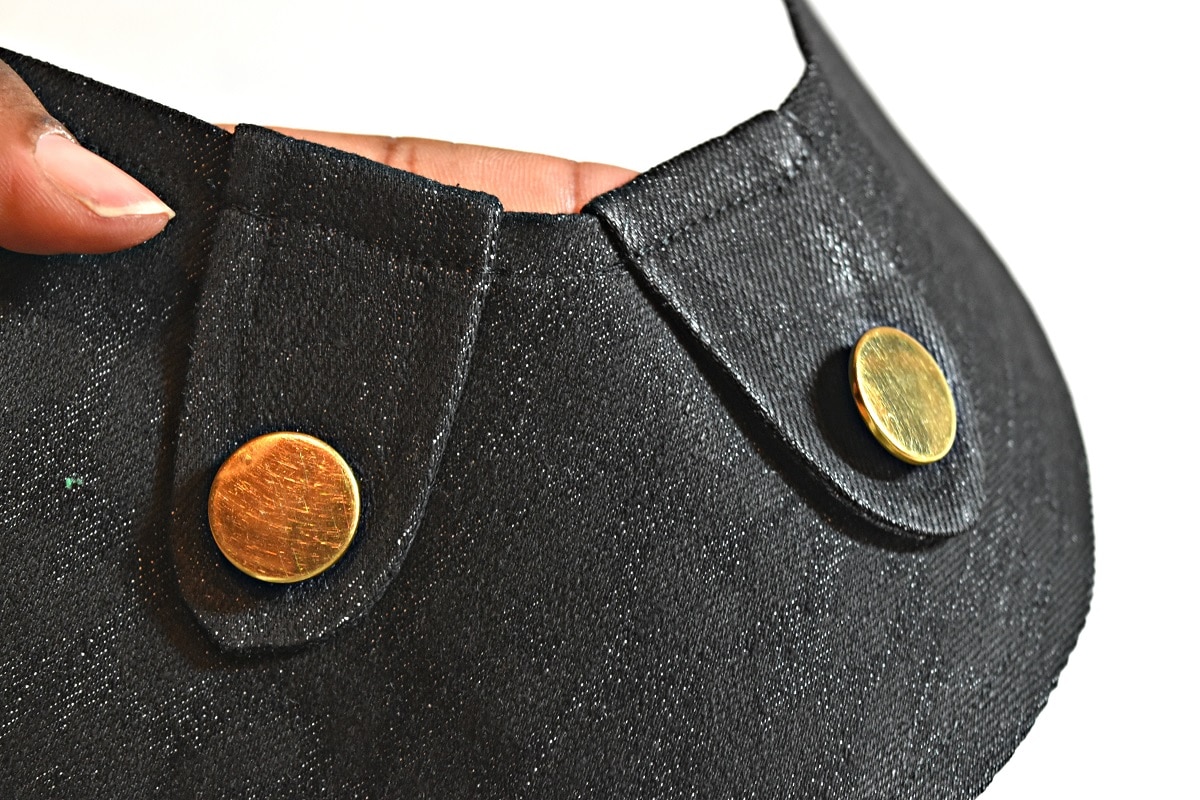
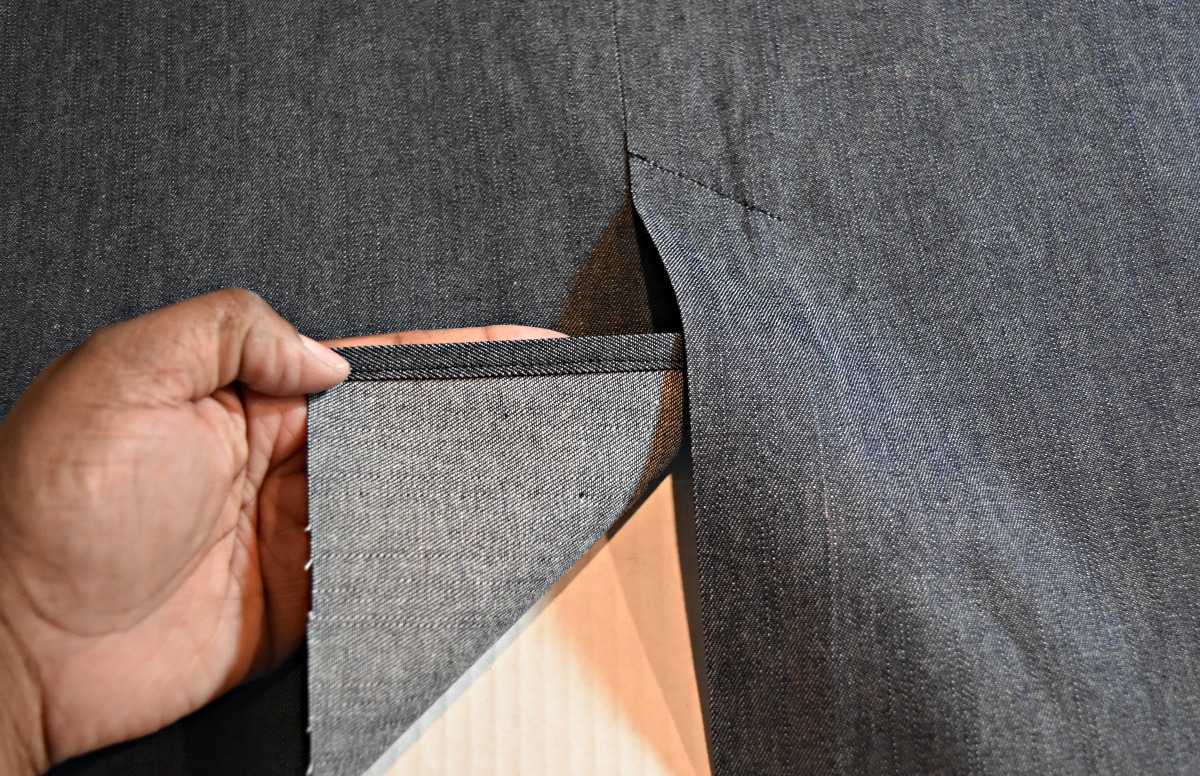
Step 10: Attach the pocket to your skirt front adding a second row of top-stitching around the large curve, securing the pocket to the skirt. Tack the top and side of the pocket to hold in place with machine stitching.
Now complete the construction of your skirt following your pattern instructions.


This would be a great beginner project to add a custom touch to a simple pattern, it would also be a great Mommy and me sewing project with your teen sewist. Thanks for dropping by and I hope you give this hack a try!
Michelle
Used Products

What you might also like


4 comments on “How to Add Pockets to a Skirt”
-
-
Love it! Way to go – super cute – completely makes the skirt. Thanks, Michelle, and thanks, Bernina. I love these kinds of projects.
-
Thanks!
-
-
Thanks a bunch!
Leave a Reply
You must be logged in to post a comment.

Love this skirt – thanks for all the details .
Please,please ,please add more garment sewing ideas !!!!!
I’m tired of cutesy projects & quilts – no offense but Bernina is lacking in garment ideas .