How to Add a Fusible Binding
There are 19 sewing days left before Christmas; how many of you have finished your holiday gift sewing? Today’s post on from Laura Wasilowski is going to save me lots of time on all the folded boxes I have planned – I can fuse the bindings! I really wasn’t looking forward to binding all those corners! (At last count, ten sets of three pieces each, or 120 corners – yikes! What was I thinking?) Here’s Laura to show us how she does her quick and easy fusible bindings.
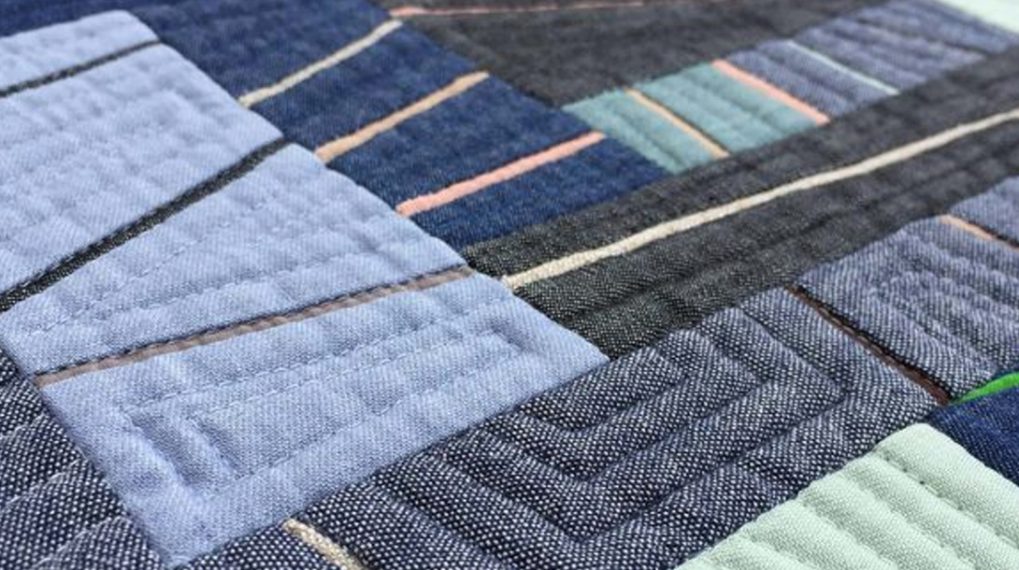
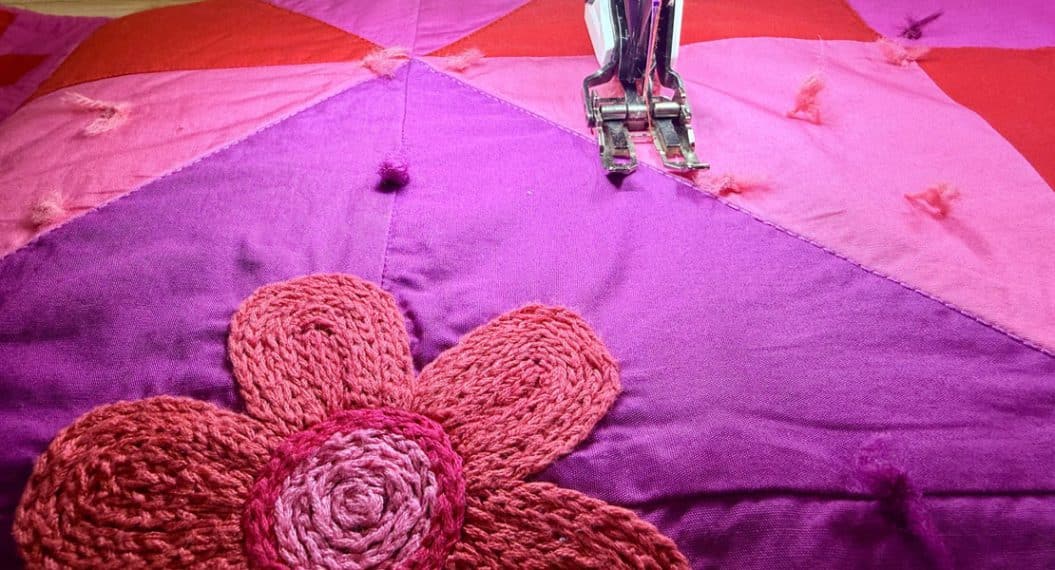
Birdland #12 by Laura Wasilowski

How to add fusible binding to your quilt
Do you choose to fuse? Using fused fabrics to create art quilts lets you improvise and make pictorial art work easily. It’s a very free and fast technique. In fusing you are not confined to matching points or exact seam allowances. You go right to the art making.
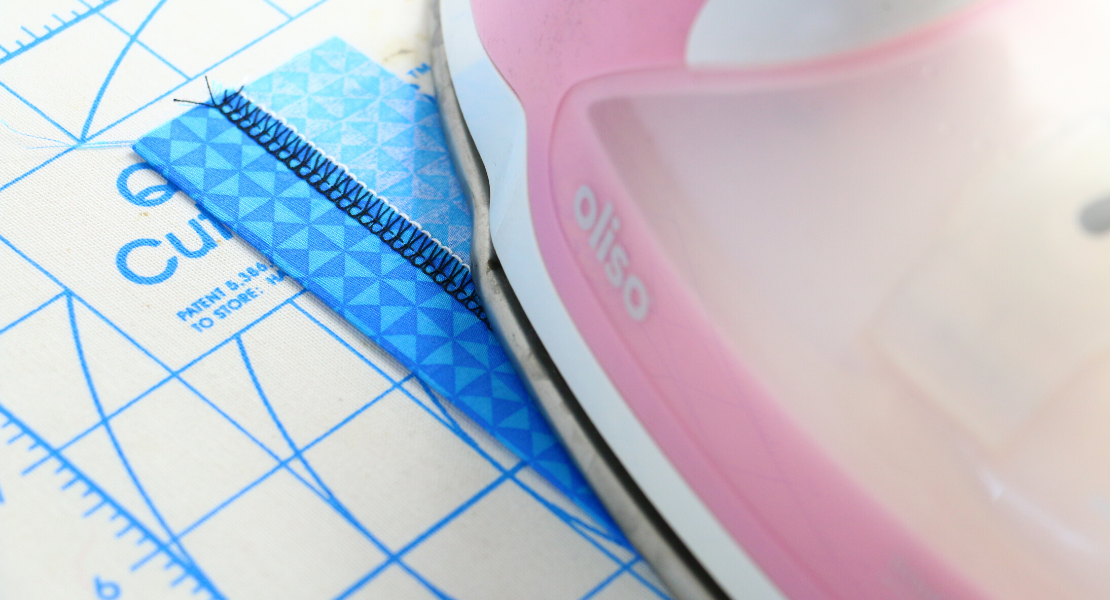
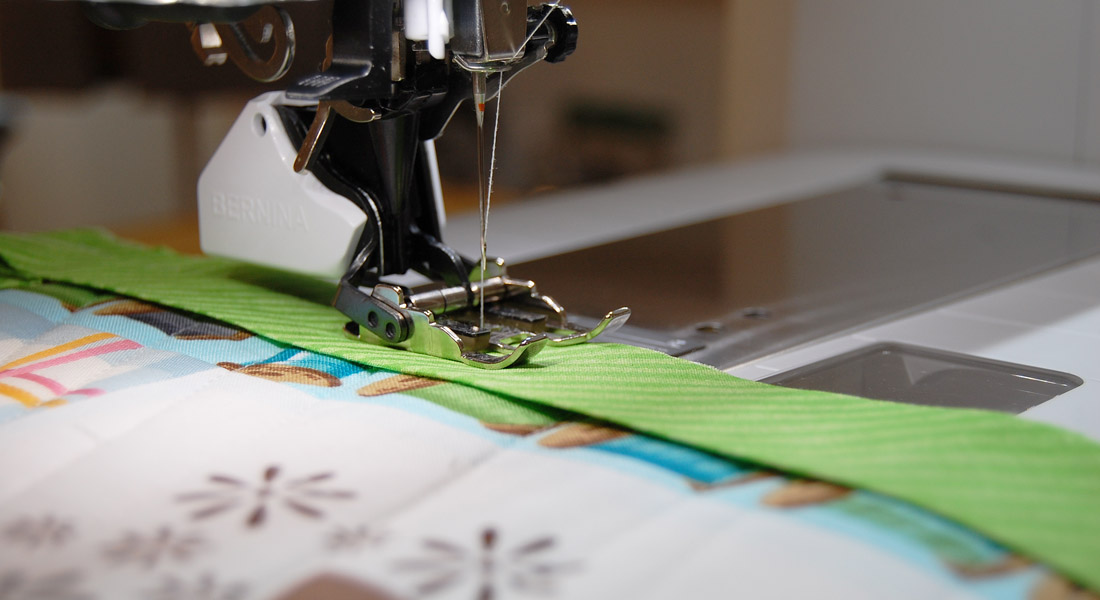
Since I choose to fuse, I also choose to add a fused binding to my artwork. And adding a favorite decorative stitch on my BERNINA 750 QE only adds to the fun. A fused binding with a decorative stitch is a quick way to finish up your quilts so you can move on to making even more artwork!
Follow these easy steps to add a fused binding to your next art quilt.
Trim the finished quilt square with a ruler and rotary cutter and add a hanging sleeve if necessary.
Apple fusible web, such as Steam-a-Seam 2, to the wrong side of your binding fabric. Peel off the paper backing.
Cut four binding strips from the fused fabric measuring about 1-1/4″ wide with a decorative rotary cutter blade like a pinking blade. Cut two strips the length of the quilt for the side bindings. Cut two strips the width of the quilt plus 2″ for the top and bottom binding.

Place the quilt right side up on the release paper (the paper you removed from the fusible web) and overlap one of the side bindings about 1/2″ on top of the side of the quilt. Fuse-tack into place.

After the fabric cools, remove the quilt from the paper and fold the side binding onto the back of the quilt. Fuse-tack into place.

Repeat on the other side of the quilt using the remaining side binding.
Place the quilt right side up on the release paper and center the top binding strip across the top edge of the quilt. (There will be about a 1″ flap extending from each end of the quilt.)

Overlap the binding about 1/2″ onto the top edge. Fuse-tack into place.

Remove the quilt from the release paper and cut off 1/2″ triangles from the top outside corners of the binding flaps.

Fold the two side flaps in toward the quilt. Align the fold with the edge of the quilt. Fuse-tack into place.

Fold the corner of the binding down to the back edge of the quilt at a 45° angle as if wrapping a package.

Fold the rest of the binding down on the back of the quilt. Make sure the corners are crisp and square. Fuse-tack into place.

Repeat for the bottom edge binding.
Steam set the binding strips on both side of the quilt, holding the iron in place about 10 seconds in each spot.

Machine-quilt the binding with a favorite decorative stitch to secure the binding and hanging sleeve.


To see more of my artwork and learn more about creating fused art quilts, please visit my website, Artfabrik. Or check out my class on Craftsy, Hand-Stitched Collage Quilts.