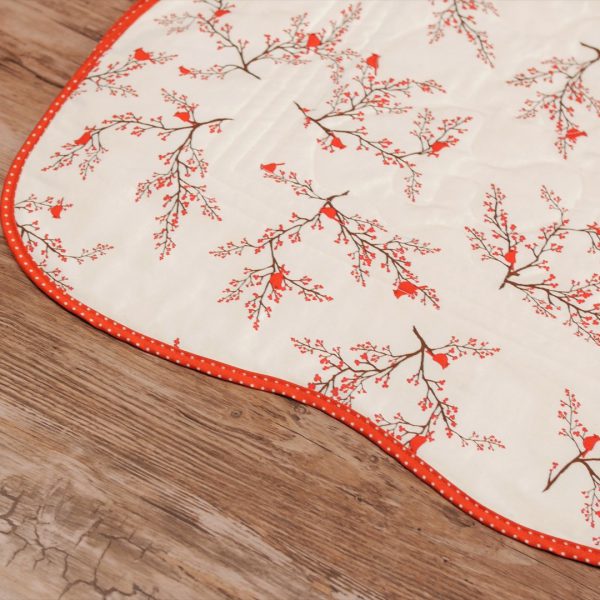
How to Finish a Quilt with Wavy Binding
Do all of your quilts have traditional binding with mitered corners? Are you ready to try a new technique for binding your quilts? This tutorial on wavy binding is simple and a quick way to get your quilts finished.
The key to this technique is the BERNINA Binder Attachment for Unfolded Bias Tape #88. I’ll show you how to use this attachment and why it’s so impressive and should be part of your sewing accessories. I recommend reading through this whole tutorial first, and then practice with some test sewing. This technique is not speed sewing, and you will need to be vigilant. But no matter how slow you sew, this method is still much faster than hand binding, and it is a fun alternative!
Machine Set-up
- BERNINA 770 QE
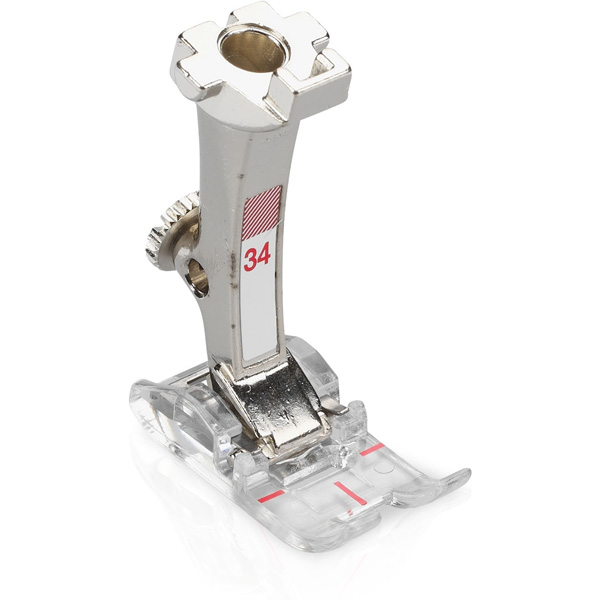
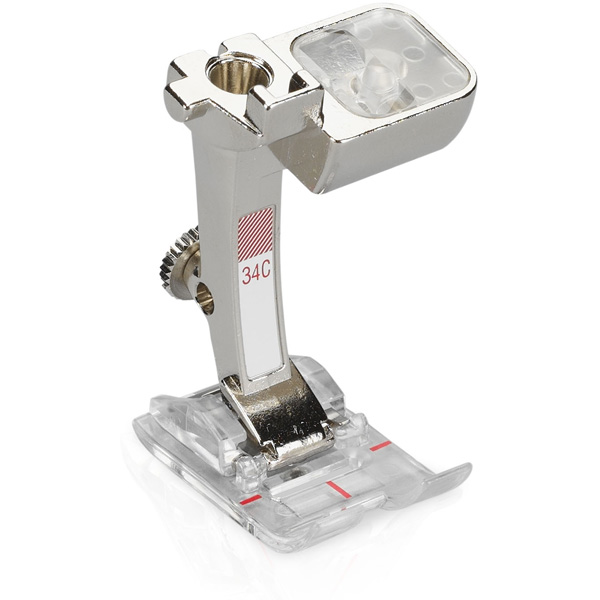
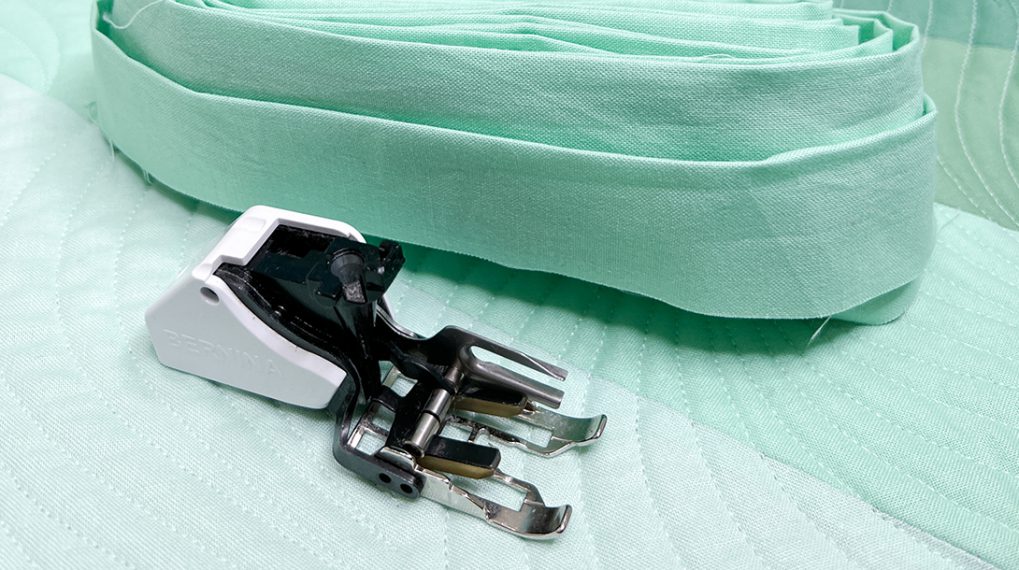
- Reverse Pattern Foot with Clear Sole #34/34C/34D
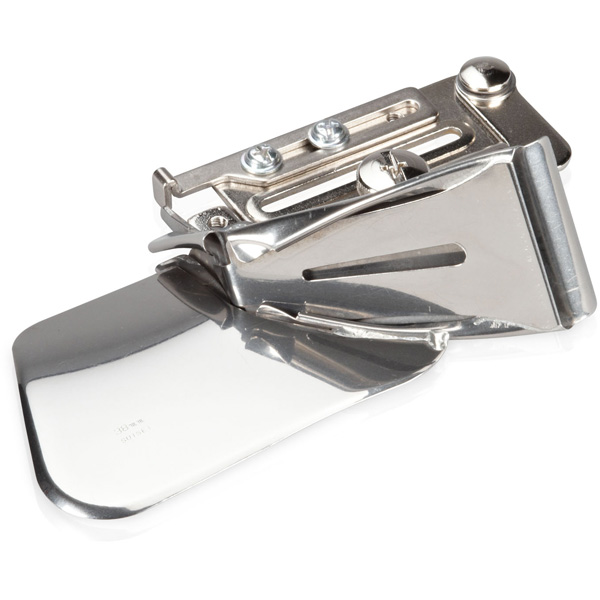
- Binder Attachment for Unfolded Bias Tape #88
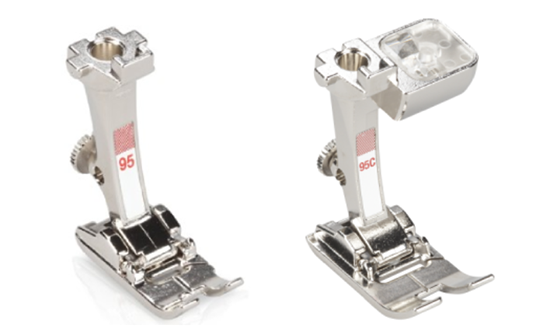
- Binder Foot #95/95C
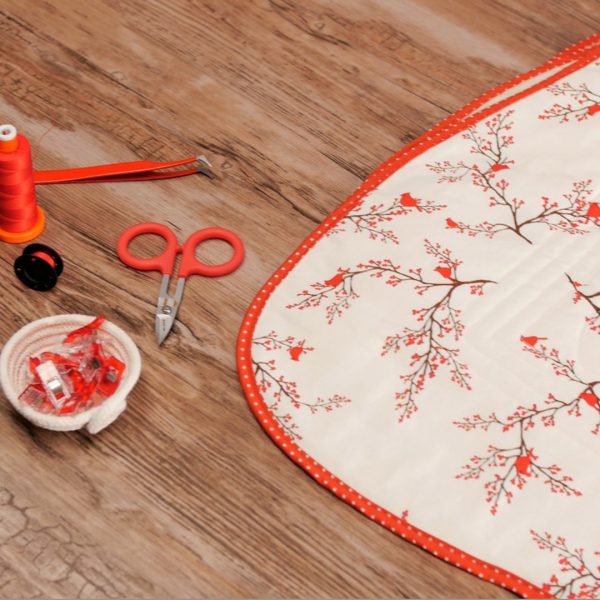
Materials to Finish a Quilt with Wavy Binding
- Quilt top ready for binding
- Bias binding 32 mm (1 ¼”) strip—length of quilt perimeter plus 20”
- Scallops, Vines & Waves Template by Quilt in a Day
- Mettler 50 wt thread
- Temporary marker
- Temporary glue
- Stiletto
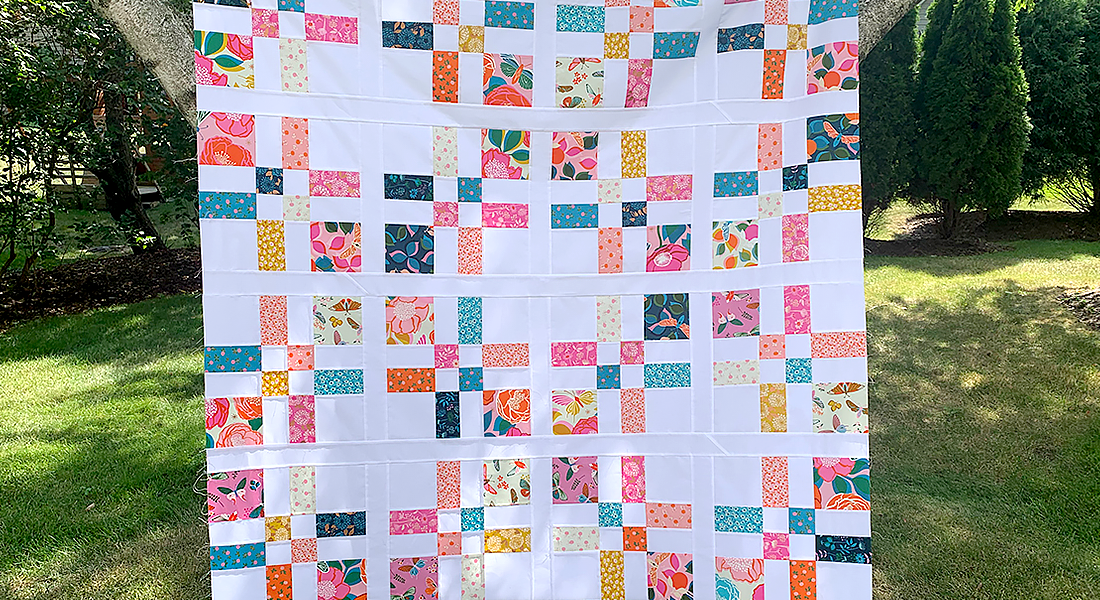
Prepare the Quilt Top for Binding
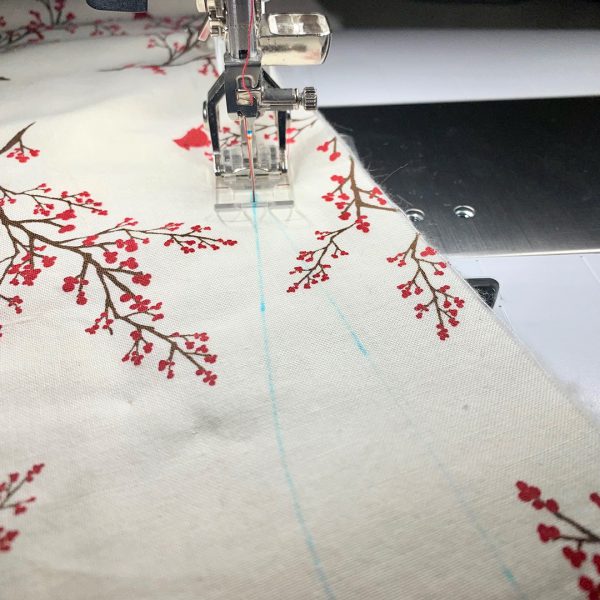
The first thing we need to do is mark the quilt top with wavy lines. I am using the Scallops, Vines & Waves Template by Quilt in a Day. To keep everything lined up nicely, mark a line parallel to the raw edge of the quilt. The distance from the edge will depend on the wave size you select on the template. Follow the directions that came with your template for marking your wavy lines and drawing the corners.

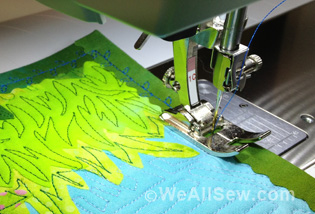
Once the outline is drawn, we need to sew a straight stitch along the wavy lines. This is when Reverse Pattern Foot with Clear Sole #34/34C/34D is very useful. The visibility of the foot and the center red mark on the foot helps to sew along the marked line. Using a contrasting thread will make it easier to cut in the next step.
Now, cut next to the stitched line being careful not to cut into the stitches. Remove the excess fabric.

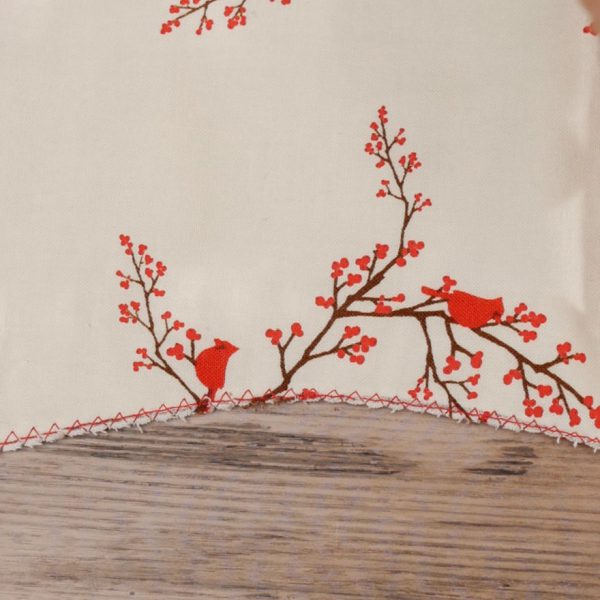
The last step, before adding the binding, is sewing a zig zag stitch along the raw edge. This step is optional, but I find it makes a big difference when sewing the binding onto the raw edge. Select Zigzag Stitch #2, increase the stitch length to 2.5 mm and move needle position to -3. Place the quilt under the Reverse Pattern Foot with Clear Sole so that the raw edge lines up with the center mark on the foot. The left swing of the stitch will land in the fabric and the right swing will fall just off the edge. You may need to adjust your needle position depending on how close you cut to your stitching line.
Binder Attachment #88 and Bias Binding
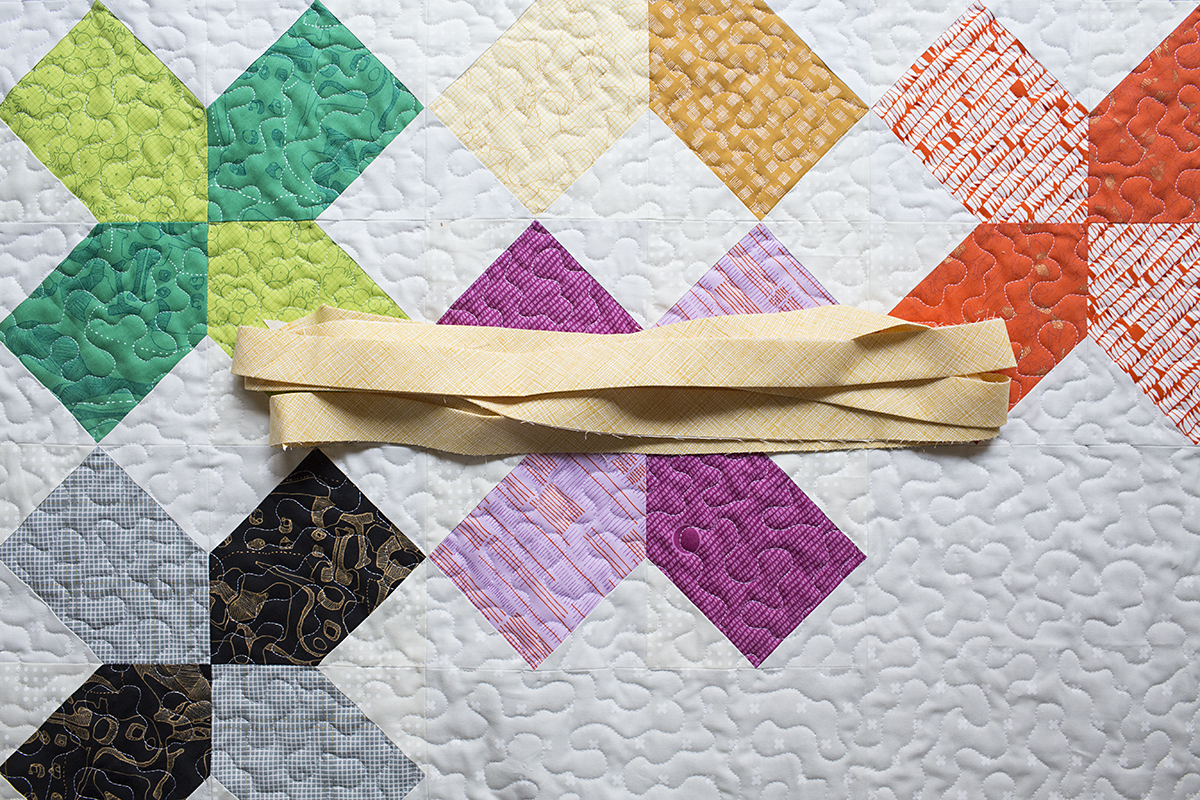
Binder Attachment #88 is available in three sizes – 28 mm, 32 mm and 38 mm. The size corresponds to the strip width you feed into the binder. We will be using the 32 mm size, which means we want our binding strip to be 32 mm in width or 1 1/4″. The binding length is the perimeter of the quilt plus an extra 20”. For this technique, bias fabric is a MUST so make sure to cut your fabric strips on the bias.
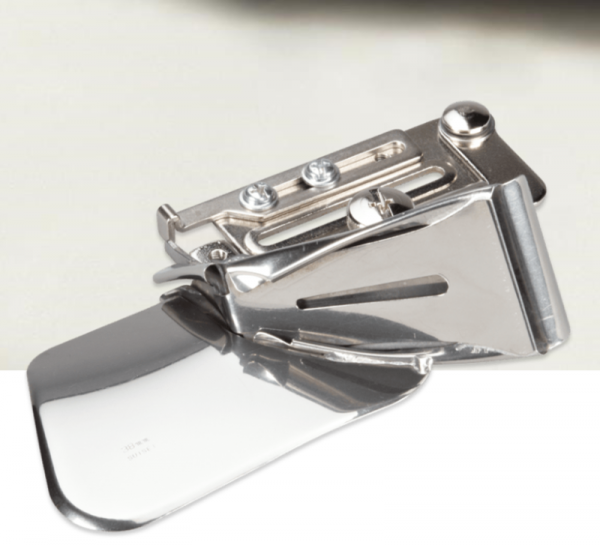
To use Binder Attachment #88, we need Binder Foot #95/95C. The difference between #95 and #95C is the maximum stitch width allowed. Binder Attachment #95 is 5.5 mm and #95C is 9 mm. If your machine allows a maximum stitch width of 9 mm, opt for the #95C. You will have more options with needle position and decorative stitches. Yes, you can play around with decorative stitches too, but that is another tutorial!
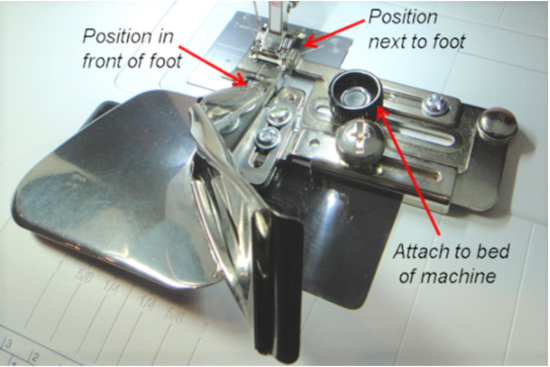
Secure the Binder Attachment to your machine with the black screw (Attach to bed of machine below). It helps to swing the pivot arm out of the way. Before tightening the screw all the way, lower Binder Foot #95/95C and position the side guide so it sits against the right side of the foot. Now, swing the pivot arm in front of the foot. The end of the fabric channel should sit in front of the right toe of the foot. When it is positioned correctly, tighten the silver screw. (Complete instructions will come with the purchase of the binder.)
Add Binding to Binder Attachment #88
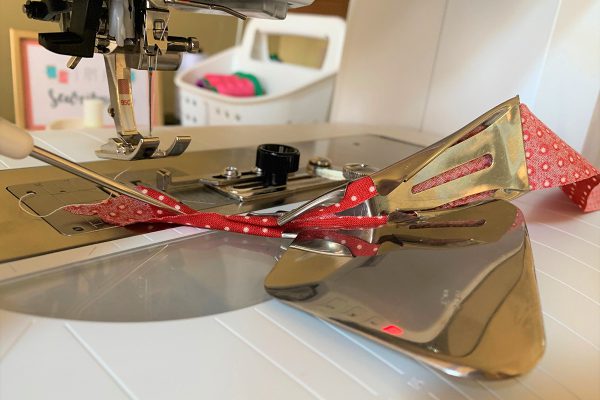
To start, swing the pivot arm out for a better view of the Binder Attachment channel. Cut an angle at one end of the bias binding strip and insert into the channel. Push through the channel using a stiletto or tweezers.
When you get to the bottom of the channel or the “V”, slowly pull through allowing the fabric to fold at the raw edges and then fold in half.
Place the swing arm back in position under the foot with the foot raised. Now pull the folded bias strip towards the back about 3”. Lower the foot.
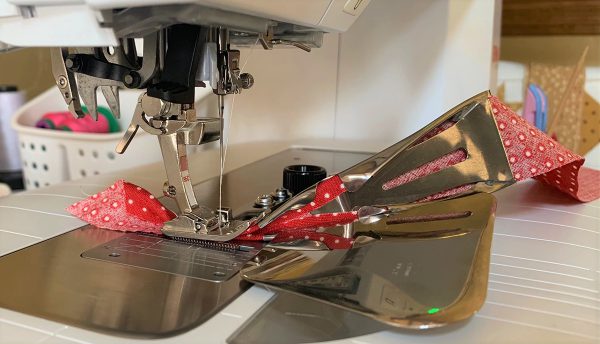
Move the Needle Position to 3 and stitch out a few inches. Check the stitching placement on front and back of binding.
Stitch Binding onto Quilt
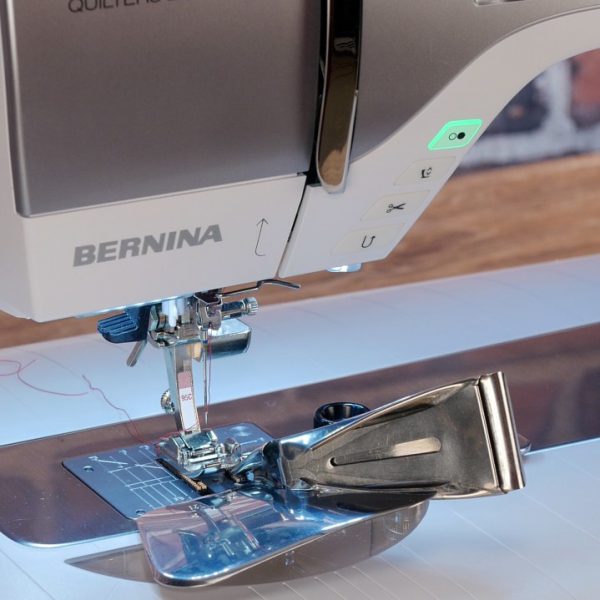
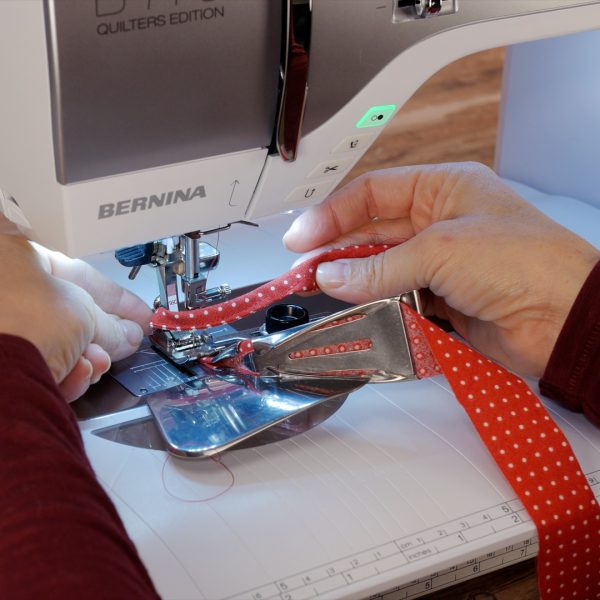
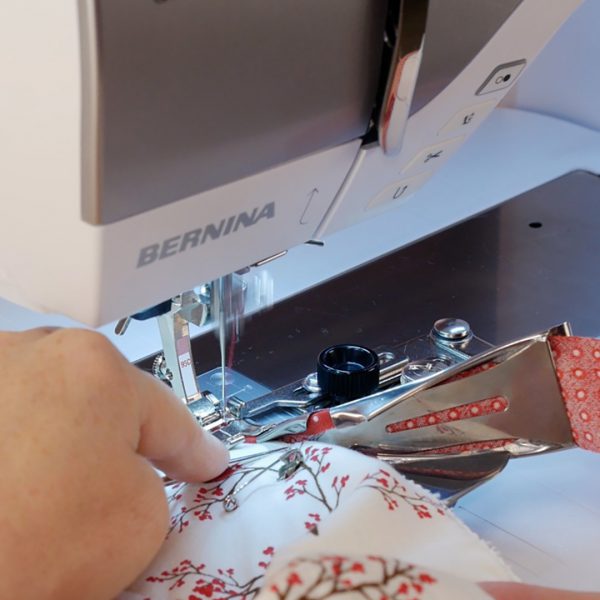
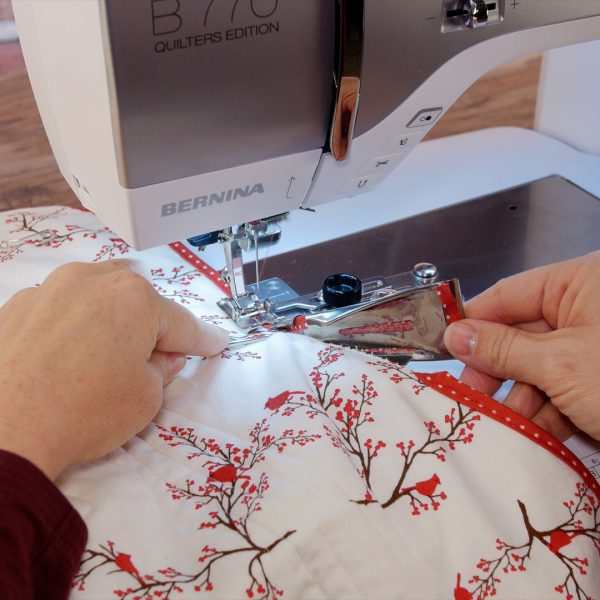
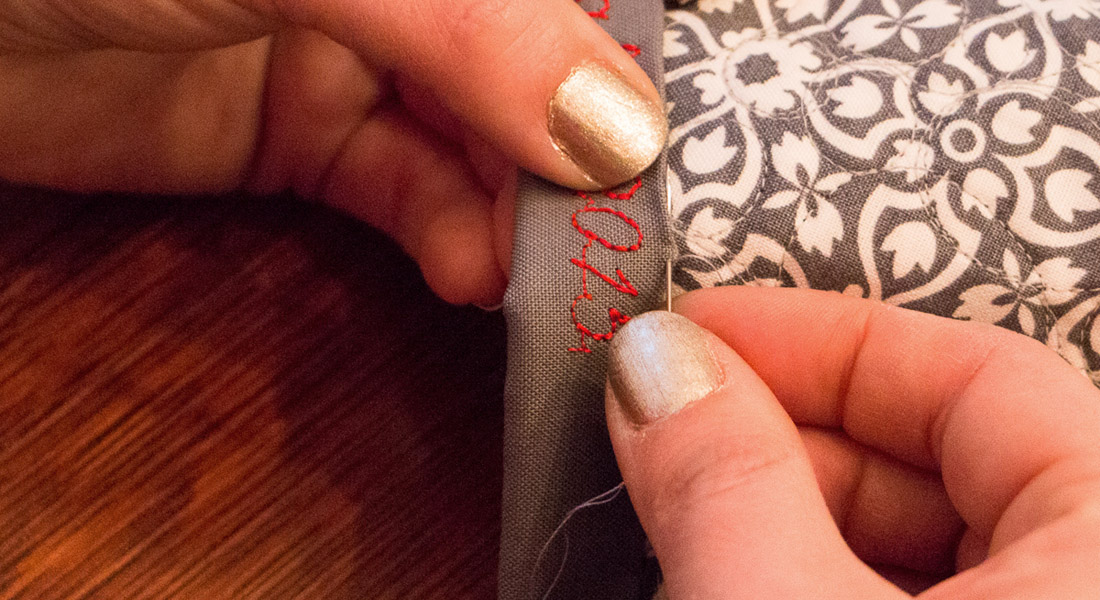
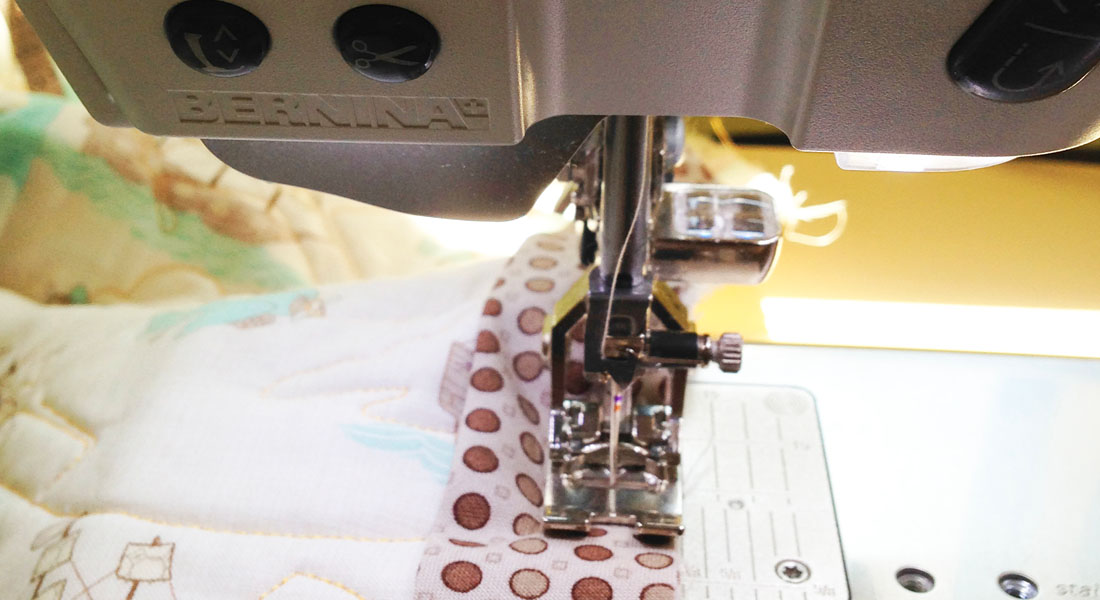
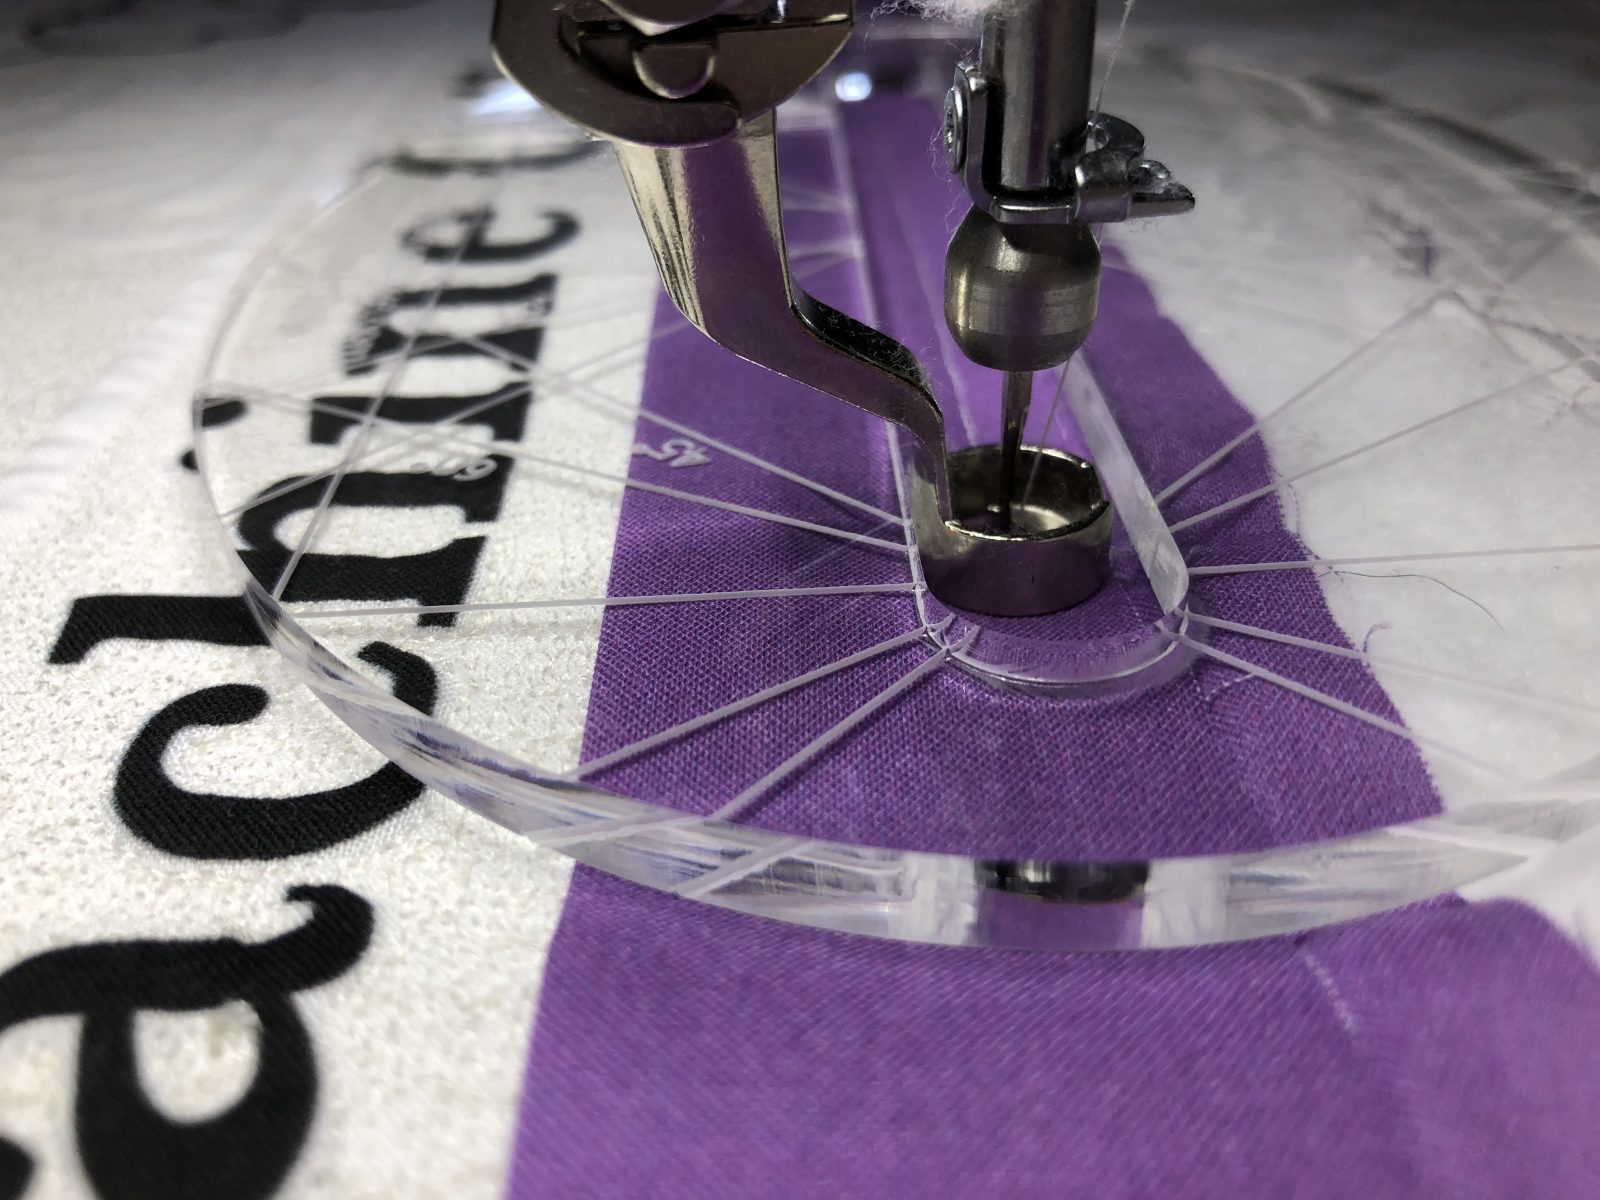
Here is the amazing part! Place the raw edge of your quilt into the “V’ of the Binder Attachment. Using your stiletto, slowly stitch the raw edge of the quilt into the “V” so that the binding encloses the raw edge. The key to this technique is making sure the raw edge is butted up against the “V”. Use your stiletto to keep the raw edge in place just before it feeds under the foot. Check front and back of quilt every 12” or so. This is where you need to be vigilant.
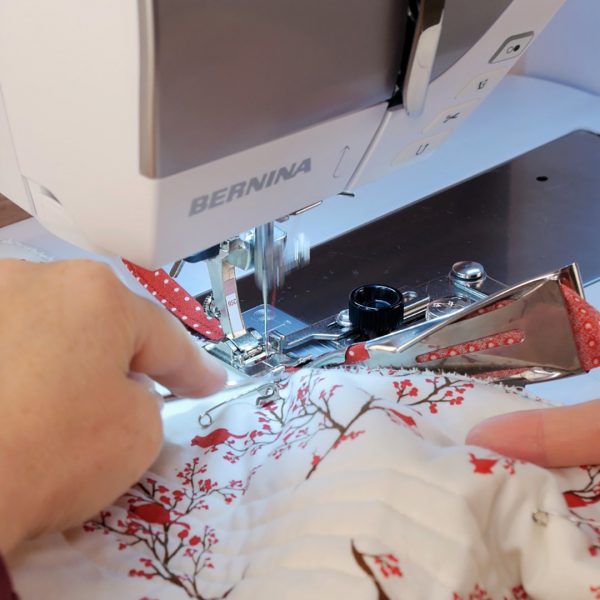
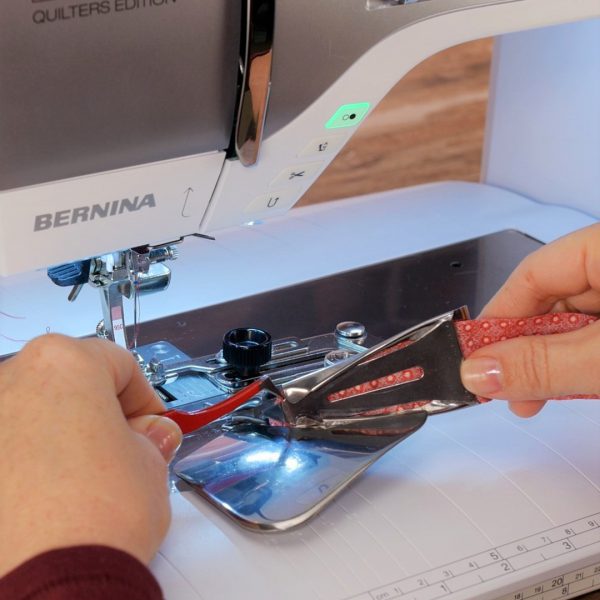
Here is a close-up of how I am using my stiletto to keep the raw edge up against the Binder Attachment as it feeds under the foot.
End Binding
Stop about 5” from your starting point. Cut binding 1” from end of the Binder Attachment channel.
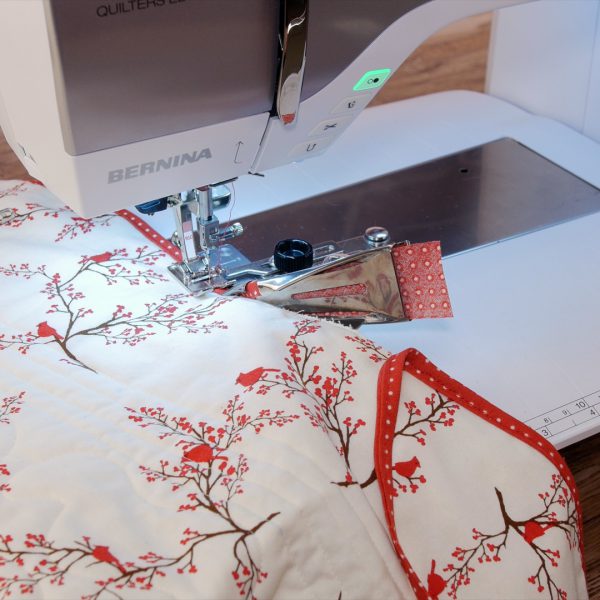
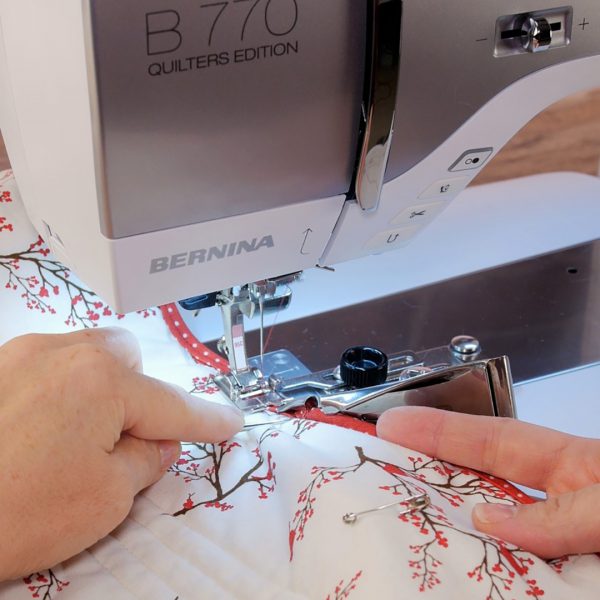
Fold over the end of binding 3/8” and glue in place. Cut the excess binding at the starting point. We are now ready to stitch the remaining binding in place. Start slowly making sure the folded end doesn’t unfold when it enters the Binder Attachment channel. The folded end will stitch over the starting point.
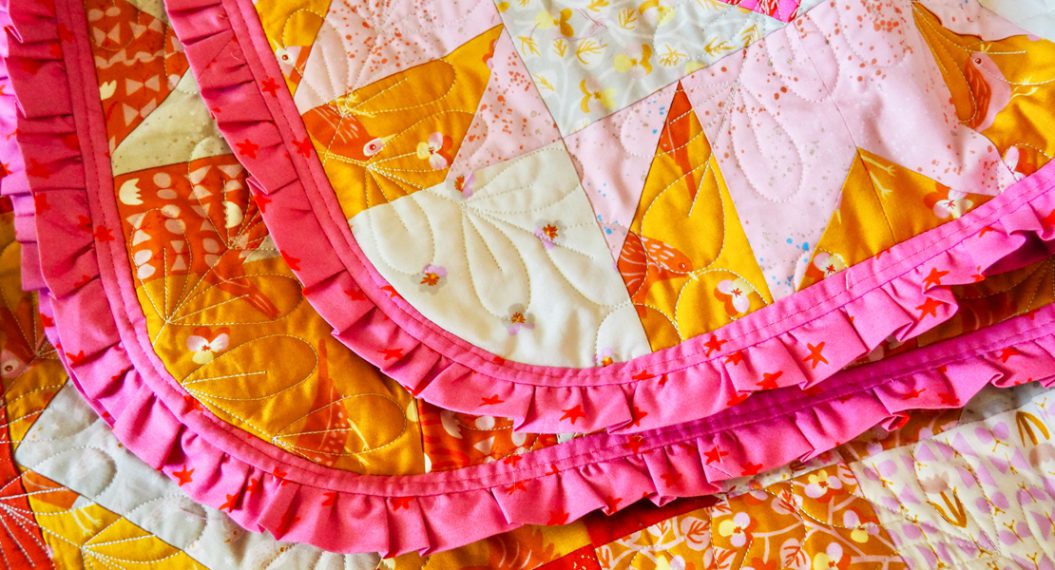
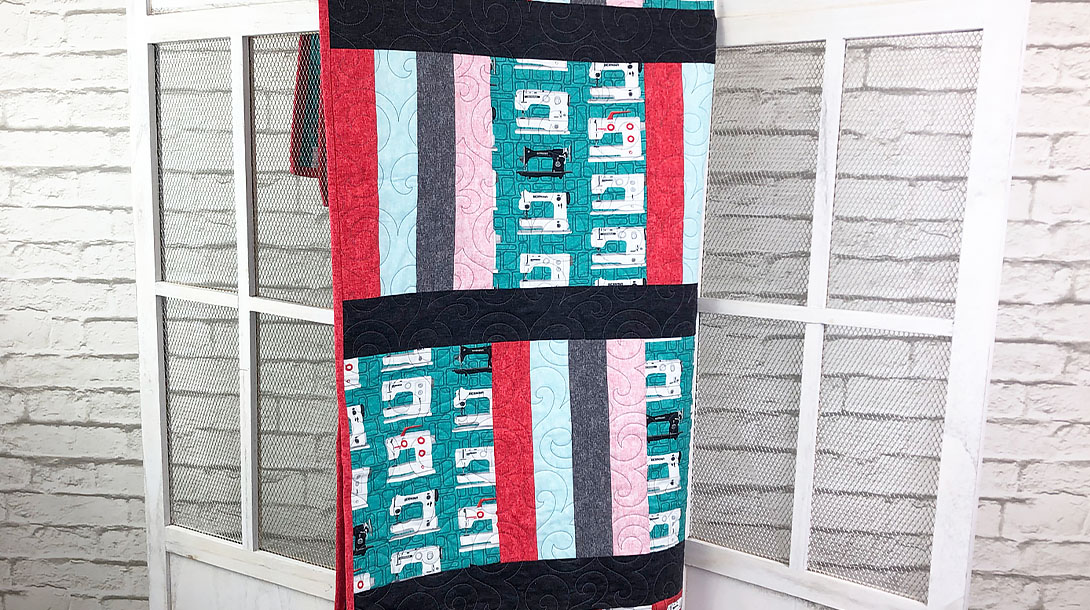
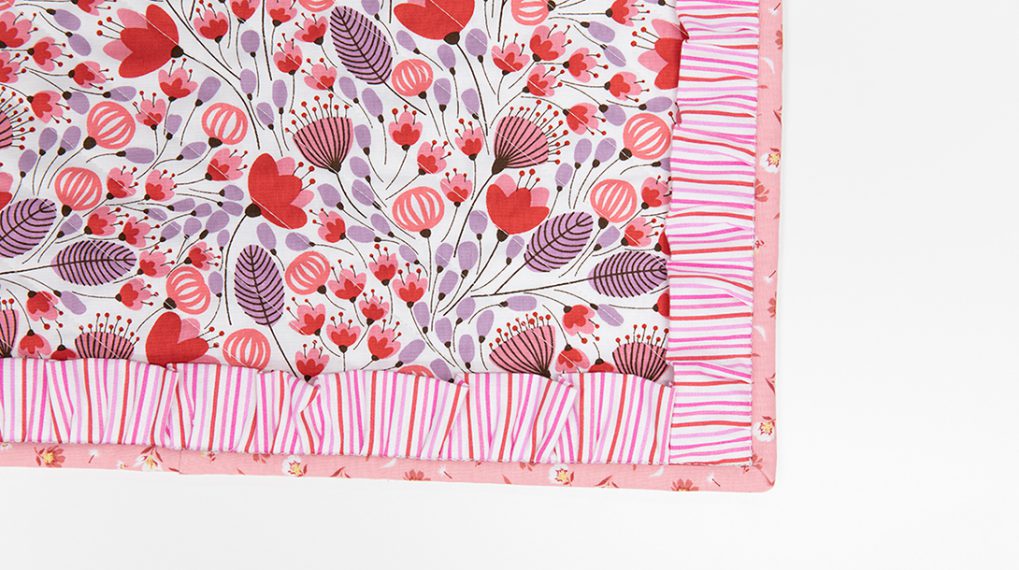
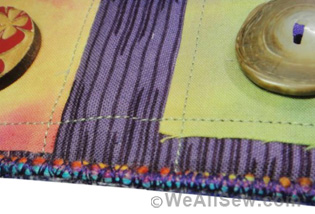
Beautiful! The 32 mm Binder Attachment creates an 8 mm (5/16”) finished binding. If you want to create a smaller 1/4” finished binding, use the 28 mm binder size and if want a wider binding, try the 38 mm size which finishes at 11 mm (7/16”). (Note: The 95/95C Foot will work with all three binders!) Enjoy your finished quilt!
Used Products


What you might also like


6 comments on “How to Finish a Quilt with Wavy Binding”
-
-
Yes! The wavy edge looks so sweet on a baby quilt!
-
-
Love the way the wavy edge looks, can’t wait to try it.
-
I have a 440QE – can these feet be used on that ?
If not, are there feet that would give me the same capability ?
TIA
Ruth-
Yes! The feet are compatible with the B 440 QE. You don’t need the C or D version which are for machines that have a 9 mm stitch width (C version) or dual feed option (D version). So, for Reverse Pattern Foot with Clear Sole that comes in #34, #34C and #34D, you will need #34. Call you local dealer for availability and pricing. Hope that helps!
-
Leave a Reply
You must be logged in to post a comment.

I love the look of this wavy edge! Can’t wait to try it on my baby quilt.