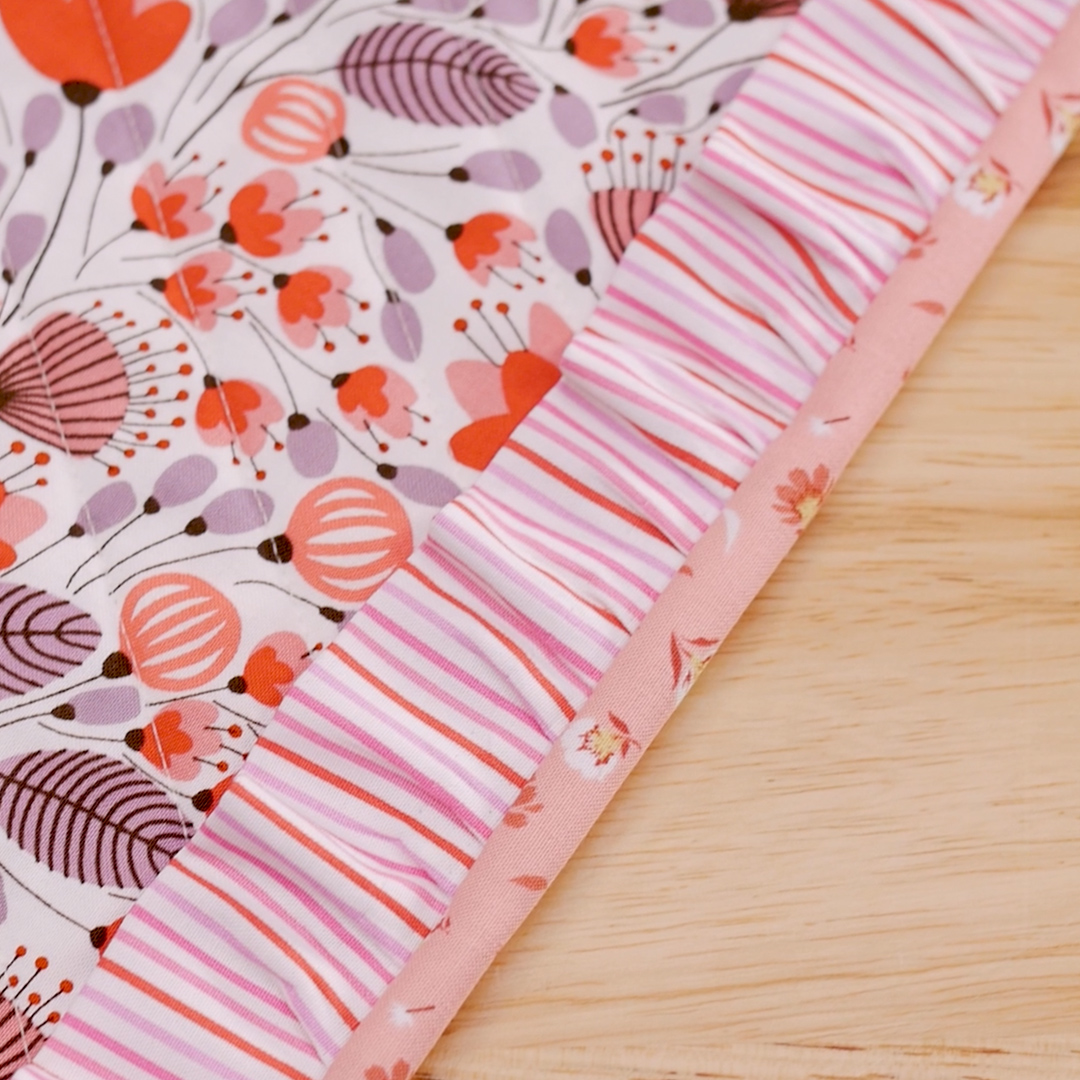
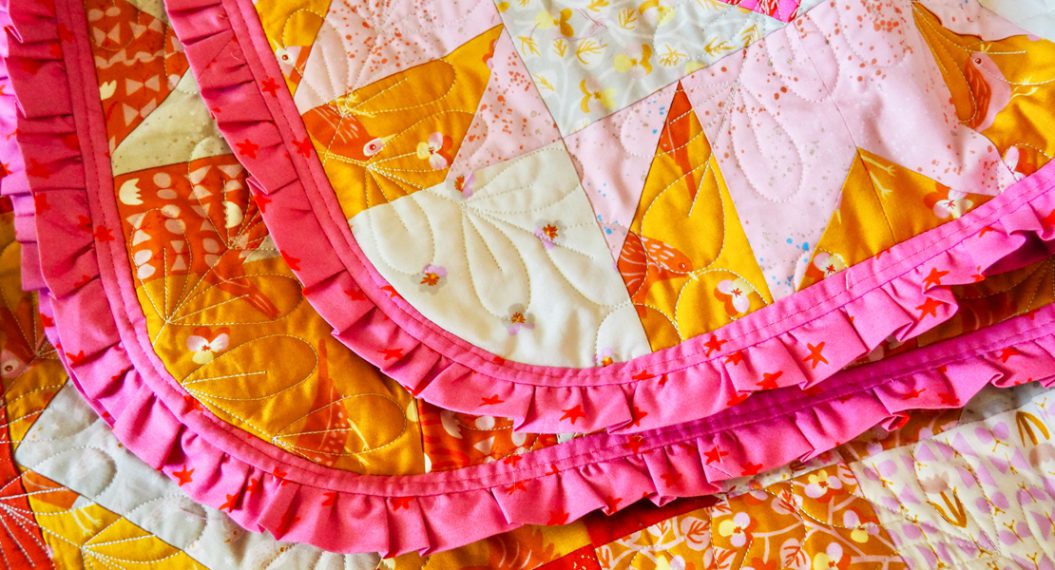
Binding with Ruffles


My favorite binding method for quilts is traditional French fold binding. But, I love to try something new and different just to keep things interesting and fun. Today I’m going to show binding with ruffles! It’s great for quilts that need a bit more color, texture or a tactile element. Or maybe you just want to try something new! You definitely want to get out your Walking Foot #50 and Ruffler Foot #86. Both are perfect for this binding technique and a great way to get some practice with these feet. Let’s play!
Machine Set Up
Fabric
- Quilt ready for binding
- Fabric for ruffle
- Binding for quilt
Supplies
- Schmetz Microtex Needle 80
- Mettler Silk Finish Thread 50 wt
- Pins
- Roxanne Glue Baste-It (if finishing by machine)
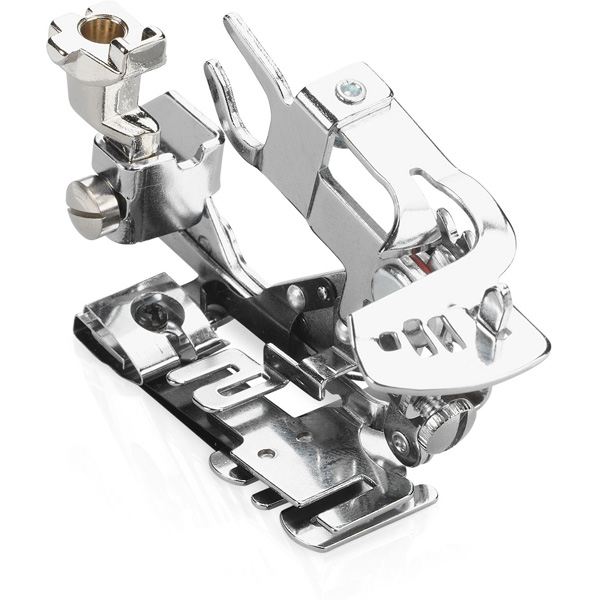
Start thinking about how “ruffled” you want your ruffle. Keep in mind, a dense tight ruffle will be bulkier at the seams. Attach Ruffler Foot #86 making sure the U-shaped arm is around the needle bar. There are 2 places to make adjustments – the adjusting lever and the adjusting screw. Set the adjusting lever to 1. This setting gathers every stitch. Next, turn the adjusting screw so the flat end is flush with the black holder.
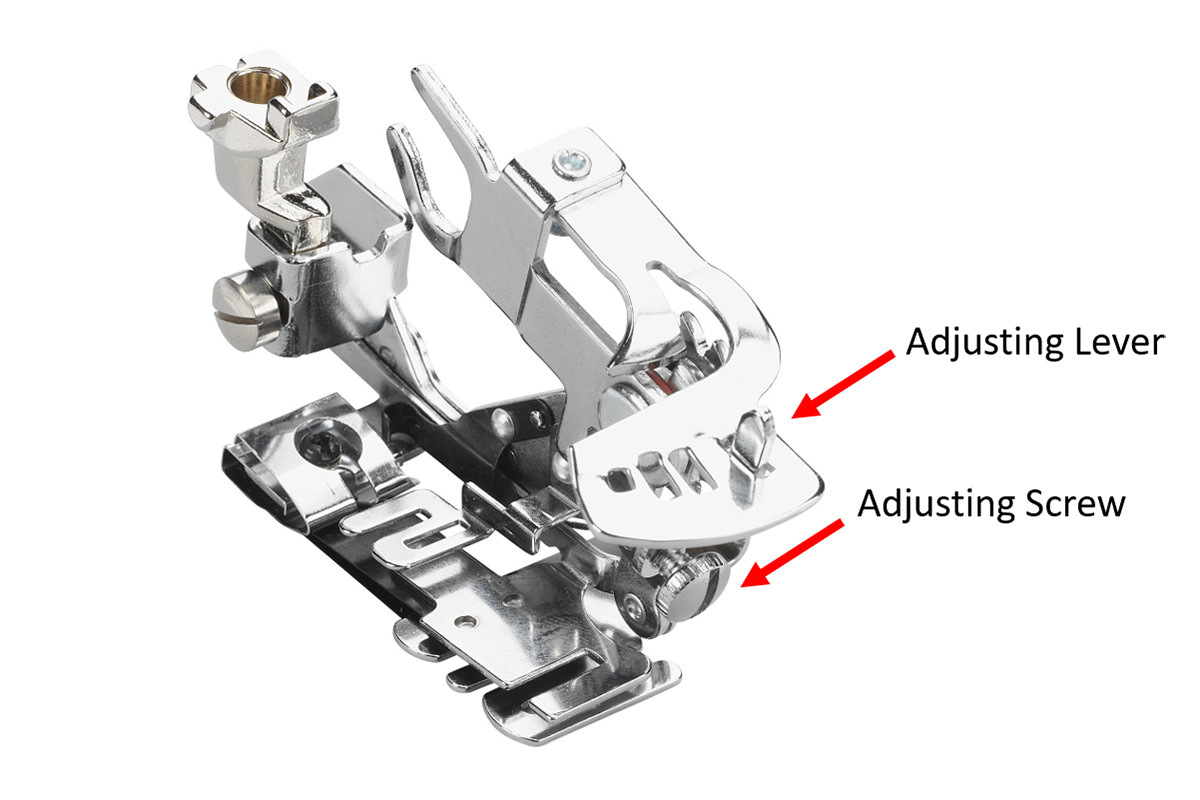
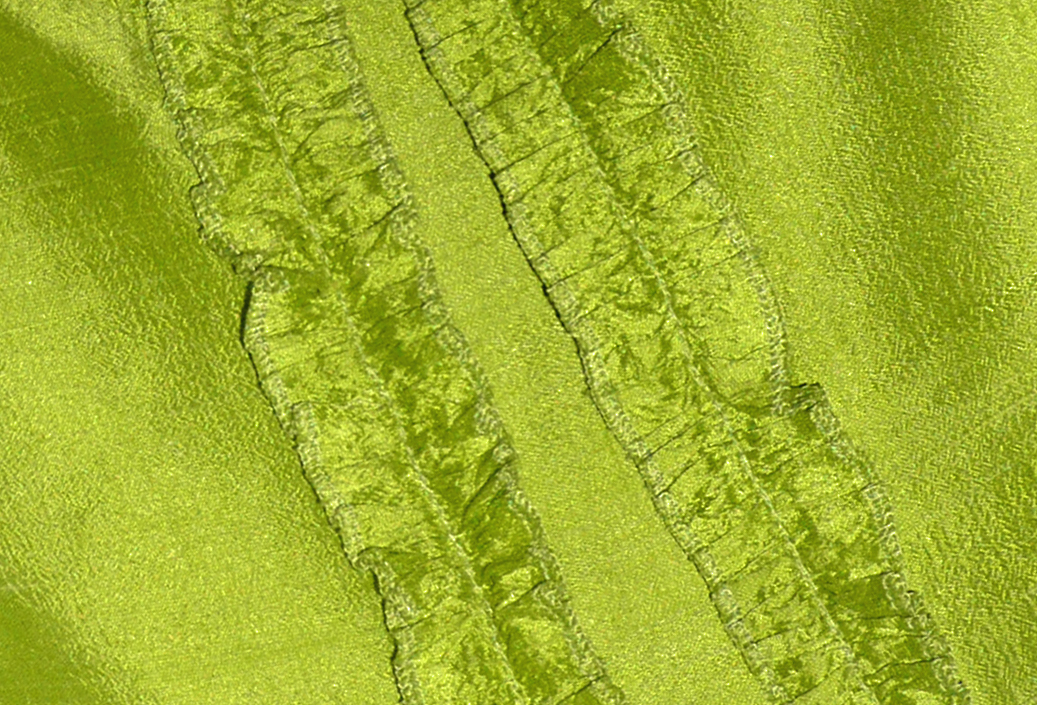
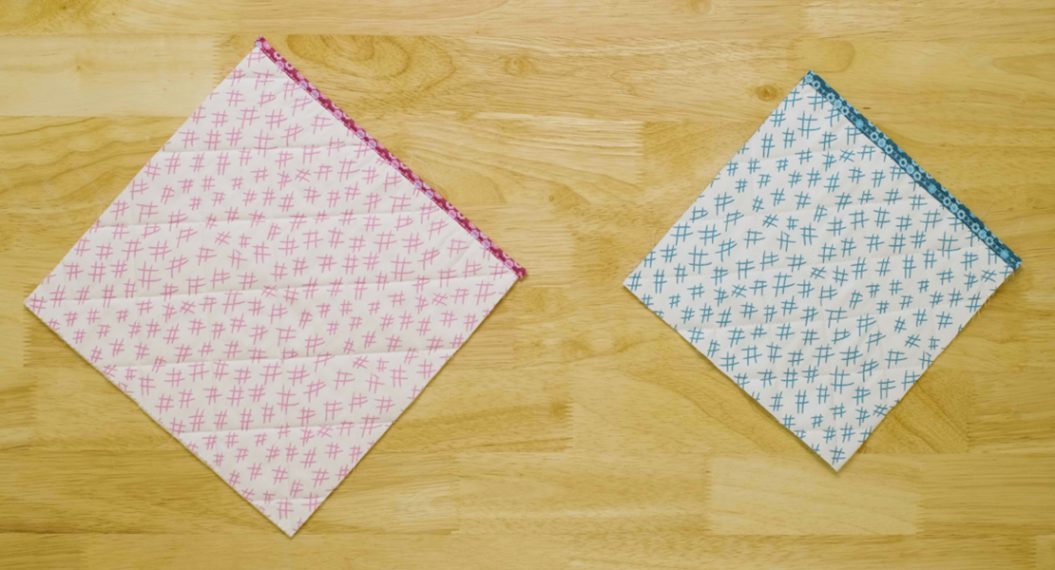
Cut 3 strips of practice fabric 3” x 18”. Fold in half and ruffle one strip following instructions that come with the Ruffler. Do you like the amount of ruffle? If not, turn the screw clockwise for deeper ruffles or counterclockwise for more shallow. Ruffle the other 2 strips at different settings. You can also play with the stitch length to make adjustments. A good way to guide the folded fabric is to keep it aligned with the 1/4” mark on the slide-on table.
Measure the finished ruffled strip that you like best. Now you’ll have to do a little math to determine how much fabric you need to cut. Let’s say your finished ruffled strip measures 10” and the perimeter of your quilt is 190”. Plug in the numbers using the equation below. Then, multiply (190 x 18) ÷ 10 and you will get 342”. This is taking me back to middle school math!
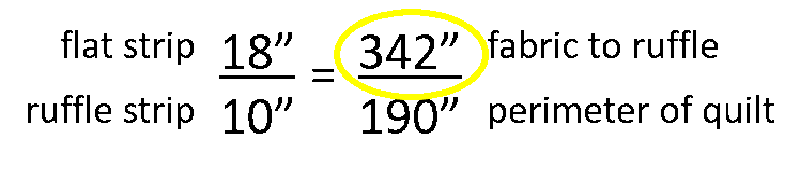
Divide 342” by 42” (the width of most quilting fabrics) to determine the number of strips you will need to ruffle. 342” ÷ 42” = 8.1 strips.
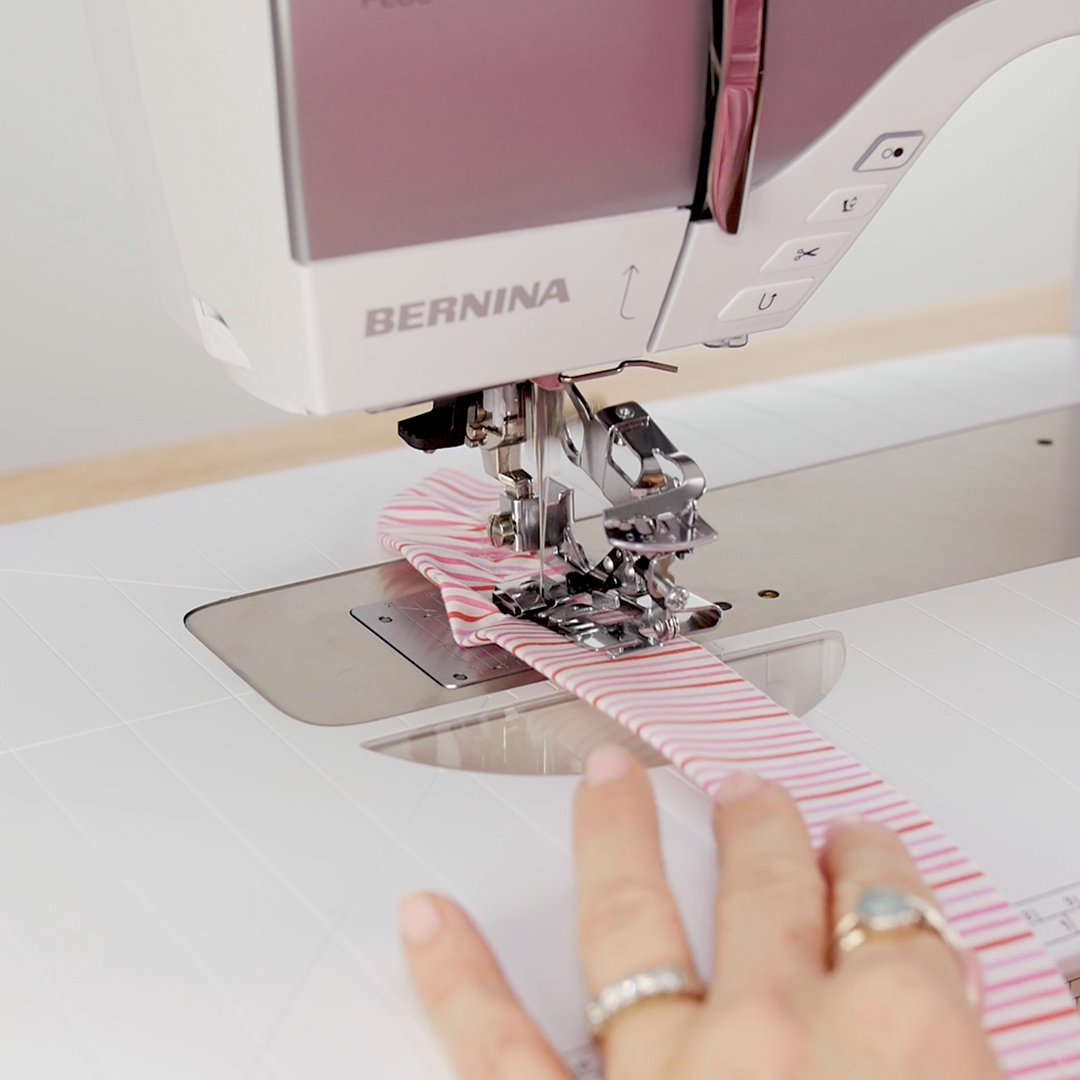
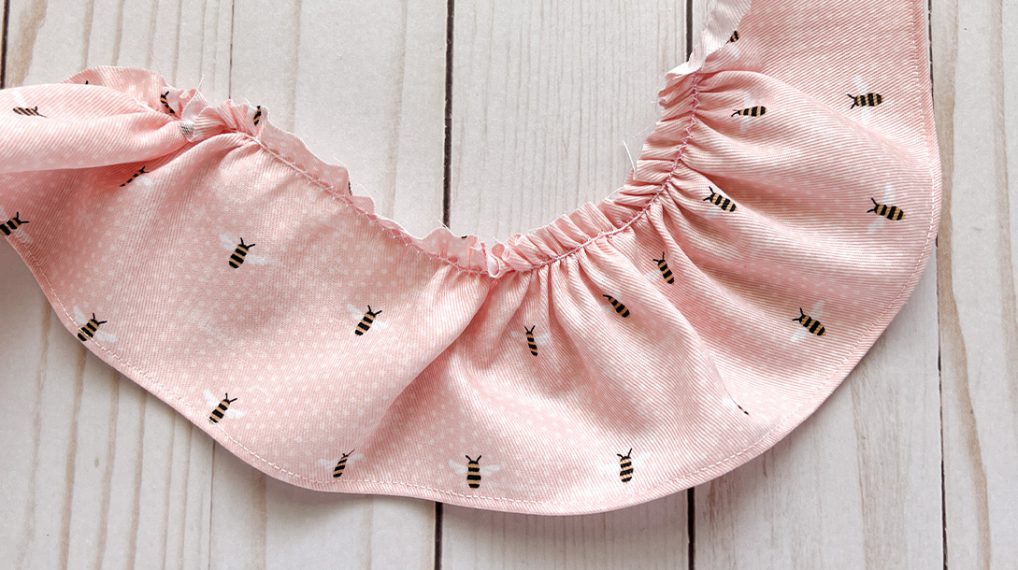
Cut strips and join to create one long, continuous strip. Then fold in half, place under foot lining up with 1/4” mark of slide-on table. Ruffle! Here is a great link to learn more about Ruffler Foot #86:
Will it Ruffle? Get the low-down on the BERNINA Ruffler #86
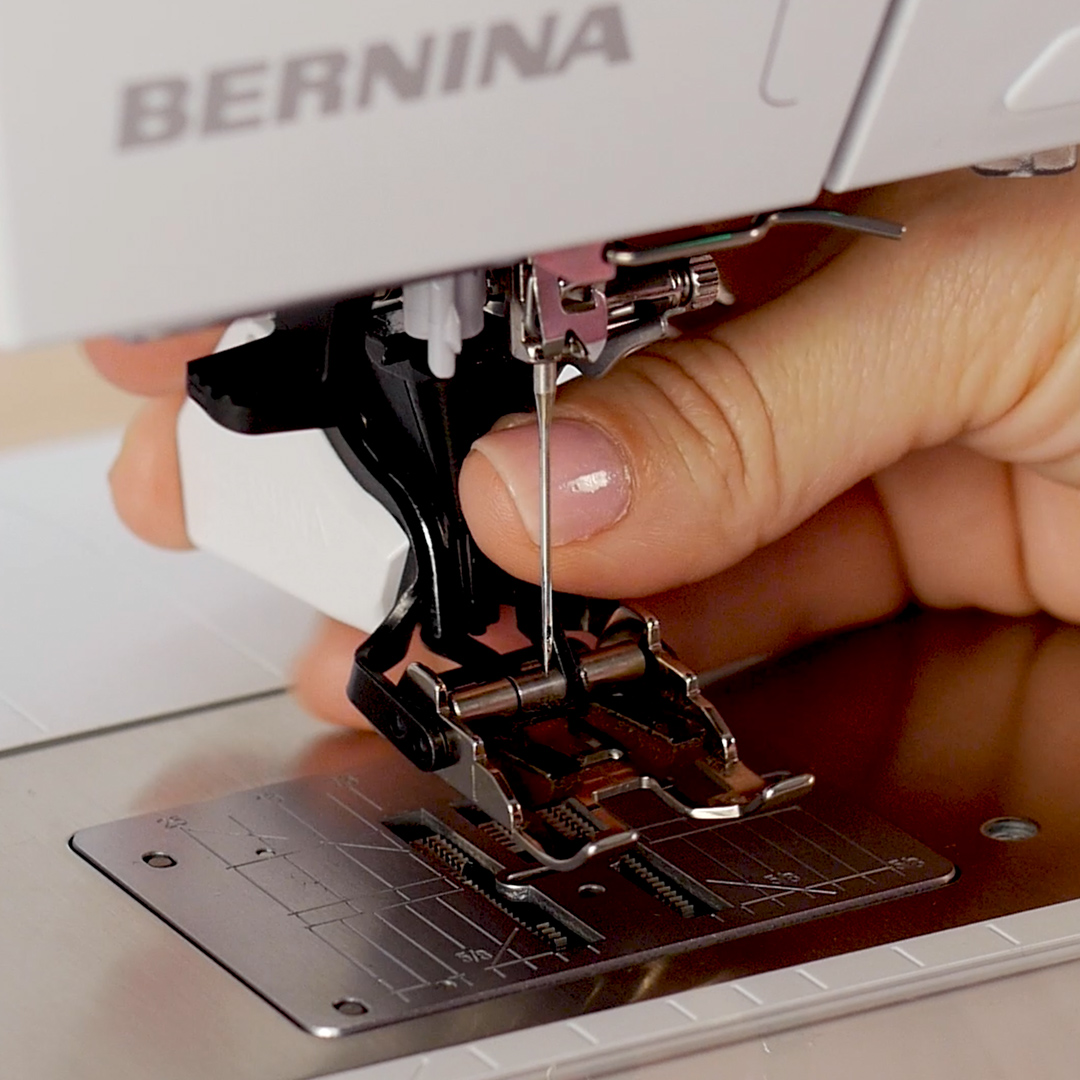
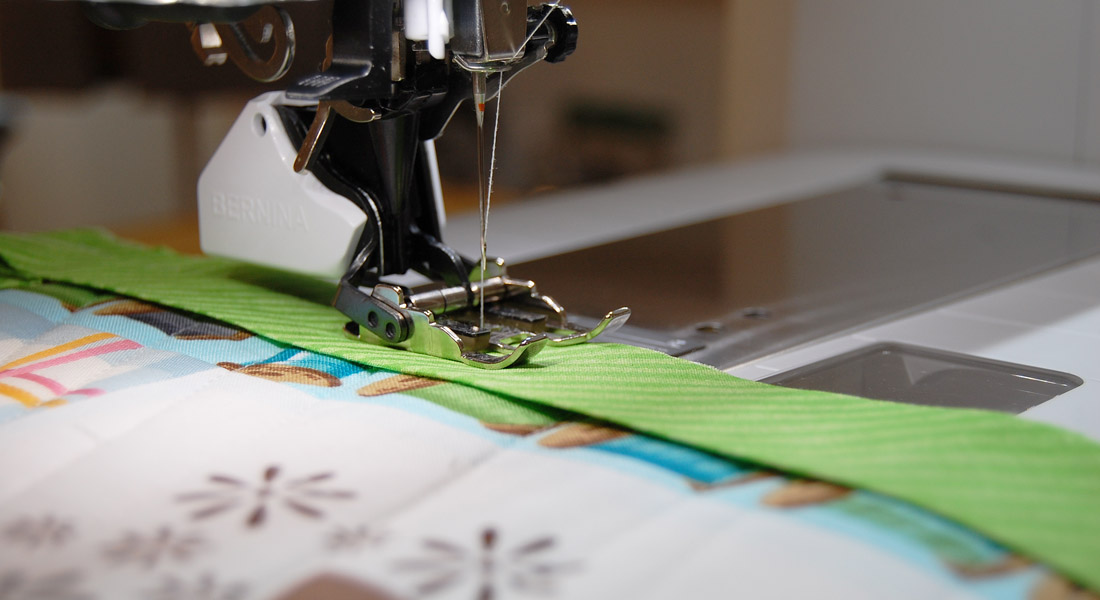
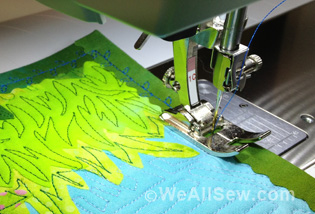
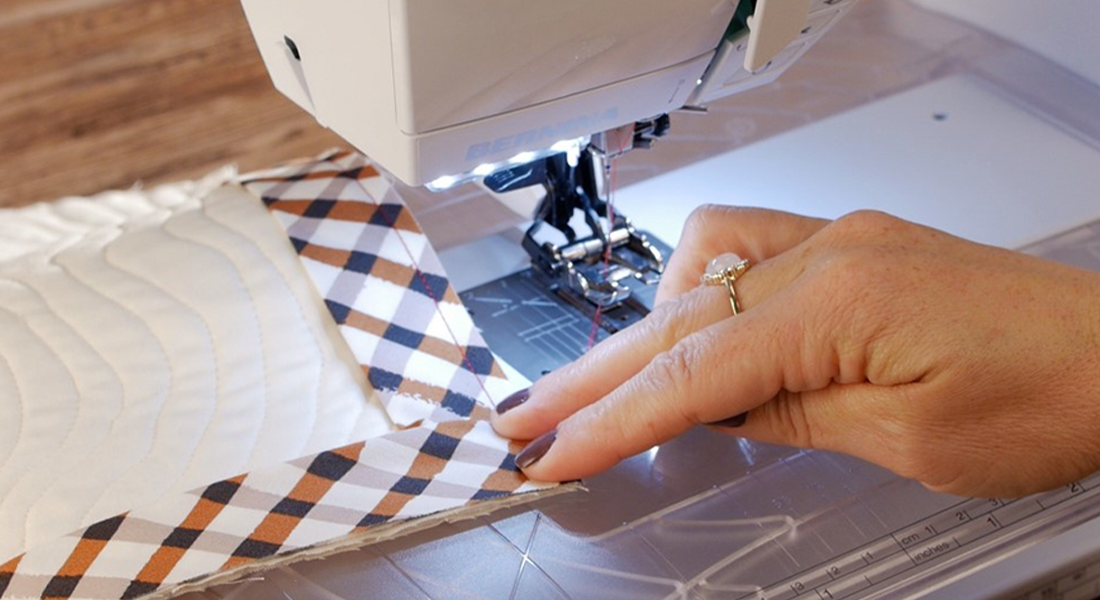
Now you need to stitch the ruffles to your quilt. Attach Walking Foot #50. Select Straight Stitch #1 and increase Stitch Length to 3 mm. We are stitching through a lot of layers!
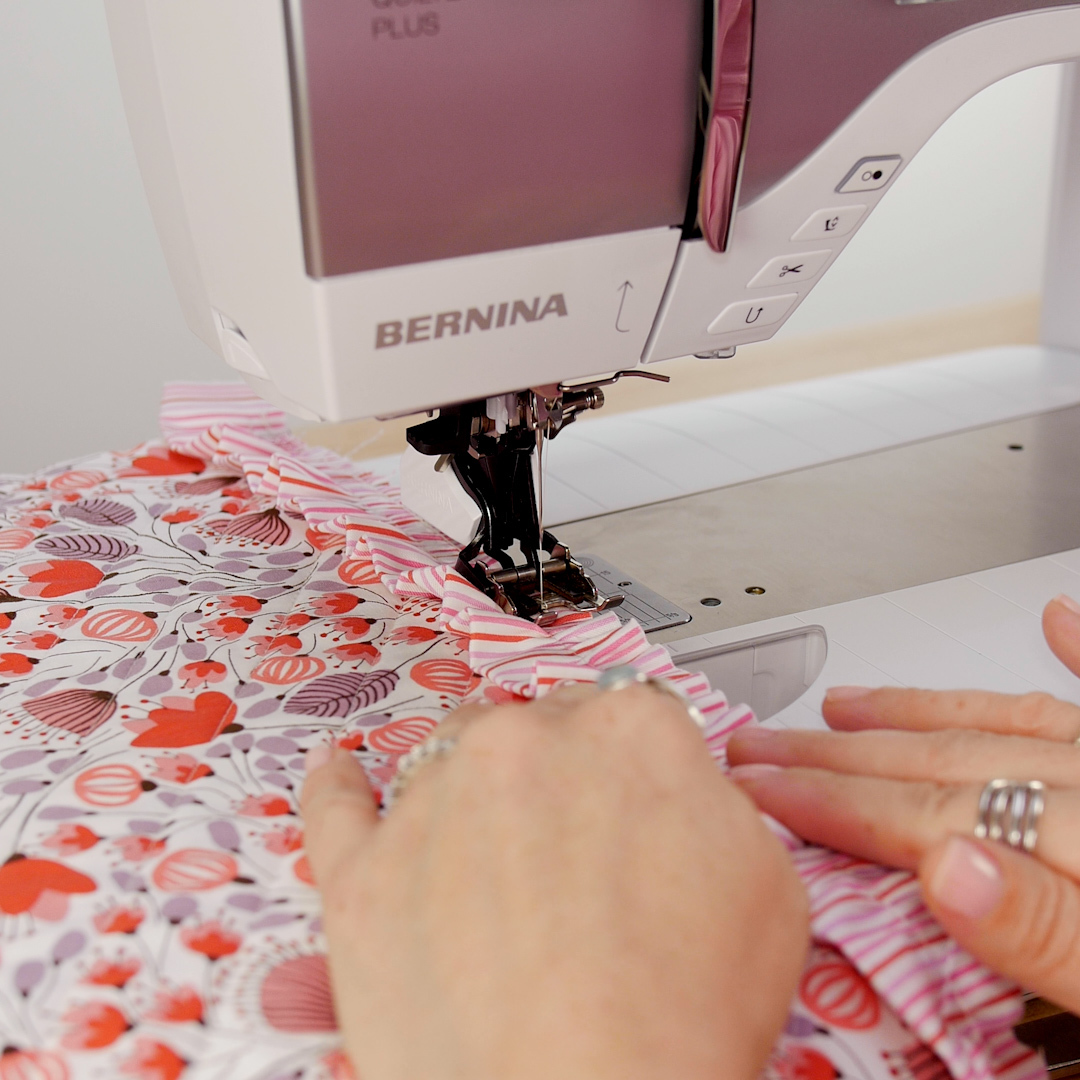
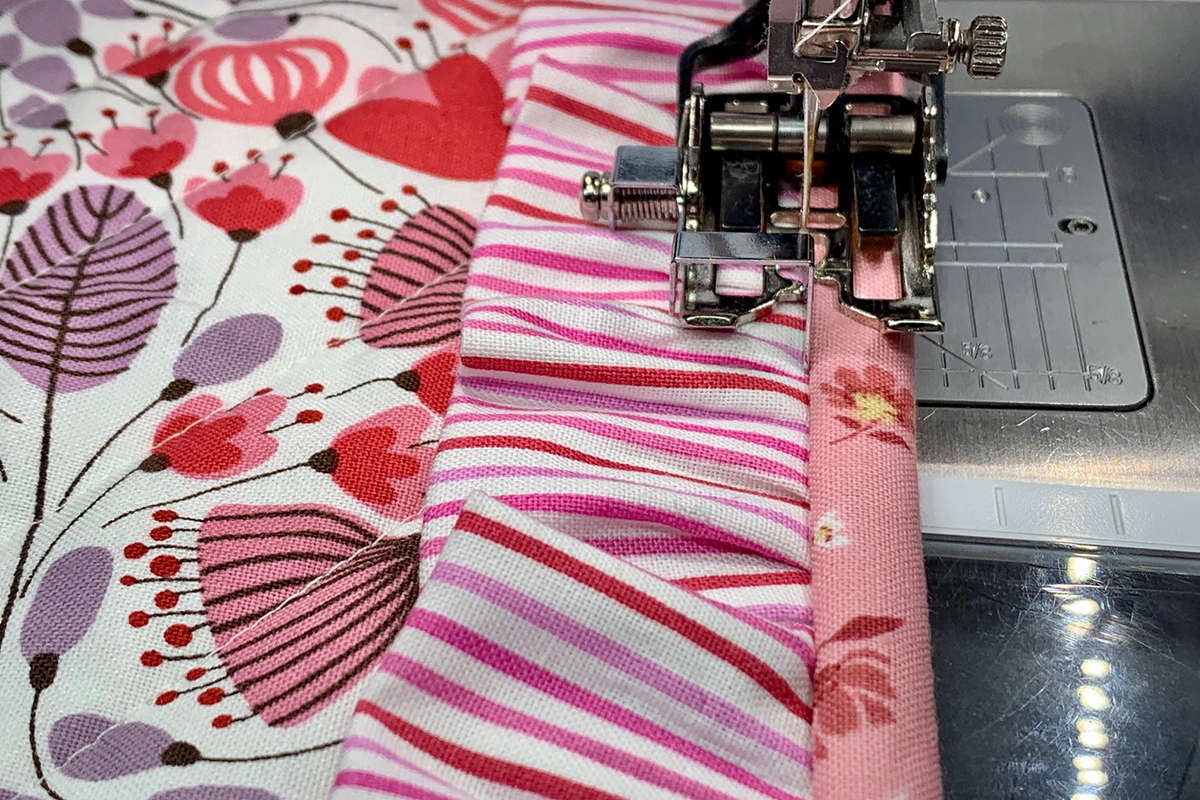
Pin the ruffle on one side of the quilt. Do not cut the ruffle just yet. Place under foot and stitch a 1/4” seam allowance.

Keep stitching until you get to the first corner.
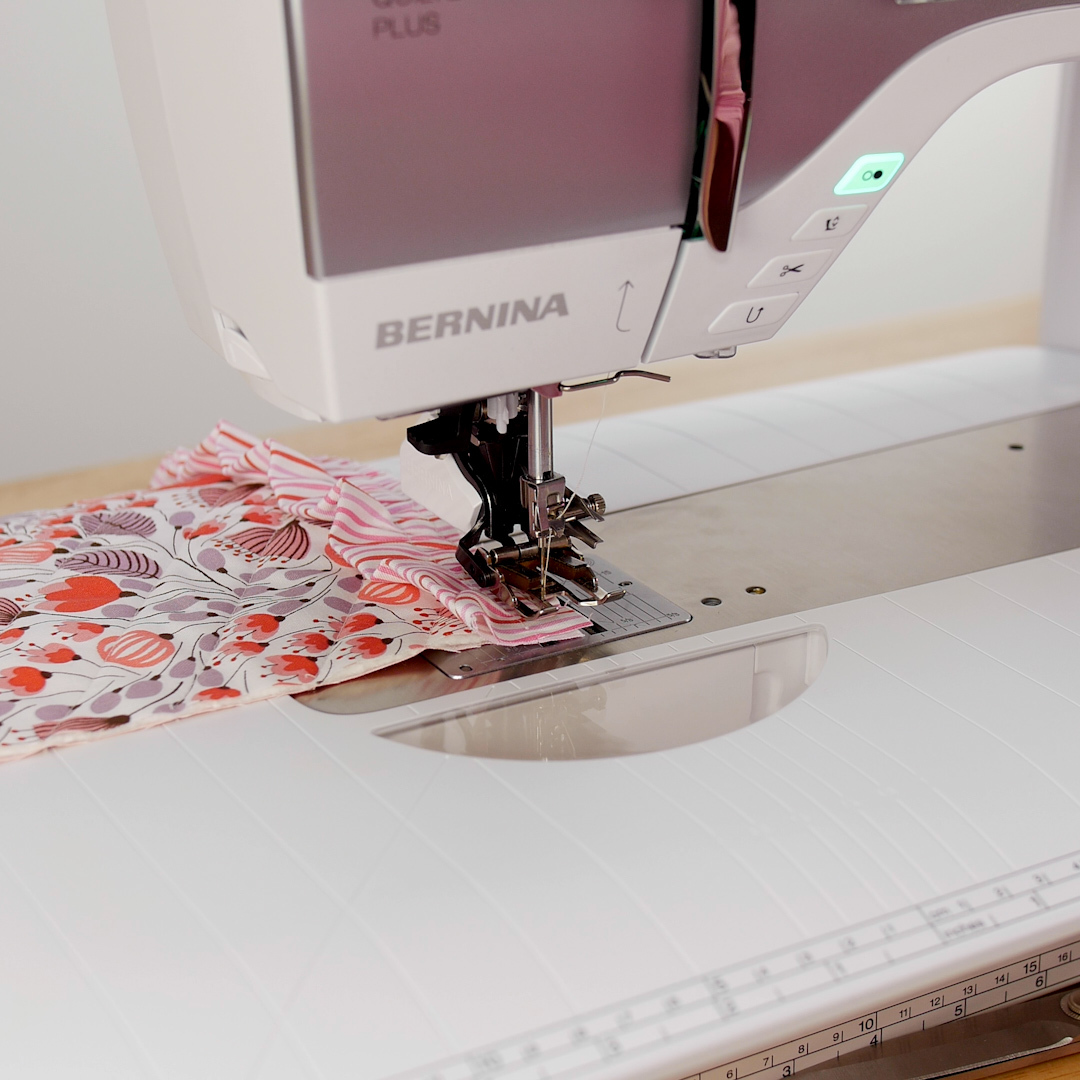
Cut ruffle off at corner. Backstitch to secure. Don’t worry about the cut edges – the binding will cover them! Do same for other 3 sides.
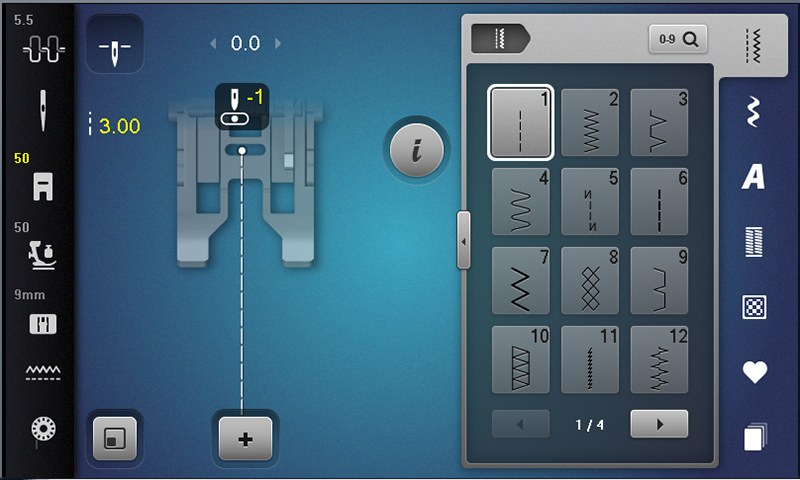
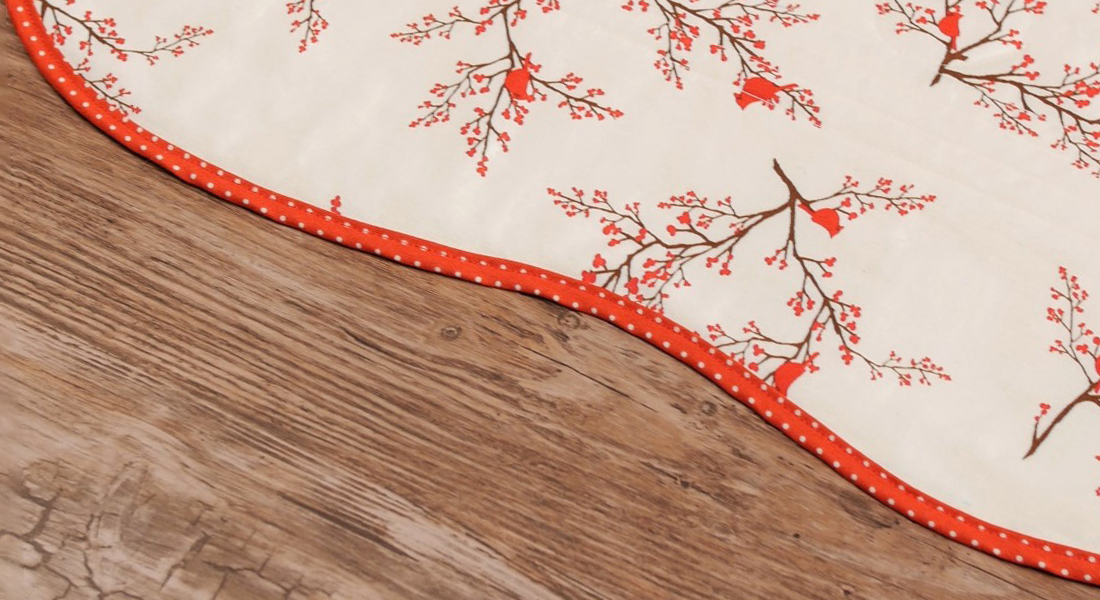
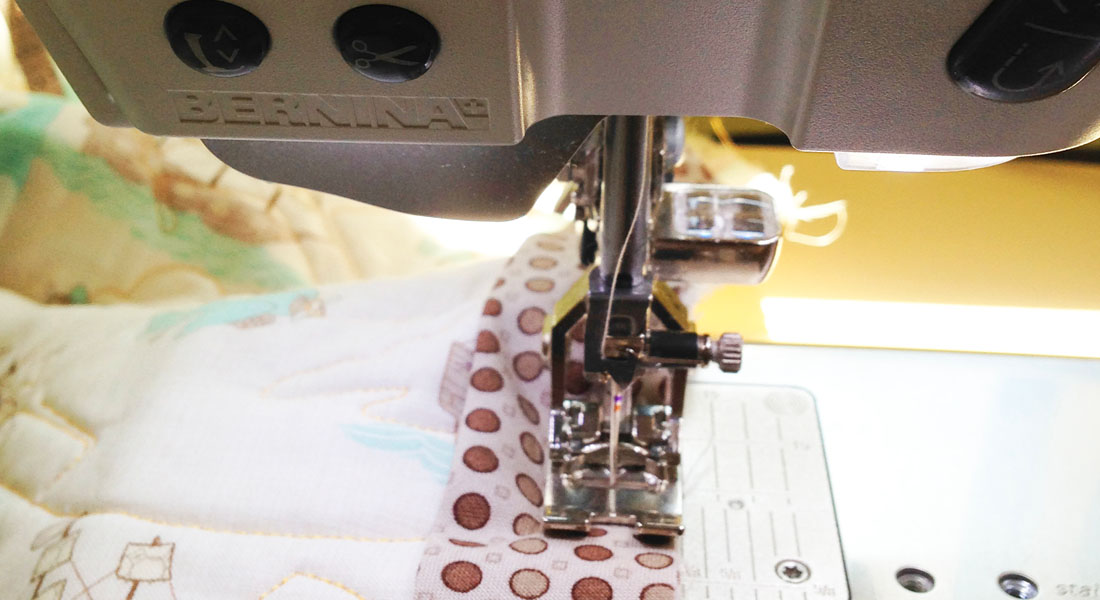
It’s time for the binding strips. Make sure you have enough binding for the perimeter of the quilt plus extra to join ends. Keep a 3 mm straight stitch length but change Needle Position to -1.
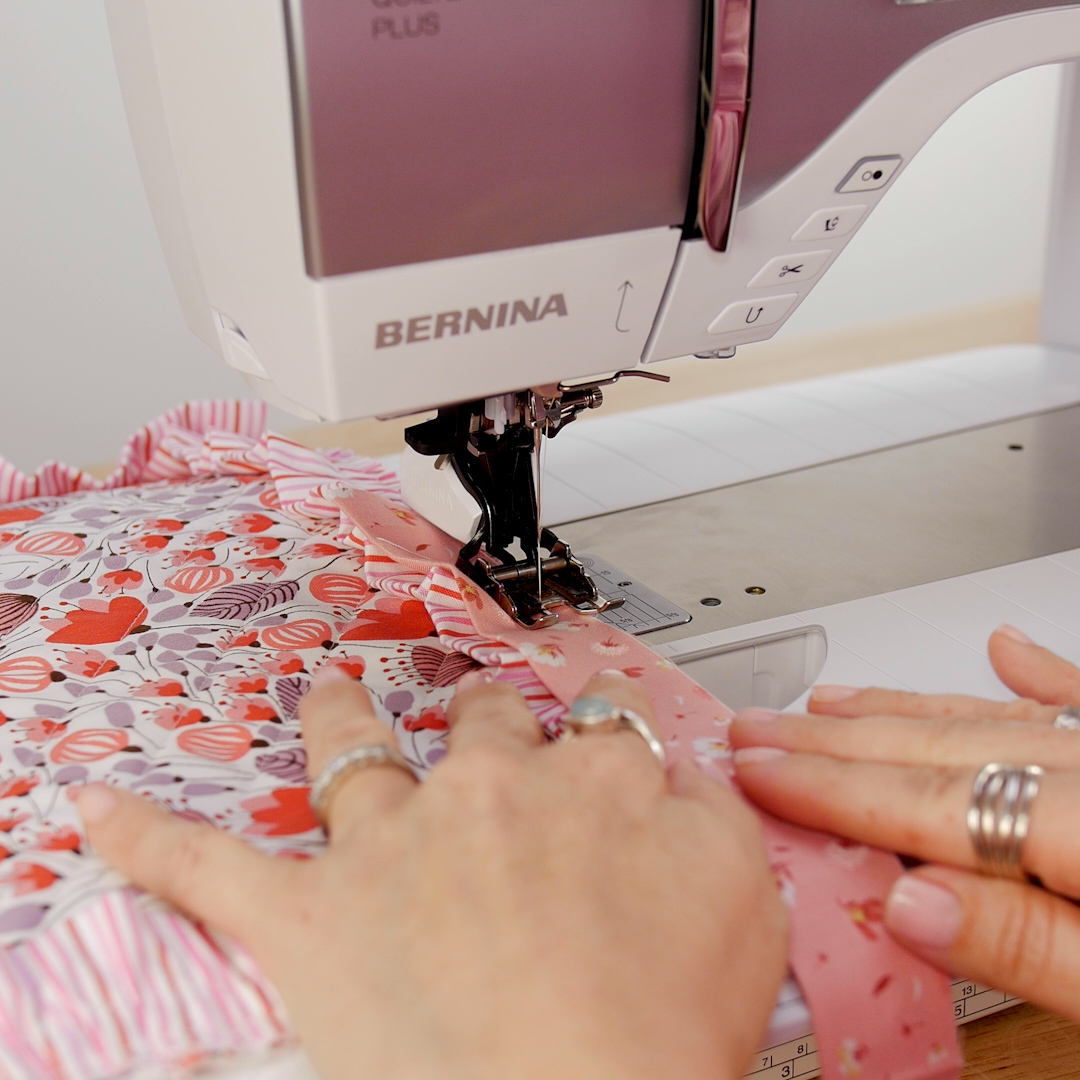
Place binding strip on ruffle and stitch 1/4” seam allowance. The Needle Position is at -1 so the stitch is forming just to the left of the previous straight stitch (from sewing on the ruffle). Stitch around the entire quilt mitering the corners this time. Here is a great refresher on how to make binding strips, miter corners and join ends.
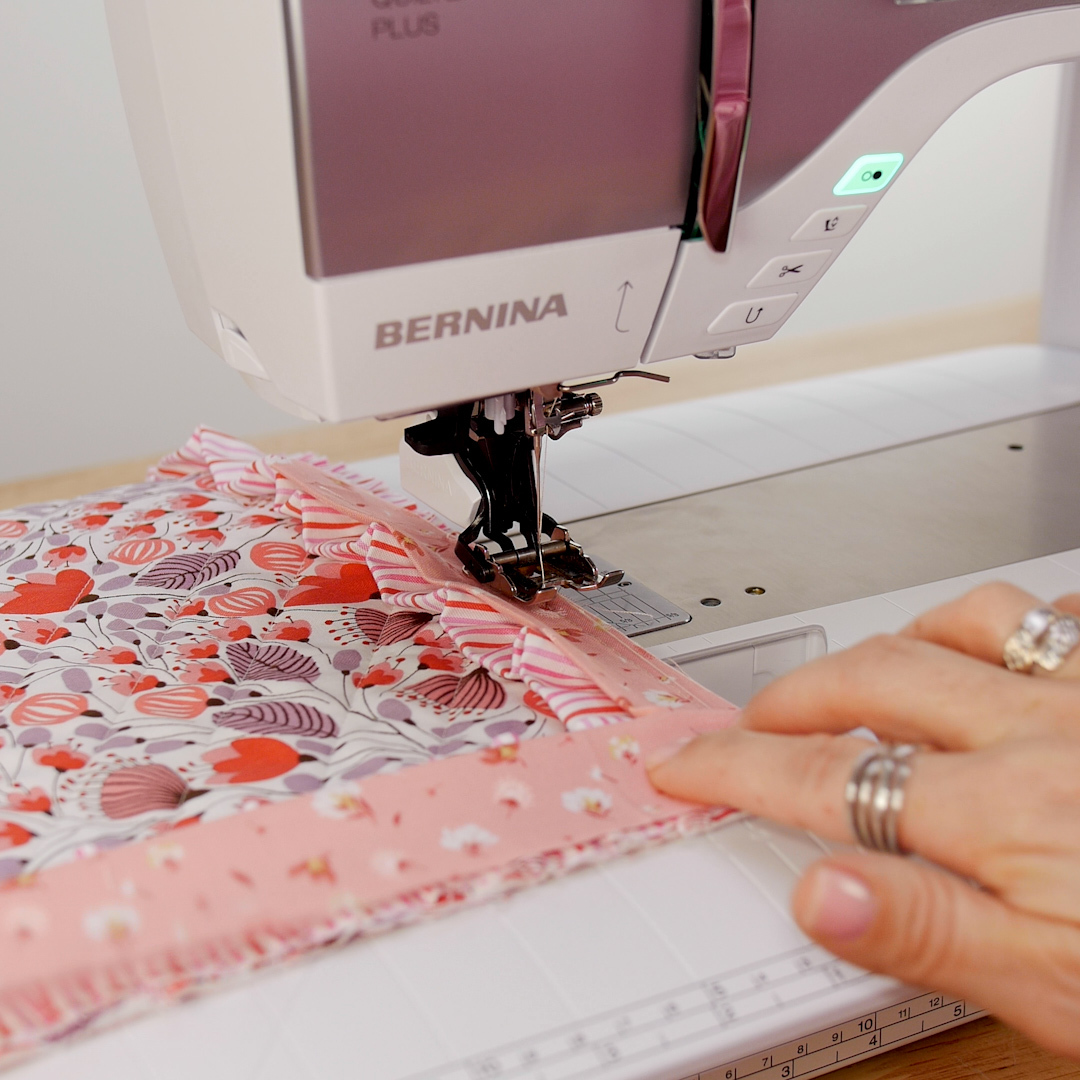
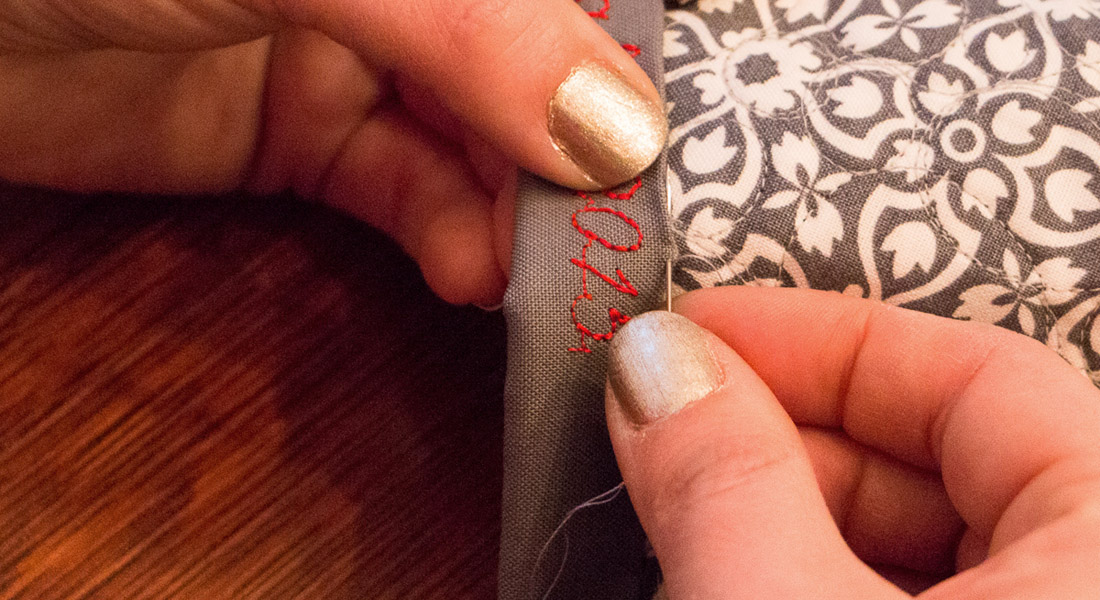
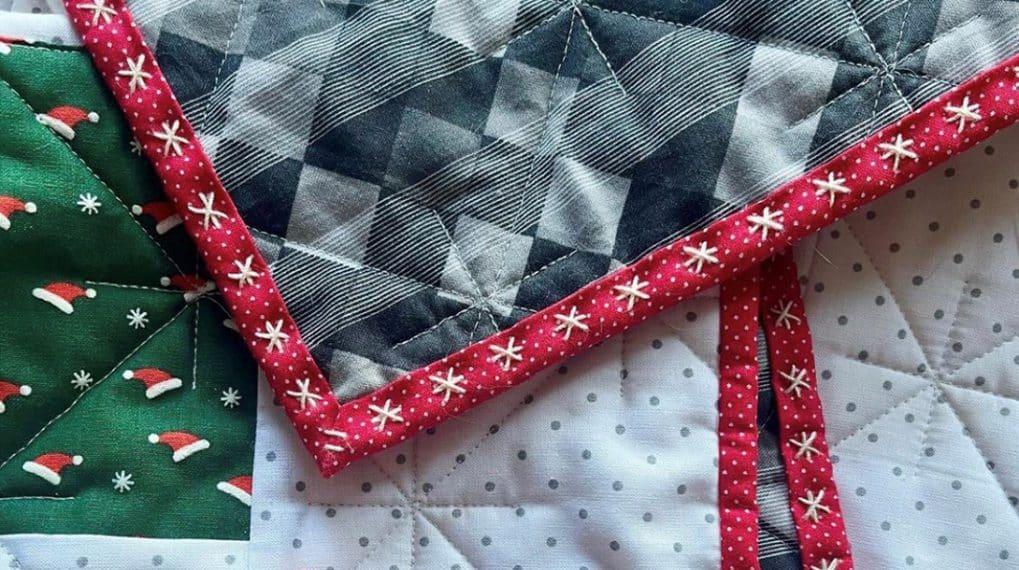
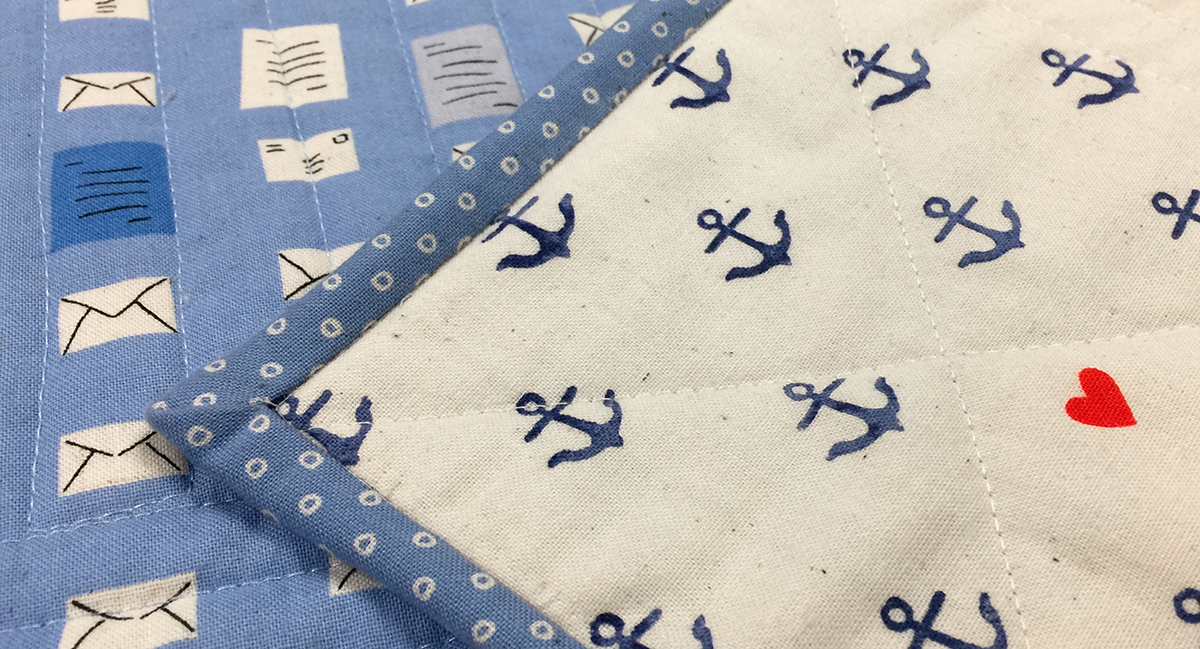
Wrap binding around to the back and stitch to finish! You can either hand stitch the binding…
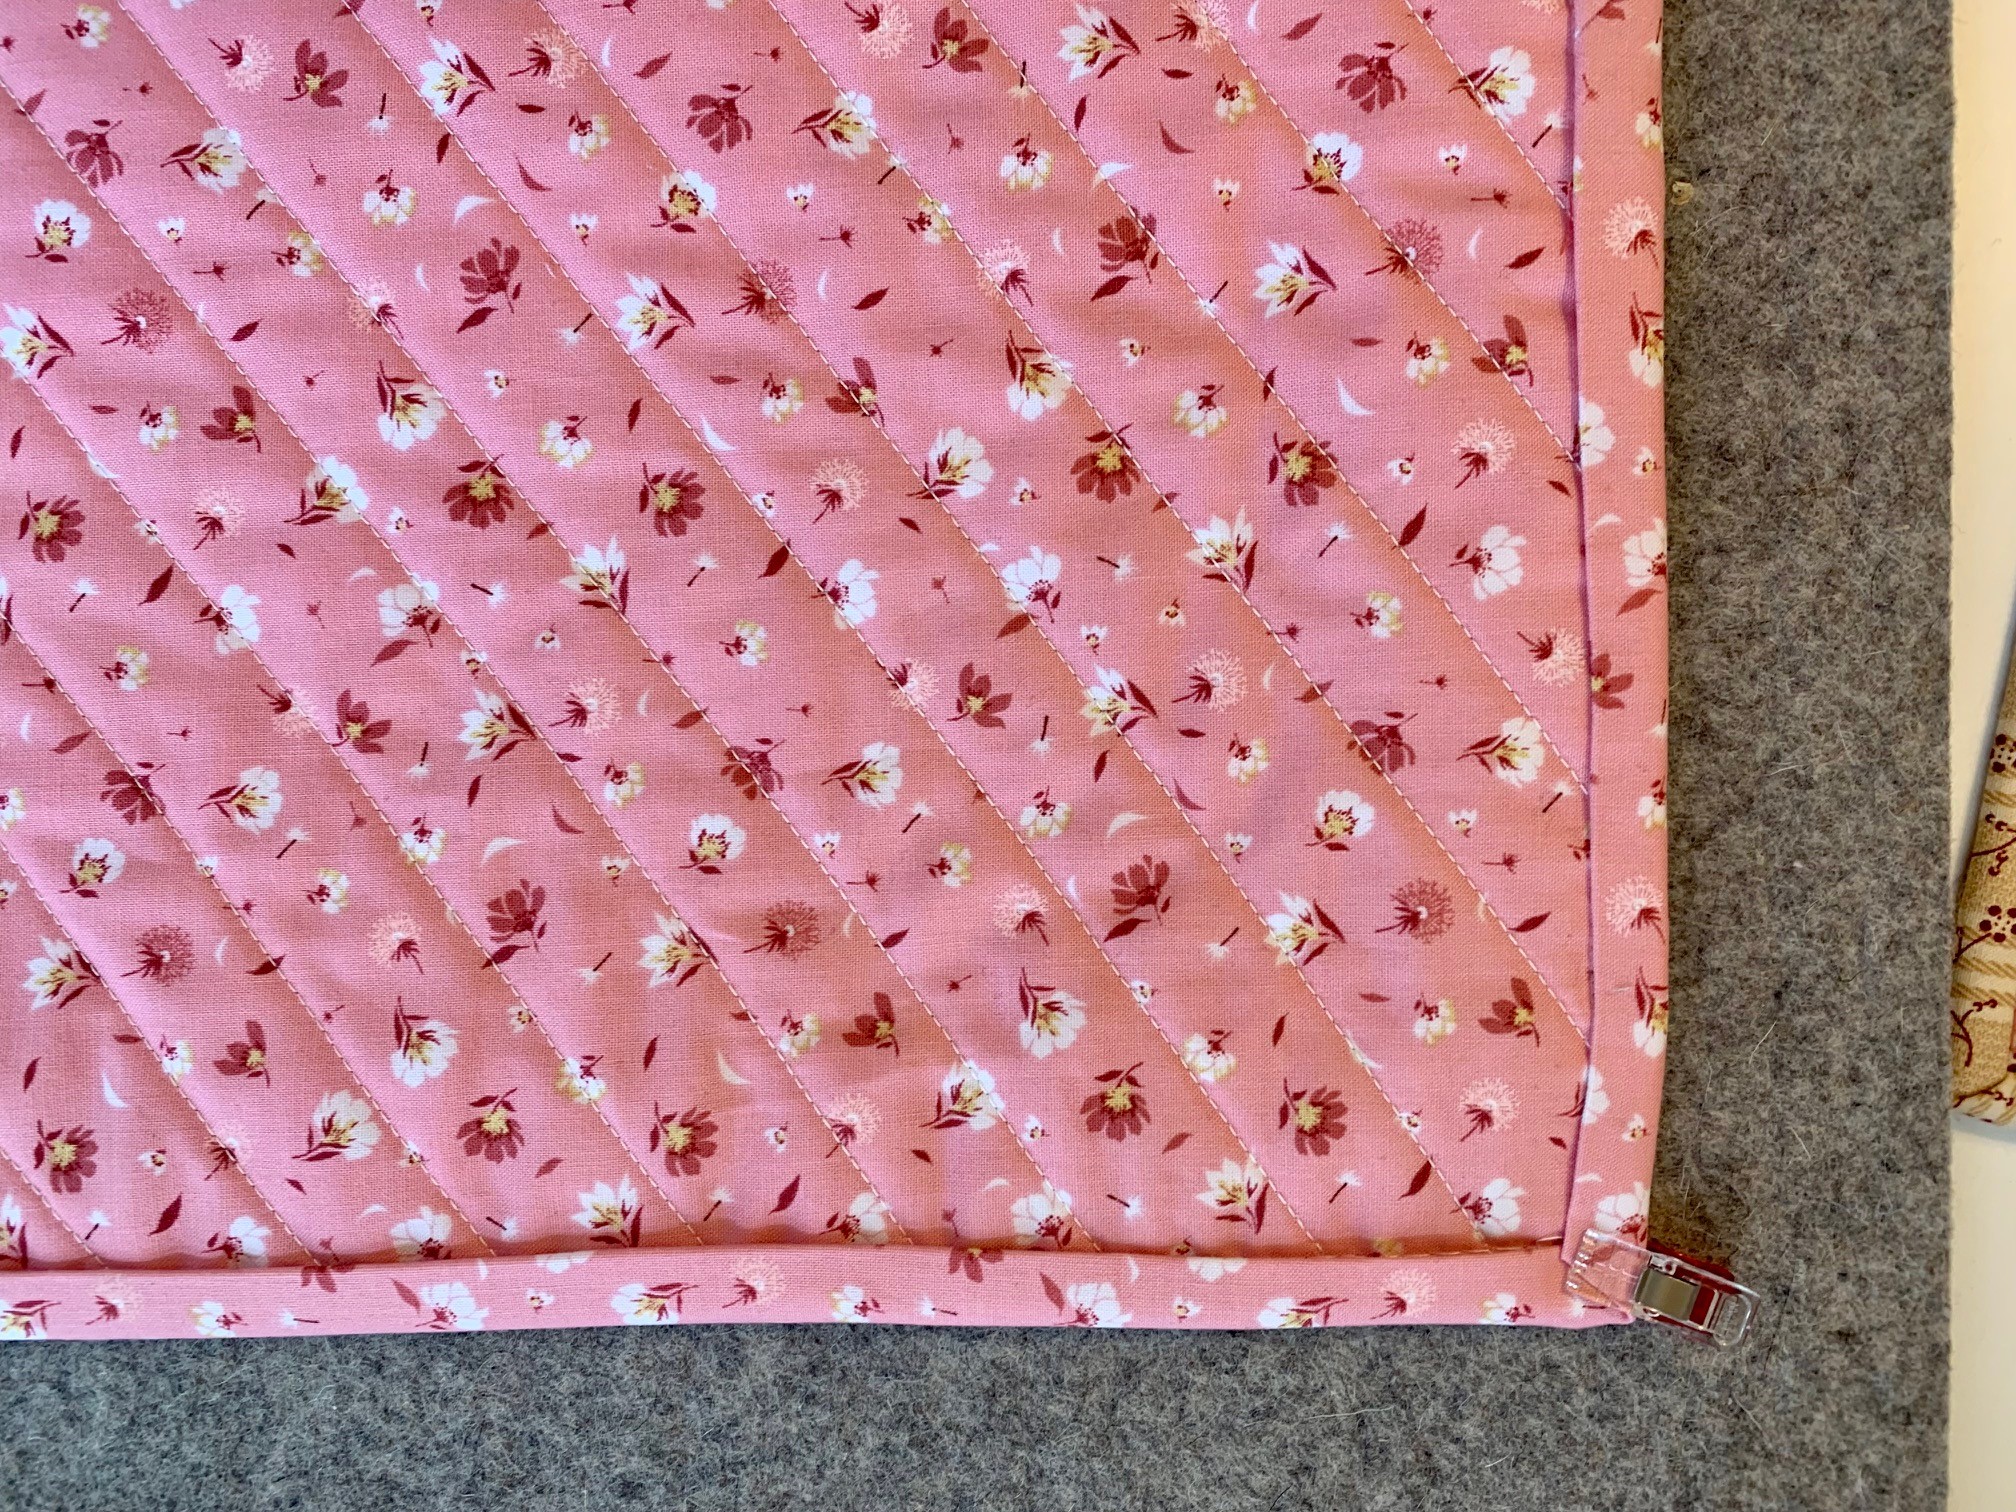
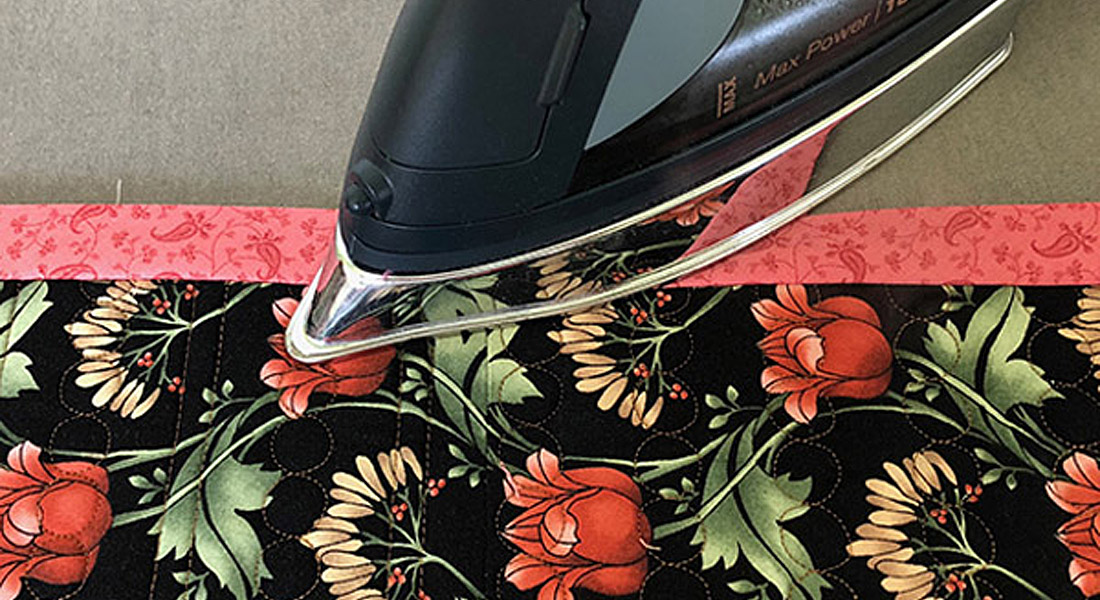
…or machine stitch! To prep for machine stitching, use Roxanne GlueBaste-It and Wonder Clips to secure binding to the back. The binding should be placed just beyond the stitched line. Press with iron to dry glue quickly. Don’t skip this step! It makes a big difference with how the stitching looks on the back of your quilt.
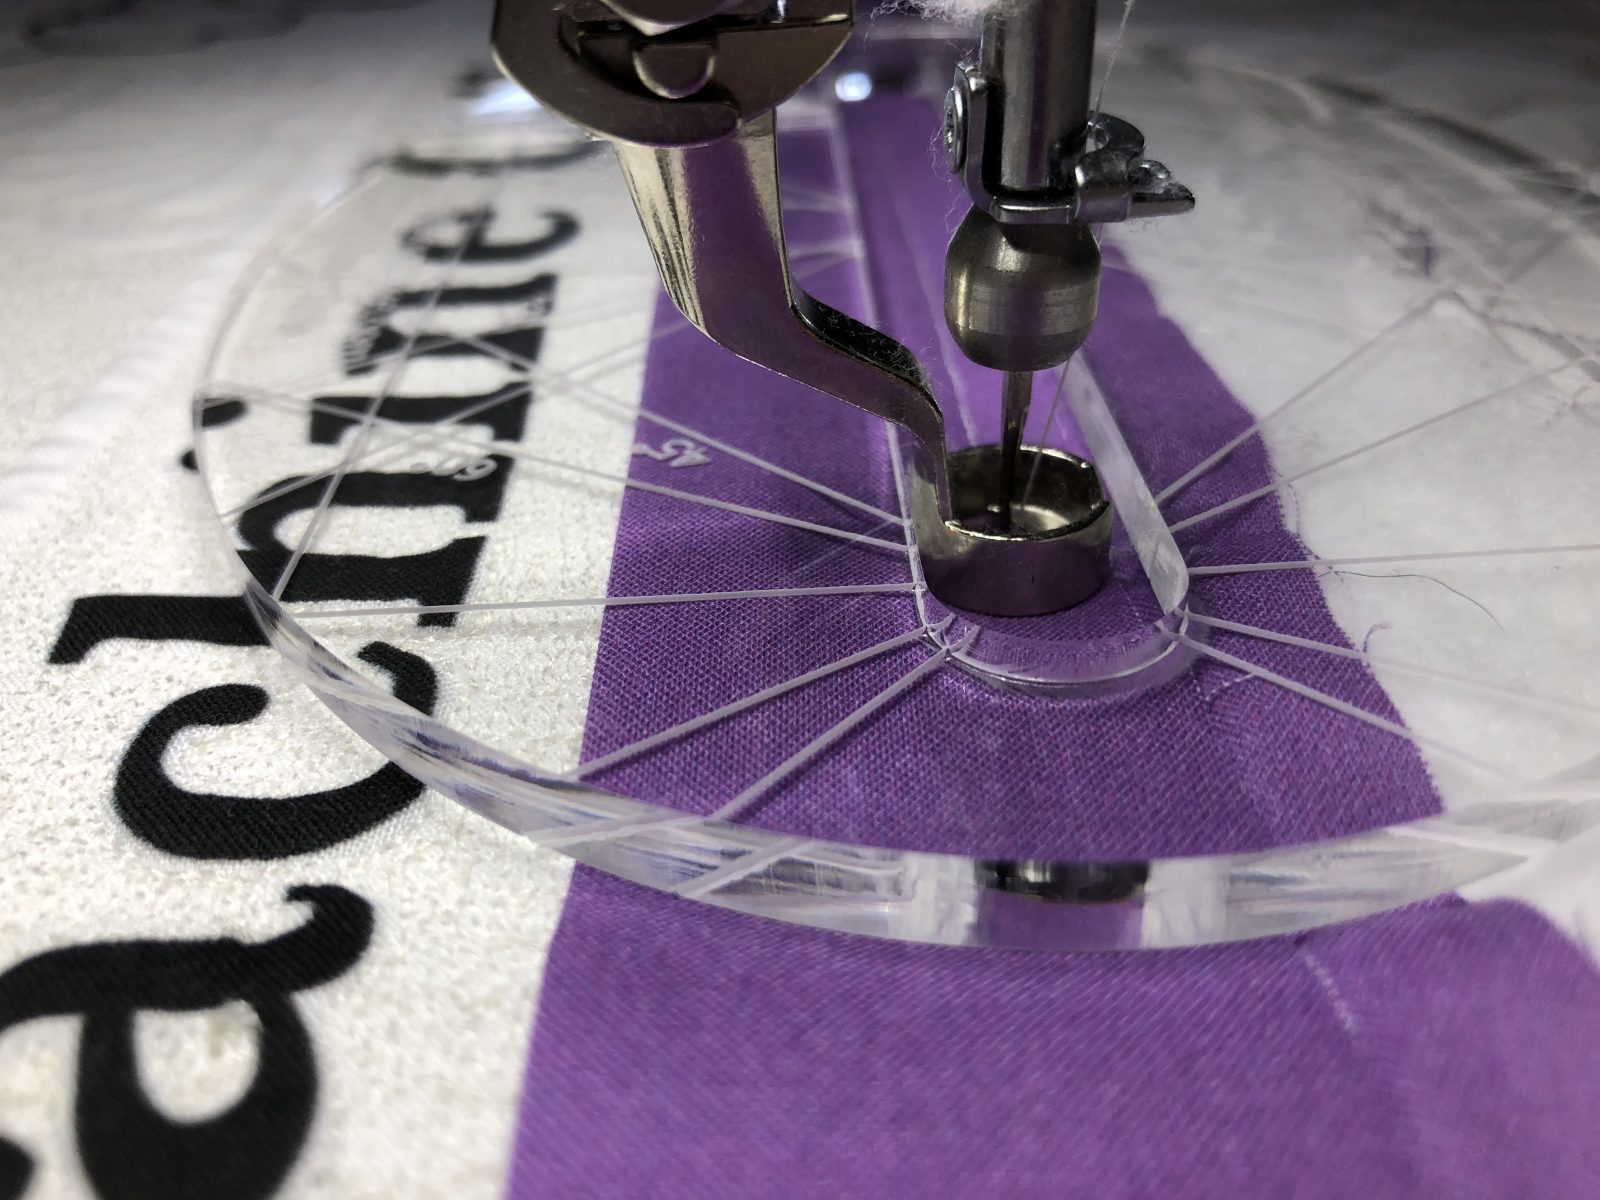
Add Center Guide Sole to the Walking Foot. Place the right side of quilt under the foot with the Center Guide up against the binding. Stitch in the ditch. Check the back of quilt every so often to make sure that the stitches are in the binding.

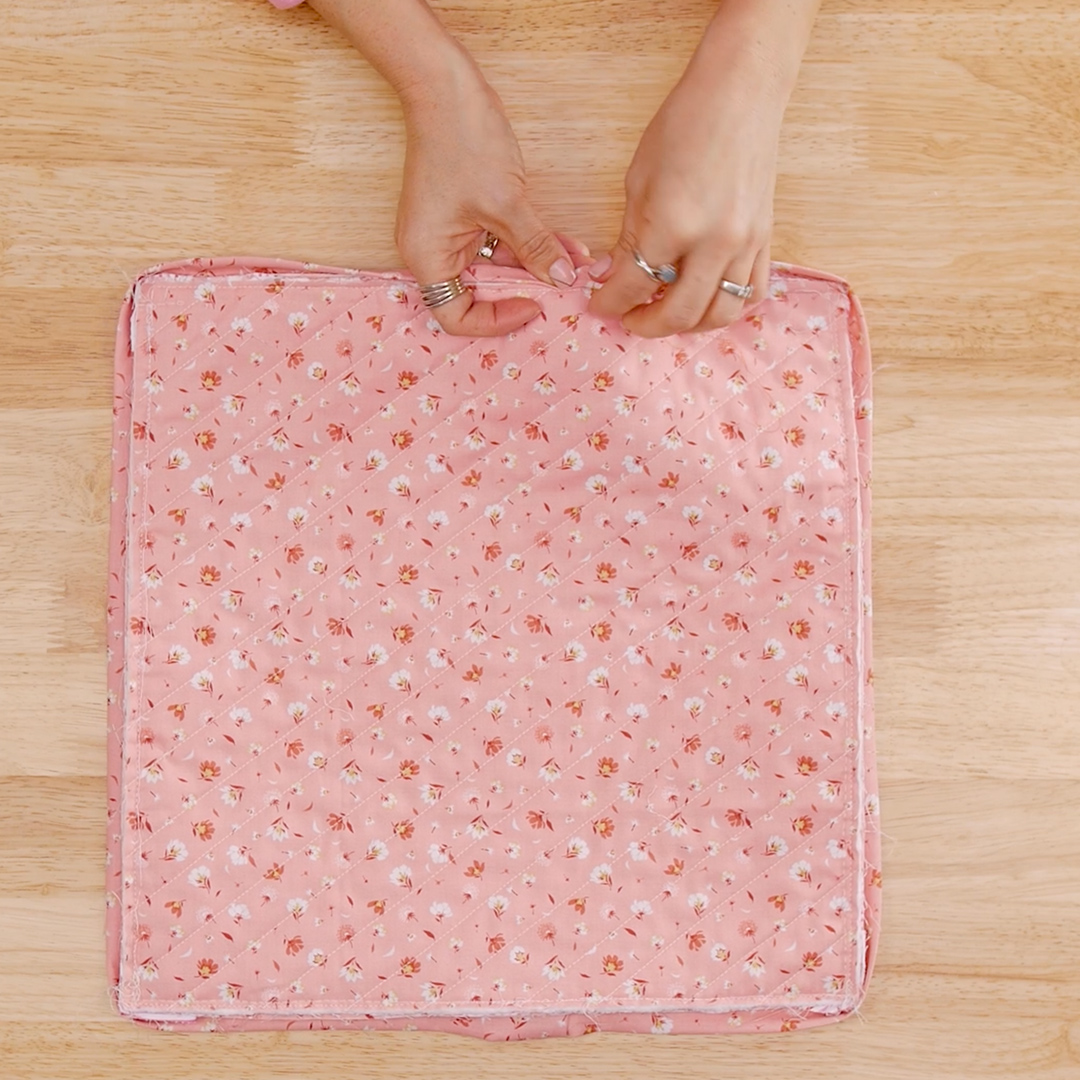
And that’s it! Now you know how to sew binding with ruffles for your next quilt! You’ll be glad you did!
Used Products


What you might also like


3 comments on “Binding with Ruffles”
-
-
So glad you are going to add ruffles to your binding! You can use Foot #1D if you do not have Walking Foot #50. Foot #1D is really meant for 2 layers so you will need to pin and keep an eye on the layers. As far as stich length, I increase stitch length when sewing multiple layers or thick fabric. The stitch has further to go into the fabric so the resulting stitch length can be much smaller than expected. And if you need to unstitch, those tiny stitches can be a pain! Hope that helps!
-
-
What are the fabrics used in this? the combo is beautiful.
Leave a Reply
You must be logged in to post a comment.

Great idea and tutorial, thank you! I have a quilt that needs the binding finished and I think this would be a great application with my 570 QE. A walking foot is on my wish list but I do not have one yet. Do you think that I could have similar results with my 1D foot as my machine does have dual feed? Also, your comment about increasing the stitch length, does this mean that stitch length is best increased in proportion to how thick the material is that you are sewing?