Master Machine Binding

Today, we’re going to show off our favorite BERNINA accessories to help you machine bind your quilts with ease!
See the tutorial to create the Sea Birds Baby quilt here.
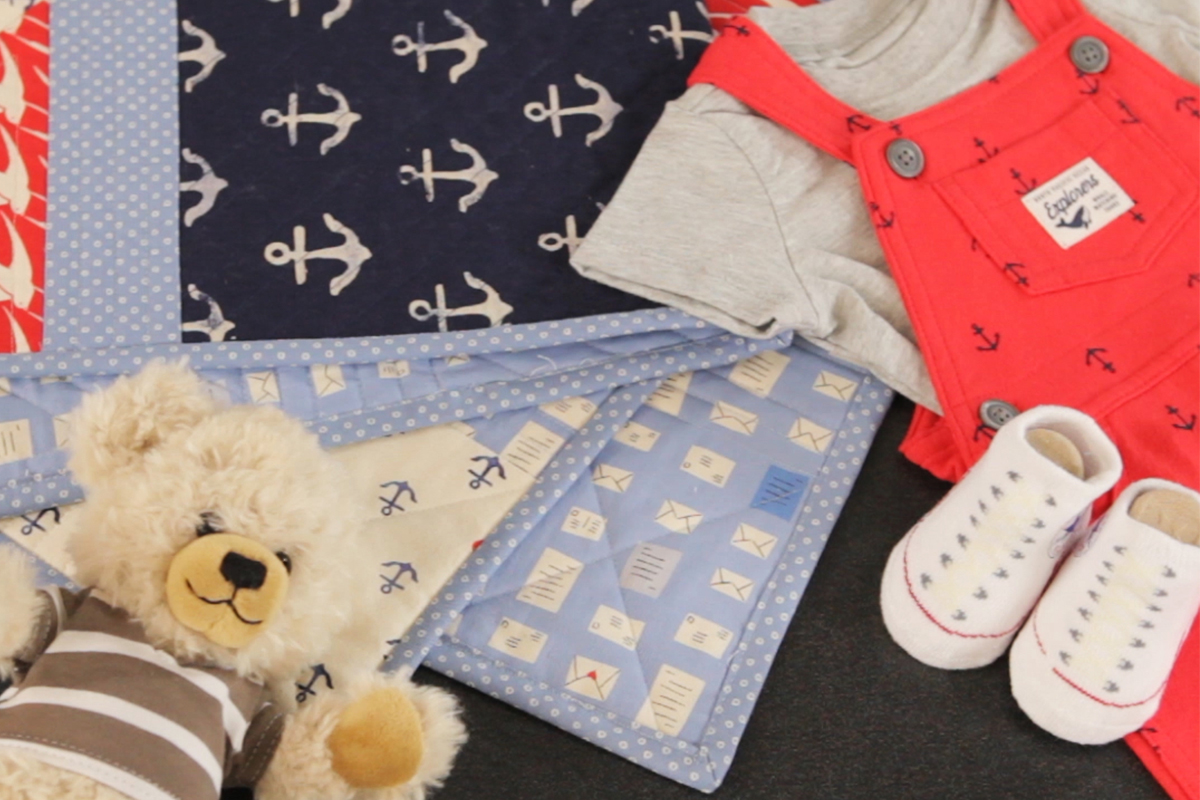
I tend to be very particular about how my quilts are bound. Machine binding always felt rushed to me and for the longest time, I had a hard time finding a way to do it and have the final product look clean and professional instead of looking like I took the easy way out. This method has changed everything!
My preference is for 2.5″ binding so that’s what we’re working with today. Others may prefer a skinnier or wider look—it depends on the quilt/batting, the way you attach it, or just aesthetics. Play around with different widths on different projects but 2.5″ is a great place to start.
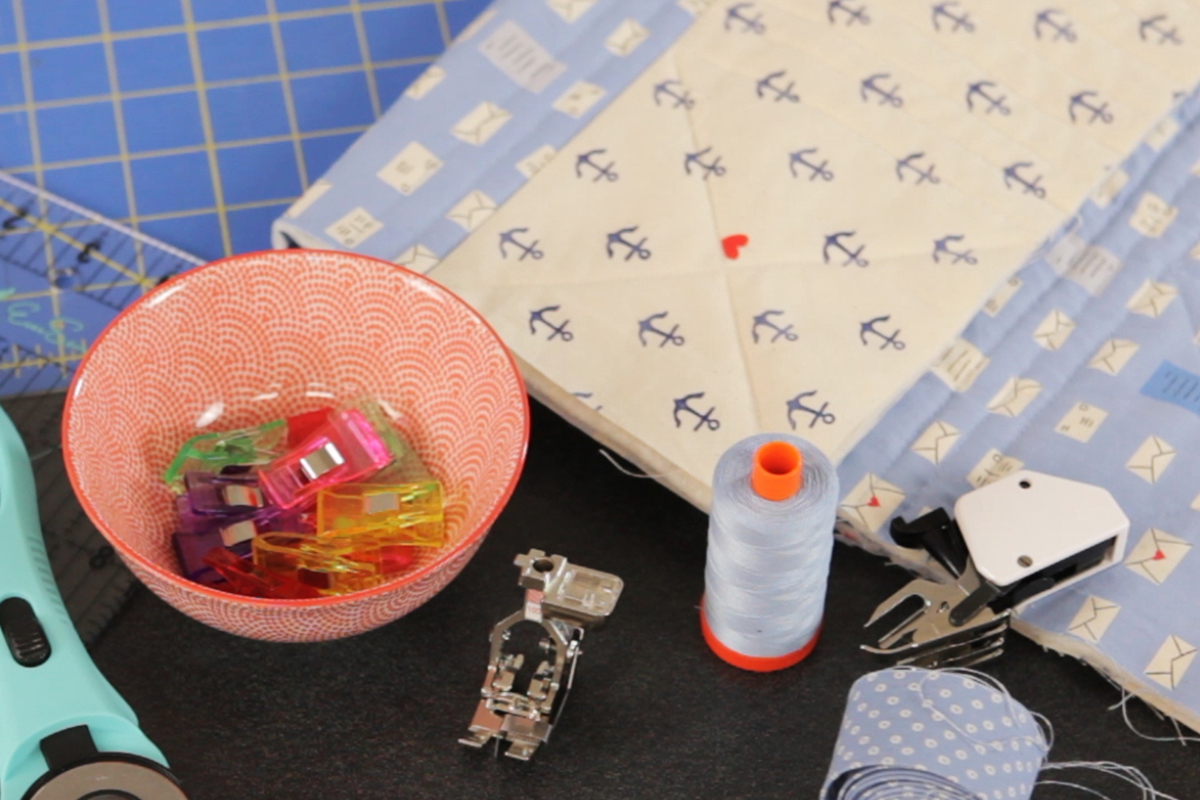
Materials
- Quilt (I’m binding my Sea Birds baby quilt– the tutorial to create the entire quilt is here on the WeAllSew blog)
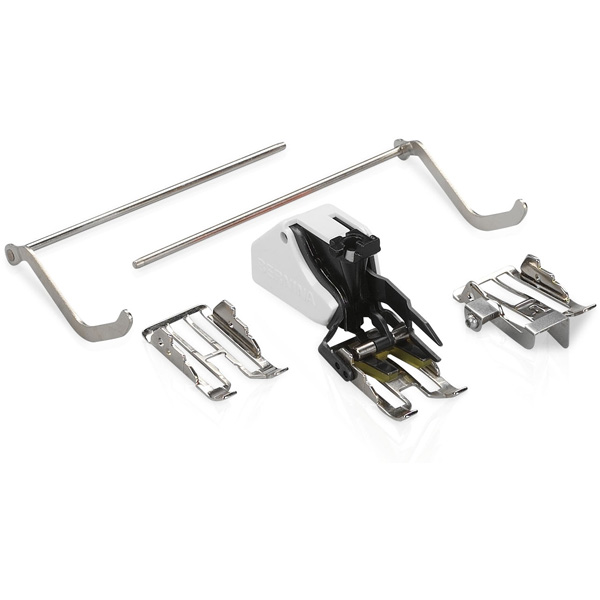
- BERNINA Walking foot #50
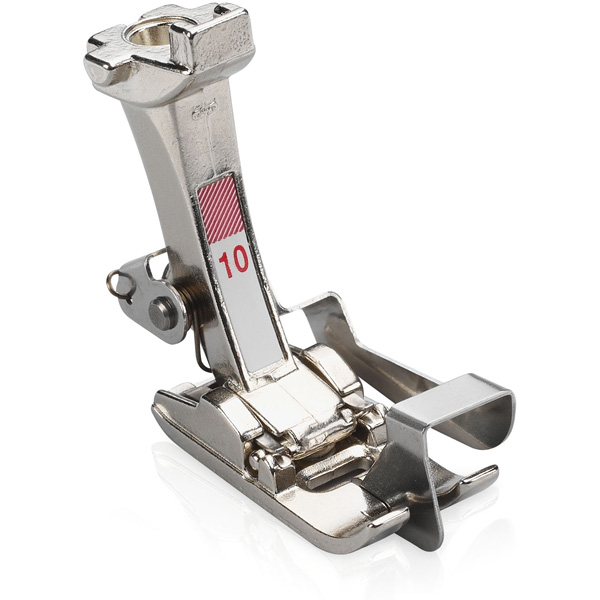
- BERNINA Edge stitch #10D foot
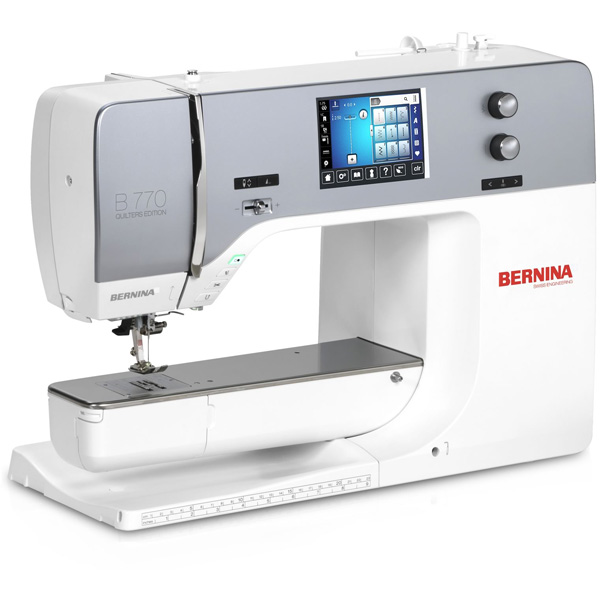
- Machine (I’m sewing on a BERNINA 770 QE)
Instructions for Machine Binding a Quilt
1. Do the Math
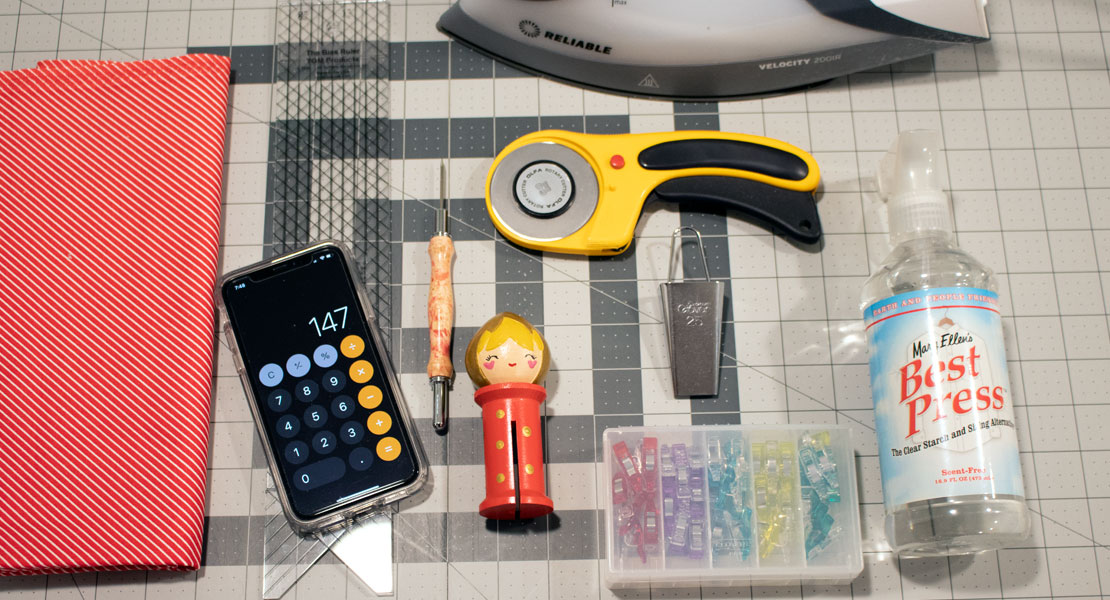
Calculate how much binding you need. If binding is still new to you, keep reading. If this isn’t your first rodeo, skip along to the next section.
To calculate binding, add up length of all sides of your quilt. Recognize that despite our best efforts, quilts aren’t usually perfectly squared up so take the time to measure each side, in case something got a little wonky.
For this baby quilt: 35″ + 35″ + 48″ + 48″ = 166″
Add 10” to accommodate corners and some overlap for joining at the end.
166″ + 10″ = 176″
Now divide that number by 42. That’s your average width of fabric (WOF) for most quilting cottons once you cut off the selvedges and whatnot. You likely won’t get a whole number so round up. That’ll give you the total number of strips you need to cut for your binding.
176″ ÷ 42 = 4.19; round up to 5
To calculate how much yardage you’ll need for your binding, take that number of strips and multiply it by the width of your binding.
We’re using 2.5″ binding today so: 5 x 2.5 = 12.5
2. Cut
Now you’ll cut your strips. There are two different ways to cut binding; straight of grain or bias. For most squared quilts (with 90 degree corners), straight of grain is fine. You definitely want to use bias for anything with a curve because the bias cut stretches and allows you to finish those edges without puckering or weirdness. Some people swear by bias binding for everything but it is more complicated to cut. We’re going to keep it simple today and stick to straight of grain.
For straight of grain binding, have your fabric folded in half, with selvedges together (a.k.a. how fabric comes off the bolt). Using an acrylic ruler and rotary cutter, cut as many 2.5″ strips as determined by your math wizard skills established in the last step.
Don’t forget to trim away the selvedge from your strips!
3. Piecing & Pressing
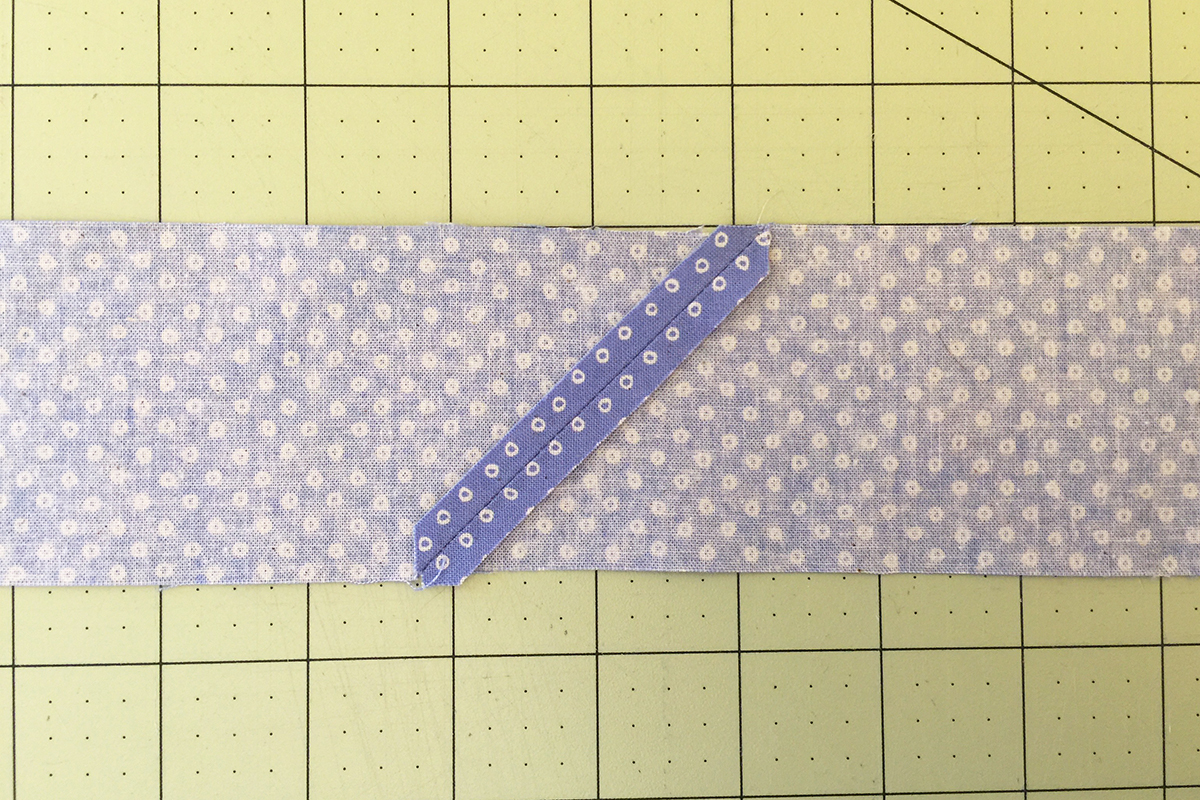
Overlap strips at a 90 degree angle with ¼” overhanging.
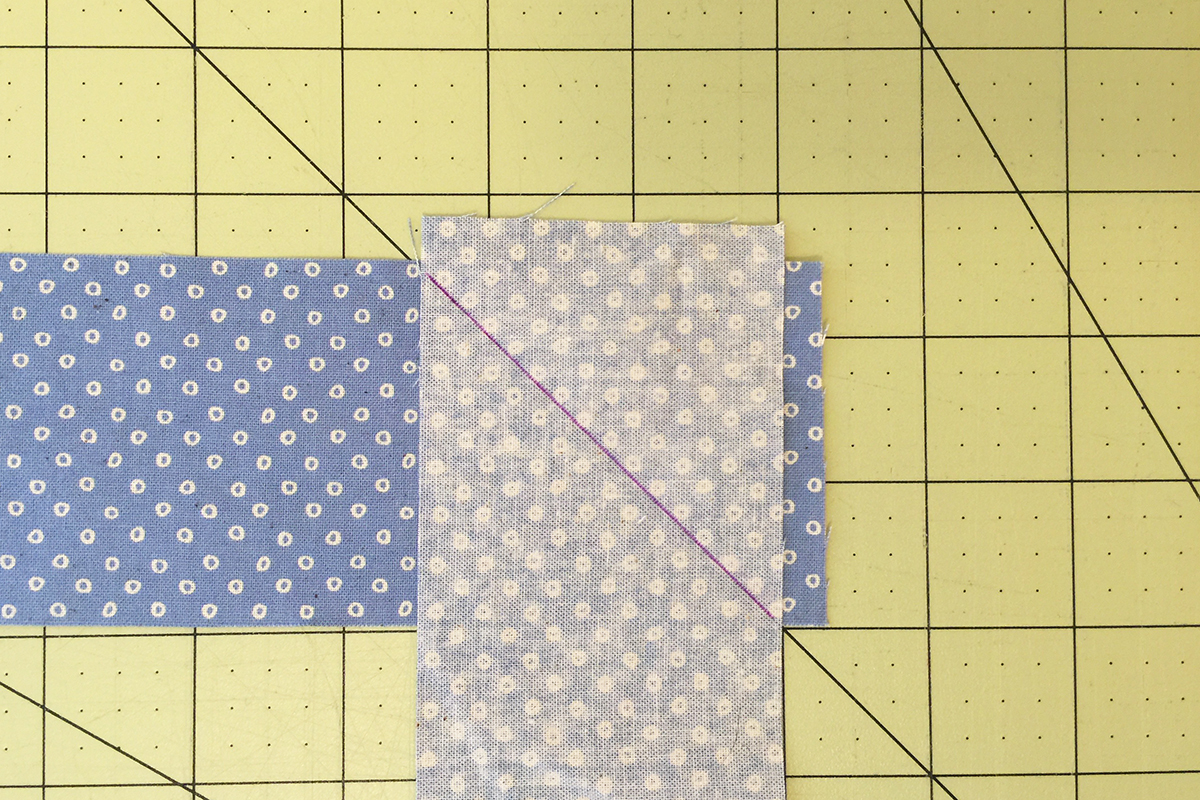
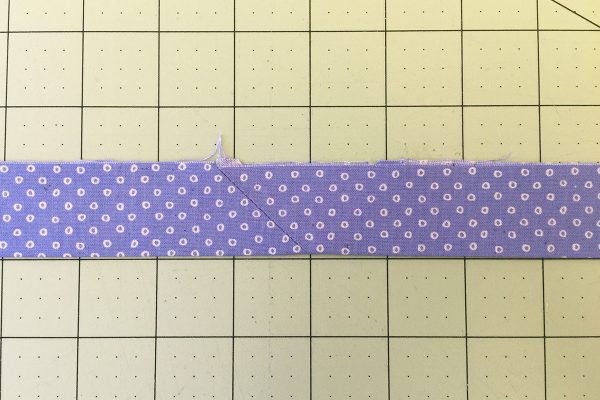
Stitch on the 45 degree diagonal to join and trim away the excess and dog ears.
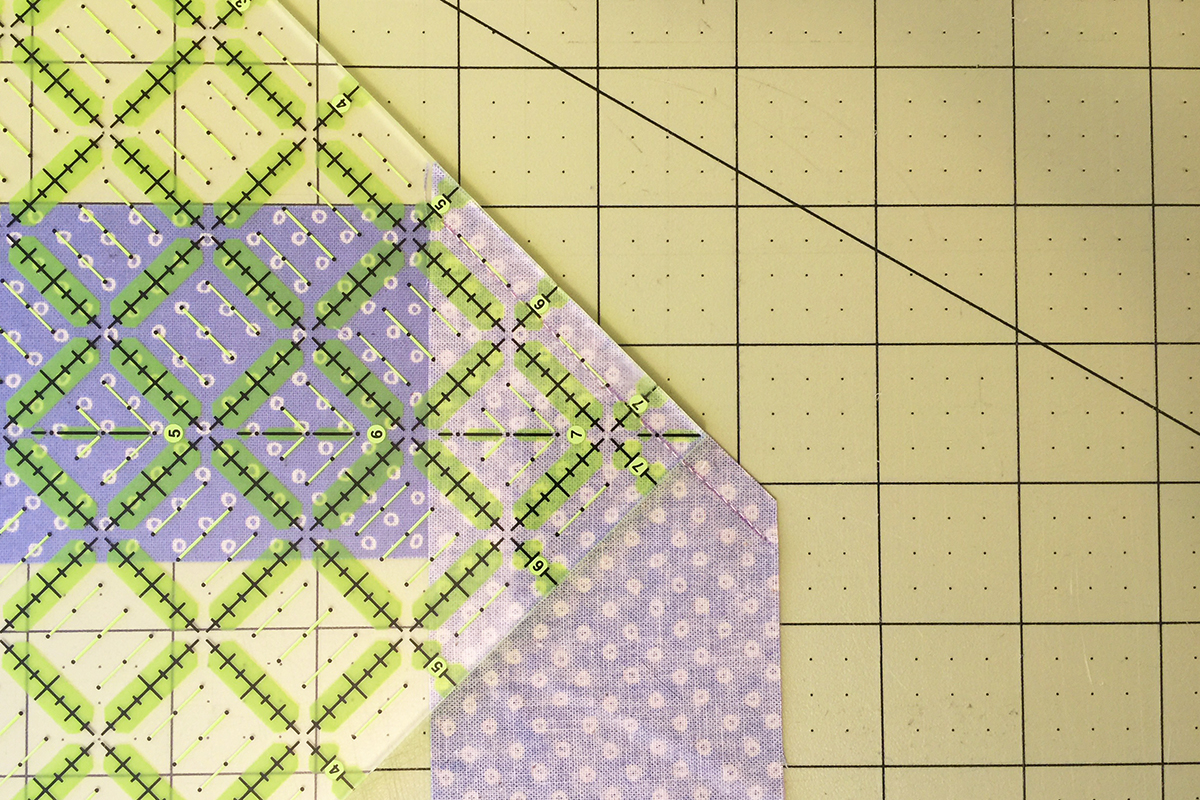
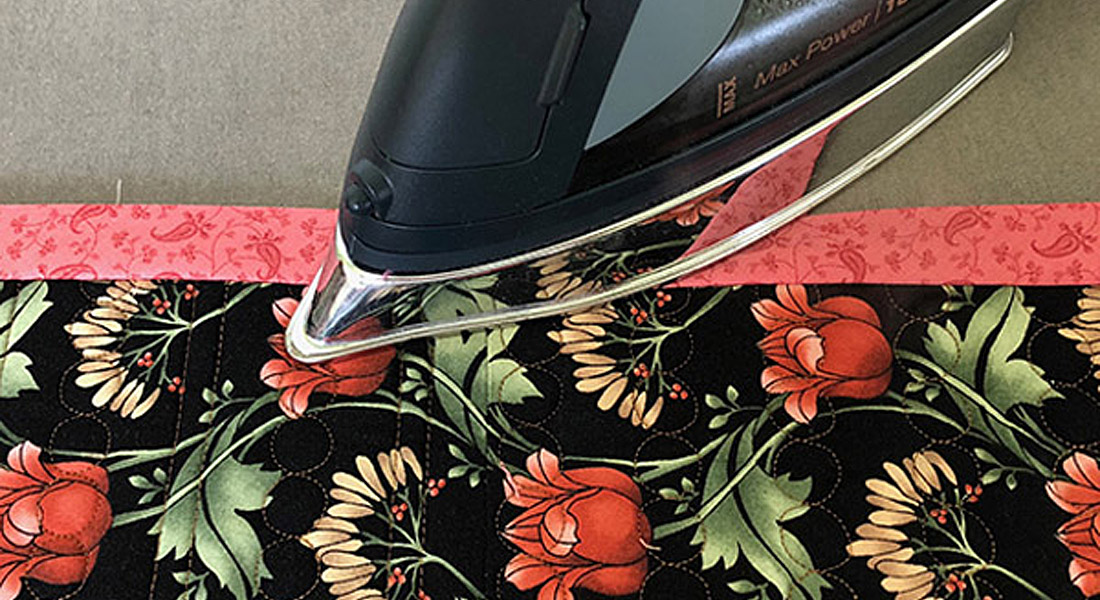
Repeat until all your individual strips become on very long strip. Press seam allowances open and press the whole piece in half horizontally. Now we’re ready to start attaching!
4. Attach
Using your machine’s walking foot, start attaching binding in the middle of a side. Do not start at a corner! Leave a tail of binding before you start stitching (at least 8″) and secure your stitch when you start.
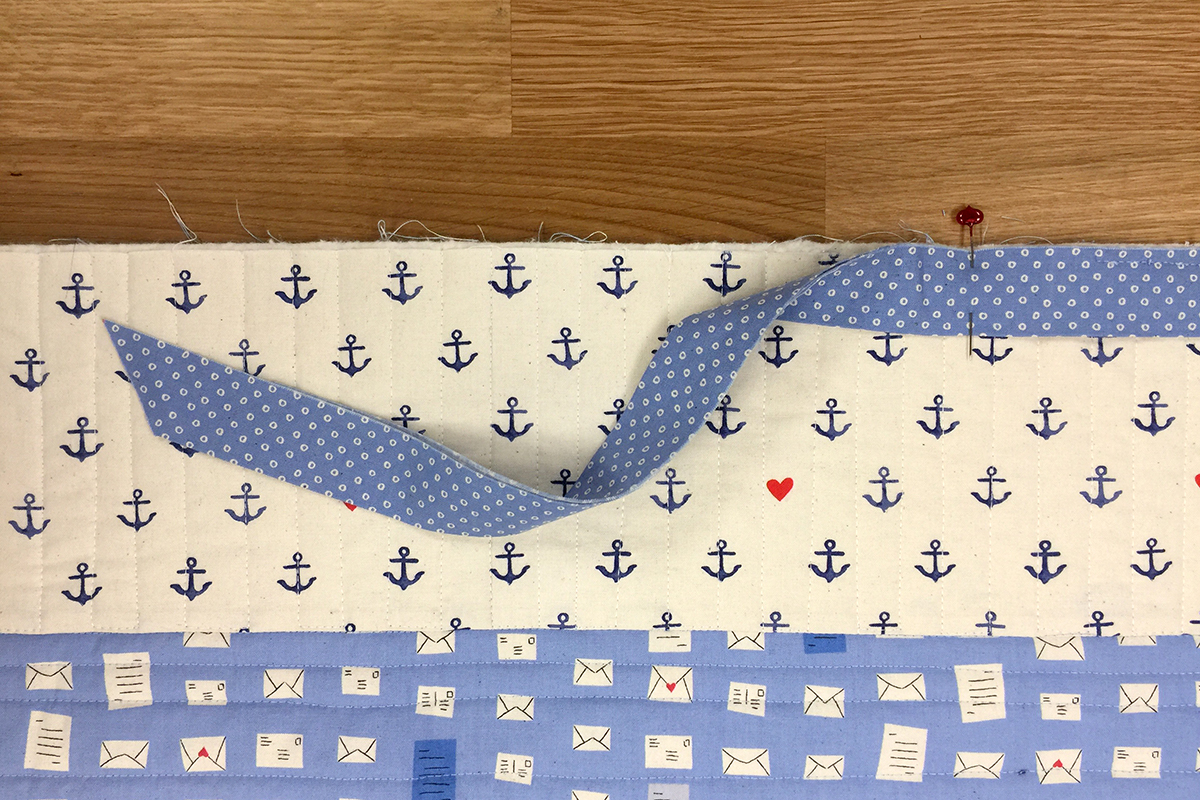
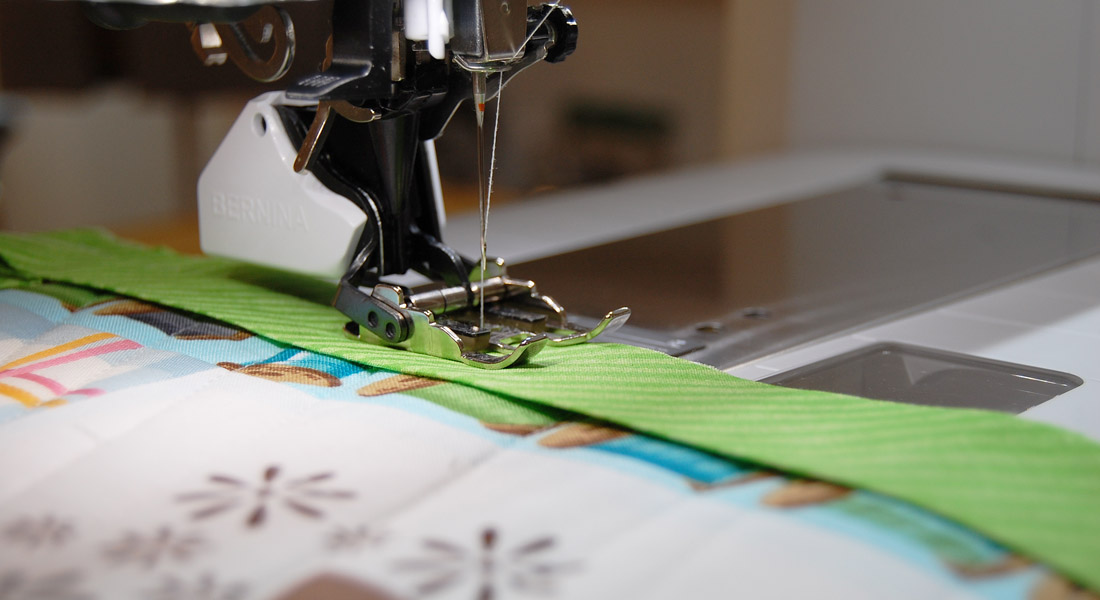
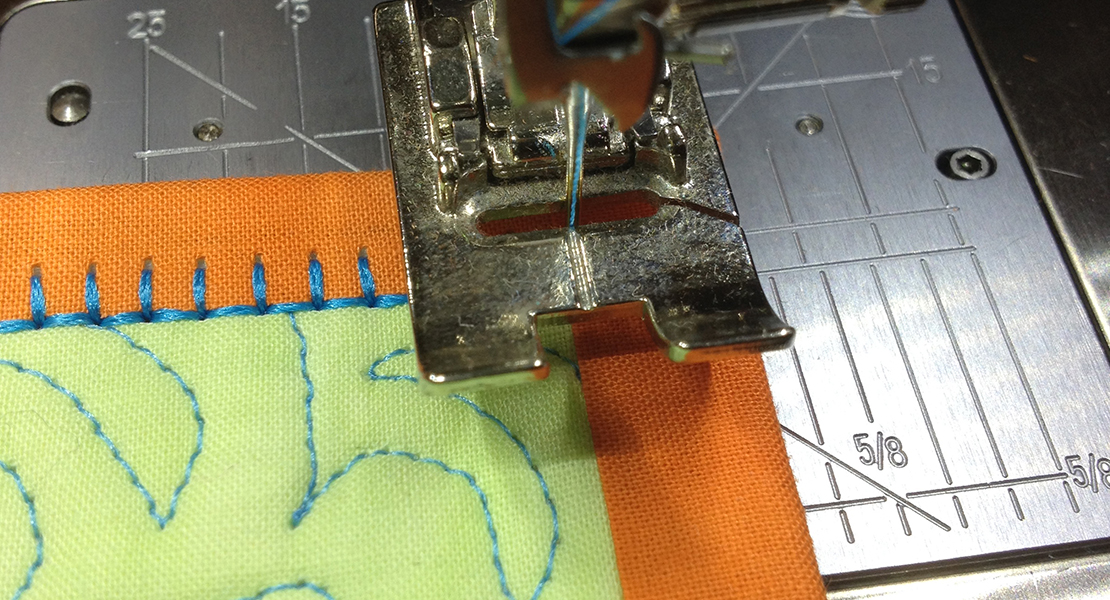
Stitch your binding down using a 3/8″ seam allowance. When using the walking foot, align the raw edge of your quilt with the edge of the foot and set your needle position at +5 (furthest position to the right of center).
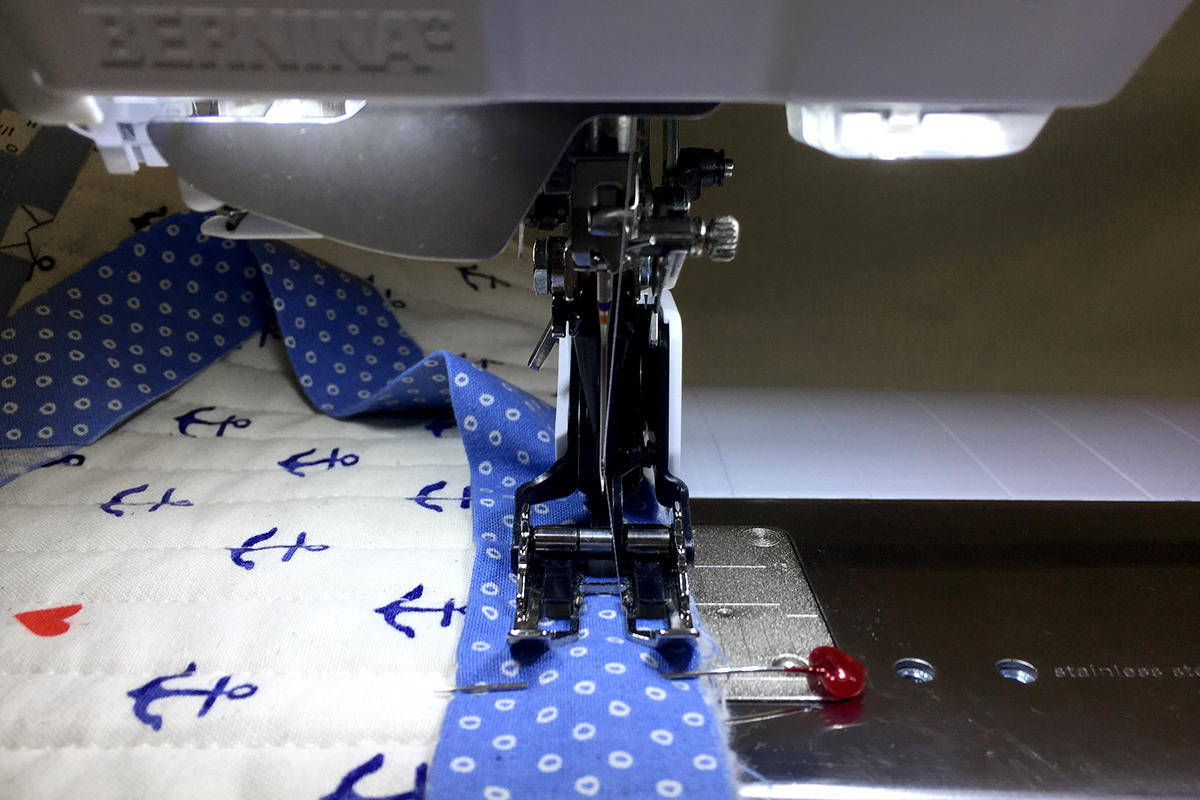
When you reach this 3/8″ point, pivot the quilt to stitch off into the corner at a 45 degree angle.
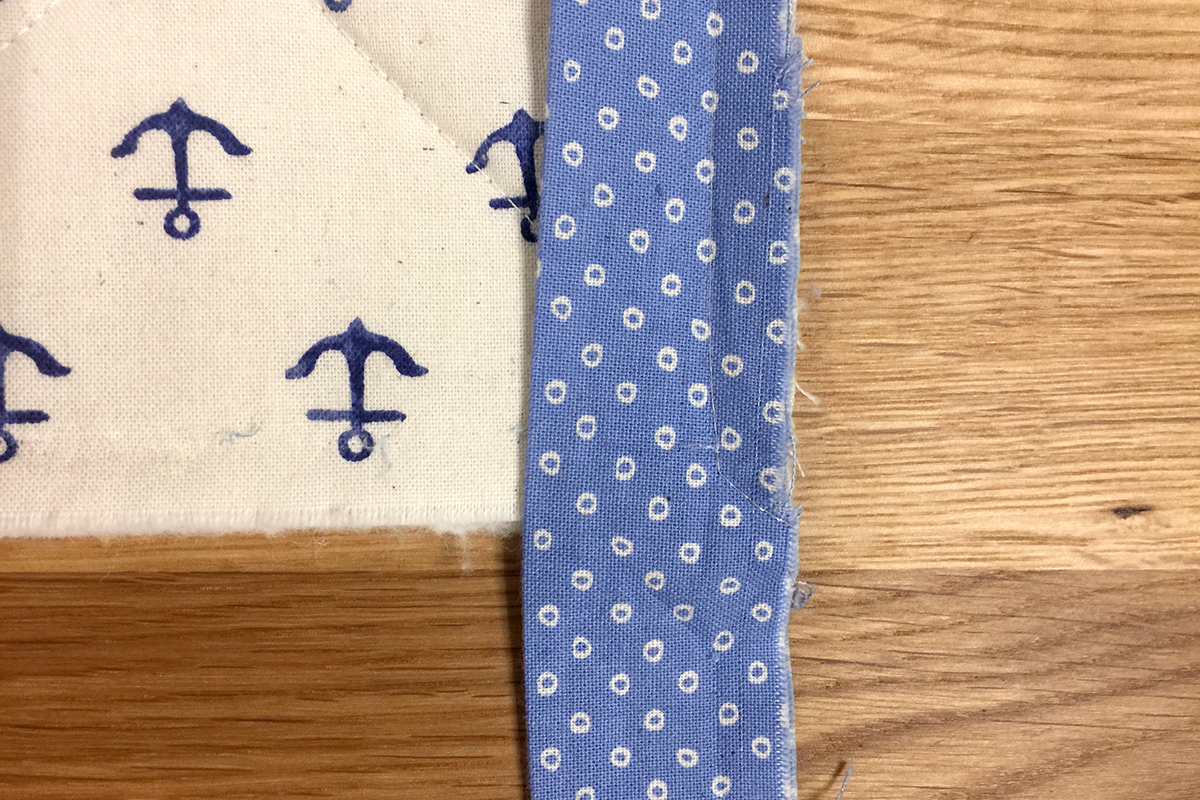
Take your binding and fold it back to get a 45 degree fold.
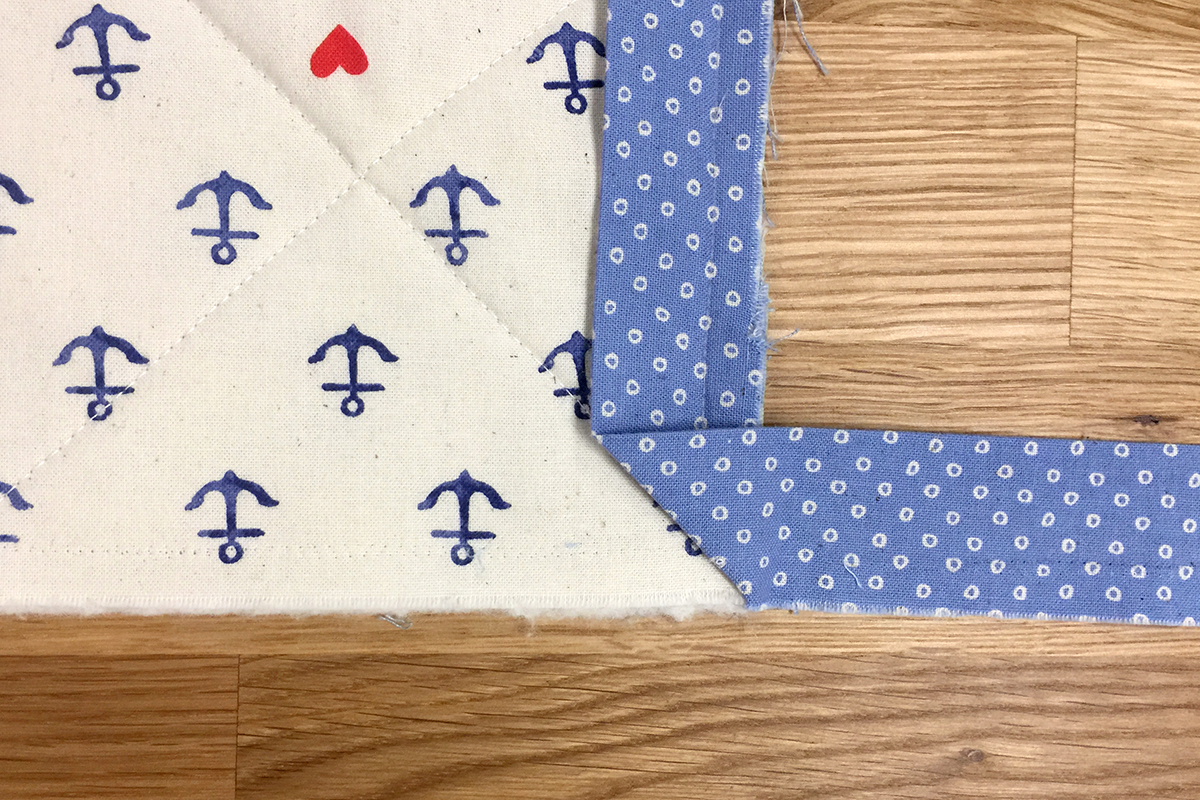
Then fold it down to match raw edges along the next side.
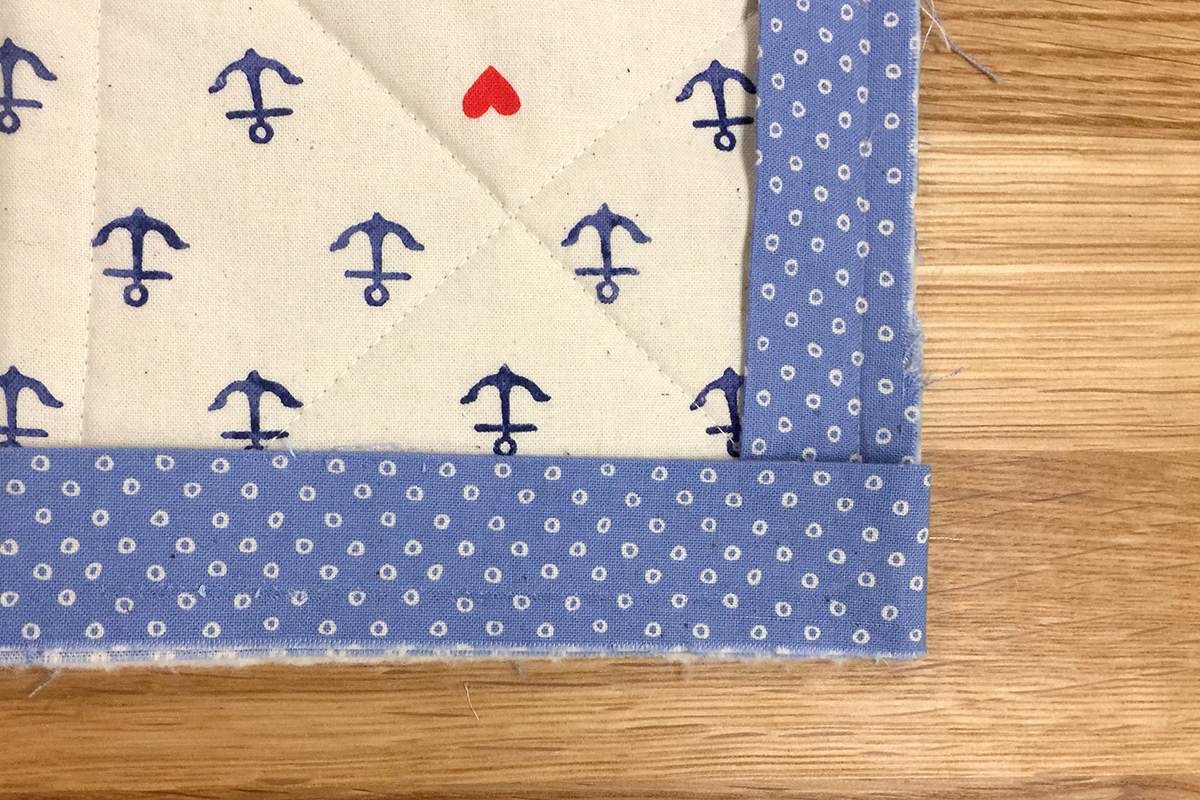
Resume stitching, again at a 3/8″ seam allowance, starting 3/8″ from the top edge. Repeat this process for all corners until you get to the side you started on.
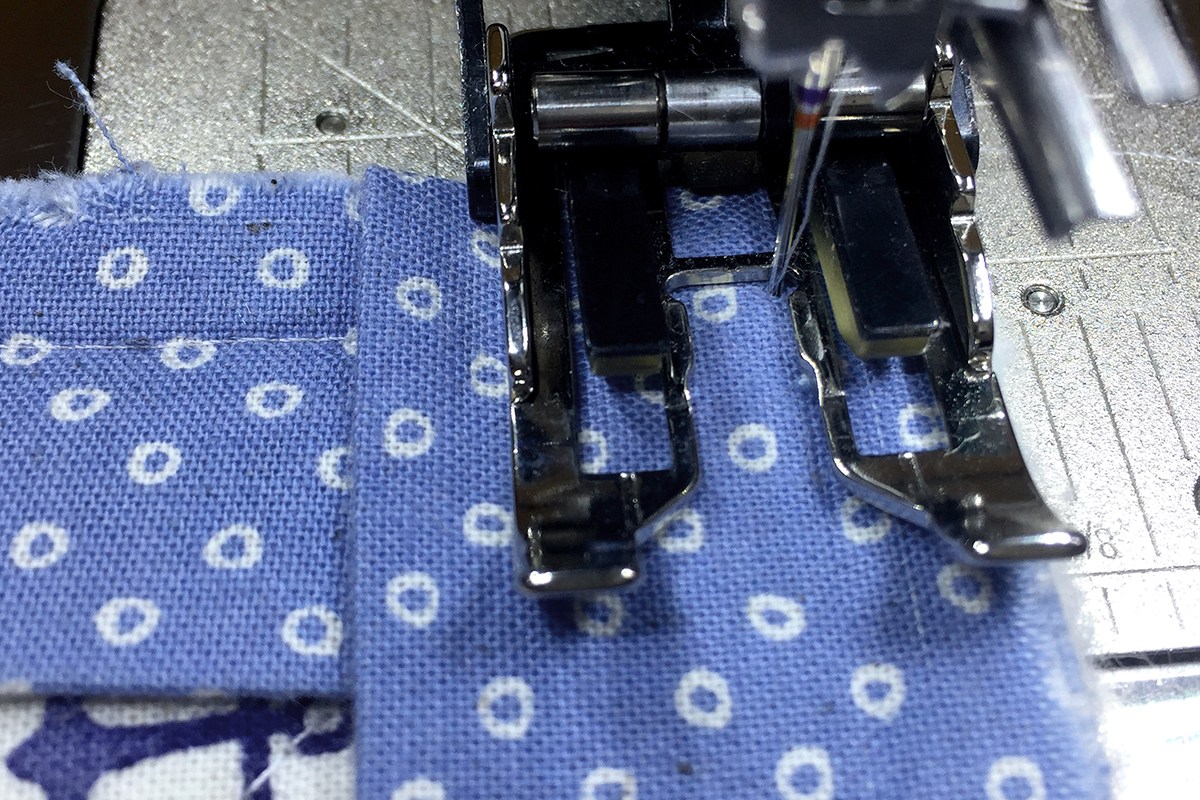
Stop stitching when you have at least 12″ before the point where you started. We’ll need to join these loose ends together!
5. Join binding ends
Make sure that one of your tails is already cut at a 45 degree angle.
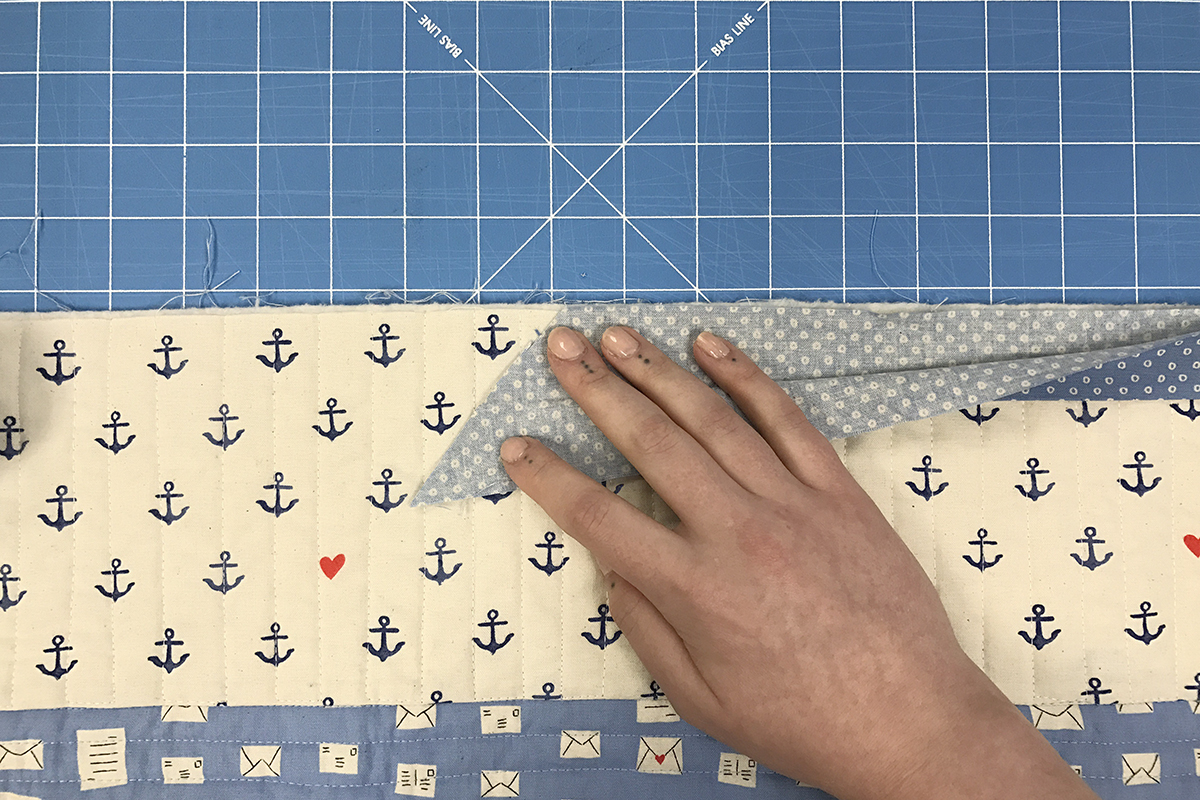
Lay tails of binding out to see where they overlap.
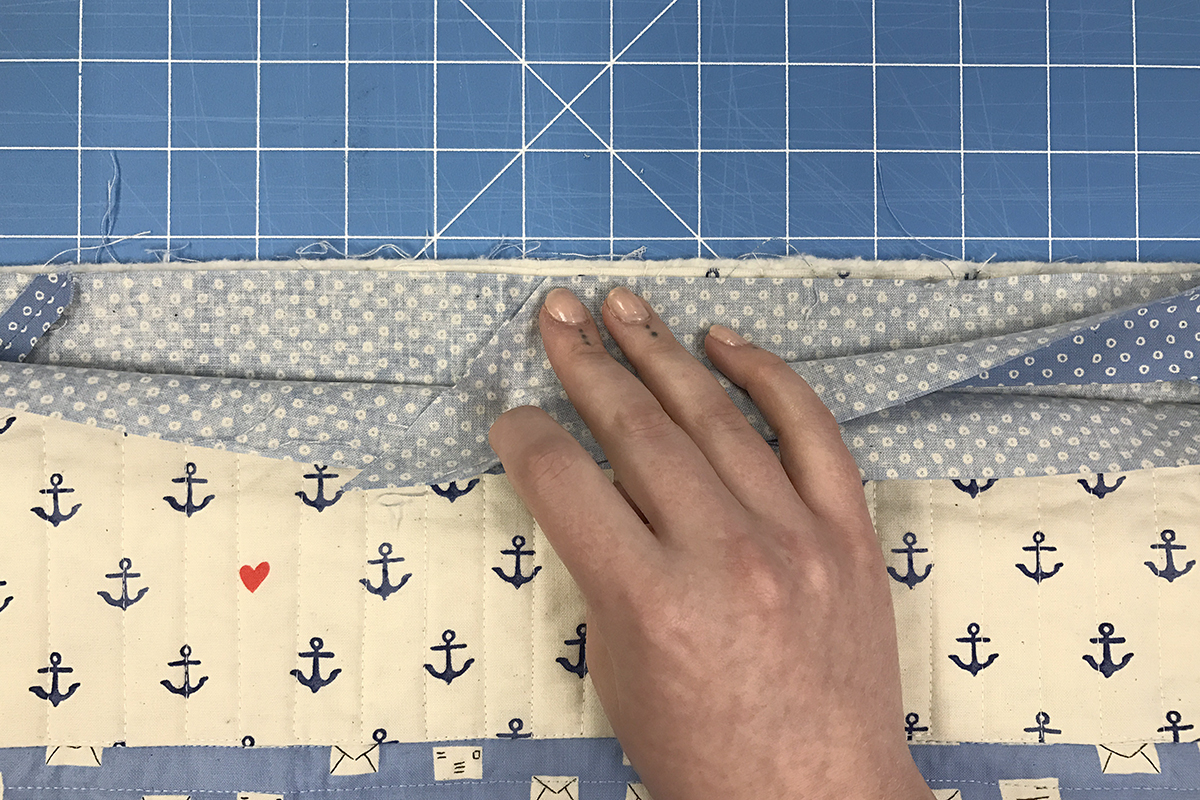
Using the marking tool of your choice, draw a line exactly where these tails meet.
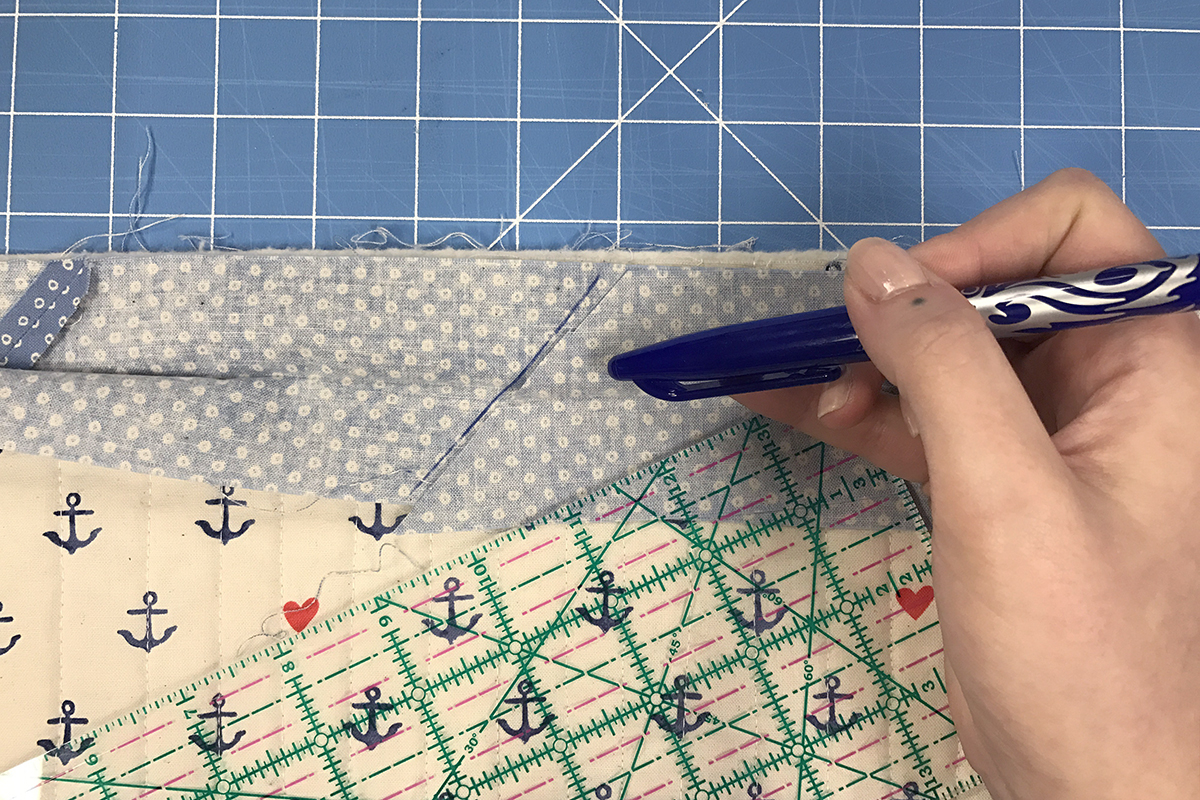
Mark an additional 45 degree line 1/2″ away from the first line you marked. This extra half-inch will accommodate for your seam allowances when you join the tails together so be sure you’re placing it in the direction to add length, rather than take away! Since you can barely see my original line in this photo, I added a dashed red line just to be clear.
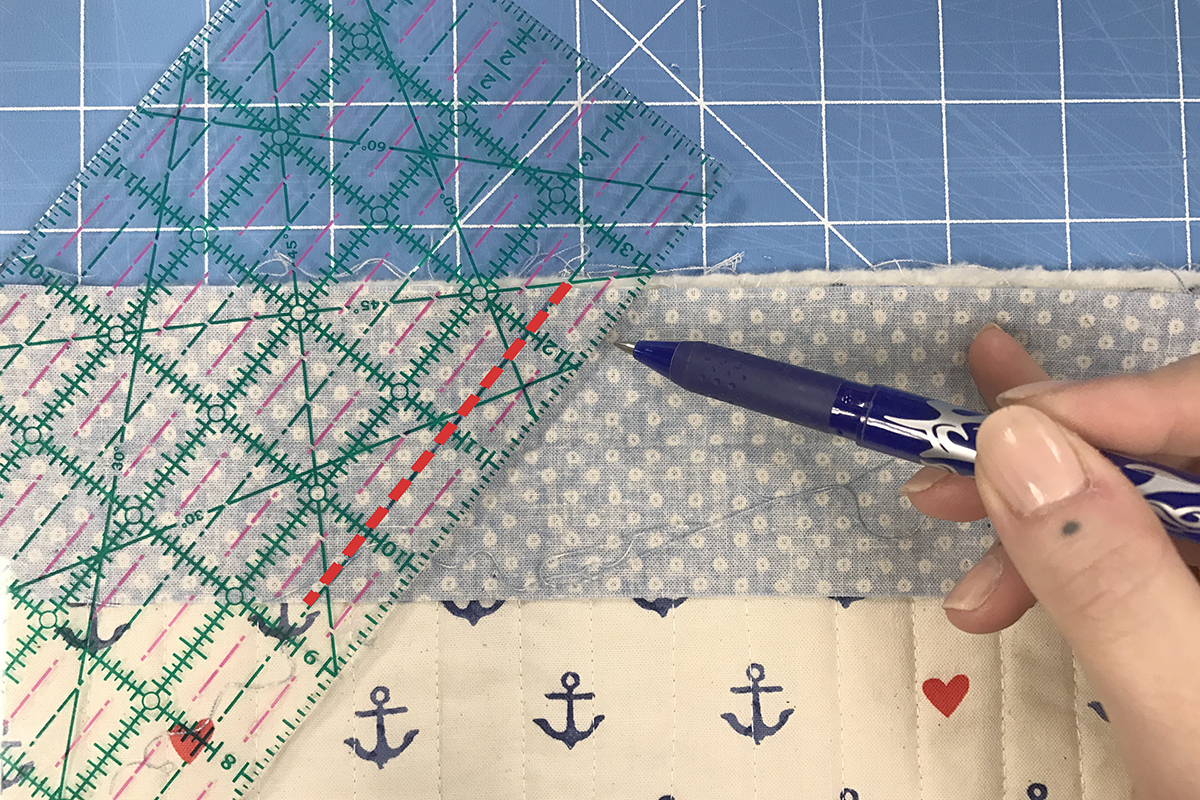
Trim away the excess at the second drawn line.

Using a 1/4″ seam allowance, join these two loose ends.
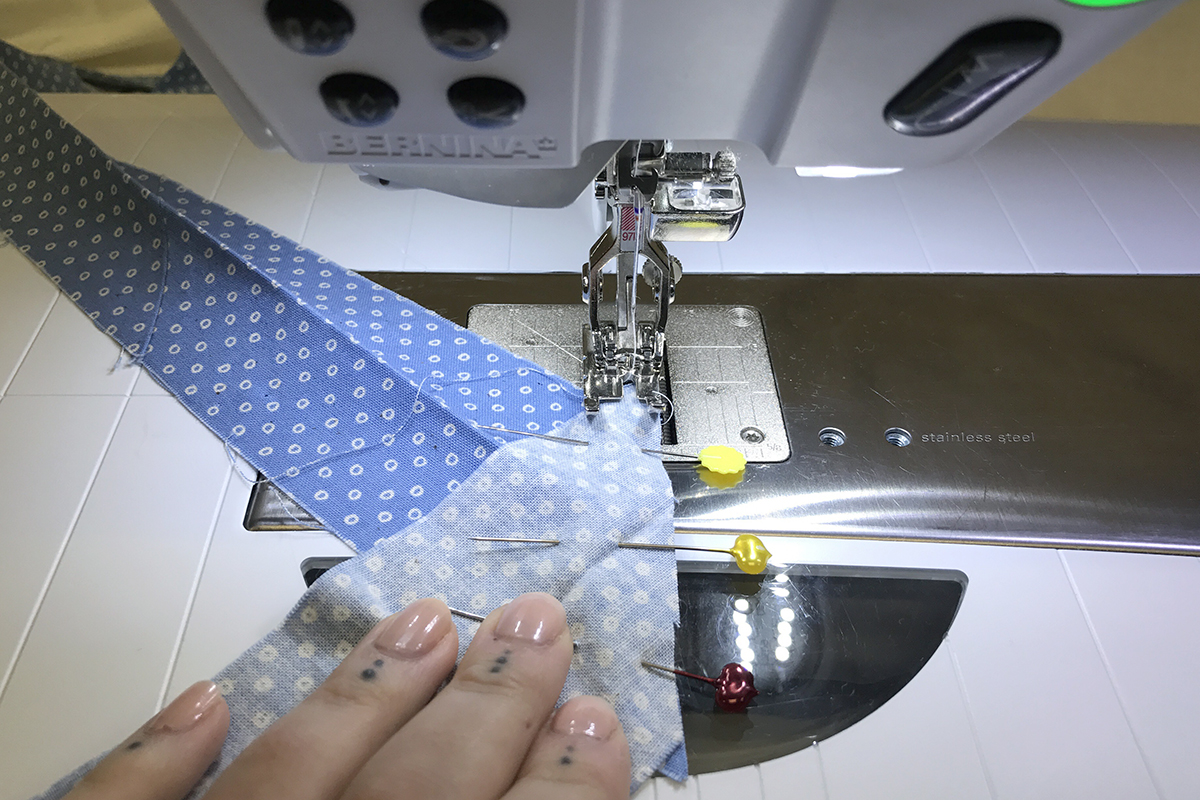
Finger press your seam allowance open.
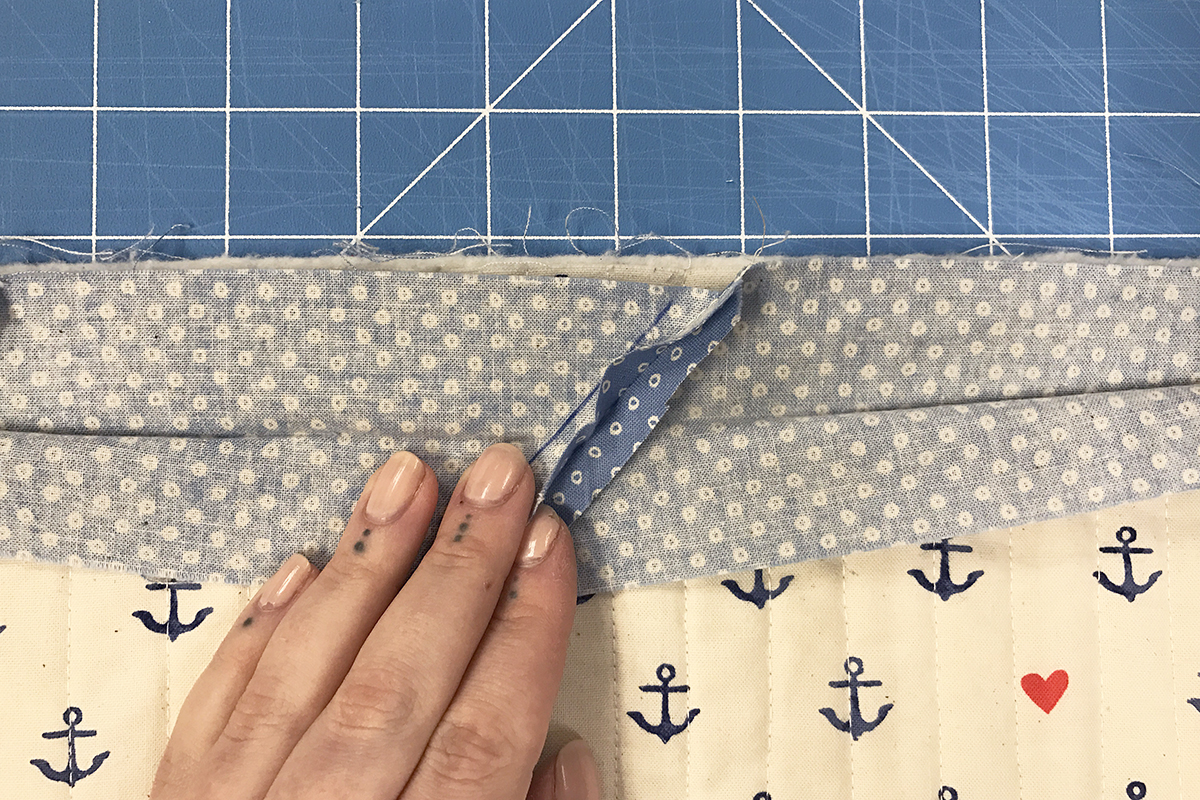
Fold over and finish attaching it all down!
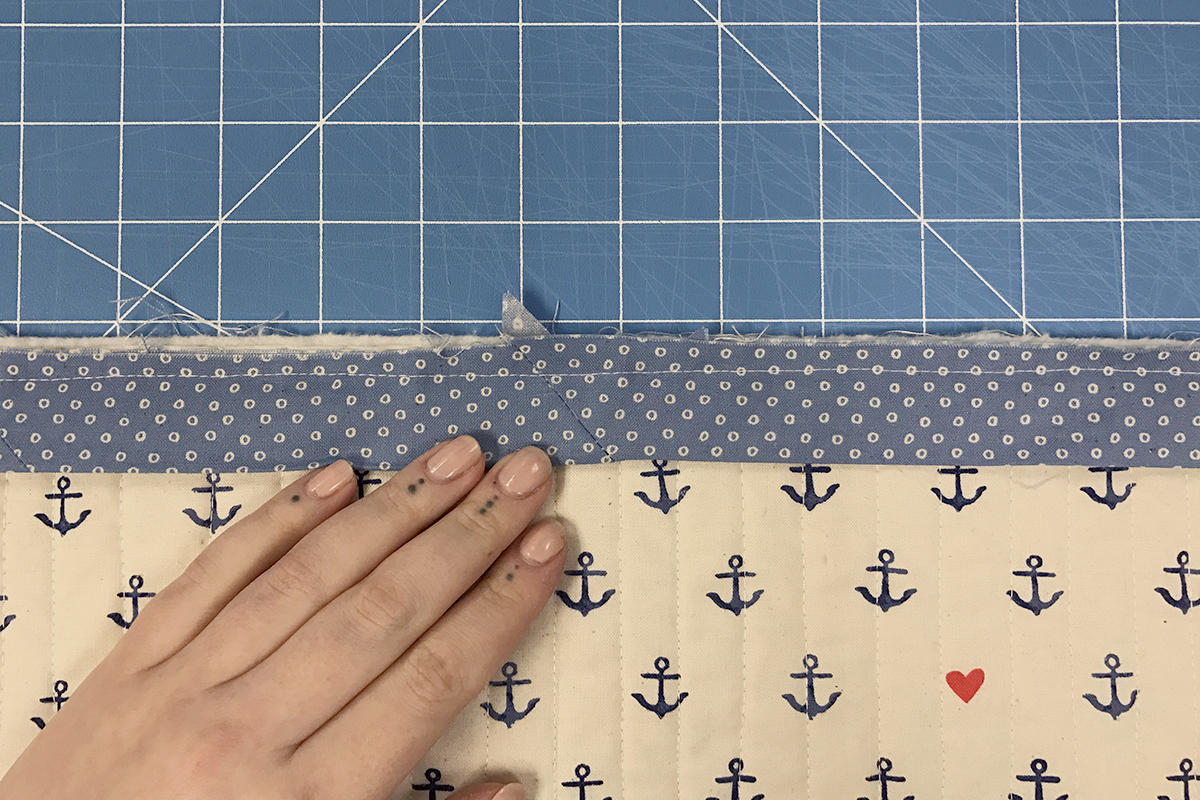
6. Wrap & Clip
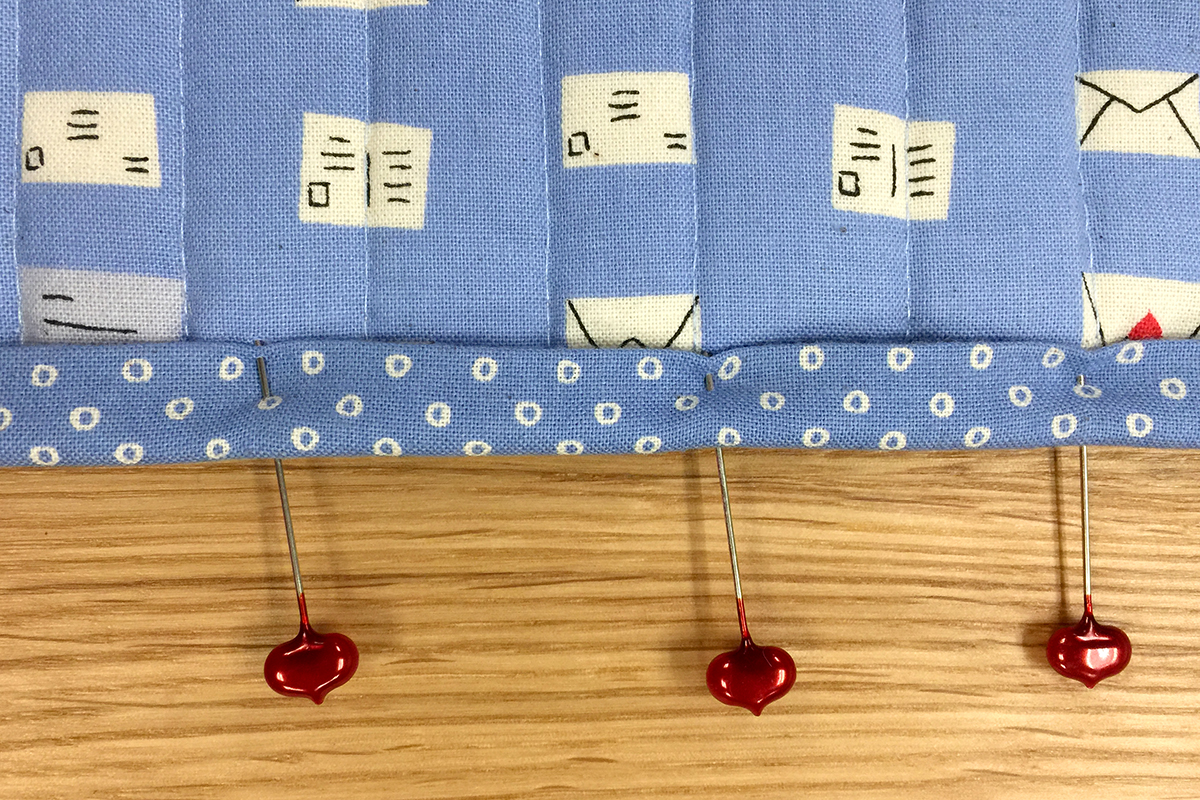
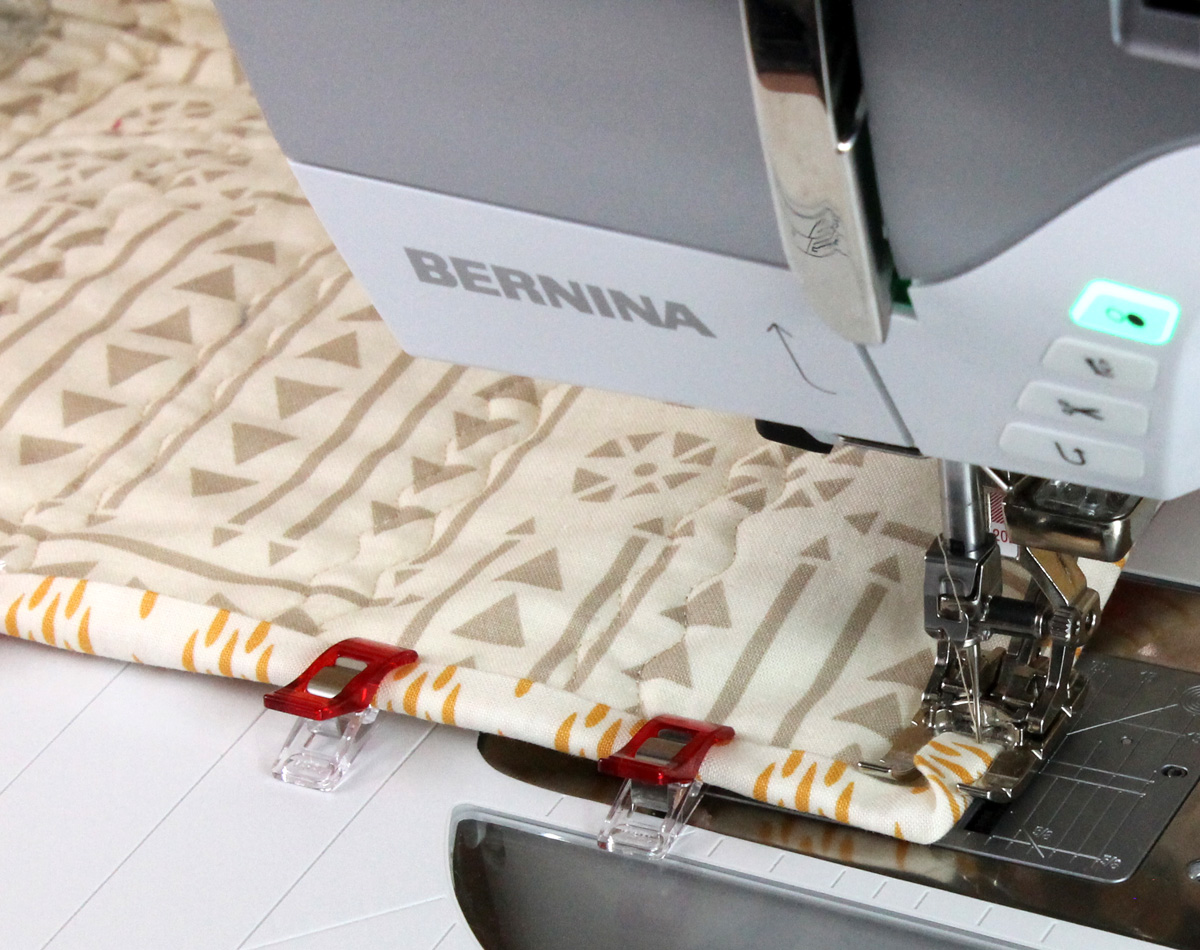
Next, wrap your binding around to the back side pin in place. Using binder clips or Wonder Clips for this is a great option too—no one likes getting stuck with a rogue pin!
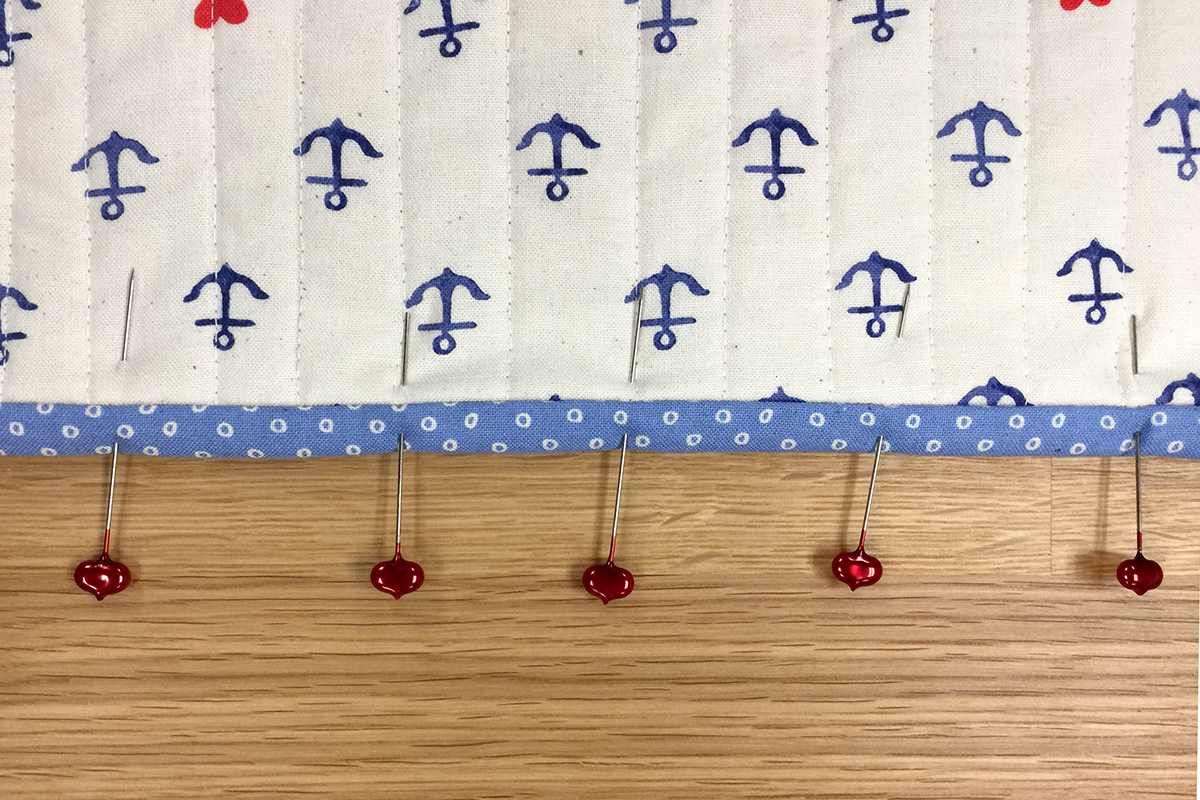
When you’re folding your binding back, make sure this folded edge covers the stitching line where we just attached the binding. This is key!
7. Stitch in the Ditch
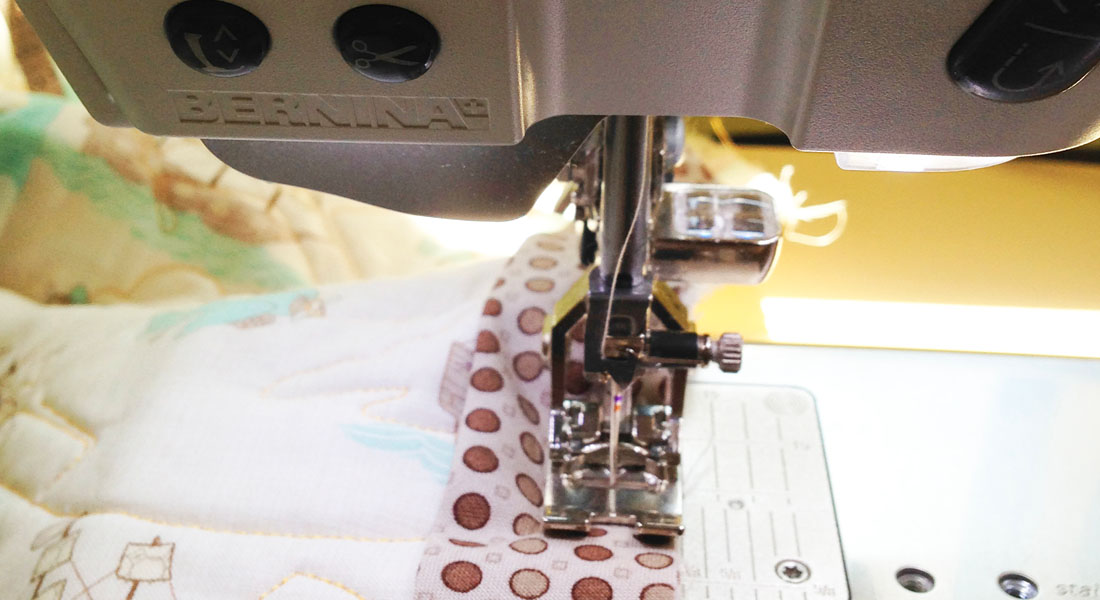
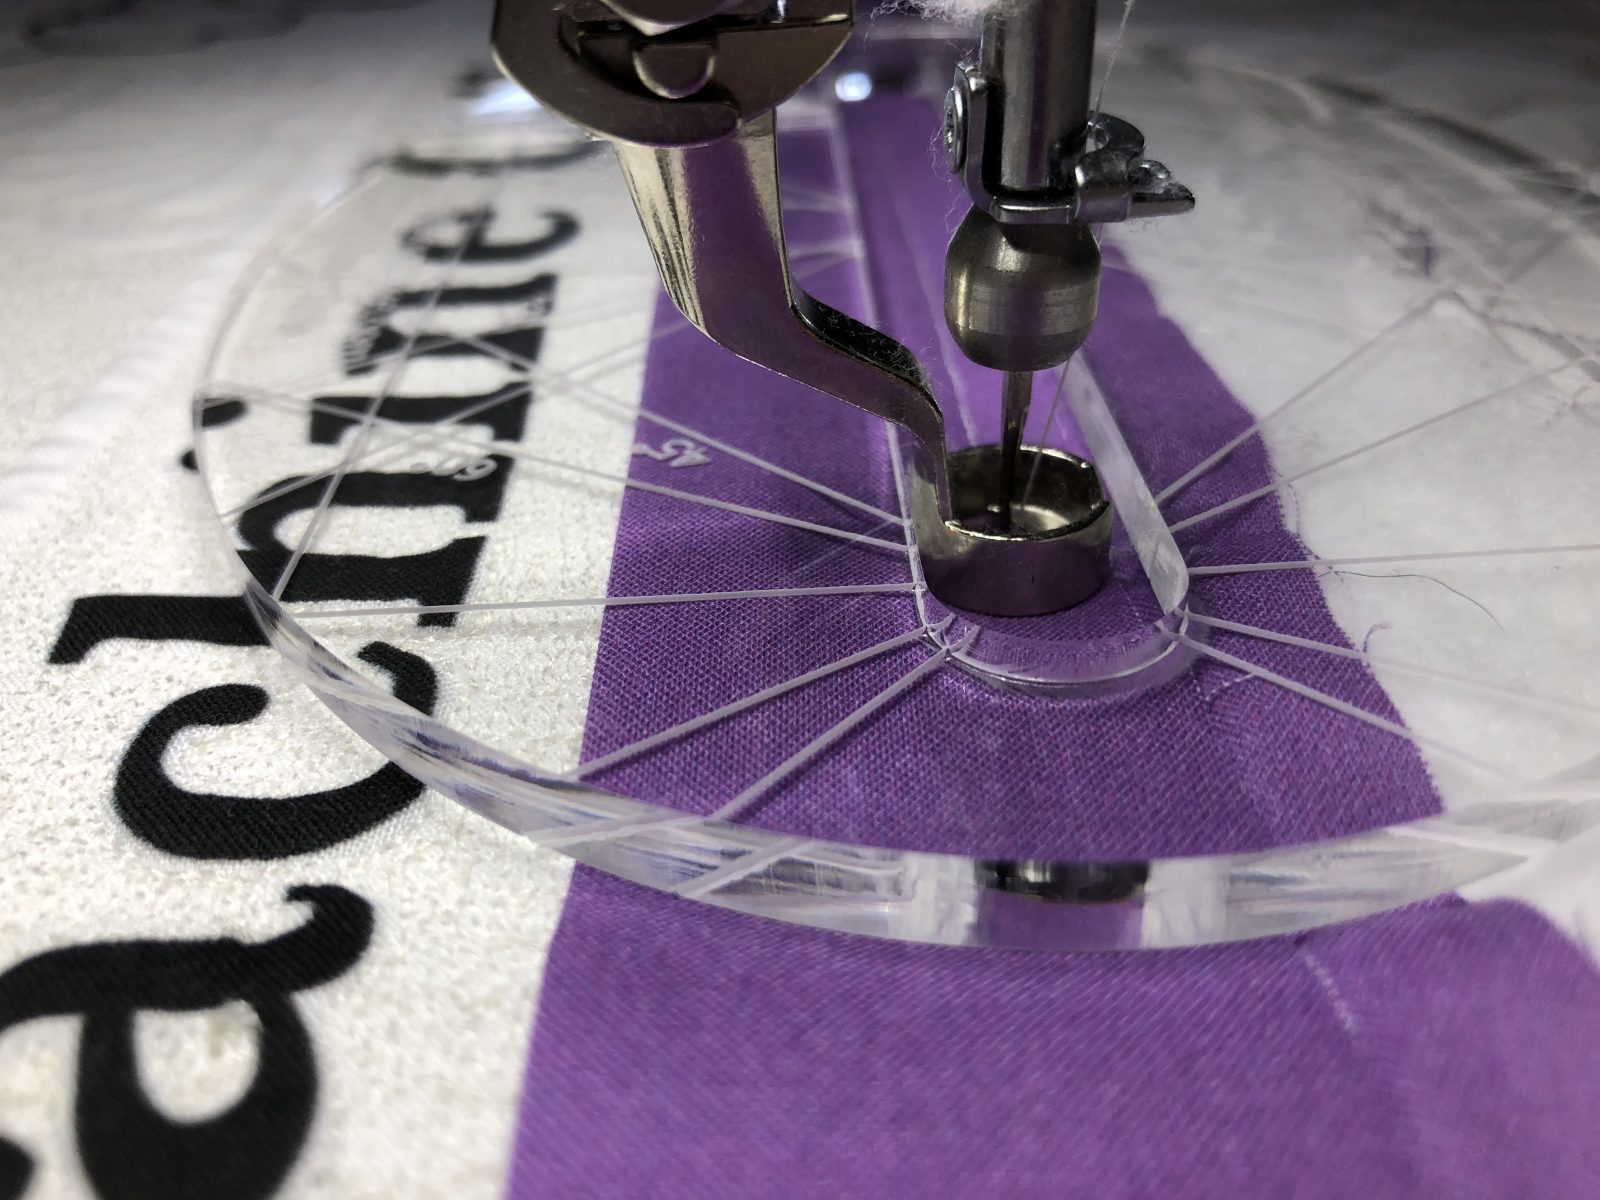
Switch from your walking to the Edgestitch foot #10D and engage Dual Feed; the Dual Feed is the real superhero in this situation. We’re sewing through a lot of materials now—the quilt top (and probably some seams), batting, backing, and two layers for the binding. Dual feed is going to make sure all of these layers move smoothly and evenly without shifting or puckering.
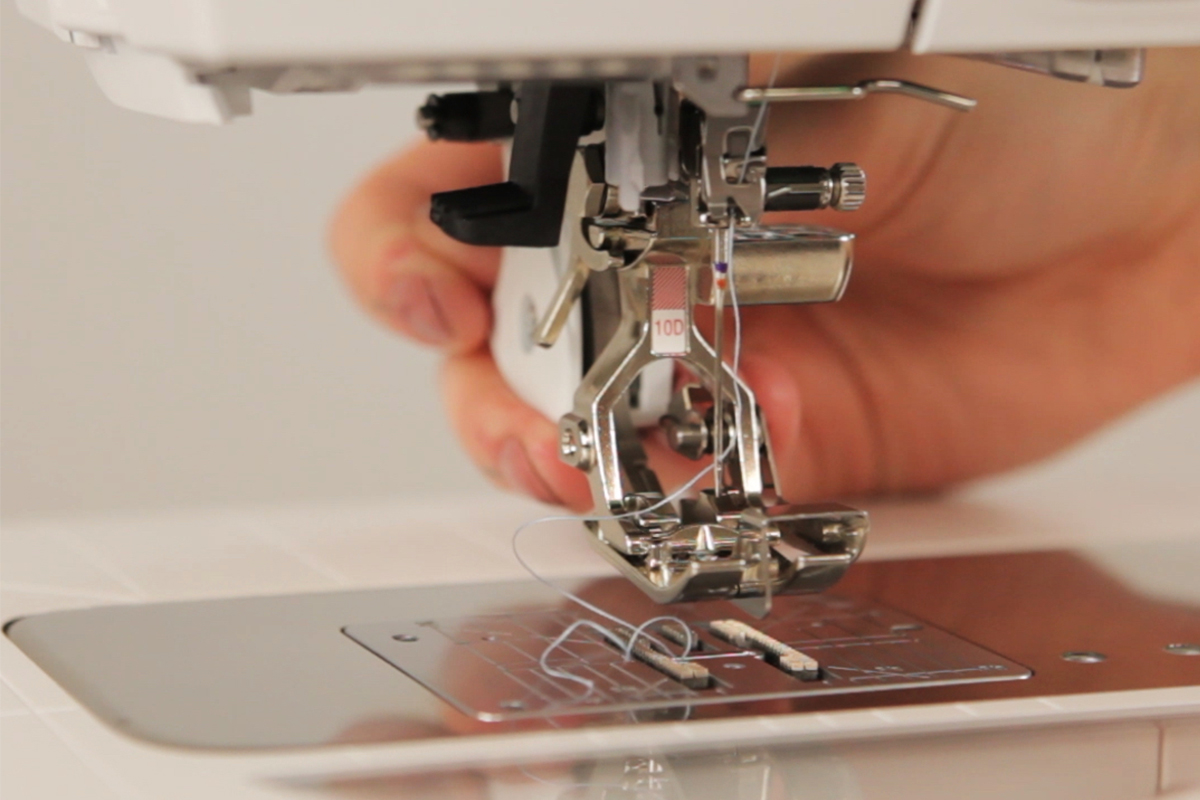
Using a top thread color that won’t contrast with your quilt top, stitch in the ditch with the right side of your quilt up. I like to start in the middle of a side for this as well but you could start in the corner on this one!
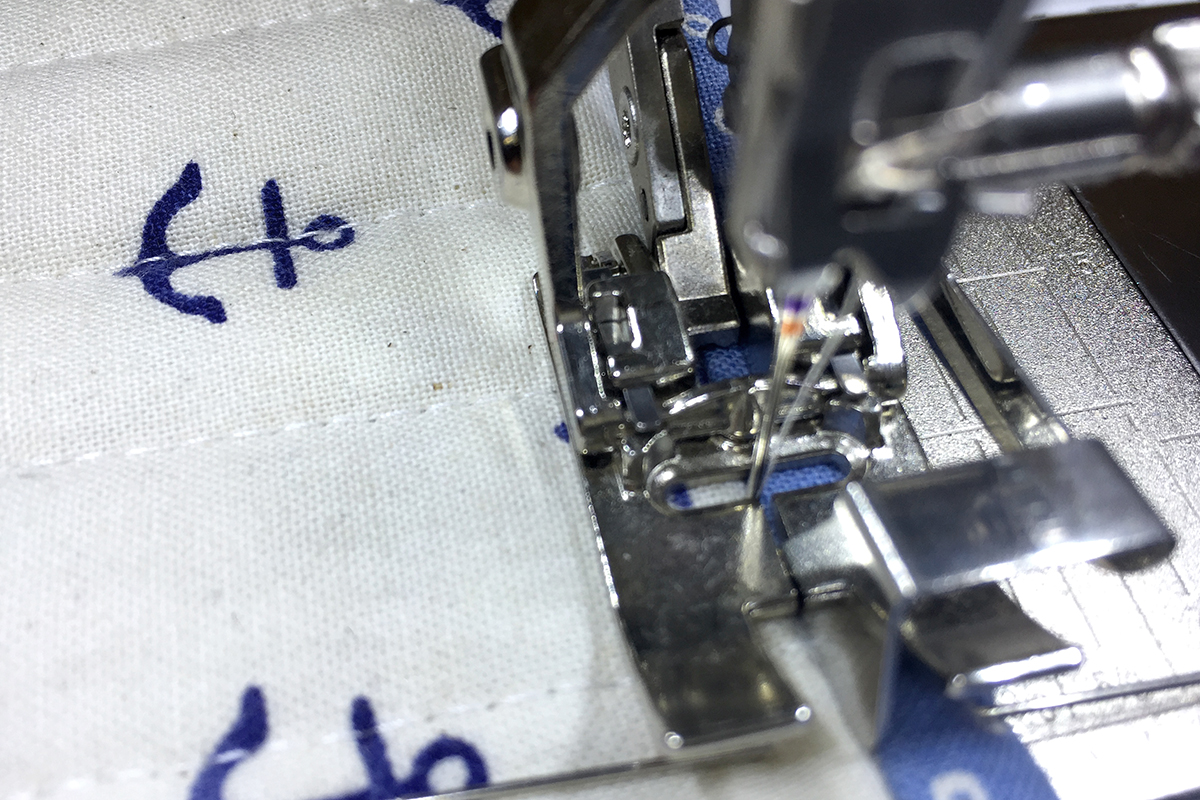
The guide in the center of your edgestitch foot shows you exactly where your stitching is going to fit. Scoot your binding right up to that guide and your seams will fall so close to the binding, they’ll be nearly invisible in the finished project!
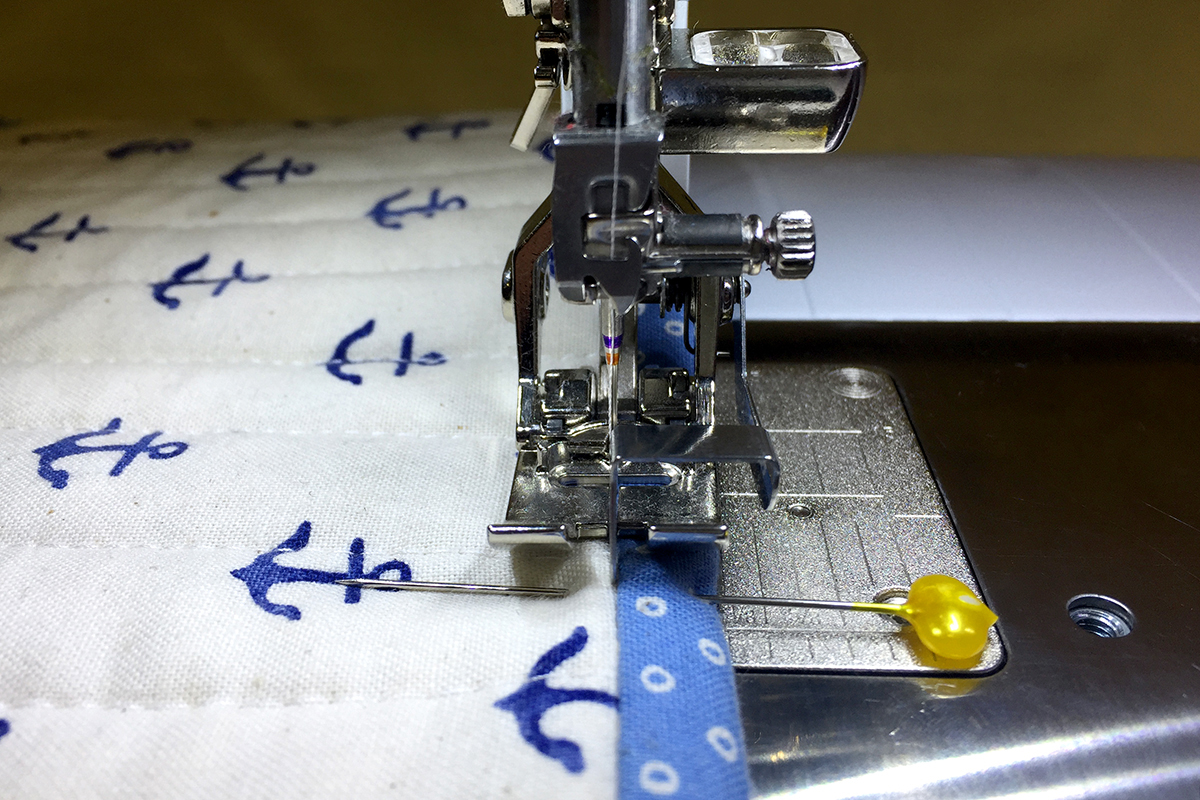
When you get to a corner, use your free hand system to slightly raise your presser foot, leaving the needle down in the quilt, and rotate the quilt 90 degrees. You can also set your hover mode settings to automatically lift your presser foot to an appropriate height for this when you stop stitching. How cool is that?!
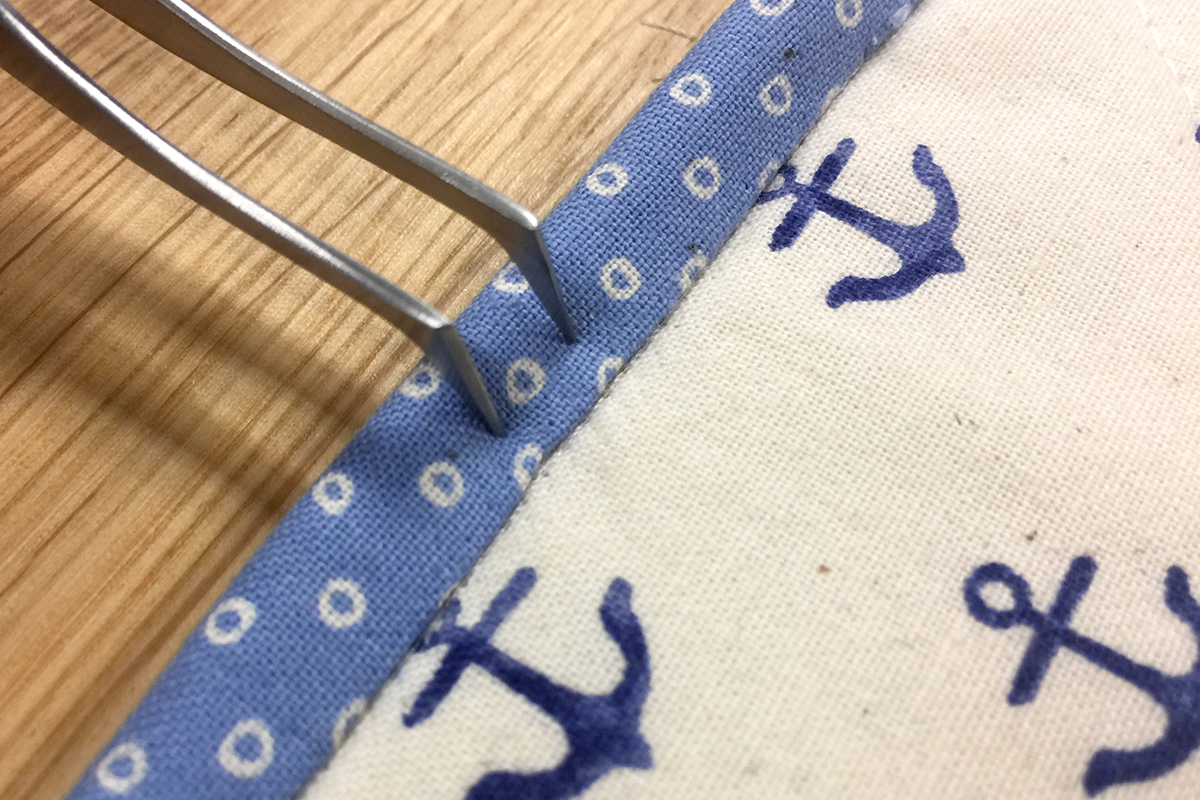
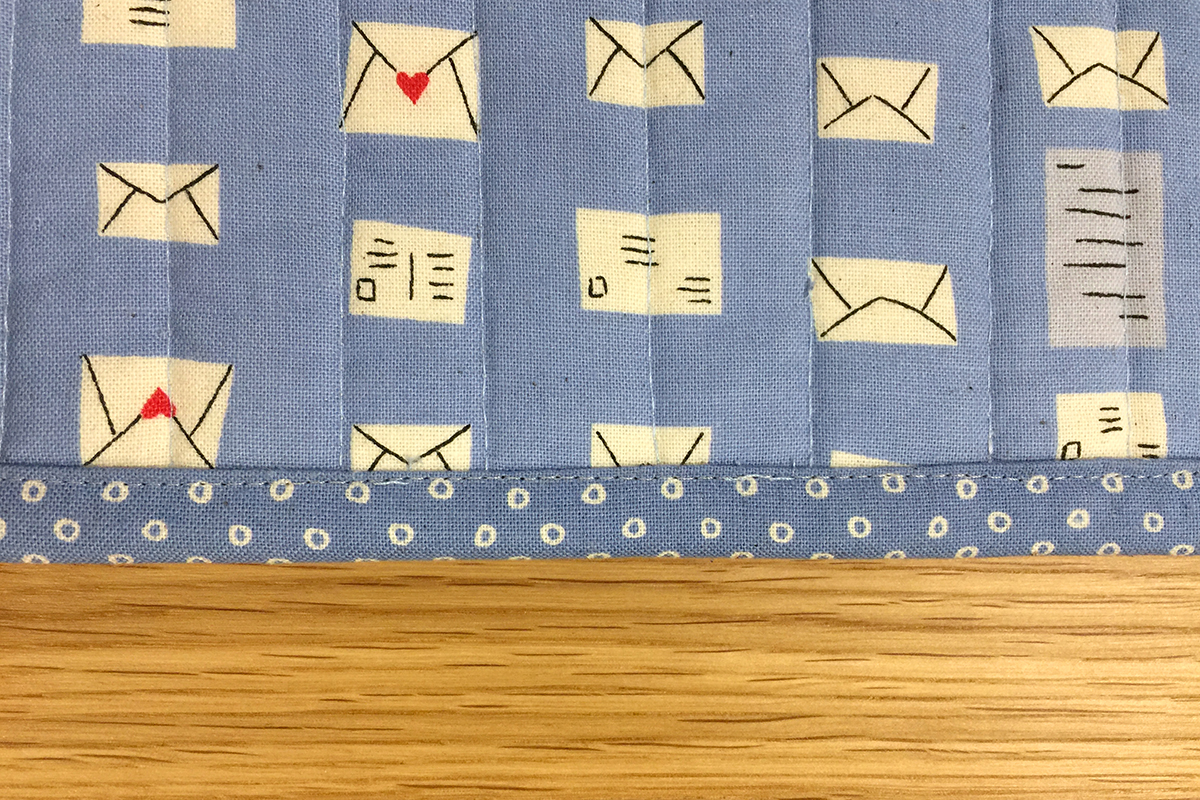
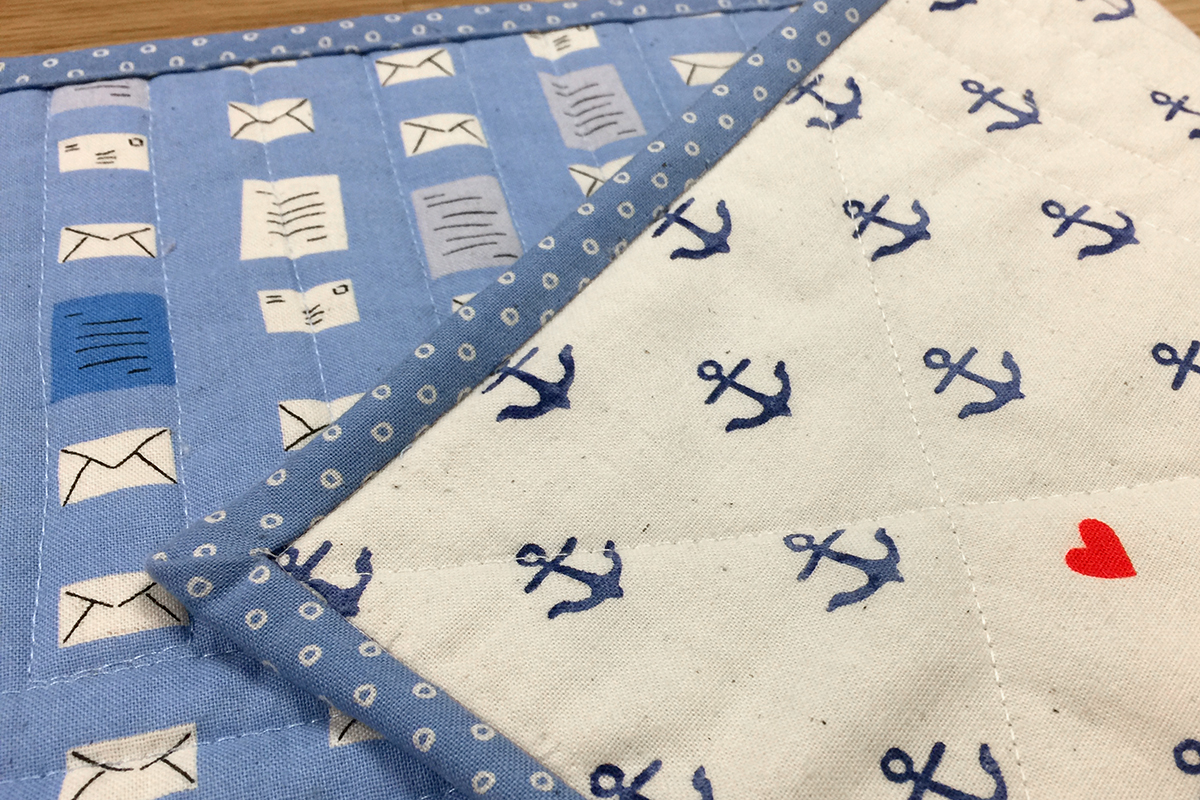
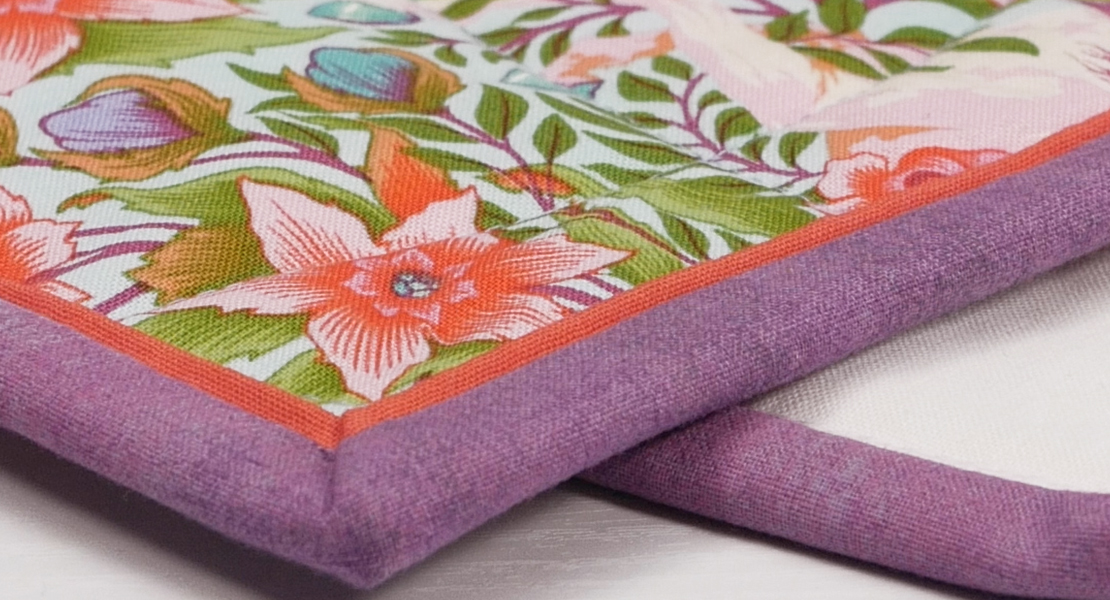
Eventually you’ll get back to the spot where you started. At this point I like to overlap my seams by just an inch or so to make sure everything’s secure. Hit your thread cutter and you’re done! Check out some close-ups: the bobbin thread just barely grabs the edge of the binding on the back and the top thread is nearly invisible from the front.
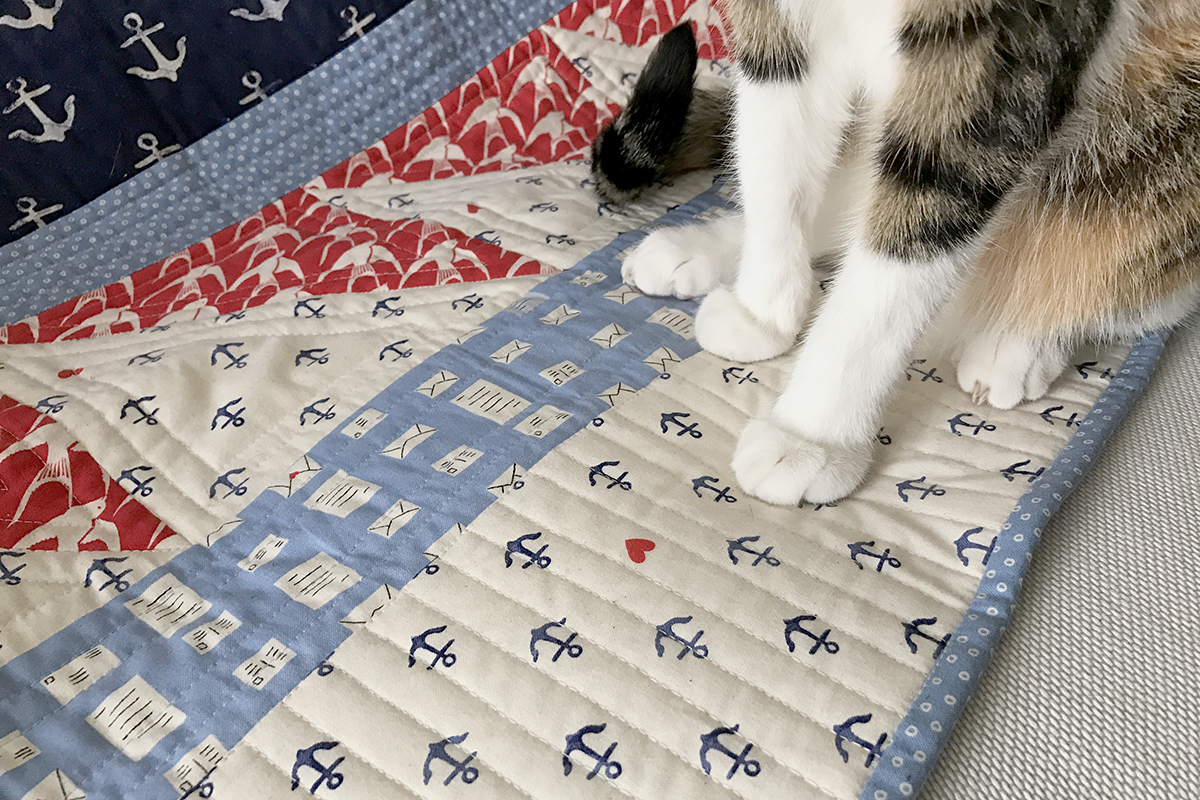
Binding by hand is classic but takes hours. If you’re like me, and antsy to throw that new quilt in the washer, this is a great way to get a consistent and professional finish and fast forward to that warm and crinkly final product. Enjoy!
Used Products
What you might also like
12 comments on “Master Machine Binding”
-
-
Thanks, Linda! I hope you love it as much as I do 🙂
-
-
This is very nice. Love the pattern line, I saw the “anchor” print the other day in a local quilt shop.
I especially like the ease in which you place your binding on the quilt. I do a similar process but I sometimes get the diagonal in the wrong direction but this way you show probably eliminates that. Great!
TJenn in Virginia.-
Isn’t the fabric precious?! Such a cute, fresh take on nautical! I’ve definitely had that problem cutting the angle at the wrong direction before and since I learned this method, I haven’t had that issue. Best of luck!
-
-
Since I do not have a dual feed on my Bernina 440QE I purchased a walking foot stitch in the ditch sole plate. This works just like a number 10 foot but with the walking foot help. I use this more than just the #10. Well worth the investment, get it when accessories are 25% off to save. Great tutorial! A nice way to find that 45 degree angle is to fold a small square of paper in half diagonally and put the short side of the new triangle shaped paper on the raw edge the fold will be on the 45 degree line. Sew along the edge, when reaching that fold of paper pivot and sew off the corner.
-
Don’t you just love that stitch in the ditch sole for the walking foot?? Such a great tool! Thanks for sharing your tips for those tricky 45 degree seams 🙂
-
-
Hayley, I love your writing style! Thank you for sharing your knowledge about machine binding!
-
Thank you! Hope this serves you well in future projects 🙂
-
-
This is a great tutorial, and I’m going to try my very first machine binding TONIGHT! One question, though — I’m curious as to why you switch to foot #10D to SID the binding in the final step rather than continuing to use Walking Foot #50 with the SID sole plate? My understanding from Mastery classes was that Bernina recommends Dual Feed for situations where you need even feed control for two layers of fabric, but that the Walking Foot was a better choice in any situation where you’re sewing through 3 or more layers. By the time you’re securing the binding in that last step, you’re going through 5-7 layers: Quilt top, batting, backing, a double layer of folded binding at the back of the quilt, plus any seam allowances that land at the very edge of the quilt. I’m guessing that the initial stitching 3/8″ from the edge through all layers works to minimize further shifting in the final step, so you probably wouldn’t see much difference using foot 50 vs 10D anyway. But the Walking Foot with SID sole would certainly be a great choice if someone did not have foot 10D, or if they were sewing binding on a Bernina model that was not equipped with Dual Feed.
-
When I get to the binding, and want to be able to move on to my next project rather than spending hours and hours hand sewing. I have been working hard to perfect this method for a while now. Being sure to get all of the length of binding sewn down without missing any has been a challenge. I found that if I press the binding open after sewing it on the first round it folds over better. Then I add glue using a washable glue stick along the seam allowance of the quilt back before clipping it and press the final fold of the binding. And, finally, I make sure that the clips are on with the round sides down (on the backside) as I sew on the top side. There are grips on the flat side of the clip, and if those are towards the loose binding side the grips pull the binding askew as they are removed. The round side does not have grips so they slide out easier, without moving the binding strip.
-
Great tutorial, Haley! Perfectly illustrated! Thanks!
-
Sorry, I was commenting on the question as to why you would change to 10D foot rather than using the stitch in the ditch for with the walking foot when finishing up the binding. After doing some research the 10D is the stitch in the ditch foot as well as the edge stitch foot, is that not correct. After purchasing a Bernina I don’t want to buy unnecessary feet and accessories.
Leave a Reply
You must be logged in to post a comment.
Thank you, Hayley, for this excellent tutorial. I never thought about using my #10 Edgestitch Foot (I have the Bernina 820). Very professional finish. I do a similar technique for sewing the binding edges together, but I like yours and plan to try it out on my next binding project. Linda from Maine