Relax Anywhere Mat Tutorial
Hello Everyone,
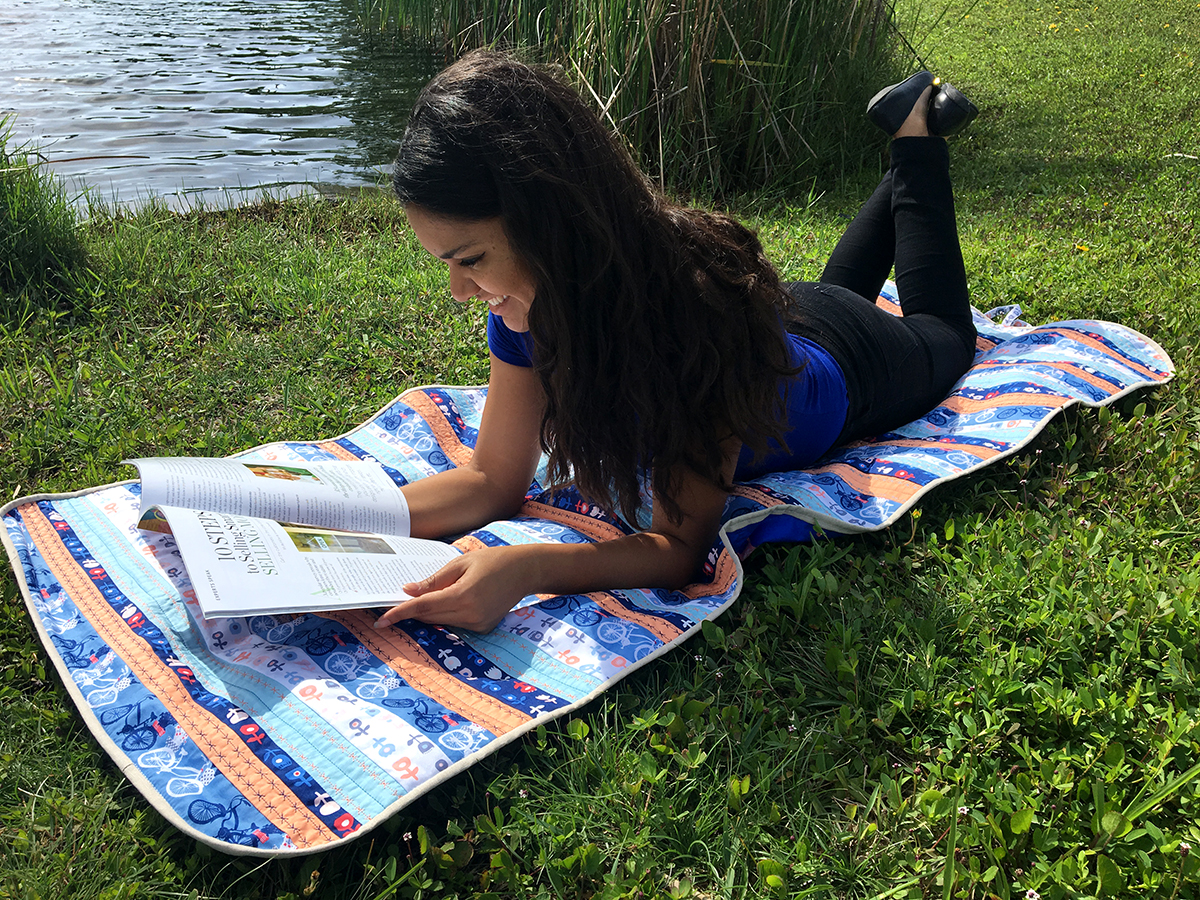
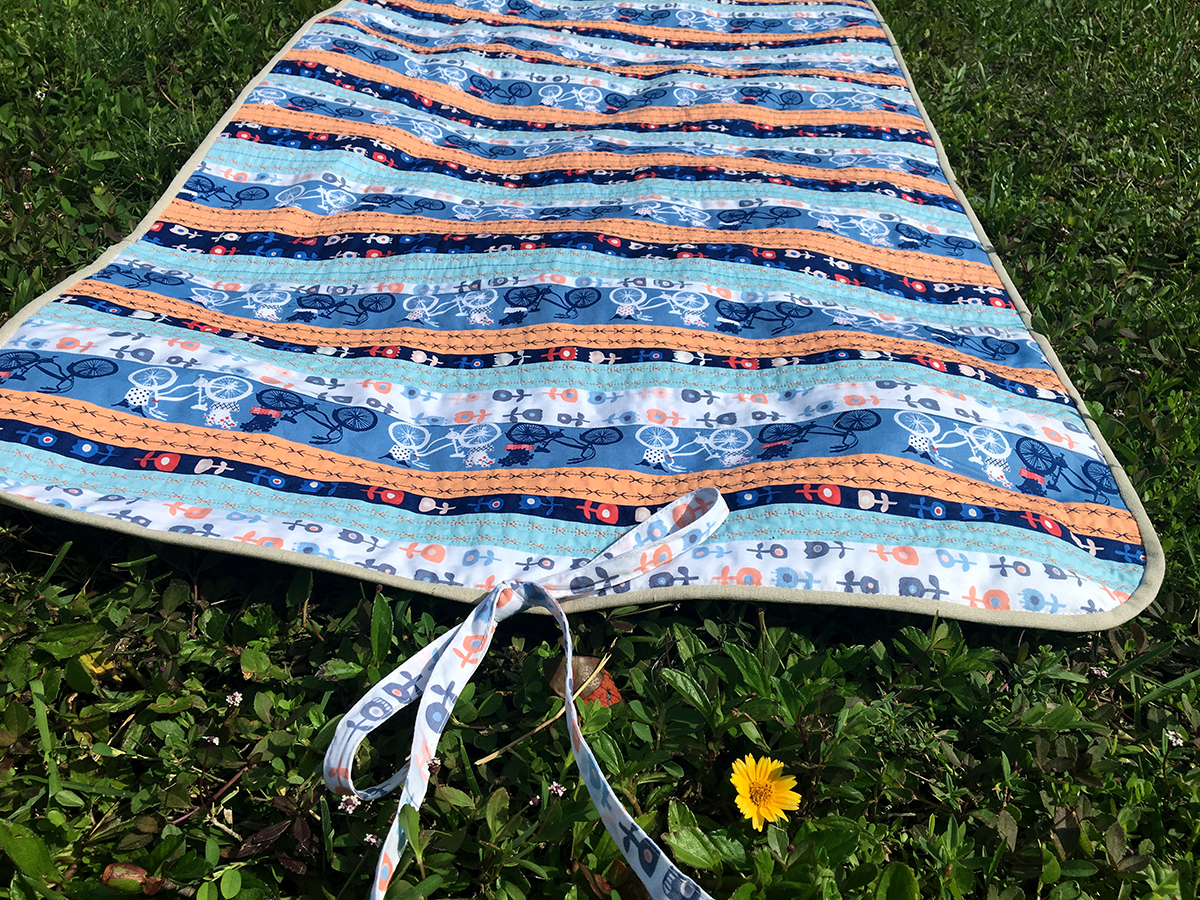
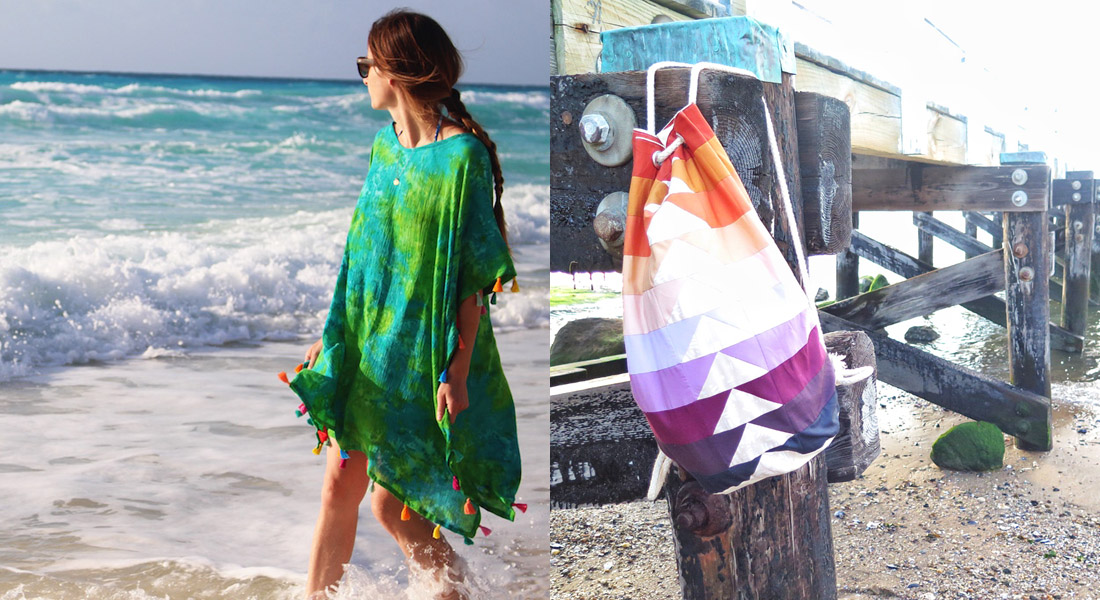
What is your favorite season? Summer is our favorite season by far because it’s the best time to chill outside with your family and friends! To celebrate that summer is finally here, we’ve created the Relax Anywhere Mat in these amazing blue fabrics from the In Blue fabric collection. The modern fabrics and colors add a refreshing feel to keep you cool in the summer months ahead! We love how the fussy cut strip design came together especially after adding the beautiful Bernina decorative stitches! The best part about this mat is you can roll it up and take it anywhere!
Fabric Requirements
Finished Size – Approximately 27 1/2″ x 64″
We added extra fabric to allow for fussy cutting perfection.
Fabric A– INB-26635- De Roos Donker – 3/4 yd
Fabric B– INB-36635- De Roos Light – 7/8 yd
Fabric C– INB-26637- Fietsen Dawn – 1 yd
Fabric D– PE-426- Apricot Crepe – 5/8 yd
Fabric E– PE-434- Tranquil Waters – 5/8 yd
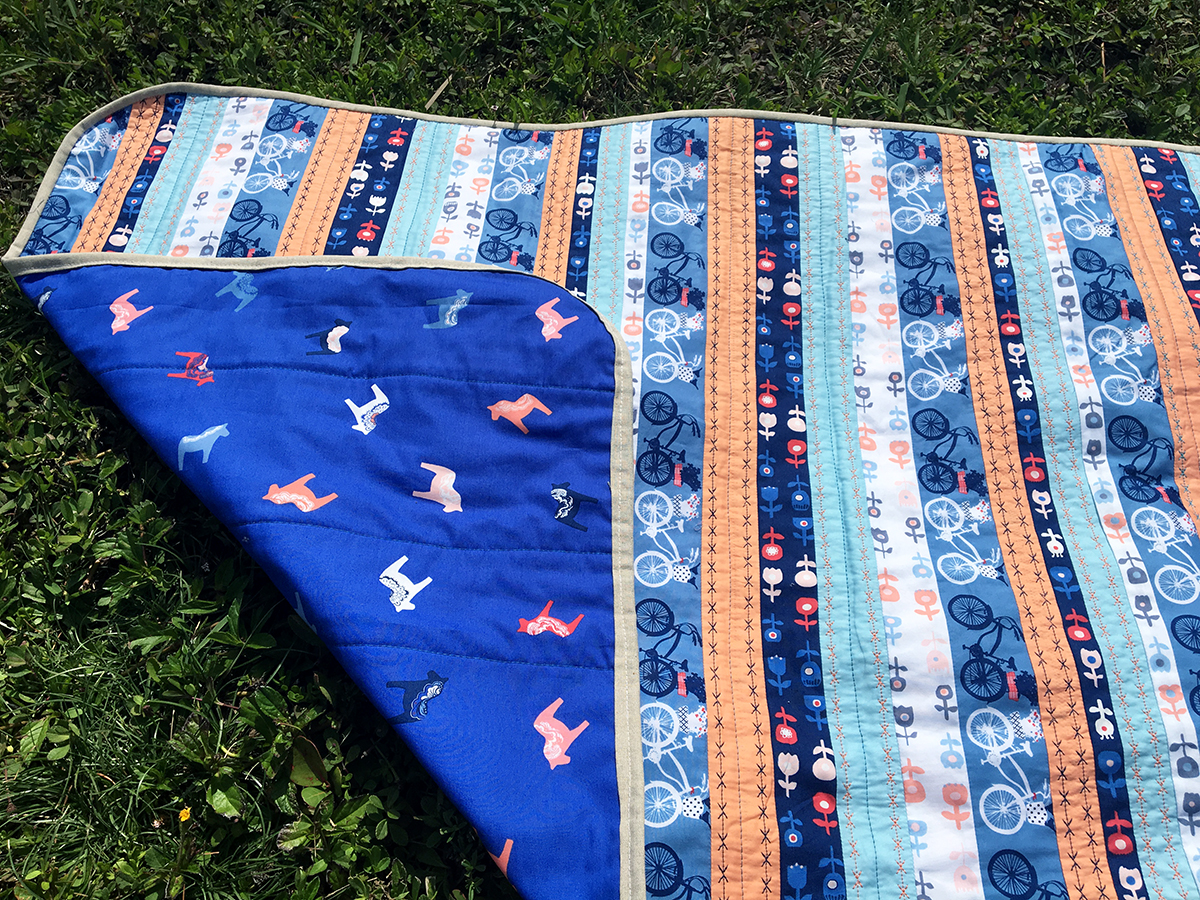
Backing– INB-26639 – Dalasterk – 2 1/8 yd
Binding– DEN-400- Soft Sand- 1 1/2″ x 193″ long – 1/3 yds
Note—our denim studio fabrics are larger widths than our quilting cottons, fabric required may need to be adjusted if you are using another fabric.
Cutting Directions
Five (5) 1 7/8″ x 29″ strip from Fabric A and B (fussy cut strips)
Five (5) 1″ x 29″ strip from Fabric A and B (fussy cut strips)
Two (2) 2 1/2″ x 29″ strips from Fabric B (ties)
Ten (10) 2 1/4″ x 29″ strips from Fabric C (fussy cut bicycles)
Five (5) 1 1/2″ x 29″ strips from Fabric D and E
Five (5) 2″ x 29″ strips from Fabric D and E
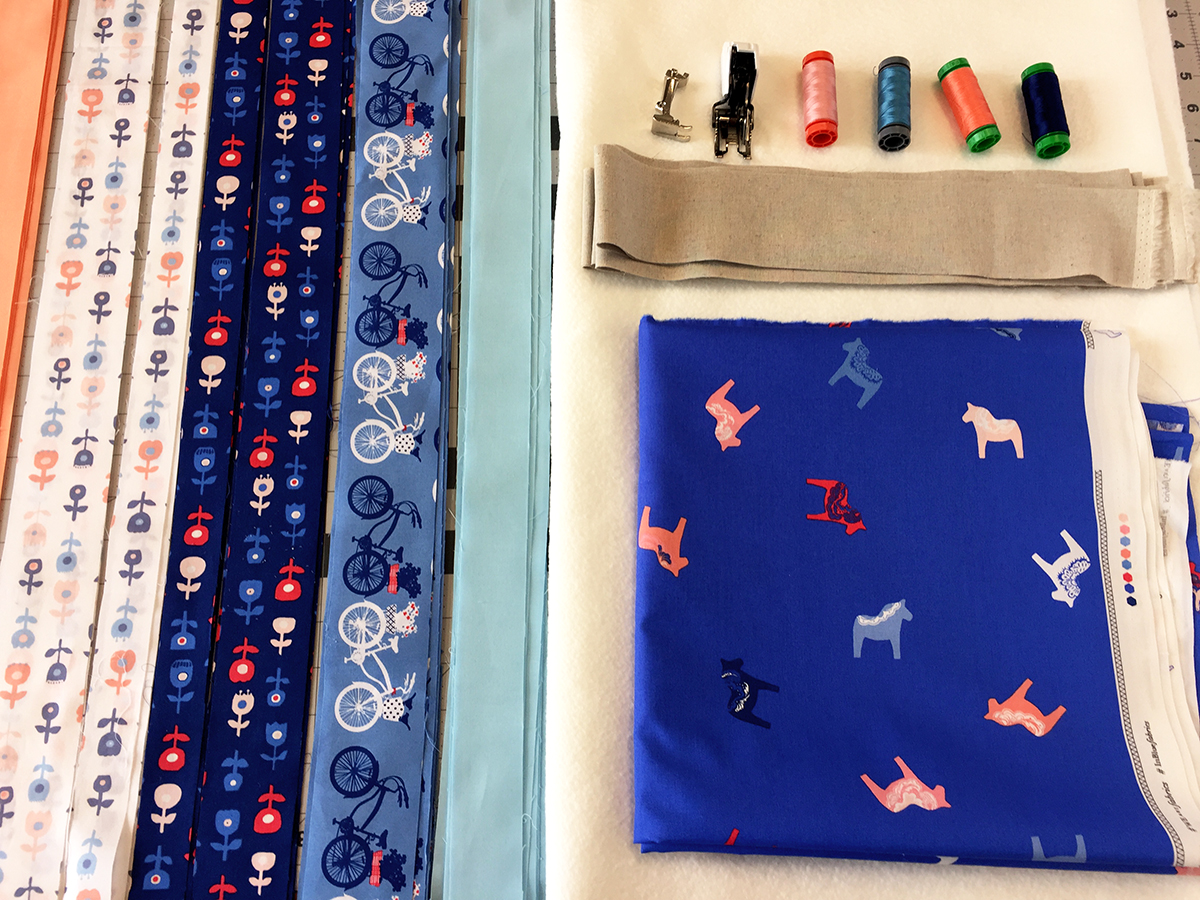
Additional Materials Needed
- Batting
- Contrasting threads for decorative stitches
- Walking foot #50
- Patchwork foot #37
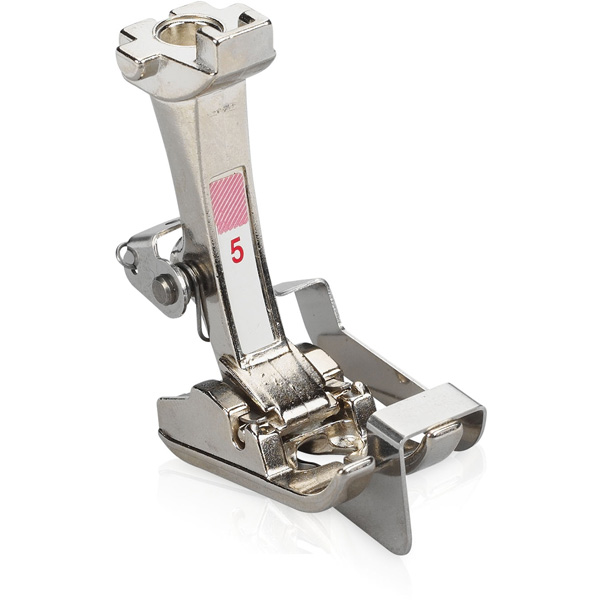
- Blindstitch foot #5
Step 1: Sew your strips into segments
Sew your strips together into segments following this order: B-E-A-D-C.
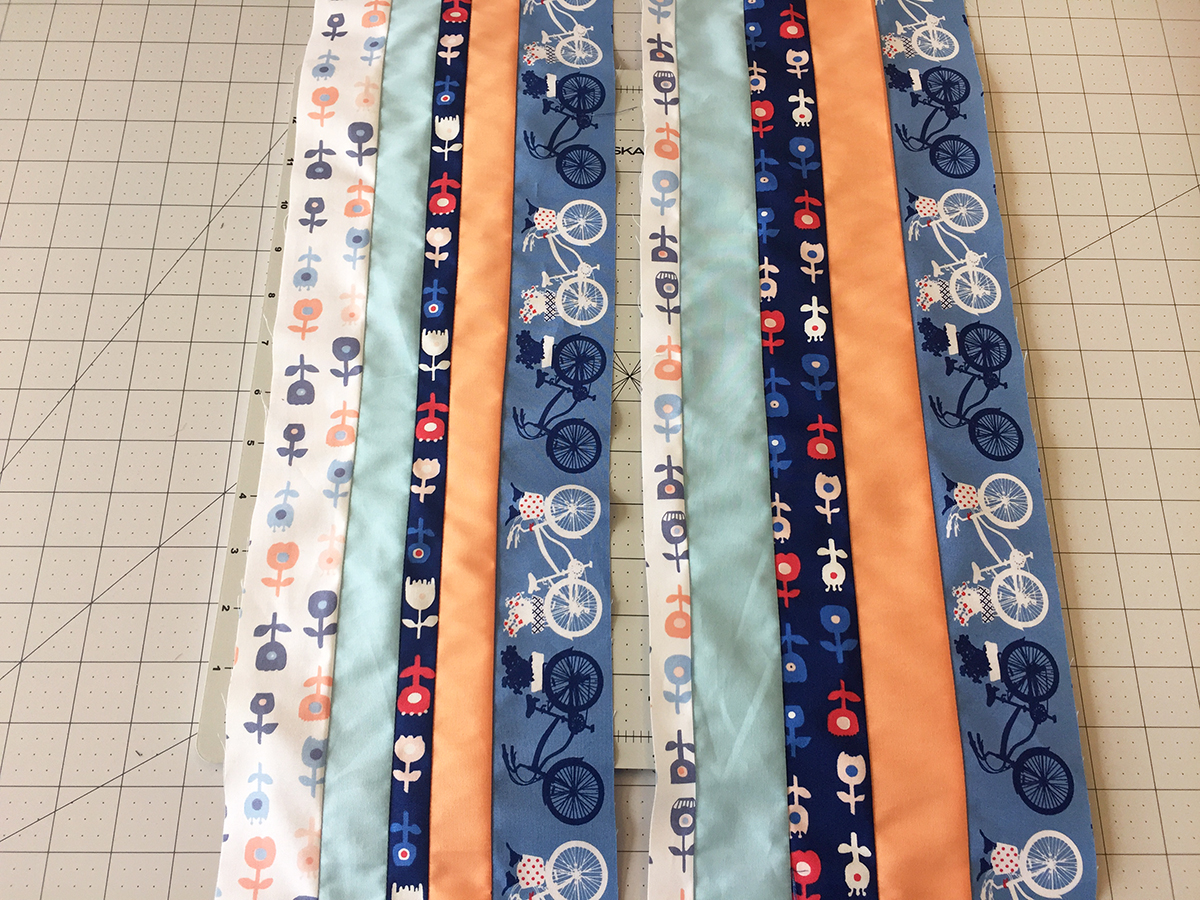
Sew segments together to get your completed top. Using the Patchwork foot #37 comes in handy sewing all these strips together. Make sure your needle position is centered and sew at the edge of your fabric for a perfect 1/4″ seam allowance.
Tip: Sew strips alternating directions prevent wonky looking strips.

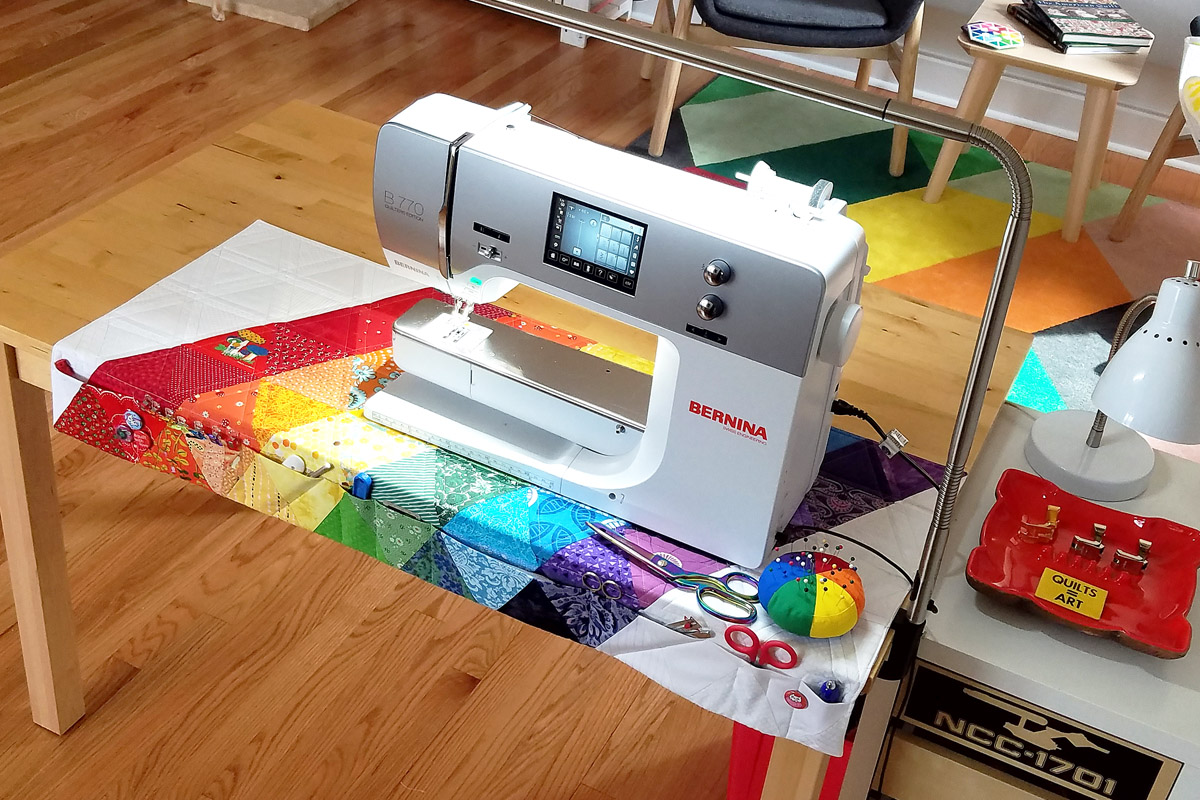
Step 2- Adding Decorative Stitches
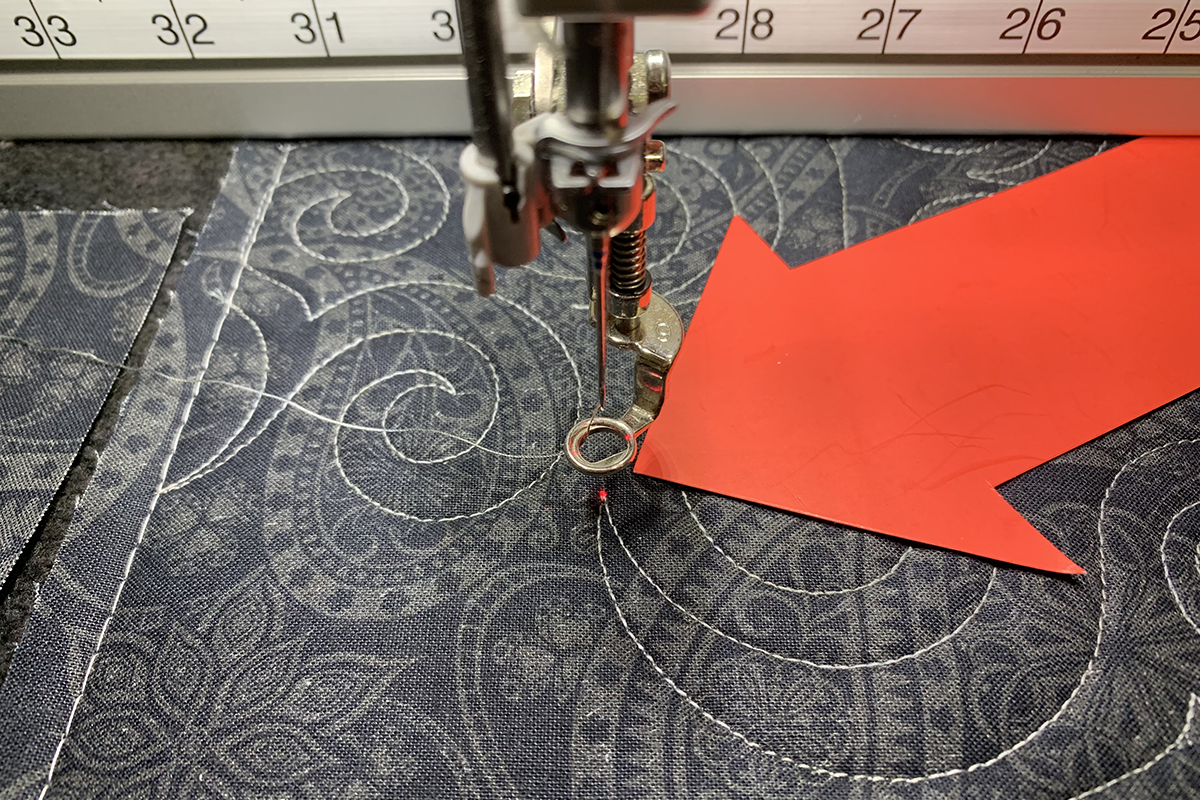
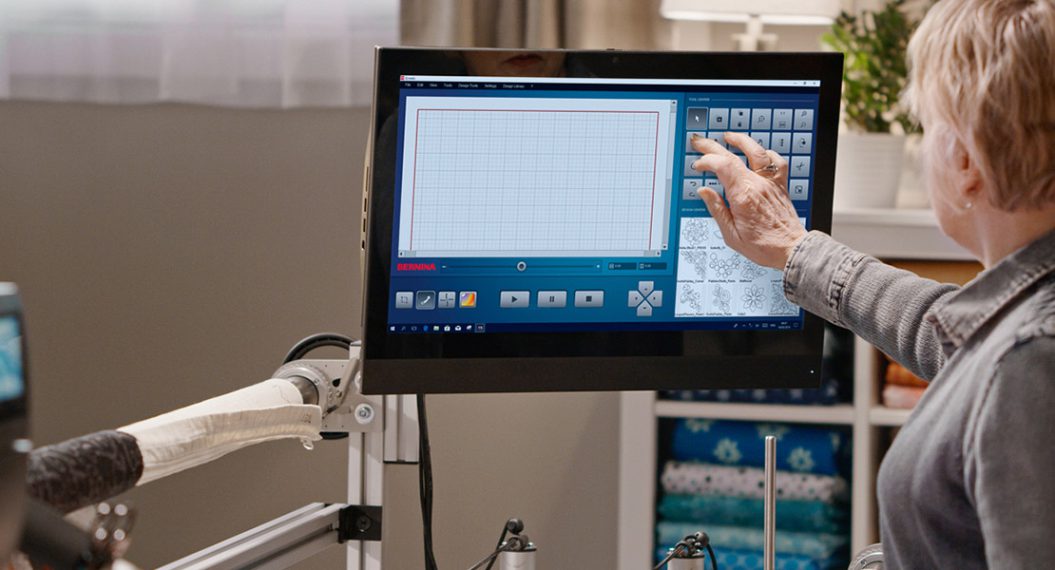
Here comes the fun part! Pin your quilt top to your batting and attach your Walking foot #50. We like using our Walking foot to help with feeding the fabric through nice and easy to create beautiful decorative stitches.

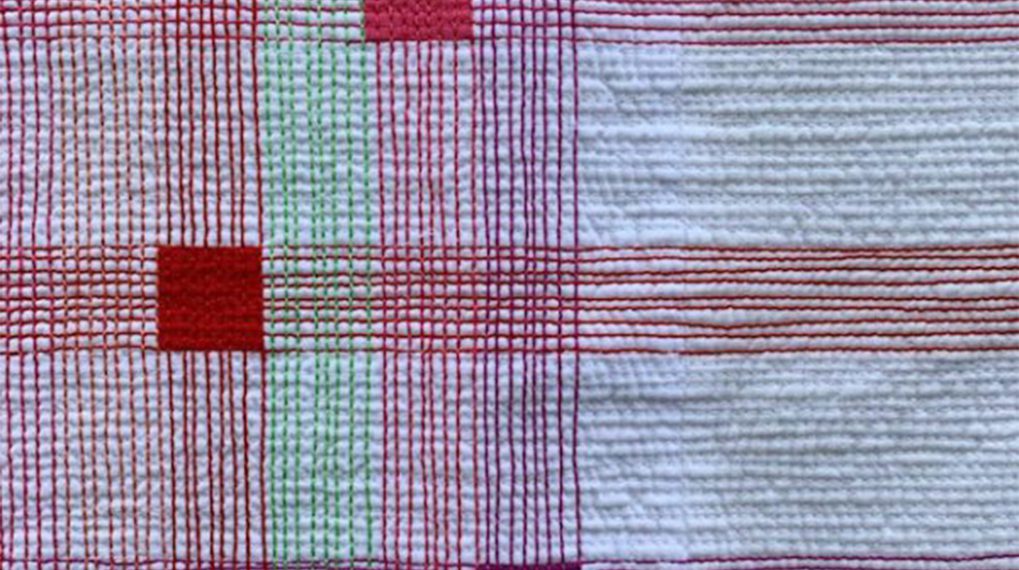
We used stitch #305 in different contrasting threads on all the D and E strips. Line up the line on the walking foot with the seam line and create two decorative stitches on each side of your strips. Place finished piece on your batting and pin into place.


Sew a straight line in between all of your decorative stitches on your wider solid strip pieces.

Step 3- Final Touches
Trim and square up your piece. We made ours about 27 1/2″ x 64″. The great thing about this project is you can make it longer for a taller person by just adding more strips or shorter for a child by sewing less. Measure 3″ up and 3″ to the side on each corner. Draw a curved line connecting these marks. Cut on the line you drew on each corner.

Step 4- Making the Ties
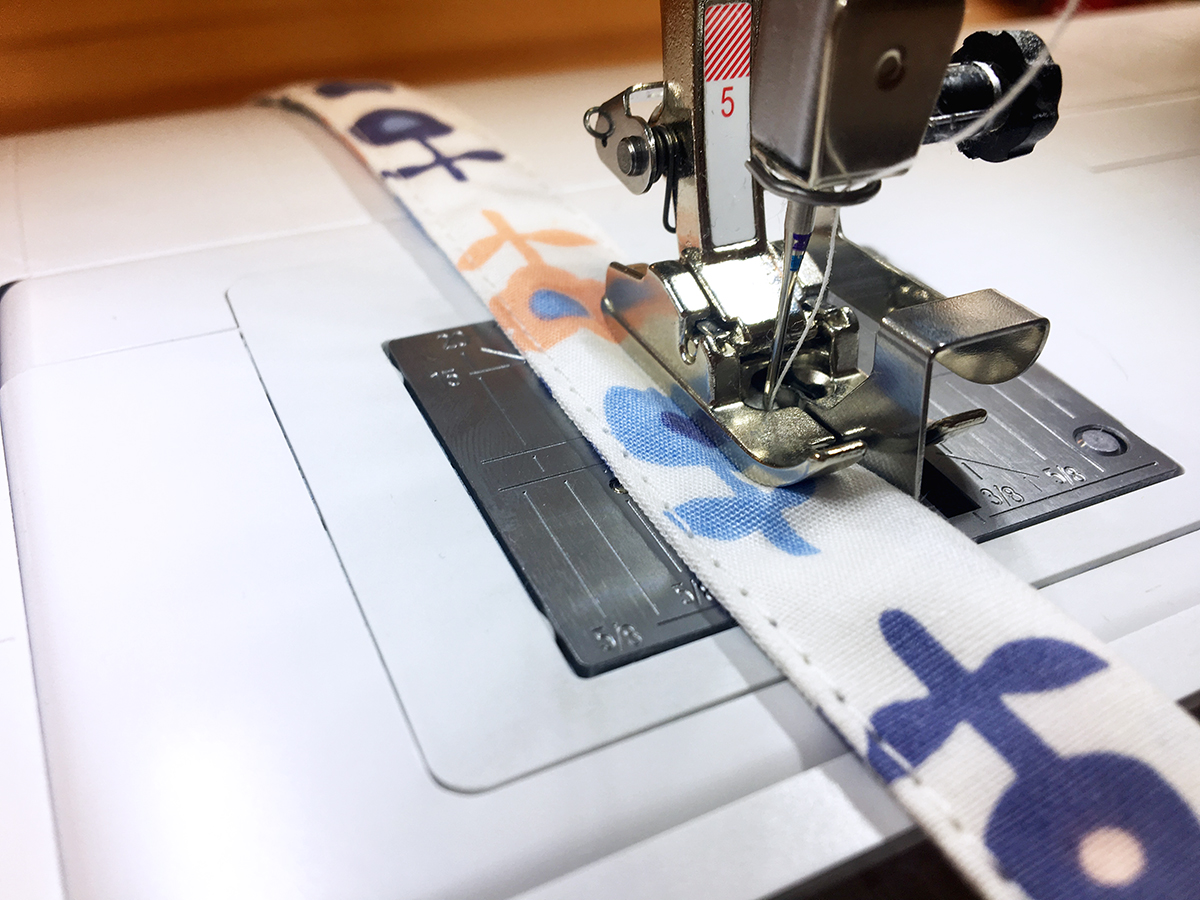
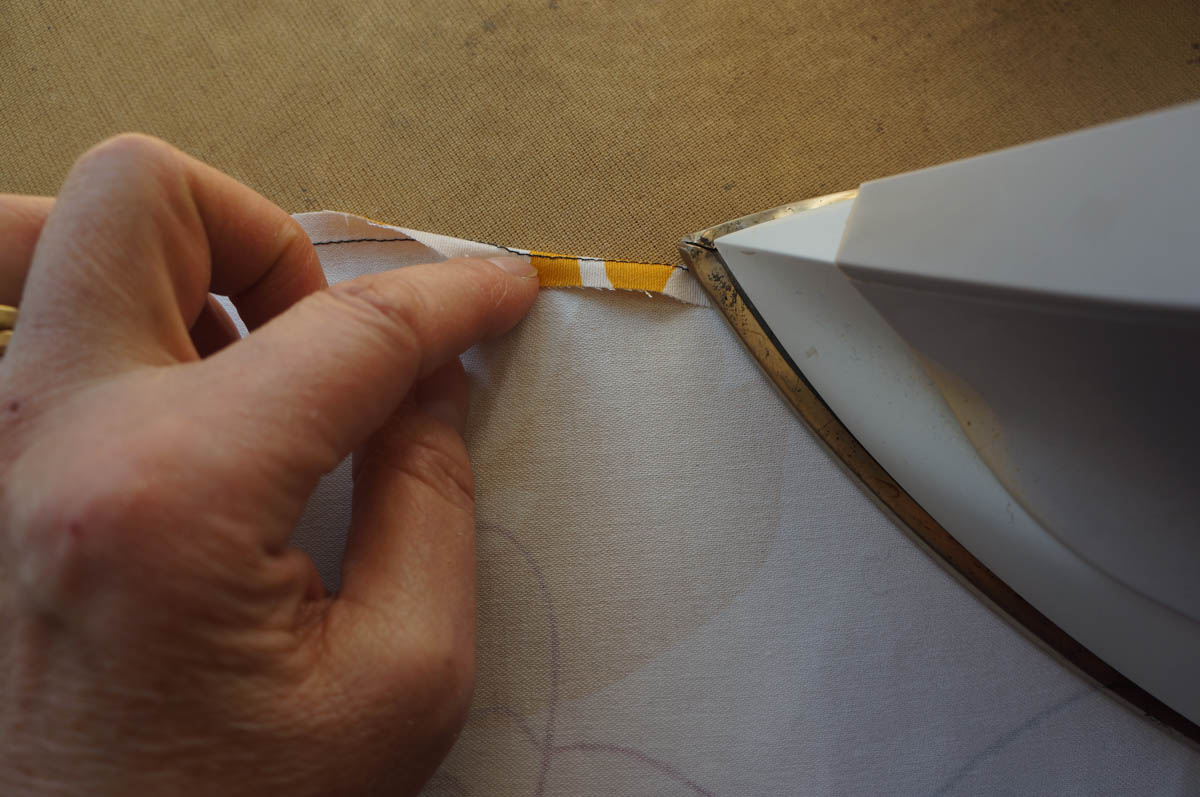
Take a 2 1/2″ x 29″ strip from Fabric B and fold raw edges into the middle.
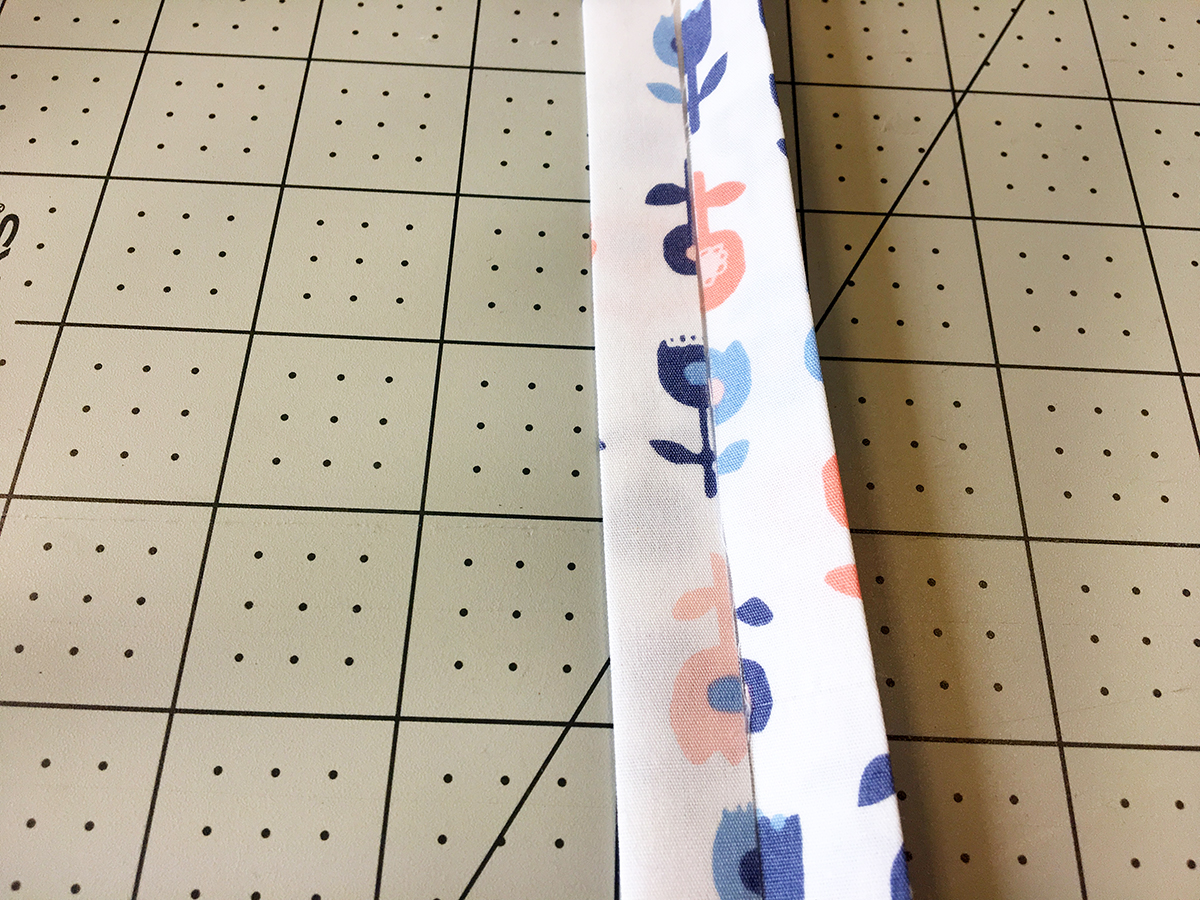
Fold in half and stitch on both sides of your strip as close as possible using the Blindstitch foot #5. Make sure needle position is all the way to the left. Tie a knot at one end of each tie. Pin the ties in the top center of your mat.
Make a long strip of binding measuring 1 1/2″ x 193″ long. Bind quilt using your favorite method and you’re finished!


Hope you all have an amazing summer!
Happy Sewing,
AGF


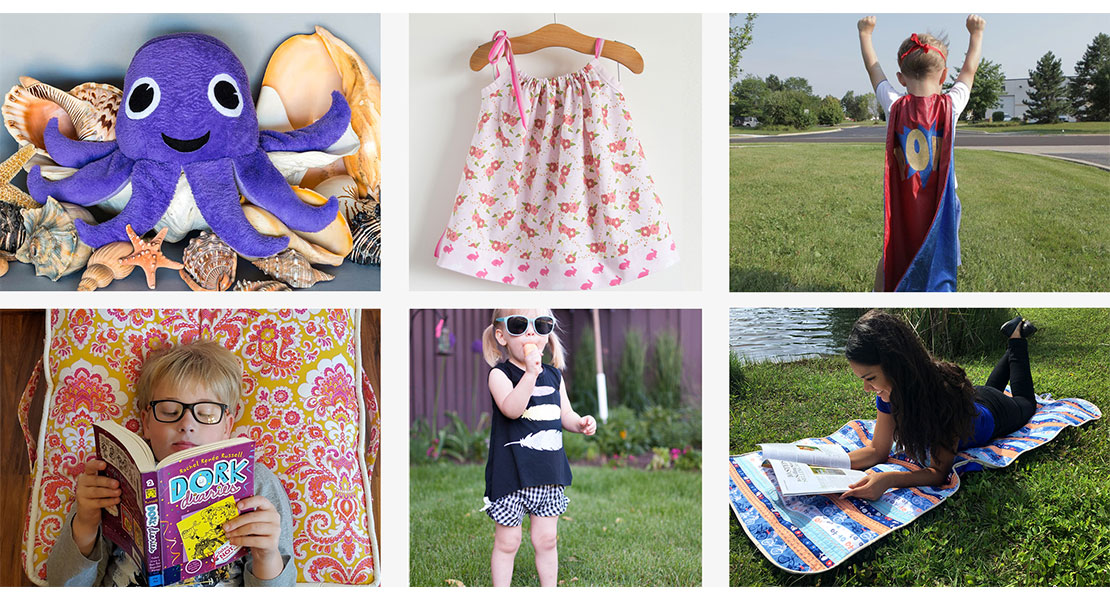
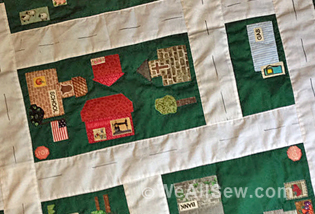
What you might also like

4 comments on “Relax Anywhere Mat Tutorial”
-
-
I think the reason you don’t pin all 3 layers together for the quilting is because she’s only using the straight stitching for quilting, not the decorative stitching. You probably could do the decorative stitching before pinning it to the batting? My question is about the ties, is there only one tie, why put a knot in only one end, why do you just pin the ties to the mat versus sew them into the binding, thanks, mara
-
There are 2 ties. You only put knots in one end since you are pinning the other ends to the quilt. After pinning the ties on, then you attach the binding in the usual way.
-
-
Under “Used Products”, the Bernina 350 PE is listed. However, the 350 PE does not have a stictch #305.
Leave a Reply
You must be logged in to post a comment.

The directions appear to be wrong…where it says “Place finished piece on batting and pin in place.” Shouldn’t this say “Place finished piece on **backing** and pin in place.”??