Q-matic Snap to Point
There are two ways to realign the safe area with the BERNINA Q-matic Longarm Quilting Automation System. My favorite way to realign when I am stitching out an E2E layout or a custom layout is Snap to Point.
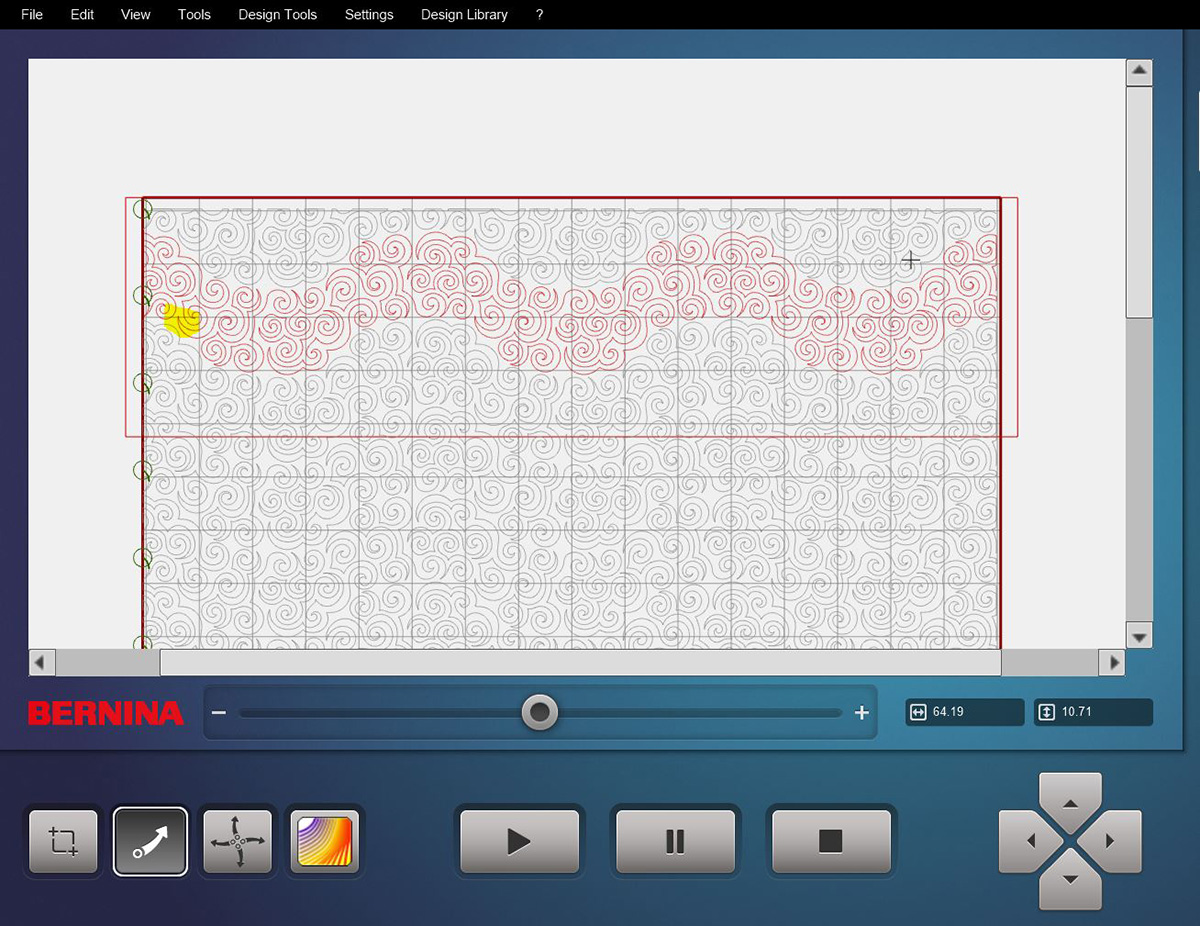
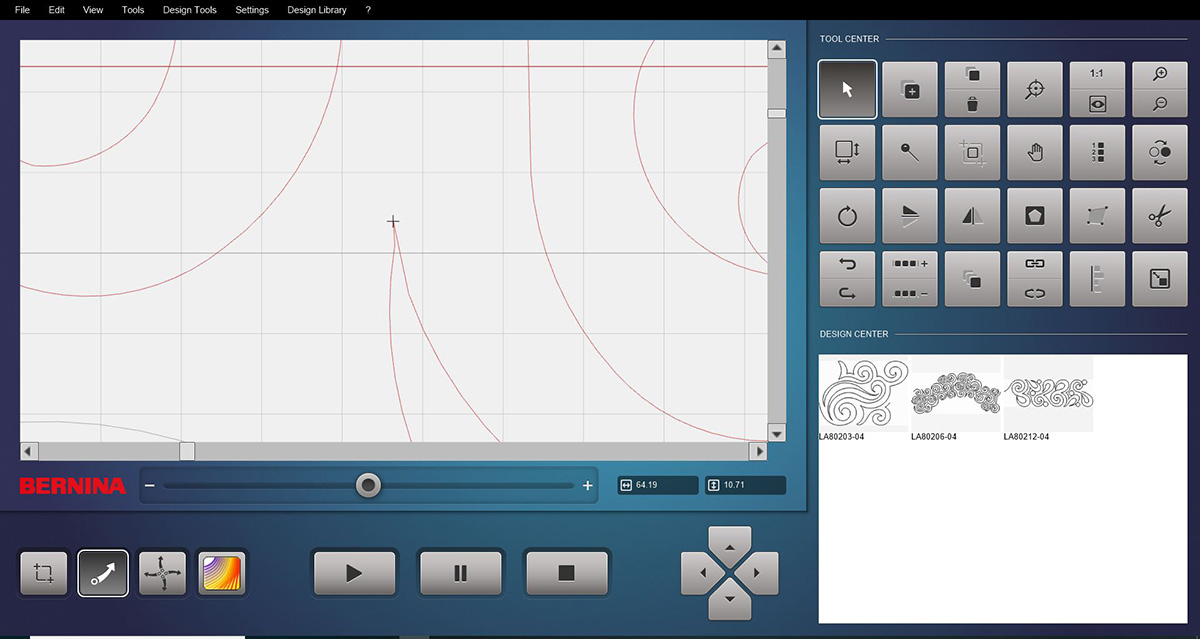
When the first row of your quilt has finished or you have filled the safe area with stitching, it is time to advance your quilt to realign your safe area. Using Snap to Point in Realign Safe Area in the Tool Center in Q-matic is the way we are going to realign today.
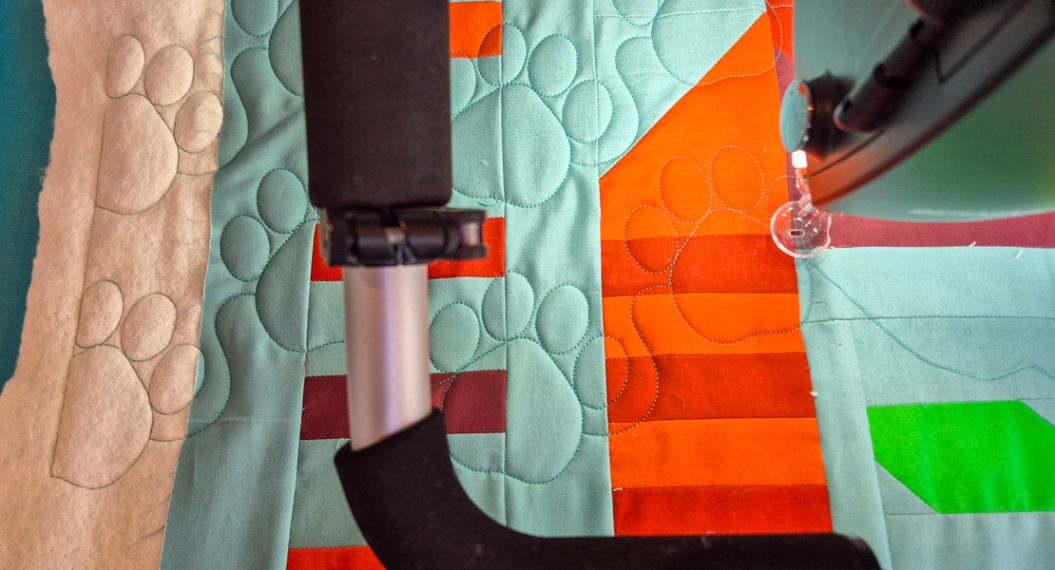
• Advance your quilt onto the Take Up Rail. Before you realign the safe area you want to make sure you have the quilt ready just as it was before you advanced. If you are using clamps make sure you put them back on and baste down the sides
• Select the row on your computer screen that you just finished stitching. This is so that you know for sure which row you are using to realign to.
• Find a reference point on the already stitched row that you want to use to realign to.
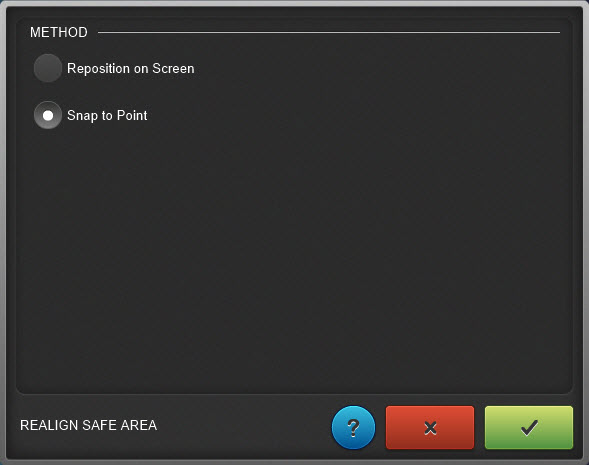
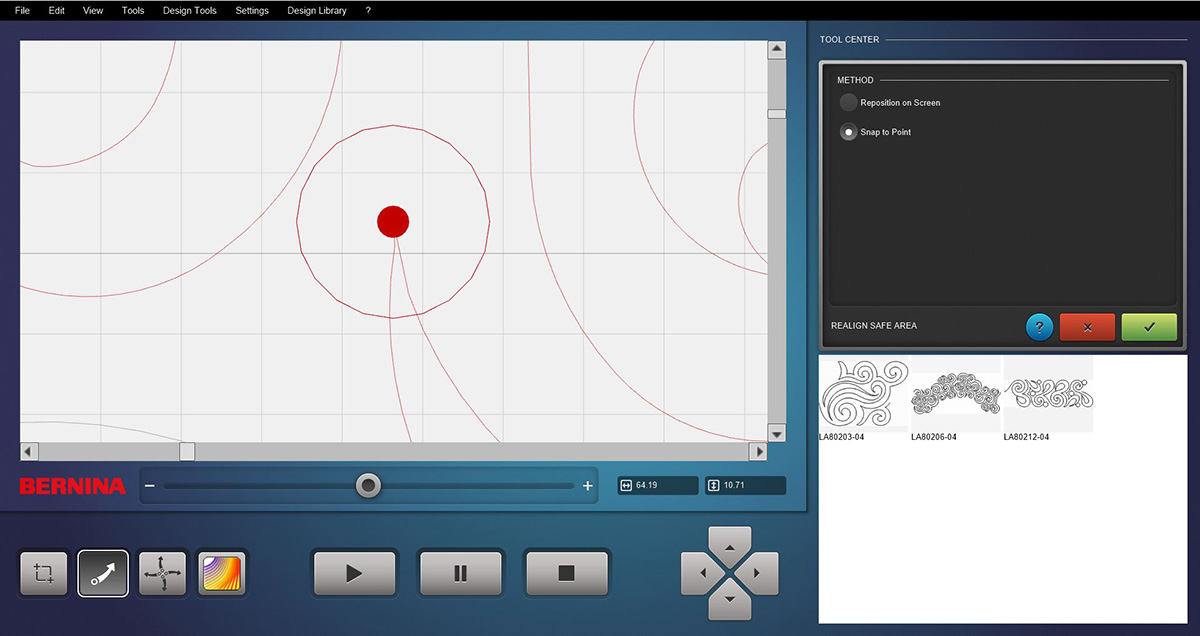
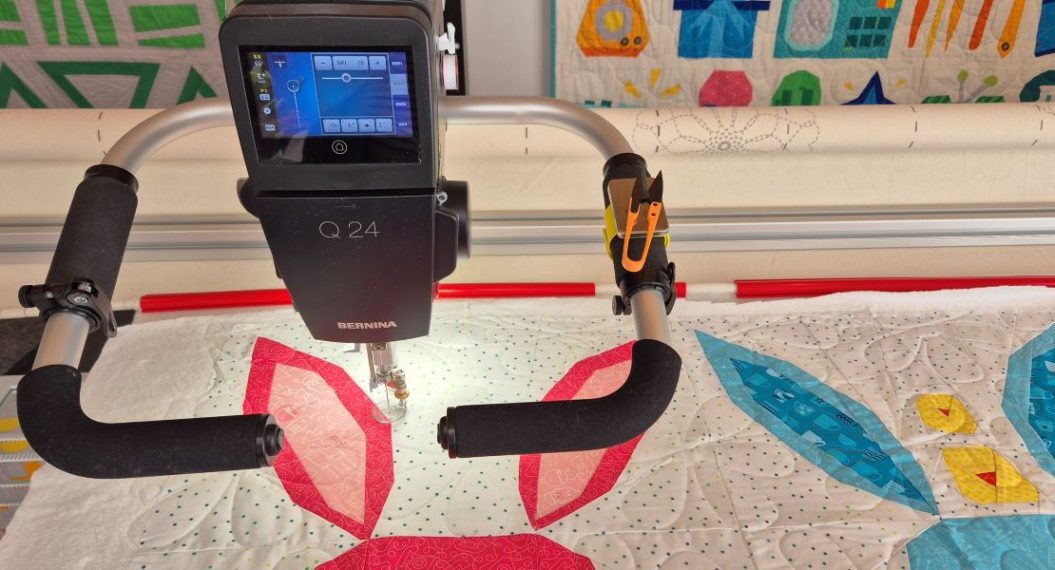
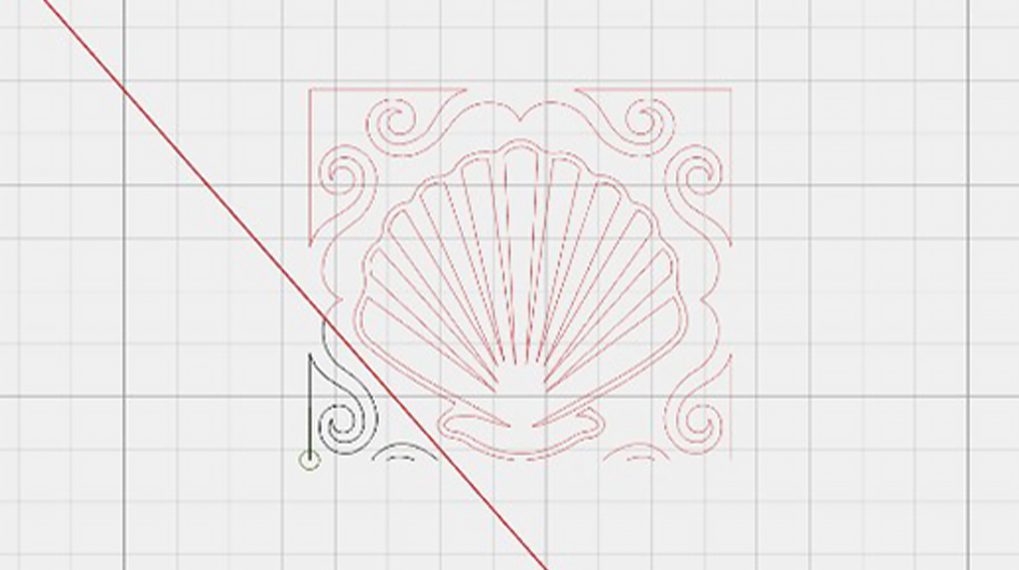
• In the Tool Center, open the Realign icon
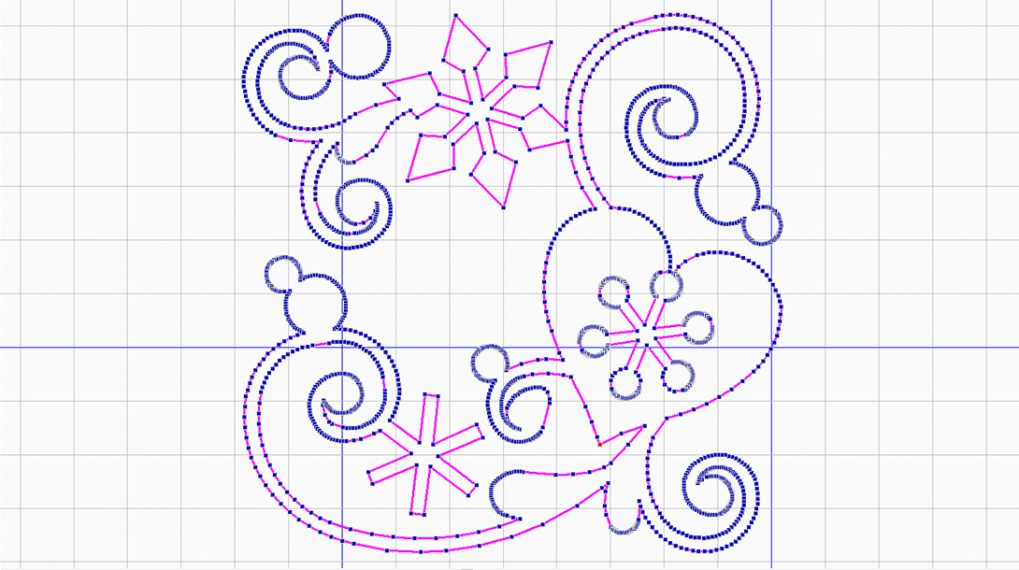
![]()
• Select Snap to Point.
• On the computer screen select the reference point you want to realign to. When you touch it or click with a mouse, you will see a red dot on the reference point you have selected. If you zoom in on this reference point the red dot will be quite large.
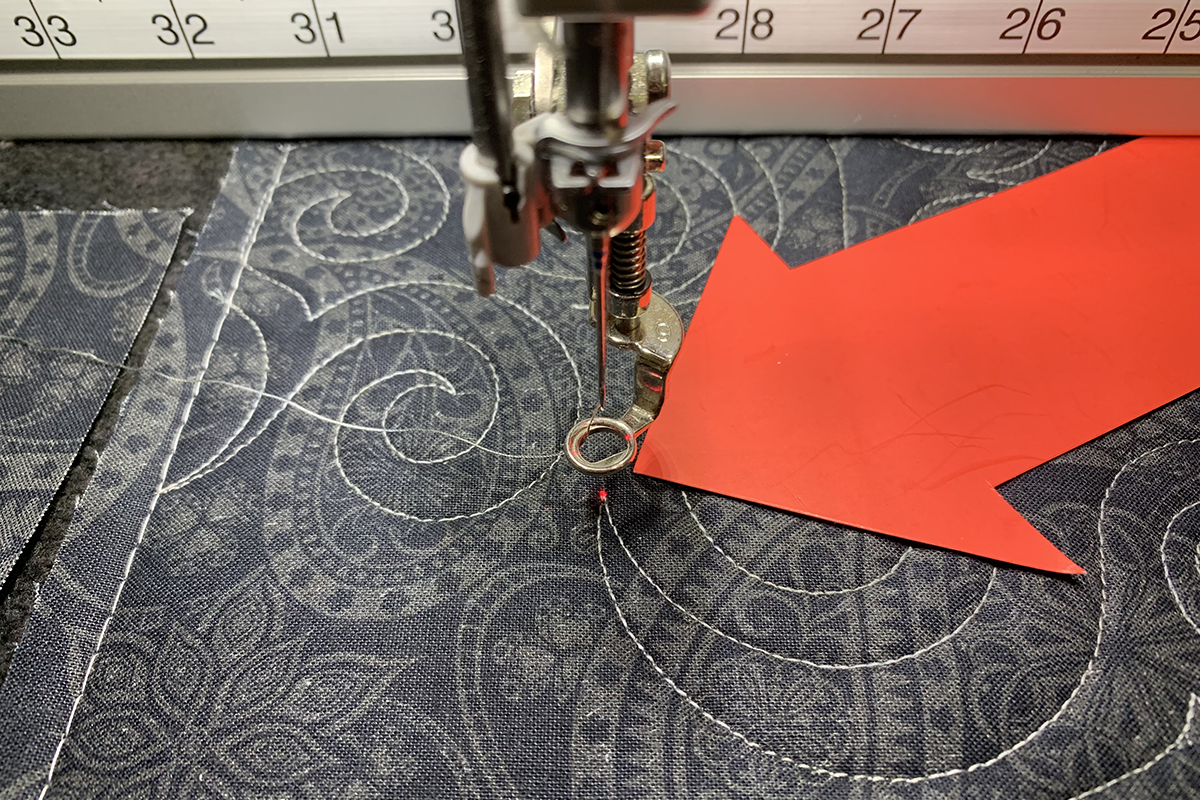
• Move the machine to the same reference point on the stitched design. The design is the same one selected on the computer screen. Be sure and place the needle right on that reference point. The Needle Point Laser will help you get right on the spot you need to be.
• When you have both the machine needle on the stitched design and the red dot on the computer screen at the same place in the design, select the check mark in the green box to Confirm. After confirming you will now see that the crosshairs of the needle are at the reference point you selected.
• Select the Play/Start Arrow.
• You will be prompted to select At START point or At closest point in design; you will want to select At START Point.
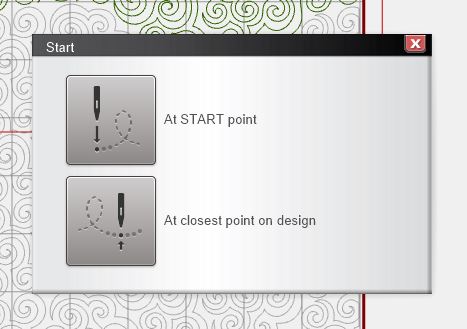
• The machine will now move and the screen will prompt you to pull up the bobbin thread. When you Confirm with the check mark in the green box you are all lined up and ready to stitch away.
Used Products

What you might also like


4 comments on “Q-matic Snap to Point”
-
-
Hi,
Now that you have the machine rethreaded and checked the bobbin you will clear any error or pause screens you see on the machine and the computer. Place machine where you want to start back and press the Start on the computer screen. It now will ask where you want to start your stitching and you would touch “At closest point in design”. When the machine is ready to stitch you can use the Pull Bobbin icon on machine and pull up the bobbin thread.
Thanks,
Denise
-
-
I see that part of the process to realign the safe area is to move the sew head to a reference point on the already stitched design of the actual quilt.
I’m fairly certain I have watched videos where the “snap to point” method of realigning the safe area was demonstrated and the demonstrator never move the sew head.
It doesn’t seem possible! So, I’m wondering if what I saw was the technique whereby the person showing how to realign the safe area with “snap to point” had moved the sew head FIRST as opposed to this demonstration where the sew head was moved AFTER the reference had been selected by touching the point on the screen to bring up the RED dot?
Is that really the difference; whether you move the sew head, first, and then touch the ref. point OR touch the ref. point first and then move the sew head?
Ray-
Hi Ray,
Both are correct. you just have to make sure the red dot and the Sewhead are in the same place before you Confirm with the check mark in the green box.
Thank you for checking,
Denise
-
Leave a Reply
You must be logged in to post a comment.

I am in the middle Of doing an edge to edge quilting. My top thread broke I fixed it and now I’m ready to start in the same place but the machine wants to go back to the very beginning it never asked me where to start. How do I get the machine to start sewing in the place that has the X on the on the screen and the machine is in the right place how do I get it to do that