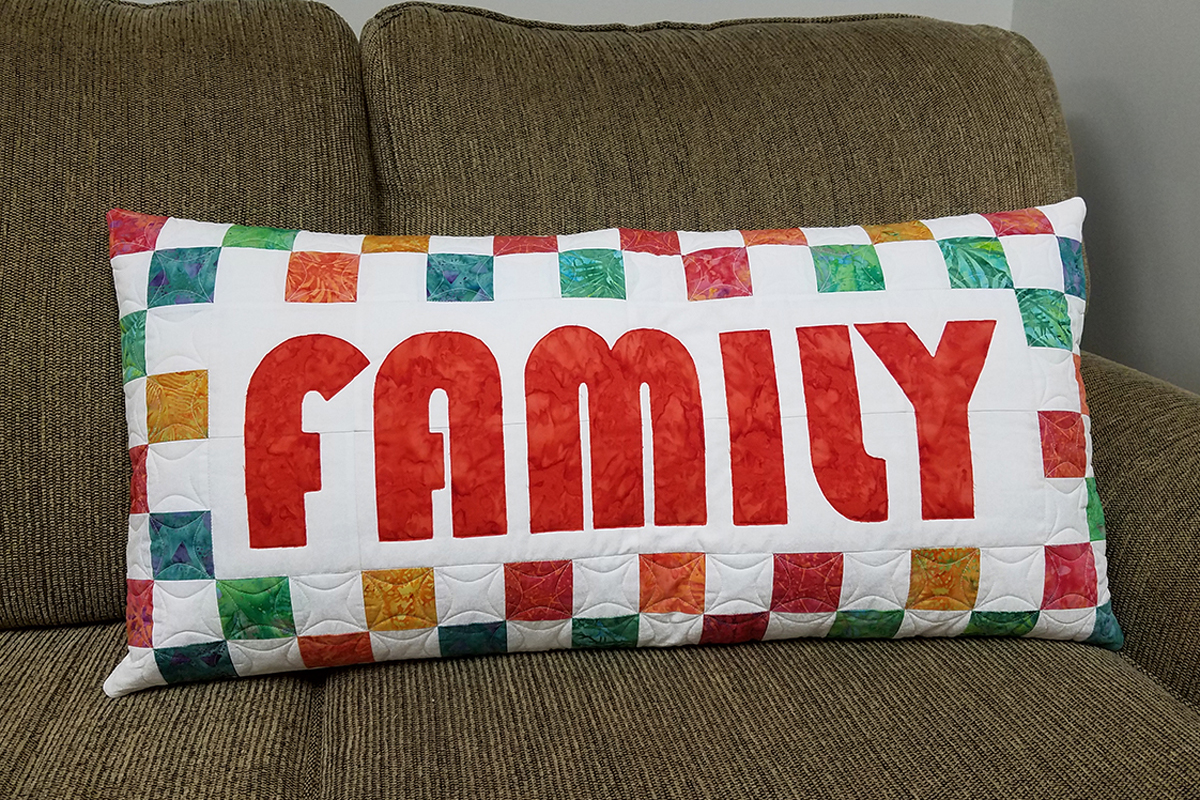
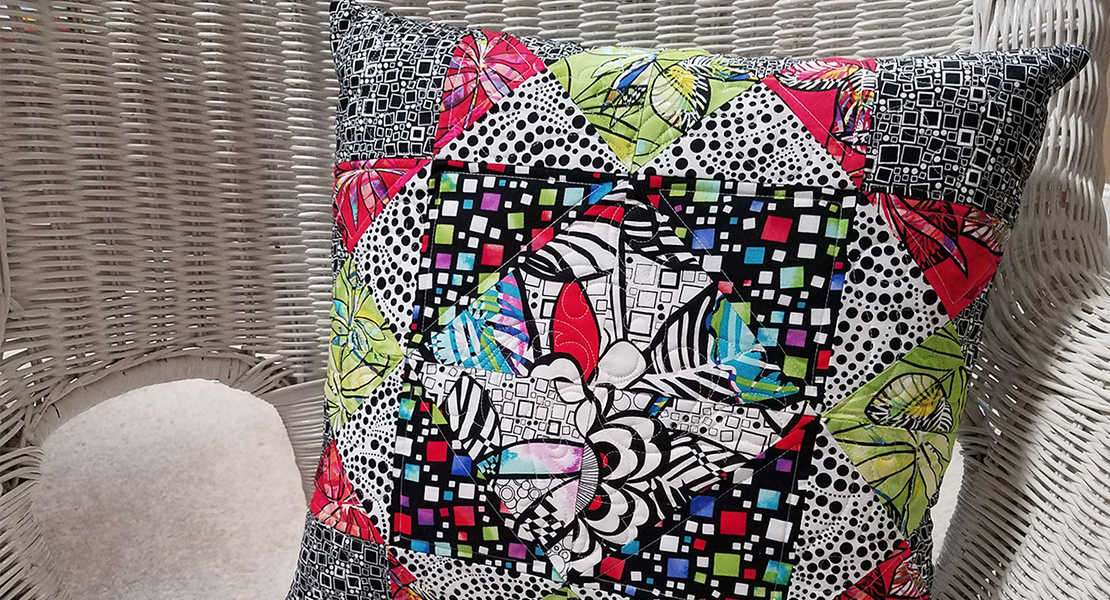
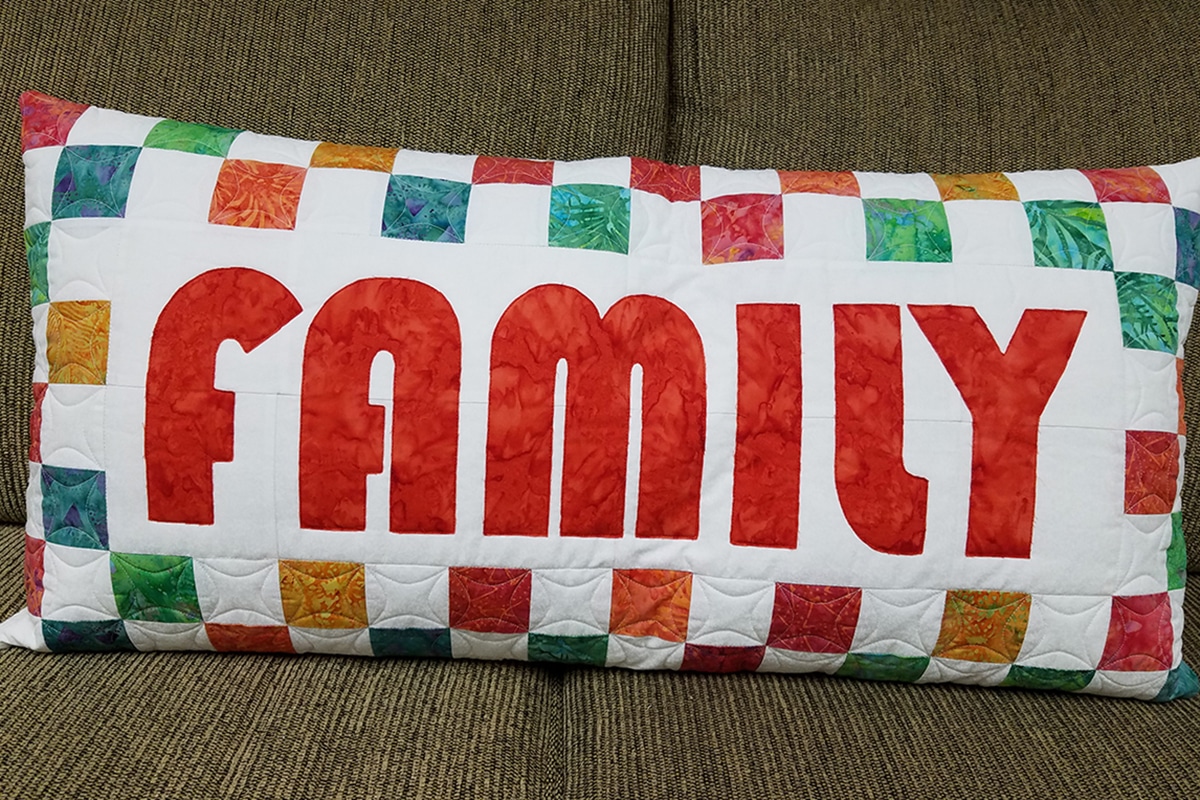
Raw Edge Appliqué Pillow with Q-matic
Bench pillows are being seen everywhere these days! I wanted to create one using Q-matic on my Q 24 on the frame. I thought that it would be great to do a raw edge applique using fonts in the Art & Stitch Digitizing Software for longarm quilters that is included with Q-matic. However, I could not find the exact font I wanted in the Q-matic computer, so I loaded a free font and used that. I created the layout in BERNINA Embroidery Software 8. If you don’t have software, you could also draw it out on graph paper.
Materials to Make a Raw Edge Appliqué Pillow
- Q 20/ Q 24 Longarm Quilting on Frame
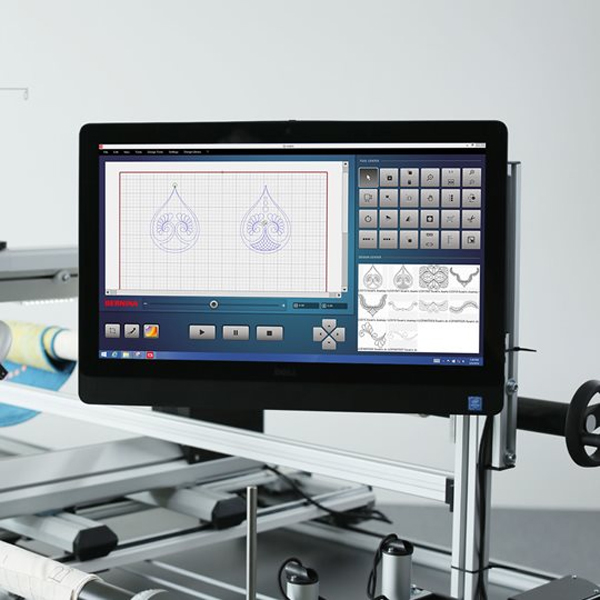
- Q-matic Longarm Quilting Automation System (Art & Stitch included)
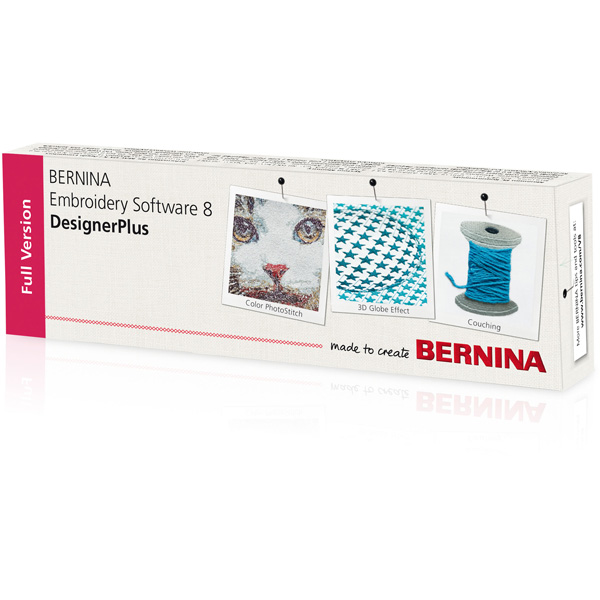
- BERNINA Embroidery Software 8 for creating layout (can also use graph paper)
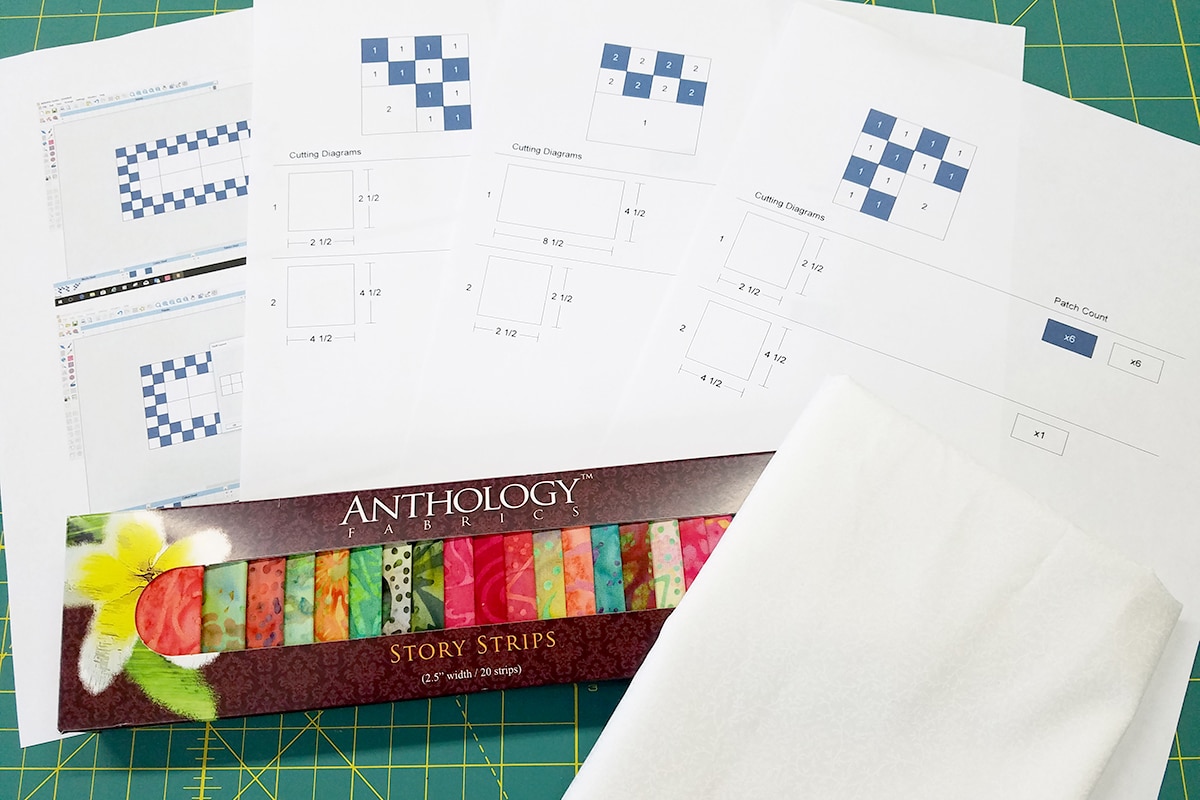
- Strips of fabric cut 2 ½” wide (I used Anthropology Fabrics Story Strips, but I did not need to use all of them. A Jelly Roll will work also.)
- 1 yard white background fabric
- ¼ yard fabric for applique (family)
- Polyester fiberfill to stuff pillow
- Thread for piecing (I used white Aurifil 50 wt)
- Thread for quilting (I used white Aurifil 40 wt)
- Thread for applique (I used red Aurifil 40 wt)
Let’s start with the quilt pattern.
If using BERNINA Embroidery Software 8 to create the layout, open the software.
On the left hand side of your screen, you will see Toolboxes. Look all the way at the bottom and you will see Applications; click on it. You will now see the Quilter icon.
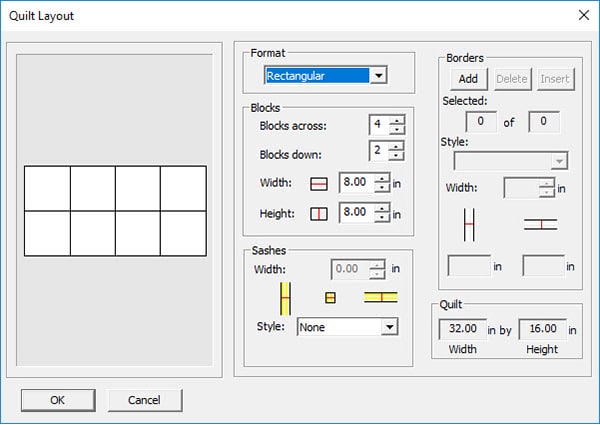
When you click on Quilter, the screen will change. Click on the Quilt Layout icon, and a dialog box will open. Enter 4 in Blocks across, 2 in Blocks down, 8 inches in Width, and 8 inches in Height. This will make your pillow top 32 inches by 16 inches. Then click OK.
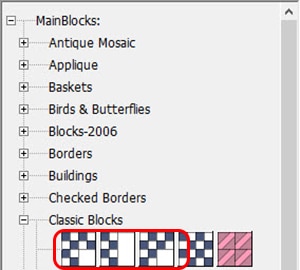
Make sure that the Select Arrow icon is selected. On the right side of the screen you will find the blocks that can be used. (If you do not see the blocks to the right, select the Library icon on the left.) Under Main Blocks, select Classic Blocks. In the drop down that opens, you will be selecting the first three blocks to use (16 Patch Corner, 16 Patch Half, and 16 Patch Other Corner).
Use the software’s edit features (Mirror Image and Rotate) to position and arrange them on the layout so that they look like the picture below.

Select File > Print Preview, or select the Print Preview icon. You have many options for printing, but I chose to select Rotary Cutting Instructions. I printed out the pages to use for cutting and constructing the blocks.
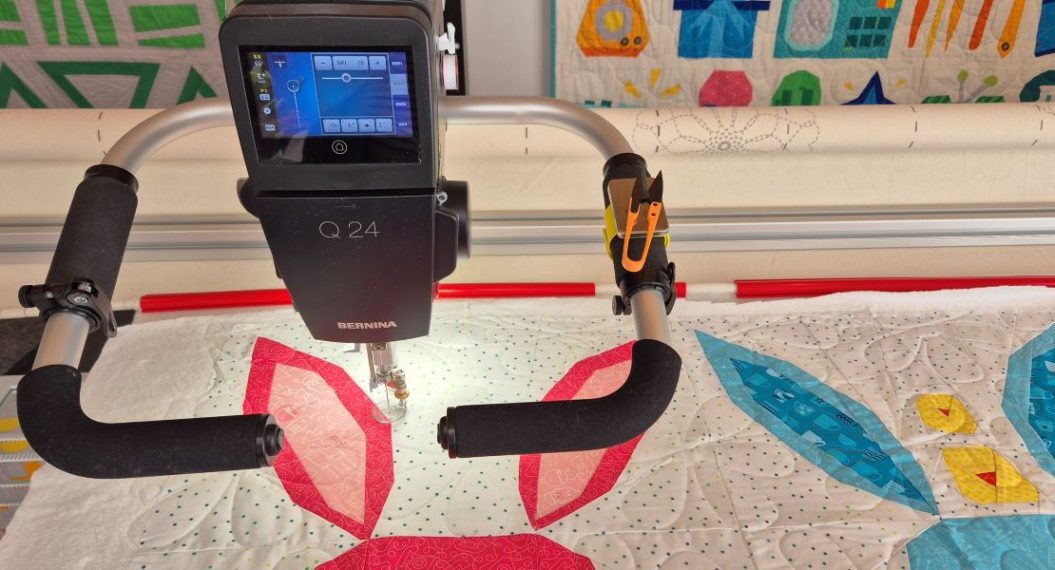
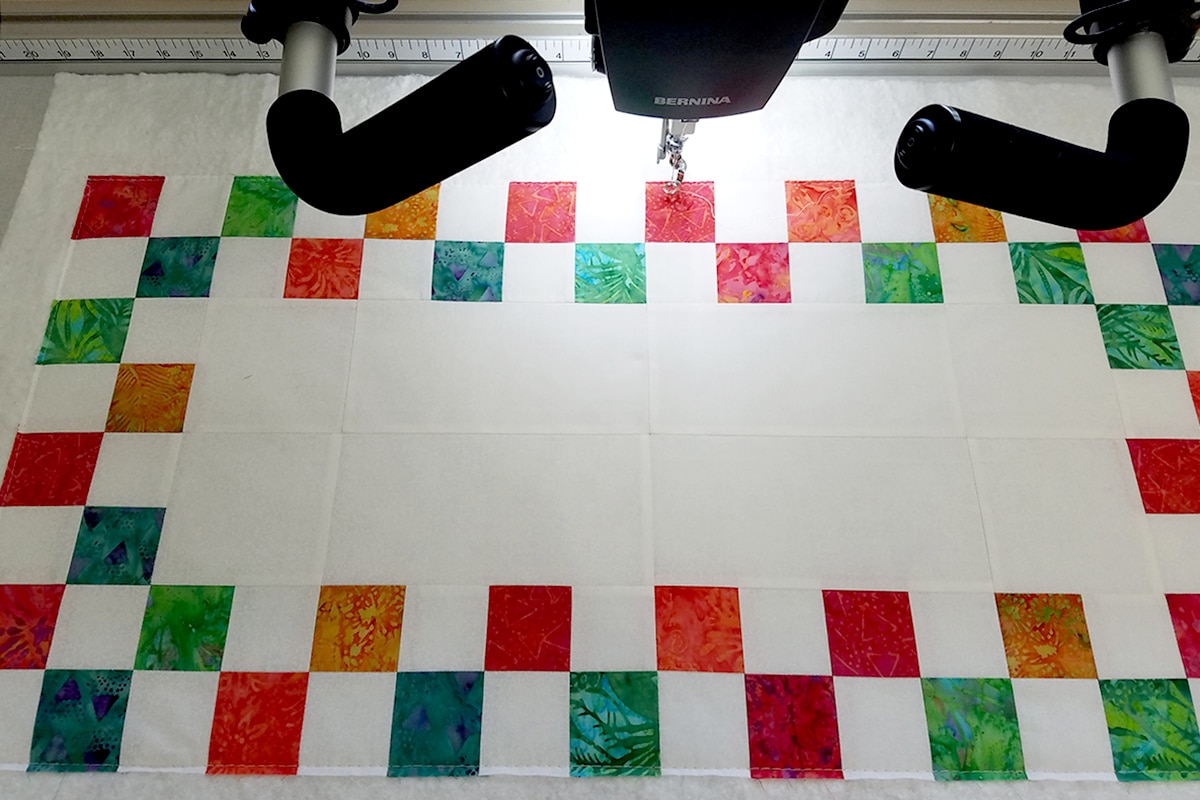
After the pillow top is completed, it is time to load it onto your frame and quilt. Don’t forget to baste around the outside edge.
Before I quilted the layers together, I wanted to add the word “Family” as an applique to my pillow. I like the font Bauhaus 93, but it was not in my Q-matic system. I “Googled” the font, and found it on www.ufonts.com as a free download. You want to make sure you get the True Type Font file format.

I downloaded it onto a USB stick from my laptop, and then installed it on my Q-matic computer. To load the font onto your Q-matic computer, just open the file and click “Install”. The computer will put it in the correct place and you are ready to go.

Open Art & Stitch through the shortcut in Q-matic. On the left hand side go to the very bottom and click on Import TTF Artwork. This is where the True Type Fonts are found on the computer. Click.

When the secondary screen opens, type in FAMILY and select Bauhaus 93. Click OK.

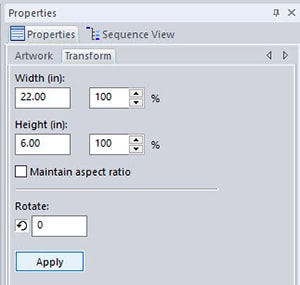
You will now see the word on the computer screen. On the right side under Properties and on the Transform tab, uncheck Maintain aspect ratio. Now enter 22 inches in Width and 6 inches in Height. Click Apply. I used these numbers because the white center on the pillow top is 24” x 8”, and I want to have one inch all the way around the word.
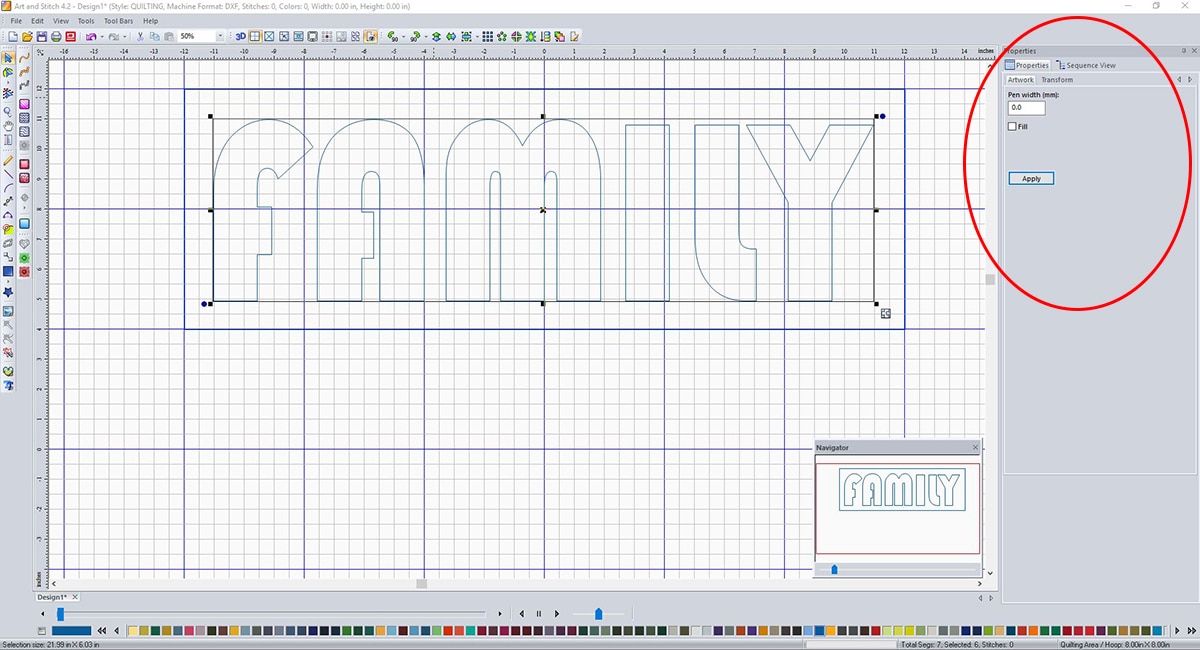
Look on the right side of screen and locate the Artwork tab. Uncheck Fill and click Apply.
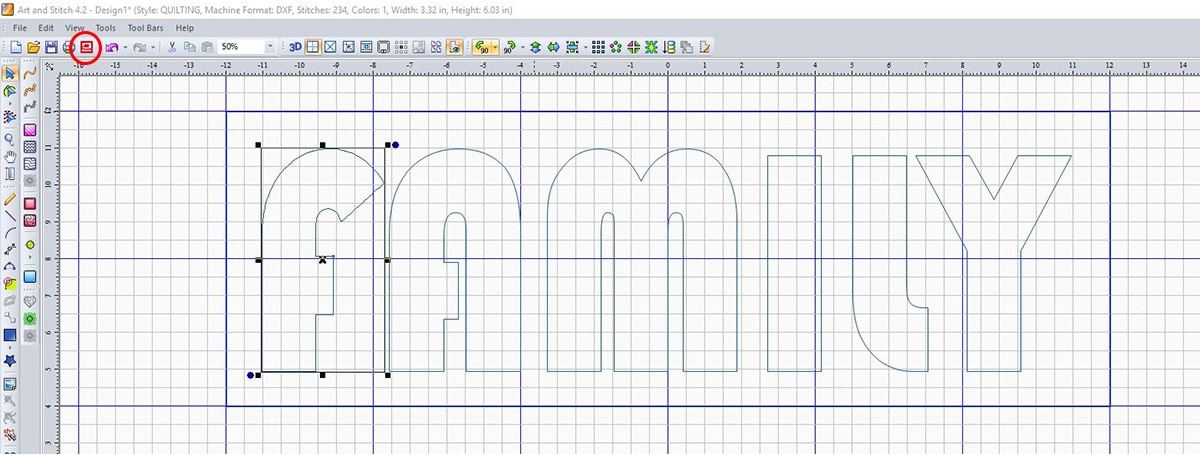
Deselect the word by clicking somewhere else on the screen. Now select just the “F”. With the “F” selected, click on the icon to add stitches to the design. This will add stitches to all of the letters.
When you click the shortcut to go back to Q-matic, you will be prompted to save the design as an .ANS file. When you save it, it will also save as a .bqm file. You are ready to stitch the word on your pillow top.
*** If you want to import to your Design Library, you can do that from the file it was saved in. ***
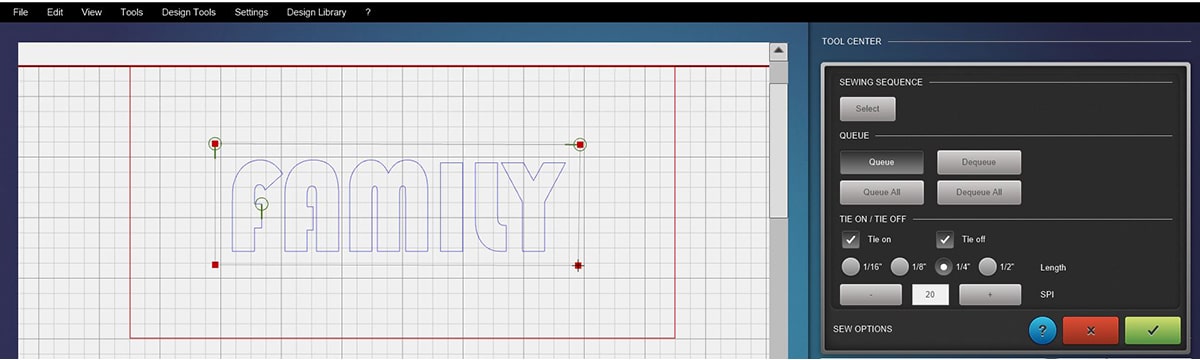
With your frame loaded it is time to place the design in the correct place. You will have already set your Safe Area and entered the Quilt Size if desired.
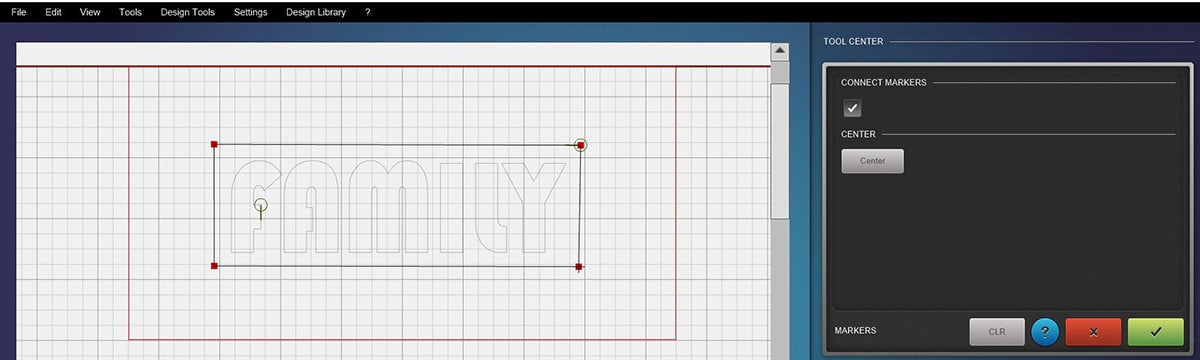
Use Markers to show the outline of the white center of the pillow. Connect the Markers and then place the design in the center of the rectangle.
In Sew Options, you will need to Dequeue All so that the line will not stitch. Then “Queue” the design to stitch. The design will be blue.
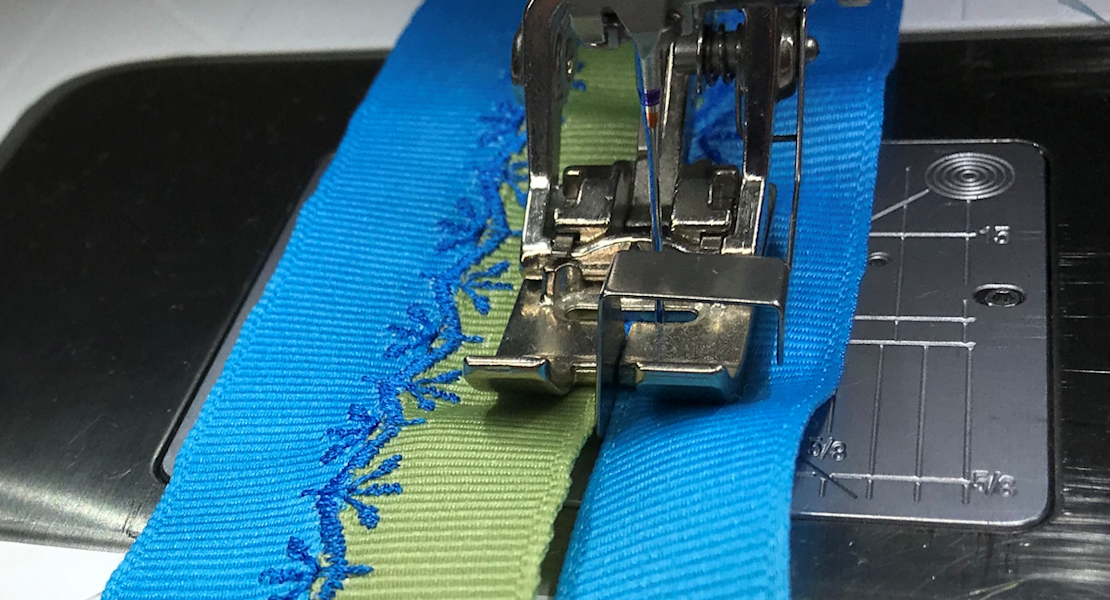
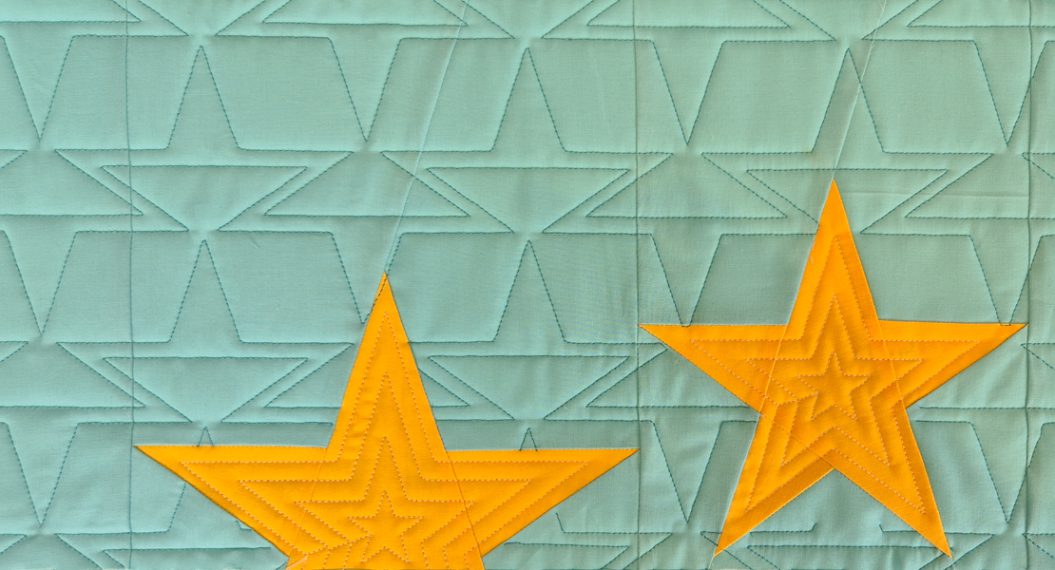
Place the applique fabric over the center white area on the pillow top and stitch. It would be a good idea to place a pin out of the way in each corner to help hold the applique fabric in place.

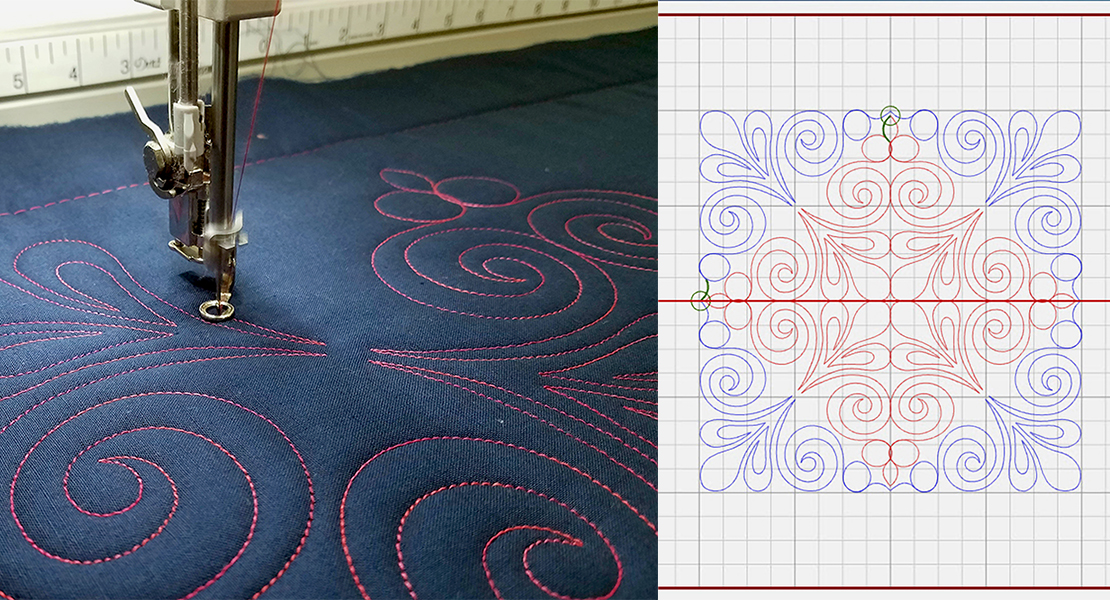
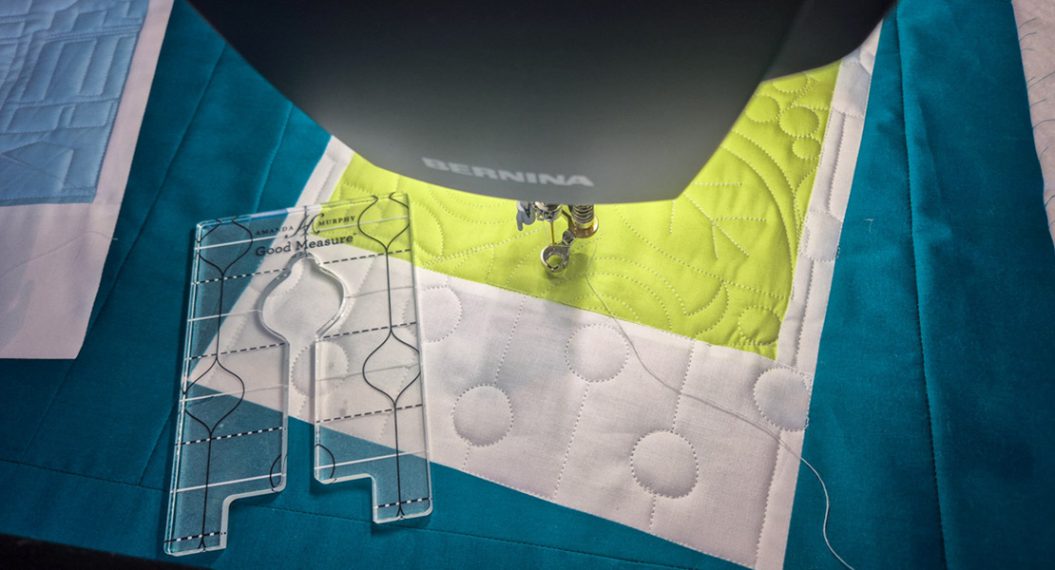
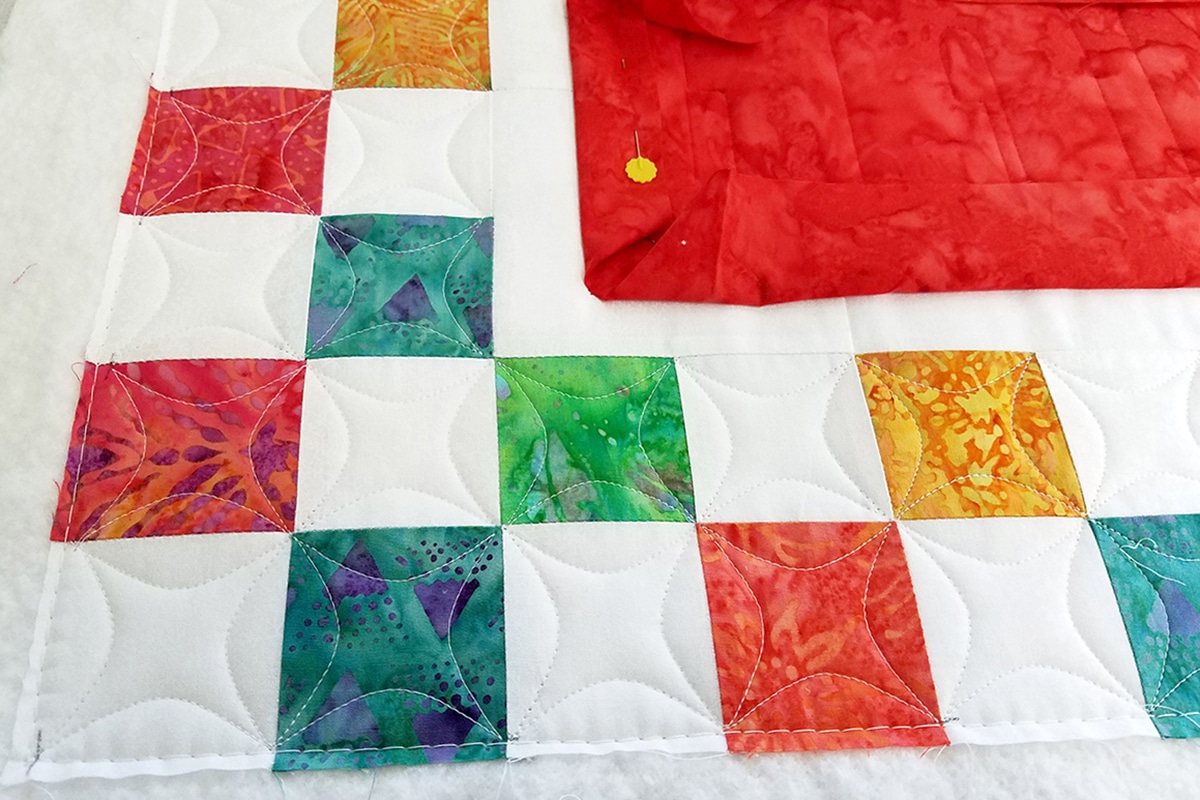
When the quilting of the word is complete, quilt the checkerboard squares. I pinned the applique fabric out of the way. I used the “Basics_10” design for this, and used Boundary to place the design in a square of four Morphing to fit. Place as many designs on the screen as you will need. Select a new one each time you place with Boundary. It is never a good idea to morph a morph.
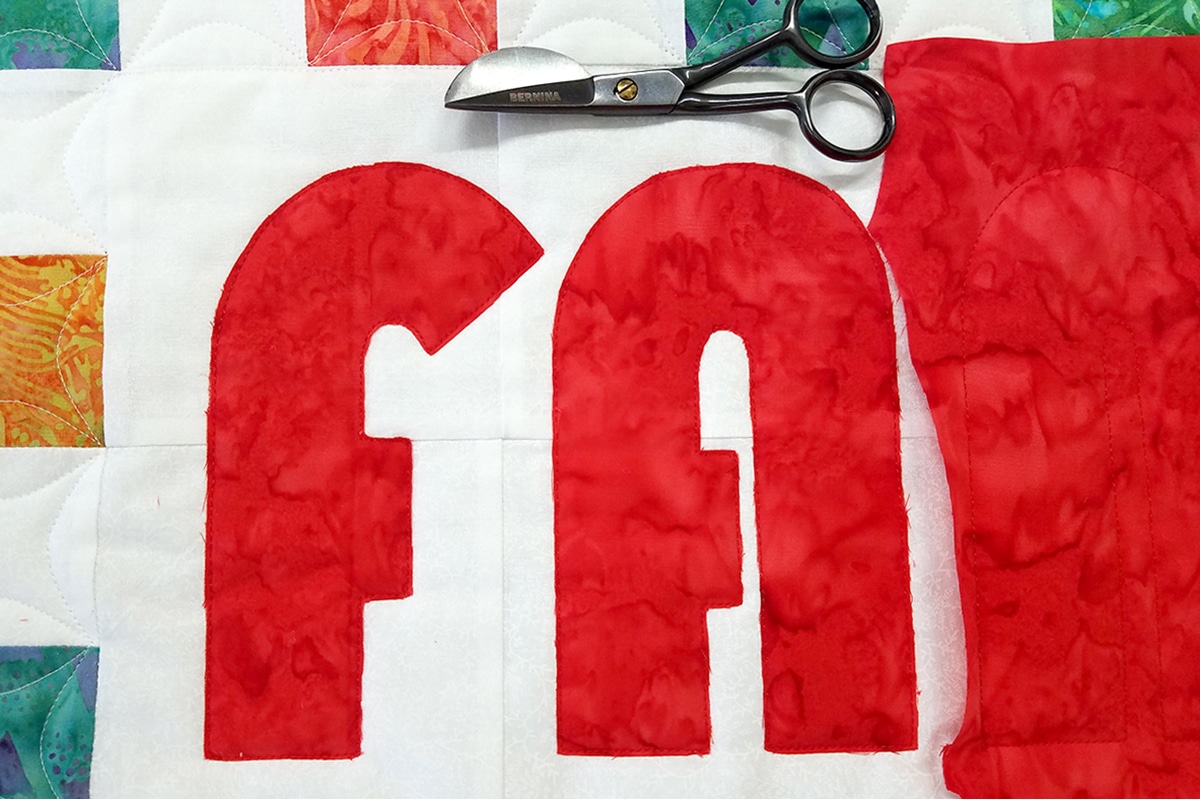
Remove from frame and trim applique.
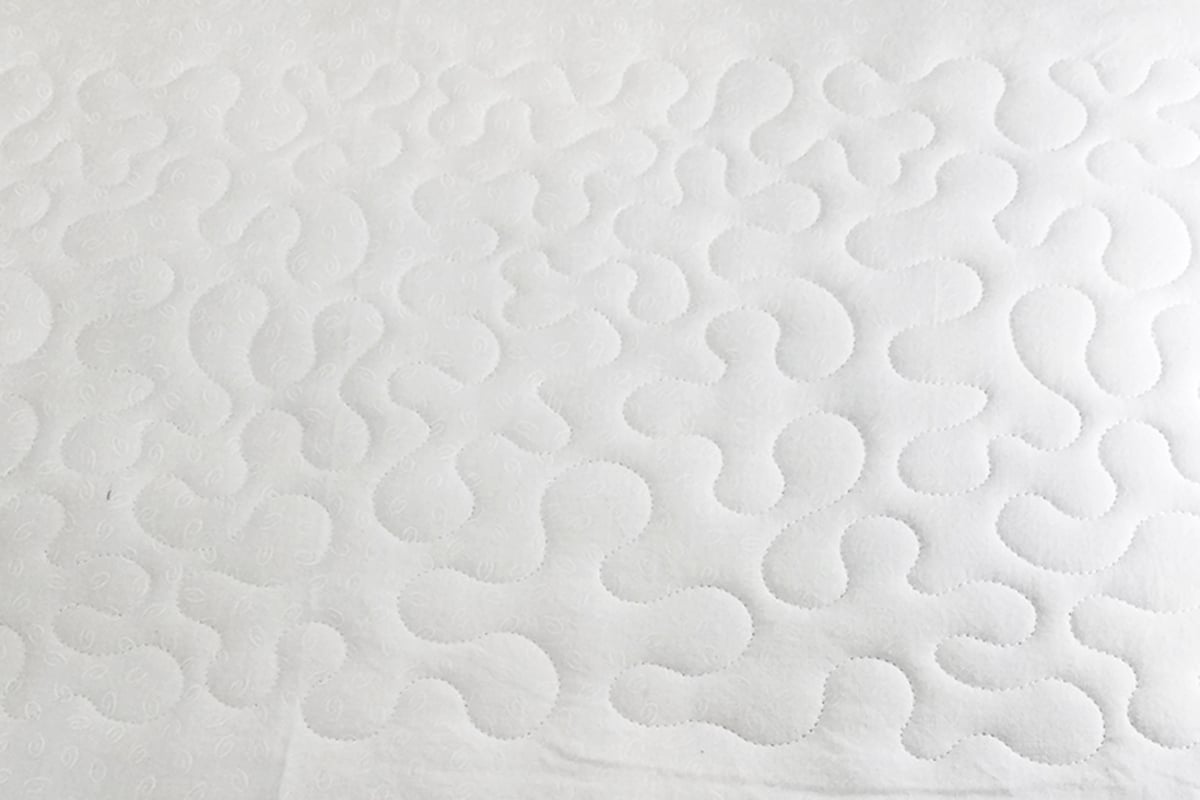
If you want the back of the pillow quilted, now is the time to do so. I used a simple stipple design.
Trim up both pieces and stitch together with right sides in using a ¼ inch seam. Leave an opening in the bottom.
Hand stitch opening together after stuffing. Congratulations! Your Bench Pillow is complete.