Tutorial: DIY Maternity Tee
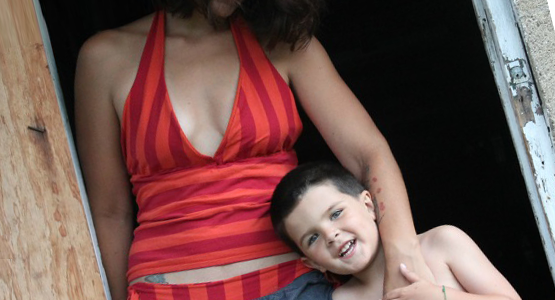
Good morning, We All Sew! Earlier this year, we received the most wonderful news. We’re expecting a wee baby girl in mid-September! Not only am I excited about this bundle of joy, but I’ve also had a blast sewing a DIY maternity wardrobe. With the limited options in maternity clothes, sewing my own feels liberating. I’m not tied to the cheap fabrics and weird prints used in stores, but instead can make beautiful pieces that both cover the bump and work with my style.
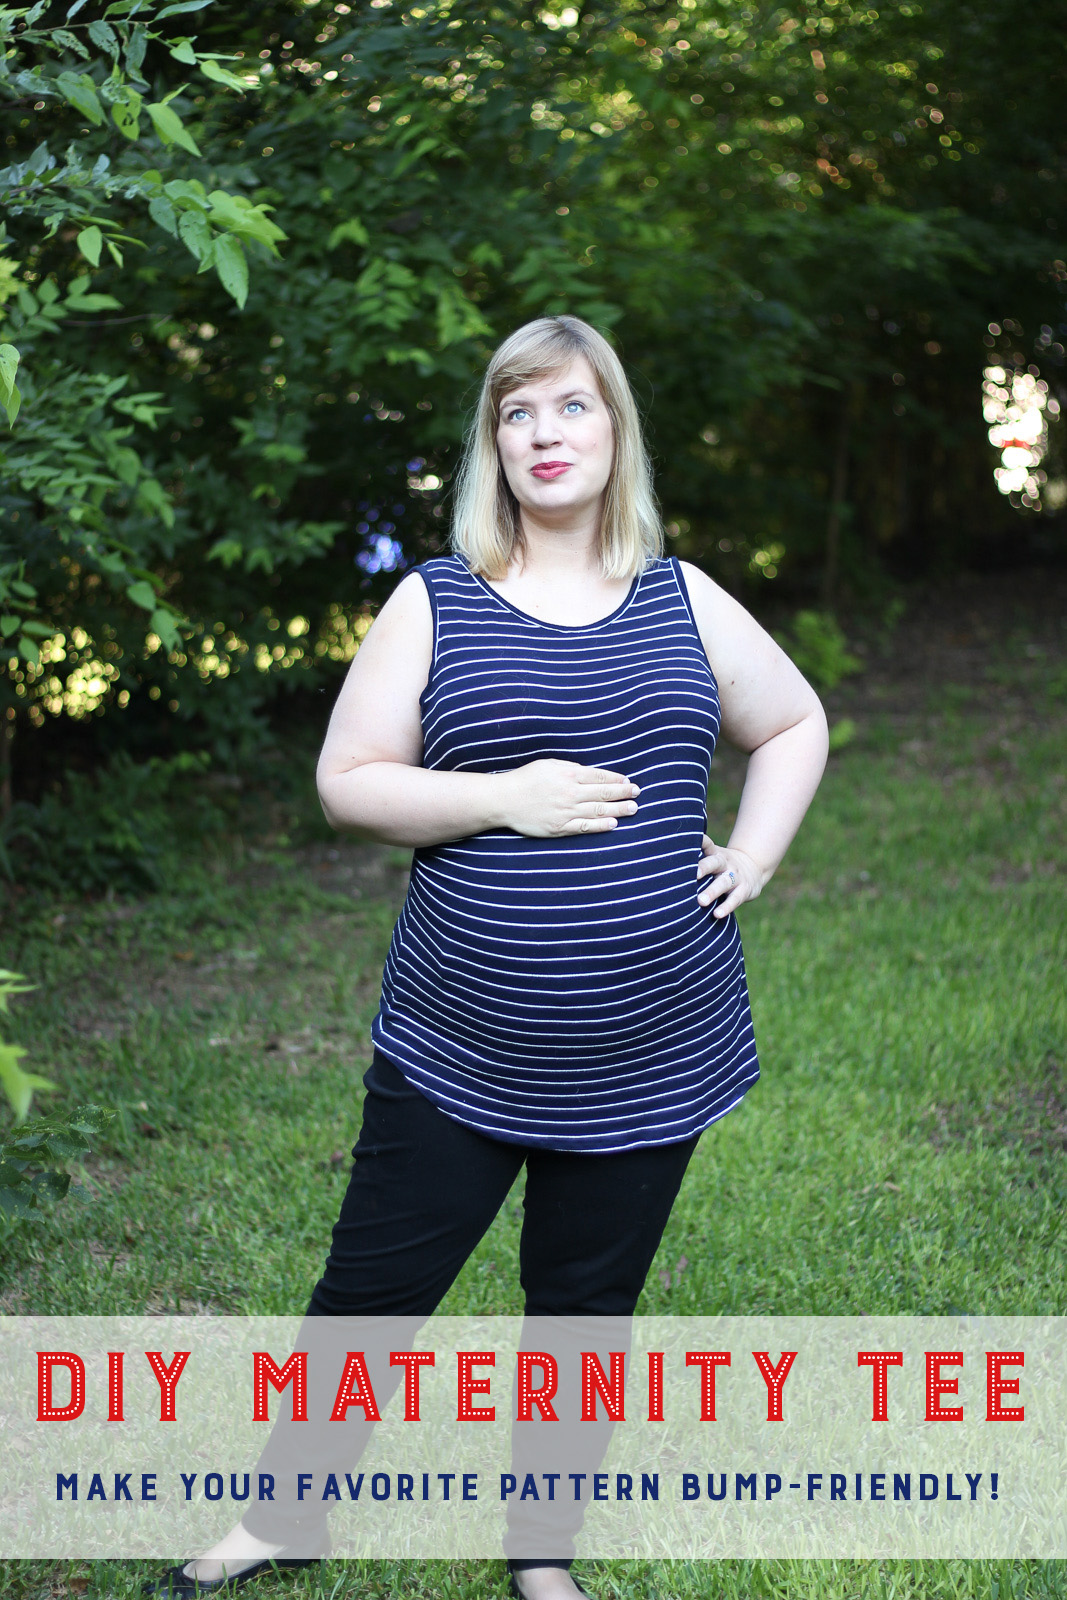
One of my favorite projects so far has been making maternity tees. With one simple pattern adjustment, my tried-and-true tee pattern quickly became a bump-friendly ruched t-shirt. Today, I’ll show you how to make this adjustment on your own favorite t-shirt!
Supplies to Make a DIY Maternity Tee
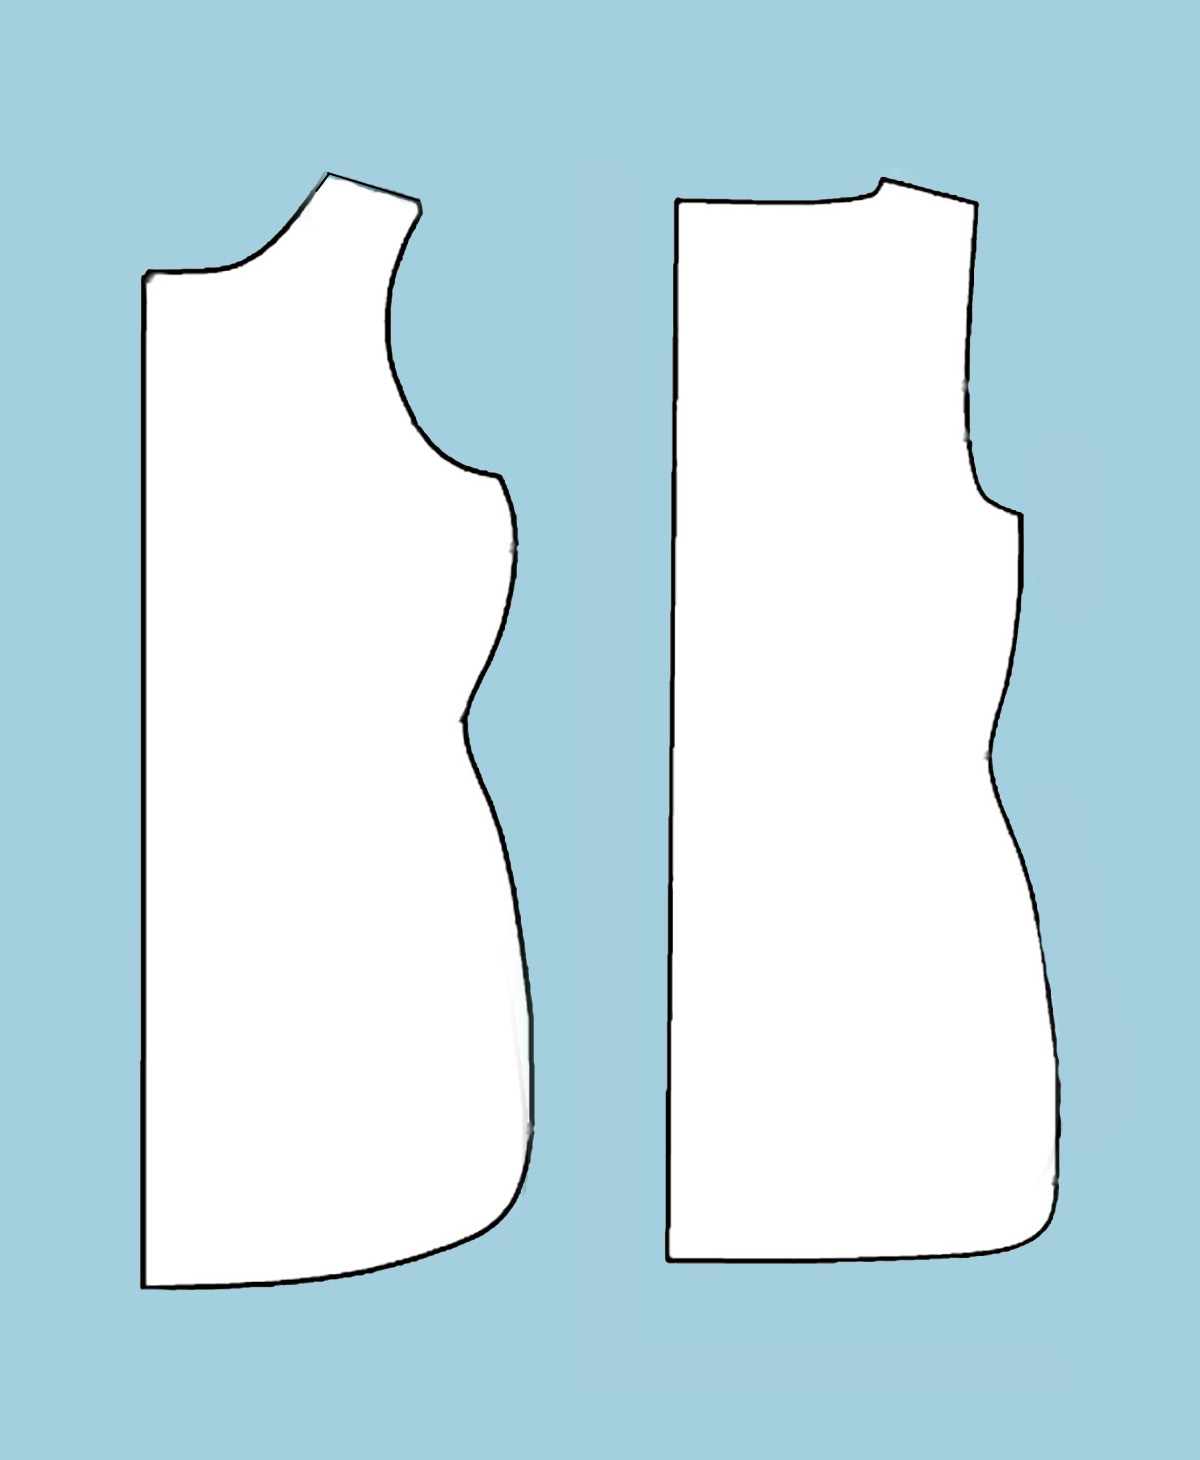
- Your favorite knit t-shirt pattern. This can be anything from a standard t-shirt to a raglan sleeved baseball shirt. As long as the front bodice is one piece from the bust down, this adjustment works beautifully.
- Tracing paper. Any wide, translucent paper will do the job. My personal favorite is bee paper, which I buy online in rolls, but Swedish tracing paper or plain medical paper are also good options.
- Pen/Sharpie/Pencil
- Clear sewing ruler
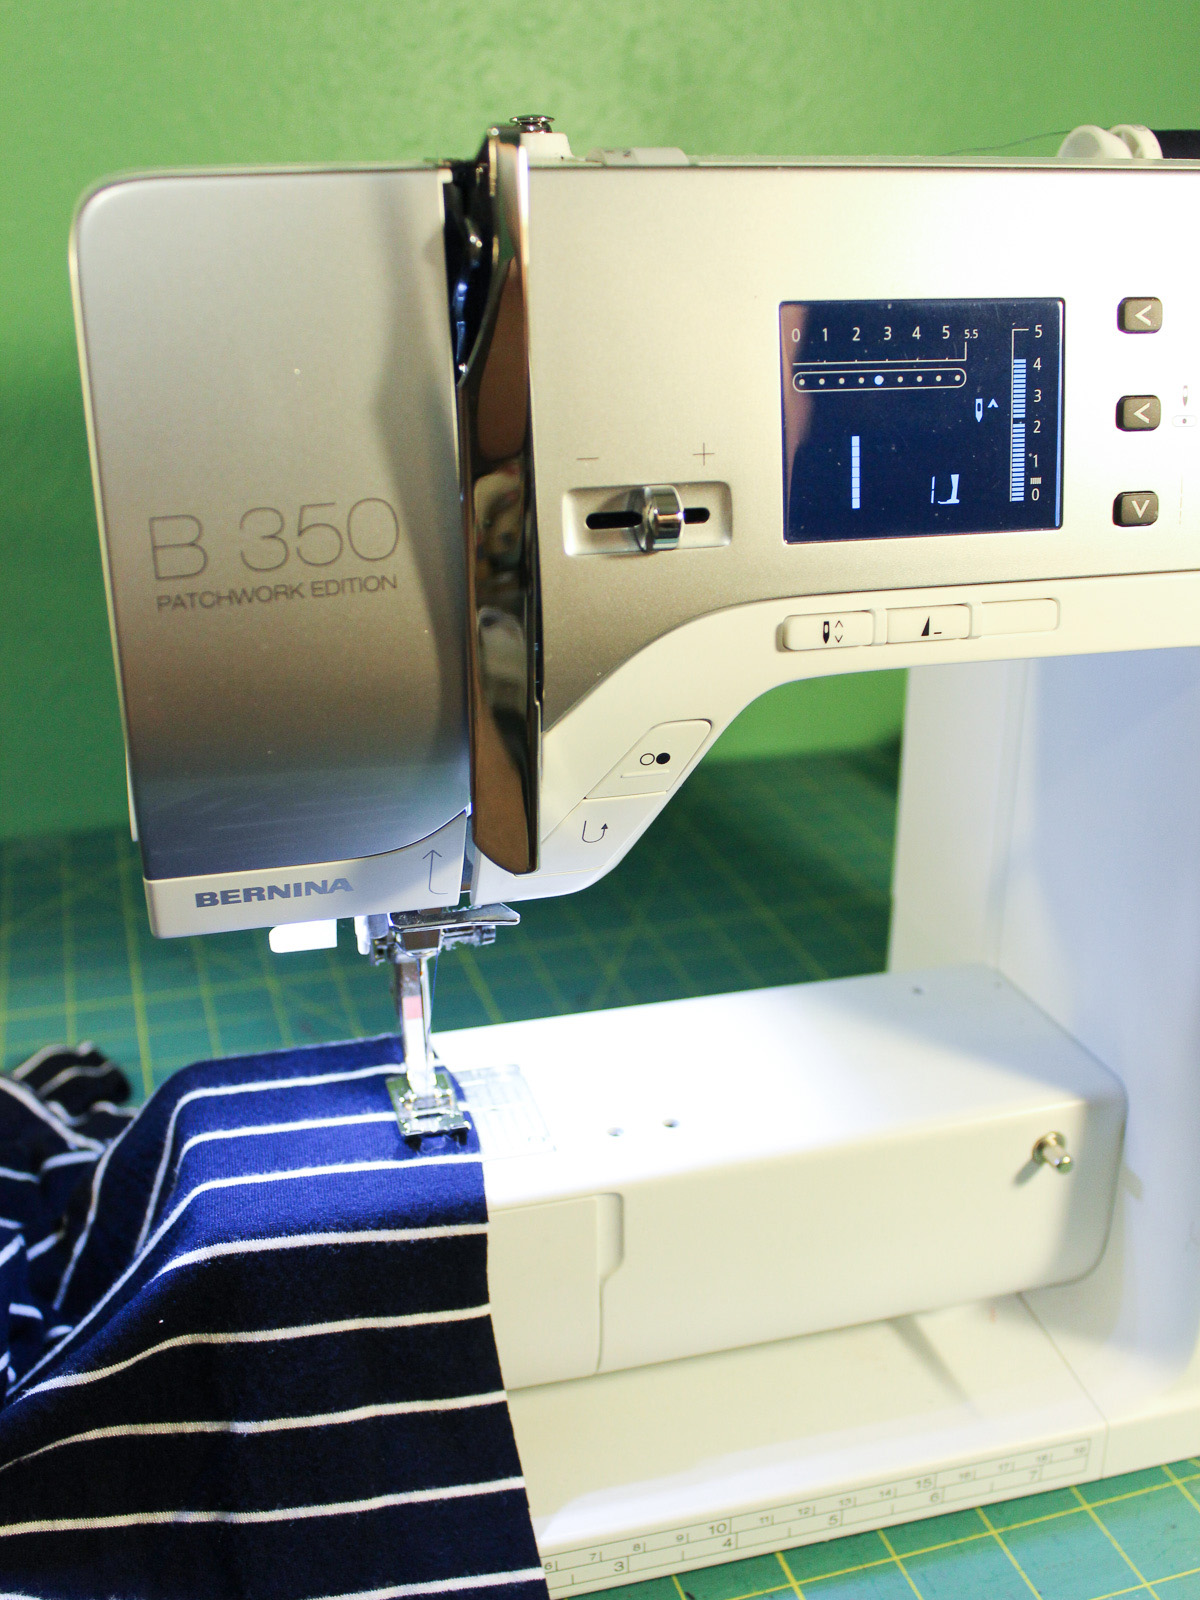
- Your BERNINA sewing machine (I use a B 350 PE)!
Pattern Adjustment
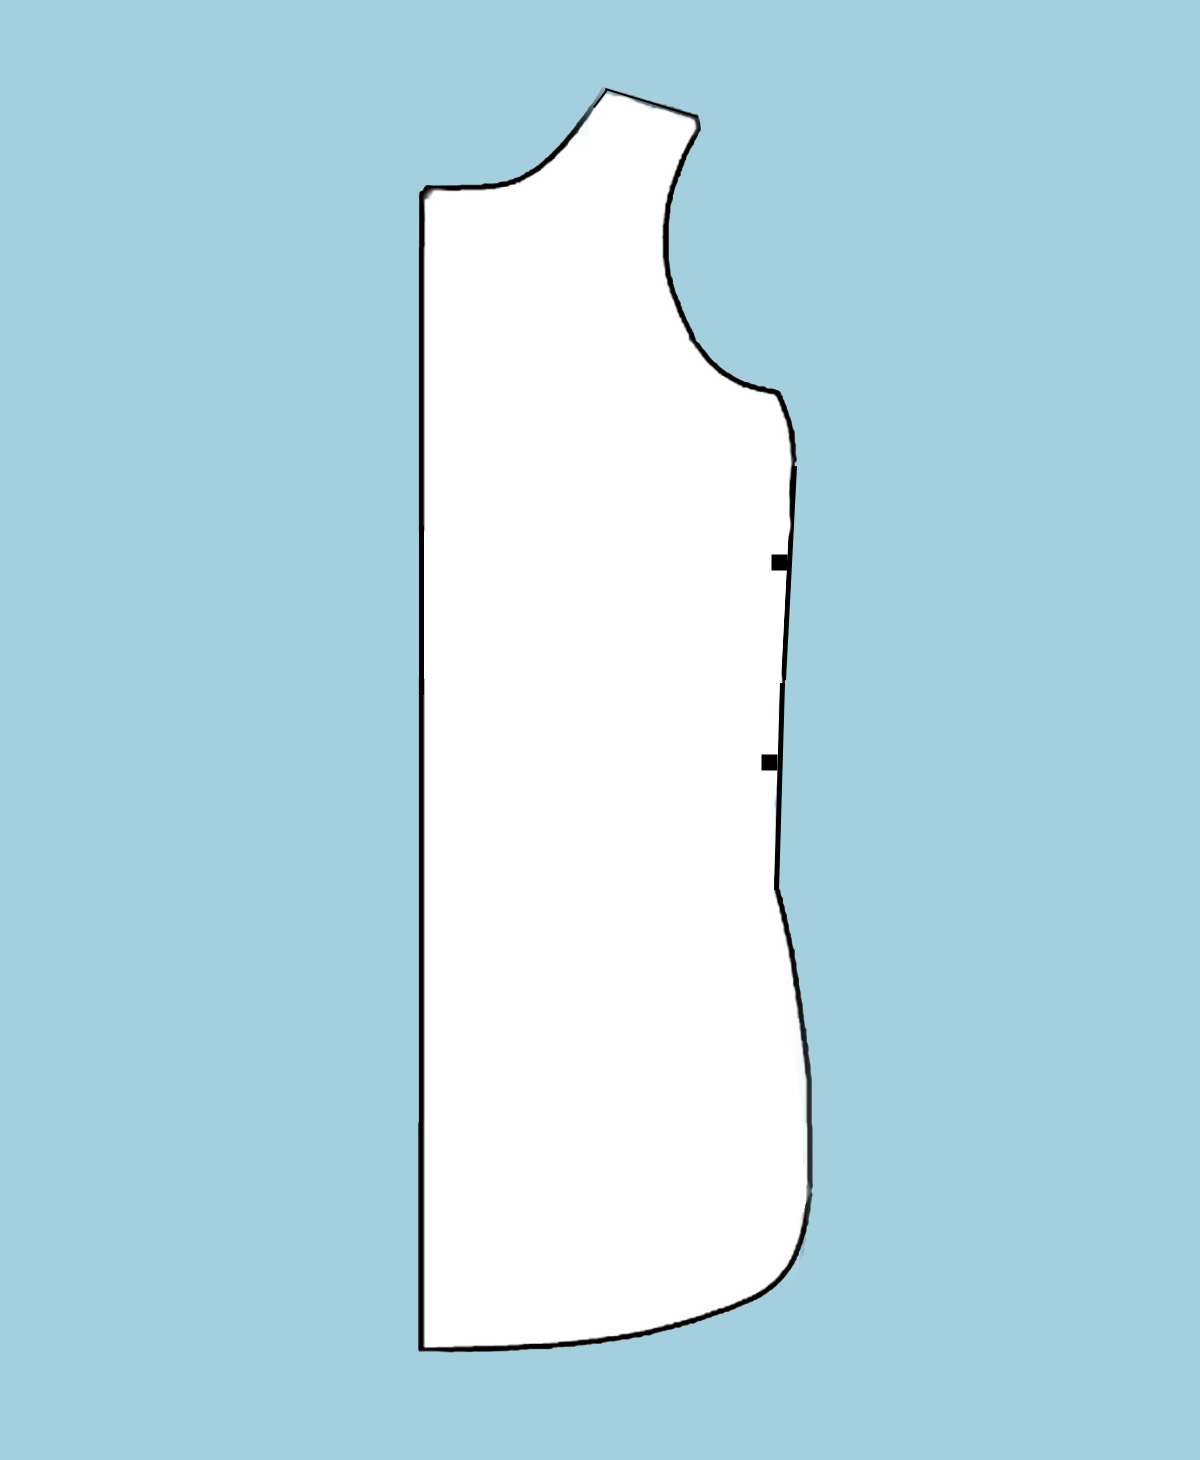
Step One: Trace off your pattern. For this tutorial, I’ll be using my favorite t-shirt pattern, the Cashmerette Concord Tee.
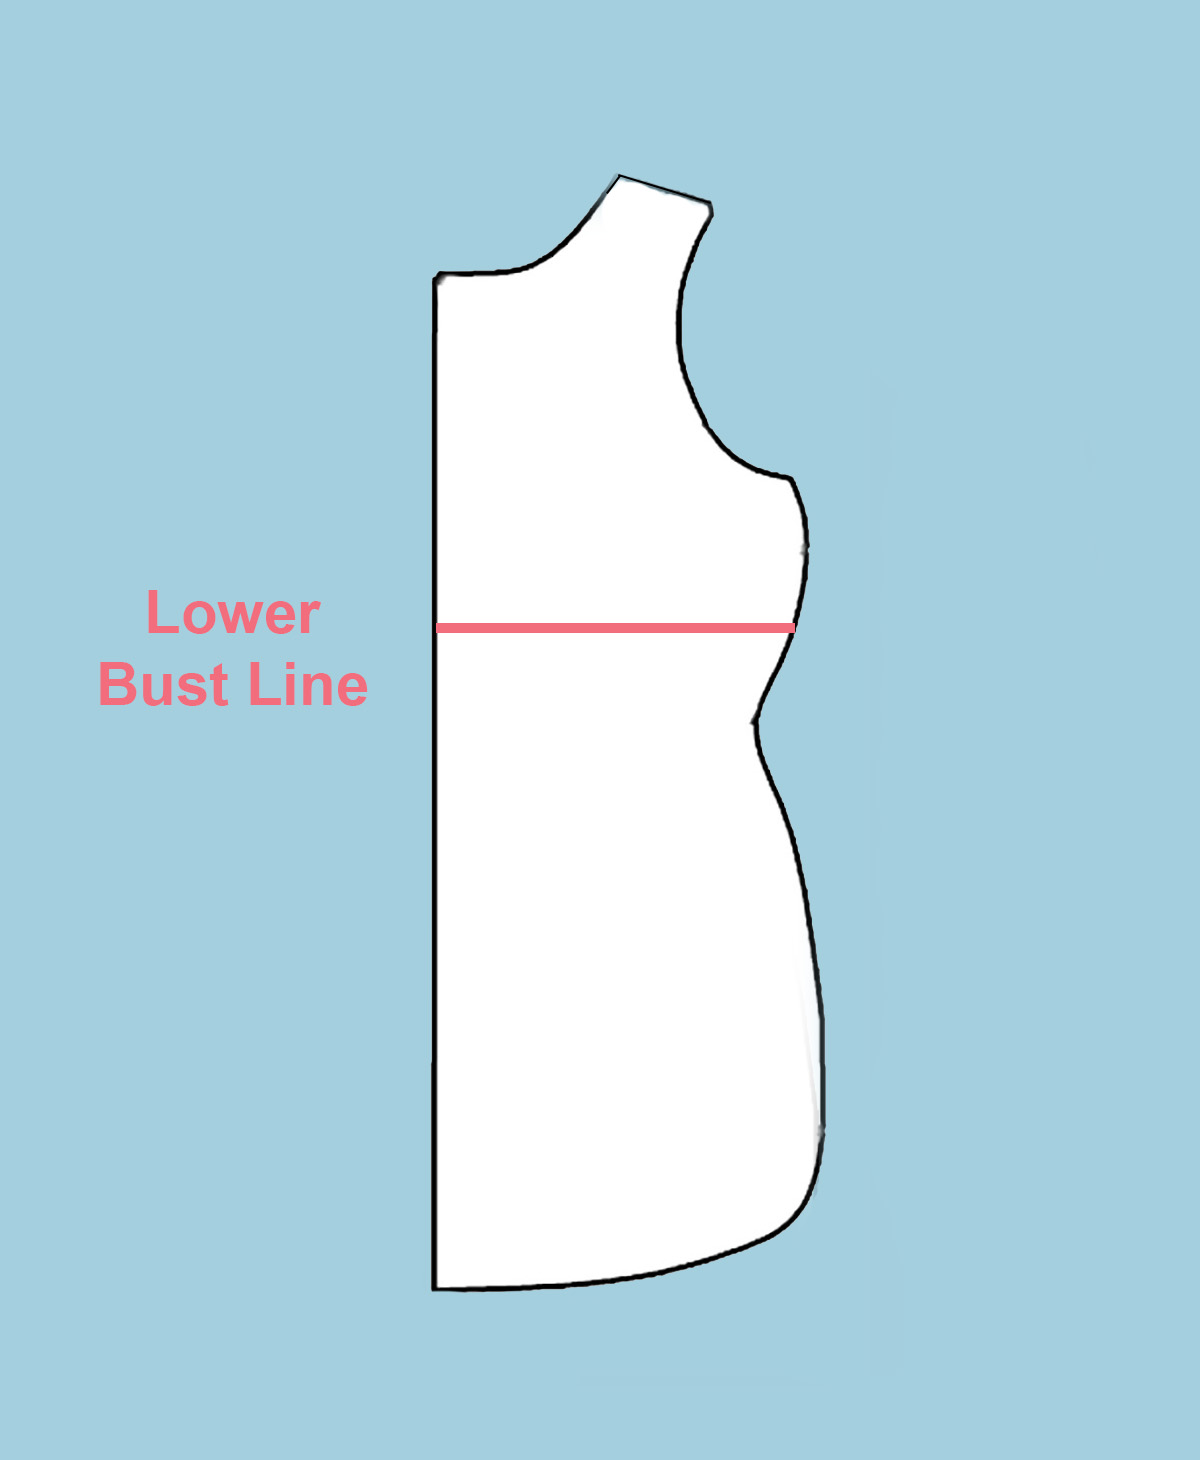
Step Two: Mark a line across the pattern, where the bottom of your full bust ends, drawing a straight line across the front bodice. If you’re carrying low, or would like the ruching to be closer to your hips, move this line down a few inches. Everyone woman and every pregnancy is different, so you’ll want to play around and see what works best for your body.
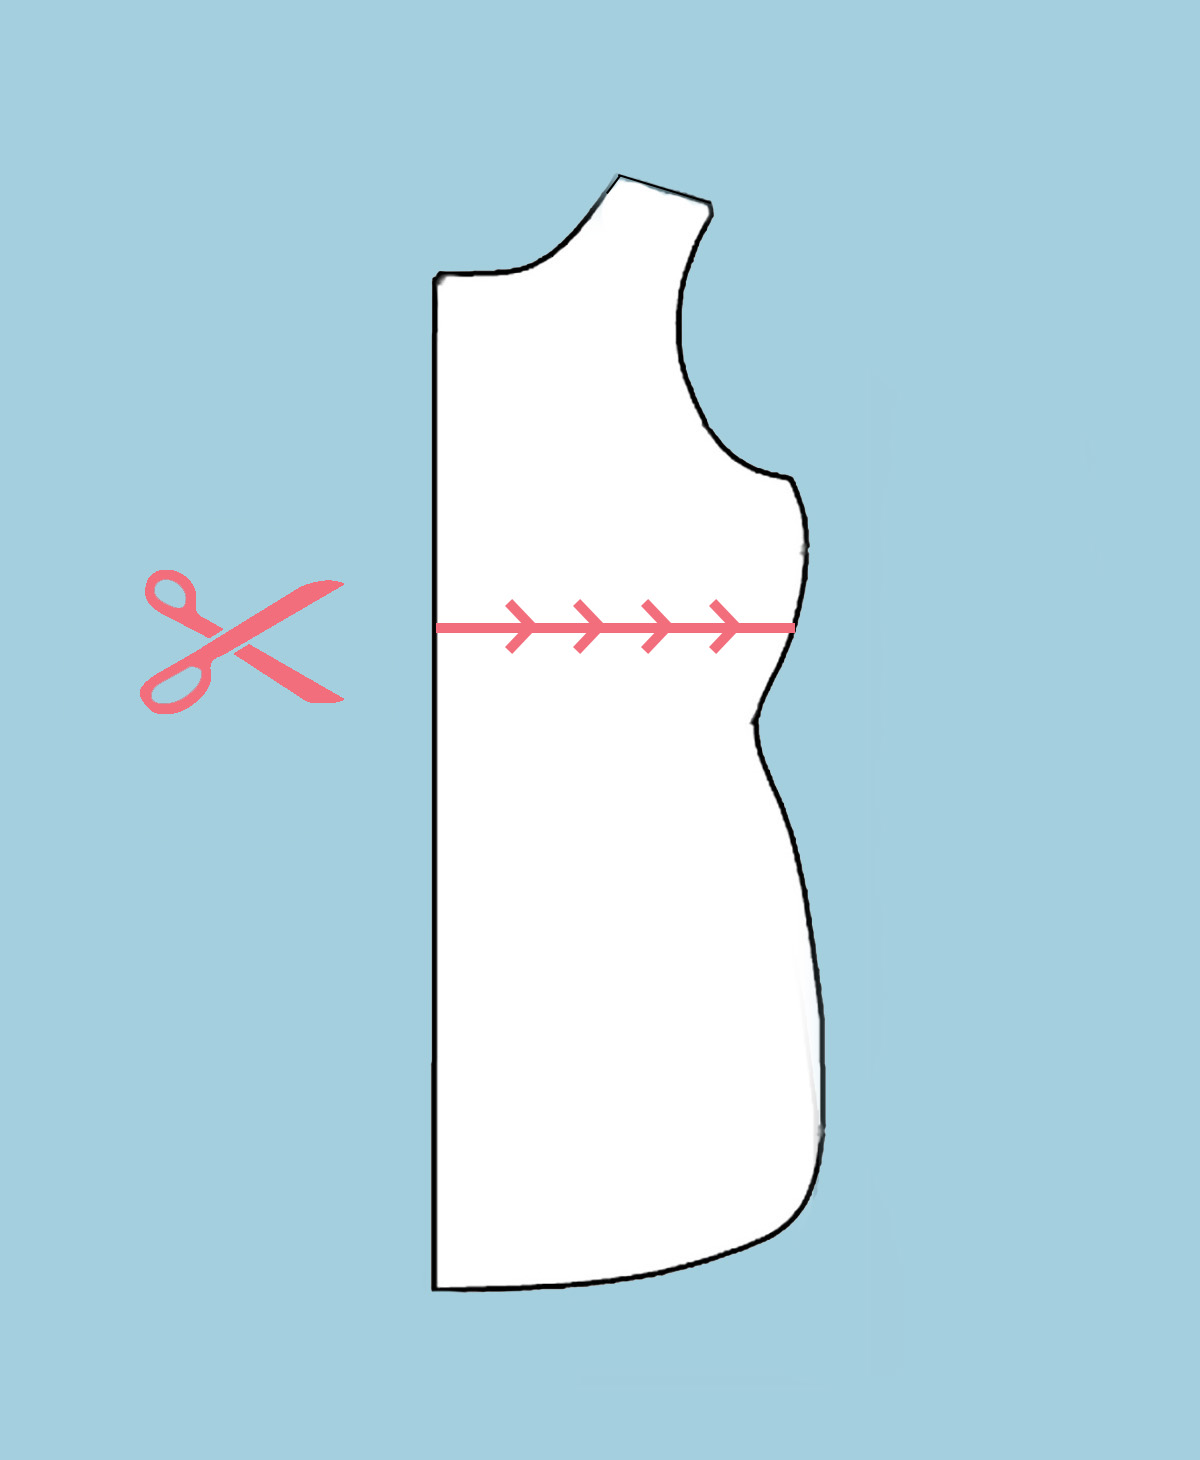
Step Three: Cut along the bust line, separating your bodice front into two pieces.
Step Four: We’re now going to add length to the waist area of your pattern, which will be our ruching in the final garment. This added length gives you extra bump coverage without changing the fit through your back or bust. To add this length, lay your two front bodice pieces onto scratch paper, then spread them apart by five inches, making sure they are parallel all the way across. Tape them to the scratch paper underneath.

Step Five: True the pattern lines. This just means that you should take a ruler and connect the pattern’s original lines, erasing the gaps you’ve made in your pattern. Make a triangular mark on either side of your added scratch paper. This tells us how far to add ruching on the final garment.
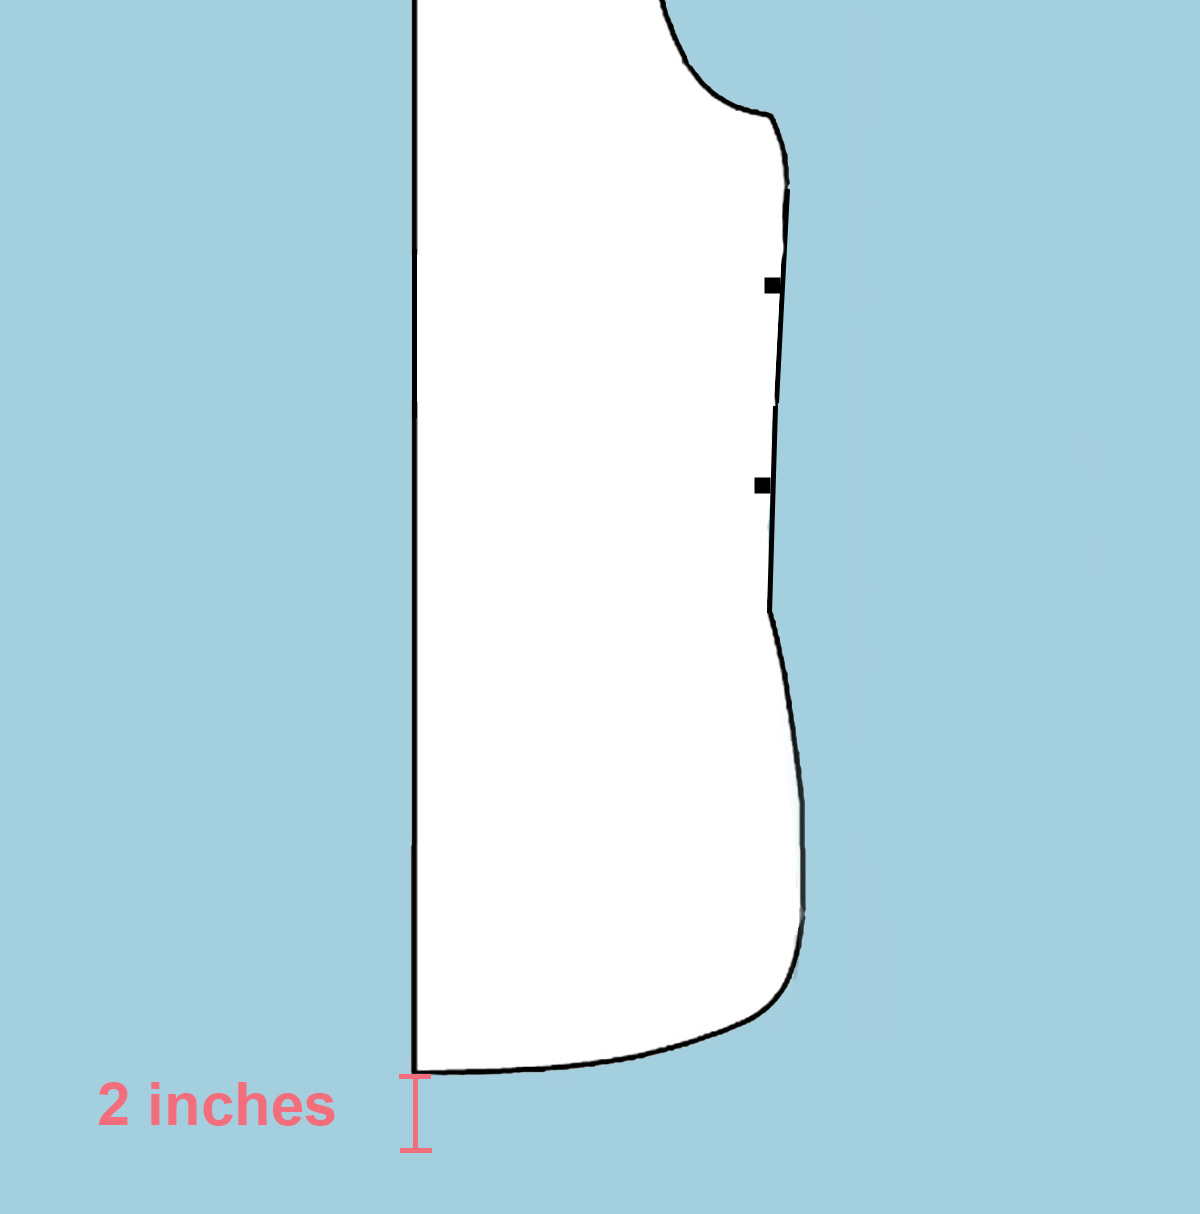
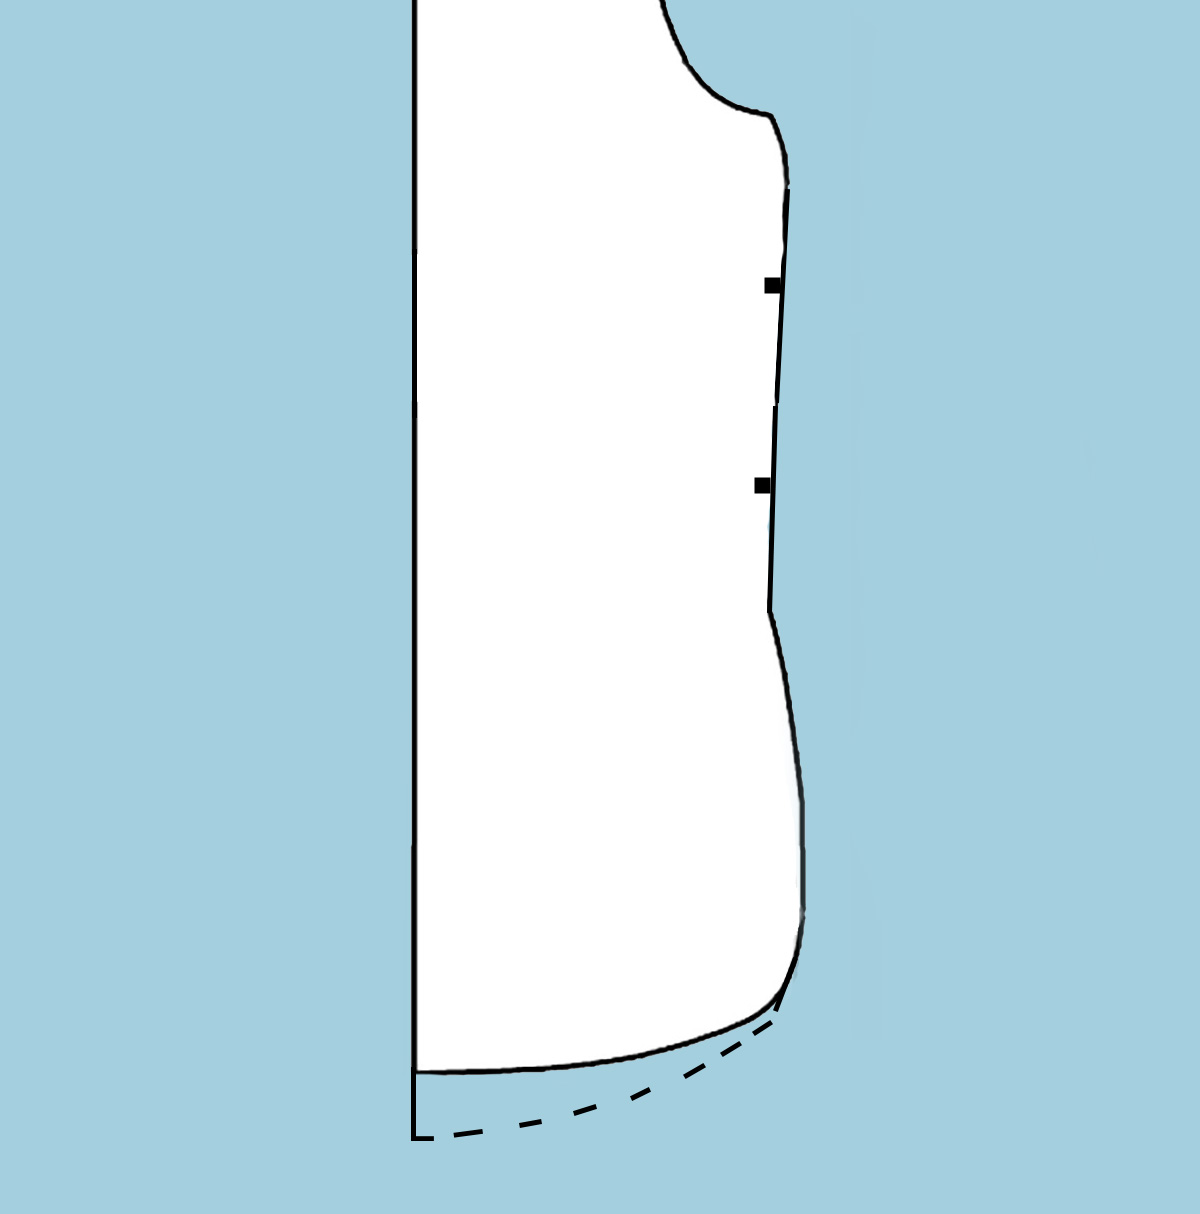
Step Six: Next up, we’re going to lengthen your front hemline. This additional length won’t get ruched up, but instead will provide enough length to cover your bump, when things start expanding outward. A baby belly will lift the hemline of any garment, so added length keeps the hemline even as you progress through your pregnancy. Every woman is different, but I’ve found that adding two inches to the front hem is perfect for my purposes. To do this, simply measure down two inches on your center front piece, then slowly blend that length back into your original hemline, as you move out to the side seam. It should be a gentle curve with no additional length added at the sides.
Maternity Tee Construction
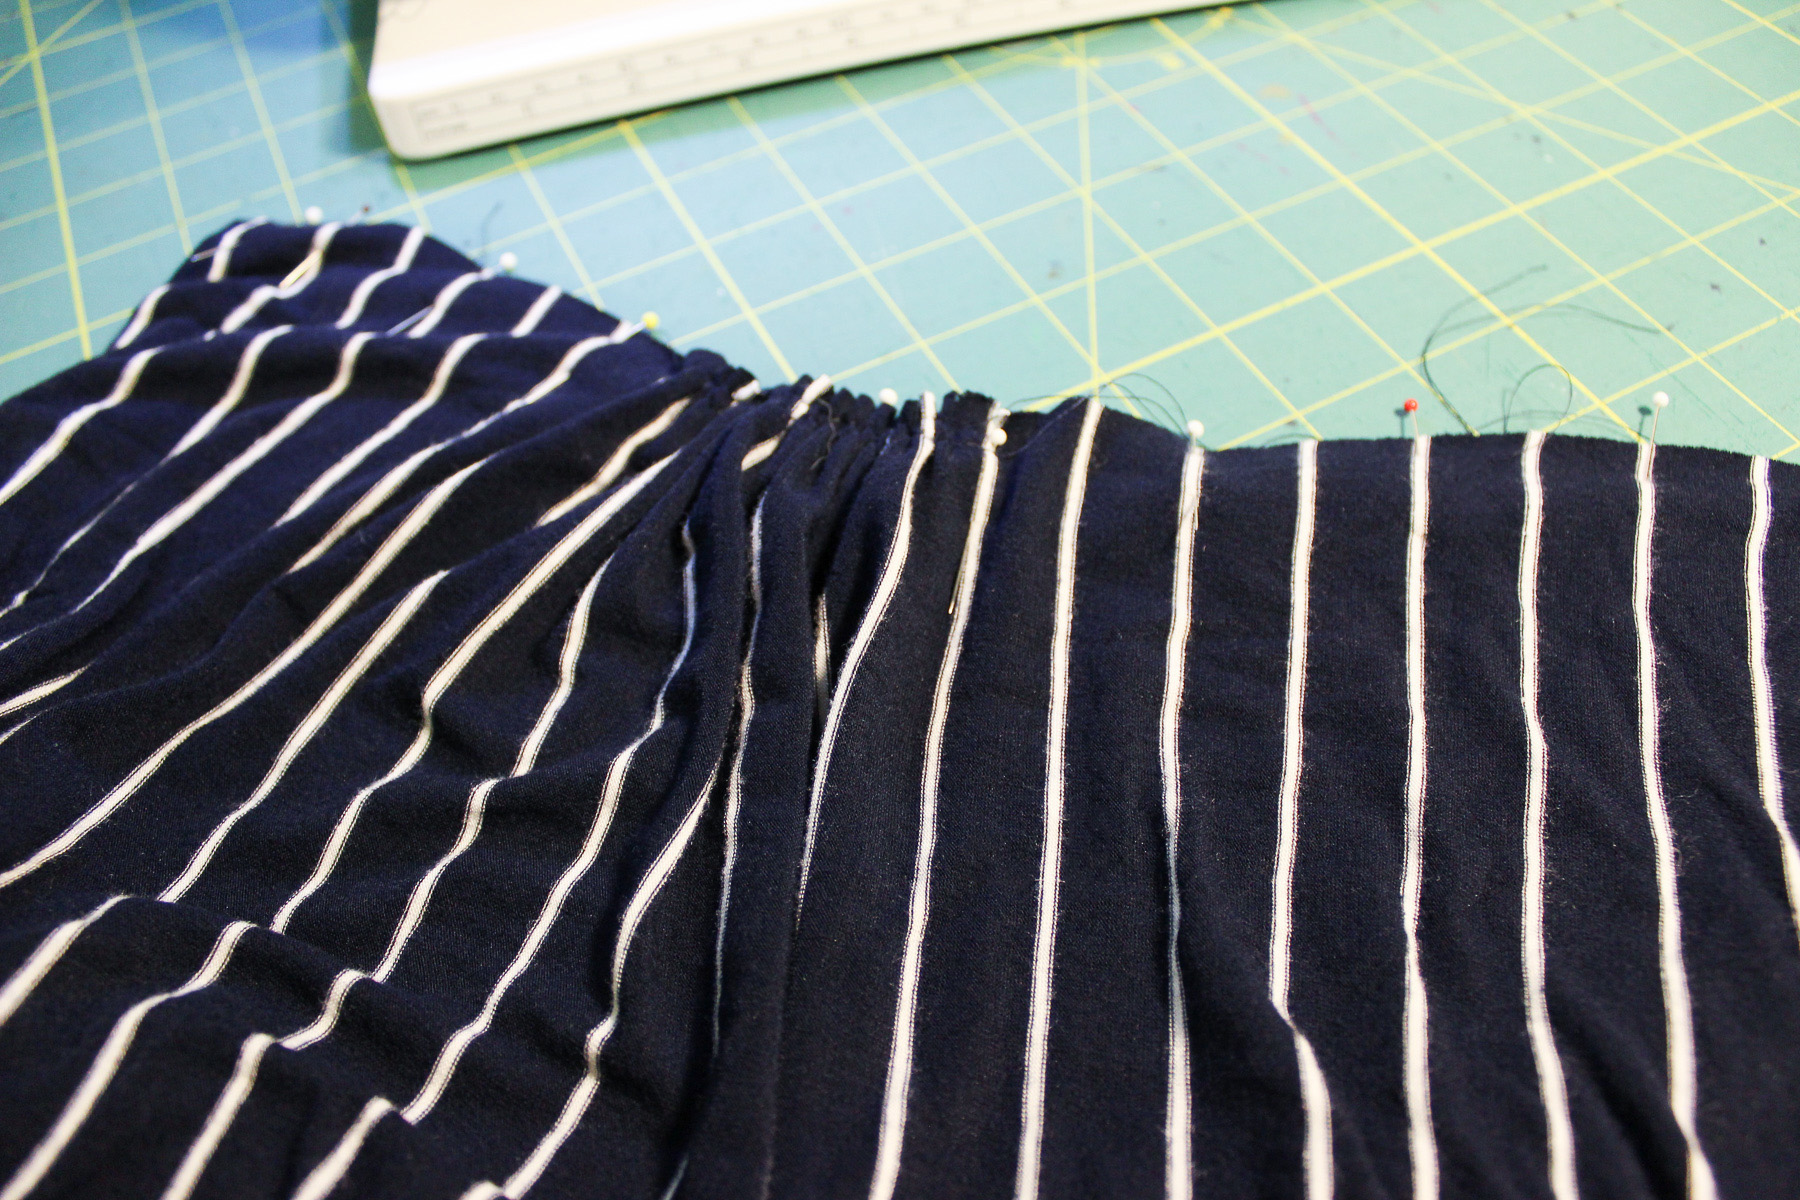
Step One: Cut out your pattern pieces. On your front bodice, make a shallow snip into your ruching marks. Continue with your pattern’s usual instructions, until you need to join the side seams together.
Step Two: Before joining the side seams, we’re going to add ruching to our Front Bodice. Sew two gathering stitches on each side of the Front Bodice, between those snipped marks.
Step Three: Pull these stitches gently, creating even gathers. Pin your front to back bodice, adjusting the gathers so that the two pieces line up evenly, then sew the seam as you would normally. Tada! Ruching!
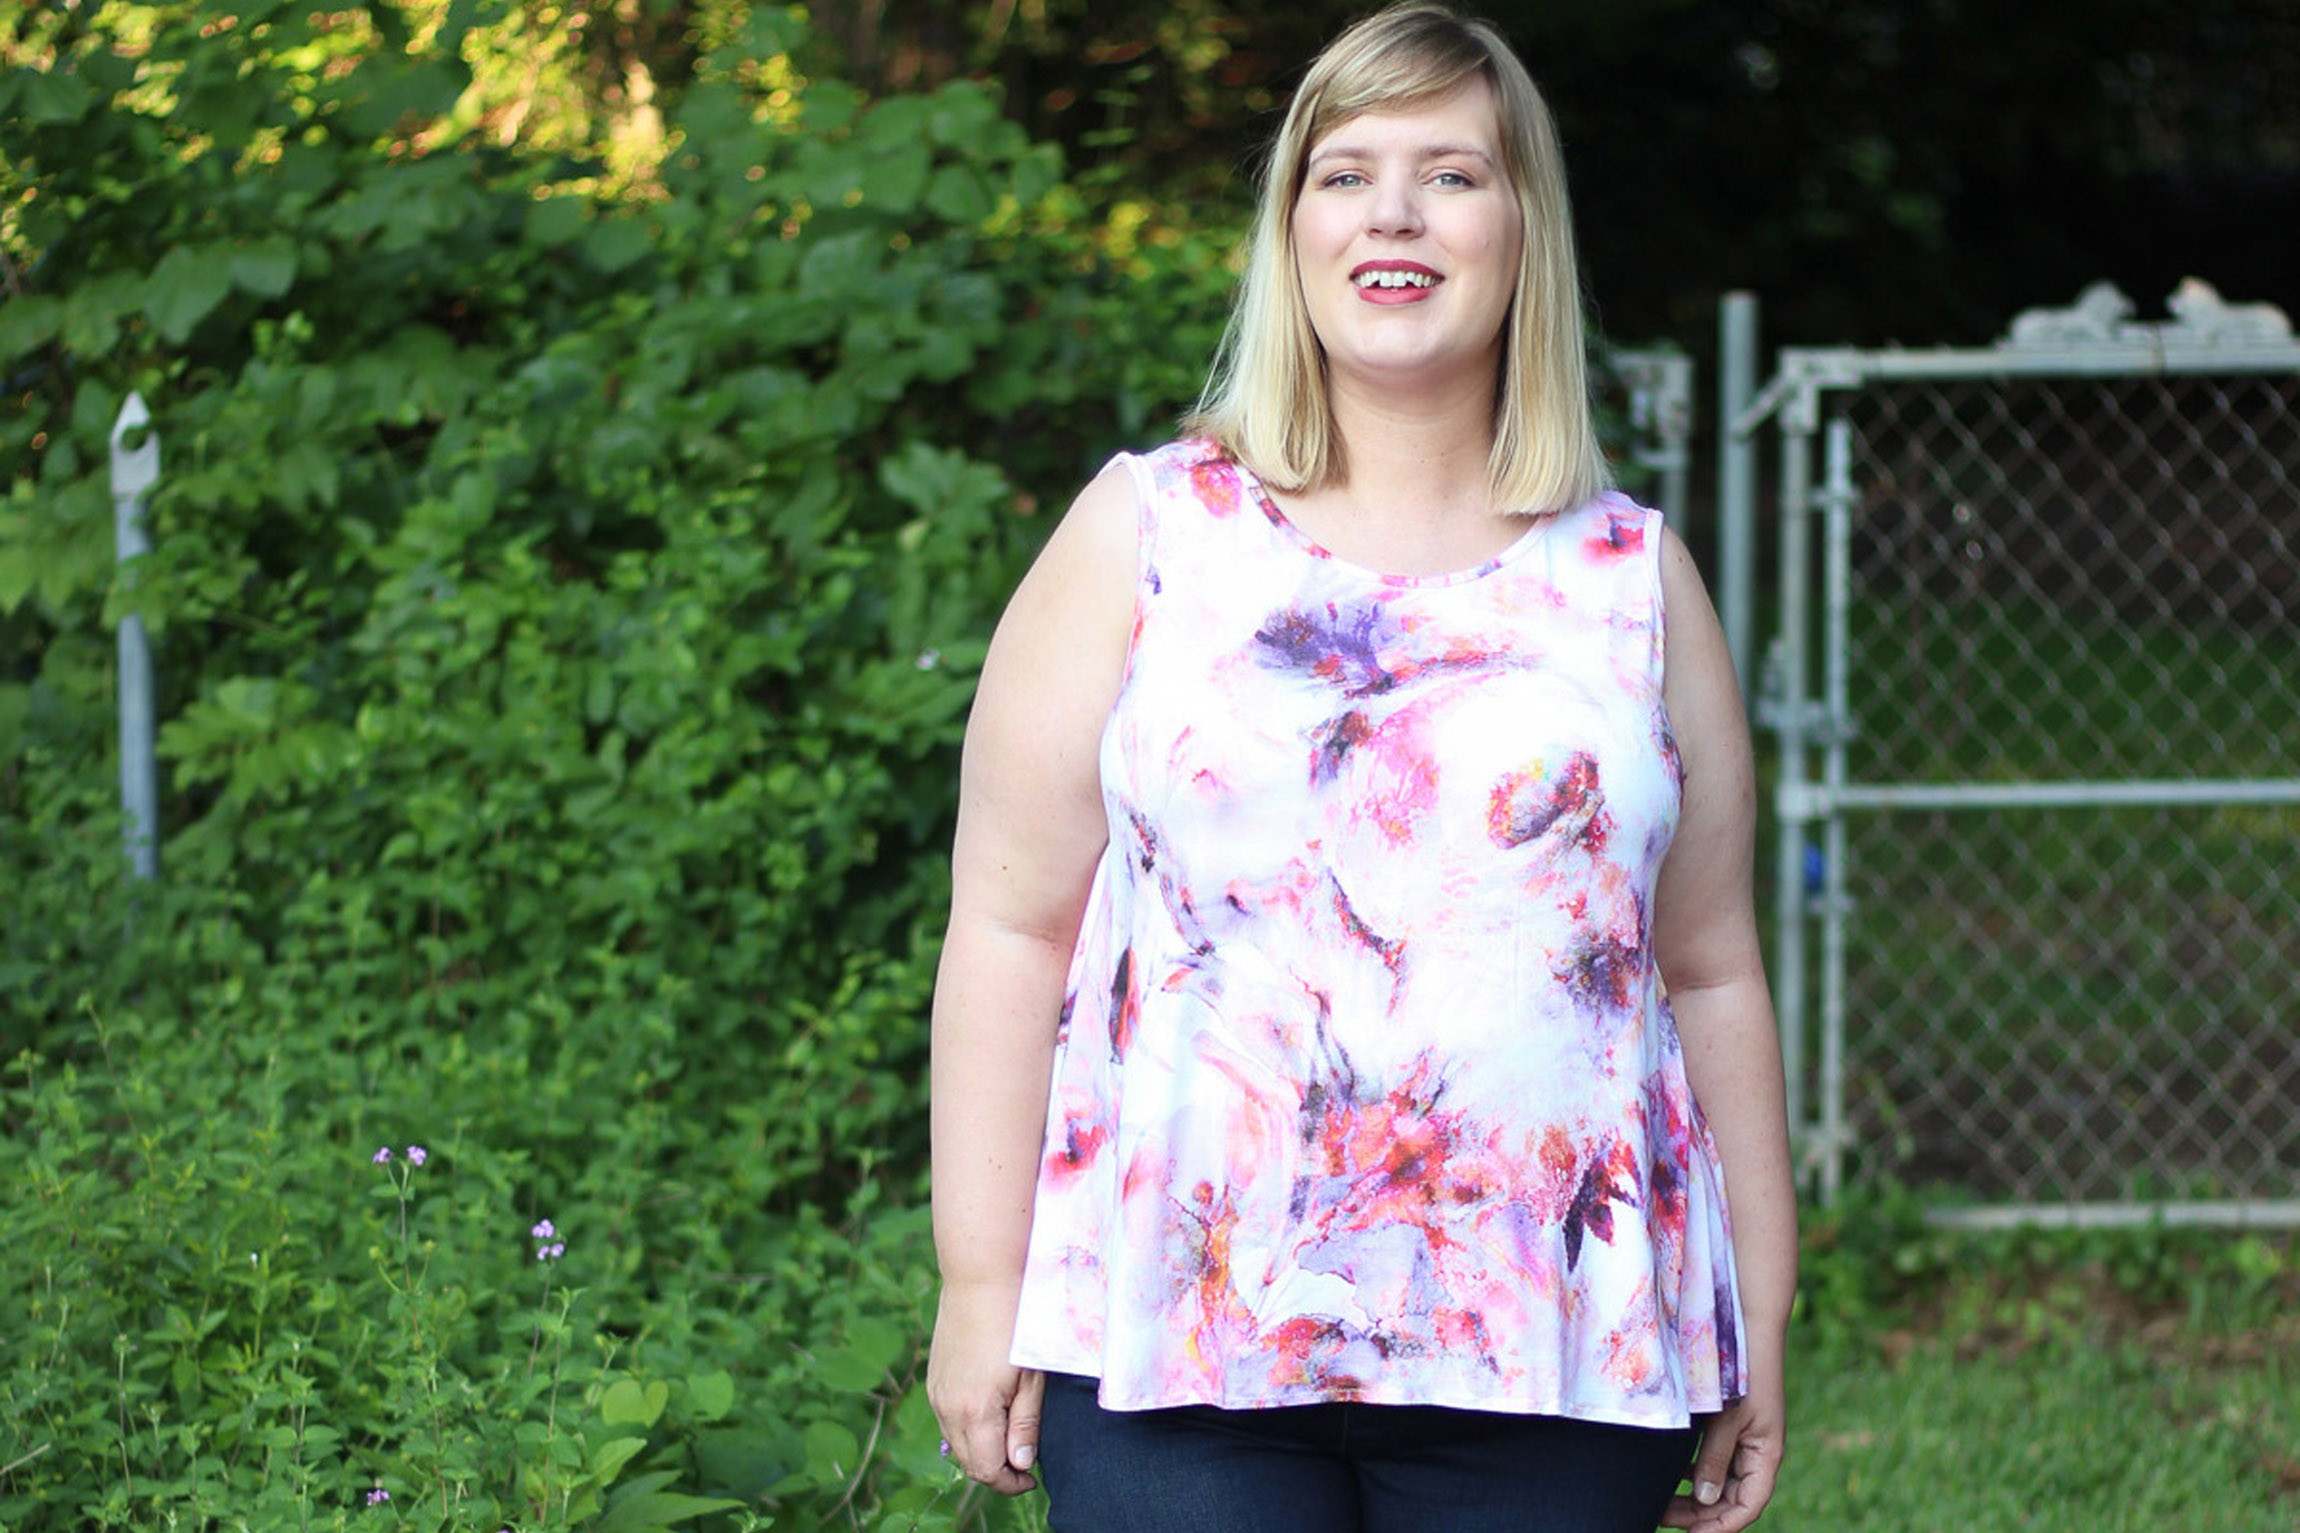
Now that you’ve added room for your belly, the pattern is identical to your original favorite tee! Sew and finish it as you normally would. You may find that as you progress through your pregnancy, the amount of extra room you need changes. I’m six months pregnant and still have plenty of room to grow in these maternity tees, but will probably make a few with longer ruching areas, once eight and nine months roll around.


Do you not add any for the front bump? Do I make the shirt wider or angle the front out? If you are using a regular tshirt pattern?